By default, resin 3D printers create fully dense parts. At times when you’re not printing functional parts that require structural strength or are looking for fast prototyping, hollowing out your 3D model can be a great way to save a considerable amount of material and time. Additionally, hollow parts require fewer supports, meaning printed parts will have fewer touchpoints to clean up.
A few designs we recommend hollowing out:
-
Art and sculptures
-
Scale models
-
Early-stage conceptual models
-
Large models and multi-piece assemblies
There are two ways to create hollow parts using free software: Meshmixer and PreForm, Formlabs’ free print preparation software. Both processes start with orienting your model for printing. Below, we break down the steps you can use to prepare your model for printing.
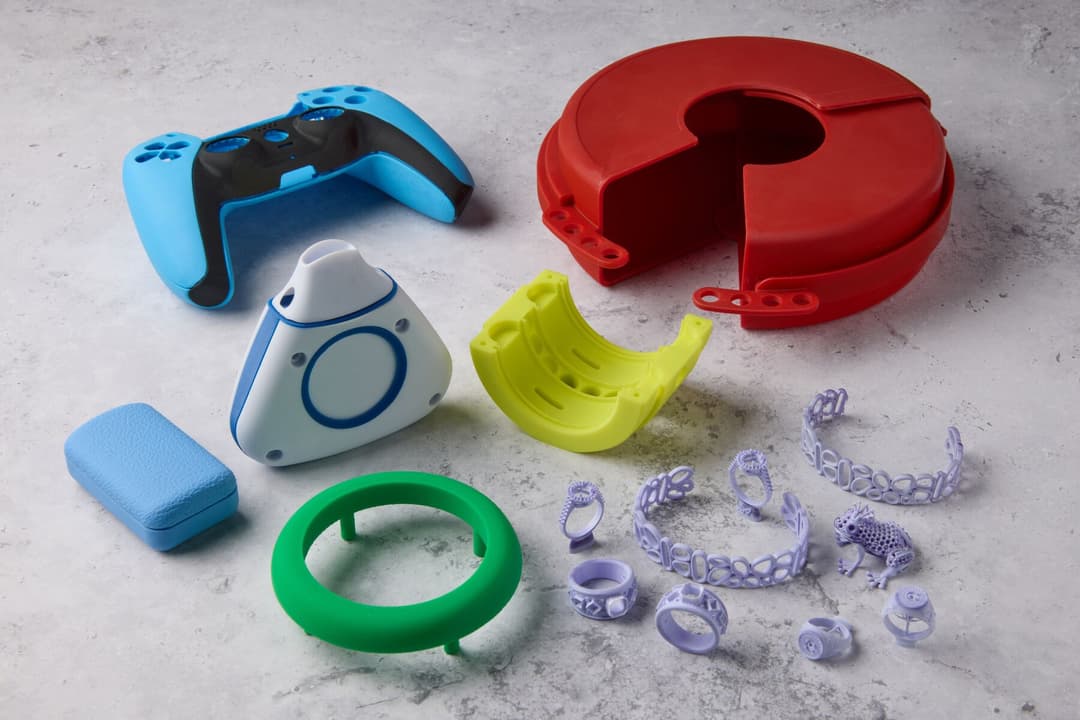
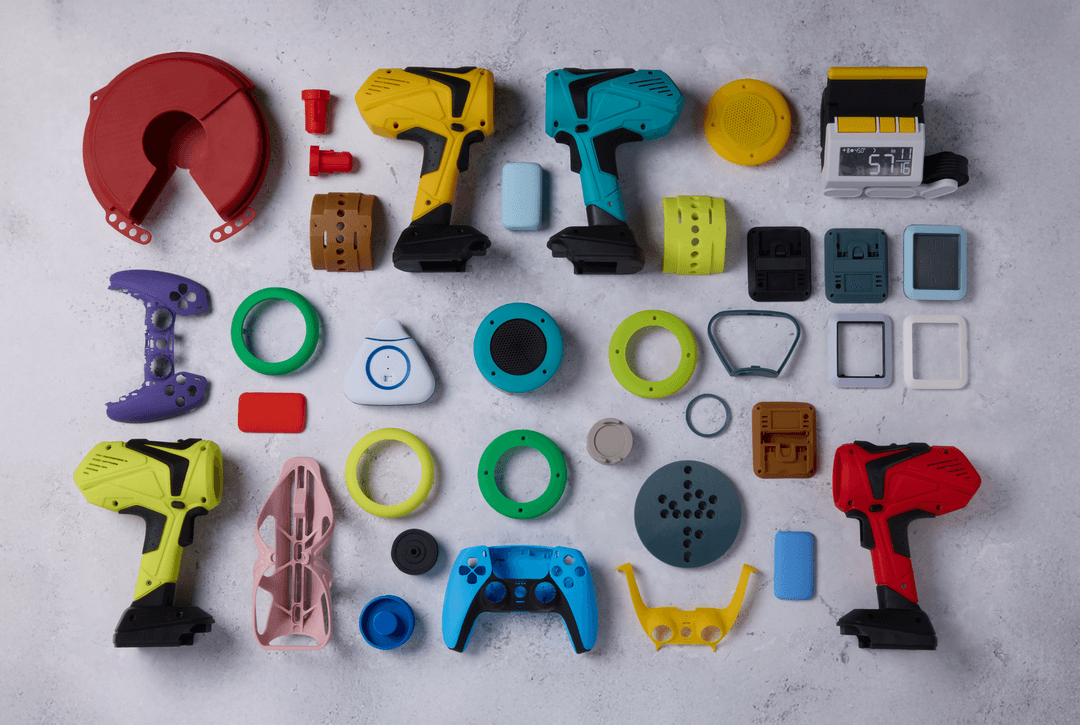
Request a Free Sample Part
See and feel Formlabs quality firsthand. We’ll ship a free sample part to your office.
Orient Your Model for Printing
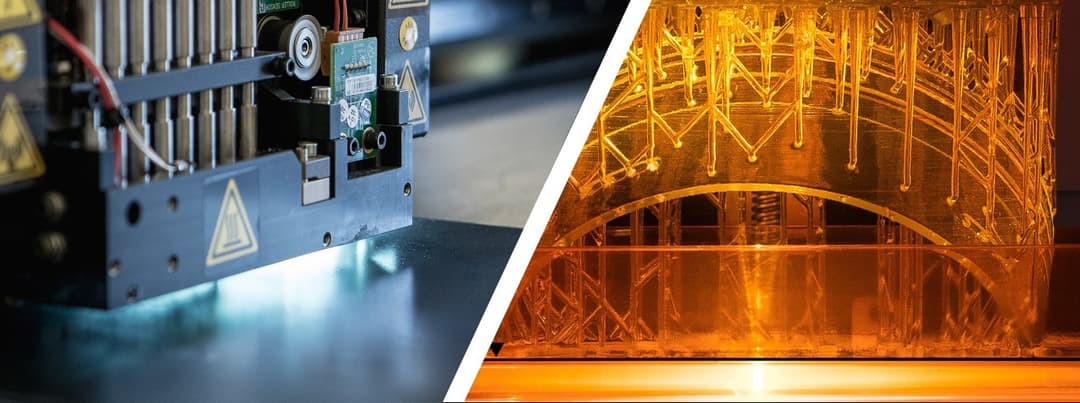
During the stereolithography (SLA) 3D printing process, your model is printed layer by layer and lifted out of the liquid resin as the build platform gradually moves up along the Z-axis. Depending on your 3D printer, when you print a hollow object it could trap resin inside the print as the layers are solidified by the laser below the liquid. You can circumvent this by first finding the correct orientation to print your model and strategically adding drain holes to let the resin flow out.
Open your model and orient it the way it’ll print the best. The side closest to the build platform should be one that won’t be visible on the object or where a drain hole can be placed without influencing the function of the part. Try to avoid having multiple negative overhangs, as they would trap resin inside as well.
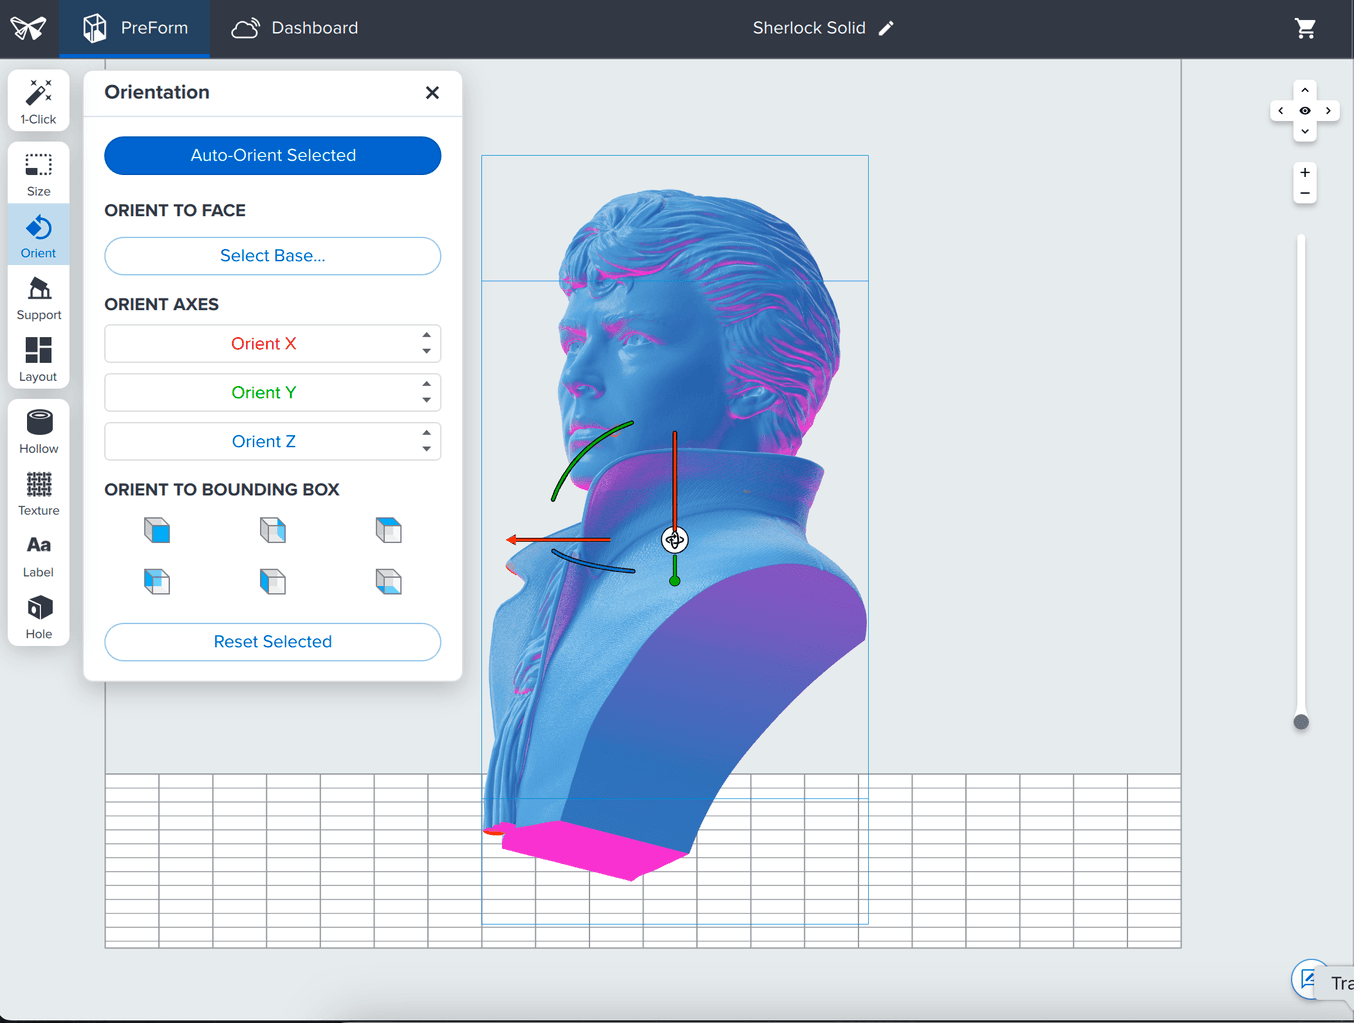
Orient the model in PreForm the way it’ll print the best, while keeping in mind the location of the prospective drain holes.
How to Hollow a Model in Meshmixer
Step 1: Hollow Out Your 3D Model
First, open your model in Meshmixer. You can orient it identically to your preset in PreForm, if it makes it easier to find the correct location for the drain holes (Edit > Transform). Look for Meshmixer's hollow tool (Edit > Hollow) and adjust the settings based on your preferences for wall thickness. Meshmixer will create a shell inside your model according to the offset you specify.
What to consider for the best results:
-
The wall thickness directly influences the strength of your print. Since there’s no internal structure or scaffolding within the hollow print, having a thin shell will render large models fragile.
-
The thinner the walls, the less material your print will require and the lighter it’ll be. If you need a solid or stronger part, you can also opt for filling up the model with inexpensive epoxy or plaster after printing.
Step 2: Add Drain Holes
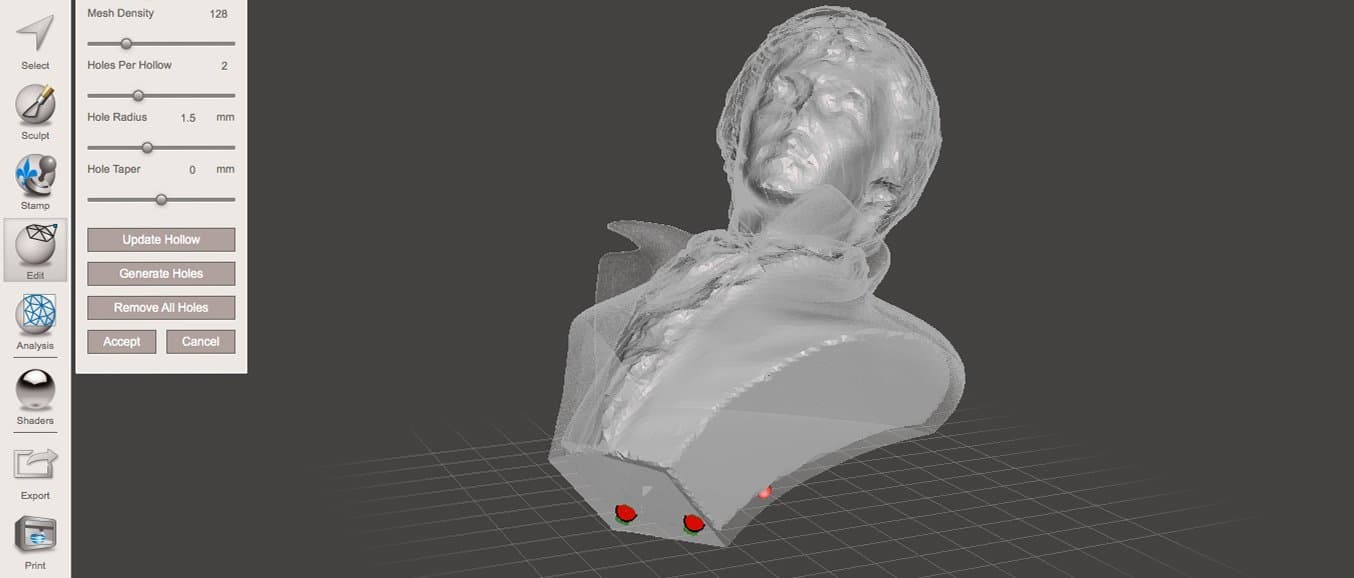
Next up is generating the drain holes. Place one as close to the build platform as possible and at least one more on a surface of your preference. This will help the resin and air to drain while printing the part, as well as isopropyl alcohol (IPA) flow through during the cleaning process. Sometimes, flat surfaces will be destroyed when a hole is added. To prevent this, use the Make Solid (Edit > Make Solid) function to generate an easily manipulable mesh. Note that your mesh may lose quality this way unless you use the sliders to preserve quality.
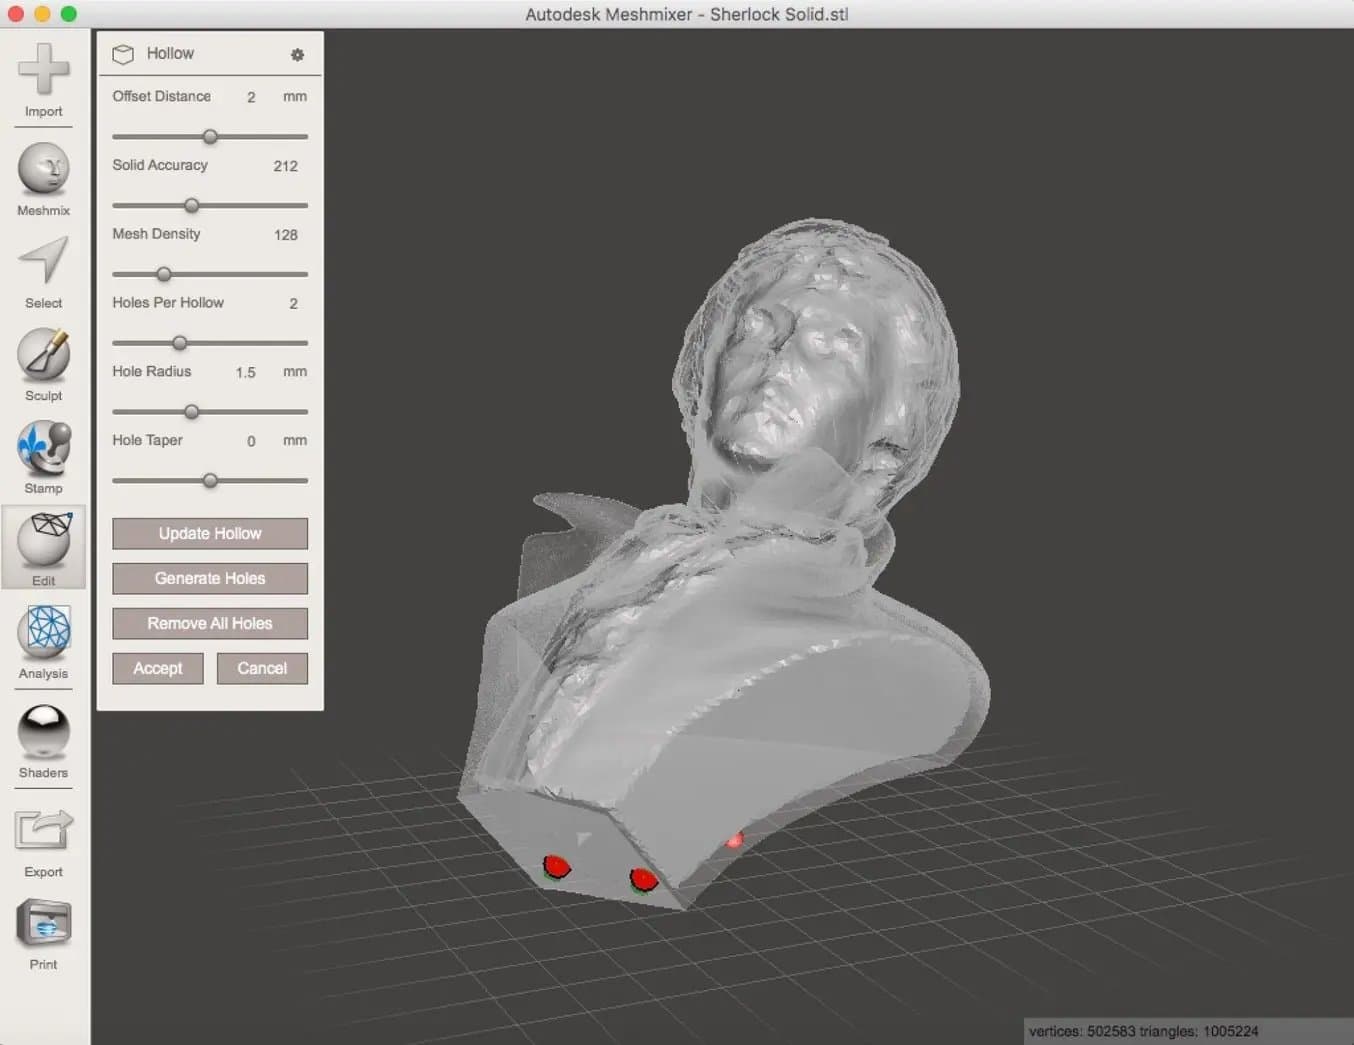
Specify the settings of your preference in Meshmixer and add drain holes to your model (red marks on the display).
When you’re finished, accept the settings and export your model from Meshmixer in STL format.
Step 3: Print Your Model
Now you’re ready to print.
If you’re printing on a Formlabs 3D printer but hollowed your part in Meshmixer, Import the modified 3D model to PreForm and orient it identically to the previous steps so that the drain holes are as close to the build platform as possible.
From here on, the printing and post-processing follows the same path as any non-hollow SLA print.
How to Hollow a Model in PreForm
Step 1: Hollow Out Your 3D Model
Open your model in PreForm and select Hollow in the left toolbar. This will open settings where you can set the wall thickness and level of inner surface detail. When selecting a wall thickness, remember that thickness directly influences the strength of your print.
Once you’ve made your selections, click Hollow Selected and PreForm will hollow out your model.
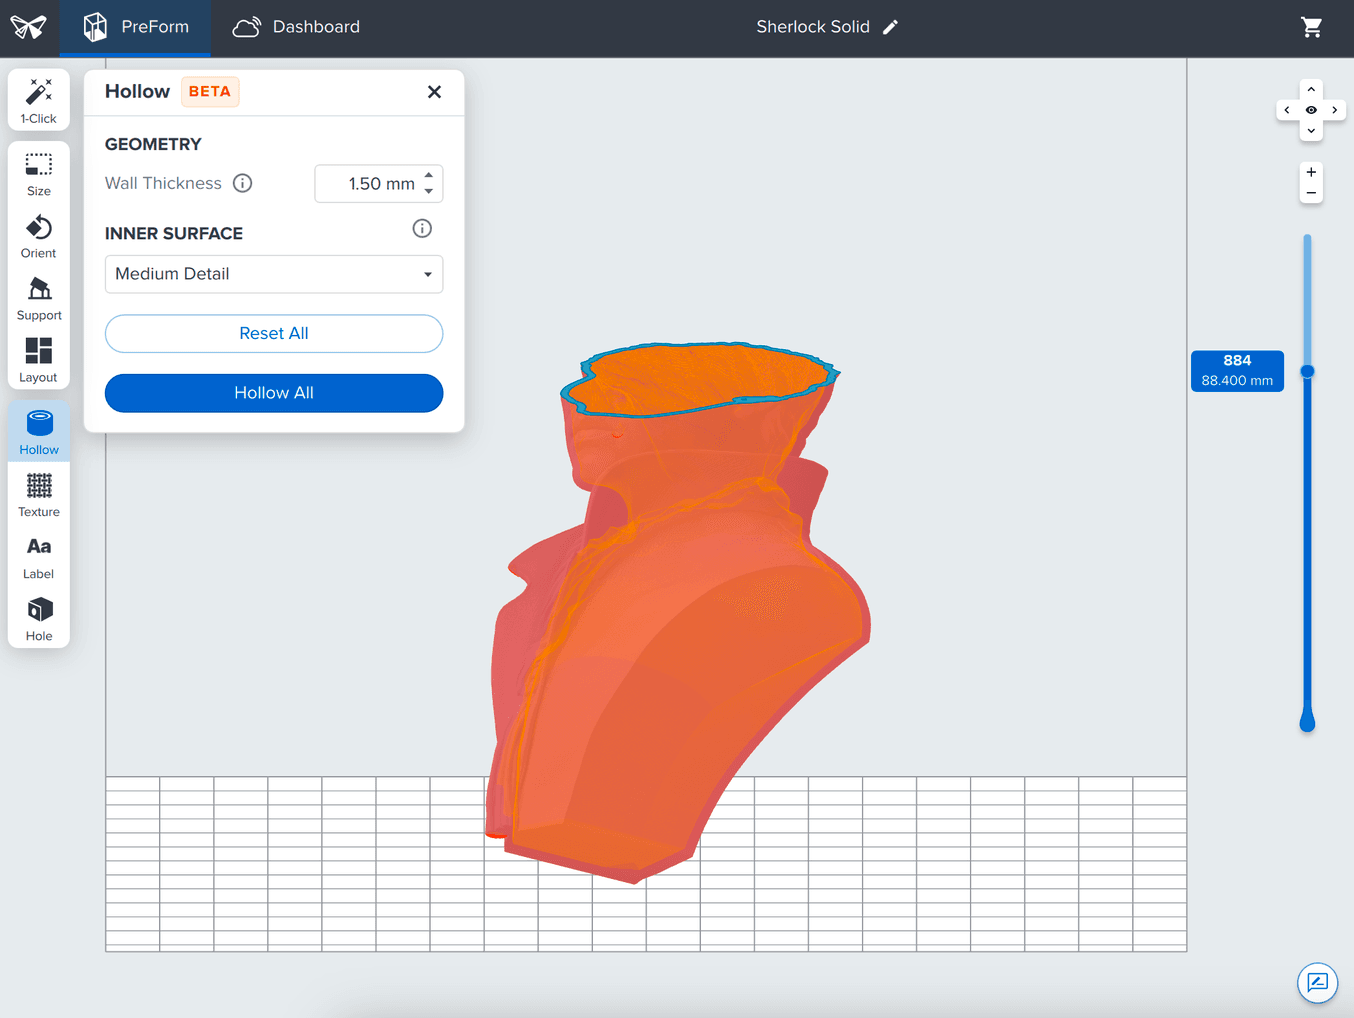
The model after hollowing. Adjust the slider at right to view the layers.
Step 2: Add Drain Holes
Cupping occurs with hollow parts, so the next step is adding drain holes to allow the liquid resin to flow out of the model. On the left toolbar, select Hole and a menu will pop up so you can adjust the radius of the hole, padding, and depth. Once you have updated your parameters, hover your mouse over your part to reveal a drain hole preview, and click to add a hole. Remember to place one as close to the build platform as possible. After you have added all of your drain holes press Apply in the flyout to add them to the model.
Pro Tip: Use the Automatic Depth Mode to have PreForm automatically detect the depth required to create a through hole.
After you’ve applied a drain hole, add at least one additional drain hole, or more if there are other places where cupping occurs. PreForm can alert you to cups; toggle right under Cups in the Print Validation menu at the right of the screen.

Adding drain holes allows the liquid resin to flow out of the model.
Step 3: Print Your Model
From here, set up, print, and post-process your hollow part as you would any other SLA 3D printed part.
Comparison: Solid vs. Hollow Models
In PreForm, the print Summary displays the volume of resin a print will require. You can compare the volume of a hollowed part to the volume when the file was first imported to see the total resin savings. In our example case, the results for a model with a 2 mm offset distance and 0.1 mm layer thickness are the following:
| ORIGINAL SOLID | HOLLOW | |
|---|---|---|
| Material | 228.90 mL | 51.88 mL |
The actual material savings are dependent on your specific model and settings. These were calculated for printing on Form 4 in White Resin V5 with a wall thickness of 2 mm.

Hollowing out this model saved 177.02 mL of resin, a 77% decrease in resin usage.
Learn More About Resin 3D Printing
Meshmixer offers abundant features for editing STL files for 3D printing. Check out our in-depth Meshmixer tutorial that walks through 15 pro tips for both beginner and advanced users. Or, explore texturing, labeling, and other PreForm features.
Abundant resources are available to learn more about resin 3D printing. Dive into our guide on SLA 3D printing or request a free sample part to experience SLA quality firsthand.