Avis :
Pour éviter d’endommager votre équipement, consultez le tableau de compatibilité des bacs à résine dans la section Choisir le bon matériau afin de vous assurer que vous utilisez un bac à résine compatible avec ce matériau.


Avis :
Pour éviter d’endommager votre équipement, consultez le tableau de compatibilité des bacs à résine dans la section Choisir le bon matériau afin de vous assurer que vous utilisez un bac à résine compatible avec ce matériau.
Le moulage à la cire perdue est un procédé de fonderie permettant de produire des pièces métalliques aux formes complexes qui ne peuvent être fabriquées d’une autre manière. Avec Clear Cast Resin de Formlabs, vous pouvez produire des pièces immédiatement sans outillage, sans noyaux solubles ou autres techniques complexes de formation de cire. Les caractéristiques telles que les contre-dépouilles, les canaux et les parois fines qui sont difficiles à modeler pour l’injection de cire sont faciles à imprimer en 3D.
Clear Cast Resin est conçue pour les moules de grande taille, généralement lorsque l’épaisseur des parois est supérieure à 3 mm sur la majeure partie de la pièce. Elle nécessite un treillis et des trous de drainage pour fonctionner correctement, car une partie solide est extrêmement susceptible de fissurer les coques.
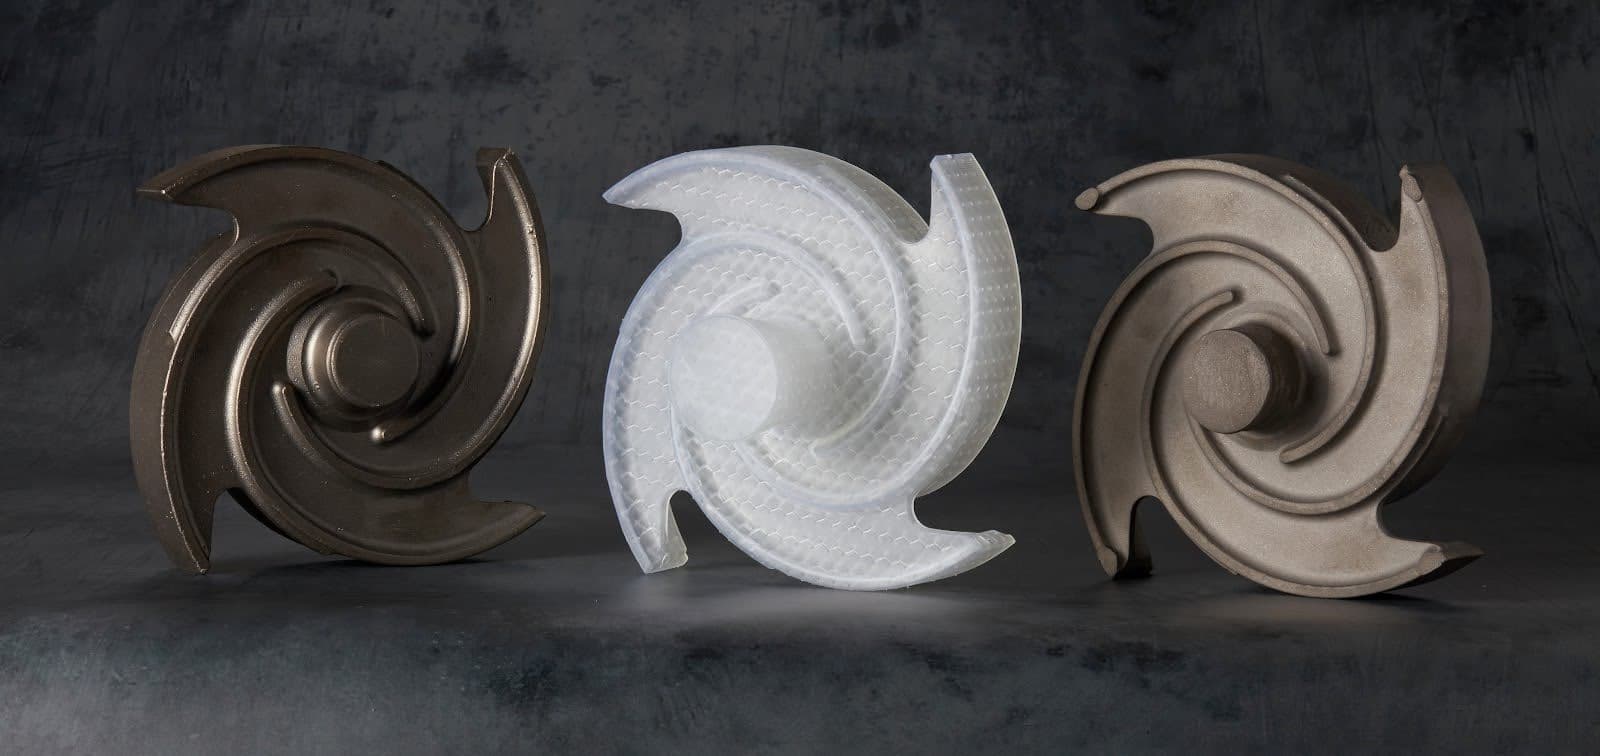
Clear Cast Resin s’imprime à 50 et 100 microns.
Ressources nécessaires
Conseil :
Le lien personnalisé vers Materialise Magics permet de bénéficier d’un prix réduit.
Avis :
Consultez le livre blanc pour des instructions détaillées sur le processus de travail.
Instructions de conception
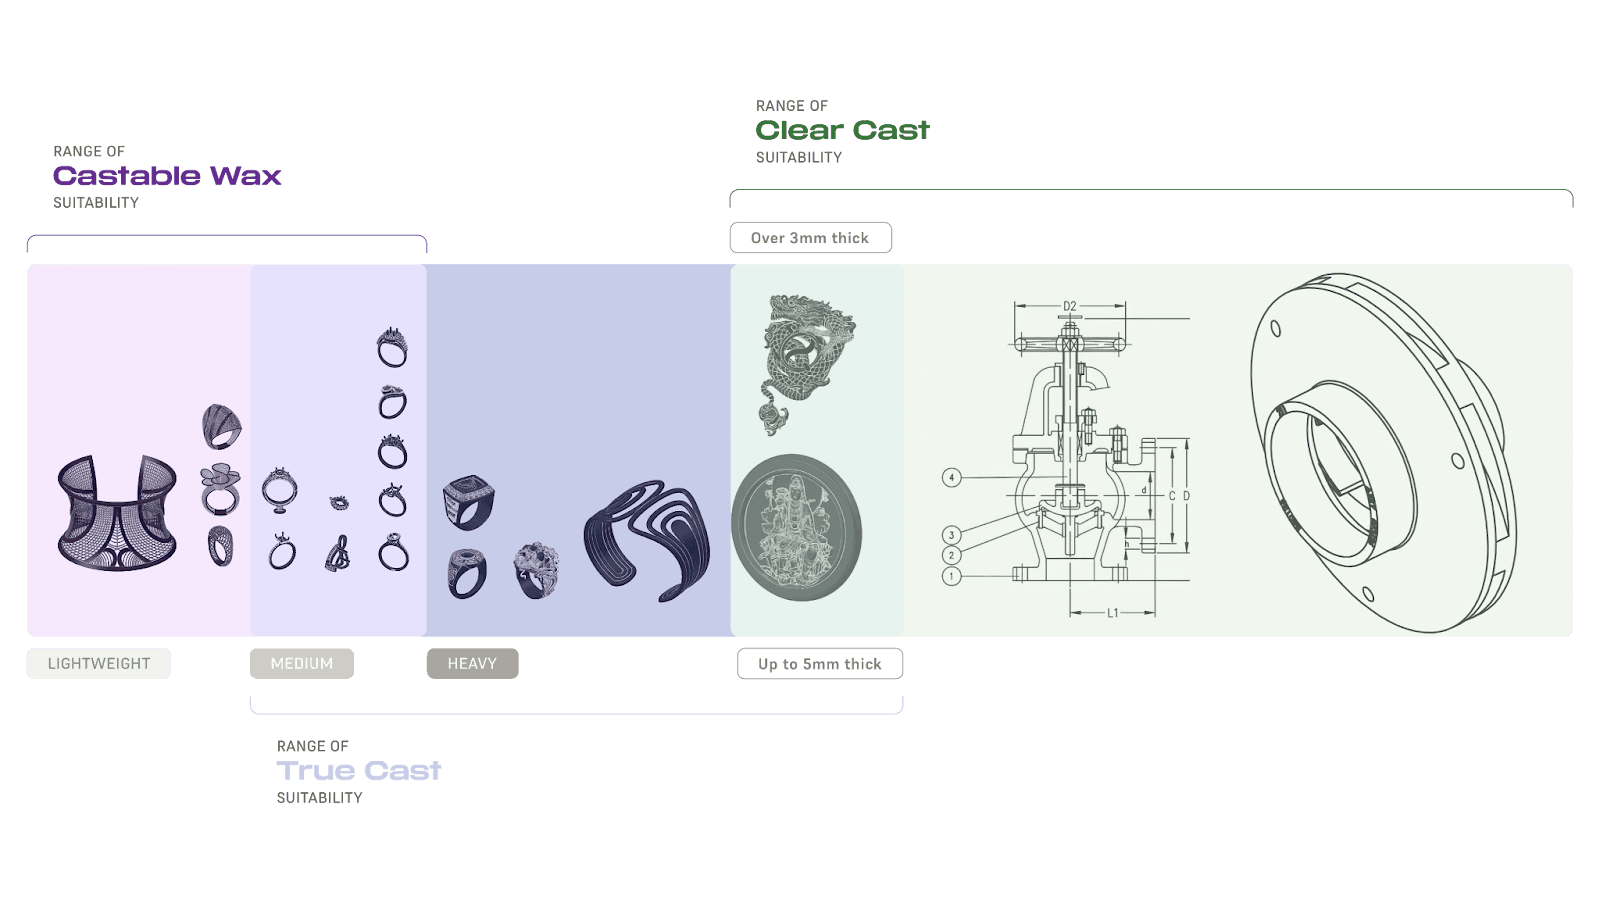
Lors du choix d’une résine de moulage, il convient de tenir compte des propriétés des matériaux de moulage. Pour les petites pièces ou le filigrane, utilisez Castable Wax Resin. Pour les bijoux lourds ou de taille moyenne, ou les petits composants techniques, utilisez True Cast Resin. Pour les fonderies à modèle perdu de plus grande taille, utilisez Clear Cast Resin.
Les modèles « sacrifiés » pour le moulage à la cire perdue industriel doivent être suffisamment solides pour résister à la pression exercée par le trempage dans la barbotine de céramique, tout en étant suffisamment fins pour être brûlés. Les parois fines permettent d’éviter les fissures causées par la dilatation thermique pendant le brûlage. Il existe des solutions logicielles qui creusent la pièce et construisent un échafaudage interne en treillis pour renforcer la pièce. Le treillis supporte l’extérieur de la pièce, empêche la déformation et permet l’impression de parois fines. La carotte de coulée peut également être imprimée en 3D en tant que partie du modèle. Comme le treillis est nécessaire pour créer des pièces coulées de qualité, il est recommandé de ne pas descendre en dessous de 3 mm pour la majeure partie de la pièce.
Après avoir conçu la pièce à l’aide de votre logiciel CAO, importez le fichier CAO dans le module de treillis et déterminez les paramètres de la coque extérieure, de la structure en treillis et des trous de drainage. Des parois plus fines améliorent la réussite du moulage, mais augmentent le risque d’erreurs d’impression et peuvent affaiblir les pièces.
Recommandations relatives aux spécificités de la pièce à imprimer
| Diamètre du treillis | Distance de treillis | ||
|---|---|---|---|
| Très conservateur | 1 mm | 1 mm | 3 mm |
| Conservateur | 1 mm | 0,50 mm | 3 mm |
| Common | 0.75 mm | 0,75 mm | 3 mm |
| Recommandé | 0,5 mm | 1 mm | 3 mm |
| Taille des détails | 0,5 mm (standard) | ||
| Taille du trou | 2 mm (minimum, à augmenter si nécessaire) | ||
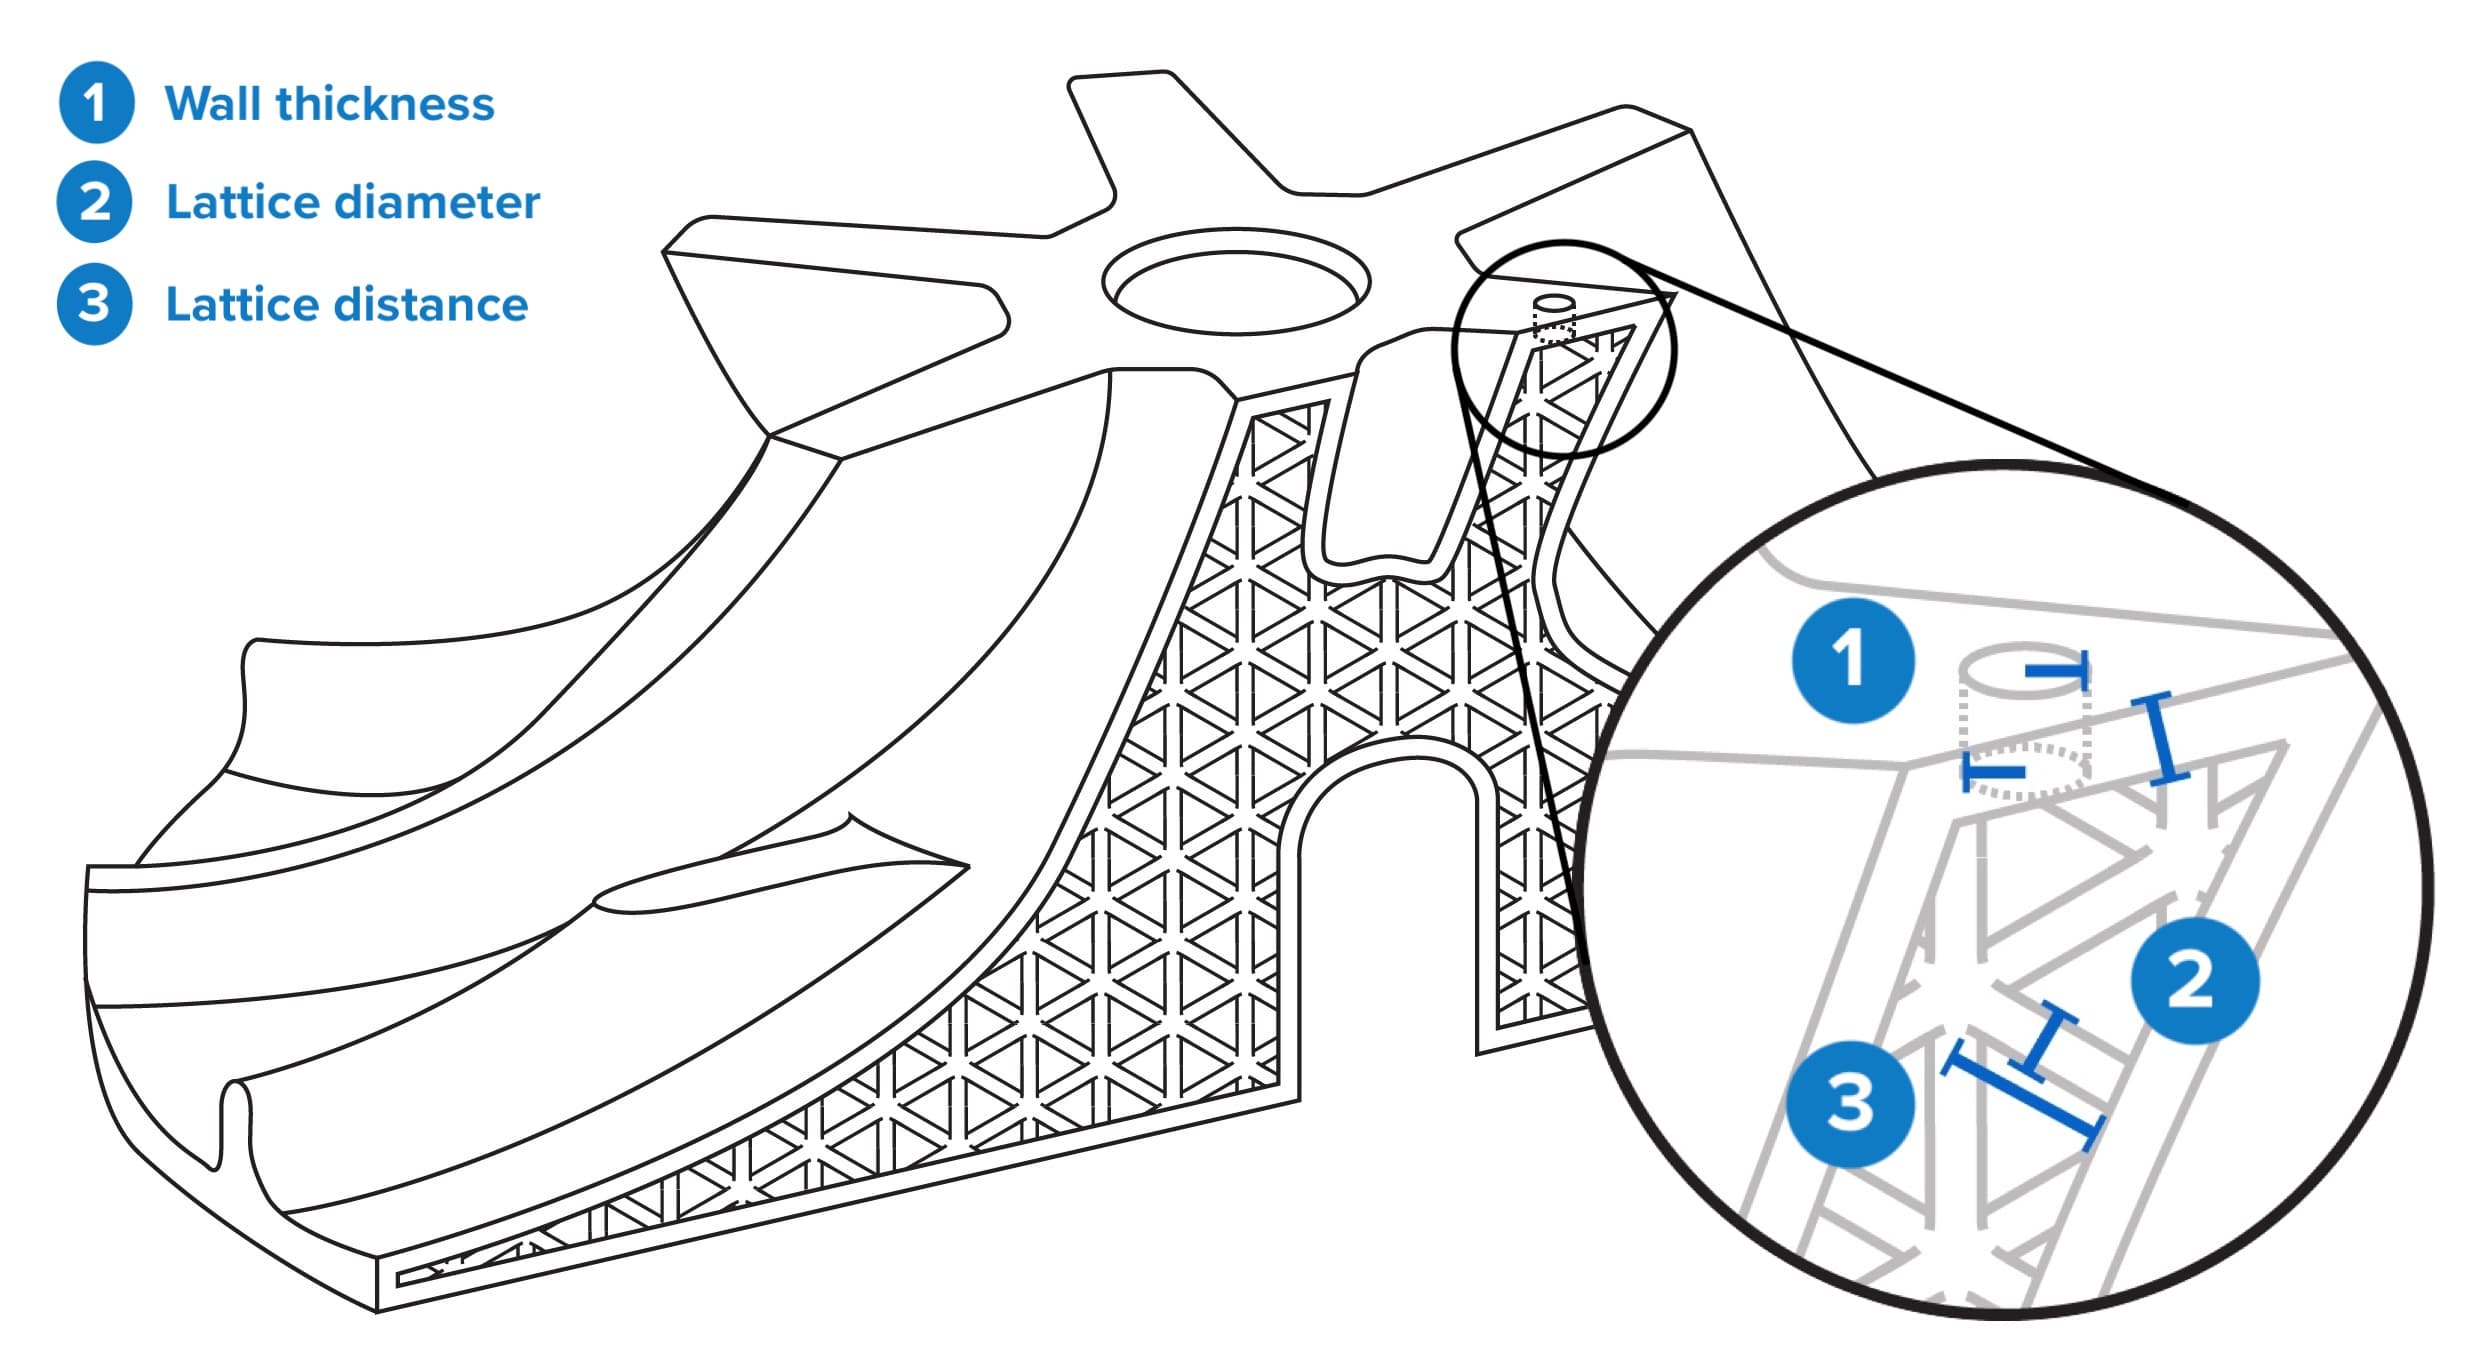
Pièces de grande taille et à parois épaisses
Pour les pièces de grande taille qui sont destinées à avoir des parois épaisses, vous pouvez également creuser les parois pour l’impression. Par exemple, vous pouvez imprimer une grande statue avec des parois d’une épaisseur totale de 5 mm, à condition d’évider et de latticer les parois elles-mêmes à l’aide de votre logiciel de latticage.
Trous de drainage
Les trous de drainage réduisent le risque d’erreurs d’impression causées par la formation de cavité et permettent à la résine liquide de s’écouler de la pièce.
Les pièces ayant une structure en treillis peuvent générer des fichiers volumineux, ce qui ralentit le processus de préparation de l’impression et de génération des supports. Convertissez vos fichiers exportés en 3MF pour réduire la dimension des fichiers.
Impression avec Clear Cast Resin
Avis :
Pour éviter d’endommager votre équipement, consultez le tableau de compatibilité des bacs à résine dans la section Choisir le bon matériau afin de vous assurer que vous utilisez un bac à résine compatible avec ce matériau.
Installez ou mettez à jour PreForm, puis configurez la prochaine tâche d’impression.
Pour préparer un modèle à l’impression dans PreForm :
Finition
La Form Wash et d’autres systèmes de lavage agitent le bain de solvant et retirent les pièces du bain après une durée déterminée. Lavez les pièces conformément à l’article d’assistance relatif à votre appareil. Accordez une attention particulière aux informations ayant une incidence sur les propriétés mécaniques ou les exigences en matière de biocompatibilité.
Après un premier lavage, séchez les pièces et éliminez la structure en treillis à l’aide d’air comprimé. Lavez à nouveau la pièce et nettoyez-la soigneusement à l’air comprimé, en veillant à éliminer autant d’alcool isopropylique et de résine que possible à l’intérieur. Le fait de laisser l’alcool isopropylique et la résine s’incruster dans la pièce peut rendre la coque molle, et donc impropre au moulage.
Conditions de post-polymérisation
Clear Cast Resin nécessite une post-polymérisation pour acquérir ses propriétés mécaniques optimales. Suivez les meilleures pratiques de Formlabs pour décider de retirer les supports avant ou après la post-polymérisation. Consultez l’article d’assistance relatif à votre appareil pour connaître les recommandations de post-polymérisation.
Suivez les instructions des articles d’assistance Suppression des traces de support et Techniques avancées de suppression des supports pour le post-traitement des pièces imprimées.
Préparation du modèle
Avis :
Consultez le livre blanc pour des instructions détaillées sur le processus de travail.
Boucher les trous de drainage
Il existe trois façons principales de boucher les trous de drainage :
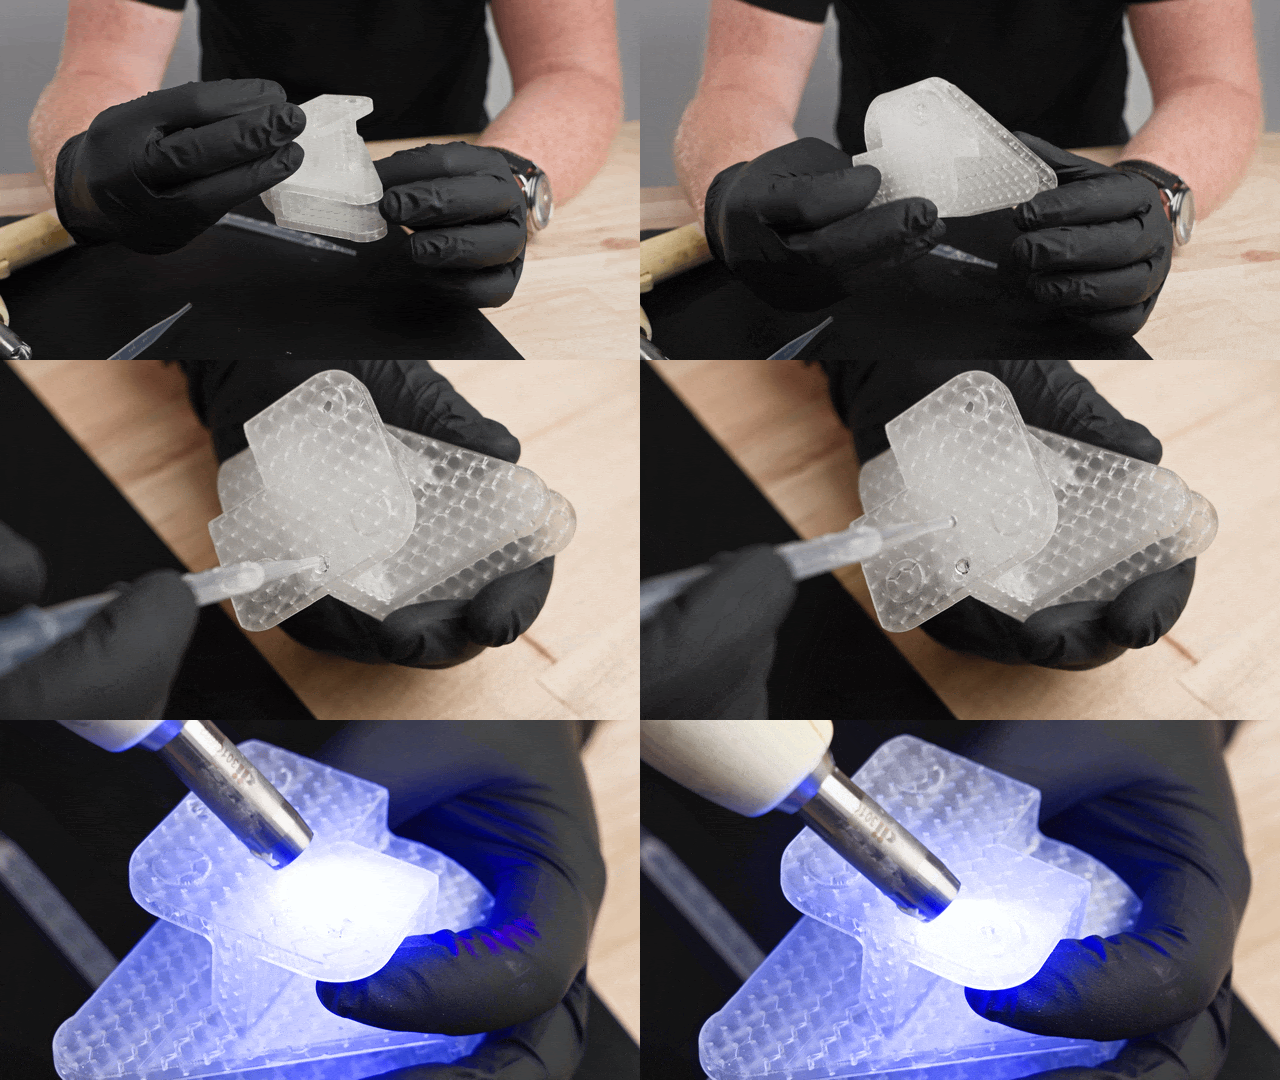
Vérifiez l’étanchéité des trous en introduisant de l’air comprimé dans le dernier trou et en vérifiant qu’il n’y a pas de fuites.
Assemblage de plusieurs pièces
Vous disposez d’options similaires pour assembler plusieurs pièces avant le moulage si votre conception dépasse le volume d’impression de votre imprimante :
Brûlage
Suivez votre processus habituel pour l’assemblage du modèle, la création de la coque et le brûlage. Pour le brûlage, Formlabs recommande une cuisson rapide à une température de 700 à 900 °C pendant deux heures. N’utilisez pas d’autoclave pour décirer les pièces, car cela peut entraîner leur dilatation ou leur déformation, et souvent la fissuration des coques. Vérifiez que la coque ne présente pas de fissures ou de bavures après le brûlage et soufflez les cendres restantes du moule.
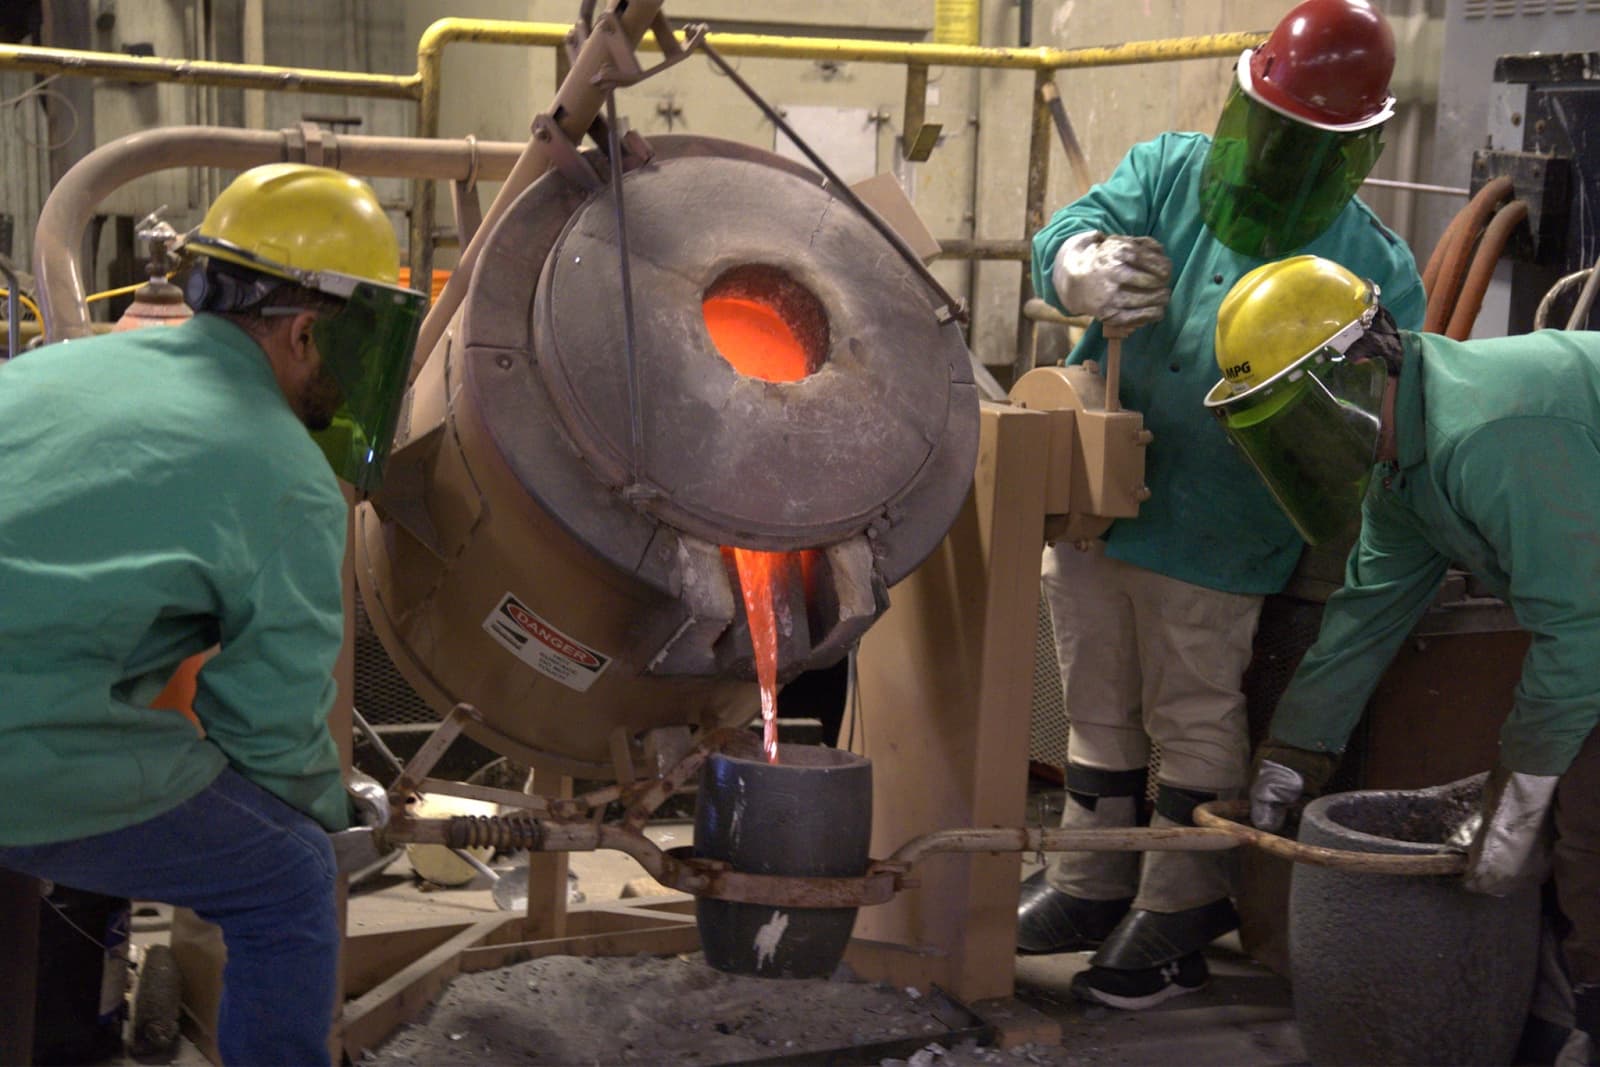
Suivez la procédure habituelle pour la coulée et la finition.