
Notice:
Update your printer to the latest firmware version before printing with Nylon 12 GF.

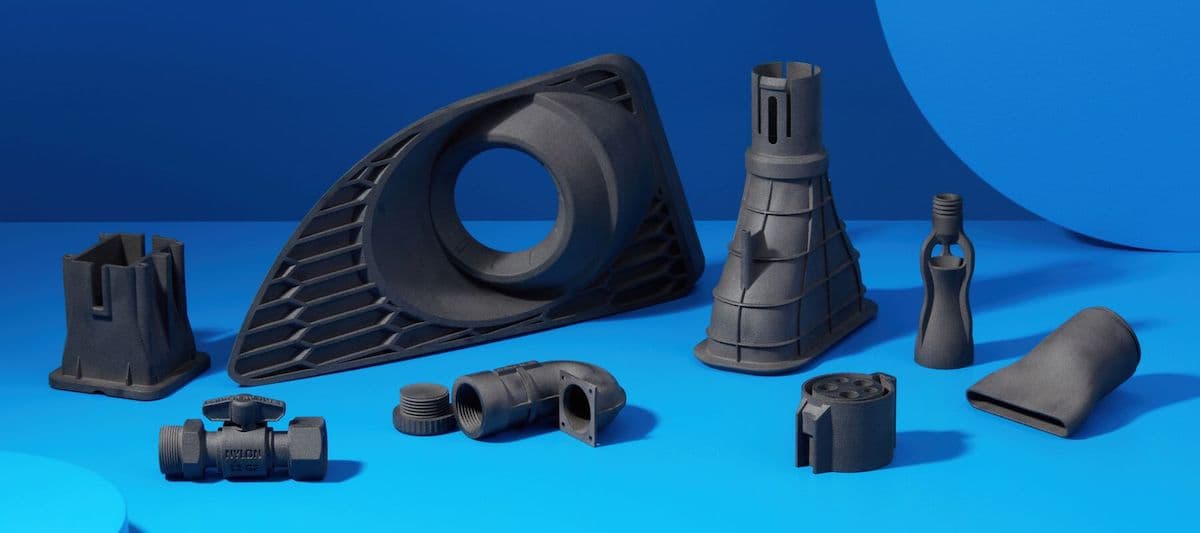
Nylon 12 GF is a stiff and stable, industry-standard material that’s ideal for durable end-use parts. Incorporating glass filler into Nylon 12 expands its use into higher-performance applications. Its recommended 50% refresh rate allows for maximum reuse of materials and optimal print success.
Notice:
Update your printer to the latest firmware version before printing with Nylon 12 GF.
Recommended for:
Comparison with other materials
See the table below for a comparison of relevant material properties:
| Nylon 11 | Nylon 12 | Nylon 12 GF | |
|---|---|---|---|
| Ultimate tensile strength (MPa) | 49 | 50 | 38 |
| Tensile modulus (MPa) | 1600 | 1850 | 2800 |
| Elongation at break X/Y (%) | 40 | 11 | 4 |
| Elongation at break Z (%) | N/A | 6 | 3 |
| Flexural modulus (MPa) | 1400 | 1600 | 2400 |
| Izod impact strength (J/m) | 70 | 32 | 36 |
| Heat deflection temperature (HDT) @ 1.8 MPa | 46 | 87 | 113 |
| Heat deflection temperature (HDT) HDT @ 0.45 MPa (°C) | 182 | 171 | 170 |
| Vicat softening temperature (°C) | 189 | 175 | 175 |
To learn more about the performance properties of Formlabs materials, refer to the library of material properties data sheets.
When compared to Formlabs SLA resins, Nylon 11 and Nylon 12 have similar stiffness to Tough 1500 Resin and Tough 2000 Resin respectively. Nylon 12 GF has a stiffness between Tough 2000 Resin and Rigid 4000 Resin.
Preparing to print with Nylon 12 GF Powder
Formlabs recommends tuning the bed temperature of your printer before printing with Nylon 12 GF Powder for the first time. This process should be run on aged powder, refreshed with 50% fresh powder. If you do not have any used powder on hand, age a batch of fresh powder before printing the bed temperature tuning diagnostic tool.
Follow the instructions in the support article Aging Nylon 12 GF Powder before first use to age and sift powder, then follow the instructions in the support article Tuning the bed temperature of your Fuse 1+ 30W printer for improved part yield with Nylon 12 GF Powder.
Note:
If you choose to tune your printer, the process should be completed on each printer that will use Nylon 12 GF Powder. Different printers of the same model and in the same room may require different offset temperatures.
Printing with Nylon 12 GF
For the best results, follow Formlabs design specifications for SLS printing.
Note:
For most use cases, Nylon 12 GF prints much like Nylon 12. However, thin features on parts printed in Nylon 12 GF are more prone to breaking due to its increased stiffness and brittleness.
Refer to the support article Starting a print (SLS) to open a model in PreForm, orient it, and send it to the printer.
Nylon 12 GF Powder uses a standard refresh rate of 50%, but under specific guidance from Formlabs, a refresh rate of 70% may be used to troubleshoot part defects.
Formlabs recommends printing Nylon 12 GF in air.
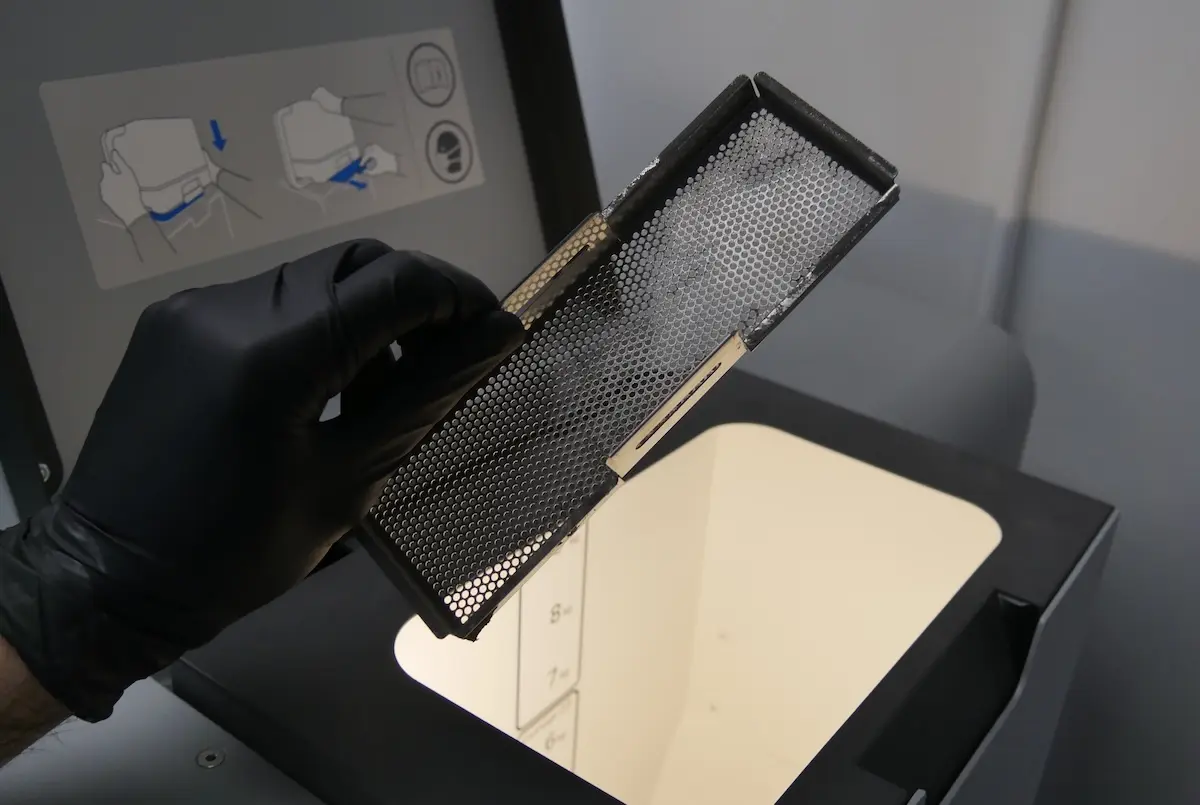
Post-processing Nylon 12 GF printed parts
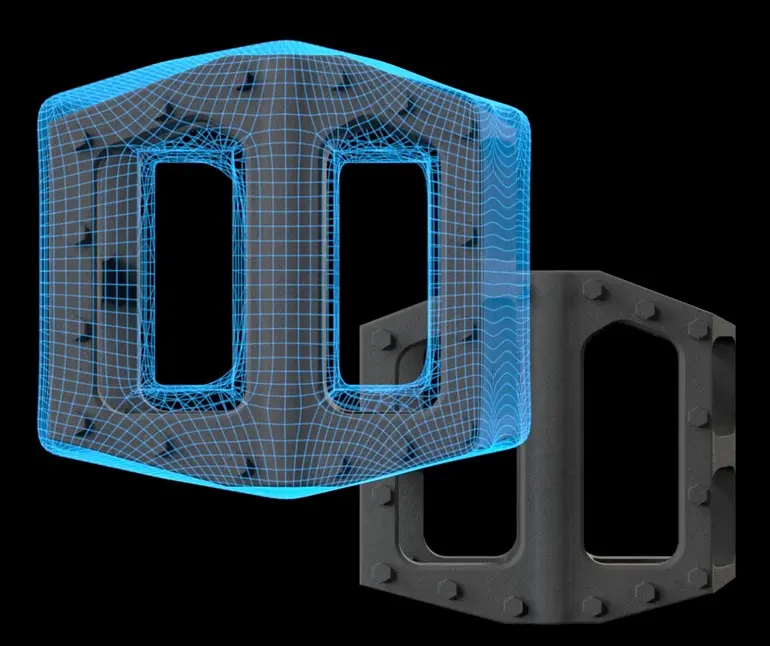
Fuse 1 generation printers surround each printed part with Surface Armor, a semi-sintered shell. This alleviates potential thermal inconsistencies which may adversely affect a part’s accuracy. Surface Armor improves surface finish and is discarded during post-processing.
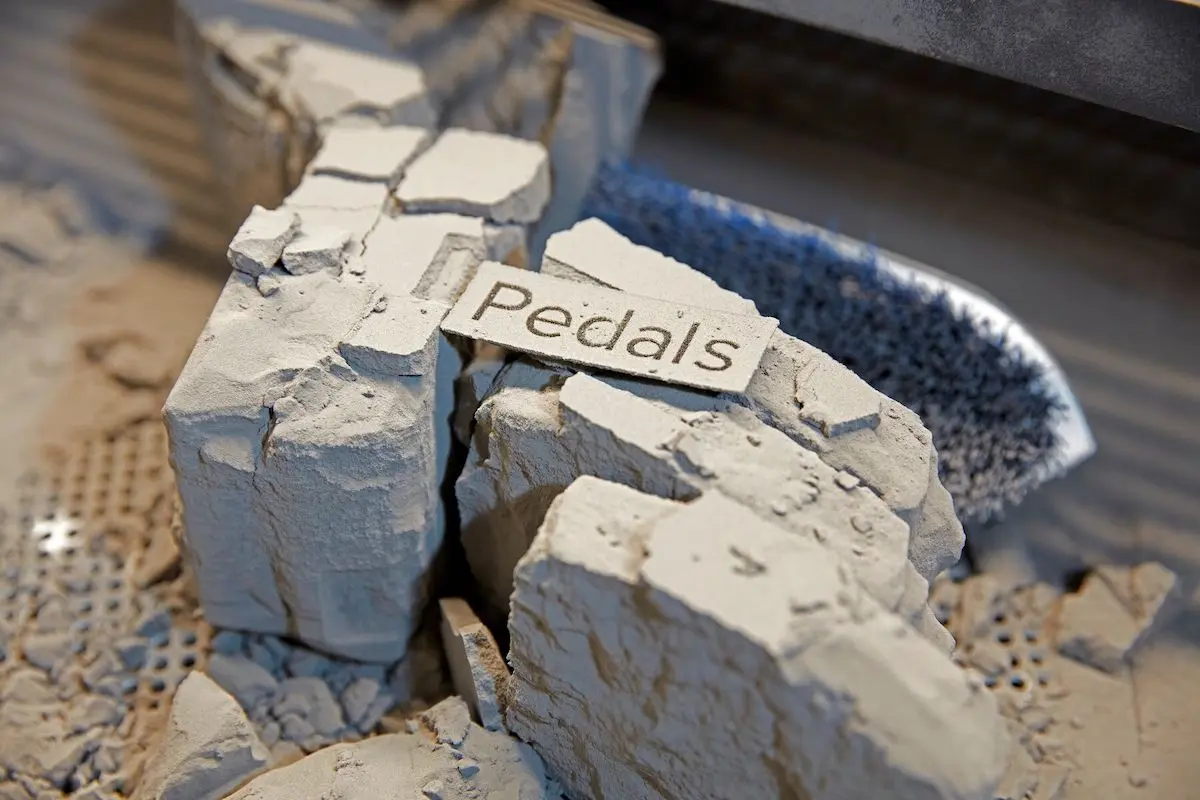
Stronger Surface Armor is required for parts printed with Nylon 12 GF compared to Nylon 12 or Nylon 11. While the workflow for all three materials is similar, you will need to use a media blaster to effectively remove all surface armor from Nylon 12 GF parts.
To post-process parts printed with Nylon 12 GF:
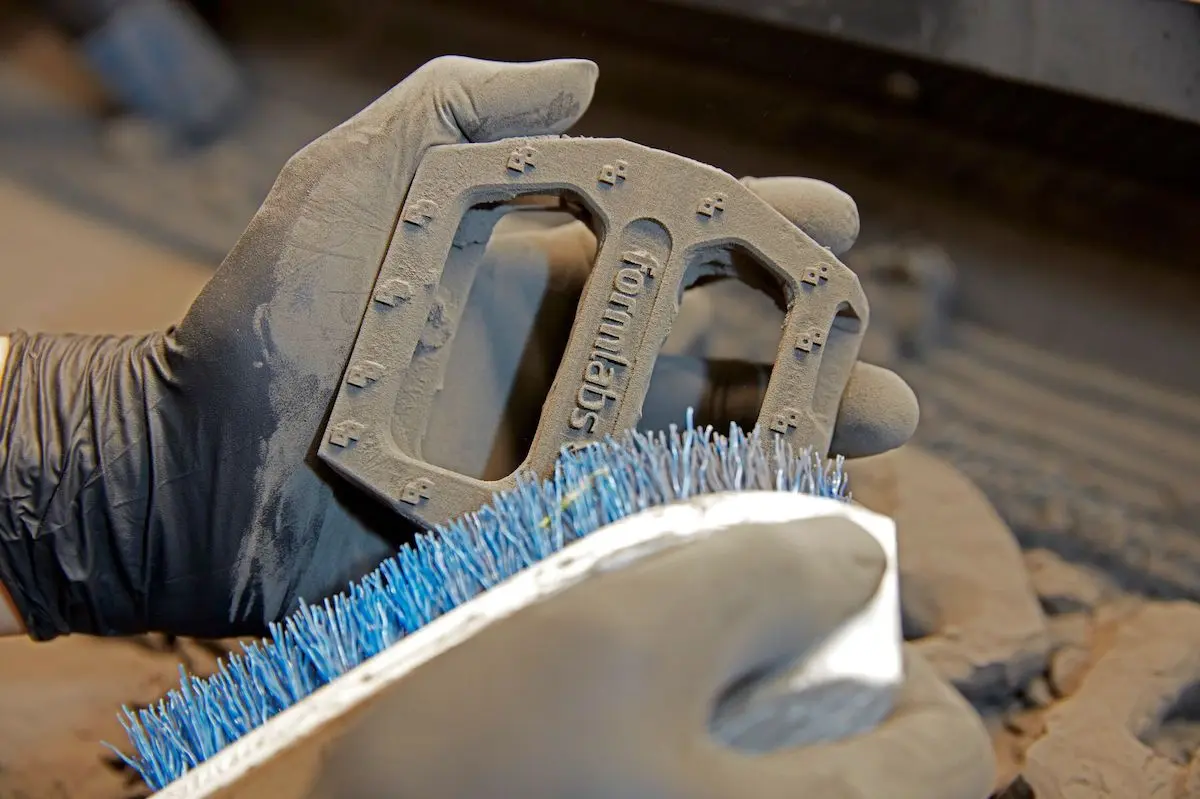
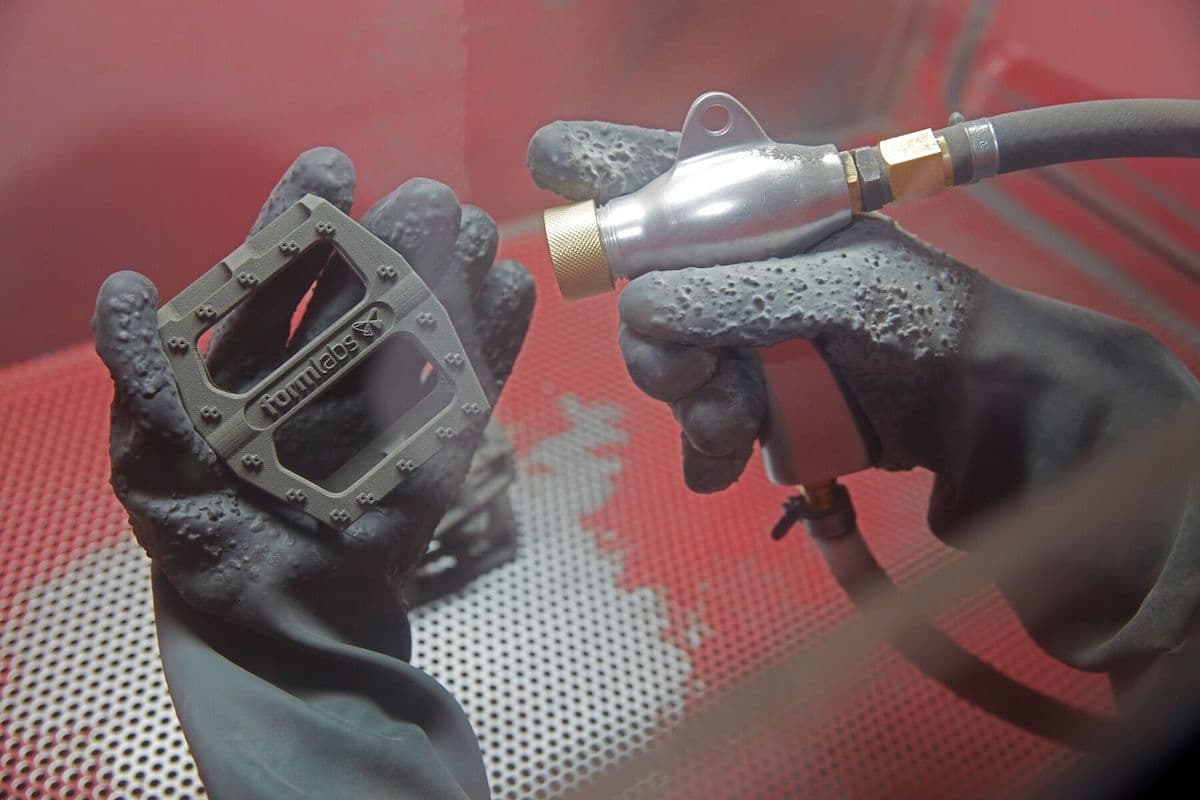
Note:
Use extra care to avoid damage to small, delicate features during post-processing. Use multiple passes to ensure that you remove all Surface Armor from holes and small enclosed areas in your parts.
Between prints
Accumulated powder and condensed airborne particulates can cause print failures in future print jobs if not properly cleaned out after each print. Clean the following areas between prints:
Cleaning the top of the print enclosure
Powder can accumulate at the top of the print enclosure, particularly on the runways, the areas between the powder troughs and the top of the build chamber. This excess powder may fuse and be dragged into the build chamber during subsequent prints. Vacuum this area thoroughly to help prevent print failures.
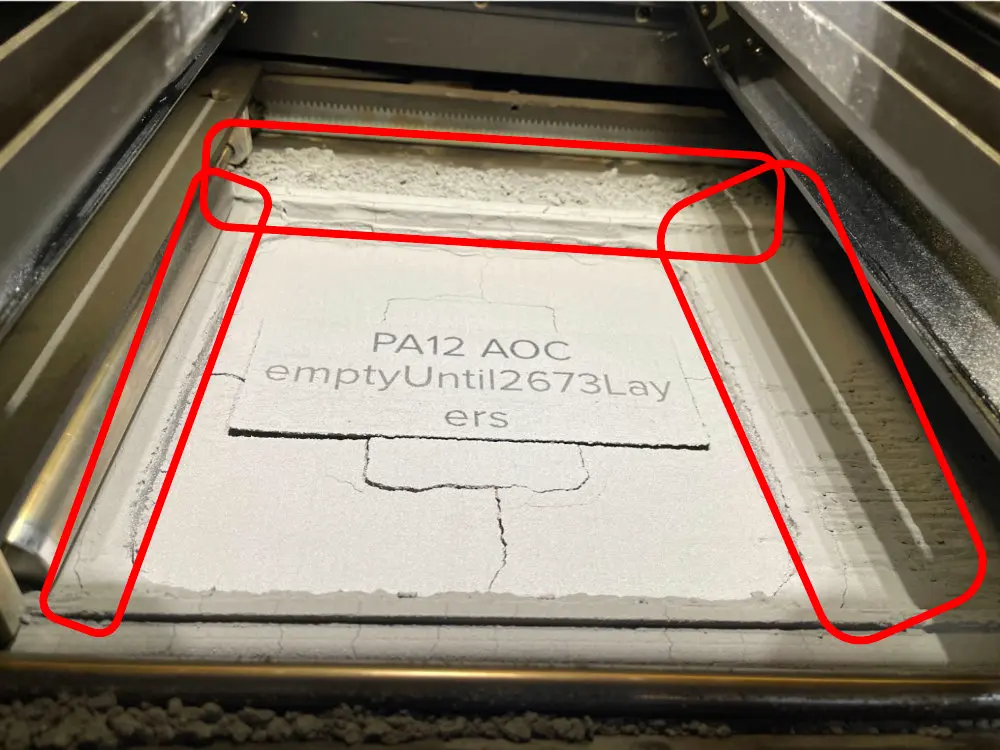
Vacuuming the troughs
Between prints, clean both troughs and the area around the recoater’s path using a compliant vacuum with static dissipative components. Use the vacuum, fitted with a small brush attachment or the flexible hose attachment, to clean all powder out of the troughs. If needed, use compressed air or a gas duster to remove powder from hard-to-reach areas. Check in particular for powder buildup along the inner walls and corners of the troughs.
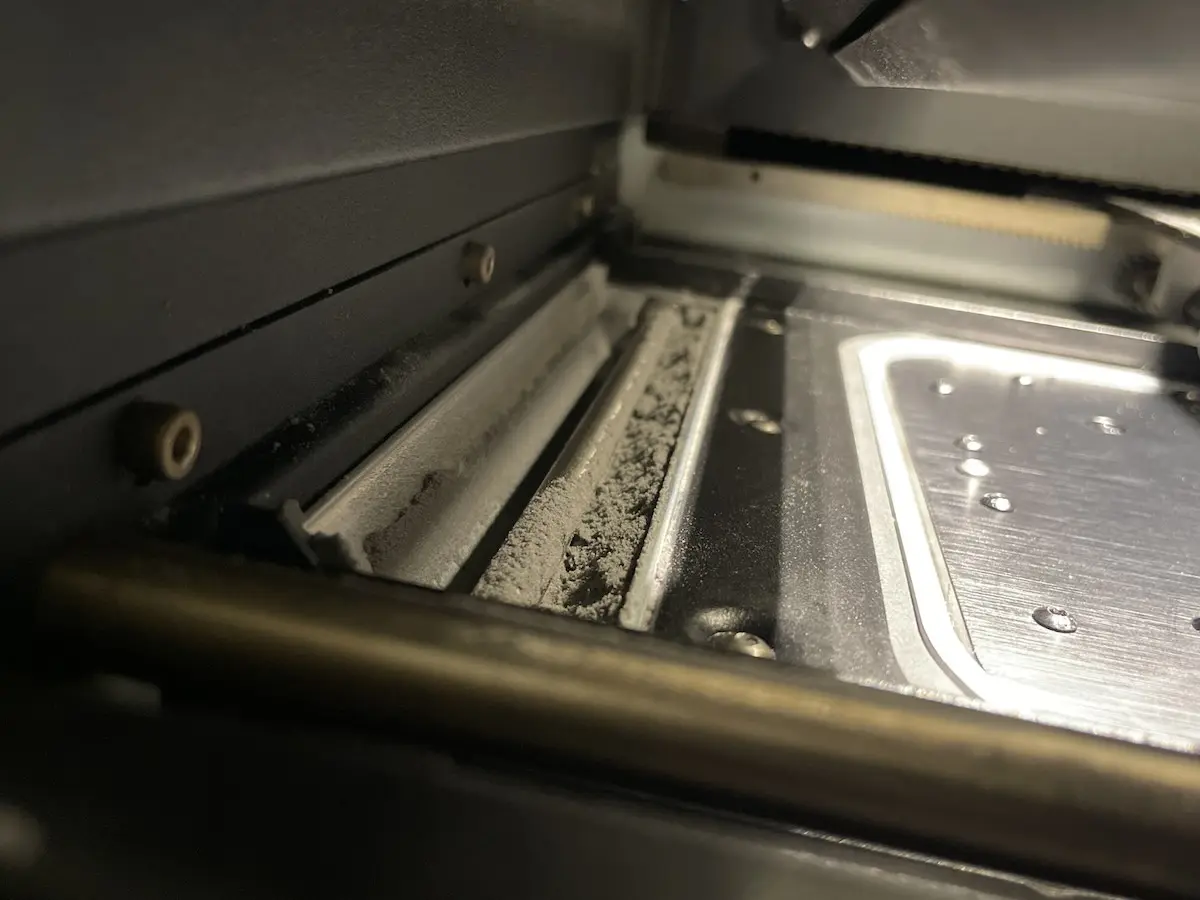
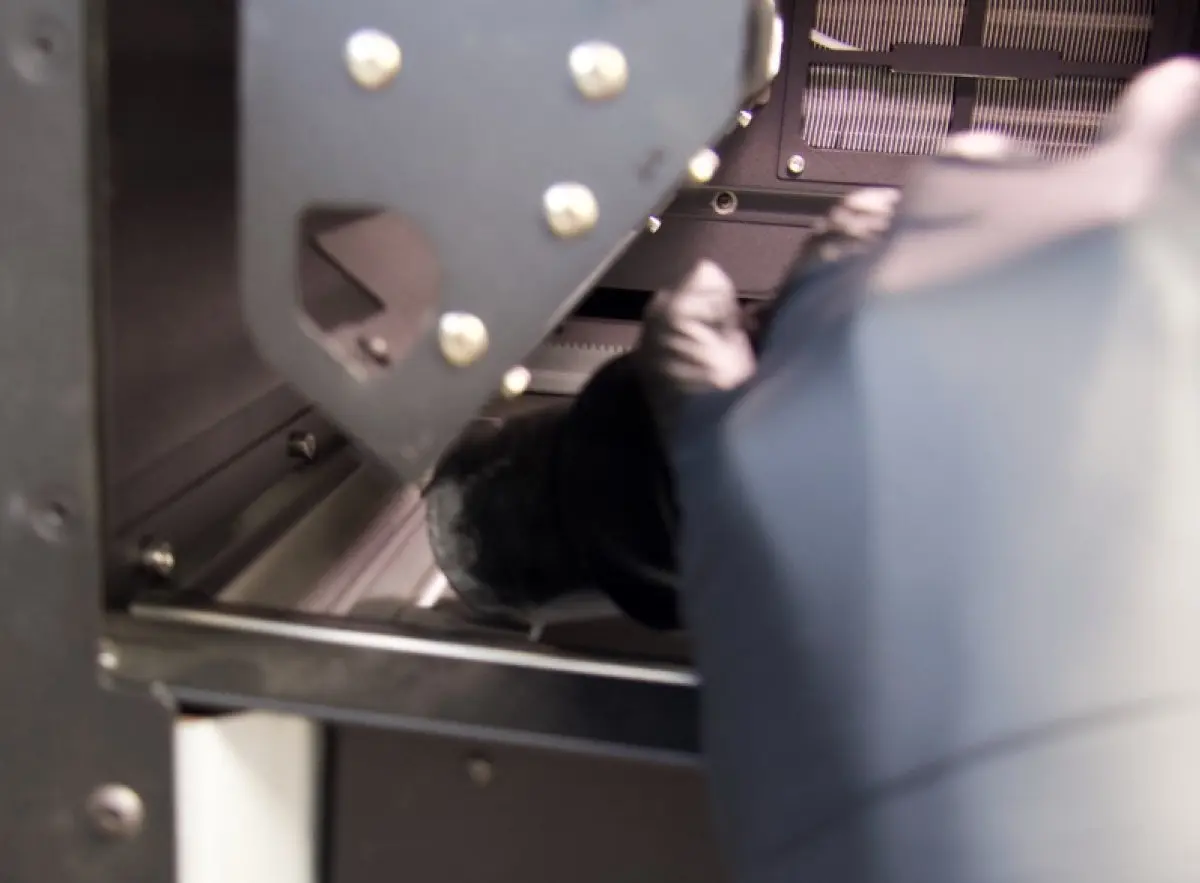
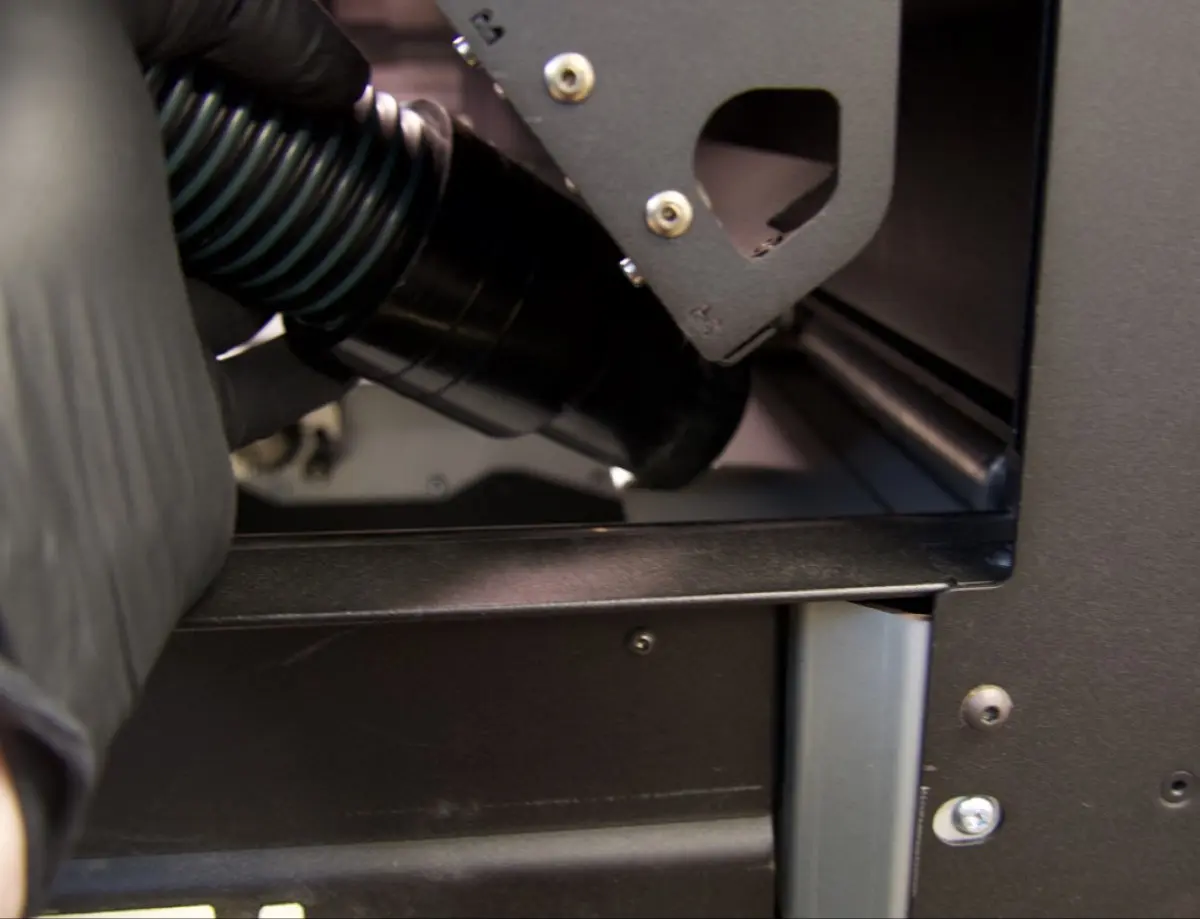
Close the print enclosure door and move the flipper motors to dislodge powder for cleaning.
To move the flipper motors:
Caution:
Unless specifically advised, do not select any of the options in the Motor Moves menu while the print enclosure door is open or any objects are in the path of the powder handling mechanisms at the top of the print enclosure. Moving parts present a crushing or tangling hazard. If necessary, tap the Stop button on the touchscreen to stop a motor movement.
Cleaning the recoater
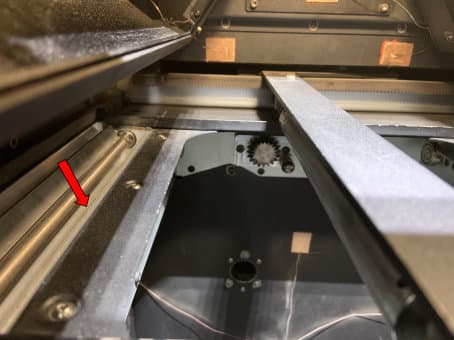
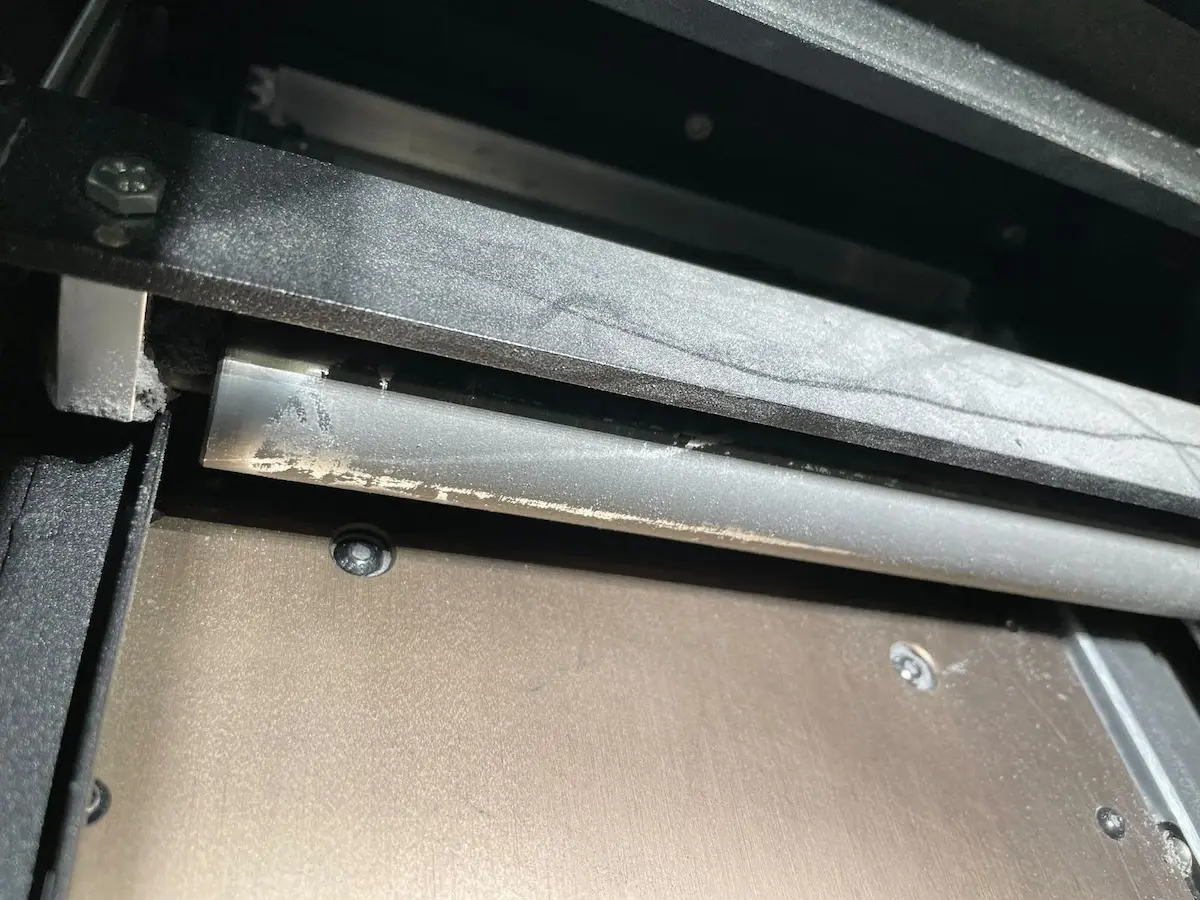
Move and inspect the recoater. If it appears coated with semi-sintered powder, clean the recoater before running another print.
To clean the recoater:
Changing materials
The Fuse 1 generation printer, Fuse Sift, and related accessories are designed to be used with only one powder type at a time. Make sure to clean each device thoroughly, following Formlabs instructions, before switching powder types. Mixing powders can lead to print failures or permanent damage to the machine.
If you plan to regularly print in multiple different materials, Formlabs recommends dedicating a separate Fuse 1 generation printer and Fuse Sift for each material type.
Consult the following support articles for additional information: