WHITE PAPER
Formlabs Logo

Adding labels to models in PreForm

Adding labels to models in PreForm

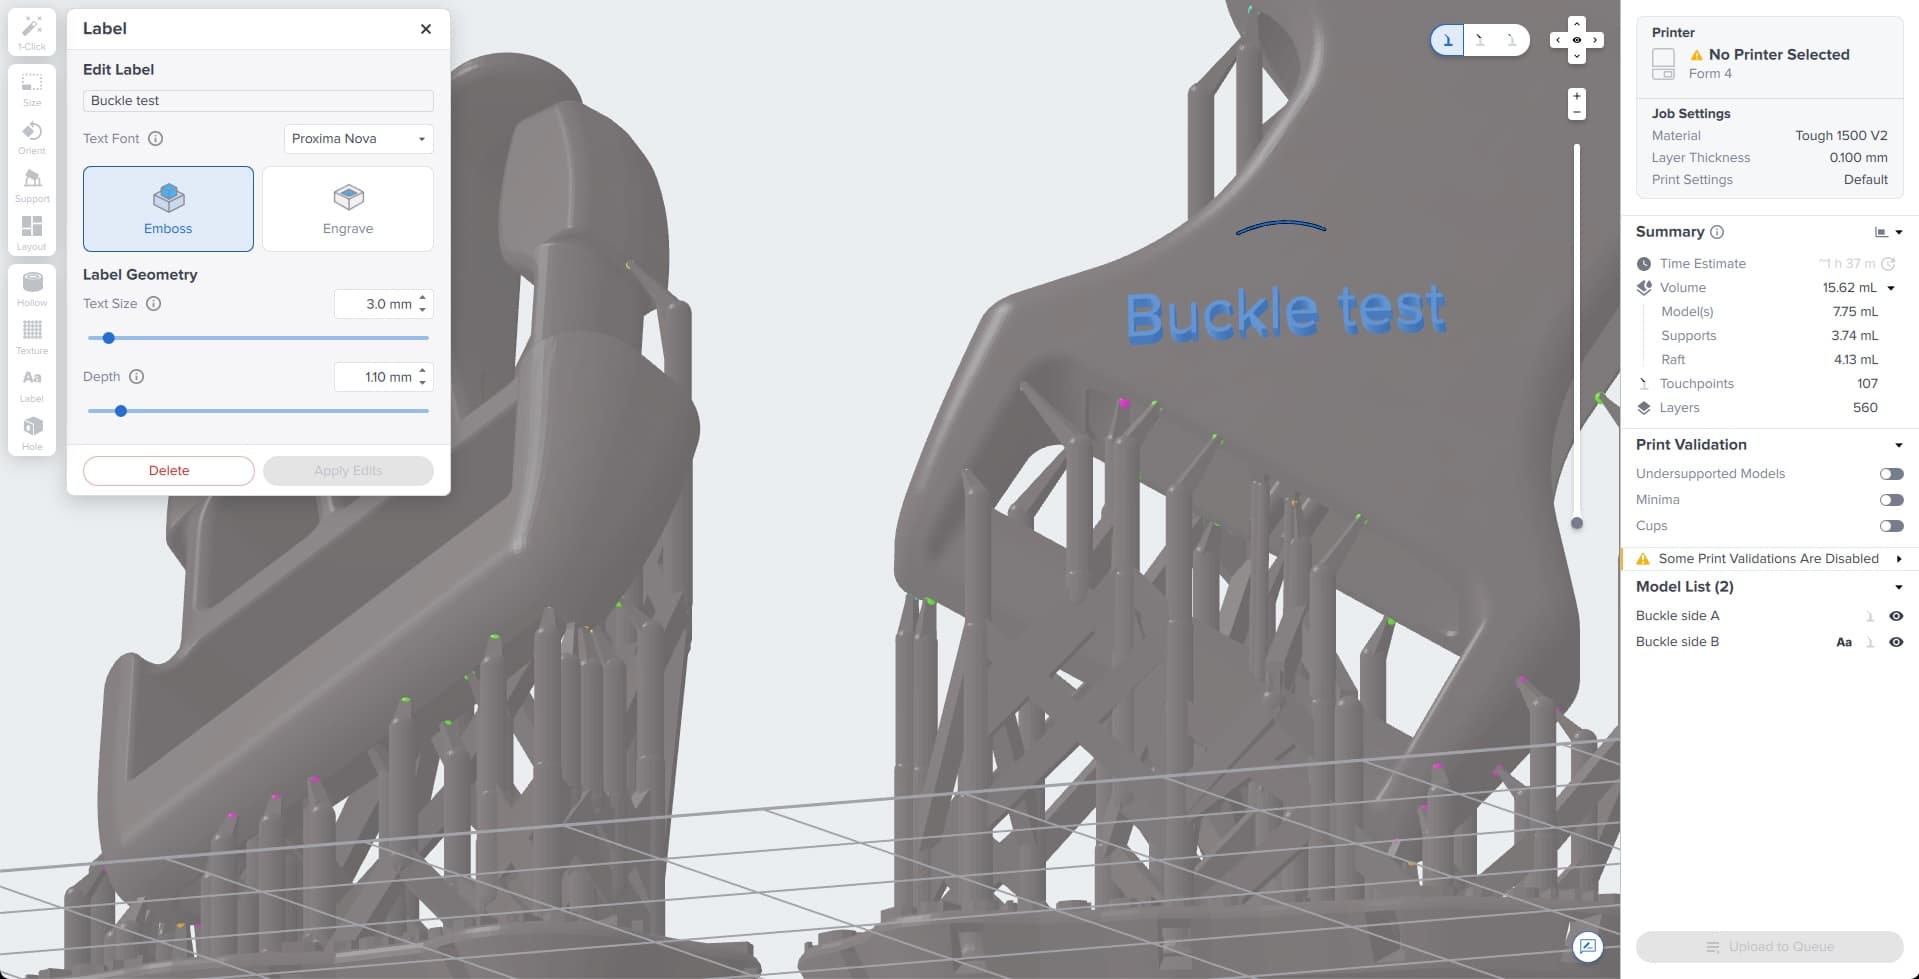
Starting with PreForm version 3.41.0 and later, add labels to your models in PreForm to help identify them during post-processing. This tool is especially helpful for distinguishing between duplicate models and adding last-minute identifiers without requiring additional 3D software.

Label panel in PreForm

To add a label to a model in PreForm:

  1. Click the label icon on the right side of the 3D scene. The Label panel opens.
  2. Under Edit Label, enter the name of the label you wish to assign to your model. If you do not enter a name, it defaults to the name of the model you hover your cursor over.
  3. Select a Text Font. The dropdown contains a list of the fonts installed on your computer.
  4. Select Emboss or Engrave. Embossed labels raise the label design above the model to create a textured effect. Engraved labels carve the label into the model for a recessed, indented look.
  5. Adjust Text Size and Depth as needed.
  6. Click the desired area to generate your model. The text of your label follows your cursor. The text turns red when it cannot be placed on a model.
  7. Click Apply Edits to generate your label or Delete to remove your label.

Tip:

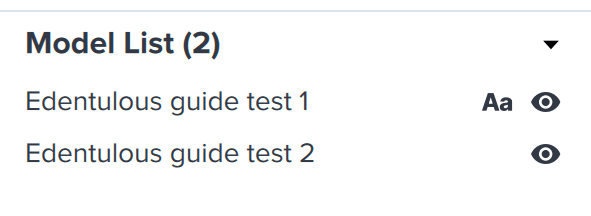
The icon next to the Model List indicates that a label has been added to the model. Click the label icon to see a list of the labels on each model.

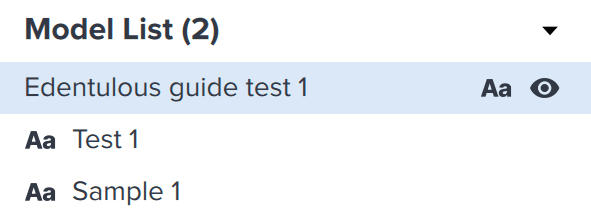
model-list

Note:

Some dental scan and CAD tools do not generate valid STL files. PreForm cannot add labels to invalid models. Ensure that your STL files are valid and watertight before importing into PreForm.

text

Editing labels

Labels can be renamed or deleted by selecting them from the Model List.

To edit or remove a label:

  1. Click the label icon next to your model’s name. A list of the labels on the model appears. The Label panel appears on the right side of the 3D scene.
  2. Select the label you wish to edit or remove. The Label panel updates to reflect your selection.
  3. To delete the label:
    1. Click the Delete button on the Label panel. The label disappears. Click Apply Edits to save changes.
  4. To rename the label:
    1. Type the desired name in the text box below Edit Label. The text on the model updates.
    2. Click the text to update the model. The text changes color from blue to purple when updated.
    3. Click Apply Edits to save changes.