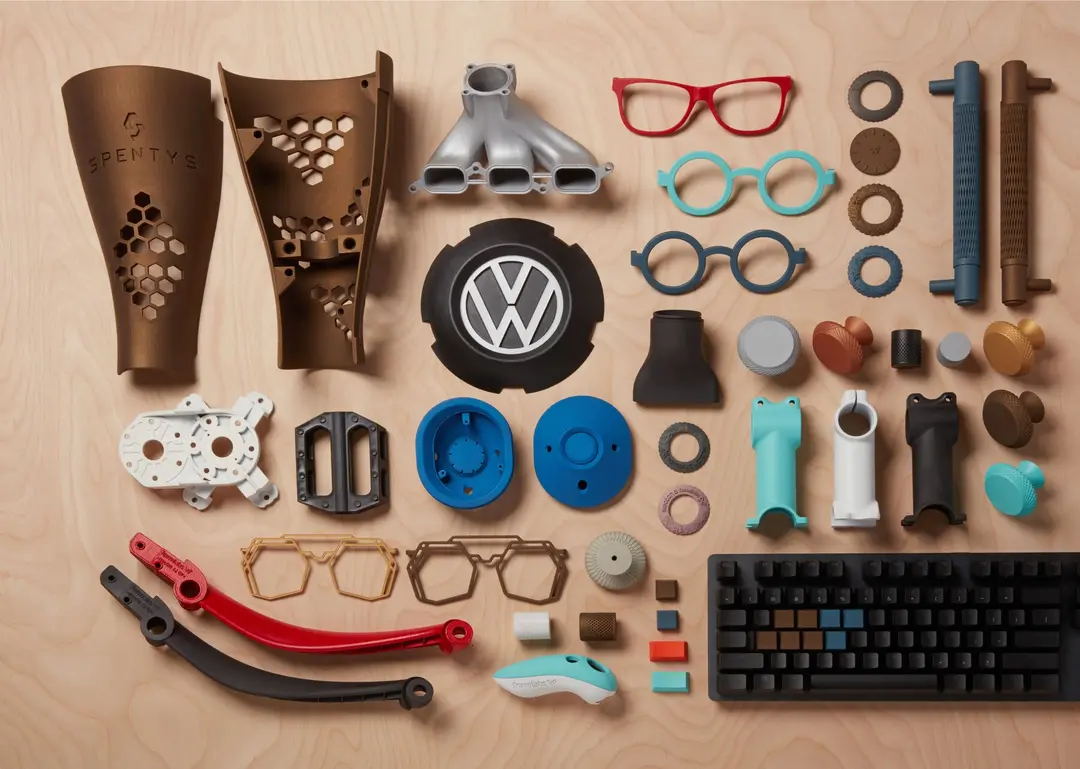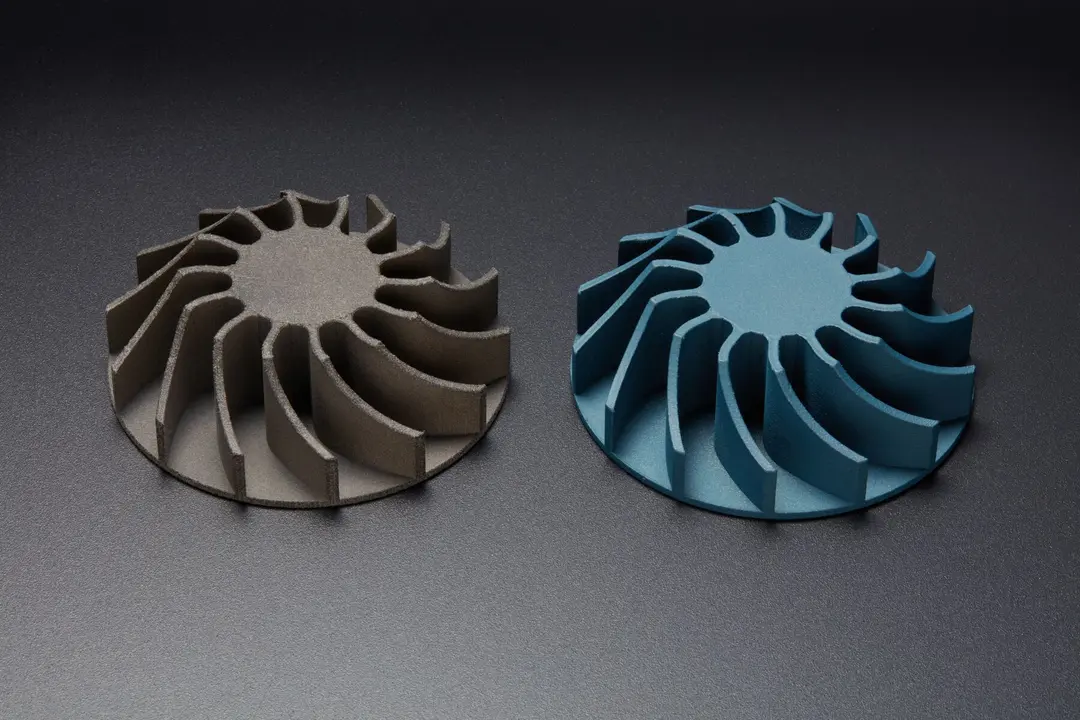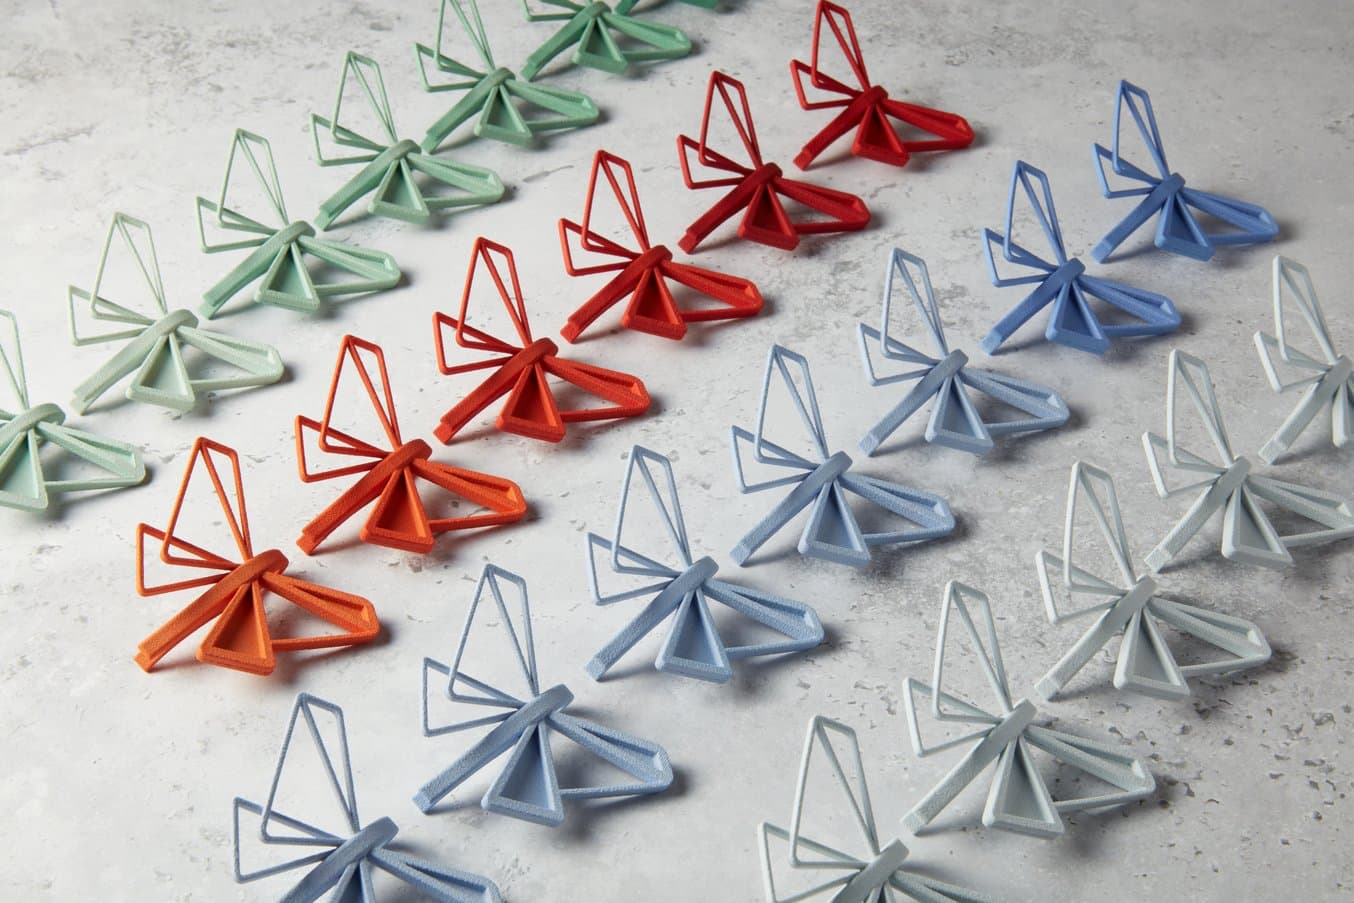
Selective laser sintering (SLS) 3D printed parts are increasingly relied upon in industries as diverse as aerospace and eyewear design for their superior mechanical properties and cost-efficient production methods. To further improve their aesthetic and mechanical properties, SLS 3D printing users often employ post-processing techniques like dyeing, coating, plating, or painting.
Dyeing parts 3D printed in Nylon 12 White Powder on Fuse Series SLS 3D printers unlocks a huge range of opportunities for customers to build compelling prototypes and create production-ready parts in an array of colors.
In this guide, we’ll outline the process for dyeing SLS 3D printed parts and review the many benefits this process provides. To learn the full dyeing workflow, download our white paper.
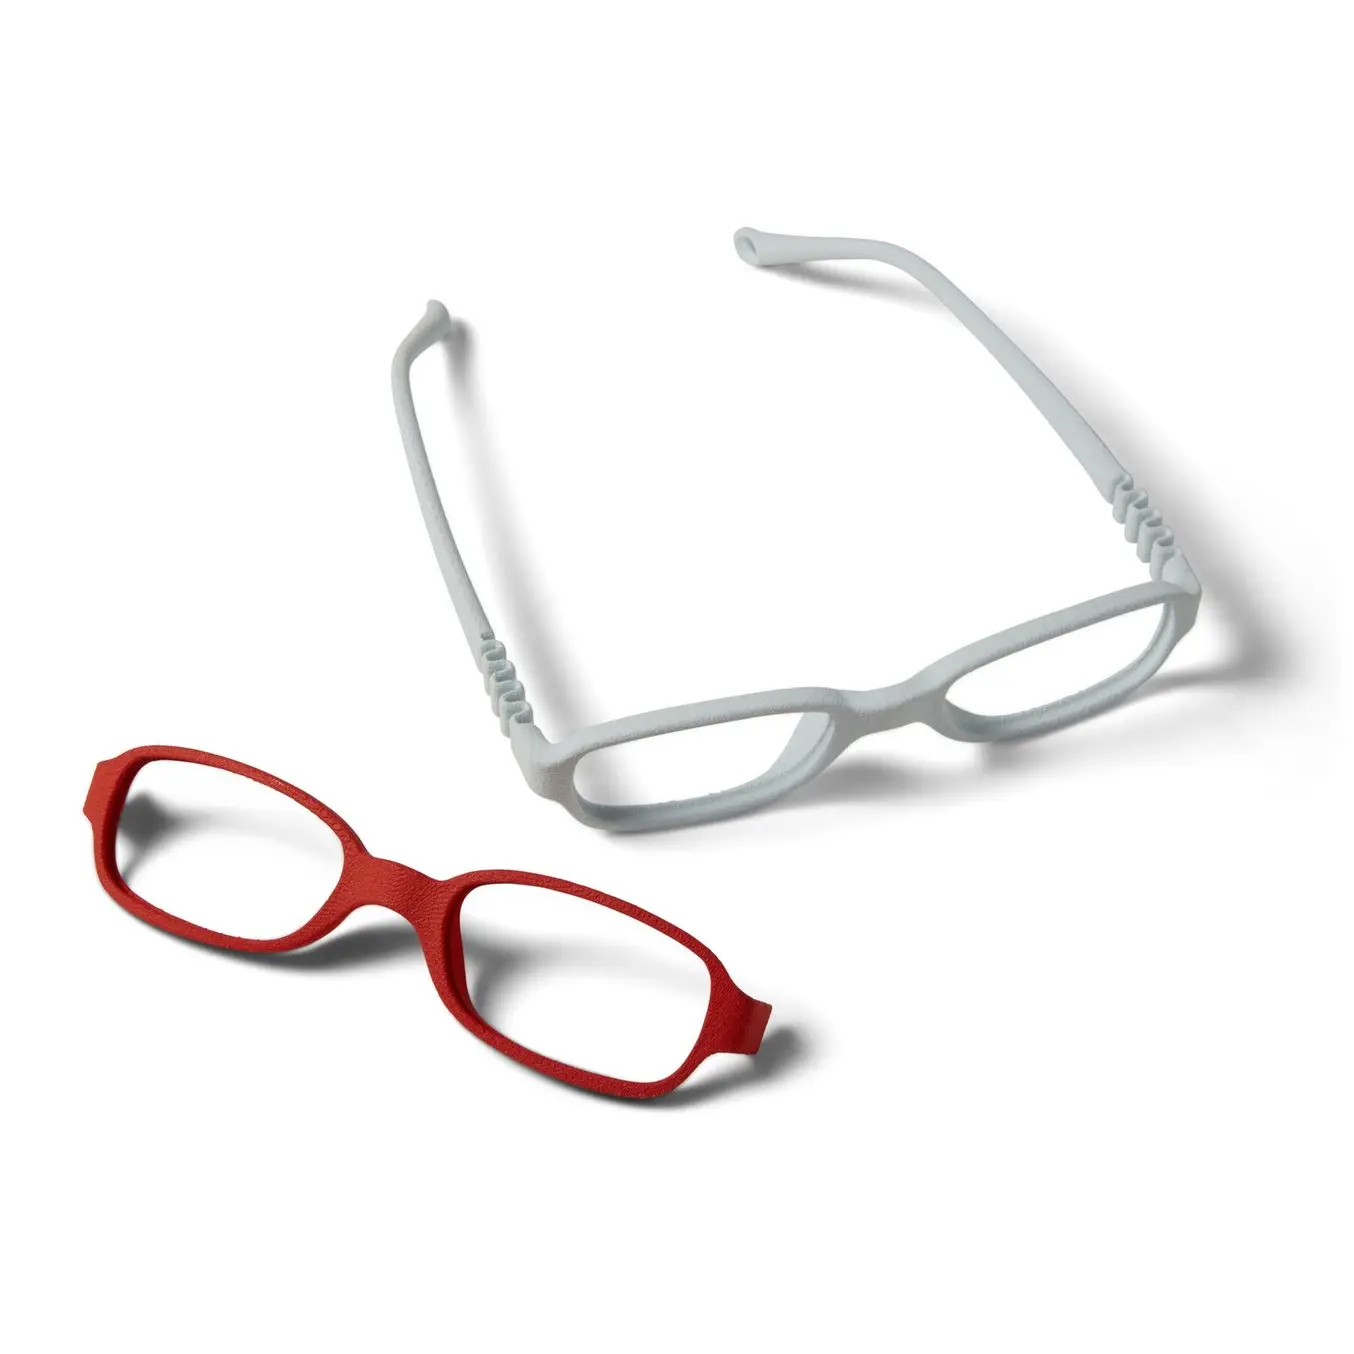
Dyeing SLS 3D Printed Parts: Benefits and Workflow
In this white paper, we will review the considerations, advantages and disadvantages, and available methods for dyeing SLS parts. We will also provide a step-by-step workflow, including preparation techniques and post-dye finishing options.
Why Should You Dye SLS 3D Printed Parts?
SLS 3D printed parts are becoming more common in every phase of the design to manufacturing process. Due to the slightly grainy surface of SLS 3D printed parts, post-processing solutions such as smoothing, coating, and dyeing are growing in popularity as well.
Dyeing is a low-cost method to color SLS parts that enhances their aesthetics while maintaining mechanical properties. Whether one is looking to do a small batch of colored parts or Pantone-match high-throughput production, dyeing methods exist to fit every workflow.
Our team tested four popular dyeing methods and reported on the results. This guide will provide an overview, but to see the full results, download our white paper.
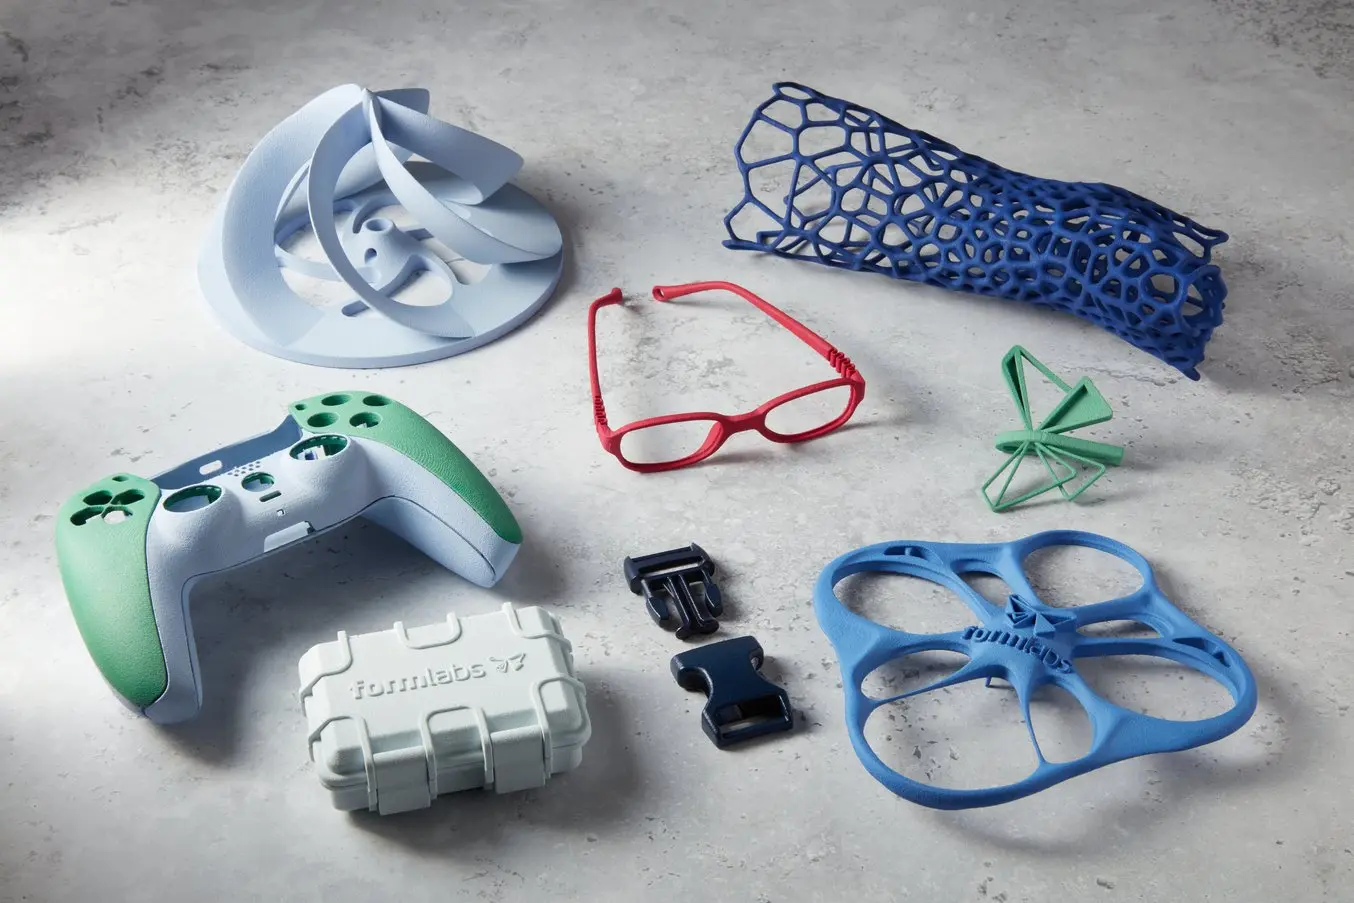
Dyeing is ideal for both functional prototyping and end-use production of parts with custom colors to match brand aesthetics.
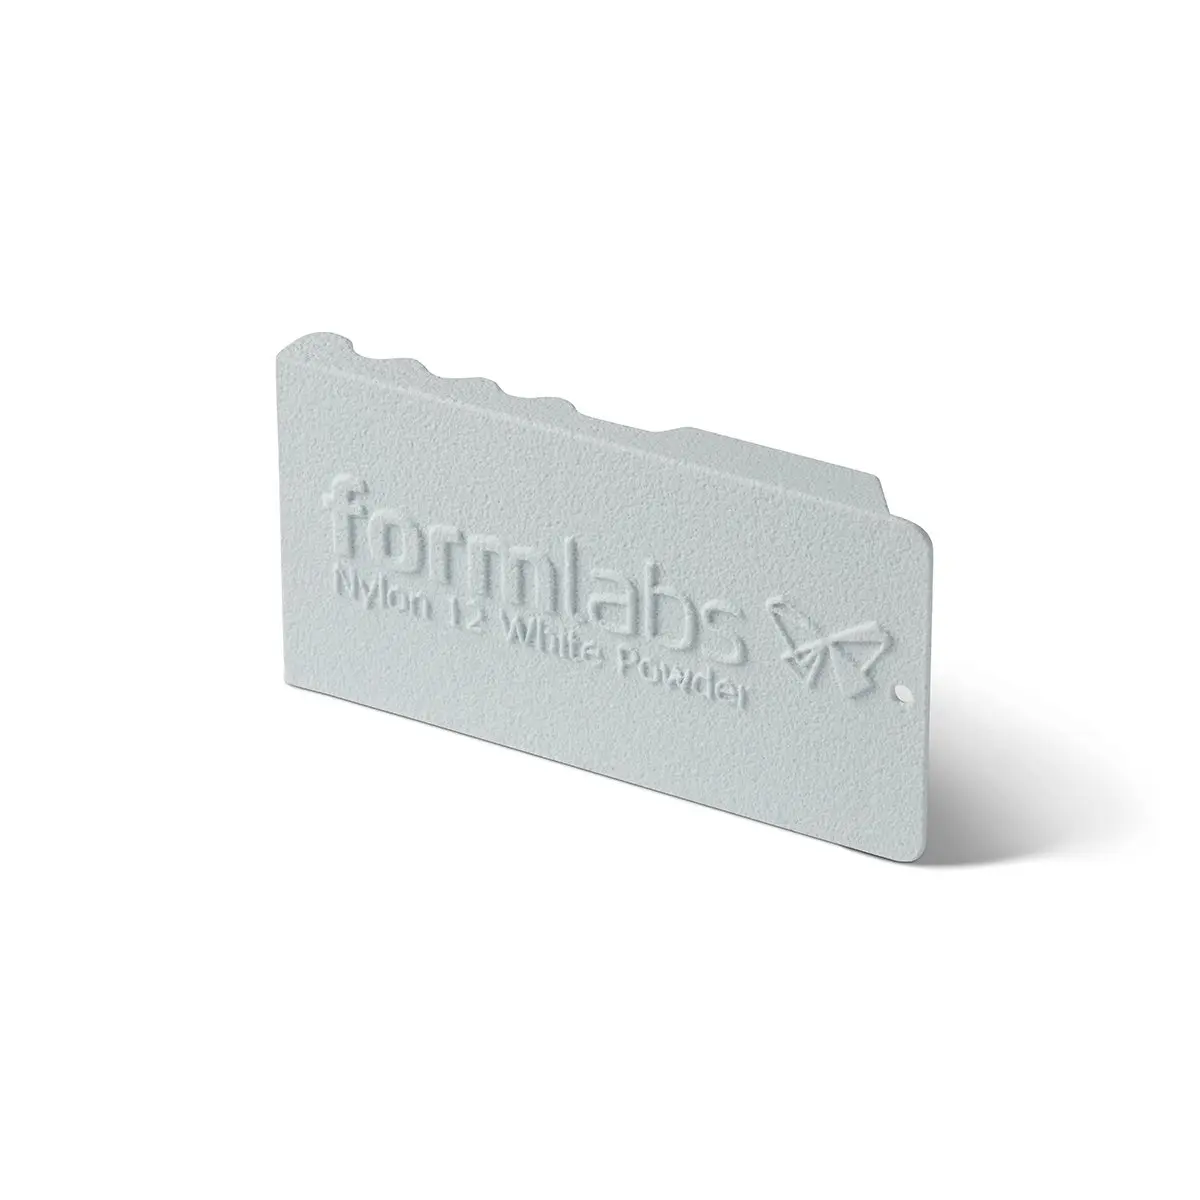
Request a Free SLS Sample Part
See and feel Formlabs quality firsthand. We’ll ship a free Nylon 12 White Powder sample part printed on the Fuse 1+ 30W to your office.
Dyeing SLS Nylon Parts: Ken Pillonel's Experiment
Ken Pillonel, engineer and founder of the popular YouTube channel Exploring the Simulation, has created a "one-man plastics factory," with the Fuse Series SLS ecosystem. After expanding his capabilities and adding a second Fuse 1+ 30W printer, Fuse Sift, and Fuse Blast, Pillonel has been able to manufacture his end-use Airpods charging cases in dyed Nylon 12 White Powder. For an in-depth discussion of SLS 3D printing for end-use parts, setting up a nitrogen workflow, and figuring out how to acheive a precise, repeatable, and high-quality dyeing workflow, watch Pillonel's video below.
Considerations for Dyeing
Before dyeing your parts, first consider these major factors:
- Price range/budget
- Part size
- Shape
- Quantity
- Color
- Environment of use
Each dyeing method presents advantages and disadvantages, so it’s important to align your needs with the right solution. The four major methods are pot dyeing, ultrasonic dyeing, pressure dyeing, and automated dyeing using a machine such as the DyeMansion DM60. Review the chart below to see which method is best suited to your workflow and budget.
| Method | Size | Quantity | Color | UV Stable | Cost |
|---|---|---|---|---|---|
| Pot Dyeing | ★★ | ★★ | ★★ | No | Under $50 |
| Ultrasonic Dye | ★★★ | ★★★ | ★★★ | No | $100 to $1000 |
| Pressure Dye | ★★ | ★★ | ★★★★ | No | $100 to $500 |
| DyeMansion DM60 | ★★★★★ | ★★★★★ | ★★★★★ | Yes | $50,000+ |
How to Dye SLS 3D Printed Parts
Pot dyeing is the most accessible method because it requires only a high-temperature-safe pot and the dye solution, but it provides less consistent results than all other methods, is the most labor-intensive, and sometimes results in damaged parts from heat and stirring.
Ultrasonic dyeing provides an improvement over pot dyeing in terms of consistency and maintaining part integrity. This method is less labor intensive than pot dyeing, as the user only needs to set a desired temperature on an ultrasonic cleaner, add the parts, and set a timer. Using ultrasonic vibrations to agitate the solution reduces any chance of part damage during dyeing and provides consistent results.
Pressure dyeing is conducted using a pressure cooker, similar to culinary appliances like the Instant Pot. This method can reach higher temperatures than pot or ultrasonic dyeing. After parts are added to a solution within the pressure cooker, it is sealed and can reach up to 120 ℃. The combination of heat and pressure is conducive to intense color saturating the parts, but a drawback is that the high temperature can also potentially damage the parts — 120 ℃ is above the Vicat softening point of Formlabs TPU 90A Powder.
Industrial systems like the DyeMansion DM60 are cost-effective for high volumes of parts and when extremely consistent results are necessary. These larger format solutions take much of the manual labor out of the dyeing process and include programmed settings for different types of parts and colors. With a more ‘set it and forget it’ type of system like the DM60, SLS 3D printing customers can spend more time on higher priority tasks, like part design and print optimization.
Dyeing 3D Printed SLS Parts
Users of SLS 3D printers such as the Fuse 1+ 30W, will often post-process their parts with methods such as coating, electroplating, and sanding. In this webinar, we will learn more about dyeing as a post-processing method for SLS nylon parts.
Color and Material Combinations
Color Dyeing White Parts
Dyeing Nylon 12 White Powder is the best option to attain the widest range of colors. Nylon 12 White Powder should be used to dye all light colors, including pastels, and vibrant colors.
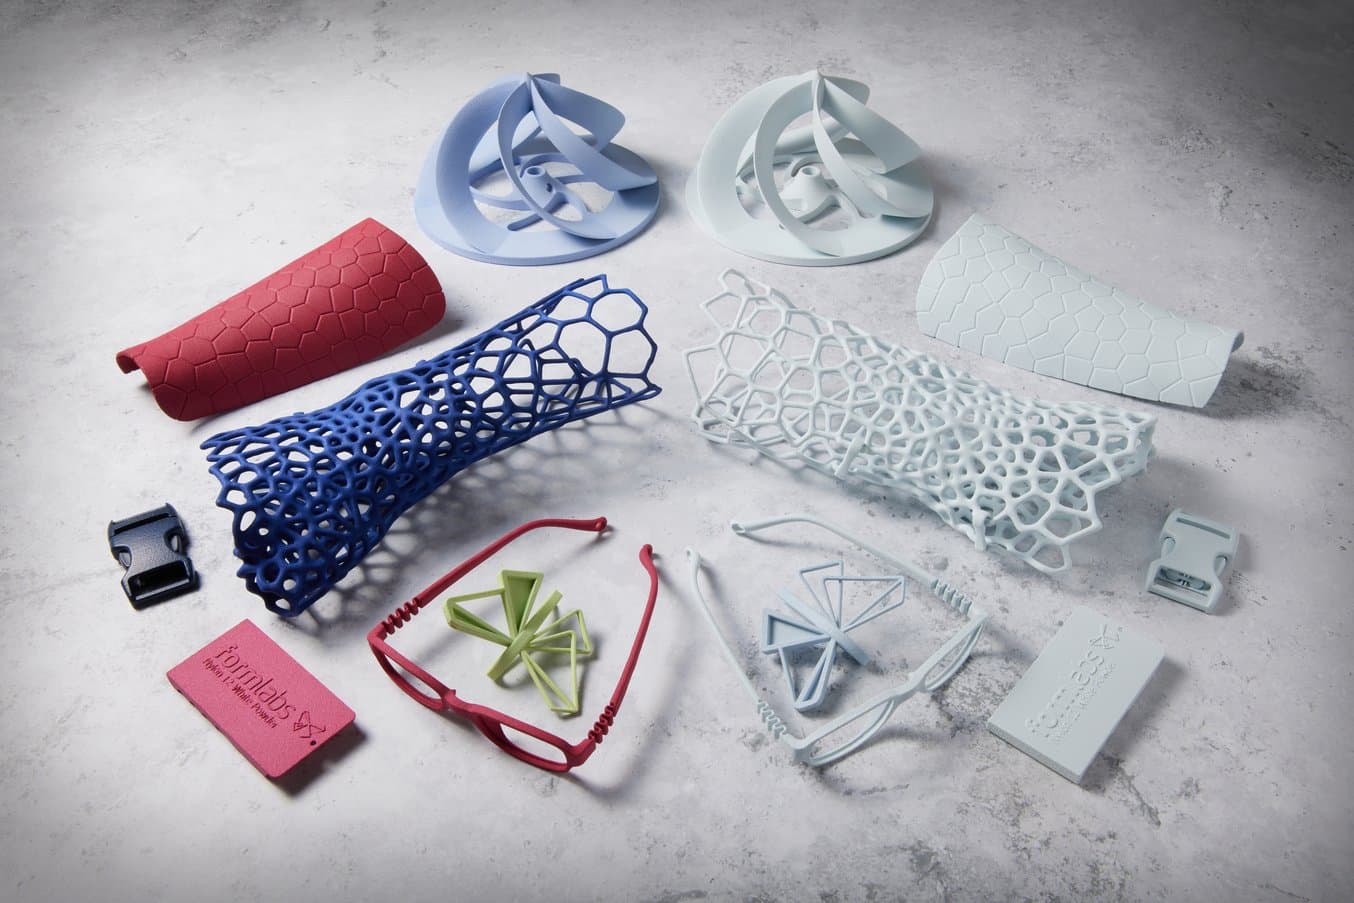
Parts 3D printed in Nylon 12 White Powder that were dyed in an ultrasonic dye station.
Color Dyeing Grey Parts
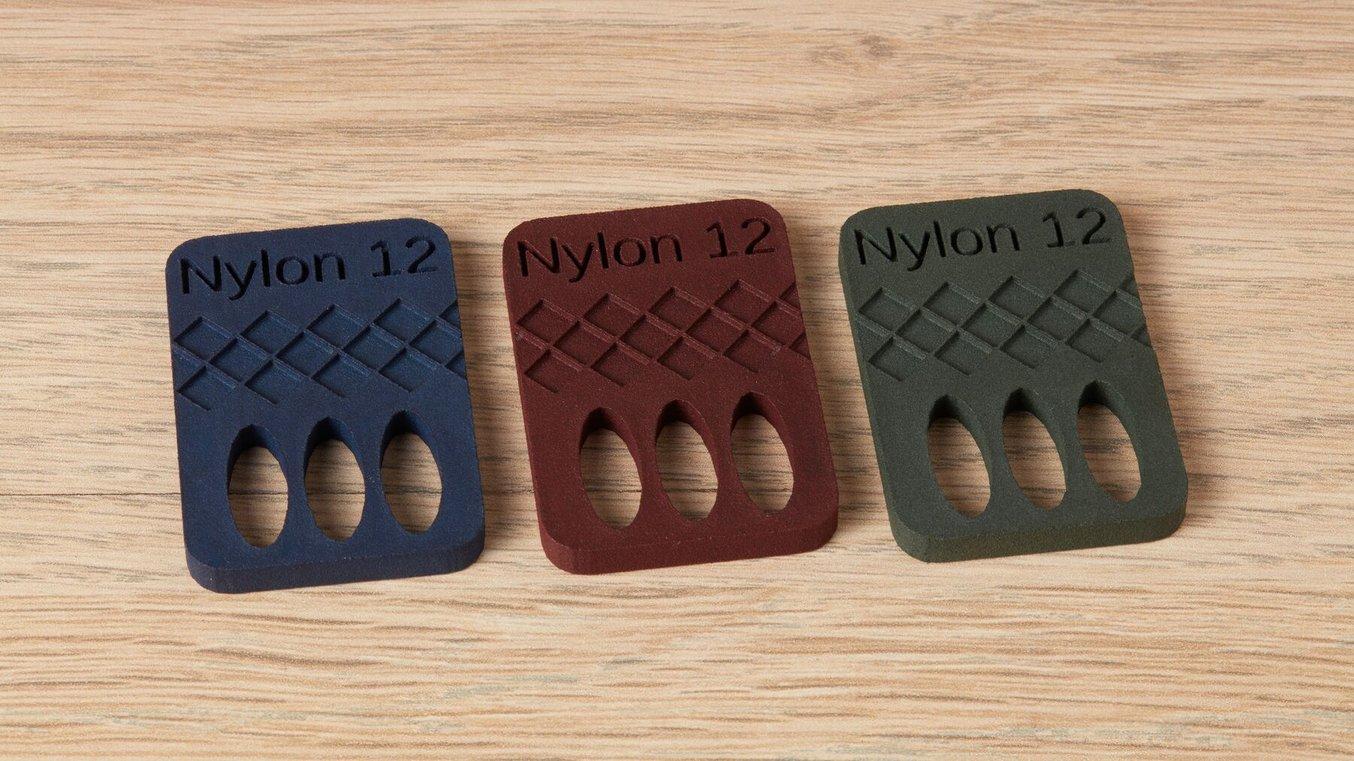
The process described in our white paper has been used to successfully dye Nylon 12 Powder parts. However, because parts printed with Nylon 12 Powder are a dark grey color, only darker shades of color are possible, and these are often more muted in their vibrancy.
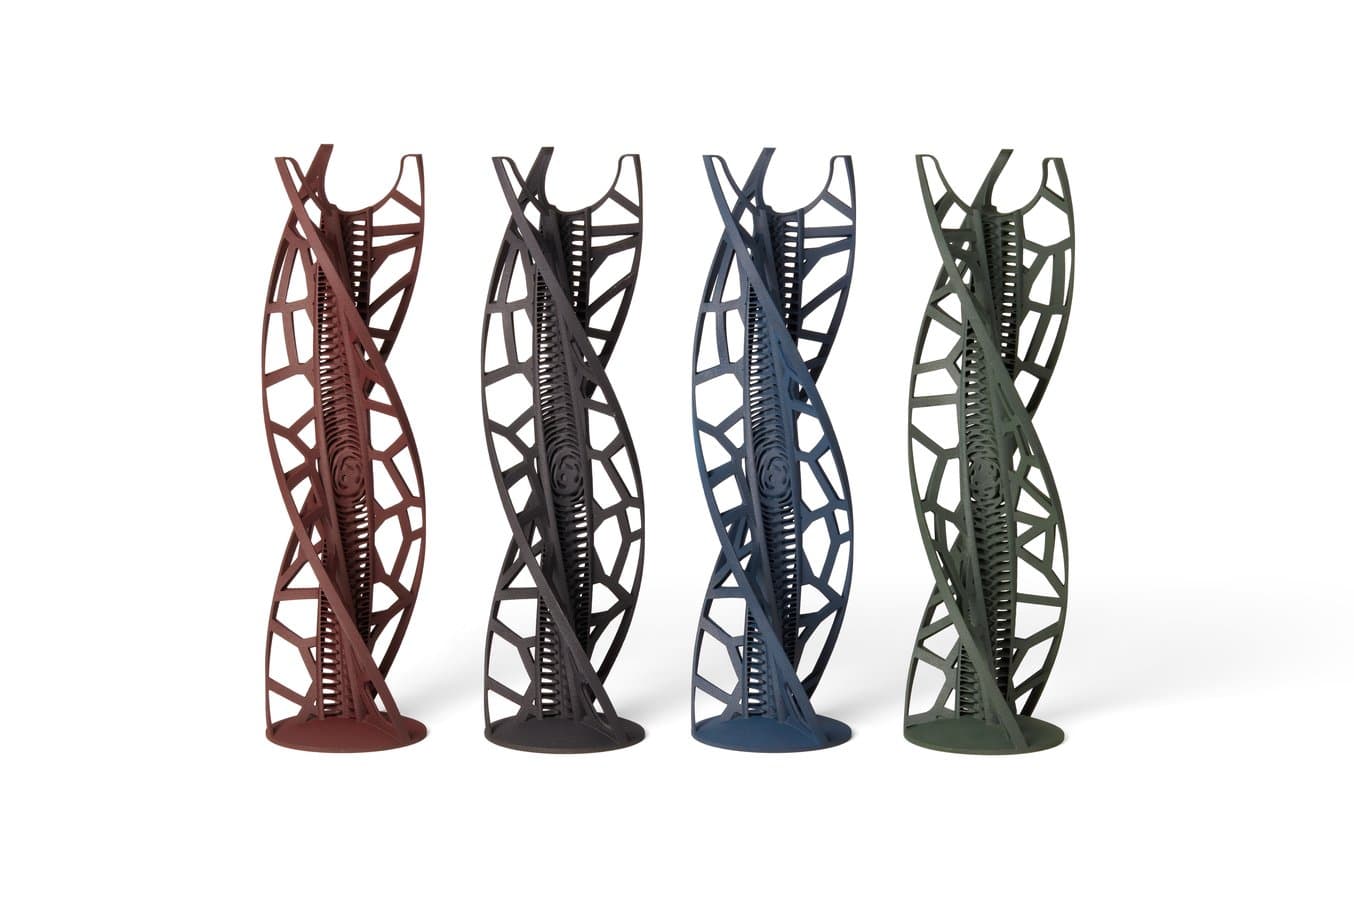
Dark grey Nylon 12 Powder parts dyed to darker shades of color.
Dyeing Parts Black
If black is the desired final color, we recommend using Formlabs’ standard Nylon 12 Powder with Rit ProLine Black. This material has a darker substrate, making the transition to black more consistent.
Dyeing Nylon 12 White Powder parts to black, while doable, is not recommended. The lighter substrate makes darker colors more challenging compared to dyeing the initial dark state of Nylon 12 Powder.
Getting Started With Dyeing SLS 3D Printed Parts
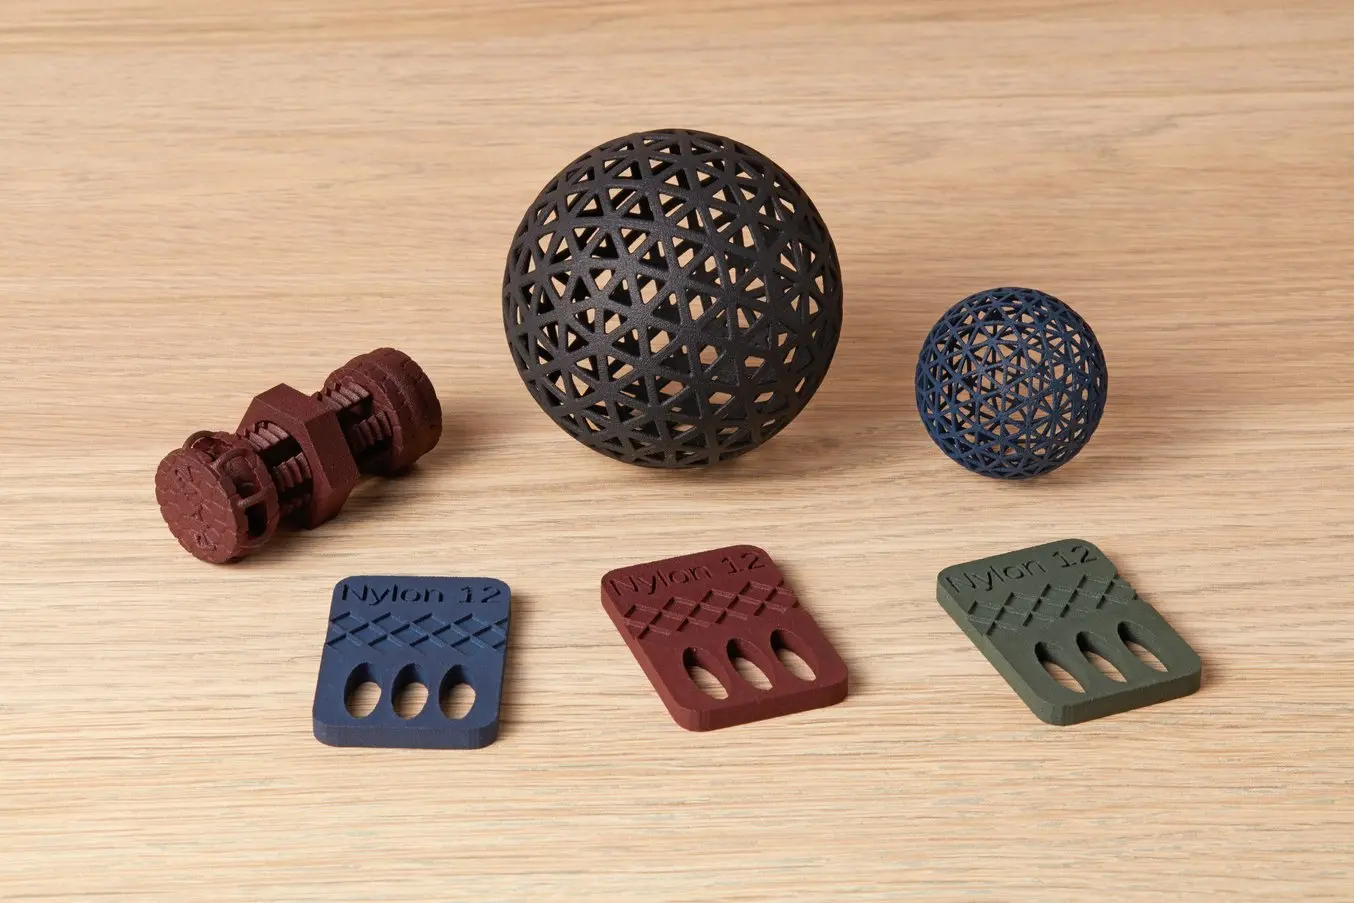
With affordable workflows such as ultrasonic dyeing available, dyeing SLS parts is an easy and accessible way to elevate your parts' aesthetics.
Dyeing Nylon 12 White Powder and Nylon 12 Powder parts using readily accessible hardware and dye consumables is a cost-effective and efficient method for imparting color onto finished parts, regardless of the desired shade. This process offers a viable alternative to traditional coatings, requiring minimal labor and effectively coloring complex geometries.
If you are exploring an application that requires color SLS 3D printed nylon parts, contact a representative to learn more about the Fuse Ecosystem and dyeing nylon parts.
To learn more about SLS 3D printing or dyeing SLS 3D printed parts, contact our team. To see the full testing results and the step-by-step workflow, download the white paper.
