The Google Advanced Technology and Projects (ATAP) lab is uniquely set up to be a one-stop-shop for bringing hardware projects to life. The lab offers a vision into the future of both products and production, but uses problem-solving approaches that any company can learn from today, from an iterative mindset at every stage of development, to a technology toolset that enables agile, creative solutions.
In one case, the team’s approach led to a process innovation that allowed them to circumvent a complex supply chain for the pre-production validation stage of an overmolded wearable device. Using Formlabs High Temp Resin, a 3D printing material with high thermal stability, they bridged the gap between prototyping and production, reducing turnaround time for a crucial component by 85% while saving over $100,000.
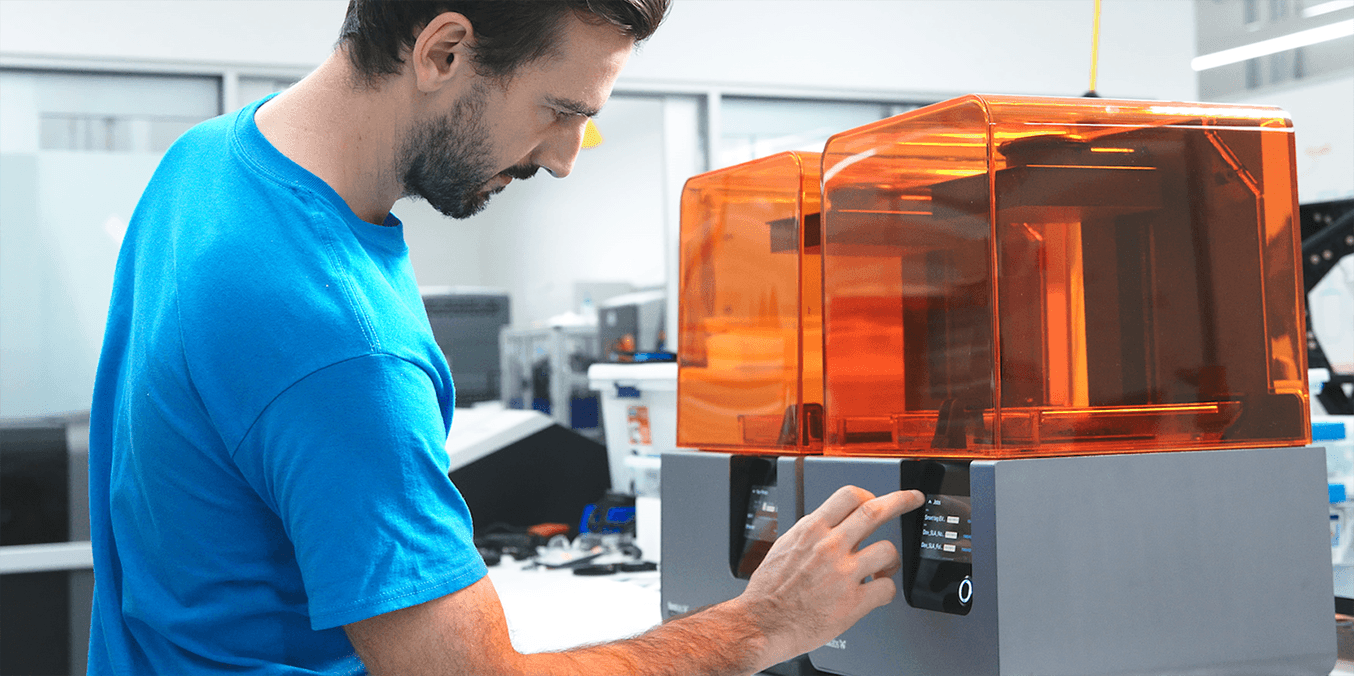
Watch the video to see how Google ATAP used additive manufacturing to bridge the gap between prototyping and production, using Formlabs 3D printers and High Temp Resin to solve a pre-production challenge for a complex overmolded wearable.
“We're not only investigating what products will look like in the future, but also what production looks like. Additive manufacturing really is a big part of that and ties in very directly with a lot of the projects that we work on,” said Bryan Allen, design technologist at Google ATAP who specializes in 3D printing and advanced fabrication technologies.
“I'm really excited when we can identify something new that's going on in 3D printing, a new material, a new process, and then apply it to a project pipeline in new ways that allow something to be realized more efficiently, faster, better, or more aesthetically pleasing.”
Inside the Case Study: A Pre-Production Challenge
The team was stuck. They were in the pre-production manufacturing phase dialing in the overmolding process for a wearable device, and needed faster results. The process was novel, the supply chain was complex, and they had to get past this in order to ship.
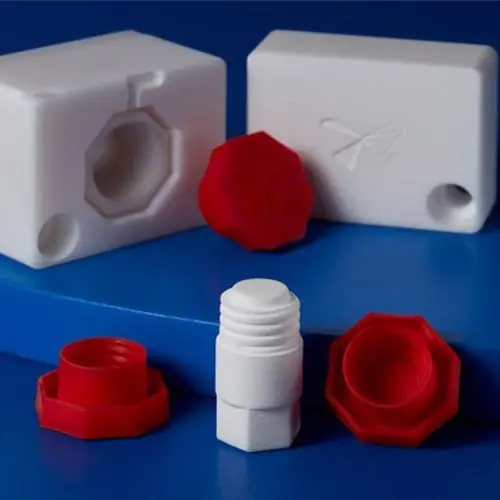
“What we had was electronics that were overmolded, then overmolded again, and that gave us this flexible, waterproof object that we could use in the wearable space,” said David Beardsley, model shop manager for the Google ATAP lab.
Overmolding is a common manufacturing process. For an overmolded part without electronics, a factory might shoot thousands of first articles at a cost of pennies per part or assembly. The ATAP team, however, was doing a second overmold over an overmolded electronic sub-assembly—a printed circuit board assembly (PCBA) with complex electronics that was sourced from another factory—so the first articles were expensive, and reliant on how quickly the first factory could produce and deliver the PCBAs.
Overmolding is an injection molding process that typically requires initial tool tuning at the factory for new parts, which are known as the first articles. These first articles might be underfilled, overfilled, or have cosmetic issues as the molding parameters are calibrated. While troubleshooting, manufacturing engineers ensure that the shutoffs are correct, the pressures are right, and all molding parameters are set correctly.
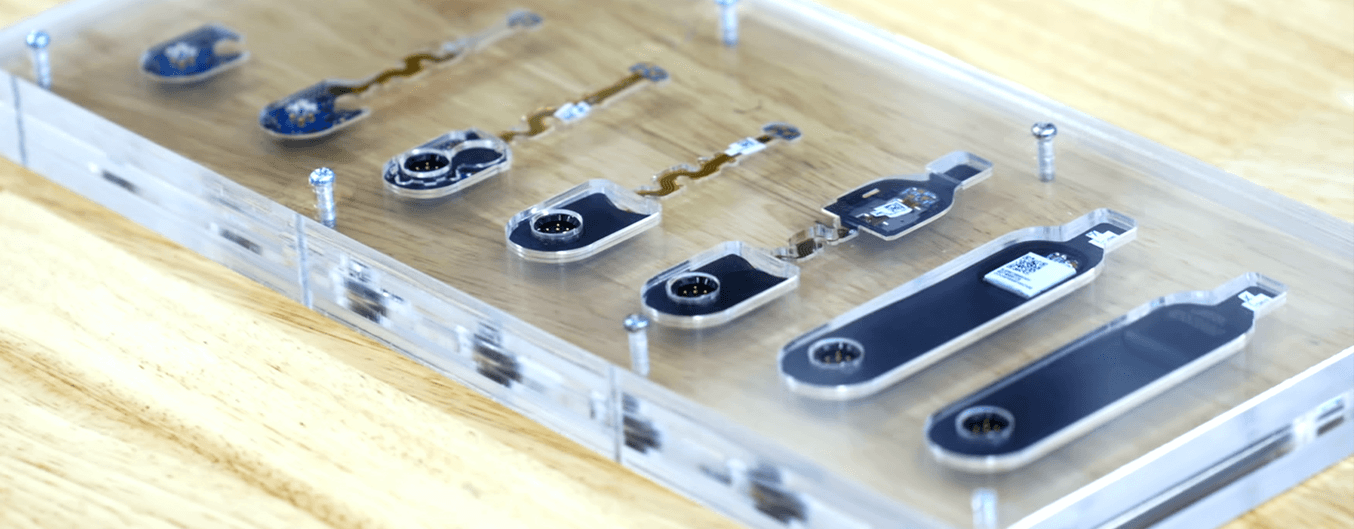
The wearable device starts as a PCB populated with components. That PCB is encapsulated in a low pressure molding system that turns it into a block of plastic. This PCB and a flexible cable forms the electronic sub-assembly that then gets overmolded in a thermoplastic urethane (TPU) and silicone rubber hybrid. The PCBA then undergoes the final overmolding step.
The team understood going into pre-production that the cost of first articles would be much higher than for a typical injection molded part. What they had not anticipated was the supply chain bottleneck; it took three weeks to source the overmolded electronic sub-assemblies they needed to run these tests. Beardsley needed to shorten that to ramp up production and ship product.
“You might shoot hundreds and hundreds, thousands of shots, to dial this in. The problem is when you're doing that with live electronics that have real boards that have been stuffed with real electronics and then sent off to the overmolder and then brought back, you've got this whole supply chain,” Beardsley said.
“The light went off when I was watching dollars and weeks just going in the garbage as we were trying to figure out how to dial in the tool. How do we prove this will work before we actually have to put live electronics in there?”
They needed to find a process and material that could stand in for the PCBA. The replacement had to be both dimensionally accurate and represent the exact geometry of the real sub-assembly so that fill could be characterized, and robust enough that the tool could shut off to the part without breaking or deflecting, leading to excessive flash.
“We knew we had to use a material that would withstand thousands of pounds of pressure, north of 250 °C,” Beardsley said. “We were looking for high temperature resistance, high rigidity.”
Beardsley reached out to Allen for help, and they came up with a plan.
“We knew we had to use a material that would withstand thousands of pounds of pressure, north of 250 °C. We were looking for high temperature resistance, high rigidity.”
David Beardsley
Low-Volume Rapid Injection Molding With 3D Printed Molds
Download our white paper for guidelines for using 3D printed molds in the injection molding process to lower costs and lead time and see real-life case studies with Braskem, Holimaker, and Novus Applications.
The Solution: 3D Printing Surrogate Parts With High Temp Resin
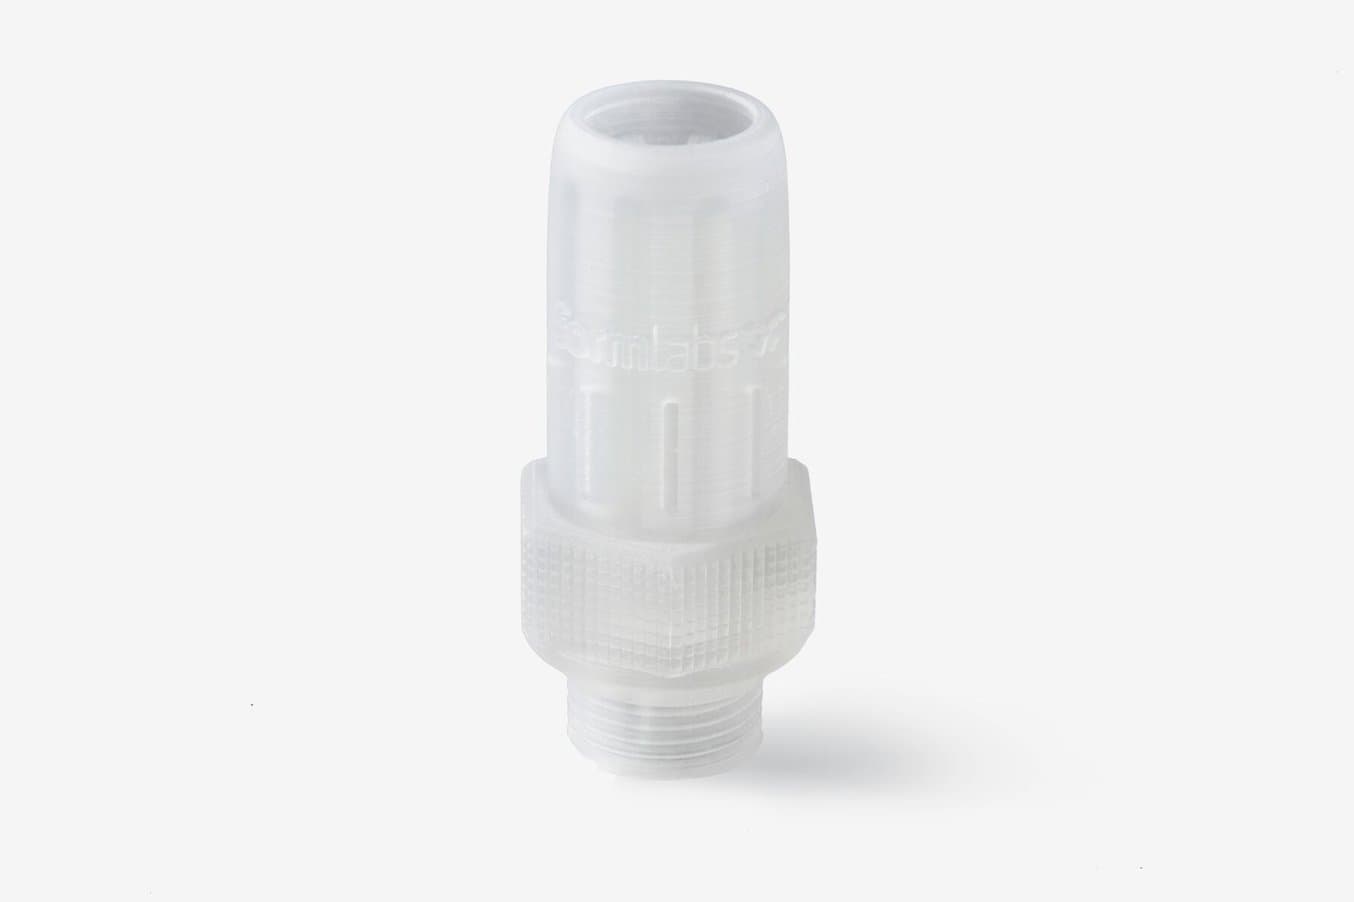
The parameters were tight. Allen decided to try 3D printing the stand-ins, or surrogate parts, in High Temp Resin on the Form 2 stereolithography (SLA) 3D printer. He knew he’d be pushing the boundaries of the material; the final parts would be injected at 270 °C at an injection pressure of 27,000 psi, on the higher end of the published heat deflection temperature (HDT) for High Temp Resin.
Request a Free Sample Part
See and feel Formlabs quality firsthand. We’ll ship a free sample part to your office.
“In order to get the small feature size and the shut-offs that we needed, we needed that resolution. It was really the combination of resolution and high temperature resistance that allowed us to use the Form 2 on this,” Allen said. “We have the ability to select from many other fabrication technologies, but having the option to make these parts is really an important piece of our lab.”
“We have the ability to select from many other fabrication technologies, but having the option to make these parts is really an important piece of our lab.”
Bryan Allen
The team quickly got to work, printing some parts to test overnight.
“We had no time to redo any CAD on this. I opened it, exported an STL, and threw it at the PreForm software. Once we got that first batch of validation, we just cranked it. We ran 200 parts the first cycle and then we ran another 100 more,” Allen said.
PreForm is Formlabs’ free print preparation software, which can be used to lay out parts on the build platform in batches. Once they ramped up, Allen printed 250 inserts in batches of 10, which each took about four hours, so the team was able to fabricate hundreds of parts over one weekend.
Allen placed supports on the High Temp parts so that support marks were only on the parts that shut off, not the molding surfaces. This ensured that the parts did not require any additional sanding or finishing beyond a standard wash and post-cure cycle before use.
The 3D printed parts worked perfectly as substitutes for the electronic sub-assemblies. The process reduced the lead time for the PCBA inserts from three weeks to three days, and the cost per insert dropped from $100 to $0.80.
“It allowed us to intercept the process further down the line and save a bunch of upfront steps. Three or four upfront steps were just erased by doing it this way. It saved a bunch of time,” Beardsley said.

David Beardsley shows how the team was able to ‘intercept the process,’ cutting out four production steps, and allowing them to focus on quickly dialing in the final overmolding stage. The 3D printed surrogate parts circumvented the complex supply chain and reduced lead time for insert parts from three weeks to three days.
“The fact that we were able to shut the tool off on 3D printed material, hit it with that high-pressure injection, and not even have it flash, that's a bit unique. Had we not had the Form 2, we would not have been able to pull this off.”
David Beardsley
Because the printed parts were incredibly affordable to produce, the team was able to provide more than the factory had estimated they would need, ensuring they could run shots uninterrupted until they saw satisfactory results.
“The fact that we were able to shut the tool off on 3D printed material, hit it with that high-pressure injection, and not even have it flash, that's a bit unique. Had we not had the Form 2, we would not have been able to pull this off,” Beardsley said.
“When we did move to a full product cycle, we were sure that it was going to work,” Allen said.
Quick look: What did Google ATAP achieve? Using Formlabs Form 2 SLA 3D printer and High Temp Resin, the team was able to:
-
3D print surrogate inserts using High Temp Resin that withstood overmolding with TPU injected at over 250 °C and 27,000 psi.
-
Save an estimated $100,000 in wasted electronic sub-assemblies—even more when accounting for labor costs.
-
Circumvent a complex supply chain to shorten the pre-production validation test cycle for the PCBA inserts from 3 weeks to 3 days.
“When we did move to a full product cycle, we were sure that it was going to work.”
Bryan Allen
3 Google ATAP Lessons for Applying 3D Printing in Production
While the production process for the wearable device in this case study was unique, the way the team approached the problem, used technology to solve it, and think about 3D printing can be valuable for companies of all size. Find inspiration in these three takeaways from our talk with Google ATAP design technologist Bryan Allen and model shop manager David Beardsley.
Approach every stage of development, from prototyping to shipping the product, with an iterative mindset.
“One of the really unique things about how we work is that we view the entire production process as a prototyping process, where we're running prototype cycles at every stage of production, rather than saying, ‘Okay, prototyping phase, supply chain phase, product launch phase.’ It's really applying a design process and iteration throughout the entire process rather than just at the beginning,” Allen said.
“By the prototyping that we're doing here on every little step of the way, that's when things come to light and that's when you're able to address them before they become bigger problems down the line,” Beardsley said.
Don’t keep technology siloed; consider each machine as part of your set of problem-solving tools that help you find the best solution for each challenge.
“We don't ever try to replace a whole process, we always try to dig down and say, ‘okay what is this machine actually good at it? What is the one thing that this machine does better than anything else, and how do we apply that?’ Not being so devoted to a single process or a single machine allows us to see the merits across many different materials and many different processes and apply them accordingly,” Allen said.
“We see 3D printing as just another tool in the toolset along with CNC and molding and all the more traditional manufacturing processes. It augments our ability to think about how we apply these new technologies in a production sense.”
The Form 2 3D printer is part of the toolset in Google ATAP’s lab that engineers and designers use to solve complex problems, and realize ambitious hardware projects.
Start by solving one problem.
“There's still so many boundaries to the way that parts are designed. For labs that are looking to start applying additive manufacturing into their processes, pick a specific problem that is just one part; rather than trying to print the full tool just try to print an insert; pick one piece and then learn from that,” Allen said.
Learn how a production engineer at Ashley Furniture went from one idea for applying 3D printing to 700 3D printed parts on the factory floor.
Learn More About the Form 2, Engineering Materials, and Applications
The Form 2 and High Temp Resin are part of the variety of tools in the Google ATAP lab that help engineers and designers solve complex problems and realize ambitious hardware projects.
“Any of the big companies that have large shops, they all think, ‘Oh, we've gotta have this really expensive machine.’ We have them here, and they're amazing. The truth is, the Form 2 dominates every day,” Beardsley said. “Accuracy, speed, the finish, the ability to take it right off and have a finished part. It's quite impressive.”
Explore the Form 2 and Formlabs collection of engineering resins for your own project, or request a free sample 3D printed part to see High Temp Resin and other materials firsthand.
Learn more techniques for applying 3D printing in prototyping and production in our Moldmaking With 3D Prints white paper.