
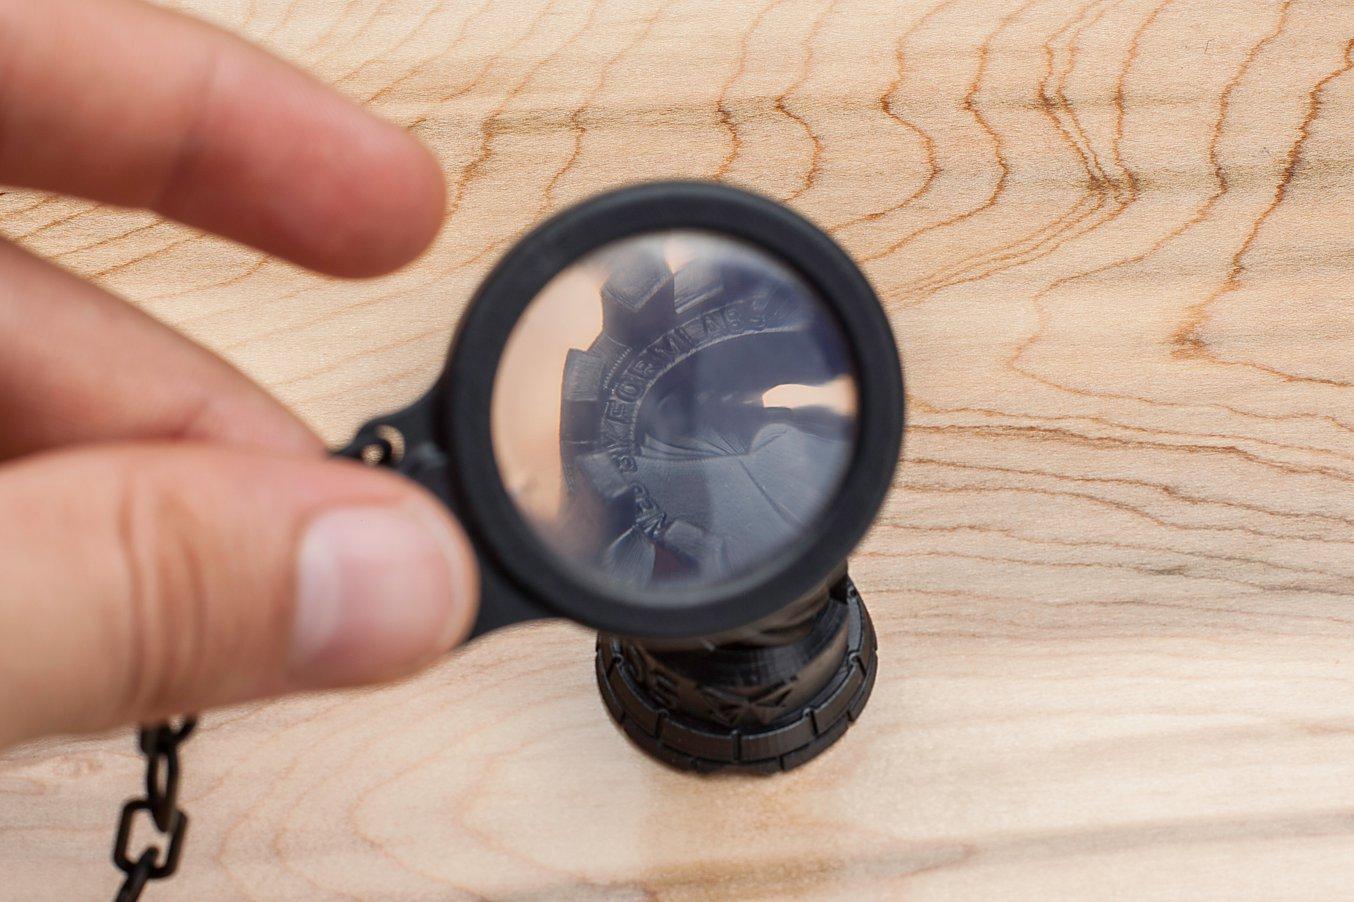
What better way to test the optical clarity of Clear Resin than making a magnifying monocle?
I designed the lens and the monocle frame, chain, and clip in Solidworks, CAD software that we use a lot at Formlabs, and then printed it on the Form 1+ SLA 3D printer. The lens needed to be thick enough to allow for the curvature for magnification, but carefully calibrated to not create distortion. The lens is 1.75mm at its thinnest and 4.32mm at its thickest.

This monocle is assembled from parts printed on a Formlabs Form 1+ 3D Printer in our Black and Clear resins.
Both parts were printed with a 50 micron layer thickness. In PreForm, the lens was oriented such that it faces the front of the printer. This allows the plastic resin to flow more freely around it during the peel cycle. Maximizing resin flow can help prevent very small cured particles in the liquid resin from adhering to lens, ensuring as smooth a surface as possible.


As smooth as the lens was fresh out of the printer, in order to get the lens optically clear, a lot of polishing is required. This could mean hours of manually sanding and rubbing, or just a few minutes with the aid of an electric drill.

Left to right: (1) Lens printed with supports in clear resin with 50 micron layers. “Housing” connected to lens with 12 x 1mm thick posts has 6mm rod to fit into cordless drill. (2) Convex side of lens polished. (3) Housing removed. (4) Press fit housing to polish flat side of lens.
To utilize a drill, the lens was designed with a drill coupler built into it. I first sanded the convex side of the lenses, moving from 220 to 2000 grit sandpaper in steps of roughly 400. I operated the drill on the low speed setting, and ran it under warm tap water to quickly remove residue from the sandpaper. For each step, I sanded for about two minutes. After the sanding is complete, the lens should be very smooth to the touch.

Next comes the fine polishing. I applied a dollop of Novus 3 Heavy Scratch Remover to a cork and gently rubbed it in with my thumb. Using the drill, I polished the lens on the cork for one minute, reapplied the Novus 3 and polished for another minute. I repeated this step with a new cork and Novus 2 Fine Scratch Remover and finally with a cotton cloth and Novus 1 Plastic Clean & Shine.

Left: Sandpaper grits 220, 600, 800, 1200, 2000. Wet sand under warm tap water. Right: cork with Novus 3 Heavy Scratch Remover, cork with Novus 2 fine scratch remover, cotton cloth with Novus 1 Plastic Clean & Shine.
At this point the convex side of the lens was optically clear and I moved on to the flat side. I remove the lens from the drill coupler by clipping the connectors with a wire cutter. I then pressed the lens into the other drill coupler so that I could polish the flat side in the same way that I polished the convex side. Once complete, I popped the lens into the monocle and my project was complete.
See what you can create with a Form 2
Explore the materials to discover the one that fits your needs.
Request a Free Sample


Here are the CAD files: Lens Files. Download PreForm, Formlabs’ free 3D printing software, to view them. It’ll also help you estimate print time and material cost.

Clear Resin is in stock and ready for shipping from our store.