As a rule of thumb, the further along a product is in development, the more costly it becomes to make changes. Hence, a key overarching goal of any product development initiative is to resolve issues early, reducing the risk of costly iterations at subsequent stages.
This is where validation testing comes in. Validation testing is the phase-gate process of determining whether a piece of hardware meets the requirements set upon it by its stage of maturity and if it’s ready to progress to the next stage. In the process, designers and engineers build numerous kinds of prototypes. Each stage contains room for learning, exploration, and adaptation, while a product has to pass defined criteria before moving forward to ensure successful industrialization.
In this article, we explain how to optimize the development process towards mass production, and highlight the different phases of product maturity including their objectives, activities, problems solved, prototypes produced, and exit criteria.
Guide to Rapid Prototyping for Product Development
In this guide, you’ll learn how rapid prototyping fits into the product development process, its applications, and what rapid prototyping tools are available to today’s product development teams.
Why Conduct Validation Testing?
A product design is hardly ever production-ready right from the very first CAD model. Even a simple plastic item may turn out to have bad sink marks, flow lines, or weak areas due to heterogeneous cooling after the first series is molded. An area can turn out too small to incorporate the legally required labels. There might be tolerance issues with a mating part under certain conditions. Or a lead user group could come up with a new high-priority requirement forcing the designers into another round of development.
The design process continuously requires such alterations, refinements, and pivots, as well as studies into aspects like manufacturability, cost estimation, voice-of-customer (VOC), legislation, IP, and certification standards right from the onset.
As the process advances towards production, the cost of these iterations rises exponentially. Whereas a series of sketches and foam models done by a designer at the beginning of development will cost a company $50 in materials, a more refined rapid prototype based on 3D prints, buy-in parts, and a vacuum cast overmold might set the company back somewhere in the order of $500-$1,000. Tooling changes in the production phase may lead up to $50,000 in total cost and result in multiple weeks or months of delay.
For complex products, production investments run into the millions. The most challenging products, such as aircraft, require thousands of employees and billions in fixed production costs. In order to prevent such 1:10:100 and other disasters, designers and engineers think in terms of probability of iteration vs. probability of success with every step they take. Validation testing is essential to ensure that the status of the design meets the right set of requirements at a given stage. Gating each phase with clear exit criteria and deliverables ensures optimal use of resources and quality advancement.
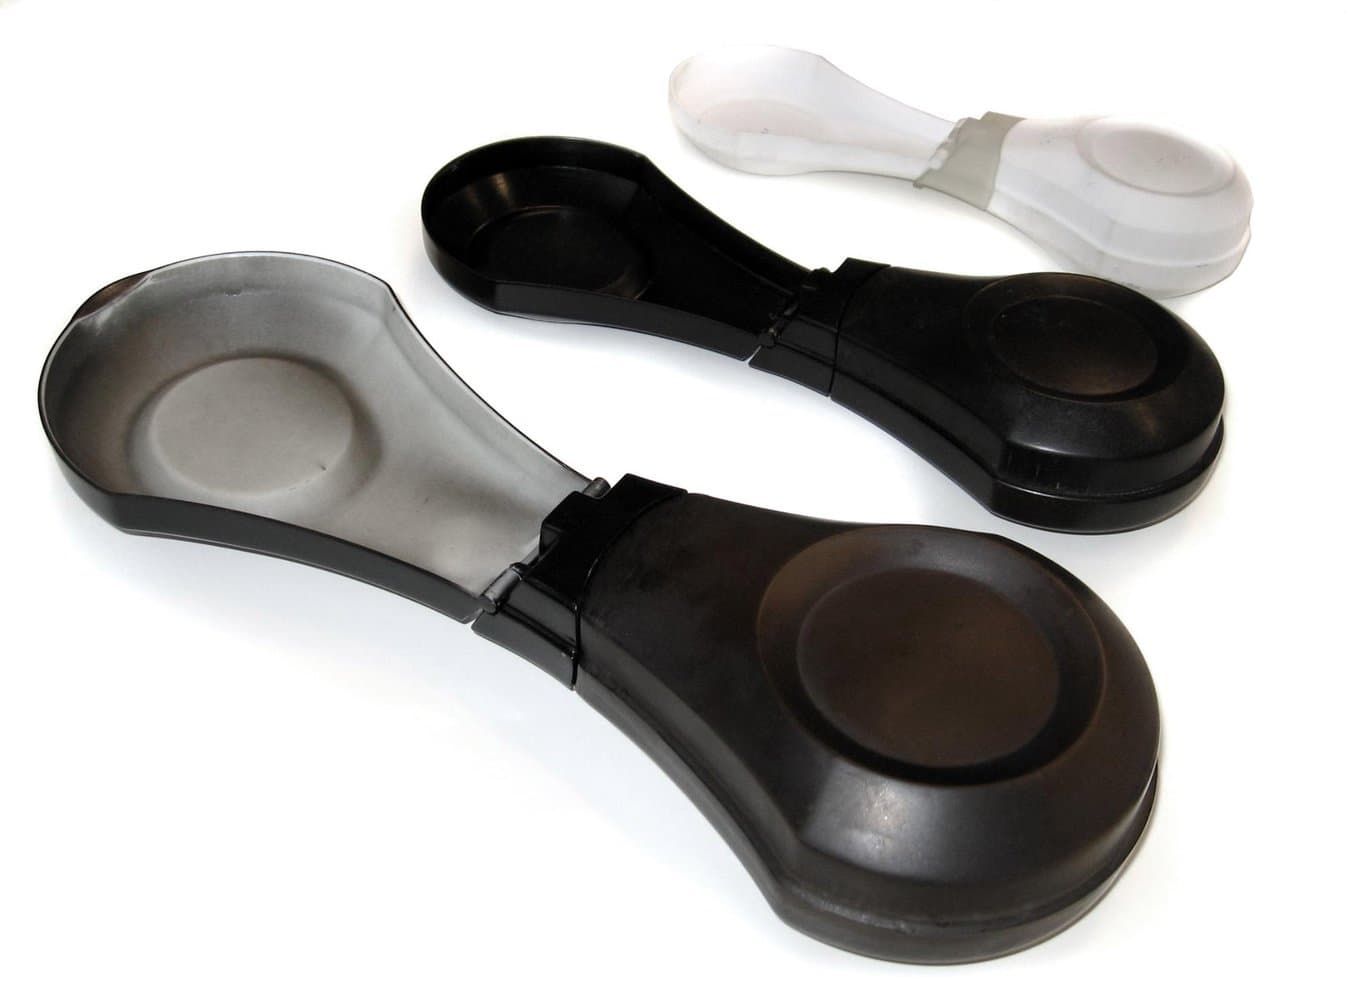
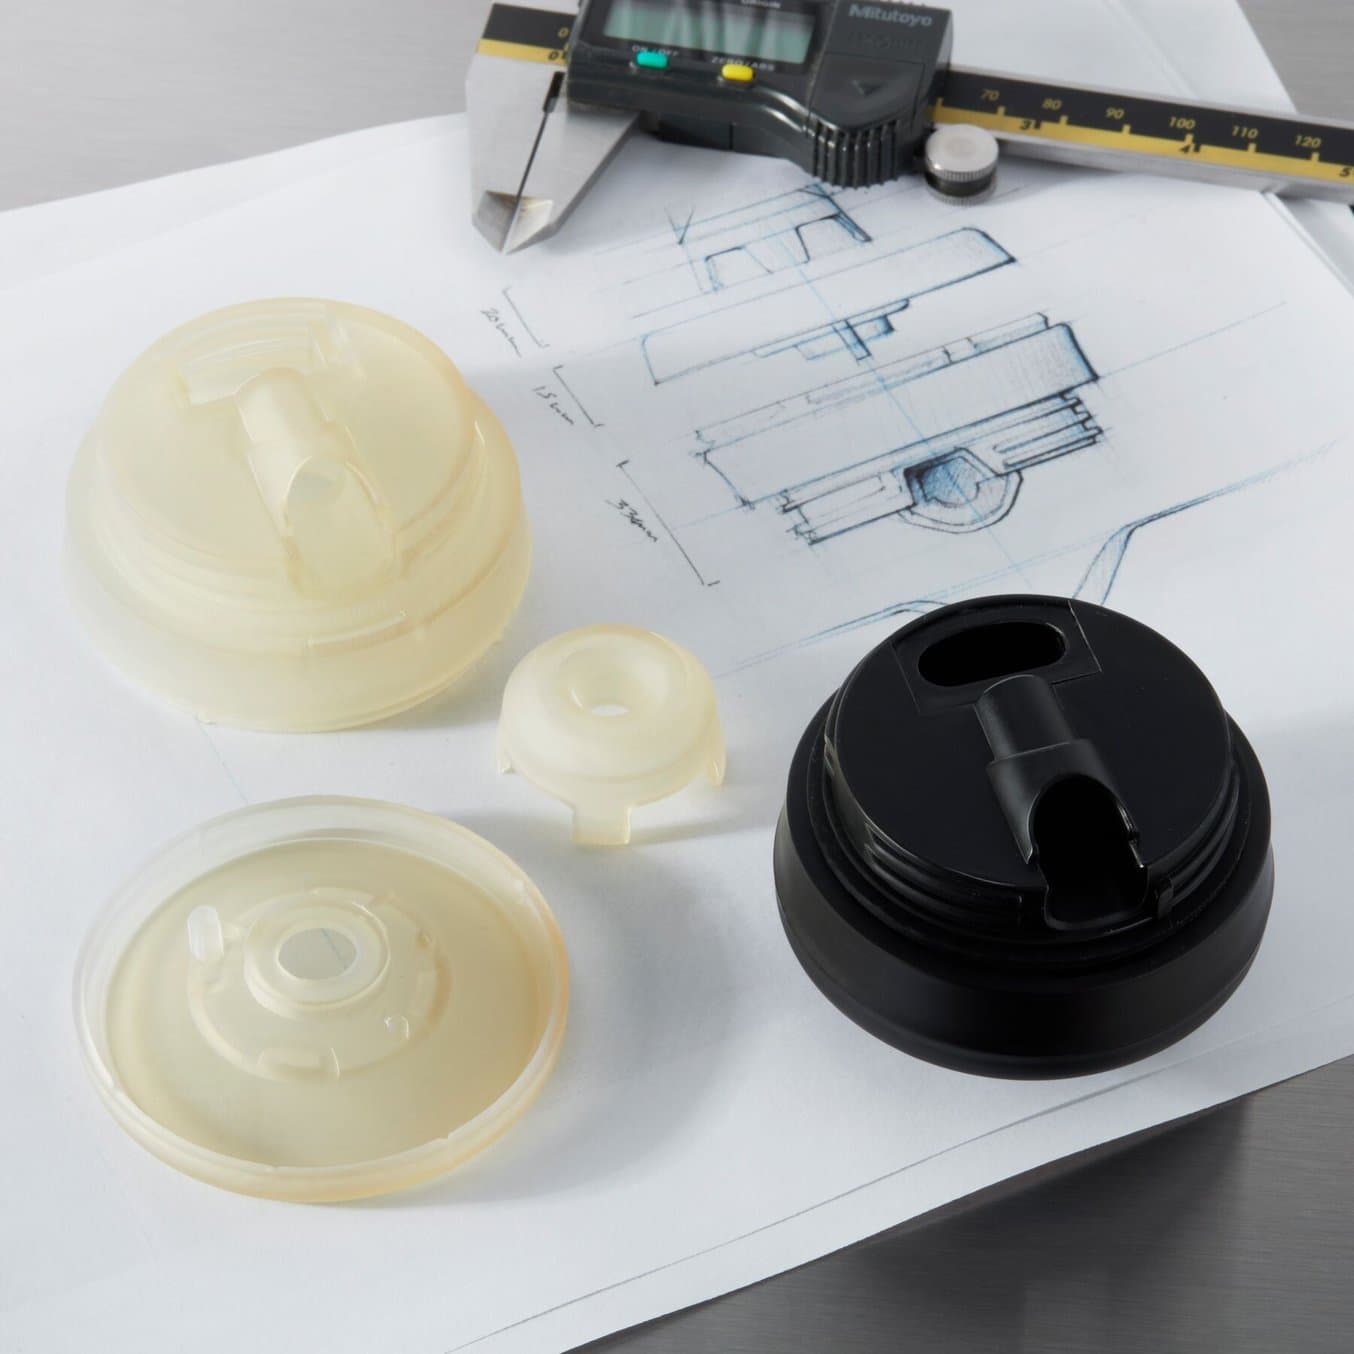
A consumer product in different stages of product maturity beyond the initial mockup. Back: EVT build using SLS and SLA 3D printing. Middle: ‘First shots’ DVT build based on soft tooling. Front: PVT build using hard tooling. Courtesy: IDZone Product Design.
Stages of Product Maturity
POC and Prototyping
After the executives of the company have confirmed the new product planning (NPP) by determining a market opportunity, a product positioning, doing a technology assessment, supply chain strategy, and resource allocation, the development process is typically laid in the hands of a product team that has to translate these into a product requirements document (PRD) and come up with viable concepts.
At first, proof of concept (POC) prototypes are used for the initial test of an idea, method, or product to show its potential and feasibility in real-world settings. These concepts are later converted into prototypes, which are working models of a product showing exactly how the product will function in terms of mechanics, design, user experience, and so on.
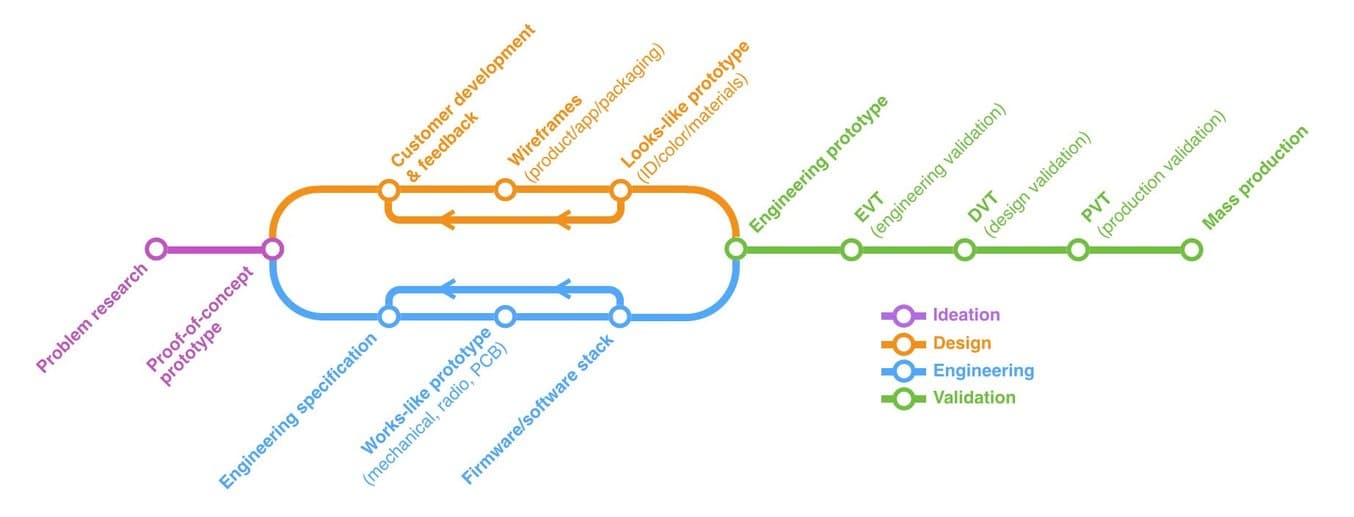
The different stages of product development towards mass production. (source)
A prototype is an instantiation of a product design that can be used to communicate and assess its value regarding certain requirements. Prototypes range from low-fidelity ‘soft’ models handmade of materials such as clay, cardboard, foam, and wood to high-fidelity functional prototypes 3D printed or made in the machine shop. Focused prototypes are meant to embody only a part of the product’s requirements and can be a ‘looks-like’ model, a functional ‘works-like’ model, or one that demonstrates partial form and function in order to test certain sub-functionalities. When a prototype incorporates all requirements and functionalities with the design, it is called the engineering prototype.
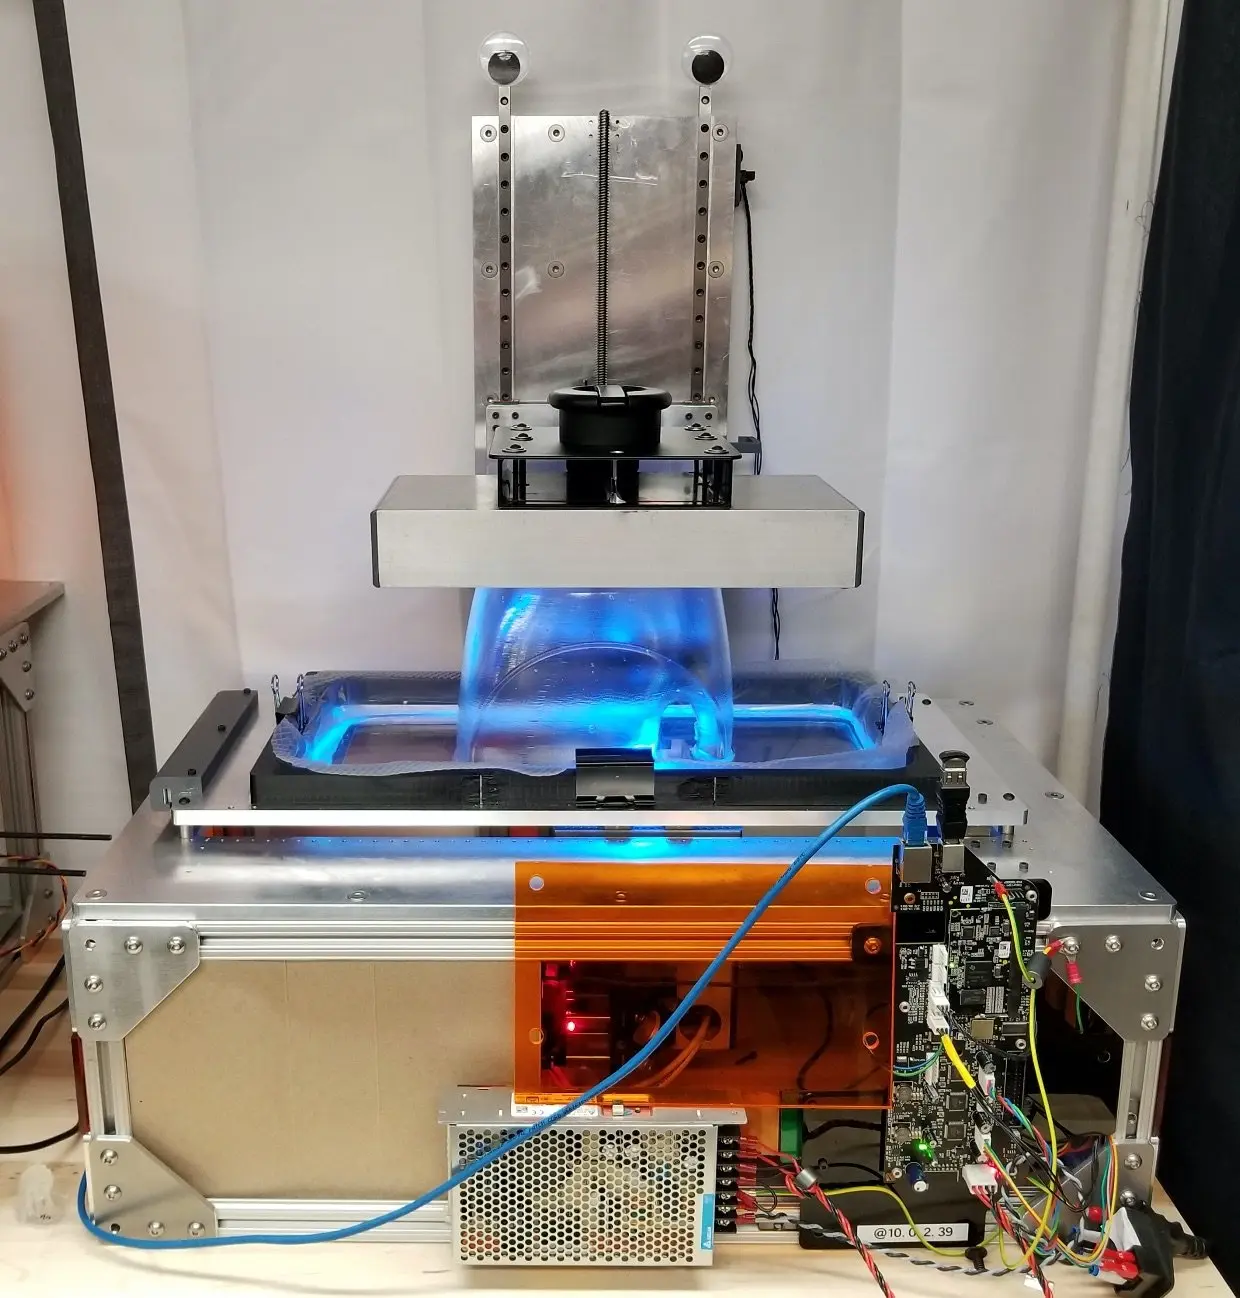
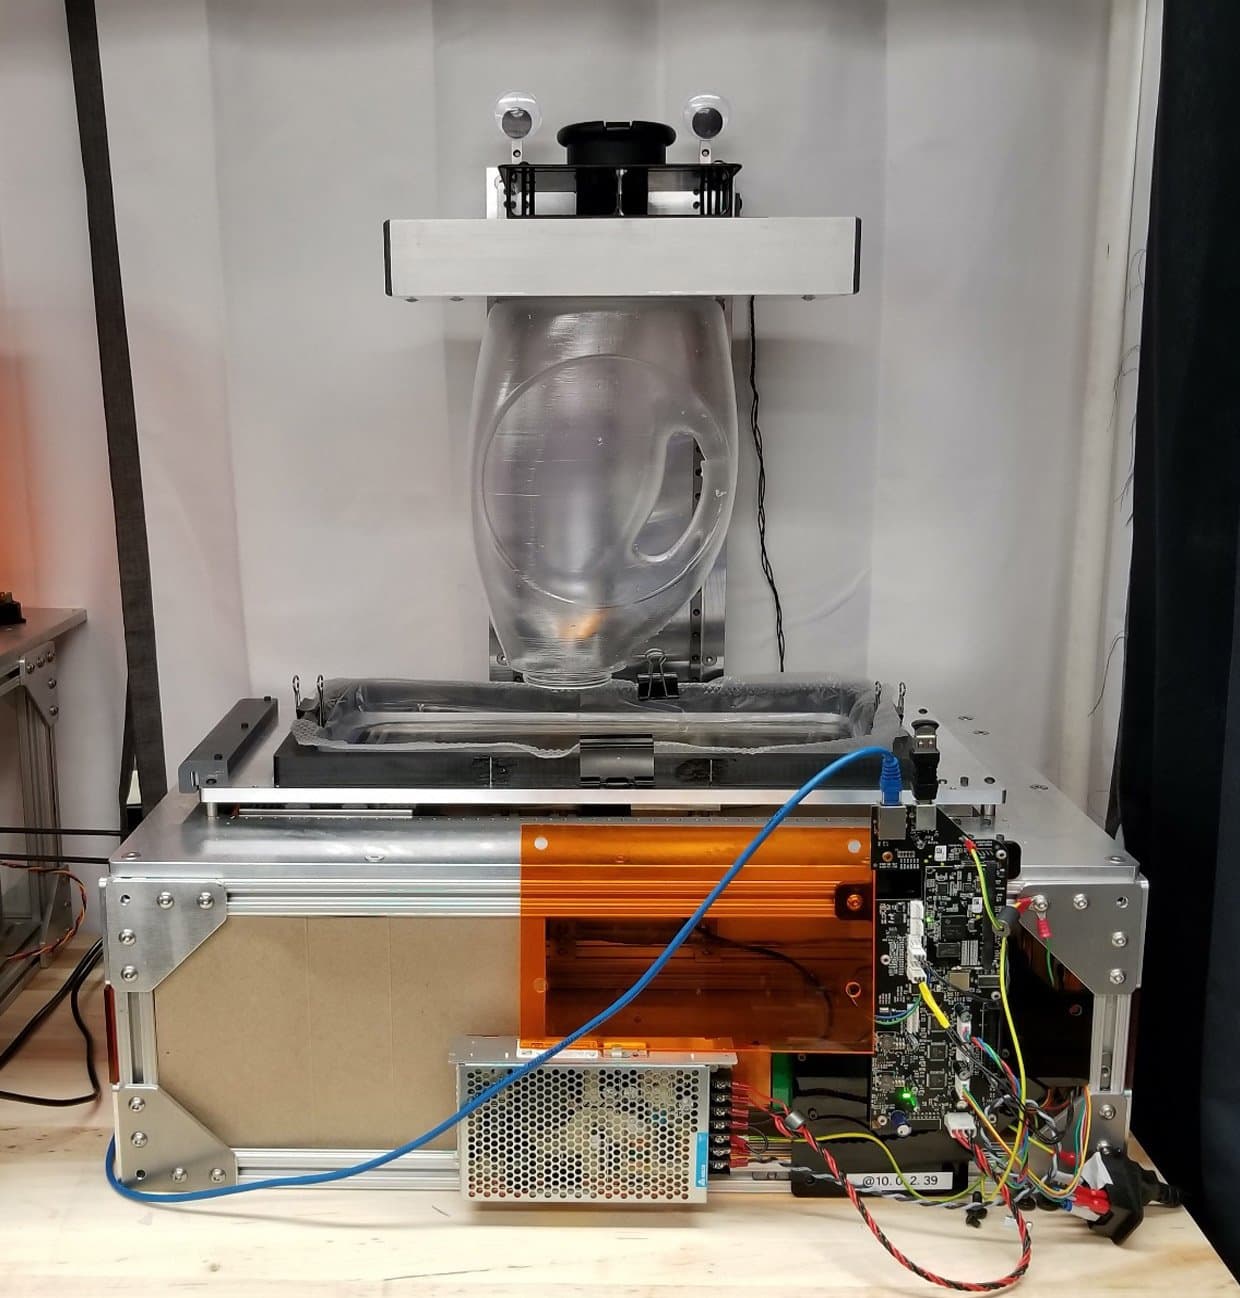
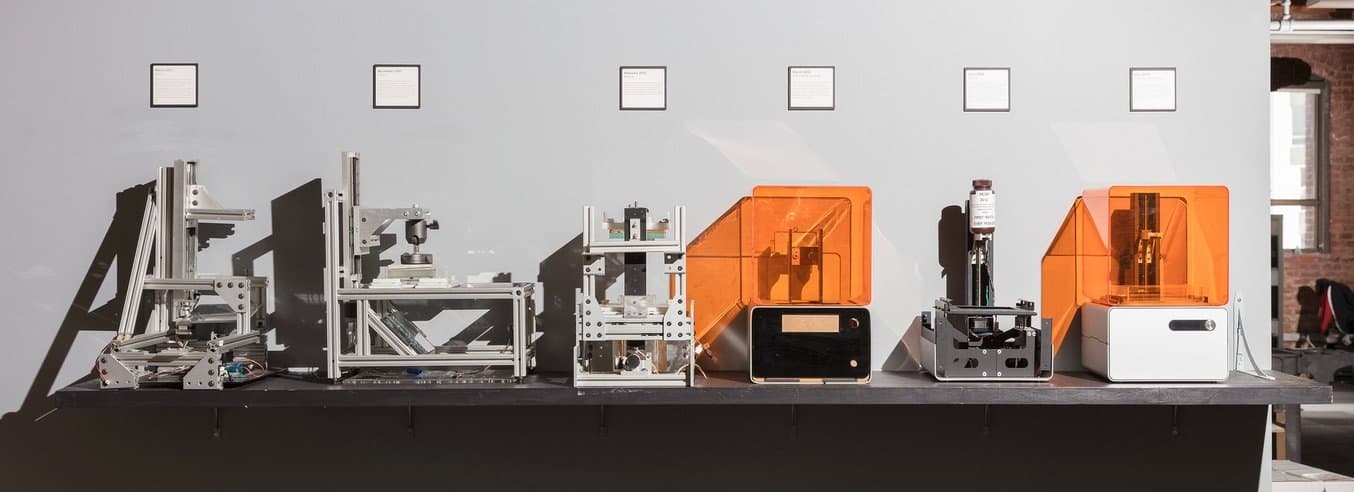
Early works-like prototypes of the Form 3L large-format 3D printer.
In the process, non-form-factor (NFF) models can be created, that are essentially giant versions of the product design meant to house placeholder versions of all functional components in order to develop a working demonstrator. Rudimentary working versions of the electronics are included in the form of hardware development kits, Arduino, or Raspberry Pi constructions.
Analytical or virtual prototypes are non-physical product instantiations such as a 3D model for rendering, mathematical simulation, or FEA analysis. Even a sketch is a crude form of a virtual prototype.

Testable alpha prototypes with different fidelities. Left: ‘Looks-like’ foam models of kitchen appliances. Courtesy: Superior Prototype. Middle: Foamcore/cardboard mockup showing partial form and interactivity. Courtesy: Frits van Beek. Right: Partially interactive machine-tooled prototype of a digital camera. Note that this is an alpha prototype because it is not yet designed for production intent. Courtesy: Joep Frens.
The prototyping stage is essential to clarify details regarding ease-of-use, aesthetics, hidden user needs, opinions of fellow designers, product managers, experts on the topic, and legislative as well as technological limitations. A typical design process for a complex electromechanical product includes multiple concepts, each one supported by a stack of exploration sketches, a series of physical mockups, and a set of 3D renderings.
It took the IDEO design team 80 foam models just to get the shape of the first ergonomic computer mouse right for Microsoft back in 1987. And with a process of higher risk and complexity, the number can shoot up all the way to the elusive 5,127 prototypes that it took James Dyson to develop the first ‘cyclone technology’ vacuum cleaner over the course of 15 years. To be able to speed up the new product development process and avoid the notorious ‘hardware swamp,’ it is paramount to focus prototypes on key requirements, take into account risks that later stages will present, and aptly plan exploratory user tests.
All in all, the objective of the prototyping stage is to create an engineering prototype that works like and looks like the final product. This stage needs to prove that the technology used meets the customer’s needs, that it is feasible to manufacture, and that the product will function as intended. Once these are confirmed, the goal of the subsequent validation stages is to ensure that the product can be manufactured consistently at scale.
Engineering Validation Test (EVT)
The engineering validation test (EVT) stage is all about incorporating and optimizing the crucial functional scope required for the product. Whereas the result of the prototyping stage was a limited ‘alpha’ prototype, here an engineering-level ‘beta’ prototype will be developed that houses a more complete set of functionalities, typically determined by a build matrix. The engineering prototype is a minimum viable version of the final commercial product, that is designed for manufacturing (DFM). It is used for lab-based user testing with a select group of lead users, to communicate production intent to tooling specialists in subsequent stages, and to act as a demonstrator in the first sales meetings.
A make-buy analysis is performed for all components in the assembly, component engineering is done on custom parts and a bill of materials (BOM) is set up for RFQs towards contract manufacturers (CMs) so they can prepare for the first assembly line and first shots (FS) tooling. For electronic products, high-end ‘hot stake’ PCBs are developed using industrial processes. Power, thermal, and EMI tests will also be performed at this point.
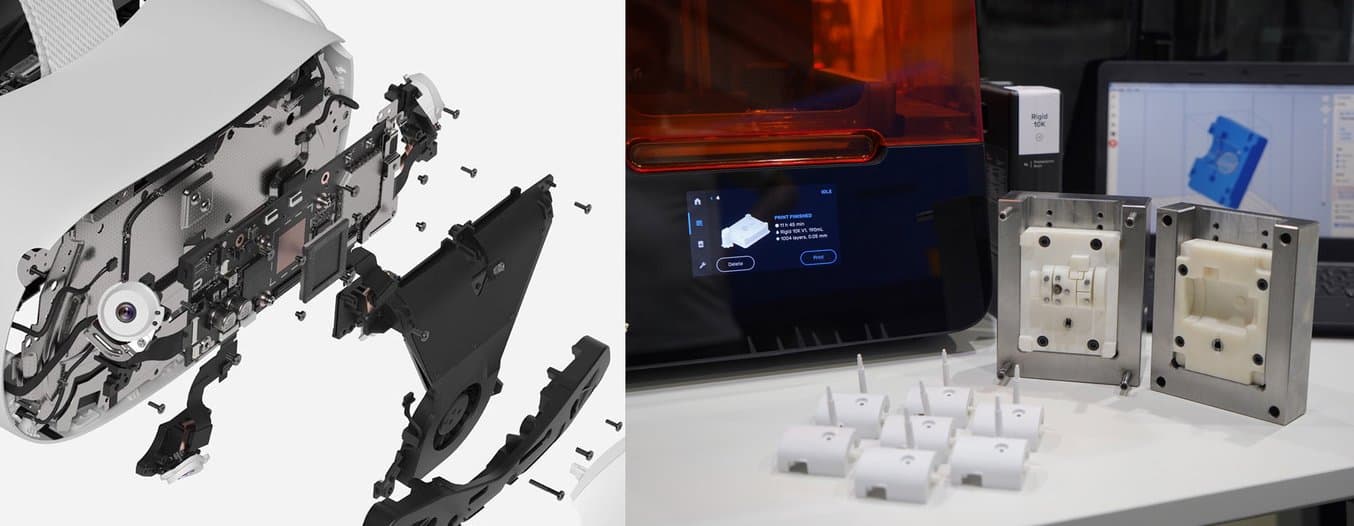
Typical activities in the EVT phase. Left: product design rendering showing production-intent-level exploded view. Courtesy: Oculus. Right: Low-volume injection molding using 3D printed molds.
Approximately 20 to 50 units are produced using high-precision processes such as additive manufacturing and CNC machining, or a series of casts based on soft tooling such as silicone or 3D printed molds. The overall objective is to develop the design with full production intent and end up with a small number of production-worthy engineering prototypes.
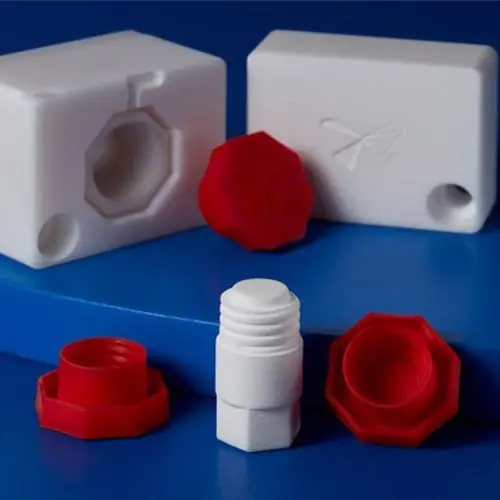
Low-Volume Rapid Injection Molding With 3D Printed Molds
Download our white paper for guidelines for using 3D printed molds in the injection molding process to lower costs and lead time and see real-life case studies with Braskem, Holimaker, and Novus Applications.
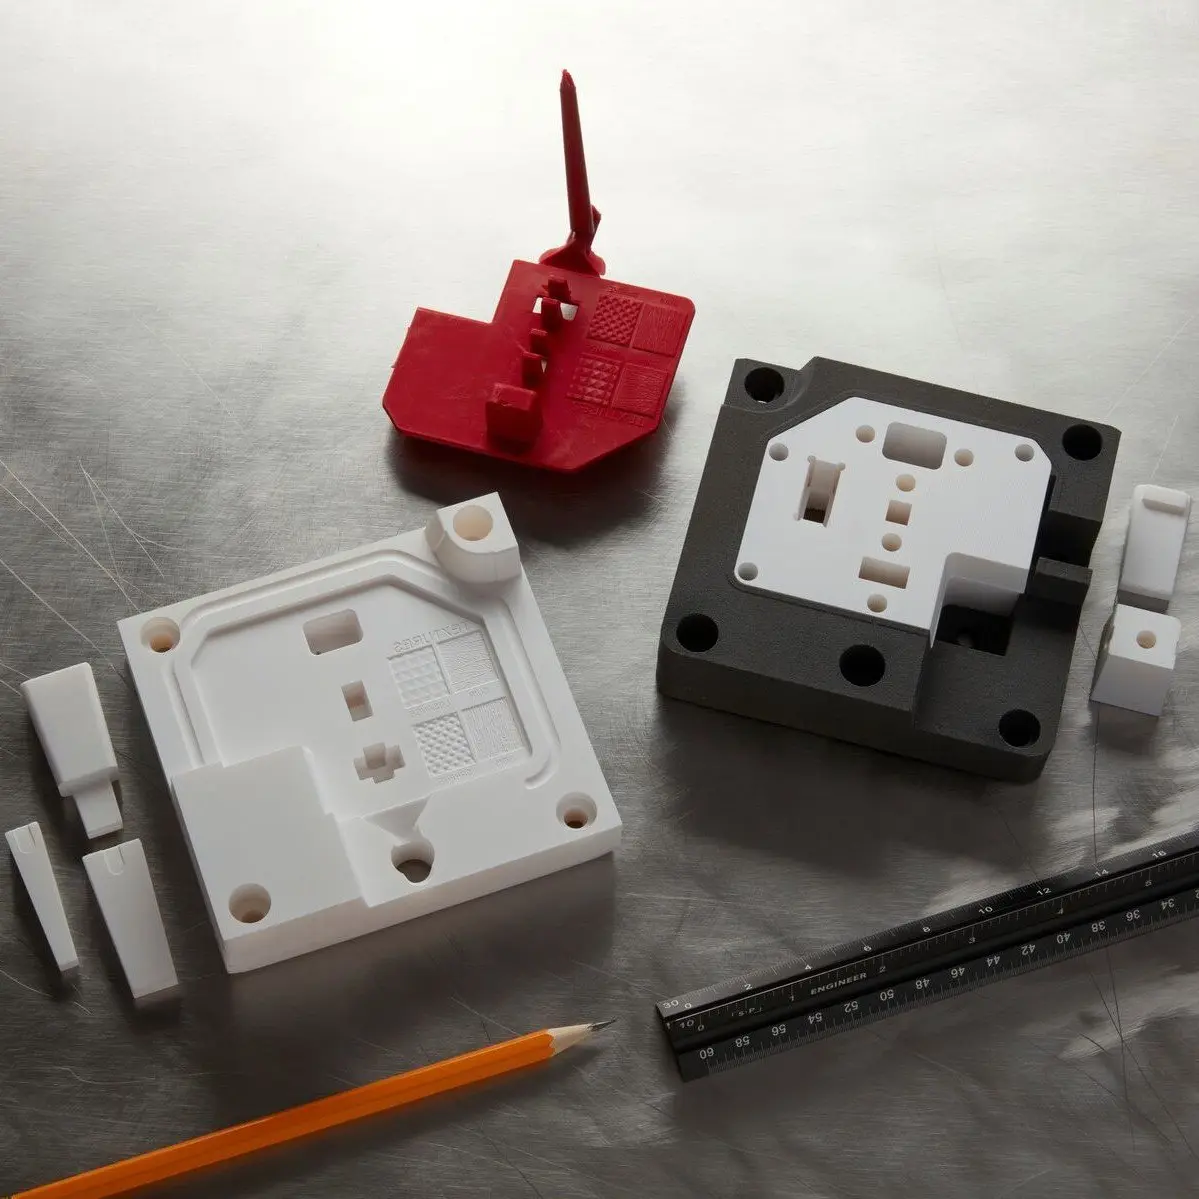
Guide to Rapid Tooling
In this white paper, learn how to combine rapid tooling with traditional manufacturing processes like injection molding, thermoforming, or casting.
Design Validation Test (DVT)
The design validation test (DVT) stage is where a product truly starts becoming industrialized. Where EVT is all about architecture-level design for manufacturing, DVT is about getting the details right while moving towards the first mass production line. It is a stage marked by experimentation and optimization. PCBs are iterated to perfection through debugging and denoising efforts. The CM will develop the first hard tool for every made part to verify mass production yields. Aluminum molds may be used to optimize the design in terms of surface finish, materials, tolerancing, mold configuration such as sliders and cams, joining methods, as well as process parameters.
While typically 50 to 200 units are produced, it is not uncommon to see over 1,000 units produced for large projects. These units are subsequently shipped back for in-house evaluations and implementing final engineering changes, whereas some are sent out as beta units to potential customers and expert reviewers. Lots of tests will be performed on the first production-level units: environmental chamber tests, thermal cycles, vibration, ESD, biocompatibility, chemical resistance, certifications such as FDA, FCC, UL, CE, EC, and RoHS, aging, radiation, cosmetic, wear, and drop tests, among others. Extensive user testing is done with a significant part of the population in a realistic context.

The DVT phase is all about optimizing details. Left: Heat-staked PCB to its plastic enclosure using integrated rivets. Courtesy: Hartmann. Middle: experiment to integrate an injection-molded enclosure into a fabric substrate. Courtesy: Bemis Sewfree. Right: AES environmental chamber for salt fog corrosion testing. Courtesy: Associated Environmental Systems.
To accelerate product development, it is possible to bypass the DVT stage by investing in hard tooling at the end of the EVT phase, so that the EP immediately meets not only the EVT exit criterion of having a production-worthy prototype but also the DVT exit criteria of hard tooling and mass production yield assessment. However, it brings along enormous risks to invest PVT-scale resources so soon, and cutting corners like this is hardly, if ever, advised.
Production Validation Test (PVT)
The production validation test (PVT) is the final phase before mass production starts. Hard tooling is fixed, meaning that no more changes to either the product design or production molds can be made. Jigs, fixtures, and test benches must be in place and validated for the production pilot (PP) to commence. Efforts made in this stage are directed towards optimizing and stabilizing the production and assembly lines in terms of line speed, operator expertise, scrap rate, and daily yield.
Potential risks like single-source supplies—when a component is restricted to be made by a single selected CM—will be identified through risk management protocols such as FMECA, QA/QC, and FAI. Electronics undergo their first boot as well as a firmware inspection, and the product packaging plus user manuals will be created in this stage as well. Most of the work in this stage will be executed on the side of the contract manufacturer.

The PVT phase is about optimizing the production line through process and quality control. Left: Panel testing jig for multiple circuit boards. Courtesy: Korea Jig. Middle: Multi-station assembly jig for a consumer product. Courtesy: Aerosport Additive. Right: Complex rotative injection mold for multi-material molding. Courtesy: Grosfilley In-Mold & Rotative Solutions.
A typical outcome of the PVT stage is 500+ units or at least 5% of the first production run quantity. The objectives are to verify mass production yields at mass production speeds and to create sellable products. This is where many companies will create a sales plan and start their operation with the early buyers. The PVT build is the last chance for a company to tweak the production process. It is sometimes stage-gated in terms of a red, orange, and green state, based on success according to key production metrics. When the green light flashes on, true mass production can start.
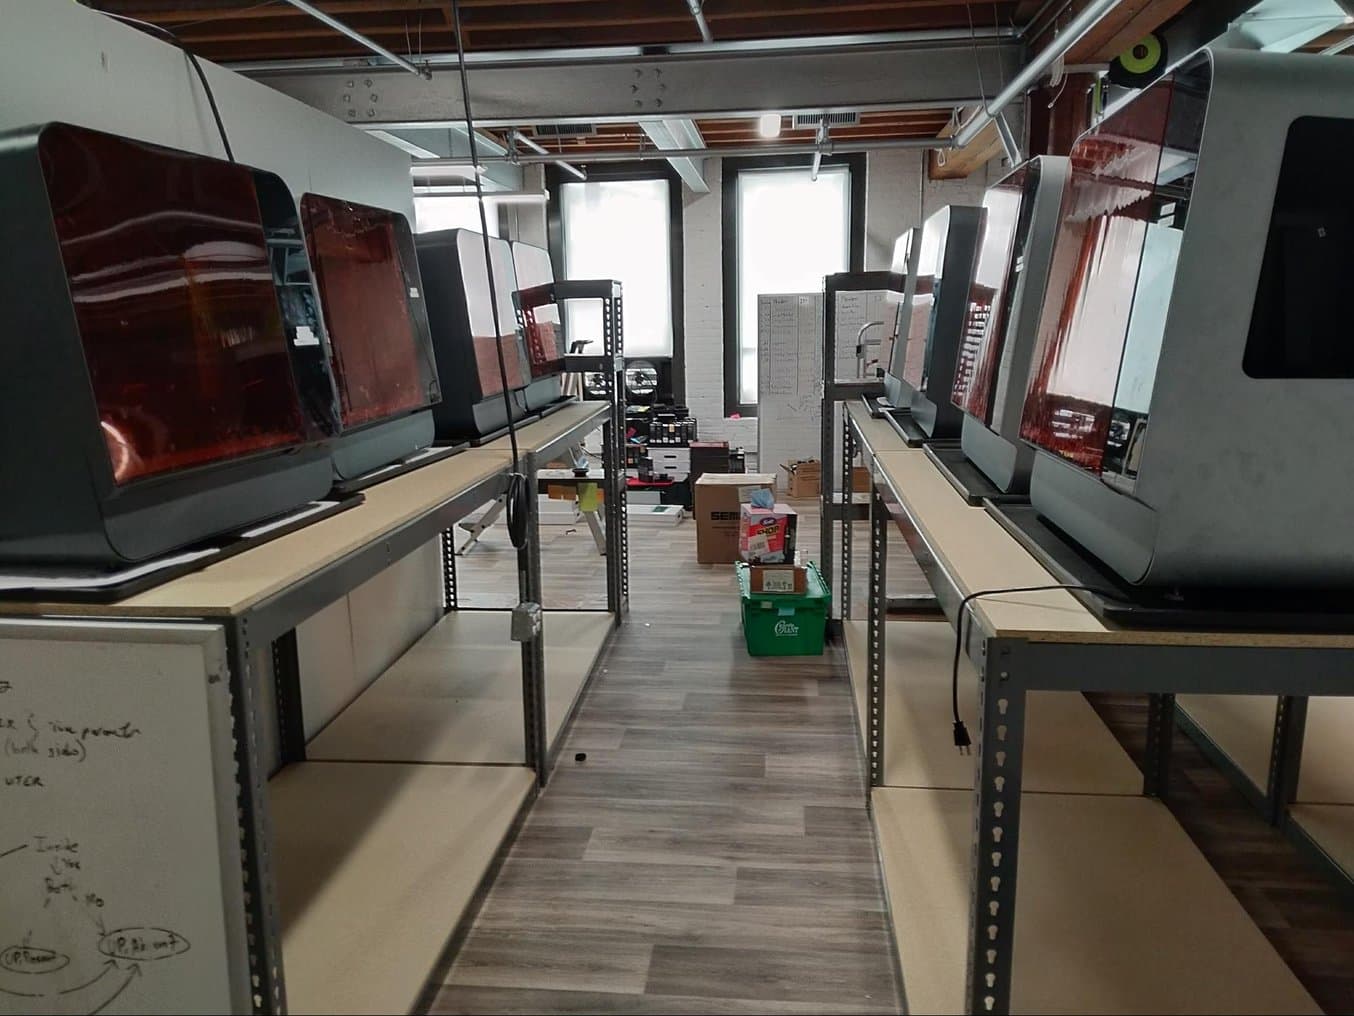
Form 3L PVT units before QA at the company headquarters. In the PVT stage, it is still common to ship back production units from the contract manufacturer to the engineering team for a final quality check before the products are ready to ship to customers—especially when a global pandemic makes in-person quality control at the CM impossible.
Mass Production (MP)
The final stage in the evolution of product maturity is the ramp-up towards mass production (MP). It typically starts at a minimum quantity of 5,000 units but can lead up to several million units in the case of popular consumer products such as the PlayStation, iPad, iPhone, or the Rubik’s cube.
In this phase, the initial production line might be replicated to other lines to be run in parallel. A failure and yield analysis on a small percentage of units ensures consistent quality. The first returns will come in, and EFFA analysis will ensure that all failed units make it back to the engineering team. To further guarantee the quality, factories and vendors need to be supervised to make no unforeseen changes in tooling or process parameters leading to quality shifts. The overall focus is on yield improvement, cost reduction, and expansion where necessary. The marketing and sales team here can focus on developing collateral, advertising, as well as predicting sales volumes.
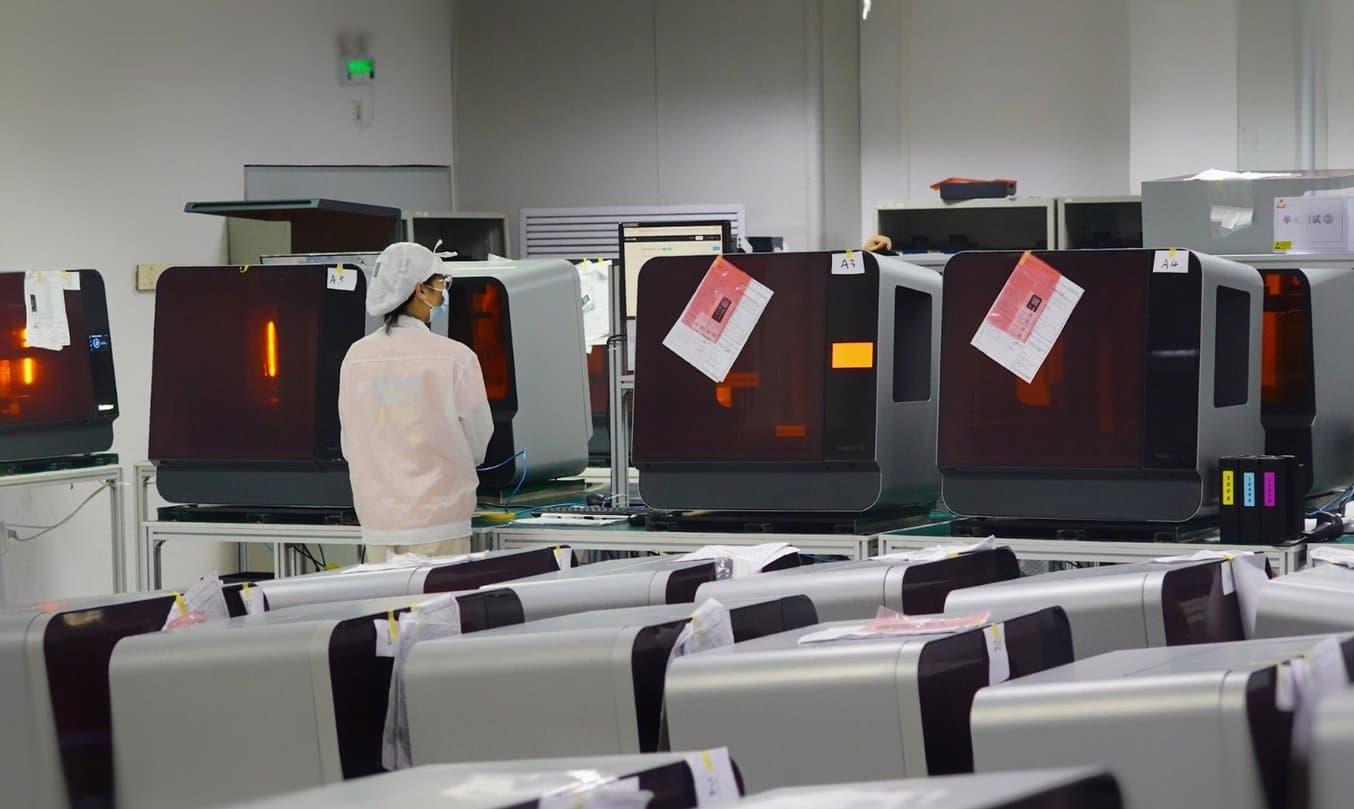
Mass-produced Form 3L units after QA/QC at the contract manufacturer.
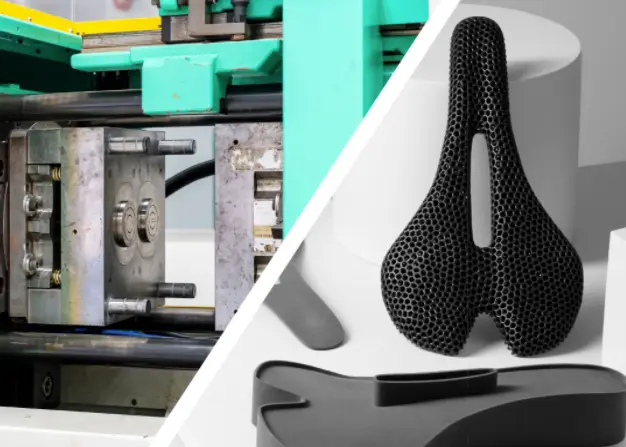
SLS 3D Printing vs. Injection Molding: When to Replace Molded Parts With 3D Printing?
This white paper showcases the cost-dynamics for real-life use cases, and presents guidelines for using SLS 3D printing, injection molding, or both.
The Different Stages of the New Product Development Process for Hardware
| Stage | NPP | POC | EVT | DVT | PVT | MP |
|---|---|---|---|---|---|---|
| Maturity | Business case | Alpha prototype | Beta prototype | Pre-production samples | Full commercial product | Full commercial product |
| Duration | 1-3 months | 3 months to 3+ years | 3-6 months | 3 months | 1 months | 3+ months |
| Focus | Understand market opportunity, PRD | Prove user desirability | Production-worthy unit | Scaling feasibility | MP readiness | Quality assurance |
| Quantity | 0 | 5 | <50 | <500 | 500+ | 5,000+ |
| Sales | Positioning | Marketing plan | Sales forecast | Launch preparation | Sales plan | Advertising |
| VOC | Interviews, focus groups | Exploratory user tests | Lab-based user tests | In-situ user tests | Field analysis | Ongoing feedback |
| Location | In-house | In-house + design partner (optional) | In-house + engineering partner (optional) | CM + in-house validation | CM | CM |
Conclusion
Making the wrong decisions or overlooking essential details at a stage too late in product development can lead to high costs and long delays. Companies also cannot afford to harm their reputation by sending out erroneous beta units. A validation-based phase-gate approach to development is necessary for all forms of complex products, systems, and services. It ensures the optimal trajectory towards mass production while limiting resources to the minimum.
Recapping the phases of product maturity, the goal of the POC and prototyping phases is to verify that the product concept is viable, people have a need for it, and that it’s possible to develop it. During the EVT stage, the development team aims to establish confidence that the design will function correctly. The DVT stage verifies that the design can successfully be manufactured at scale and passes a myriad of testing procedures, while PVT is there to ensure that the production line can meet the desired metrics. During mass production, the focus is on sales, maintaining quality, handling returns, preparing future design changes, and end-of-life.
The importance of a comprehensive PRD, a well-planned prototyping approach, and analyses in the early stages of product development to prevent intensive changes down the line cannot be overstated. Neither can the satisfaction that it brings to open the first master carton fresh from the assembly line and see the fruits of months if not years of hard work.
3D printing is one of the tools that can support development teams throughout the product development process. From high-fidelity prototypes to rapid tooling and jigs and fixtures for the assembly line, resin 3D printers can help you speed up the development process and pave the way towards successful manufacturing.