Remarque :
Si l’impression échoue au début en raison d’une déchirure du lit, réduisez la cible de température du lit de 2 °C et réessayez l’impression.


Le processus d’impression des imprimantes de génération Fuse 1 nécessite que le matériau soit fritté à une température précise, qui est mesurée par le capteur infrarouge de l’imprimante. Bien que la plupart des imprimantes maintiennent cette température sans avoir besoin certains défauts et problèmes d’impression peuvent être résolus en ajustant la température du lit d’impression.
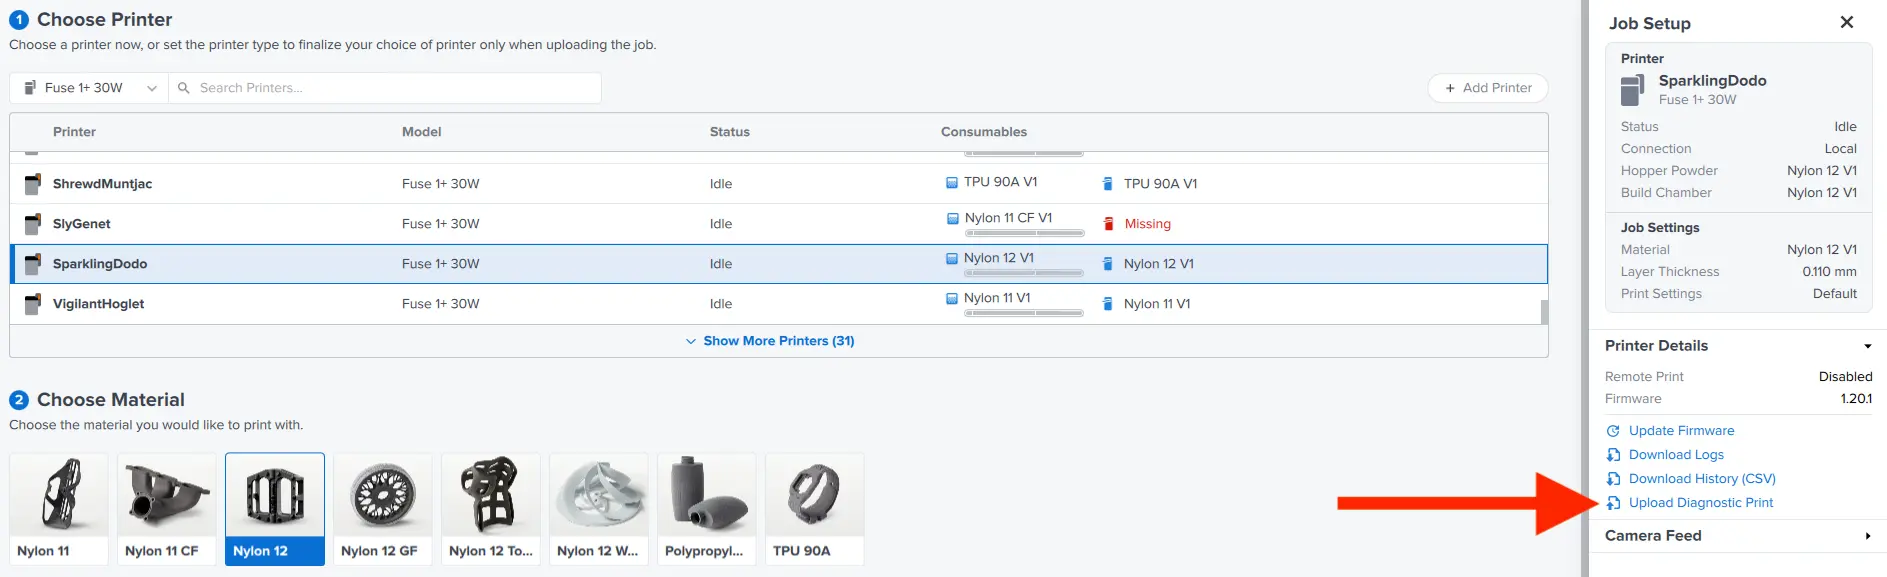
Formlabs recommande de régler la température du lit de votre imprimante avant d’imprimer avec Nylon 12 Powder pour la première fois. Ajuster les paramètres de la température du lit avant l’impression de la première pièce permet de réduire les défauts d’impression sur les pièces imprimées dus aux variations de température de l’imprimante. Ce processus est exécuté sous la forme d’une impression de diagnostic, téléversée dans l’imprimante par l’intermédiaire de PreForm. L’impression contient plusieurs pièces qui doivent être nettoyées et inspectées afin de déterminer l’écart de température nécessaire pour votre imprimante. Ce processus doit être exécuté sur de la poudre vieillie, rafraîchie avec 30 % de poudre neuve. Si vous n’avez pas de poudre usagée sous la main, vieillissez un volume de poudre neuve avant d’imprimer l’outil de diagnostic de réglage de la température du lit.
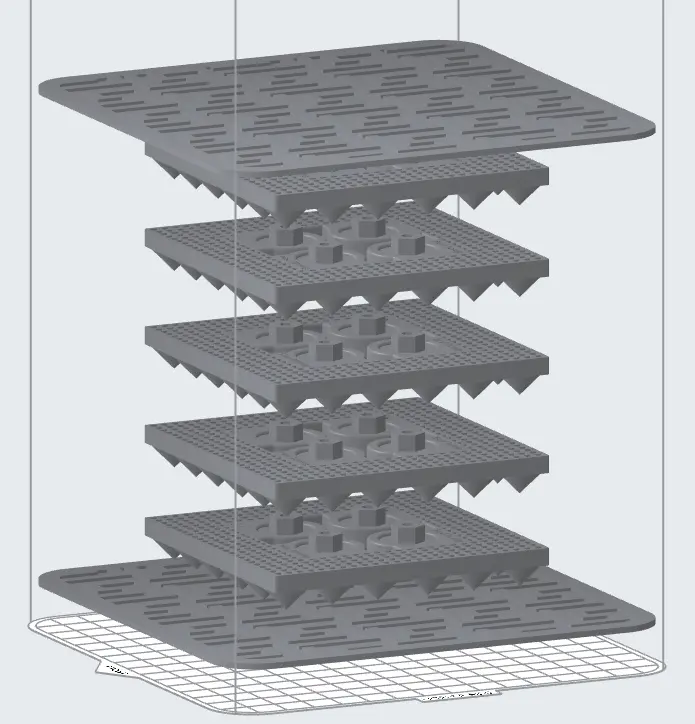
Exécuter l’impression de réglage de la température du lit
Remarque :
Si l’impression échoue au début en raison d’une déchirure du lit, réduisez la cible de température du lit de 2 °C et réessayez l’impression.
Clean parts
Extract parts using the Fuse Sift or the Fuse Depowdering Kit. Excess powder can be sifted with fresh powder and re-used.
Clean parts prior to inspection either using the Fuse Blast or other media blasting solutions. Extract the five plaques with cones. The additional flat plaques in the build create equal cooling and separation between the cone plaques during the print and can be discarded.
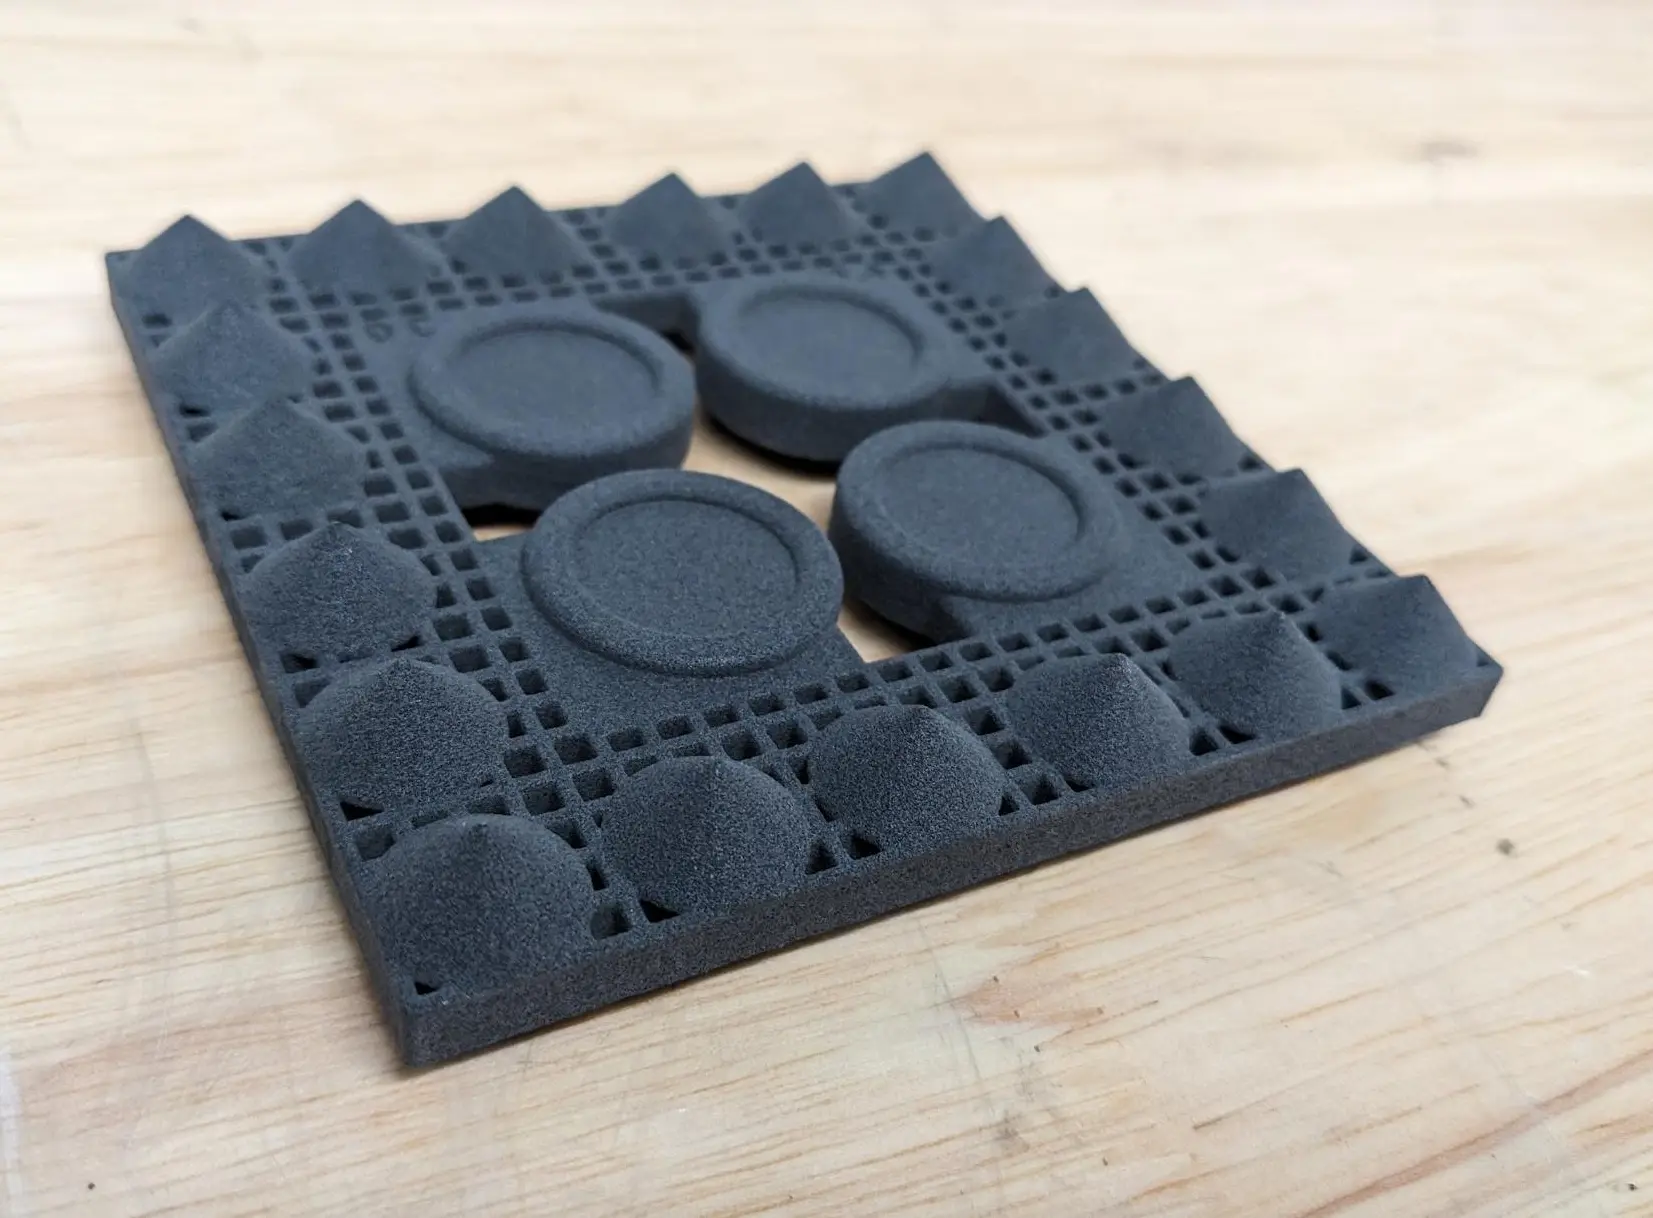
Each plaque lists the temperature offset it was printed with (-2 ºC, -1 ºC, 0 ºC, +1 ºC, +2 ºC). Line the plaques up from -2 ºC to +2 ºC to prepare them for inspection.
Inspectez les plaques
Note:
If the test print fails and not all plaques are completed, complete the inspection using the plaques that printed successfully. The correct offset will be included in the parts that printed successfully.
To determine the appropriate temperature offset for your printer, look for two things:
Rotate the plaques to inspect the cones from all angles. Orange peel appears as a slightly layered surface on the cones. Pitting appears as a tiny dot on the opposite side of the plaques.
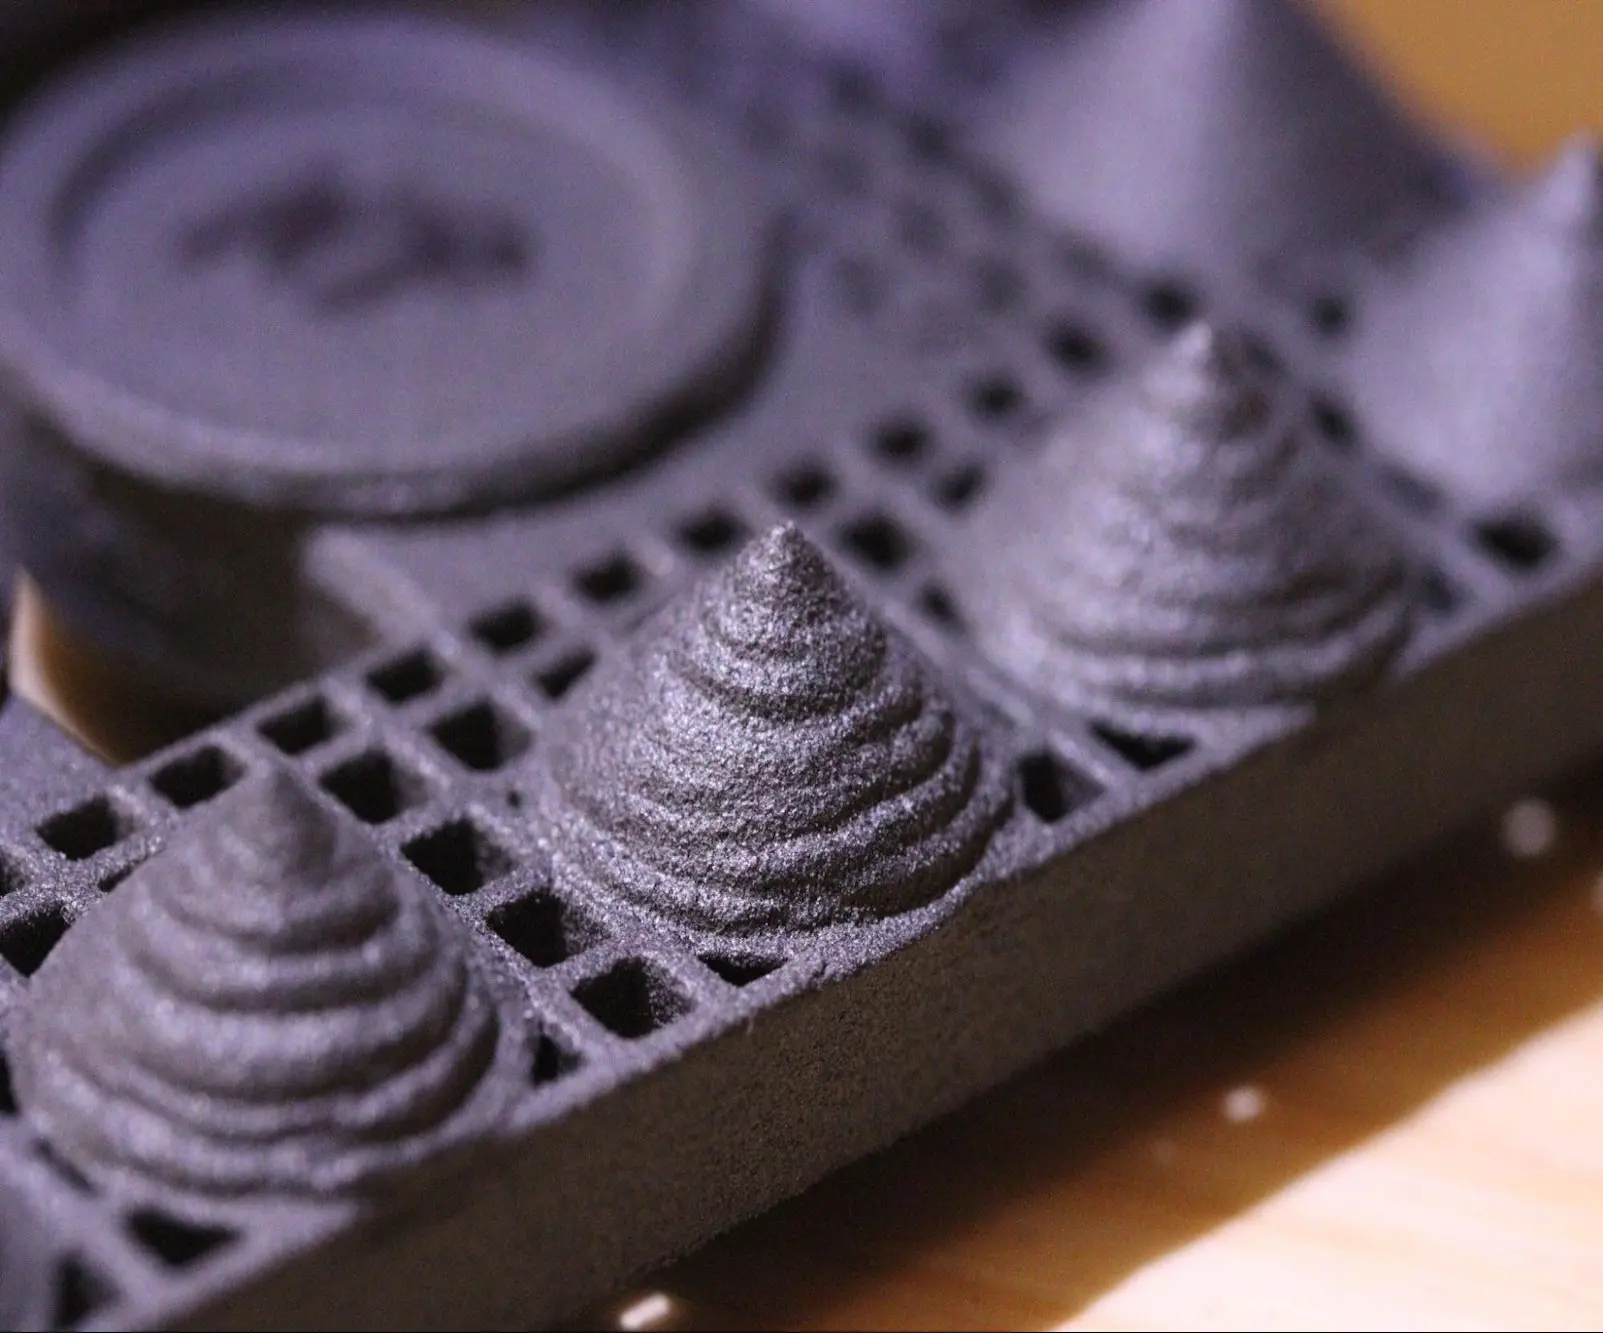
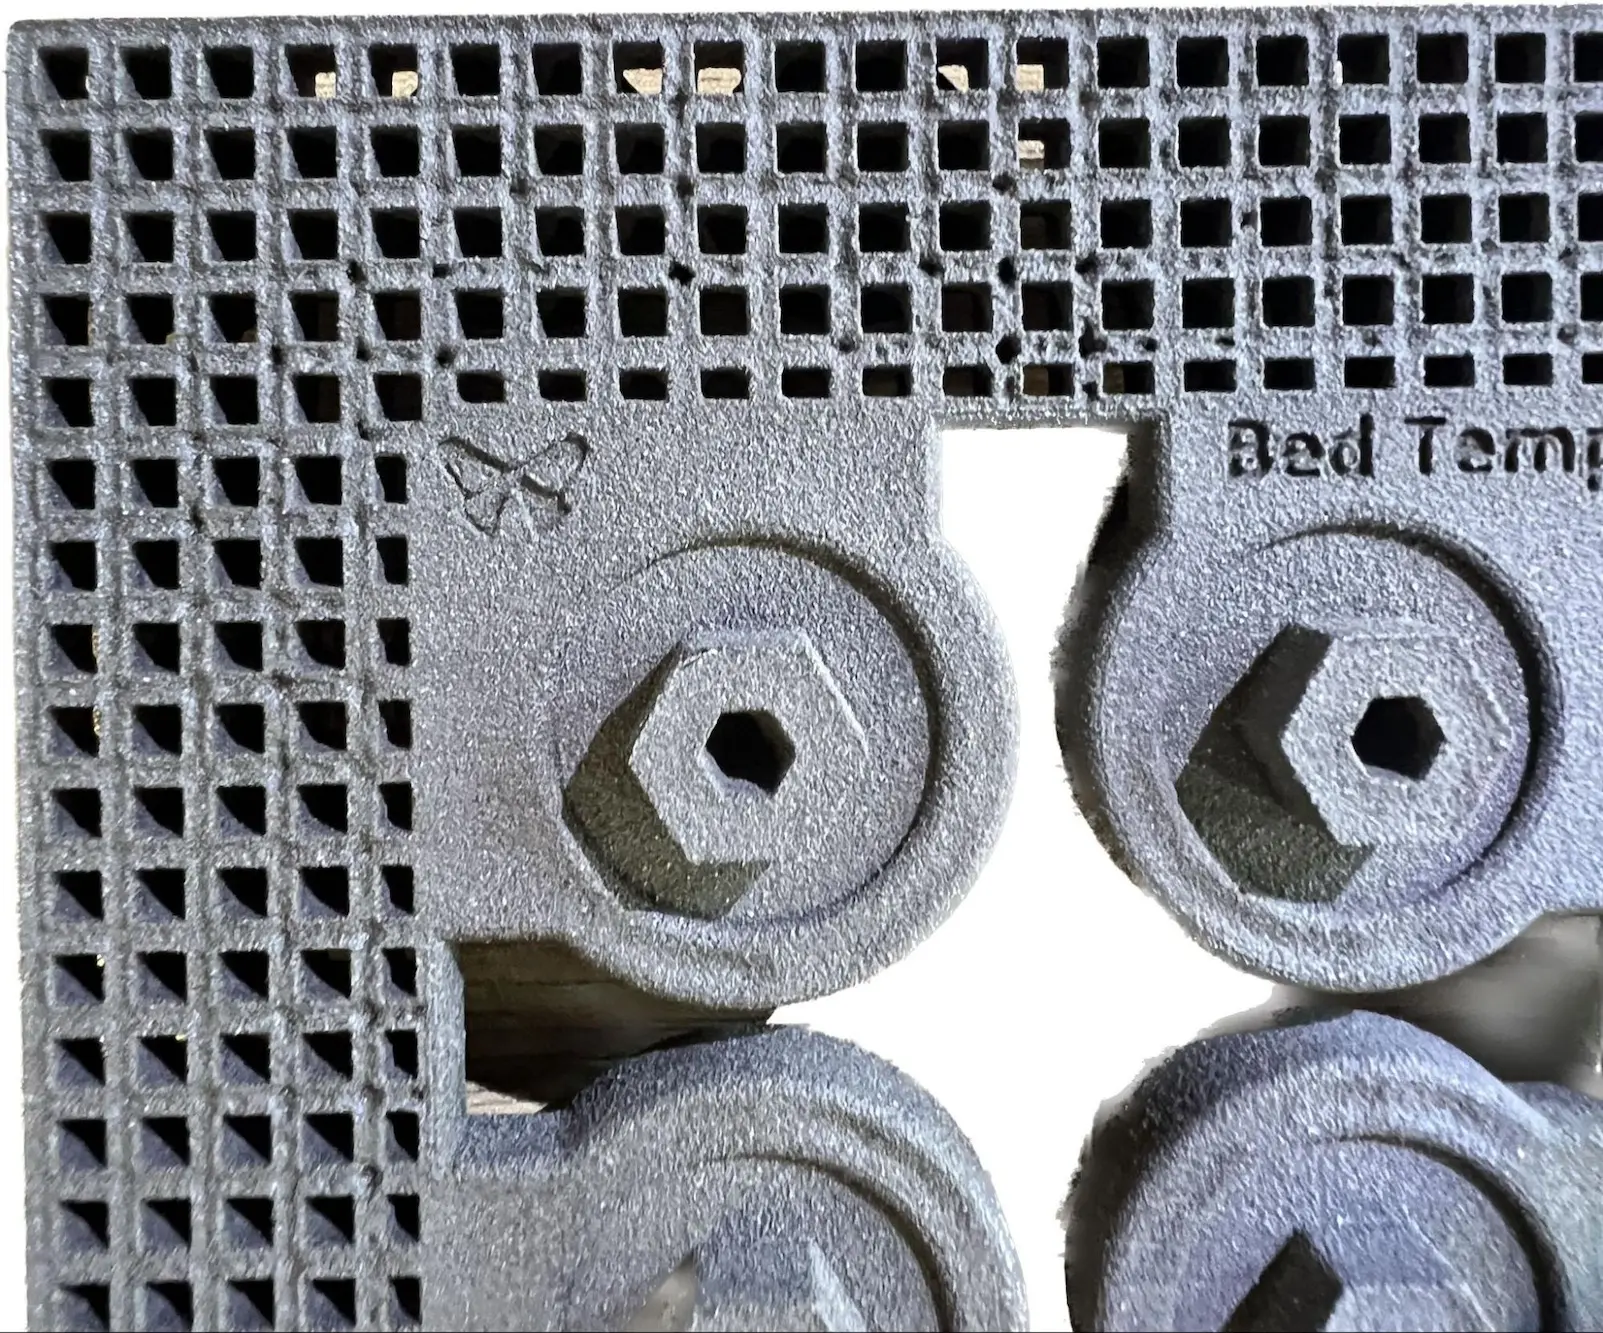
After inspecting all five plaques, determine the offset temperature that best matches the above criteria using the temperature offsets listed on the plaques. This offset can then be manually set on the machine.
Note:
The correct offset temperature may lie between two plaques, and the correct offset may be a half degree between the printed plaques (ie. +1.5 ºC).
Paramétrage de la cible de température du lit
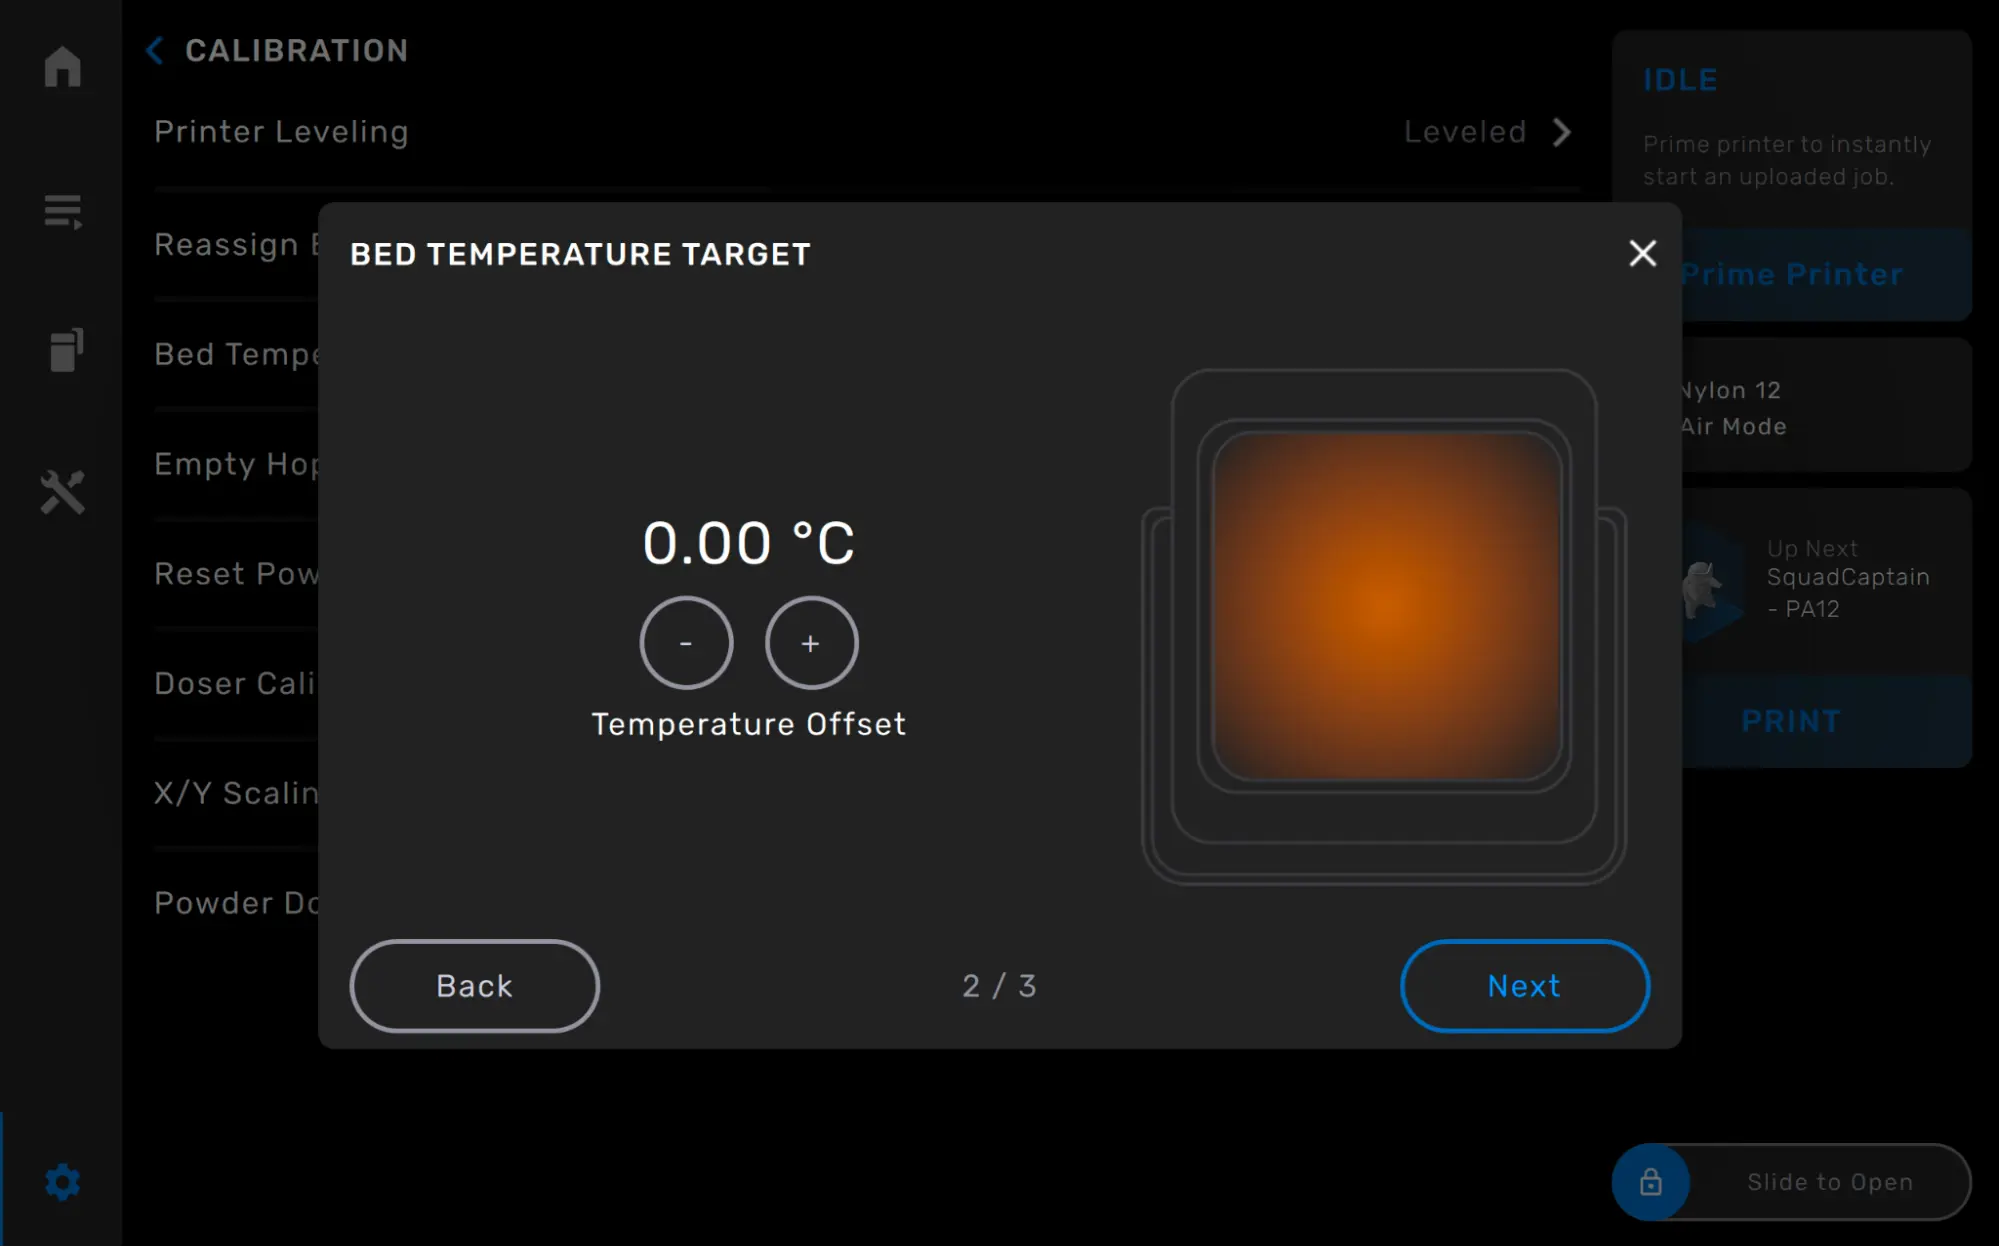
La cible de température du lit peut être ajustée de ±5 °C par incréments de 0,25 °C. Après l’impression de réglage de la température du lit, ajustez la cible de température du lit sur l’imprimante pour qu’elle corresponde à la température l’écart déterminé lors de l’inspection du réglage de la température du lit.
Remarque :
Deux imprimantes fonctionnant côte à côte peuvent nécessiter des cibles de température du lit différentes.
Pour régler la cible de température du lit :