Nota:
Se la stampa fallisce all'inizio a causa di strappi del letto di stampa, riduci la temperatura prevista del letto di stampa di 2 °C e riprova a stampare.


The print process for Fuse 1 generation printers requires that the material be sintered at a precise temperature, which is measured by the printer’s IR sensor. While most printers maintain this temperature without the need for adjustment, some print defects and issues can be addressed by fine-tuning the print bed temperature.
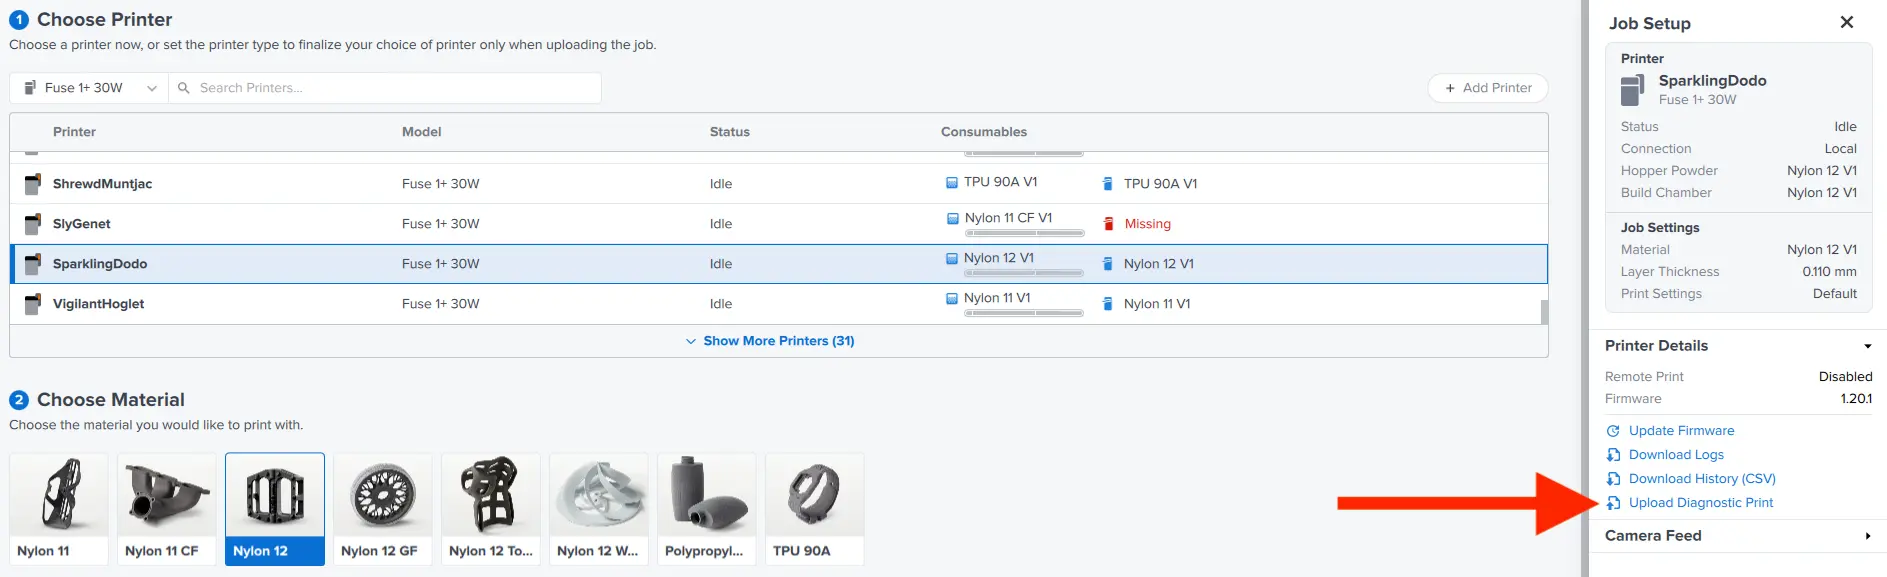
Formlabs recommends tuning the bed temperature of your printer before printing with Nylon 12 Powder for the first time. Fine-tuning the bed temperature prior to printing your first build results in fewer surface defects on your parts caused by variable printer temperatures. This process is run as a diagnostic print, uploaded through PreForm to the printer. The print contains several parts that need to be cleaned and inspected to determine the necessary temperature offset for your printer. This process should be run on aged powder, refreshed with 30% fresh powder. If you do not have any used powder on hand, age a batch of fresh powder before printing the bed temperature tuning diagnostic tool.
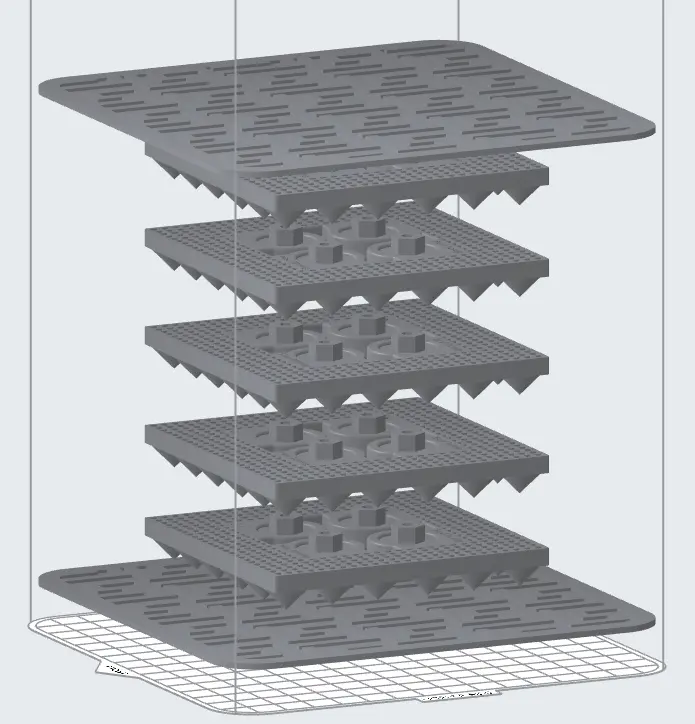
Stampa per la regolazione della temperatura del letto.
Nota:
Se la stampa fallisce all'inizio a causa di strappi del letto di stampa, riduci la temperatura prevista del letto di stampa di 2 °C e riprova a stampare.
Clean parts
Extract parts using the Fuse Sift or the Fuse Depowdering Kit. Excess powder can be sifted with fresh powder and re-used.
Clean parts prior to inspection either using the Fuse Blast or other media blasting solutions. Extract the five plaques with cones. The additional flat plaques in the build create equal cooling and separation between the cone plaques during the print and can be discarded.
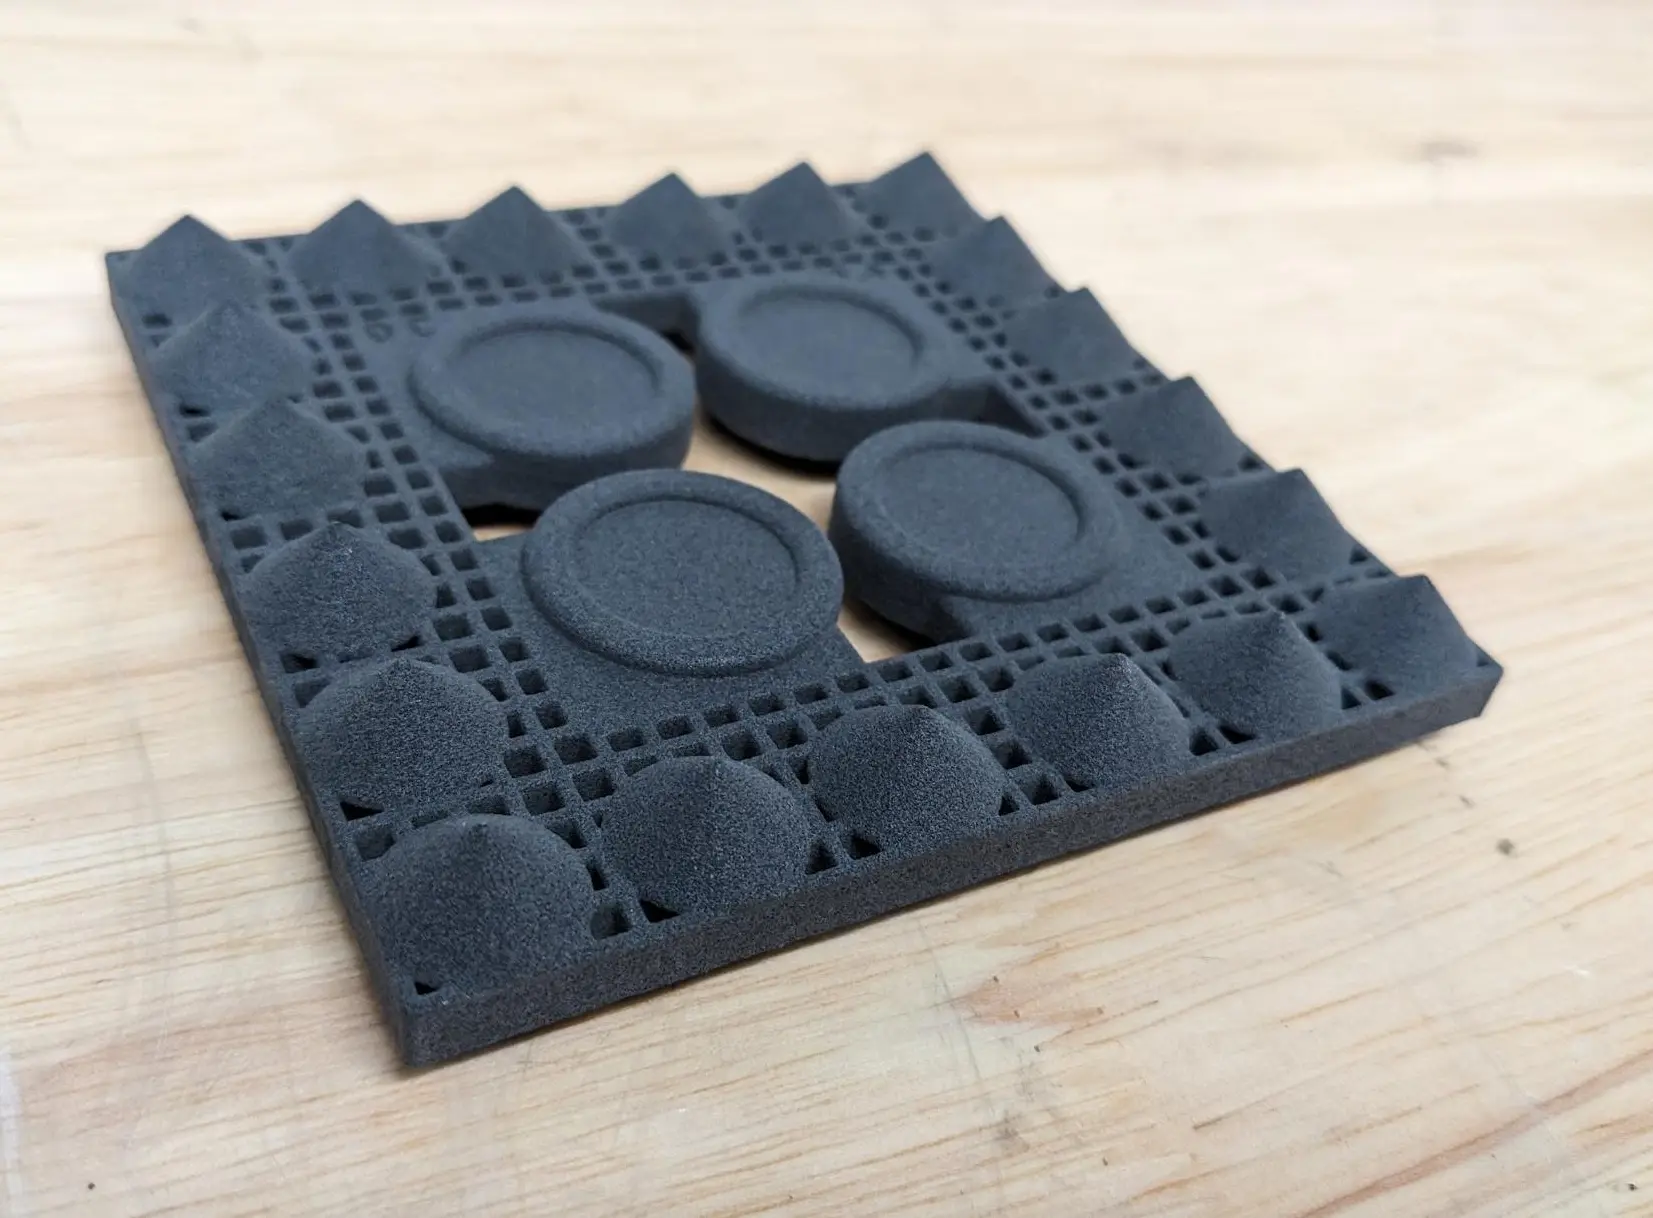
Each plaque lists the temperature offset it was printed with (-2 ºC, -1 ºC, 0 ºC, +1 ºC, +2 ºC). Line the plaques up from -2 ºC to +2 ºC to prepare them for inspection.
Ispezione delle placche
Note:
If the test print fails and not all plaques are completed, complete the inspection using the plaques that printed successfully. The correct offset will be included in the parts that printed successfully.
To determine the appropriate temperature offset for your printer, look for two things:
Rotate the plaques to inspect the cones from all angles. Orange peel appears as a slightly layered surface on the cones. Pitting appears as a tiny dot on the opposite side of the plaques.
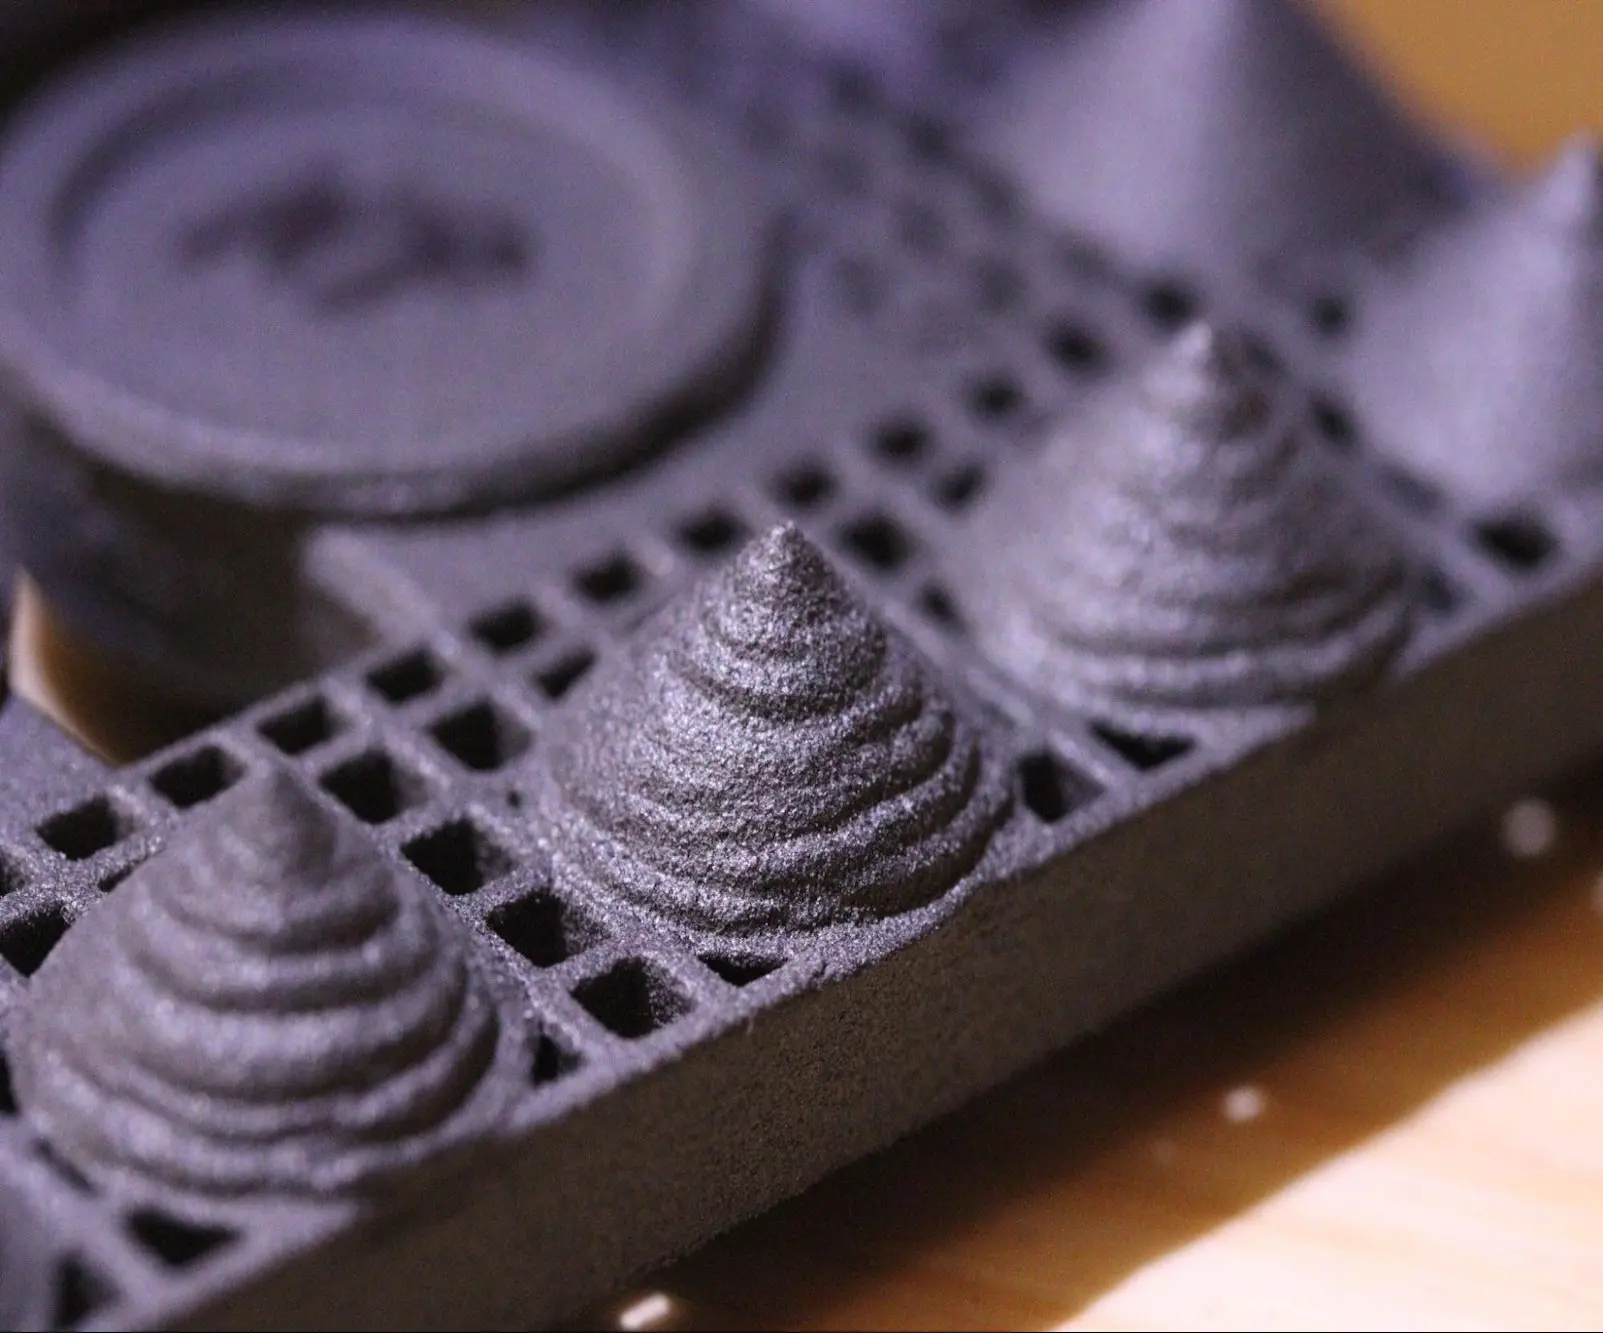
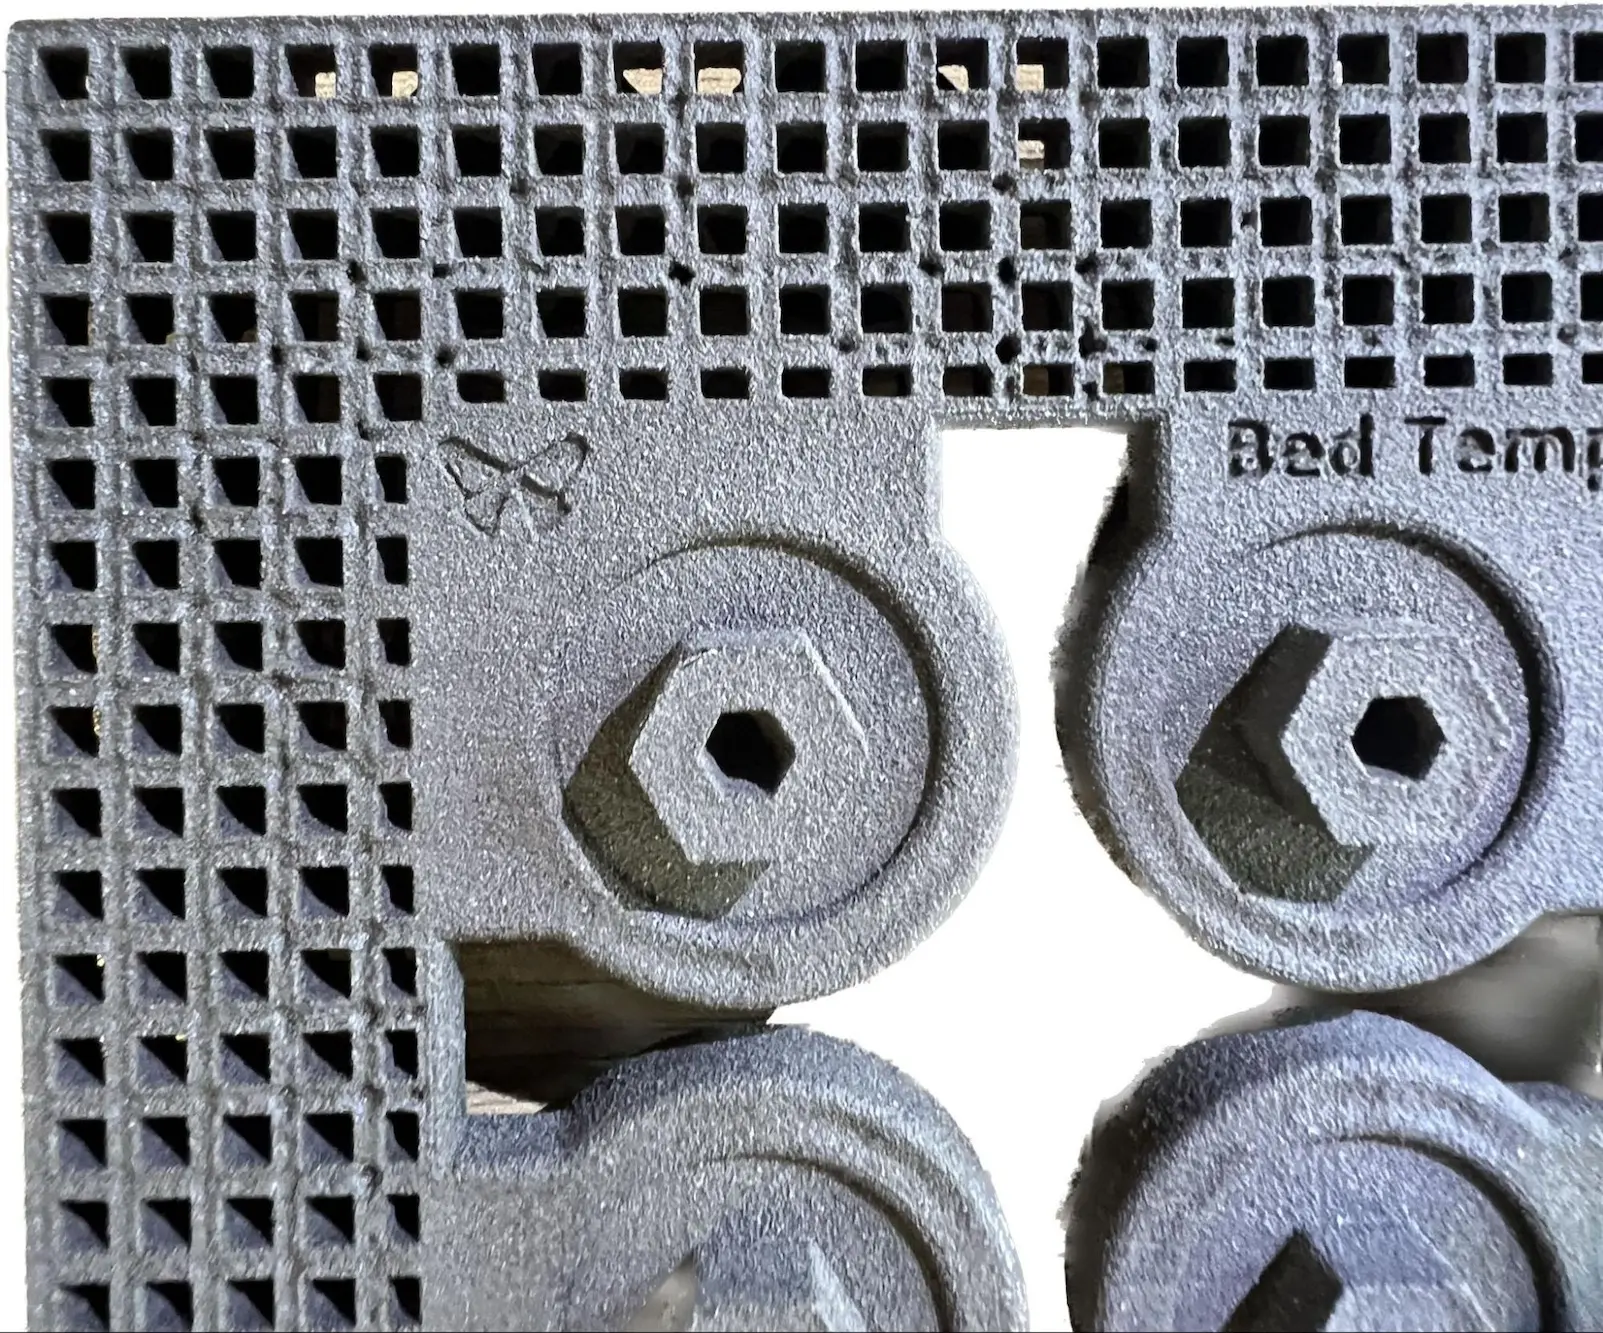
After inspecting all five plaques, determine the offset temperature that best matches the above criteria using the temperature offsets listed on the plaques. This offset can then be manually set on the machine.
Note:
The correct offset temperature may lie between two plaques, and the correct offset may be a half degree between the printed plaques (ie. +1.5 ºC).
Impostazione della temperatura prevista del letto di stampa
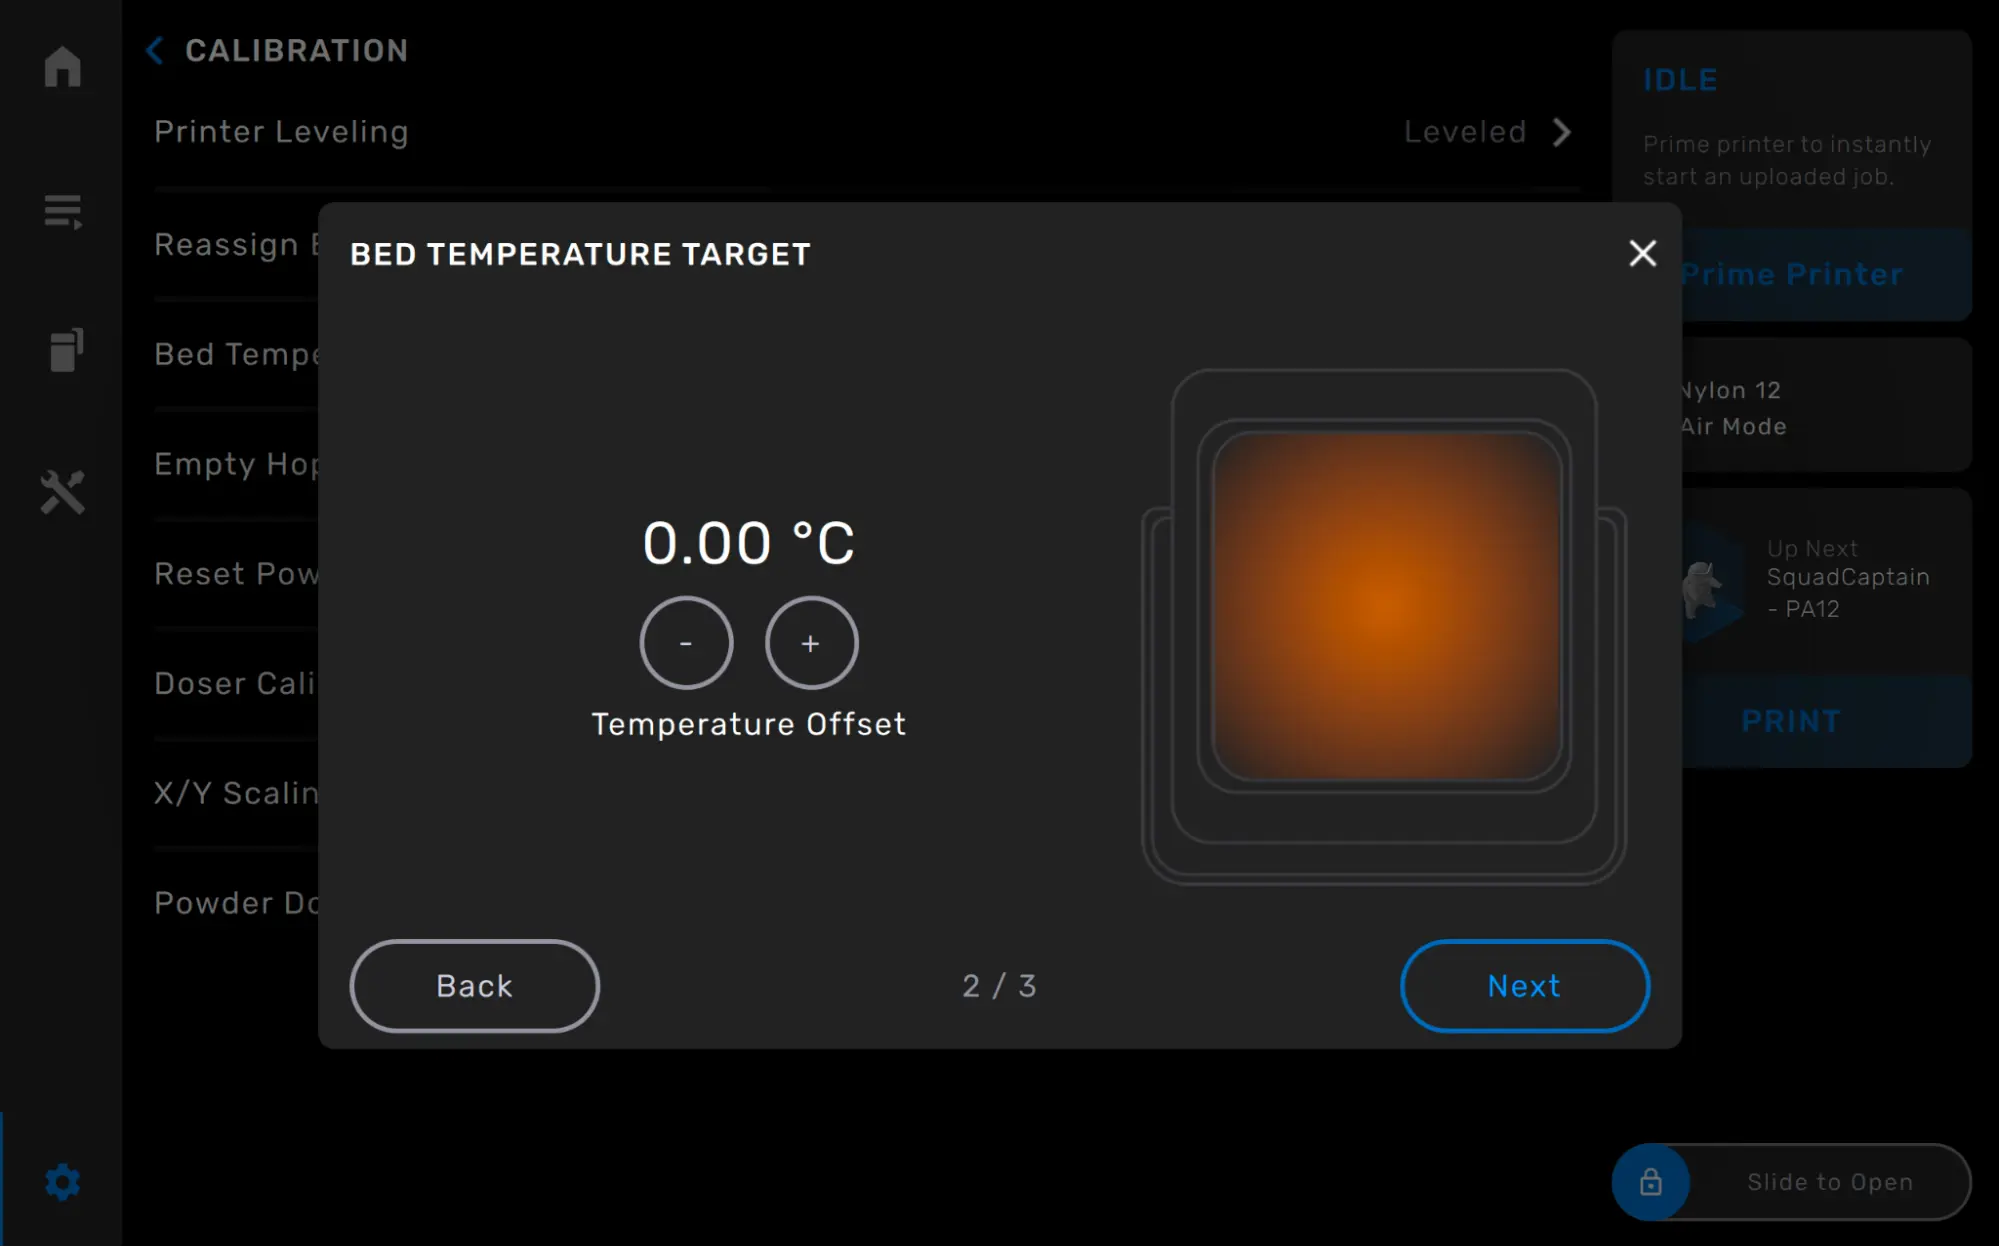
La temperatura prevista del letto di stampa può essere regolata fino a ±5 °C con incrementi di 0,25 °C. Dopo della stampa di regolazione della temperatura del letto di stampa, regola la temperatura del letto di stampa sull'unità per farla corrispondere alla offset determinato durante l'ispezione della regolazione della temperatura del letto di stampa.
Nota:
Due stampanti che funzionano una accanto all'altra possono richiedere temperature previste del letto di stampa diverse.
Per regolare la temperatura prevista del letto di stampa: