

Layer shifting (Form 4 generation)
Layer shifting (Form 4 generation)
Layer shifting is a type of print failure where a model’s layers are displaced relative to the build platform or the earlier layers during the print. On Form 4 generation printers, this distortion is usually caused by a loose build platform dovetail.
Layer shifts can produce a variety of results:
- Sometimes models shift only once. In this case, the whole model starts printing offset from the previous layer.
- If there are multiple shifts, you’ll see different sets of layers built in the wrong spot. If the shifts are severe enough, the printed model might hang over the edge of the build platform. PreForm does not allow you to position parts this way, so this is a clear sign of layer shifts.
- Shifts can also occur while the raft is printing, before the supports or before the model itself.
Depending on your models’ geometry and the severity of the shifts, this may cause your print to fail because the shifted layers are no longer sufficiently supported by the rest of the part.
Visual symptoms
- Model shifts relative to the build platform or previous layers mid-print
- Poor layer registration
- Part of model hangs off the edge of the build platform
Animation showing a part printing with an early layer shift
Animation showing a part printing normally, with no layer shifting
Common causes
- Loose build platform dovetail
- Misaligned Form 4 Flex Build Platform print surface
- Malfunctioning Light Processing Unit (LPU)
- High forces on the build platform due to model geometry or layout
- Contaminated LPU release texture
Troubleshooting steps
- If you are printing with a Form 4 Flex Build Platform, check that the print surface is properly aligned with the build platform body.
- Check your model geometry and layout. High forces on the build platform, particularly when each layer separates from the resin tank, can contribute to layer shifting.
- Use the Slicer tool to check for layers with a large surface area on one side of the build platform.
- Check your models for cups. Rotate the models to mitigate cupping issues or add a drainage hole.
- Clean the LPU release texture. Contamination on the release texture can cause a variety of print failures. A failed print that partially recovers can sometimes look like a layer shifting failure.
- On Form 4 generation printers, the build platform mounts on the build platform dovetail assembly, which includes the build platform latch. Any issues with the dovetail assembly may cause alignment issues for the build platform and the LPU surface.
- Use a 4 mm wrench or other suitable tool to tighten the drawbar on the underside of the build platform dovetail assembly by a half turn.
- Insert a build platform, lower the build platform latch, and try moving the build platform by hand to see if it is loose.
- If the build platform is still loose, tighten the drawbar another half turn and test the build platform again.
- If the build platform latch is too tight to fully close, loosen the drawbar slightly and test the build platform again.
- Align the build platform before trying another print.
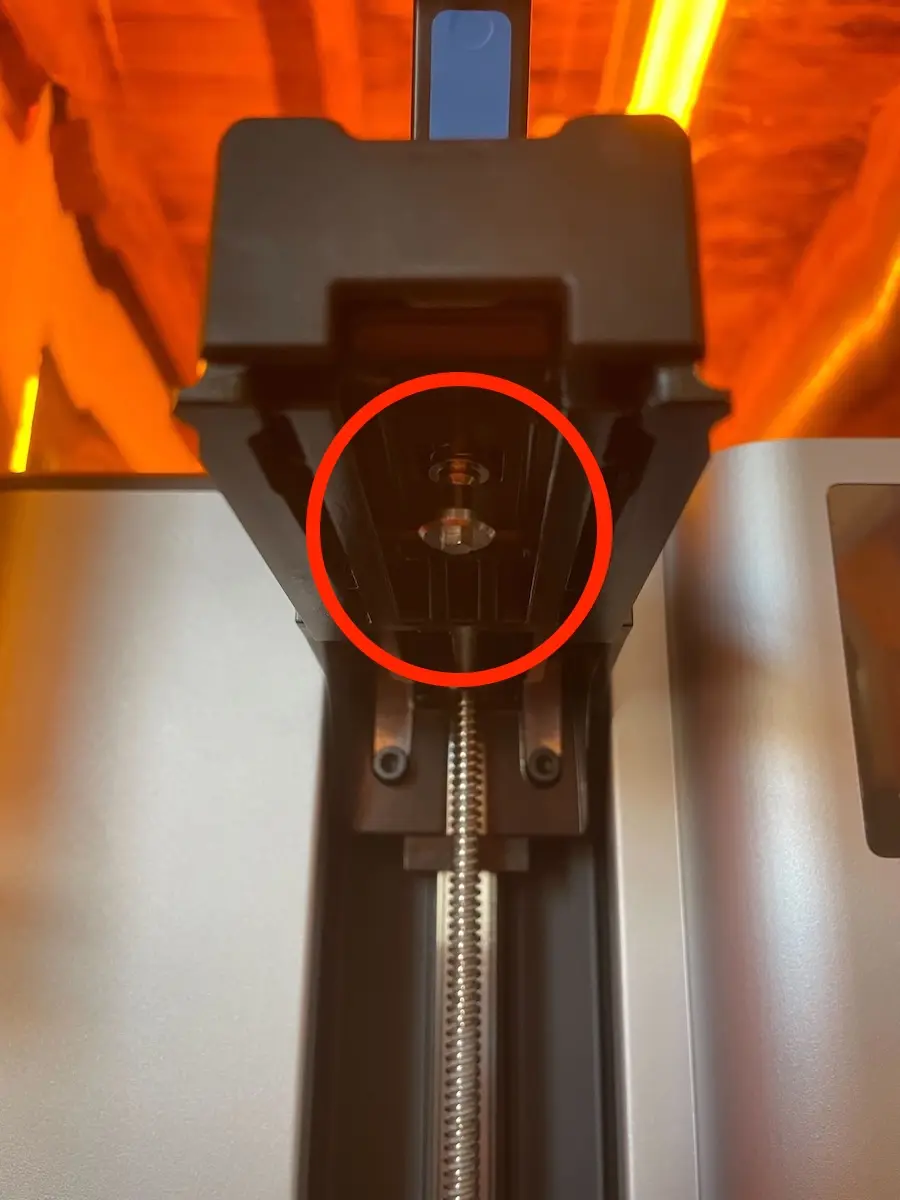
- Inspect the Light Processing Unit and Backlight Unit using the built-in Inspect optics tool. Follow the linked support article for additional troubleshooting if needed.
- If the issue persists, particularly if it was temporarily resolved by tightening the build platform dovetail, replace the dovetail assembly. Replacement dovetail assemblies are available for purchase on the Formlabs Store. Follow the guide Replacing the Form 4 build platform dovetail assembly to replace the component.
Contacting Formlabs Support
If the troubleshooting steps above do not resolve the print failure, contact Formlabs Support or your authorized reseller.
To help us provide the fastest and most effective response to your issue, please provide the following information:
- Upload diagnostic logs.
- Serial name of the printer
- The serial name is on the back panel of the printer in the format AdjectiveAnimal.
- Tap the printer icon on the Home screen.
- Troubleshooting steps attempted
- Example: “I reoriented the model in PreForm. I inspected the resin tank and did not notice any damage, clouding, or debris.”
- Resin formulation and lot number
- The lot number is inside the skirt of the resin cartridge.
- Layer thickness
- Tap Queue on the Home screen. The Queue screen appears.
- Relevant FORM files
- If available, attach FORM files of the model to the support request.
- Previous attempts to print the part and any successful prints
- Example: “I printed the file part2.form three times previously. The first and second were successful. The third one failed.”