Anmerkung:
Wenn der Druck zu Beginn aufgrund von Bettrissen fehlschlägt, reduzieren Sie die Betttemperatur-Sollwert um 2 °C und versuchen Sie den Druck erneut.


Der Druckvorgang für Drucker der Generation Fuse 1 erfordert ein Sintern des Materials bei einer präzisen Temperatur, die vom IR-Sensor des Druckers gemessen wird. Obschon die meisten Drucker diesen Temperatursollwert ohne Anpassungen einhalten, können einige Druckfehler und Probleme durch eine Feinabstimmung der Druckbetttemperatur behoben werden.
Formlabs empfiehlt, die Temperatur des Druckbetts Ihres Druckers einzustellen, bevor Sie zum ersten Mal mit Nylon 12 Powder drucken. Die Feinabstimmung der Druckbetttemperatur vor dem ersten Druck führt zu weniger Oberflächenfehlern an Ihren Teilen. Solche Fehler werden oft durch unterschiedliche Druckertemperaturen verursacht. Dieser Vorgang wird als Diagnose-Druck ausgeführt, der über PreForm an den Drucker gesendet wird. Der Druck enthält mehrere Teile, die gereinigt und geprüft werden müssen, um den erforderlichen Temperaturversatz für Ihren Drucker zu ermitteln. Dieses Verfahren sollte mit gealtertem Pulver durchgeführt werden, das mit 30 % Frischpulver aufgefrischt wird. Wenn Sie kein gebrauchtes Pulver zur Hand haben, lassen Sie eine Charge Frischpulver altern, bevor Sie das Diagnosewerkzeug zur Abstimmung der Temperatur des Druckbetts drucken.
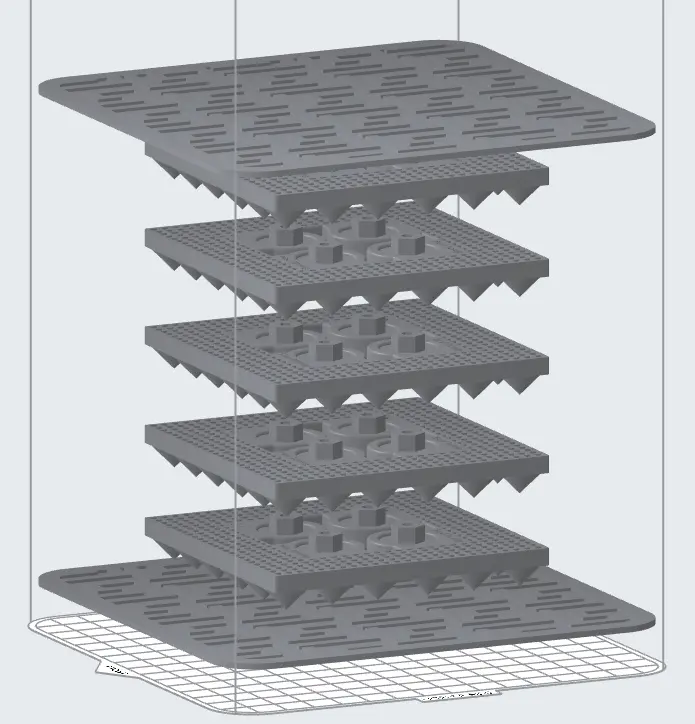
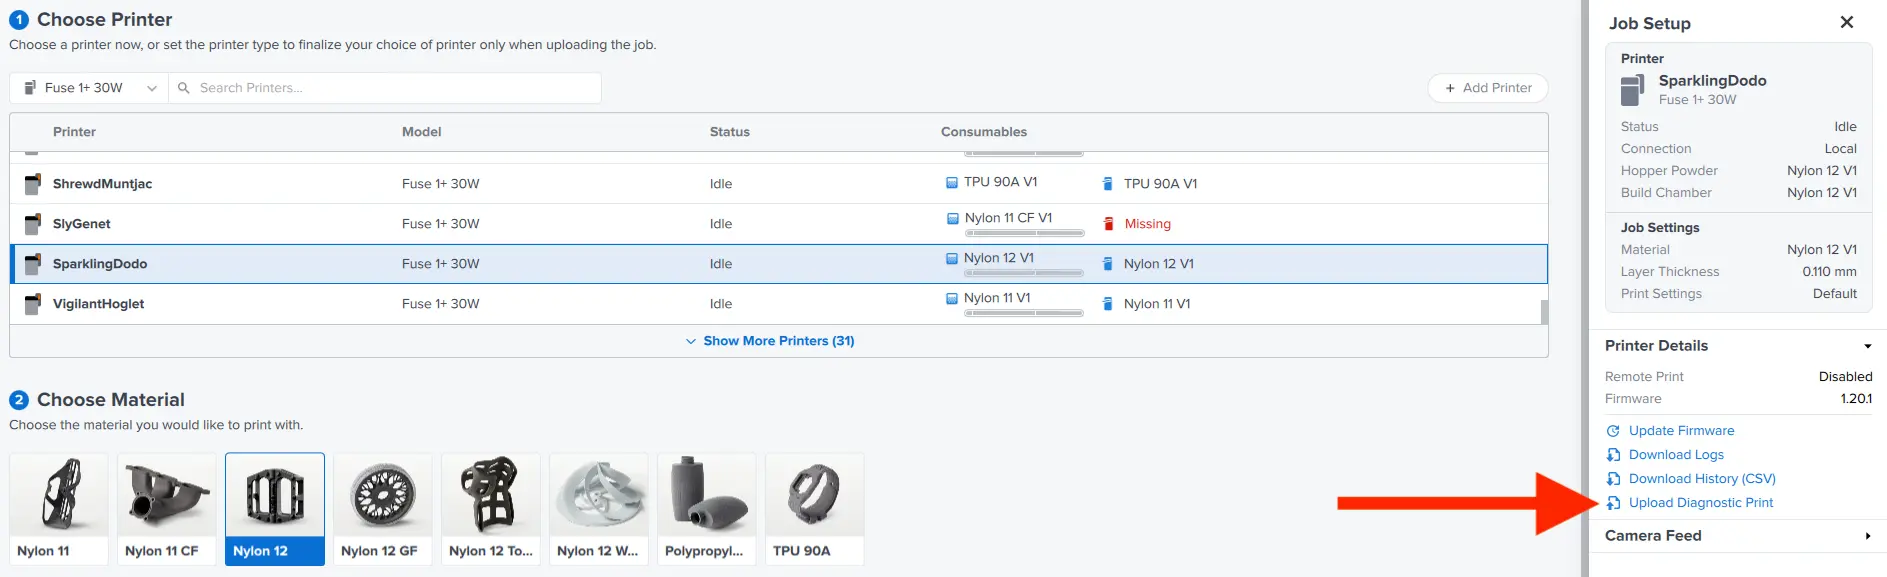
Lassen Sie den Betttemperaturfeinabstimmungsdruck laufen
Anmerkung:
Wenn der Druck zu Beginn aufgrund von Bettrissen fehlschlägt, reduzieren Sie die Betttemperatur-Sollwert um 2 °C und versuchen Sie den Druck erneut.
Clean parts
Extract parts using the Fuse Sift or the Fuse Depowdering Kit. Excess powder can be sifted with fresh powder and re-used.
Clean parts prior to inspection either using the Fuse Blast or other media blasting solutions. Extract the five plaques with cones. The additional flat plaques in the build create equal cooling and separation between the cone plaques during the print and can be discarded.
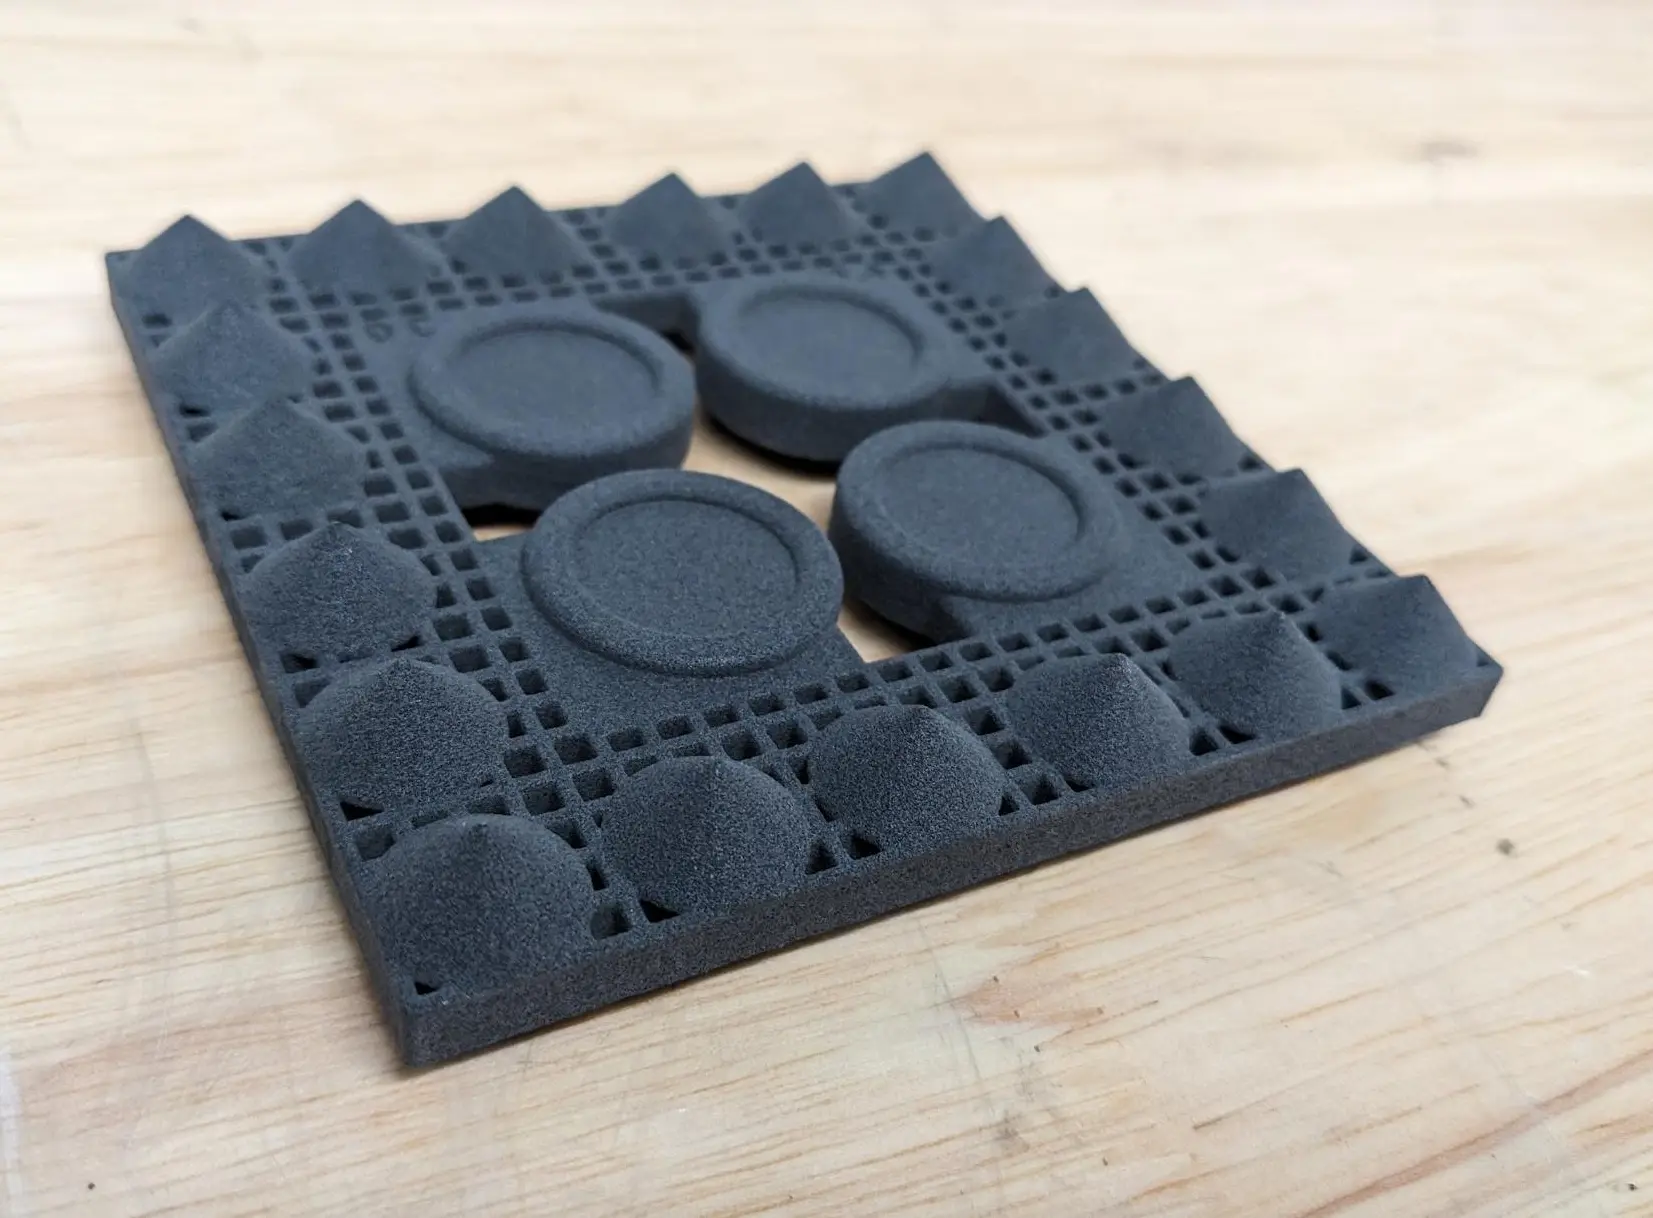
Each plaque lists the temperature offset it was printed with (-2 ºC, -1 ºC, 0 ºC, +1 ºC, +2 ºC). Line the plaques up from -2 ºC to +2 ºC to prepare them for inspection.
Prüfen Sie die Platten
Note:
If the test print fails and not all plaques are completed, complete the inspection using the plaques that printed successfully. The correct offset will be included in the parts that printed successfully.
To determine the appropriate temperature offset for your printer, look for two things:
Rotate the plaques to inspect the cones from all angles. Orange peel appears as a slightly layered surface on the cones. Pitting appears as a tiny dot on the opposite side of the plaques.
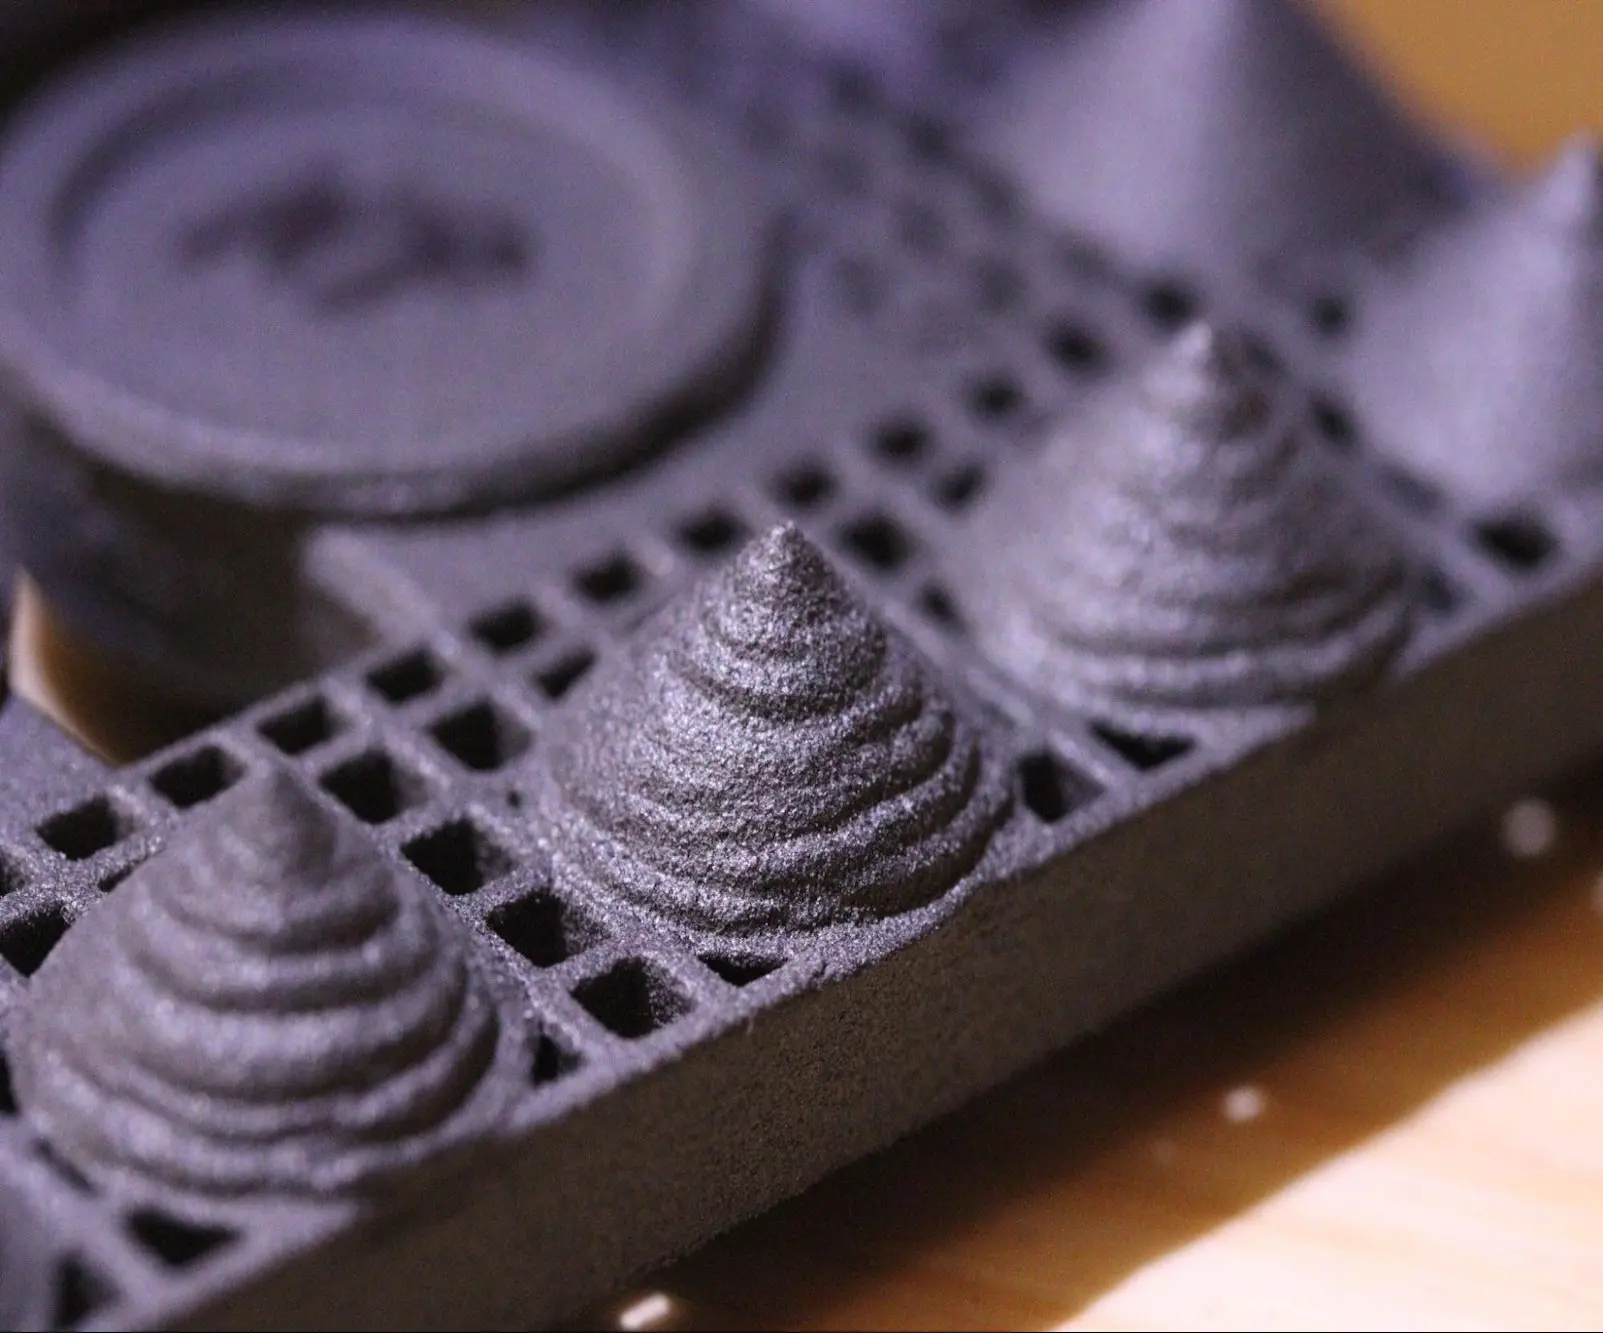
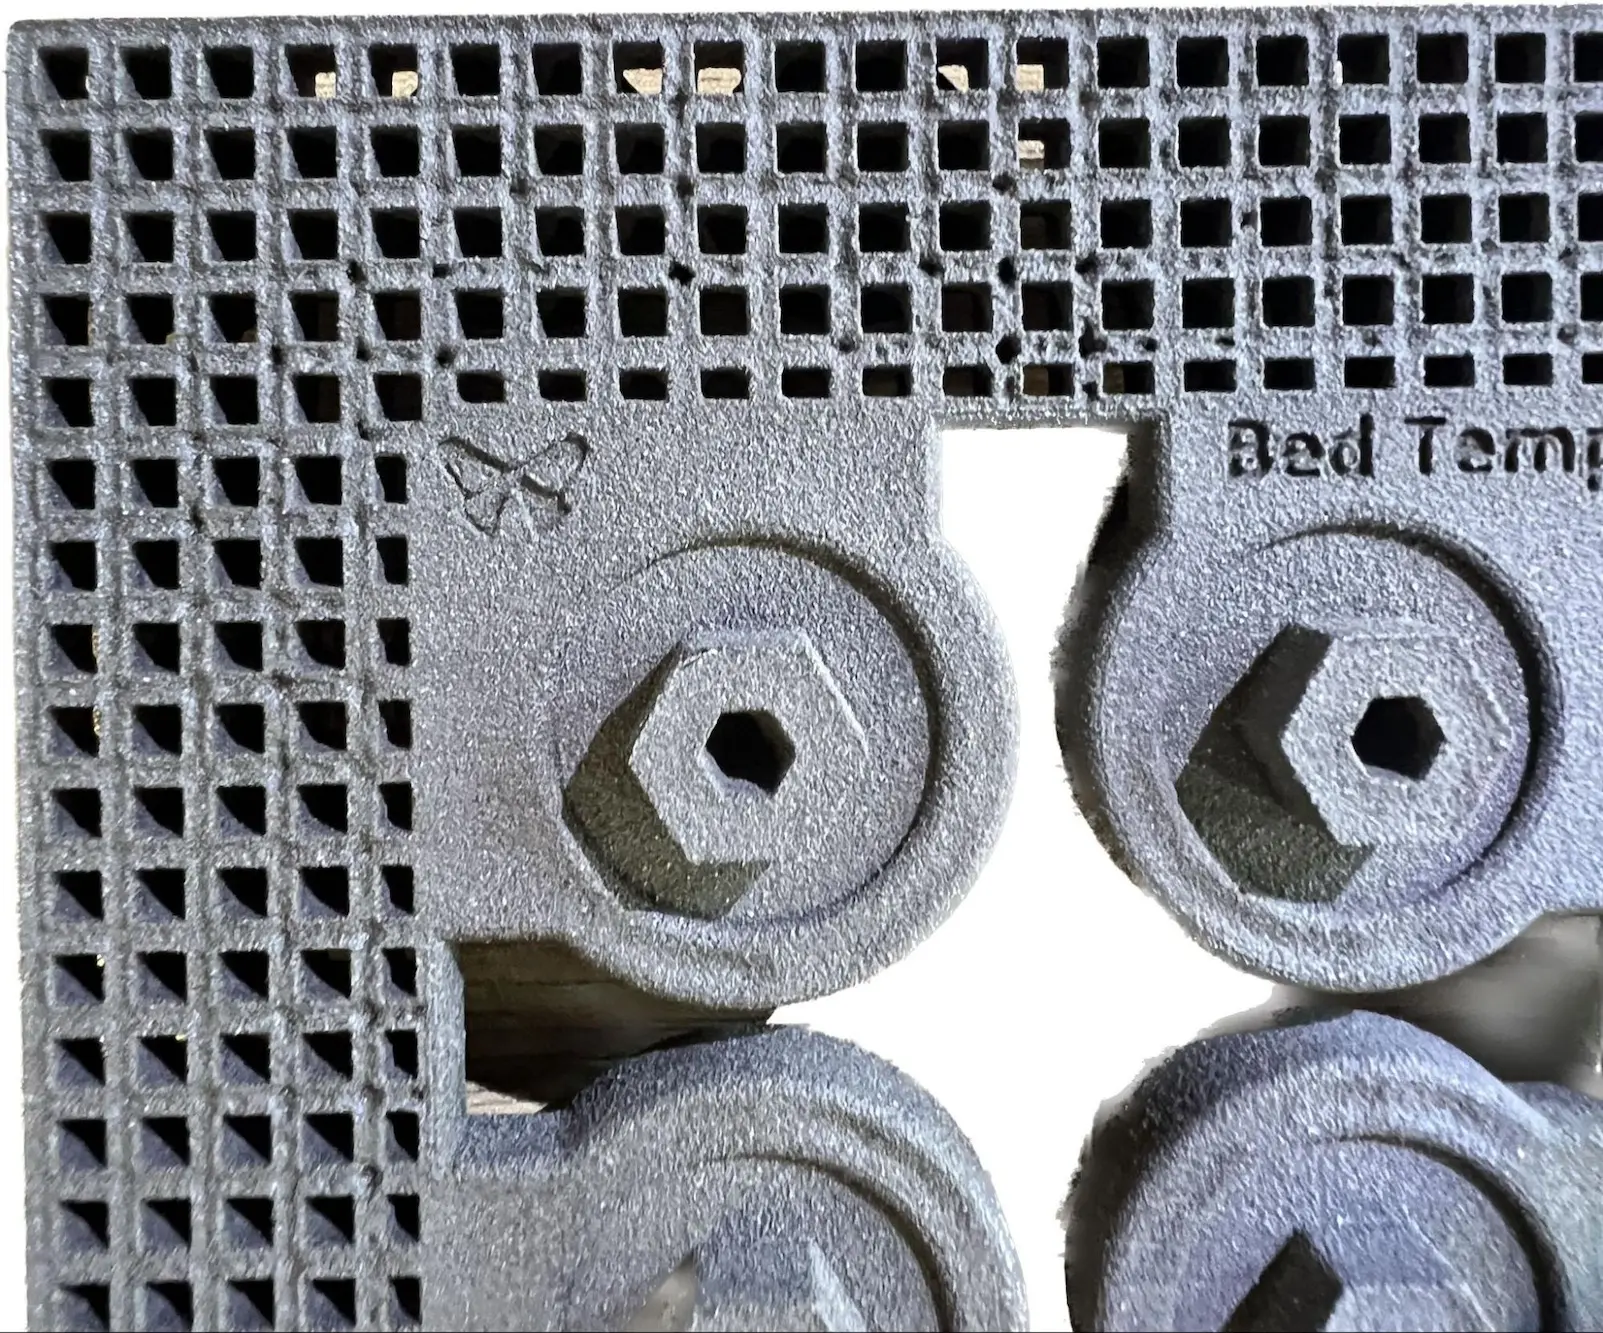
After inspecting all five plaques, determine the offset temperature that best matches the above criteria using the temperature offsets listed on the plaques. This offset can then be manually set on the machine.
Note:
The correct offset temperature may lie between two plaques, and the correct offset may be a half degree between the printed plaques (ie. +1.5 ºC).
Einstellen der Bett-Solltemperatur
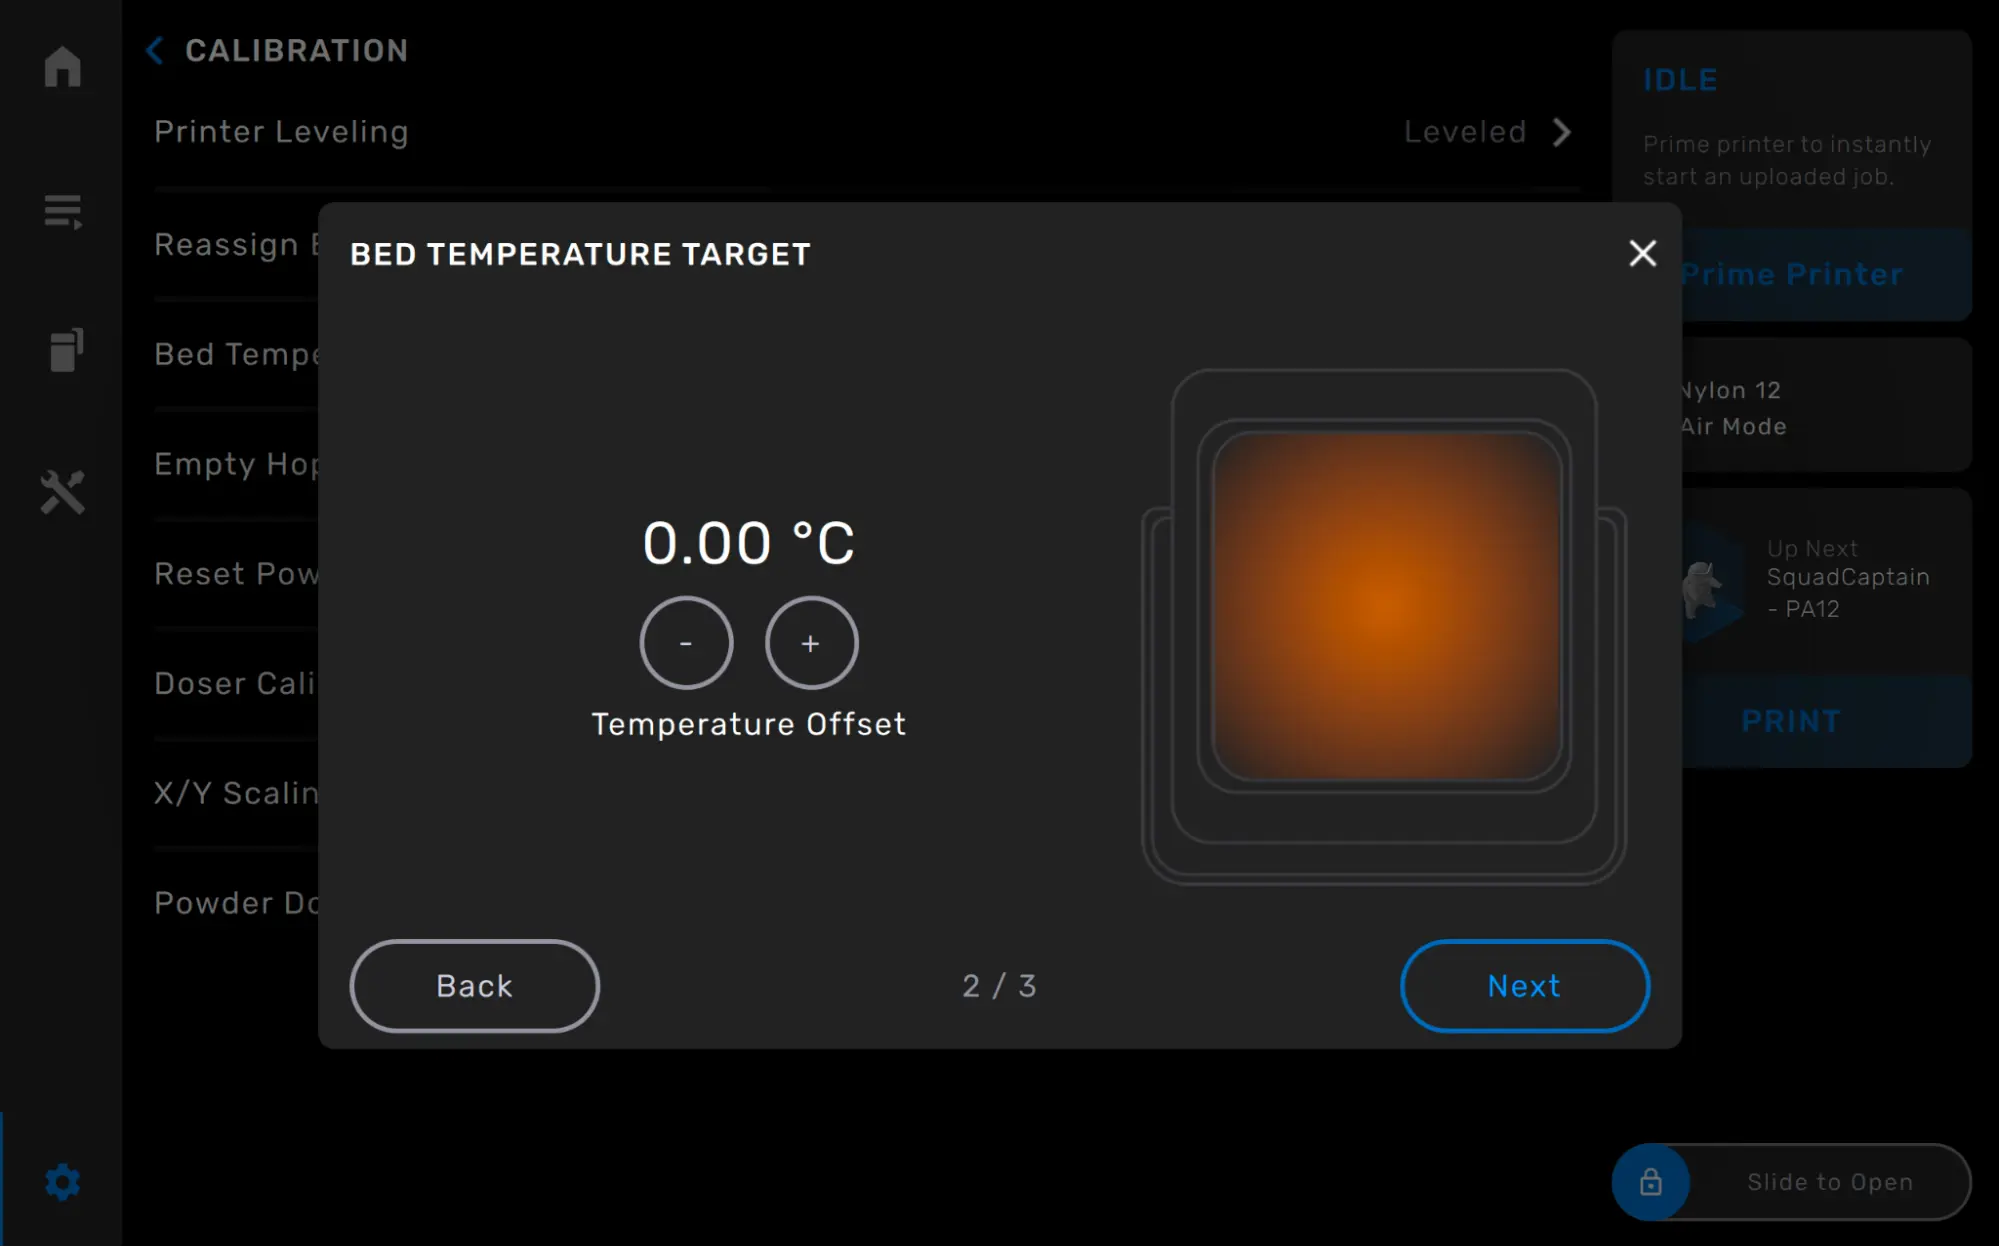
Die Betttemperatur-Sollwert kann in Schritten von 0,25 °C um bis zu ±5 °C angepasst werden. Nachher Abschluss des Drucks zur Betttemperaturabstimmung die Betttemperatur-Sollwerteinstellung am Drucker an die Offset, das während der Inspektion der Betttemperaturabstimmung ermittelt wurde.
Anmerkung:
Zwei nebeneinander arbeitende Drucker können unterschiedliche Bettsolltemperaturen erfordern.
So passen Sie die Bettsolltemperatur an: