
Recommended for:
- Prototyping
- Functional assemblies
- Snap fits
- Hinges
- Jigs and fixtures

Tough 1500 Resin produces stiff and pliable parts that bend and spring back quickly under repeated use. This material is ideal for functional prototypes, jigs and fixtures, and connectors undergoing temporary deflection or high impacts.
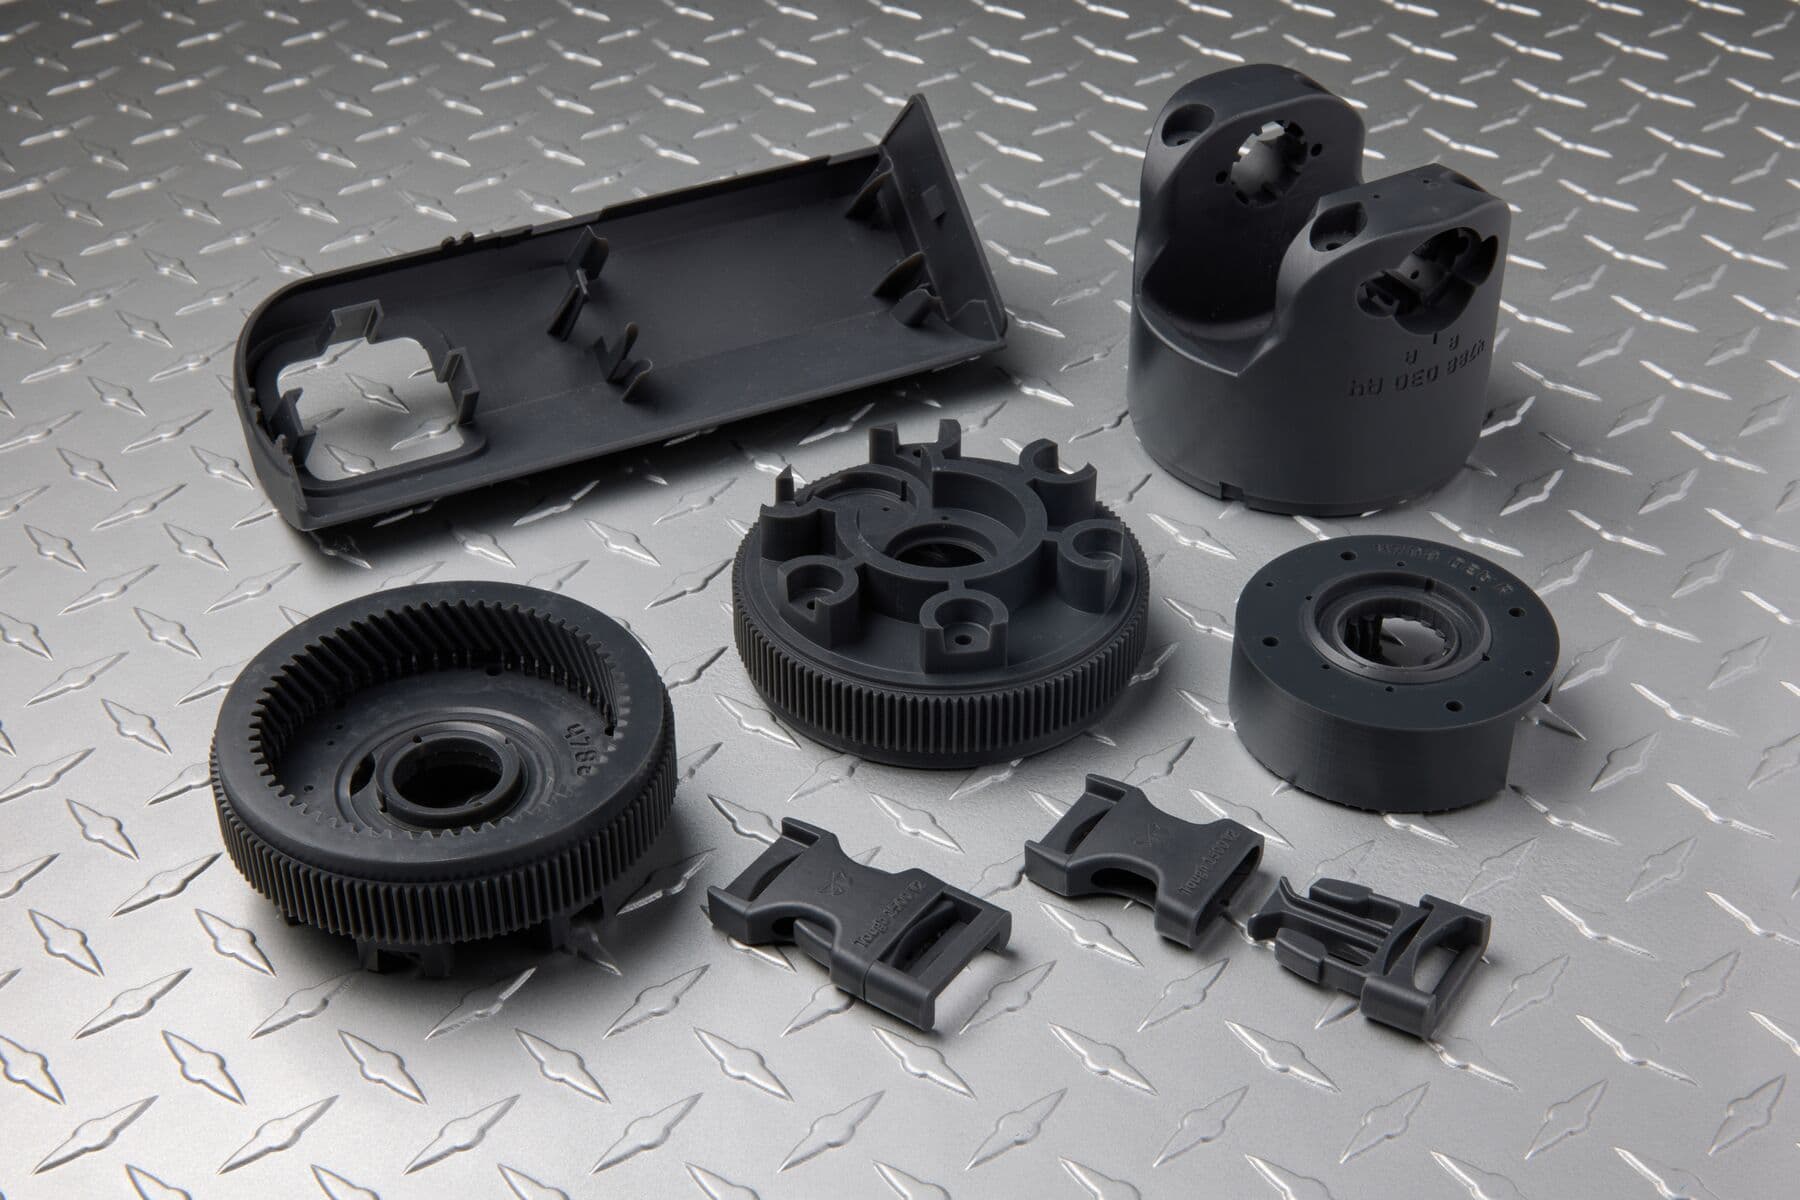
Formlabs developed Tough 1500 Resin to bridge the gap in mechanical properties between Tough 1000 Resin and Tough 2000 Resin. Tough 1500 Resin performs similarly to polypropylene in terms of strength and stiffness, which makes it an excellent choice for prototyping products that will be made from that material.
Note:
Comparison with other materials
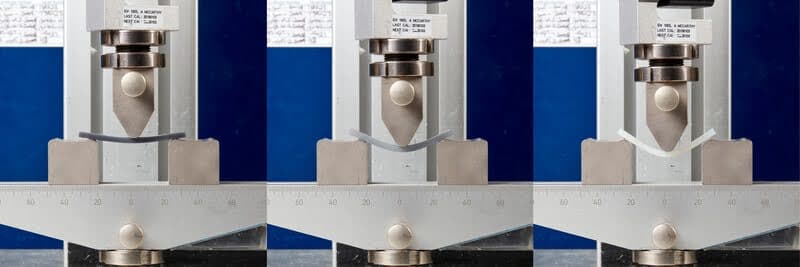
Tough 1500 Resin has material properties that fall between Tough 1000 Resin and Tough 2000 Resin, making it a resilient, robust and versatile material.
See the table below for a comparison of relevant material properties:
| Resin | Tough 1000 Resin (post-cured) | Tough 1500 Resin V2 (post-cured) | Tough 2000 Resin V2 (post-cured) |
|---|---|---|---|
| Ultimate Tensile Strength (MPa) | 26.3 | 34 | 40.4 |
| Tensile Modulus (MPa) | 932 | 1,460 | 1,800 |
| Elongation at Break (%) | 180 | 155 | 79 |
| Gardner Impact Strength @ 1/32 in (0.8 mm) (J) | 13.1 | 5.9 | 1.6 |
| Work of Fracture (J/m2) | 3200 | 1,011 | 305 |
| Heat Deflection Temp @ 0.45 MPa (ºC) | 55.3 | 66 | 70 |
To learn more about the performance properties of Formlabs resins, refer to the library of material properties datasheets.
Required resources:
Printing with Tough 1500 Resin
Notice:
To avoid damage to equipment, check the resin tank compatibility table in Choosing the right material to confirm you are using a resin tank that is compatible with this material.
Notice:
Always use supports when printing with Tough 1500 Resin. Do not print parts directly on the build platform.
PreForm has two settings for Tough 1500 Resin: 50 microns and 100 microns. For more information about available settings and compatibility, see the support article Choosing the right material.
Printing and installing a cartridge shim
The newest Tough family of resins (Tough 1000 Resin V1, Tough 1500 Resin V2, and Tough 2000 Resin V2) cause the resin cartridge bite valve to swell over time. A swollen bite valve dispenses resin more slowly, especially towards the end of a cartridge’s life. In a limited and contained number of cases, the bite valve can ultimately fall off the resin cartridge entirely, leading to a significant resin spill.
If your resin cartridge is from lot number 20251022 or later, it is not at risk for a resin spill, so you can print a shim that mitigates poor dispensing even if the valve swells. To prevent dispense interruptions caused by valve swelling, Formlabs recommends using this shim.
Notice:
If your resin cartridge’s lot number is earlier than 20251022, do not add a shim. Use it as normal until the printer displays Error 1.227.5 or Error 1.227.6, pour resin from the cartridge into the resin tank until the resin level reaches the maximum fill line marked on the resin tank frame, then discontinue use of the resin cartridge and contact Formlabs Support.
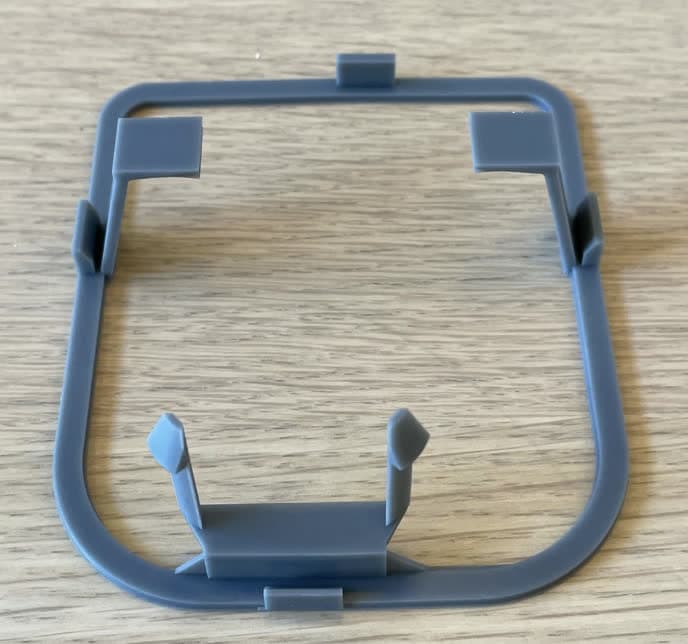
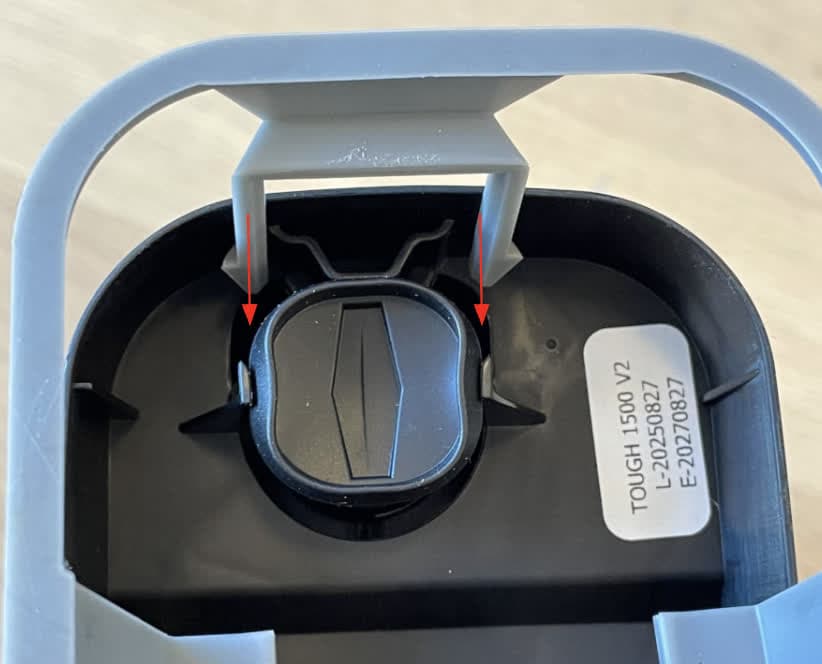
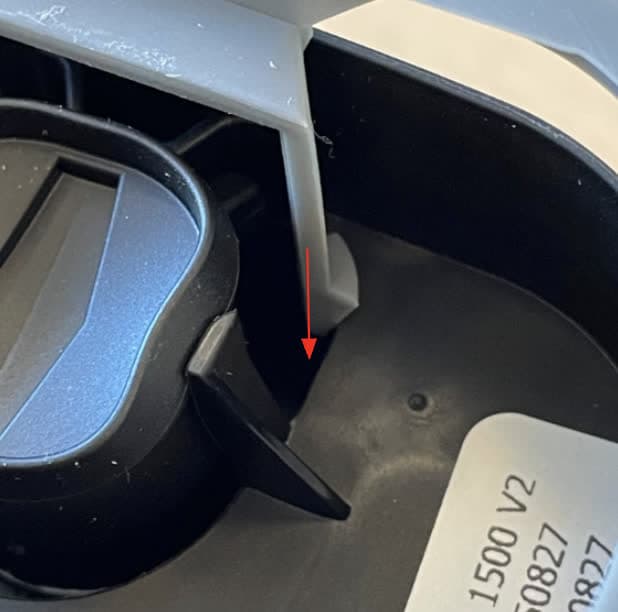
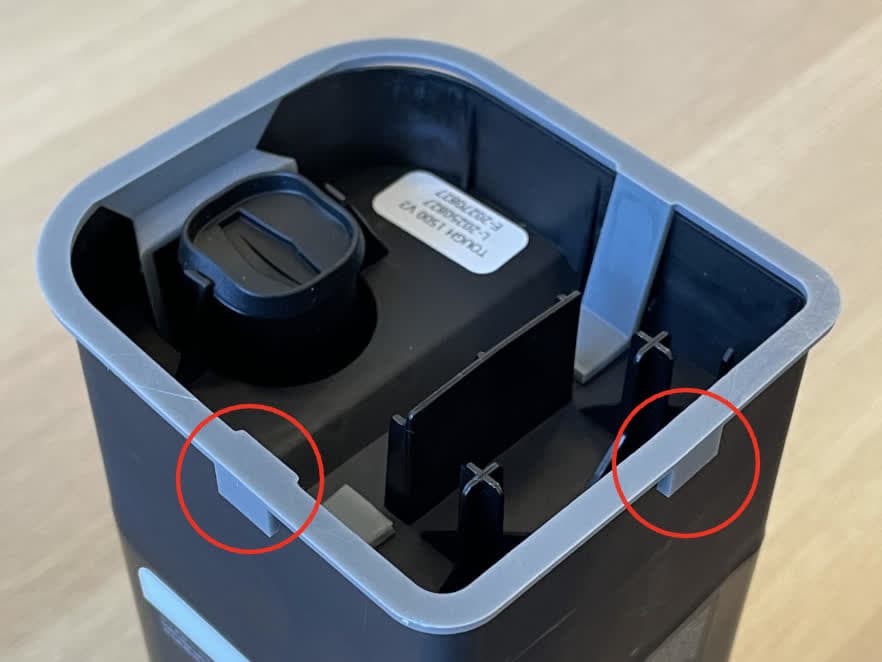
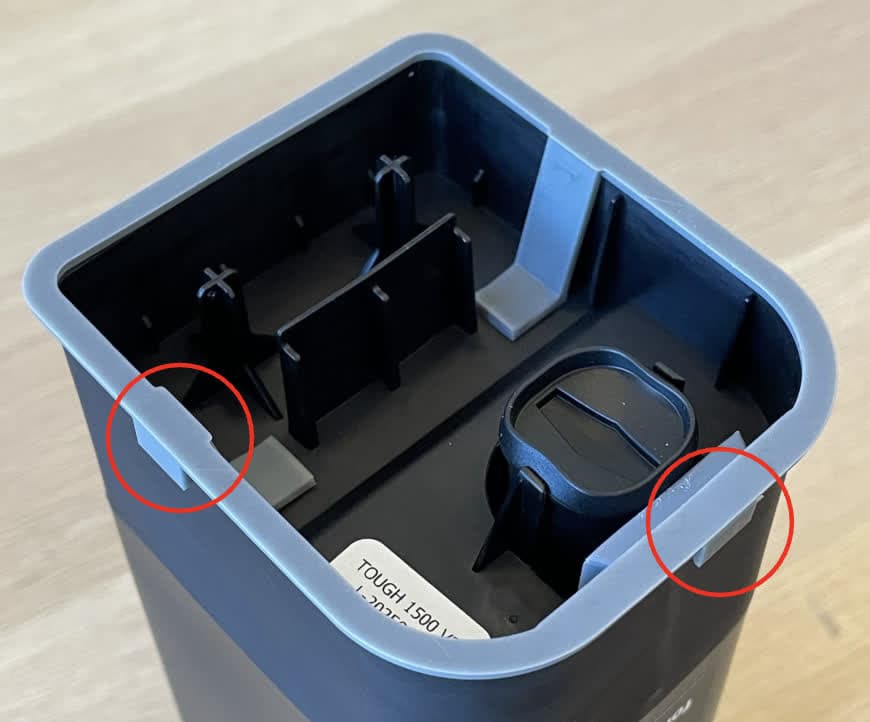
To install the cartridge shim:
Finishing
The Form Wash agitates the solvent bath and removes parts from the bath after a set time. Wash parts according to the support article Form Wash time settings. Pay particular attention to information that affects mechanical properties or biocompatibility requirements.
Notice:
If parts printed with Tough 1500 Resin will be used for skin contact use, wash parts in ≥99% IPA in a Form Wash for 20 minutes to comply with biocompatibility requirements.
If the model is hollow or has internal channels, ensure liquid resin is flushed out thoroughly from these features. Allow parts to fully dry before post-curing.
Post-curing requirements
Tough 1500 Resin requires post-curing to reach its optimal mechanical properties. Cure parts printed in Tough 1500 Resin on supports to prevent warping or distortion. Refer to the time and temperature settings for your machine for post-curing recommendations:
Additional resources