Consiglio:
Contatta immediatamente l'Assistenza Formlabs o il tuo rivenditore autorizzato se la fuoriuscita di resina è estesa o se la resina potrebbe aver raggiunto l'interno della stampante. Fornisci delle foto della fuoriuscita di resina.


Dopo una fuoriuscita di resina, pulisci e ispeziona immediatamente la stampante per ridurre al minimo il rischio di danni estetici o funzionali. Scopri quali sono le cause principali delle fuoriuscite di resina e come prevenirle.
Consiglio:
Contatta immediatamente l'Assistenza Formlabs o il tuo rivenditore autorizzato se la fuoriuscita di resina è estesa o se la resina potrebbe aver raggiunto l'interno della stampante. Fornisci delle foto della fuoriuscita di resina.
Cosa fare subito dopo una fuoriuscita di resina
Fuoriuscite di resina di entità ridotta sulle parti esterne della stampante sono innocue e possono avvenire nel corso di un normale utilizzo della stampante. Fuoriuscite di resina più consistenti potrebbero necessitare di una pulizia aggiuntiva, nonché di assistenza per valutare l'entità del potenziale danno e ridurne l'effetto. La presenza di resina all'interno della stampante potrebbe contaminare o intaccare dei componenti critici. In caso di fuoriuscite più estese, fotografa la fuoriuscita e contatta l'Assistenza Formlabs o il tuo rivenditore autorizzato per ricevere ulteriori indicazioni.
Panoramica
Avvertenza:
La resina potrebbe causare irritazioni cutanee o una reazione allergica a livello cutaneo. Indossa sempre i guanti quando maneggi la resina liquida o le superfici rivestite di resina. Lava la pelle con abbondante acqua e sapone.
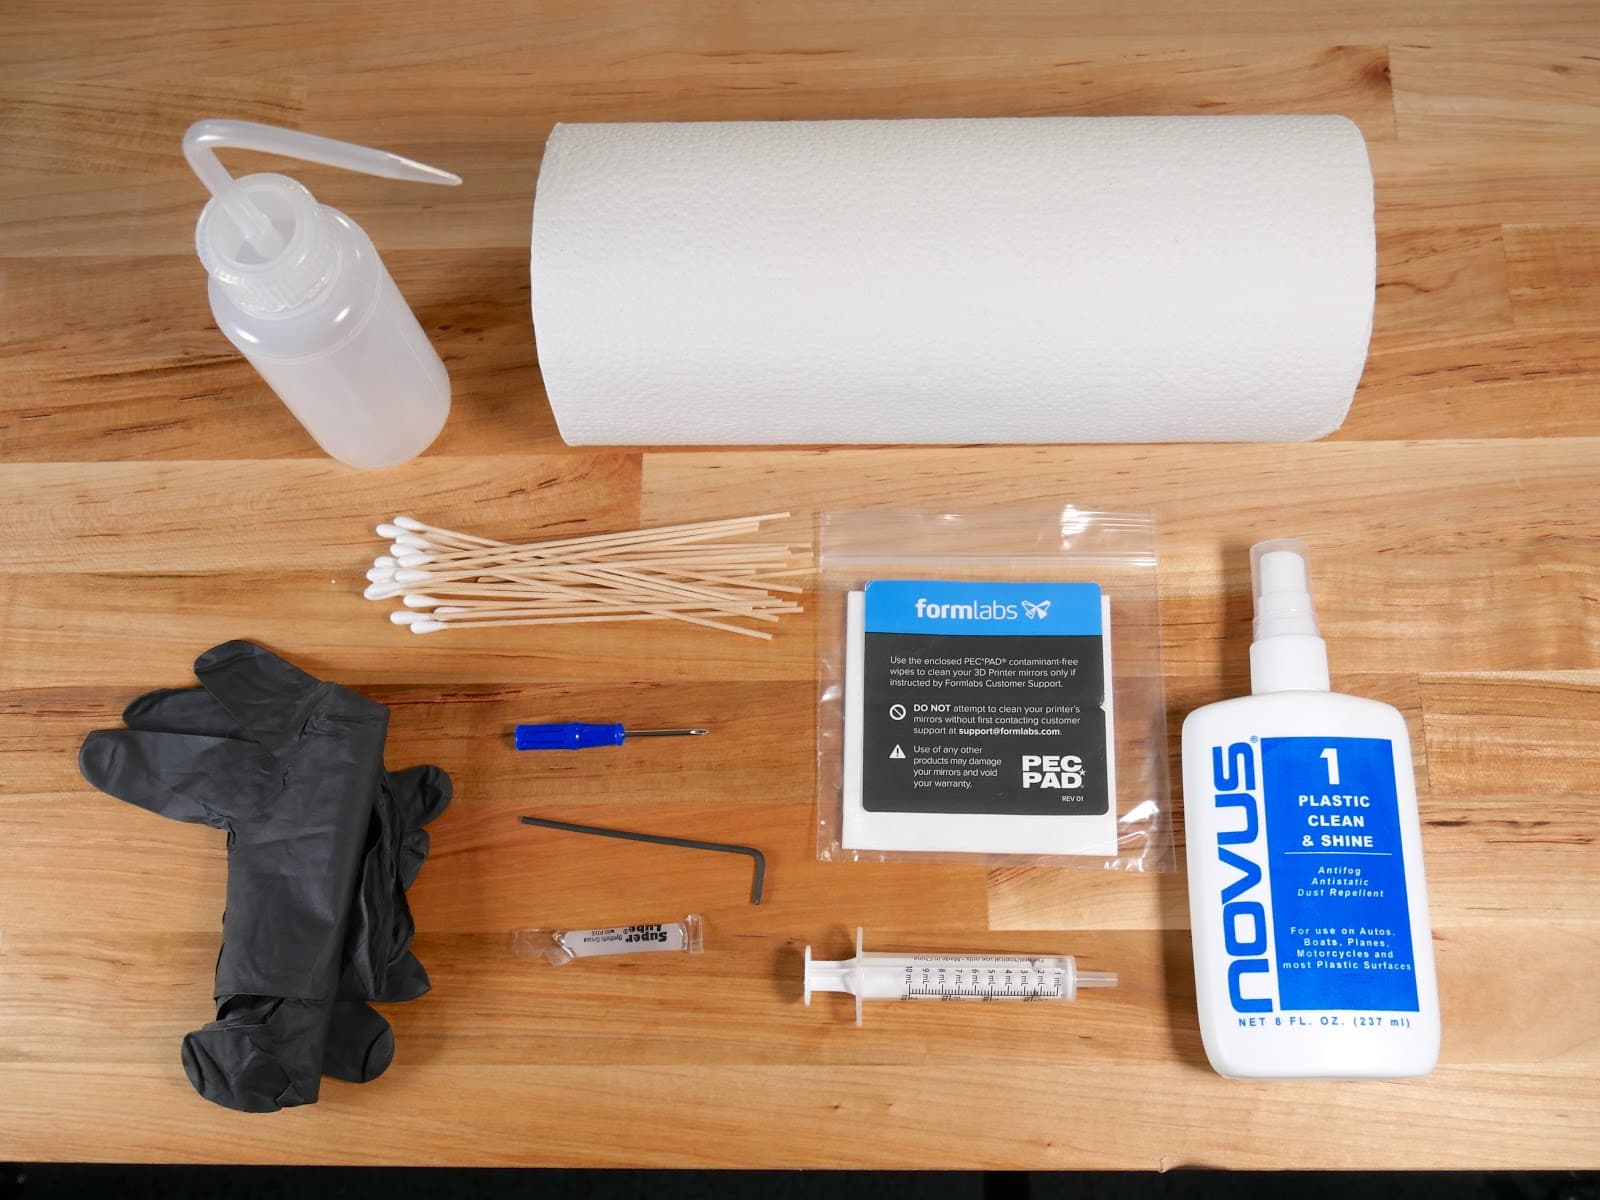
Strumenti consigliati:
Preparazione della stampante
Prepara la stampante per l'ispezione e la pulizia scollegandola dall'alimentazione elettrica e rimuovendo tutti i materiali di consumo.
Ispezione e pulizia delle superfici esterne
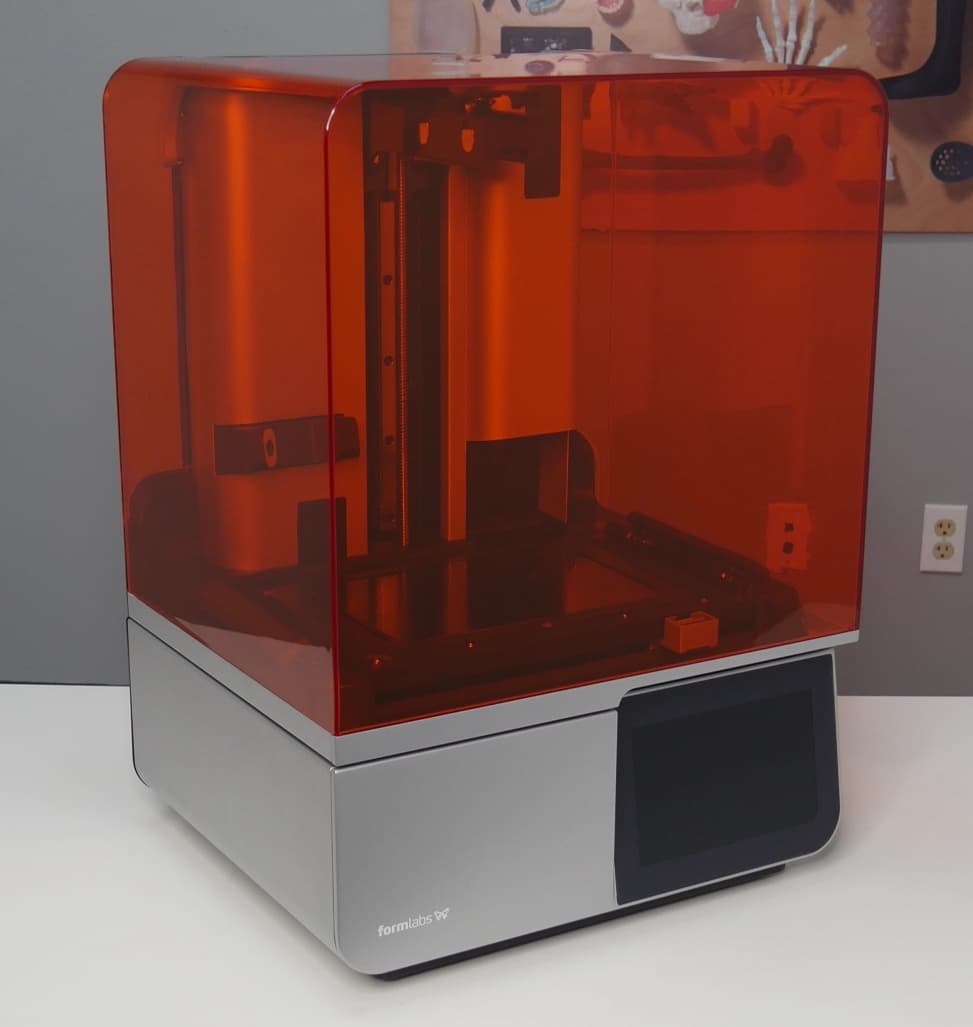
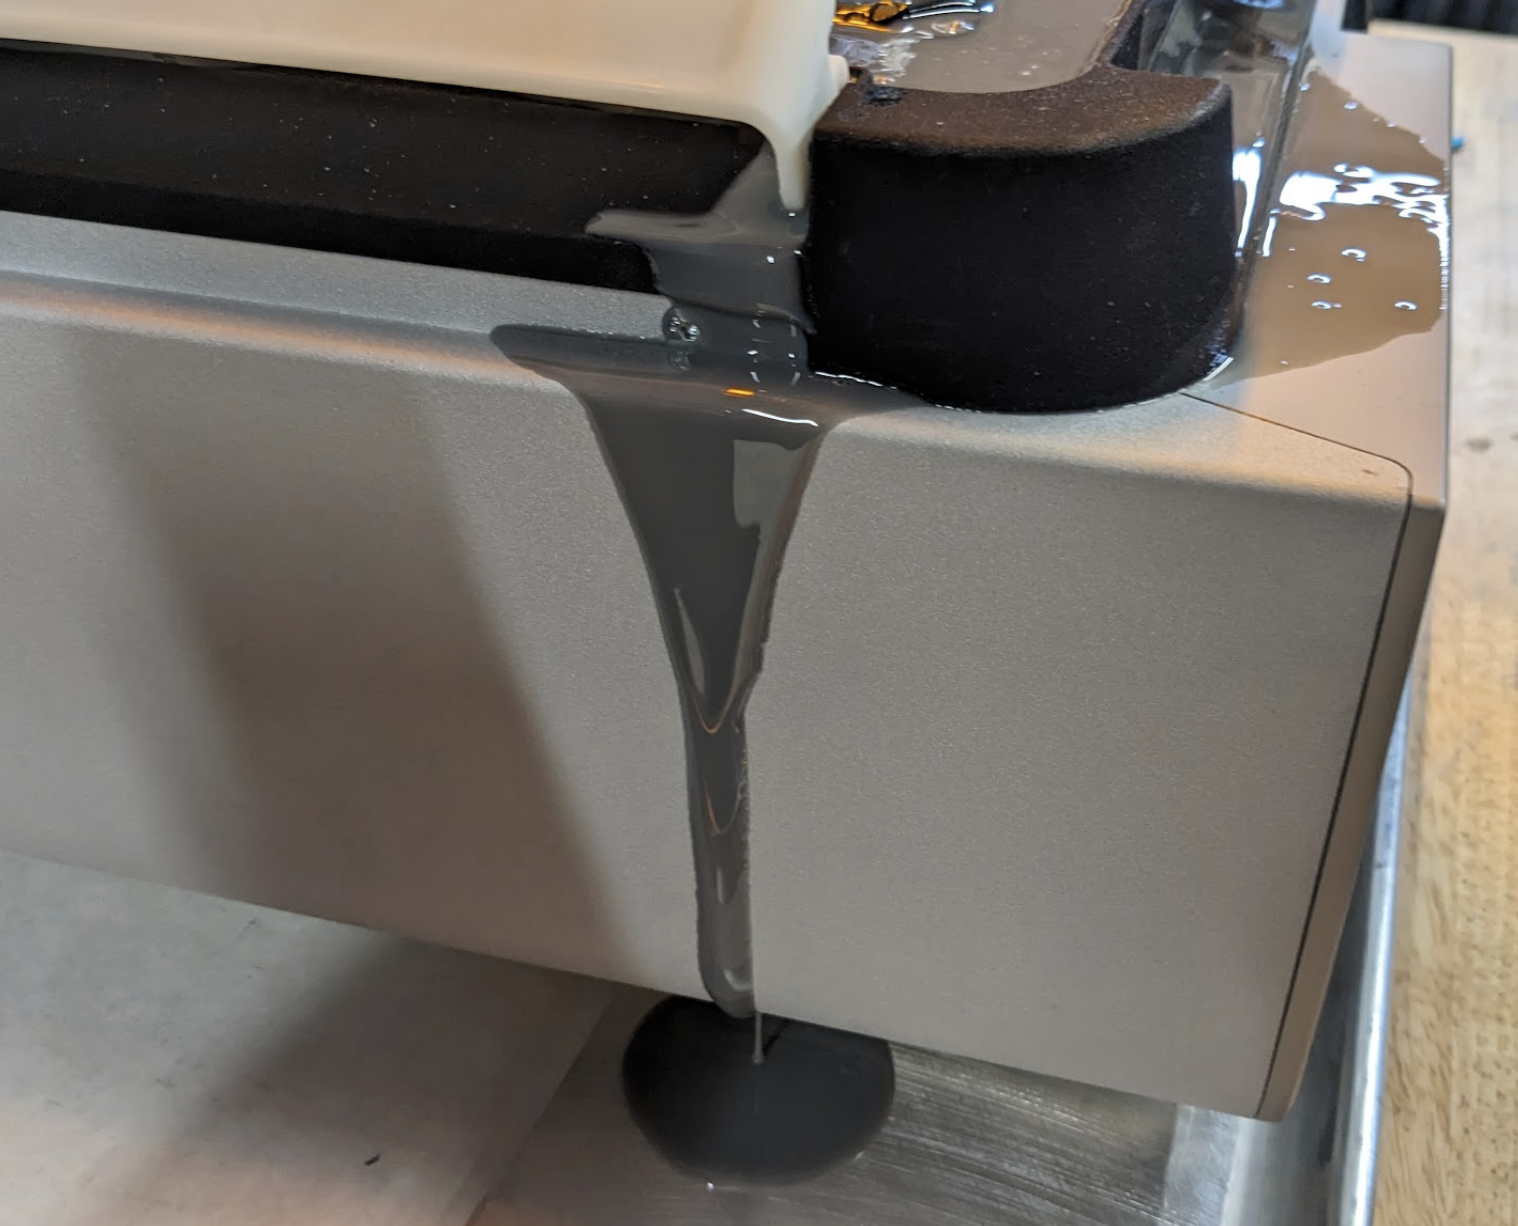
La resina liquida all'esterno della stampante può renderla difficile da usare o contaminare altre superfici di lavoro. Pulisci il coperchio protettivo, la scocca e le porte, se sono sporche a causa di una fuoriuscita di resina.
Nota:
Il serbatoio resina della Form 4 presenta un solco a sinistra che reindirizza le fuoriuscite di resina all'esterno della stampante, per evitare possibili danni ai componenti dell'apparecchio.
Interfaccia touchscreen
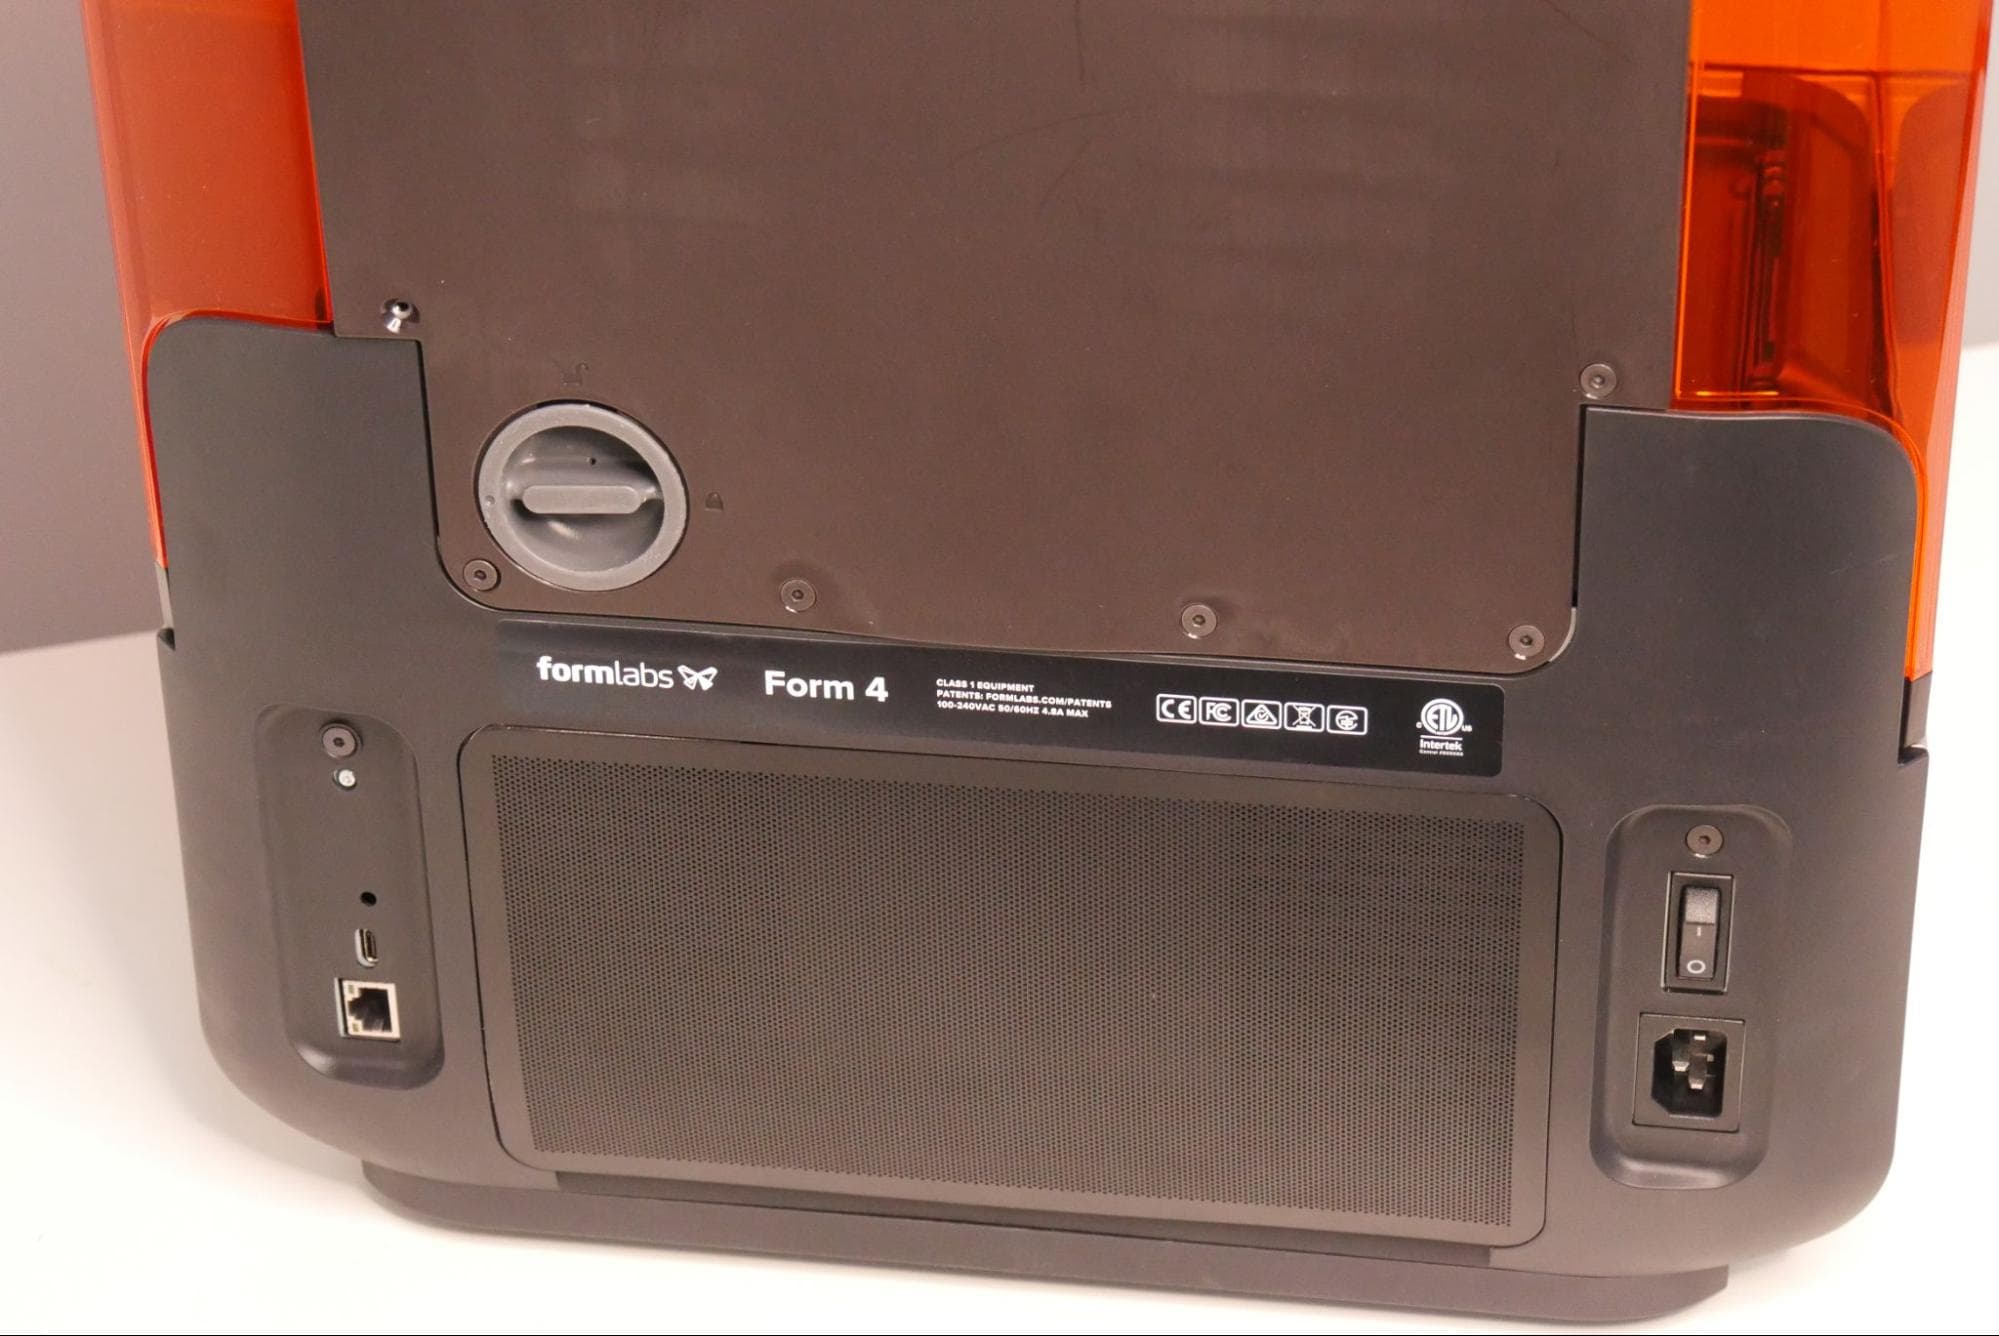
Porta USB, porta Ethernet, presa e interruttore di alimentazione
Ispezione dell'asse Z
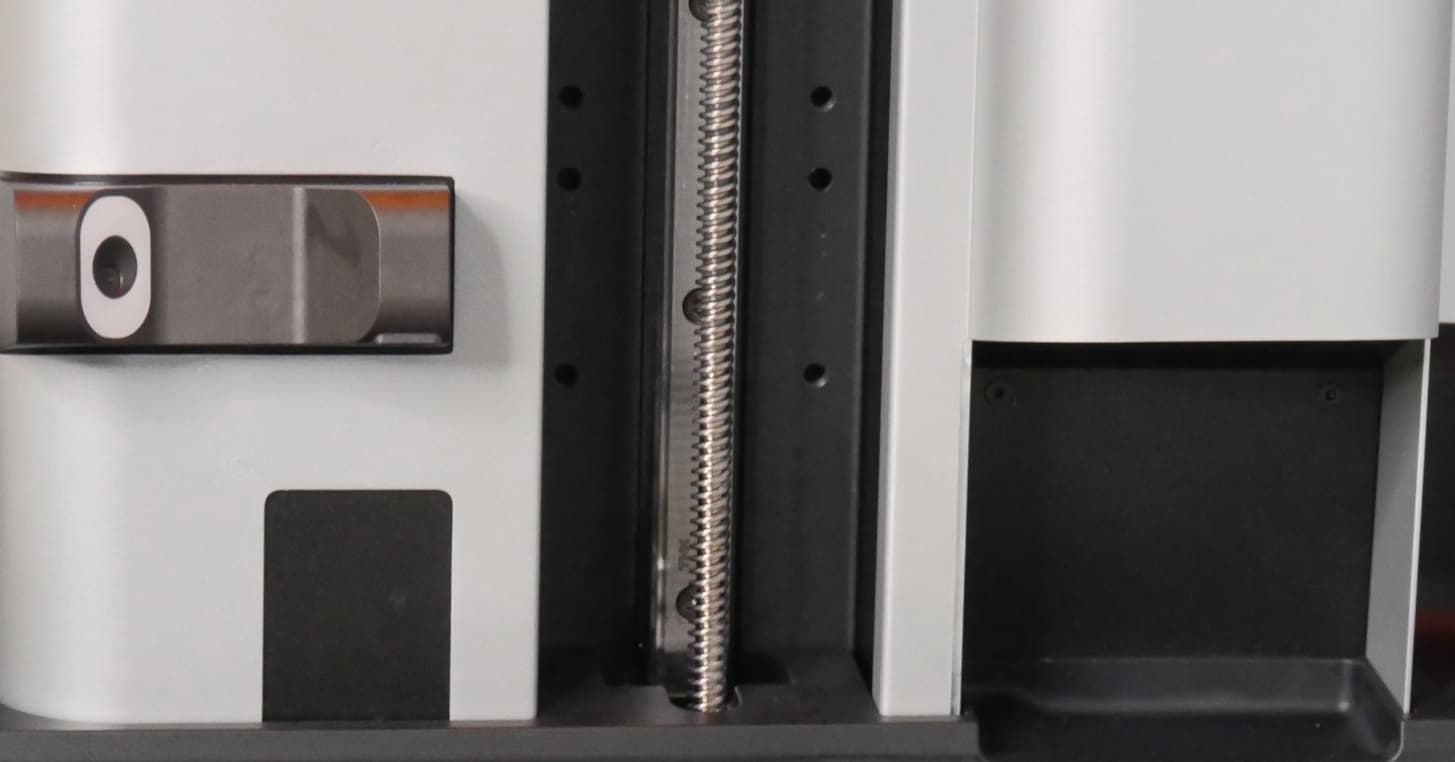
L'assemblaggio dell'asse Z contiene il motore e la vite di movimentazione che azionano il supporto della piattaforma di stampa. Devono essere puliti affinché la piattaforma di stampa si possa muovere in maniera fluida e precisa. Sotto lo scomparto della cartuccia è presente un salvagoccia che può aiutare a prevenire o ridurre eventuali fuoriuscite di resina.
Torre Z e salvagoccia
Motore Z e vite di movimentazione
Consiglio:
Se la vite di movimentazione è stata pulita con alcool isopropilico, lubrificala con la Rheolube 362HB prima di stampare nuovamente per evitare problemi di movimento della piattaforma di stampa.
Ispezione del serbatoio resina
Le fuoriuscite di resina talvolta sono causate da una stampa fallita, che lascerà anche residui di resina polimerizzata nel serbatoio resina. Ispeziona e pulisci il serbatoio resina prima di eseguire ulteriori stampe.
Ispezione del film di rilascio
La resina liquida sulla texture di rilascio può contaminare il fondo del serbatoio resina e compromettere la qualità delle stampe successive.
Pulisci la resina presente sul film di rilascio con le salviette PEC*PAD. Inumidiscile con alcool isopropilico, se necessario, per rimuovere completamente la resina.

Rimozione e pulizia dei componenti ottici dopo una fuoriuscita di resina consistente
In alcuni casi, la resina liquida può penetrare sotto il bordo della LPU e contaminarla, contaminando anche il pannello riflettente o l'unità di retroilluminazione. Se durante la pulizia noti che la resina è finita sotto il bordo della LPU, puoi rimuovere e pulire questi componenti ottici.
Segui le guide alla sostituzione delle parti elencate di seguito per rimuovere la LPU, l'unità di retroilluminazione e il pannello riflettente. L'unità di retroilluminazione deve essere rimossa per accedere al pannello riflettente. Se noti resina liquida o altre contaminazioni, applica una piccola quantità di alcool isopropilico pulito su un panno privo di pelucchi e pulisci la superficie interessata. Lascia asciugare il componente all'aria prima di reinstallarlo.
Pulizia
Smaltisci sempre la resina e qualsiasi materiale contaminato secondo le indicazioni della scheda dati di sicurezza (SDS). Colloca il contenitore con acqua saponata e la carta assorbente sporca oppure i tamponi su una finestra o in un altro punto soleggiato, in modo che la luce dell'ambiente polimerizzi la resina. Una volta che la resina si è polimerizzata, può essere smaltita con i normali rifiuti domestici.
Avviso:
Attendi che tutti i componenti siano completamente asciutti prima di collegare la stampante all'alimentazione.
Contattare l'Assistenza Formlabs
Contatta l'Assistenza Formlabs o il tuo rivenditore autorizzato se la fuoriuscita di resina è estesa o se la resina ha raggiunto l'interno della stampante. Includi le seguenti informazioni nella richiesta di assistenza:
Come evitare le fuoriuscite di resina
Impara a individuare le cause più comuni delle fuoriuscite di resina e come ridurre al minimo l'eventualità di una fuoriuscita.
Le fuoriuscite di resina possono avvenire per vari motivi, ma i più comuni sono: la presenza di stampe fallite nel serbatoio resina oppure un danno al serbatoio resina o alla valvola della cartuccia di resina.
Stampe non riuscite
Quando una stampa non va a buon fine, l'intera stampa o una parte di essa può cadere nel serbatoio resina. Il miscelatore è progettato per rilevare il problema e mettere in pausa la stampante, ma la resina potrebbe fuoriuscire comunque.
Per evitare errori di stampa, segui queste buone pratiche per la Form 4:
Serbatoio resina danneggiato
Un serbatoio resina danneggiato può causare la fuoriuscita di resina sulla stampante. Il film di rivestimento composito flessibile sul fondo del serbatoio può essere danneggiato da un immagazzinamento improprio (ad esempio, posizionare un serbatoio sopra un altro oggetto) o da una manipolazione inadeguata (ad esempio, utilizzare uno strumento appuntito per rimuovere la resina polimerizzata). In maniera simile, il telaio in plastica del serbatoio resina può rompersi a causa di un impatto o di altre sollecitazioni significative. Utilizza il raschietto in plastica in dotazione per ispezionare il film del serbatoio e maneggia sempre con cura il serbatoio di resina.
Valvola di erogazione danneggiata
Una valvola di erogazione danneggiata sulla cartuccia di resina può causare l'erogazione di una quantità eccessiva di resina da parte della stampante, che in rari casi può causare la fuoriuscita della resina dal serbatoio. Scopri come ispezionare e proteggere la valvola della cartuccia.