Note:
The Scan to Model tool is only available for printers that can print with materials for biocompatible applications. Be sure to have the latest version of PreForm installed.
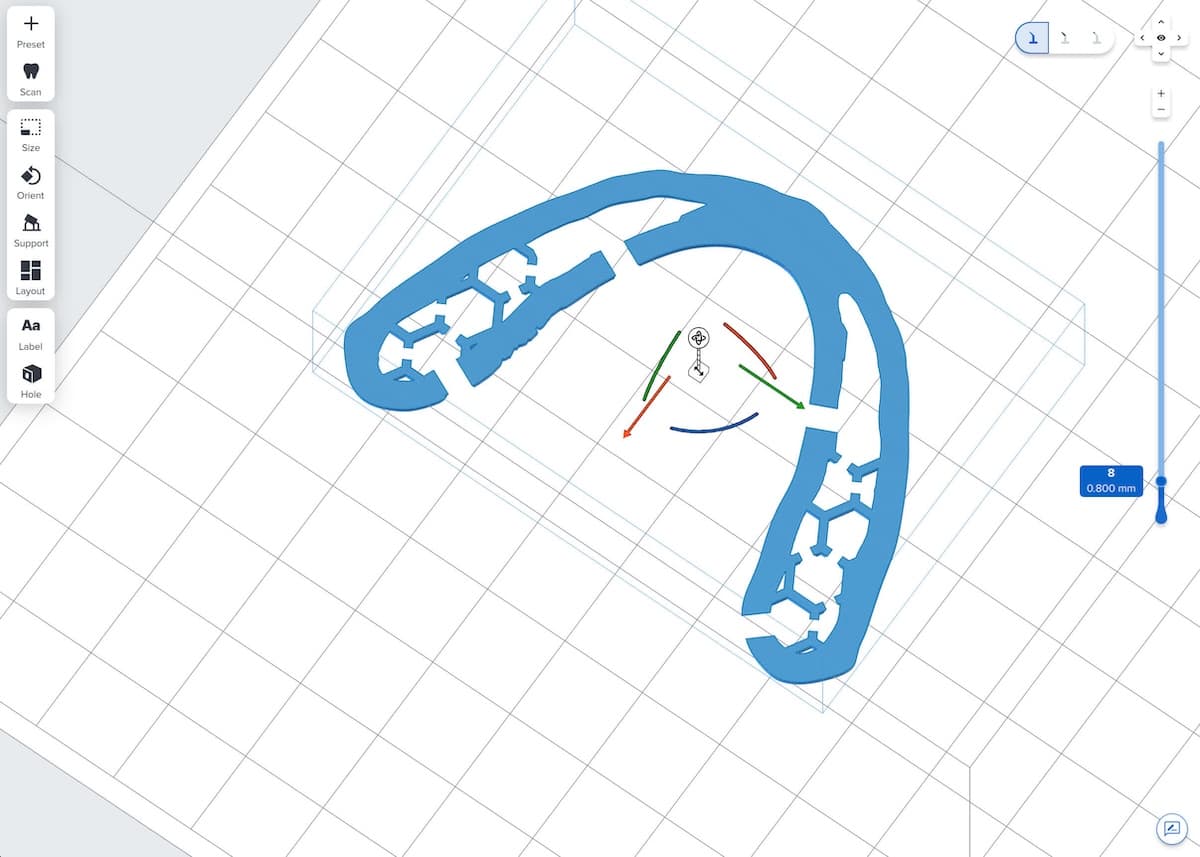
Intraoral scanning equipment captures digital impressions of the mouth to form a high-detail 3D scan, but they often create incomplete meshes or uneven bases. These become problems in SLA printing because:
Note:
The Scan to Model tool is only available for printers that can print with materials for biocompatible applications. Be sure to have the latest version of PreForm installed.
Creating a dental model withScan to Model
The Scan to Model tool removes extraneous data from the scan and creates a flat base.
Step 1: Open Dental Workspace
PreForm version 3.29 or later features a Dental Workspace tailored to dental workflows. This workspace helps you automate the setup of common dental applications and also includes Scan to Model.
When opening PreForm version 3.29 or later for the first time, a menu labeled Choose Workspace appears.

Select Dental Workspace. The Dental Workspace homepage appears.
Note:
PreForm remembers your selection in the future.

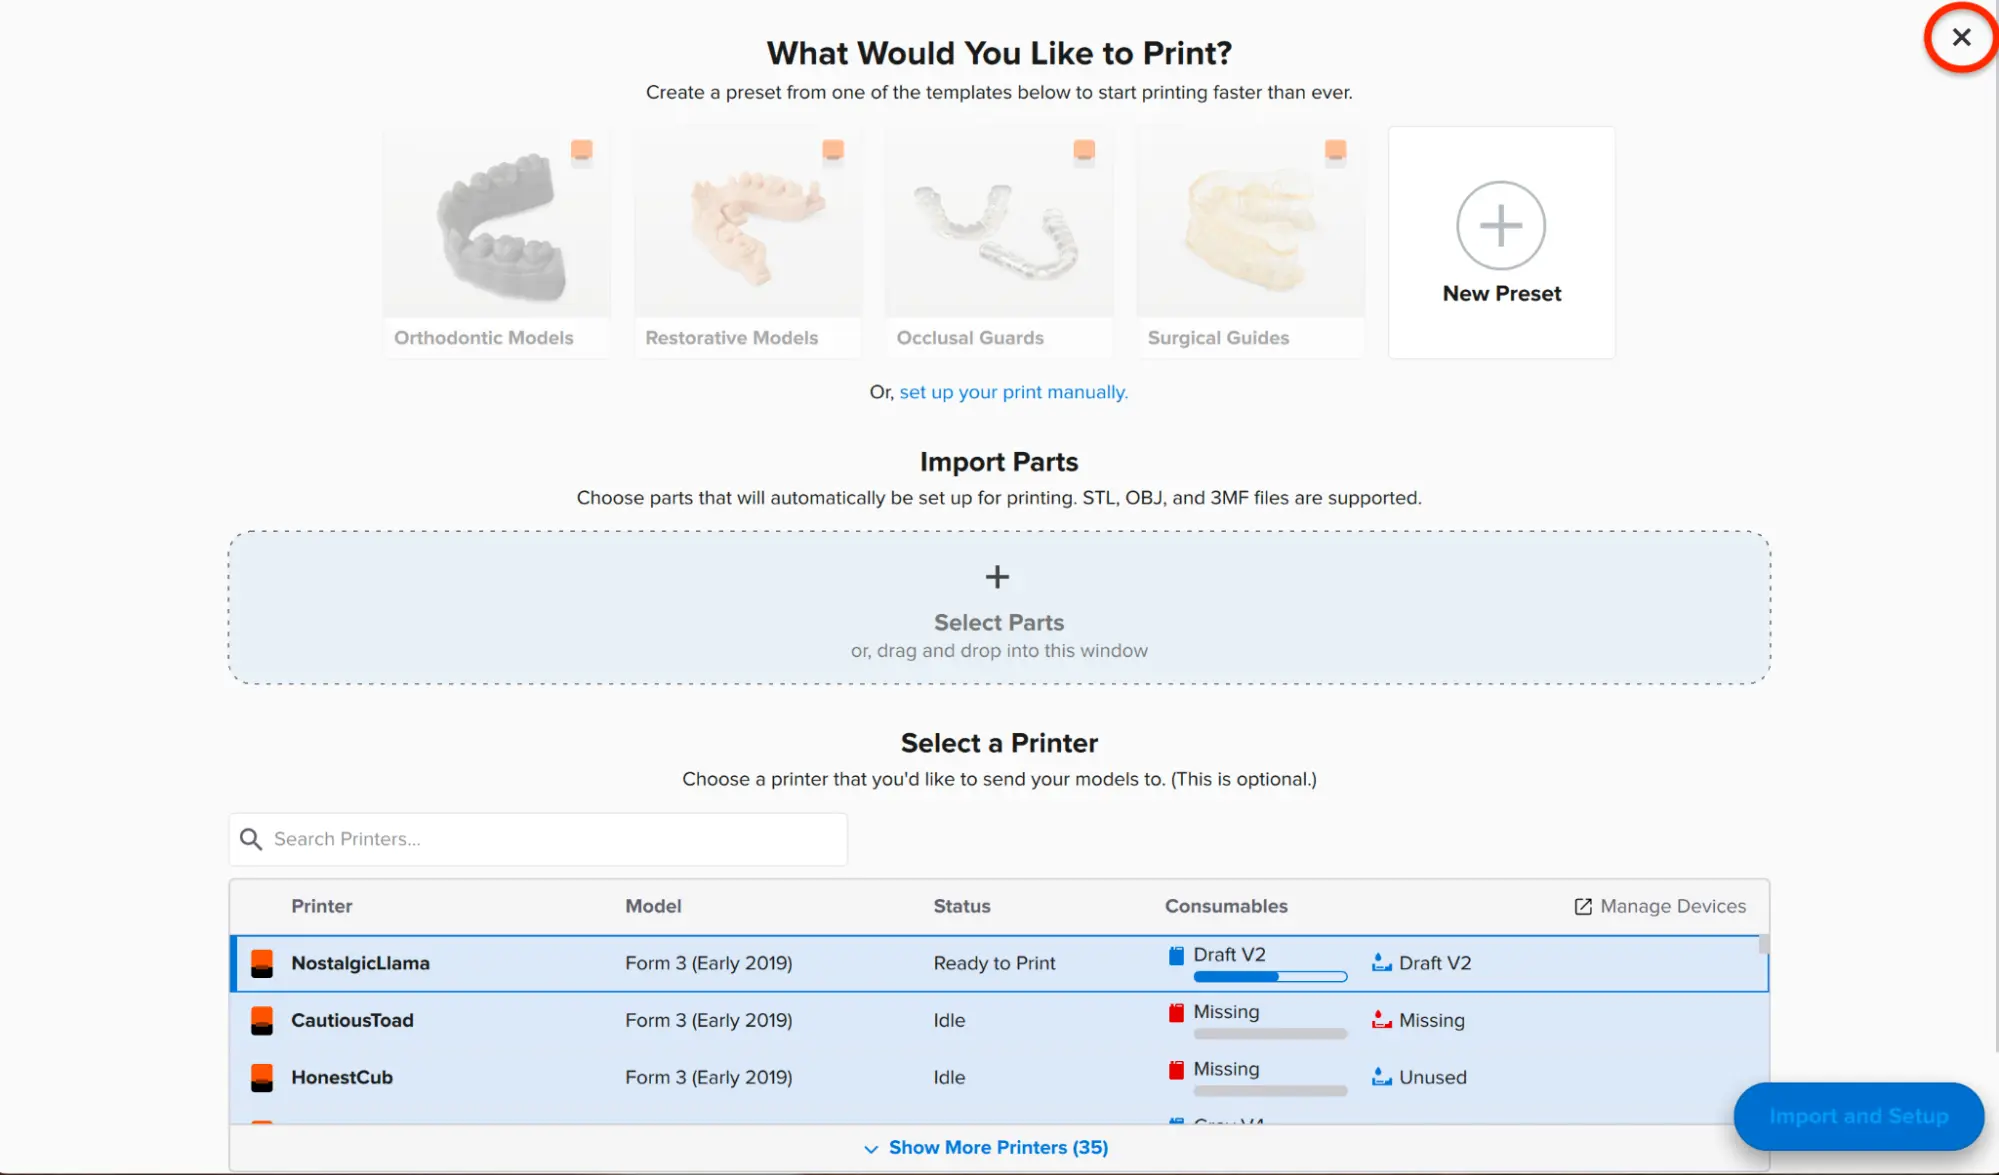
To access Scan to Model, click the X in the top-right corner of the Dental Workspace homepage. The 3D scene appears.
Click the tooth icon in the left toolbar to open Scan to Model.
Step 2: Import the scan into PreForm
PreForm is compatible with STL, OBJ, FORM, and 3MF files. Save your scan as one of these file types to open it in PreForm.

Note:
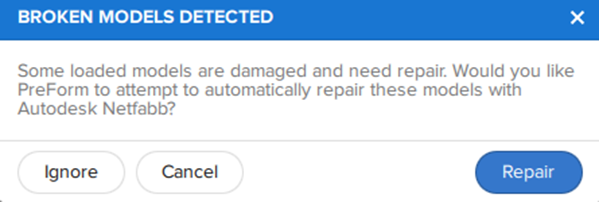
You can use Scan to Model on files not opened through the Import function, but click Ignore when PreForm asks you to repair broken models.
To import the scan:
Step 3: Orient the model
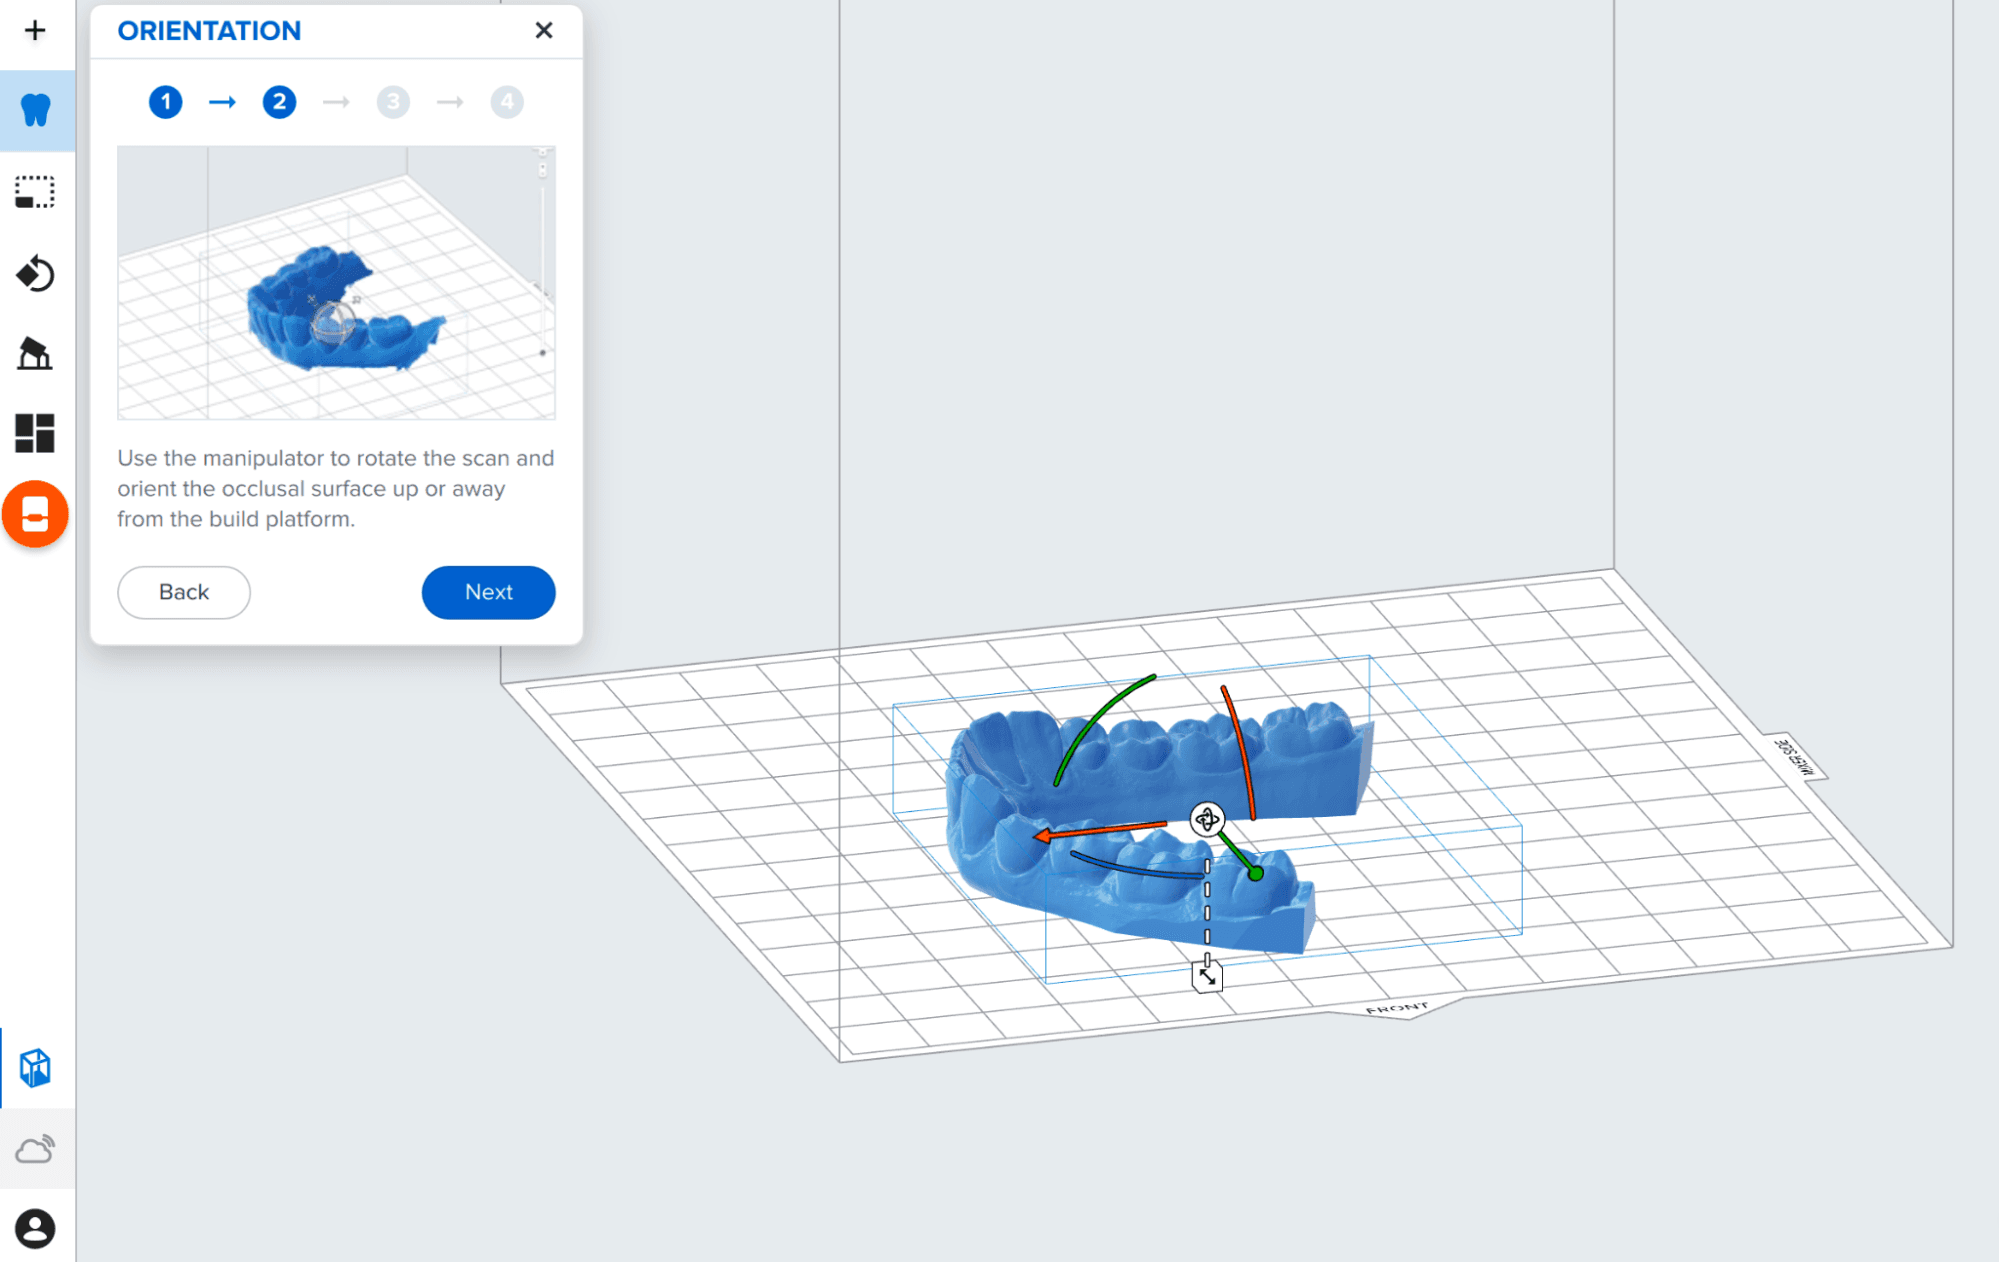
PreForm automatically orients the model following best practices for printing dental models. If you need to change the orientation, use the sphere manipulator to position the digital impression so that the occlusal surface faces away from the build platform.
To manually orient the model:

Step 4: Trim extraneous data
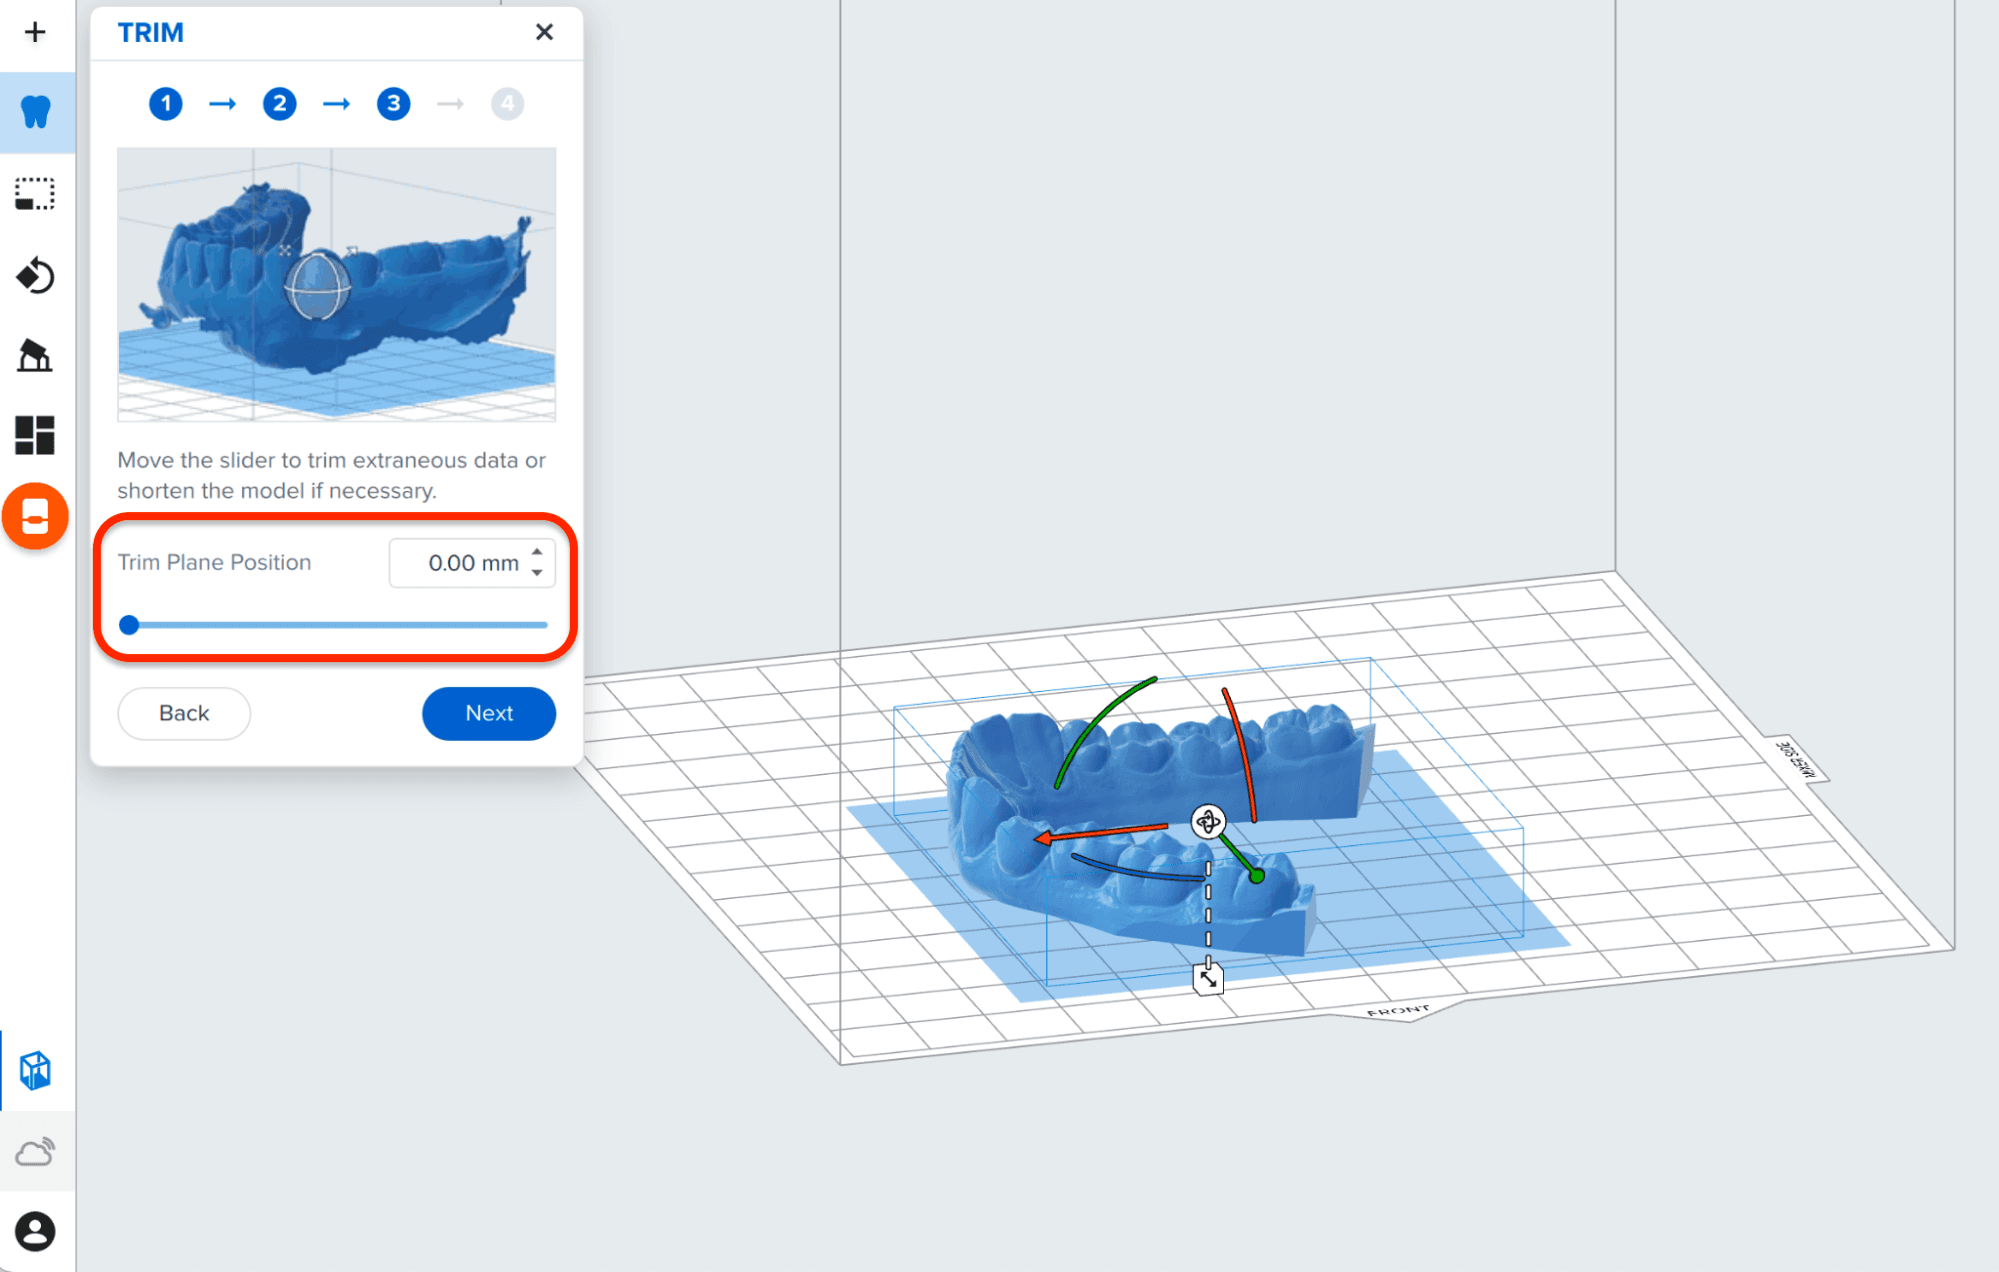
PreForm automatically sets the Trim Plane Position to the height required to remove unnecessary parts of the scan from the bottom of the model.
To adjust how much of the model is trimmed:

Step 5: Add a base and hollow the model
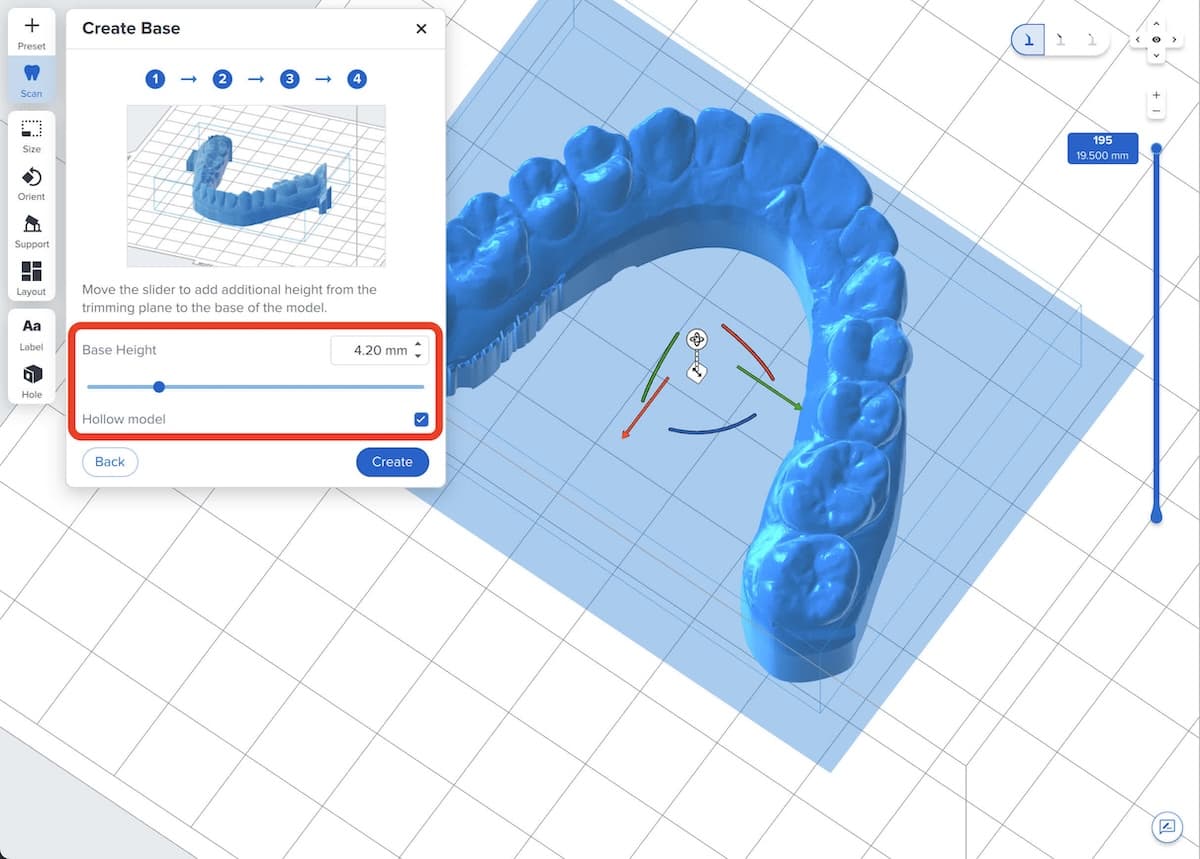
Use the Base Height slider to create an even base that adheres to the build platform and allows for easier removal. You can also hollow your models to decrease material usage and save time.
Note:
If you do not want to add a base, leave the Base Height value at 0.0 and click Next.
To add a base and hollow the model:


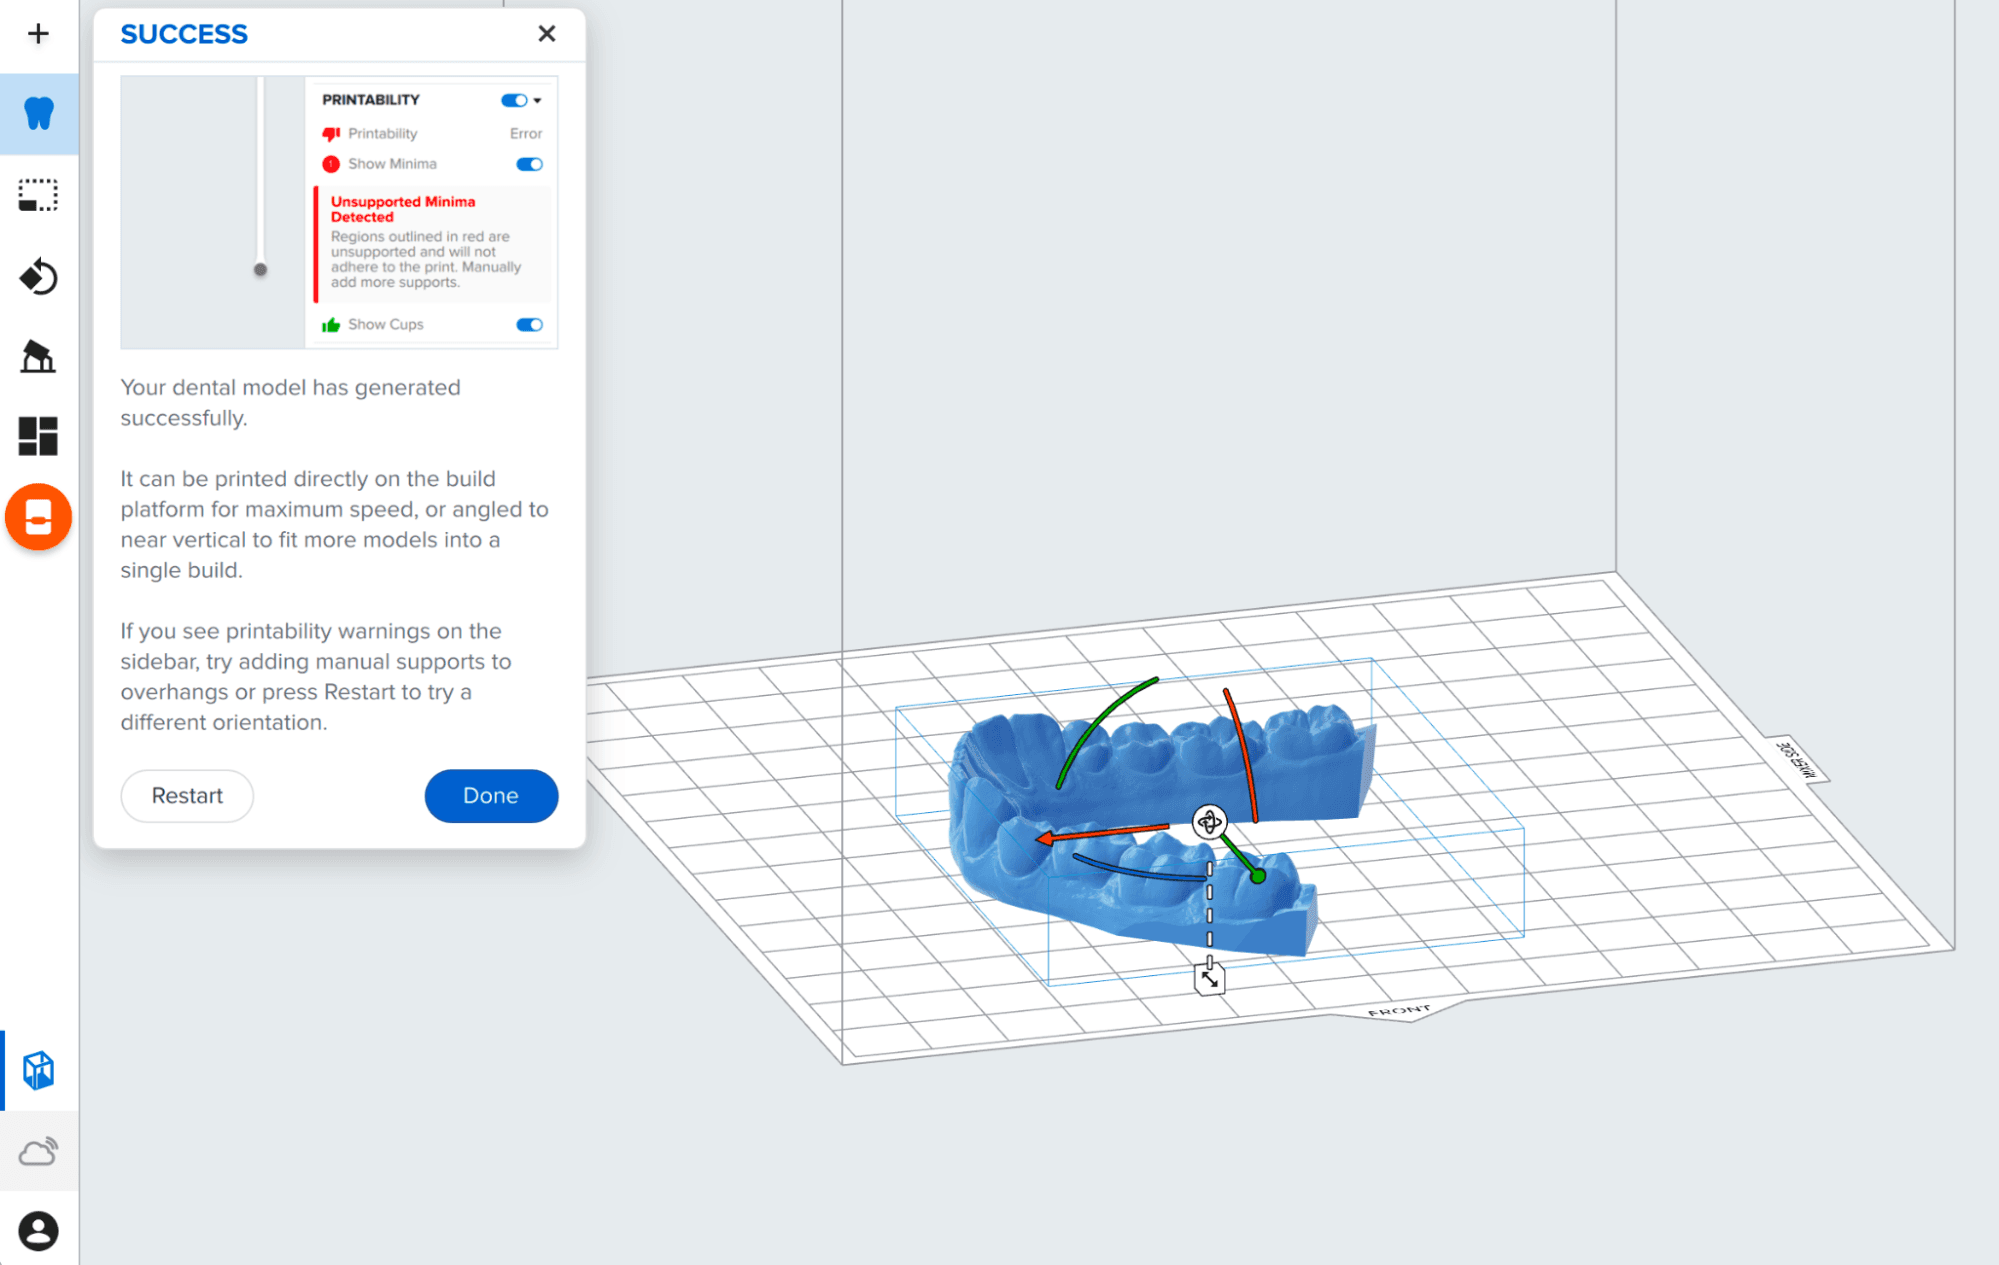
Step 6: Support, rotate, or print directly on the build platform
Once the model is built, it is ready for printing. You may print the model directly on the build platform, add supports, or rotate for near vertical printing.