Note:
Every Fuse 1+ 30W printer should be fine-tuned when printing with Nylon 12 White Powder for the first time. Printers next to each other may require different offsets.

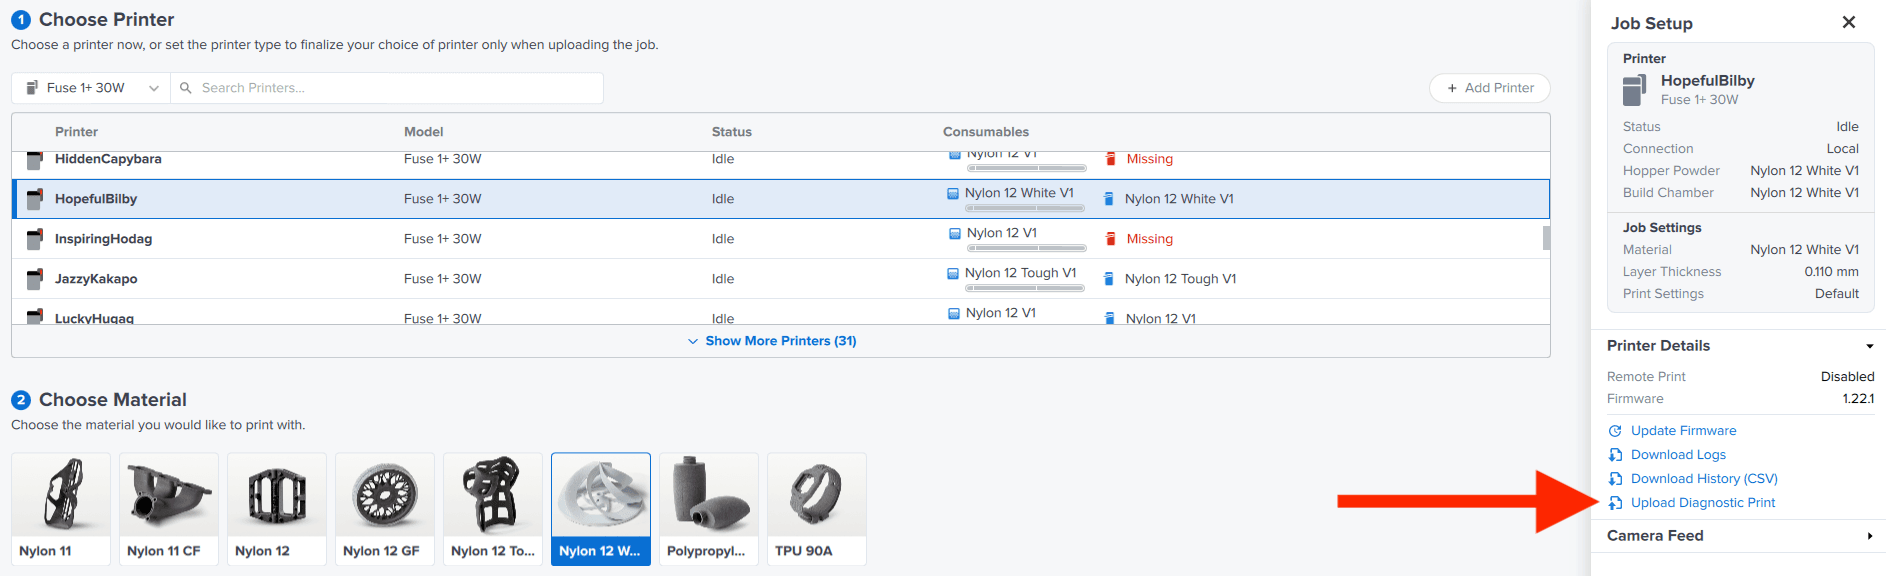
Prior to printing with Nylon 12 White Powder, fine-tune your Fuse 1+ 30W printer to set up your prints for success. Fine-tuning the bed temperature prior to printing your first build results in fewer surface defects on your parts caused by variable printer temperatures. This process is run as a diagnostic print, uploaded through PreForm to the printer. The print contains several parts that need to be cleaned and inspected to determine the necessary temperature offset for your printer.
Note:
Every Fuse 1+ 30W printer should be fine-tuned when printing with Nylon 12 White Powder for the first time. Printers next to each other may require different offsets.
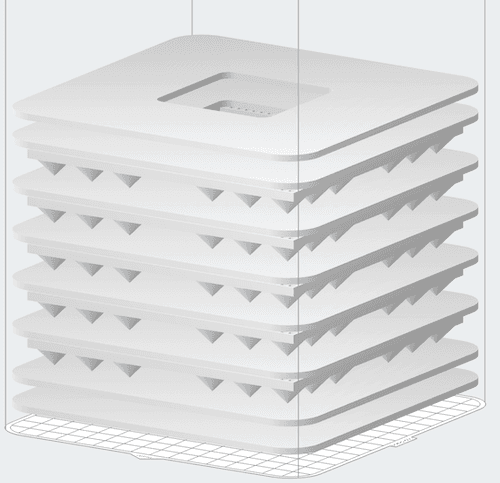
Run the Bed Temperature Tuning Print
Note:
If the print fails towards the start due to bed tearing, reduce the Bed Temperature Target by 2 °C and retry the print.
Clean the parts
Once the print completes, parts can be extracted from the build chamber by using the Fuse Sift or the Fuse Depowdering Kit. Excess powder can be sifted with fresh powder and re-used.
Parts should be fully cleaned of powder prior to inspection either by the Fuse Blast or other media blasting solutions. Extract the five plaques with cones. The additional flat plaques in the build are used to create equal cooling and separation between each cone plaque and can be discarded.
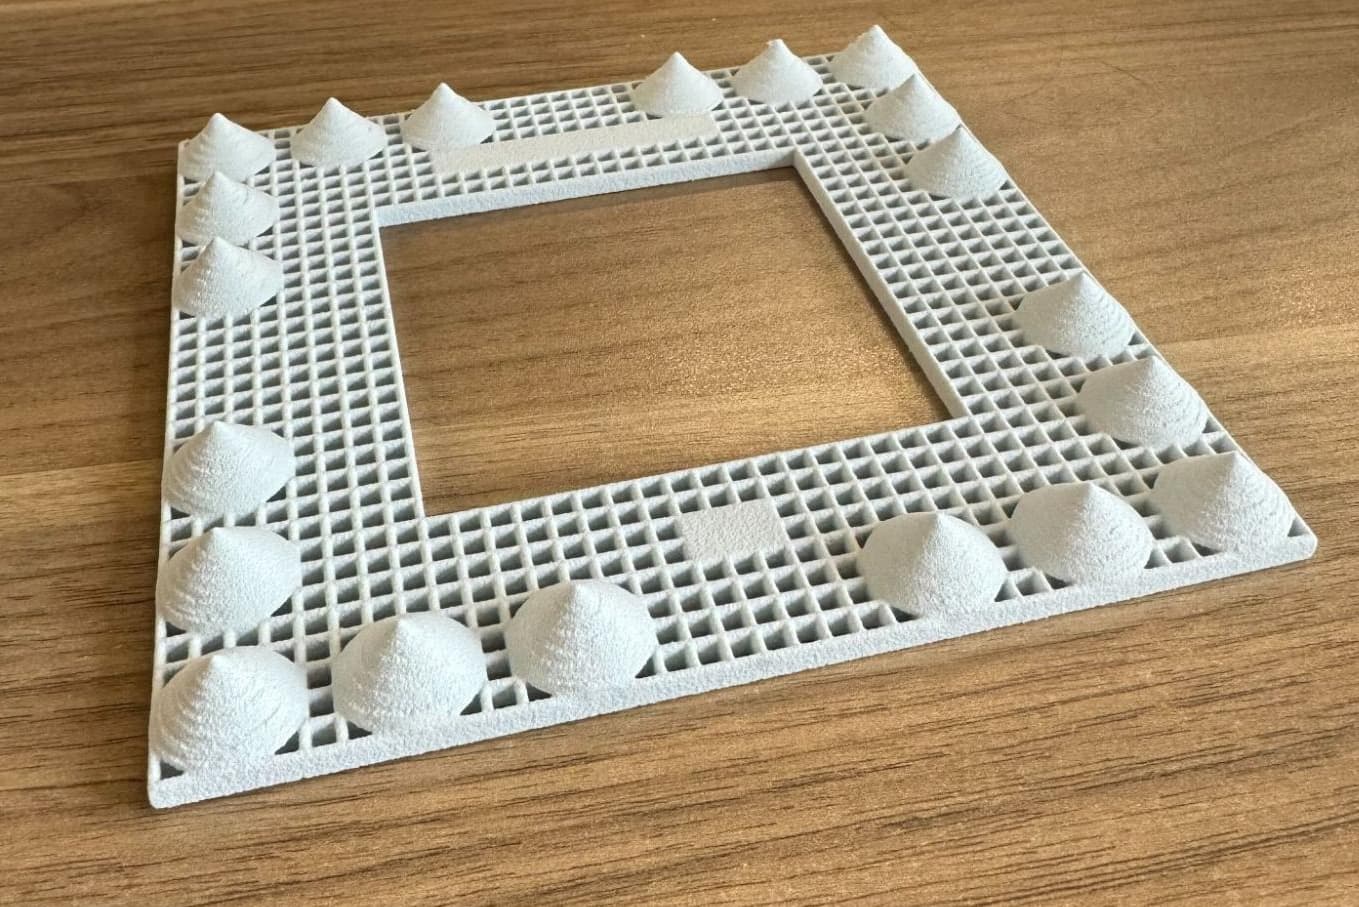
Each plaque is listed with the temperature offset it was printed with (-2 ºC, -1 ºC, 0 ºC, +1 ºC, +2 ºC). Line the plaques up from -2 ºC to +2 ºC to prepare for inspection.
Inspect the plaques
Note:
If the test print fails and not all plaques are completed, complete the inspection using the plaques that printed successfully. The correct offset will be included in the parts that printed successfully.
To determine the appropriate temperature offset for your printer, look for two things:
Rotate the plaques to inspect the cones from all angles. Orange peel appears as a slightly layered surface on the cones. Pitting appears as a tiny dot on the opposite side of the plaques.
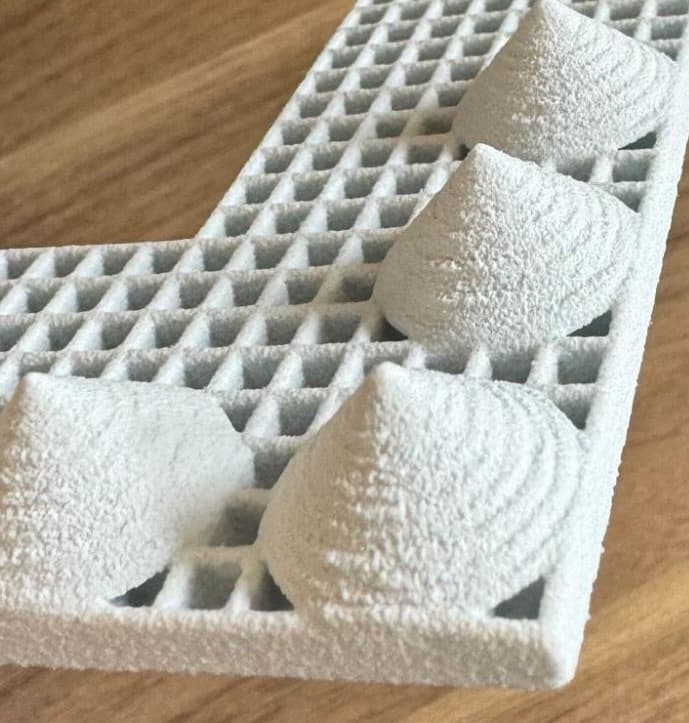
After inspecting all five plaques, determine the correct offset temperature that best matches the above criteria, by using the temperature offsets listed on the plaques. This offset can then be manually set on the machine.
If severe orange peel is present on the hottest plaque, +2 ºC is still too cold. Increase the bed temperature target on the printer to +2 ºC and run the print again. If the coldest plaque (-2 ºC) shows no orange peel, then it is still too hot. Reduce the bed temperature target on the printer to -2 ºC and run the print again.
Note:
The correct offset temperature may lie between two plaques, and the correct offset may be a half degree between the printed plaques (ie. +1.5 ºC).
Set the Bed Temperature Target
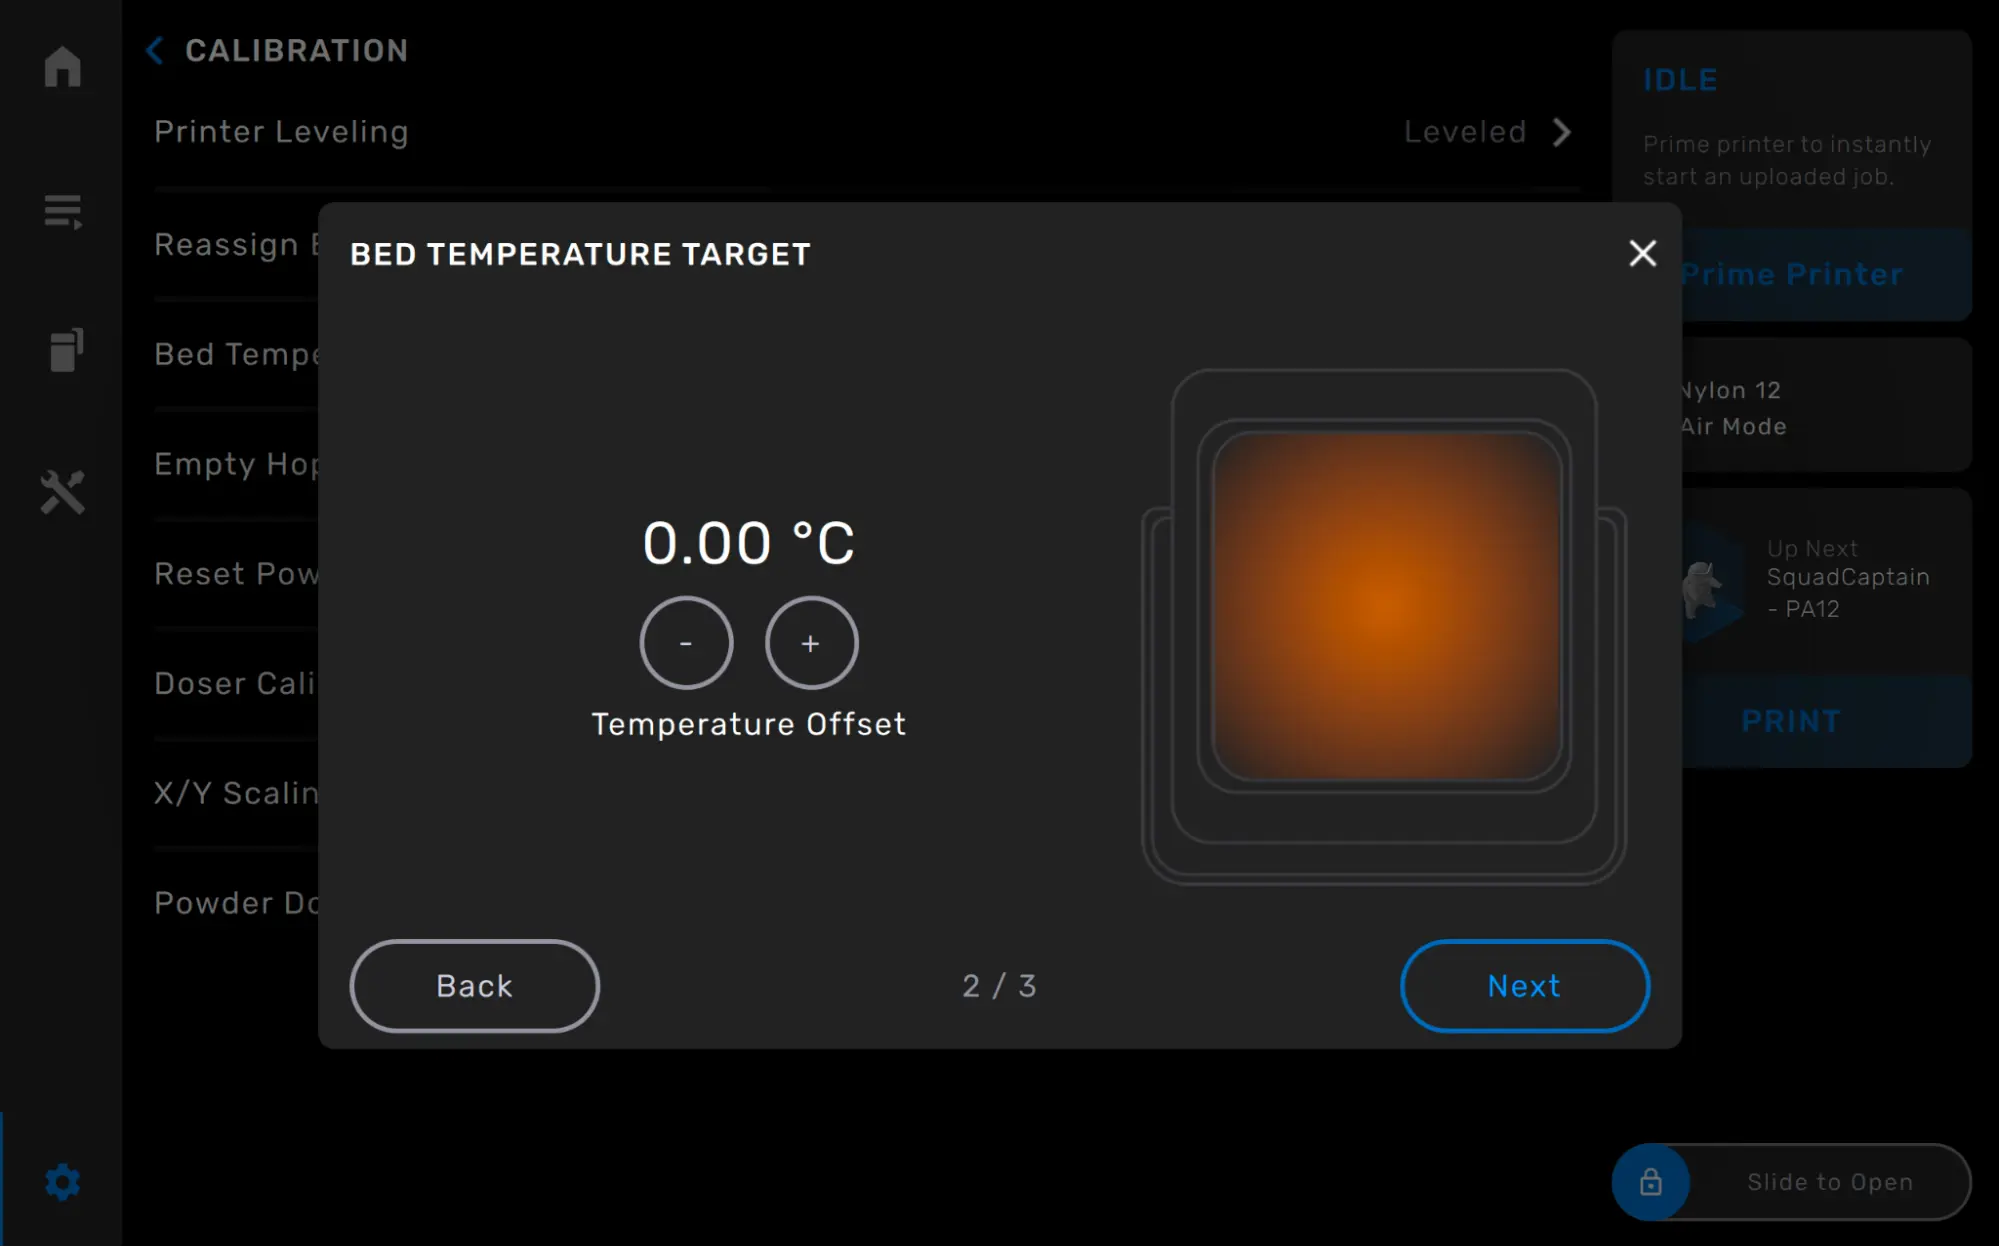
The Bed Temperature Target can be adjusted by up to ±5 °C in 0.25 °C increments. After completing the Bed Temperature Tuning Print, adjust the Bed Temperature Target on the printer to match the offset determined during the Bed Temperature Tuning inspection.
Note:
Two printers operating side by side may require different Bed Temperature Targets.
To adjust the Bed Temperature Target: