Conseil :
Contactez immédiatement l’assistance Formlabs ou votre revendeur agréé si le déversement de résine est important ou si de la résine a pu atteindre l’intérieur de l’imprimante. Fournissez des photos du déversement de résine.


Après un déversement de résine, nettoyez soigneusement et examinez l’imprimante pour minimiser tout dommage fonctionnel ou esthétique de l’imprimante. Voici les principales causes d’un déversement de résine et comment les éviter.
Conseil :
Contactez immédiatement l’assistance Formlabs ou votre revendeur agréé si le déversement de résine est important ou si de la résine a pu atteindre l’intérieur de l’imprimante. Fournissez des photos du déversement de résine.
À faire dès qu’un déversement de résine se produit
Lors d’un usage normal, il arrive qu’un peu de résine coule sur l’extérieur de l’imprimante et cela est sans conséquence grave. Des déversements de résine plus importants peuvent nécessiter un nettoyage et une assistance supplémentaires pour évaluer et réduire les dommages potentiels. Lorsque la résine se renverse à l’intérieur de l’imprimante, elle peut salir et éroder des composants essentiels. Pour des déversements plus importants, prenez des photos et contactez l’assistance Formlabs ou votre revendeur agréé pour obtenir des instructions.
Aperçu
Avertissement :
La résine peut provoquer une irritation ou une réaction allergique cutanée. Portez des gants pour manipuler de la résine liquide ou des surfaces recouvertes de résine. Se laver abondamment les mains à l’eau et au savon.
Fournitures recommandées :
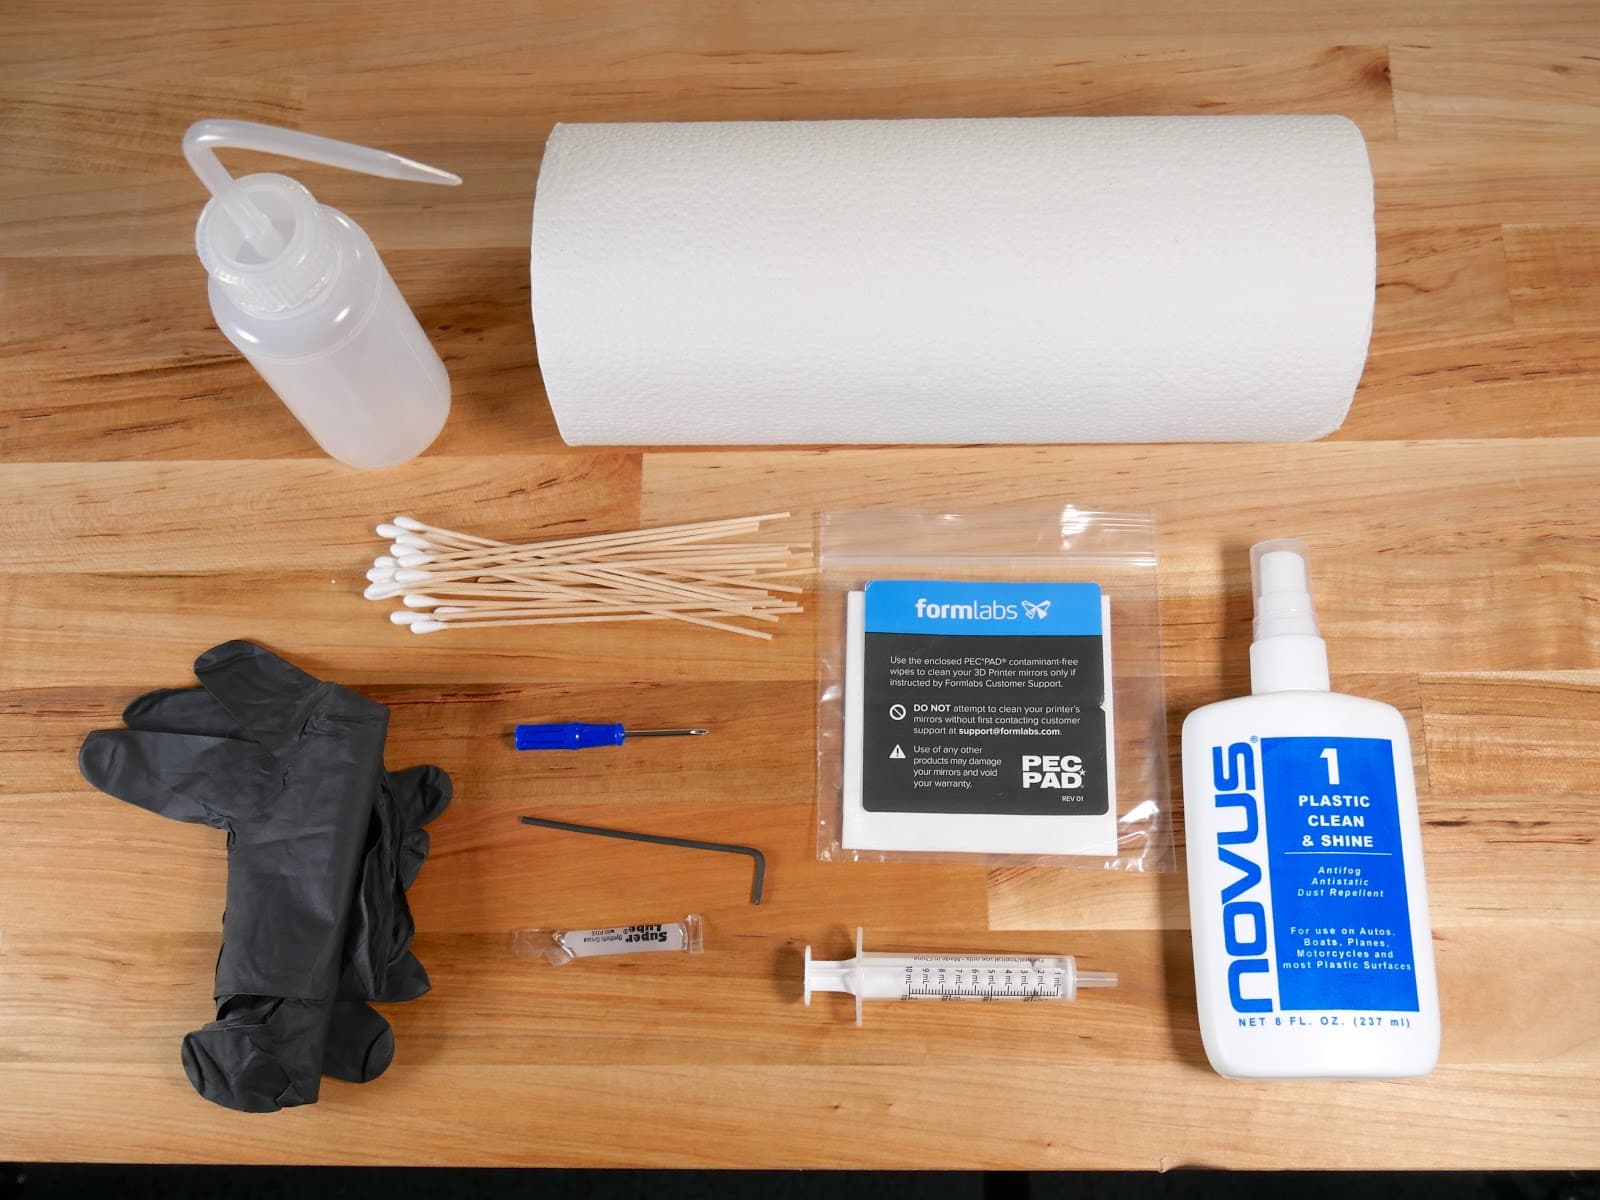
Préparation de l’imprimante
Préparez l’imprimante pour l’inspection et le nettoyage en la débranchant du secteur et en enlevant tous les consommables.
Inspection et nettoyage des surfaces extérieures
La présence de résine liquide à l’extérieur de l’imprimante peut rendre celle-ci difficile à utiliser ou contaminer d’autres surfaces de travail. Nettoyez le couvercle, la coque et les ports de branchement si de la résine a coulé dessus.
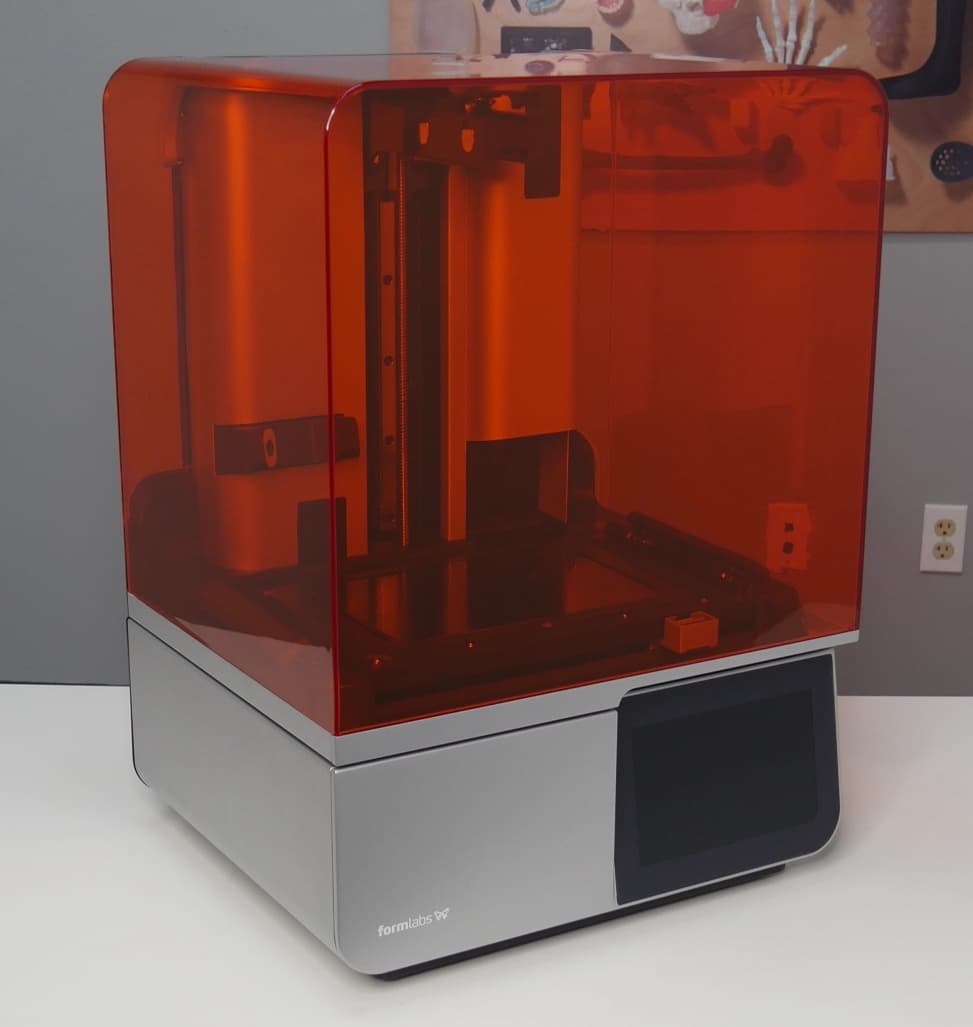
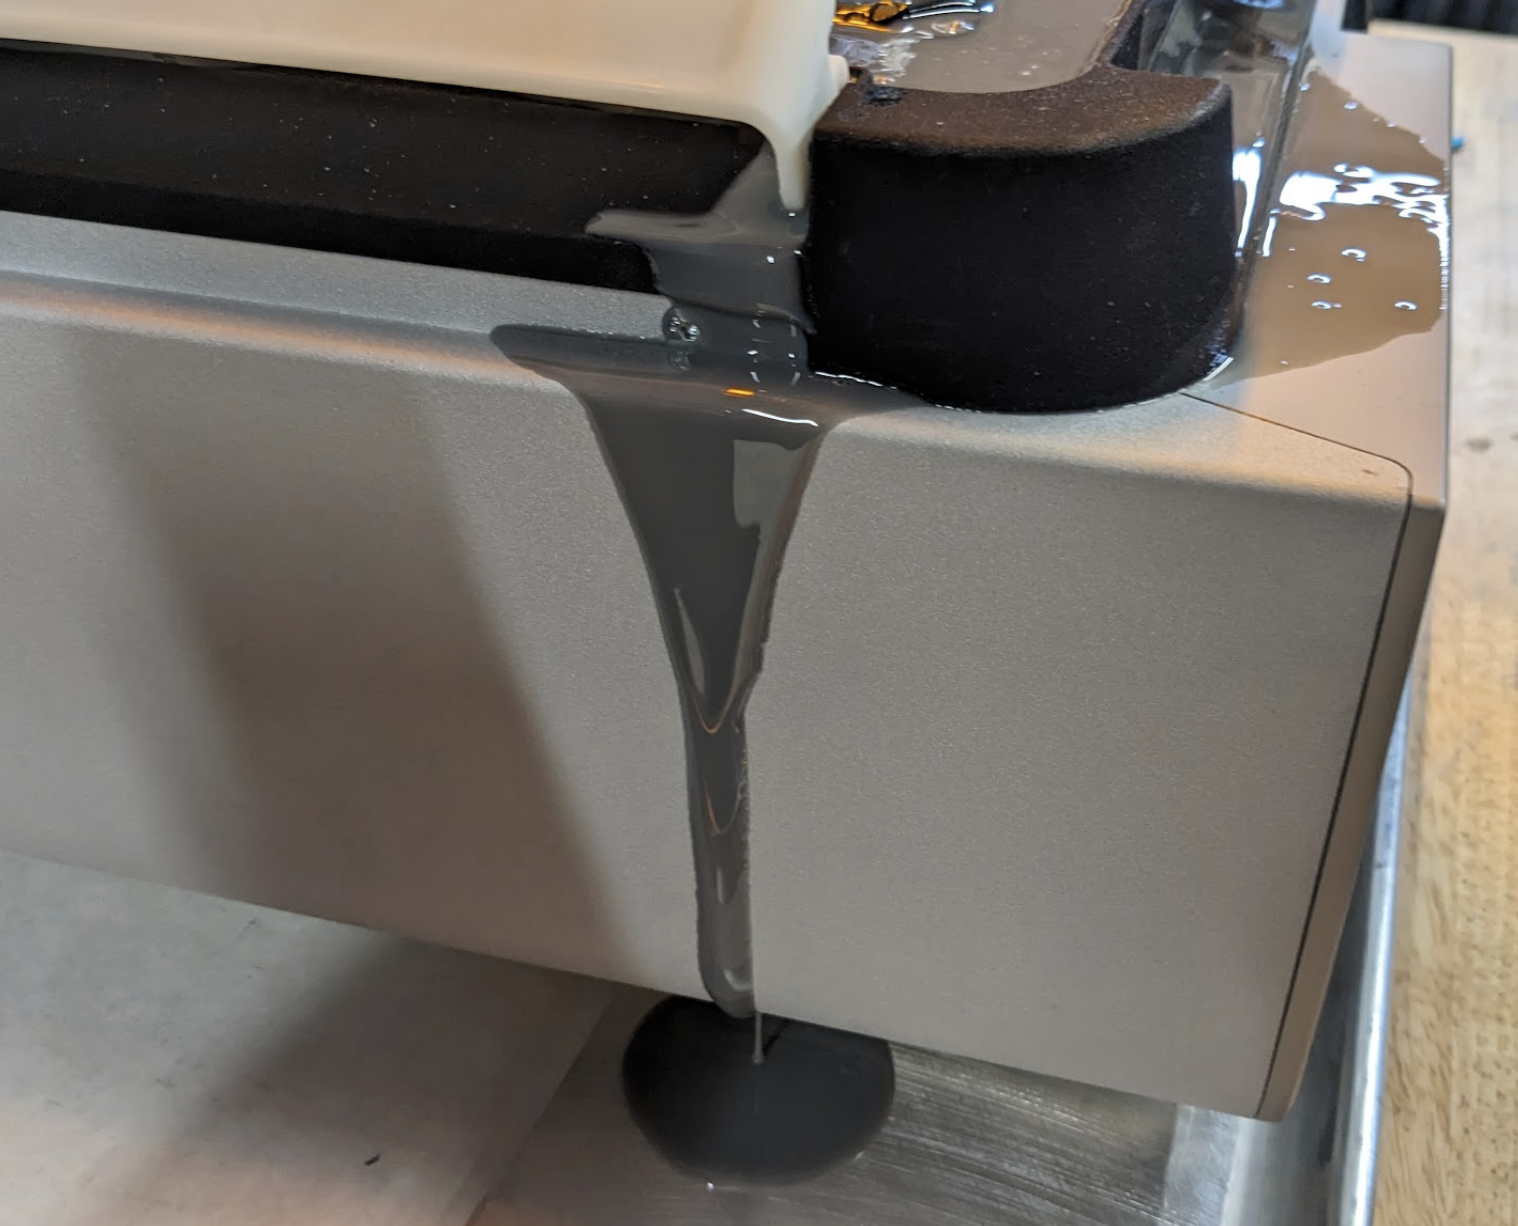
Remarque :
Le bac à résine de la Form 4 comporte un sillon sur la gauche qui permet de rediriger les déversements de résine hors de l’imprimante afin d’éviter d’endommager les composants de la machine.
Écran tactile
Port USB, port Ethernet, prise d’alimentation électrique et interrupteur d’alimentation
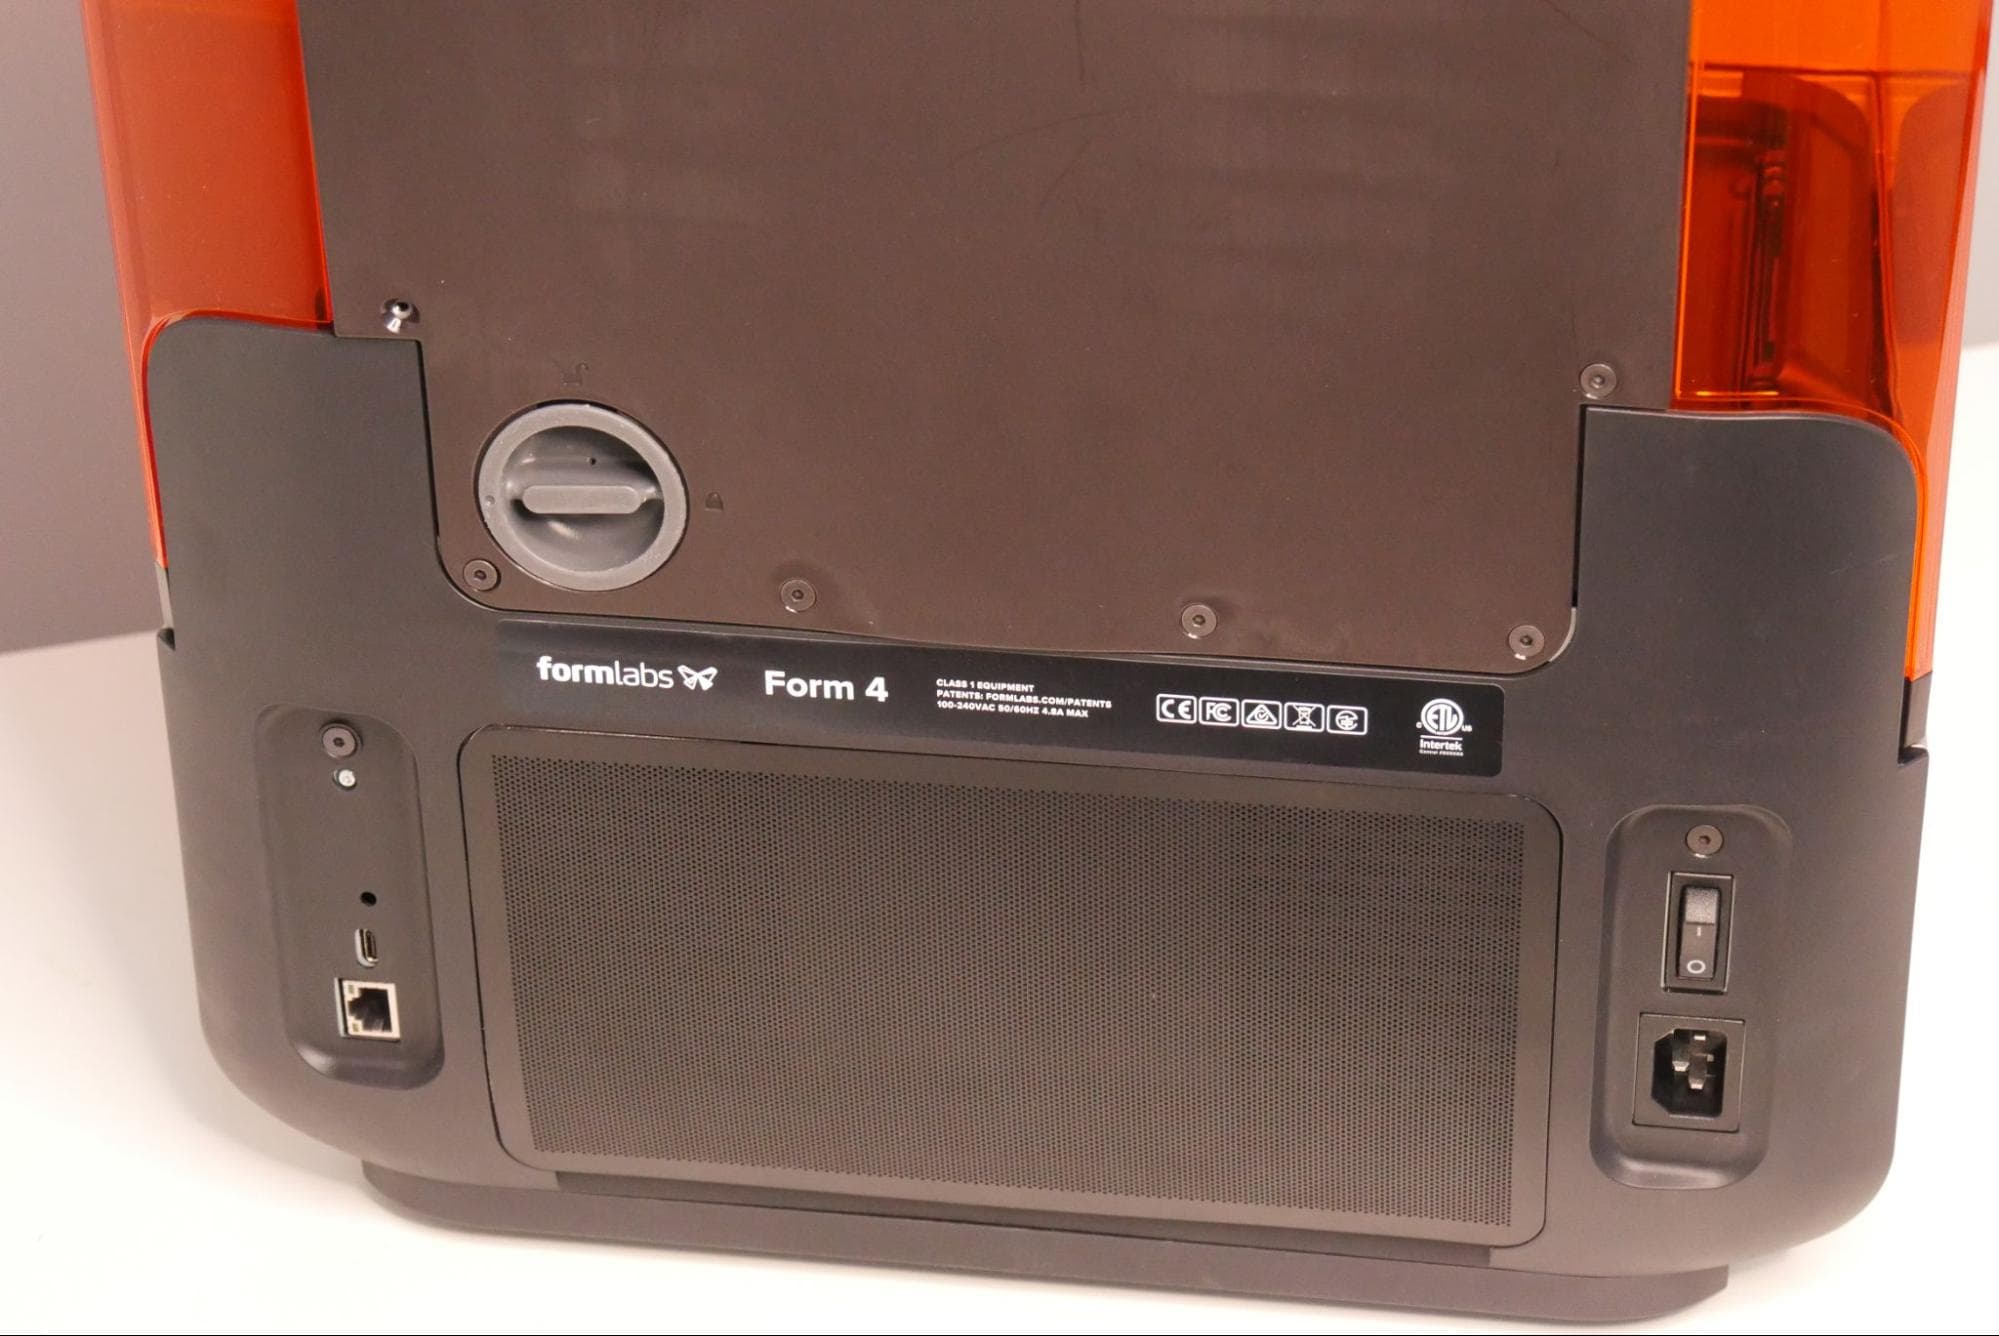
Inspection de l’axe Z
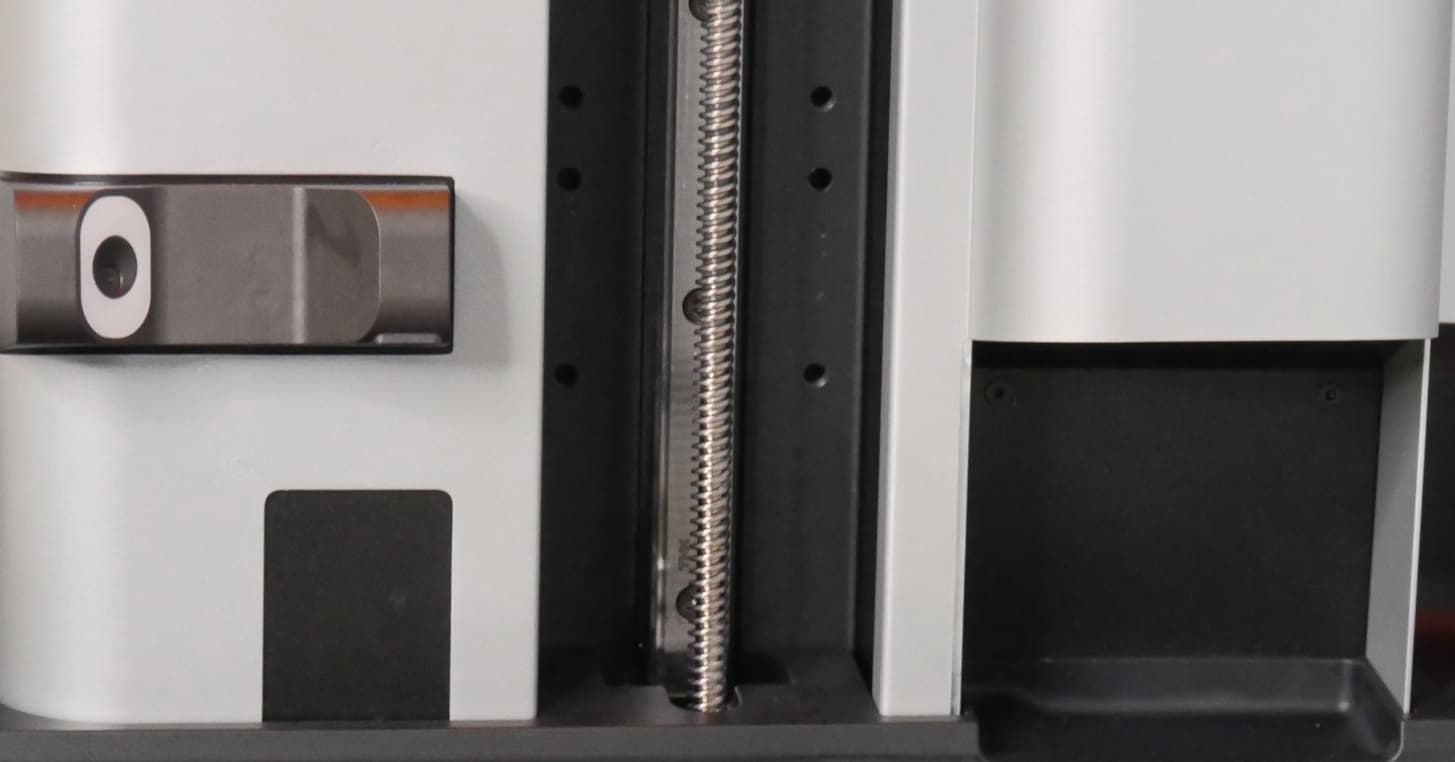
L’axe Z contient le moteur et la vis sans fin qui entraînent le support de la plateforme de fabrication. Ils doivent être propres pour que la plateforme de fabrication puisse se déplacer sans problème et avec précision. Un godet de récupération de la résine se trouve sous la plaque de la cartouche, ce qui peut éviter ou atténuer tout déversement de résine.
Colonne Z et bac de récupération des gouttes
Moteur Z et vis sans fin
Conseil :
Si la vis sans fin est nettoyée avec de l’alcool isopropylique, lubrifiez-la avec de la Rheolube 362HB. avant de réimprimer afin d’éviter les problèmes de déplacement de la plateforme de fabrication.
Inspection du bac à résine
Les déversements de résine sont parfois causés par un échec d’impression. Un échec d’impression laissera également de la résine polymérisée dans le bac. Inspectez et nettoyez le bac à résine avant d’effectuer d’autres impressions.
Inspection de la texture de décollement
La résine liquide sur la texture de décollement peut contaminer le fond du bac à résine et affecter la qualité des impressions suivantes.
Nettoyez la résine sur la texture de décollement à l’aide de PEC*PAD. Humidifiez les PEC*PAD avec de l’alcool isopropylique si nécessaire pour enlever complètement la résine.

Retrait et nettoyage des composants optiques après un déversement important de résine
Dans certains cas, de la résine liquide peut s’infiltrer sous le bord de la LPU et la contaminer, ainsi que le panneau diffuseur ou l’unité d’éclairage. Si vous constatez pendant le nettoyage que de la résine s’est infiltrée sous le bord de la LPU, vous pouvez retirer et nettoyer ces composants optiques.
Suivez les guides de remplacement des pièces énumérés ci-dessous pour retirer la LPU, l’unité d’éclairage et le panneau diffuseur. L’unité d’éclairage doit être retirée pour accéder au panneau diffuseur. Si vous constatez la présence de résine liquide ou d’autres contaminations, appliquez une petite quantité d’alcool isopropylique propre sur un chiffon non pelucheux et essuyez la surface affectée. Laissez sécher la pièce à l’air libre avant de la réinstaller.
Nettoyage
Éliminez toujours la résine et tout matériel contaminé par celle-ci conformément à la FDS. Placez le contenant d’eau savonneuse et les papiers essuie-tout et écouvillons salis sur le rebord d’une fenêtre ou tout autre endroit ensoleillé afin que la résine se polymérise à la lumière ambiante. Une fois polymérisée, la résine peut être jetée avec les ordures ménagères.
Avis :
Laissez sécher complètement tous les composants avant de rebrancher l’imprimante.
Contacter l’assistance Formlabs
Contactez l’assistance Formlabs ou votre revendeur agréé si le déversement de résine est important ou si la résine a atteint l’intérieur de l’imprimante. Joignez les éléments suivants à la demande d’assistance :
Prévenir les déversements de résine
Voici les principales causes d’un déversement de résine et comment en réduire les risques.
La résine peut se déverser pour de multiples raisons. Les plus courantes sont la présence dans le bac de fragments après un échec d’impression, ou lorsque le bac à résine ou la valve de distribution de la cartouche sont endommagés.
Impressions échouées
Lorsqu’une impression échoue, l’ensemble de l’impression ou une partie de celle-ci peut tomber dans le bac à résine. Le mélangeur est conçu pour détecter une telle défaillance et mettre l’imprimante en pause, mais une certaine quantité de résine peut quand même être renversée.
Pour éviter les erreurs d’impression, appliquez ces bonnes pratiques de la Form 4 :
Bac à résine endommagé
Un bac à résine endommagé peut provoquer une fuite de résine sur l’imprimante. Le film composite flexible au fond du bac peut être endommagé par un mauvais stockage (par exemple lorsqu’il est placé au-dessus d’un autre objet) ou par une manipulation inconsidérée (par exemple en utilisant un outil tranchant pour enlever la résine polymérisée). De même, le cadre en plastique du bac à résine peut se fissurer sous l’effet d’un choc ou d’une autre force importante. Utilisez le grattoir de bac en plastique fourni pour inspecter le film flexible et manipulez toujours le bac à résine avec soin.
Valve de distribution endommagée
Une valve de distribution endommagée sur la cartouche de résine peut entraîner une distribution excessive de résine par l’imprimante, ce qui peut, dans de rares cas, provoquer un débordement du bac à résine. Apprenez à examiner et protéger la valve de distribution.