Avis :
Pour éviter d’endommager votre équipement, consultez le tableau de compatibilité des bacs à résine dans la section Choisir le bon matériau afin de vous assurer que vous utilisez un bac à résine compatible avec ce matériau.


Avis :
Pour éviter d’endommager votre équipement, consultez le tableau de compatibilité des bacs à résine dans la section Choisir le bon matériau afin de vous assurer que vous utilisez un bac à résine compatible avec ce matériau.
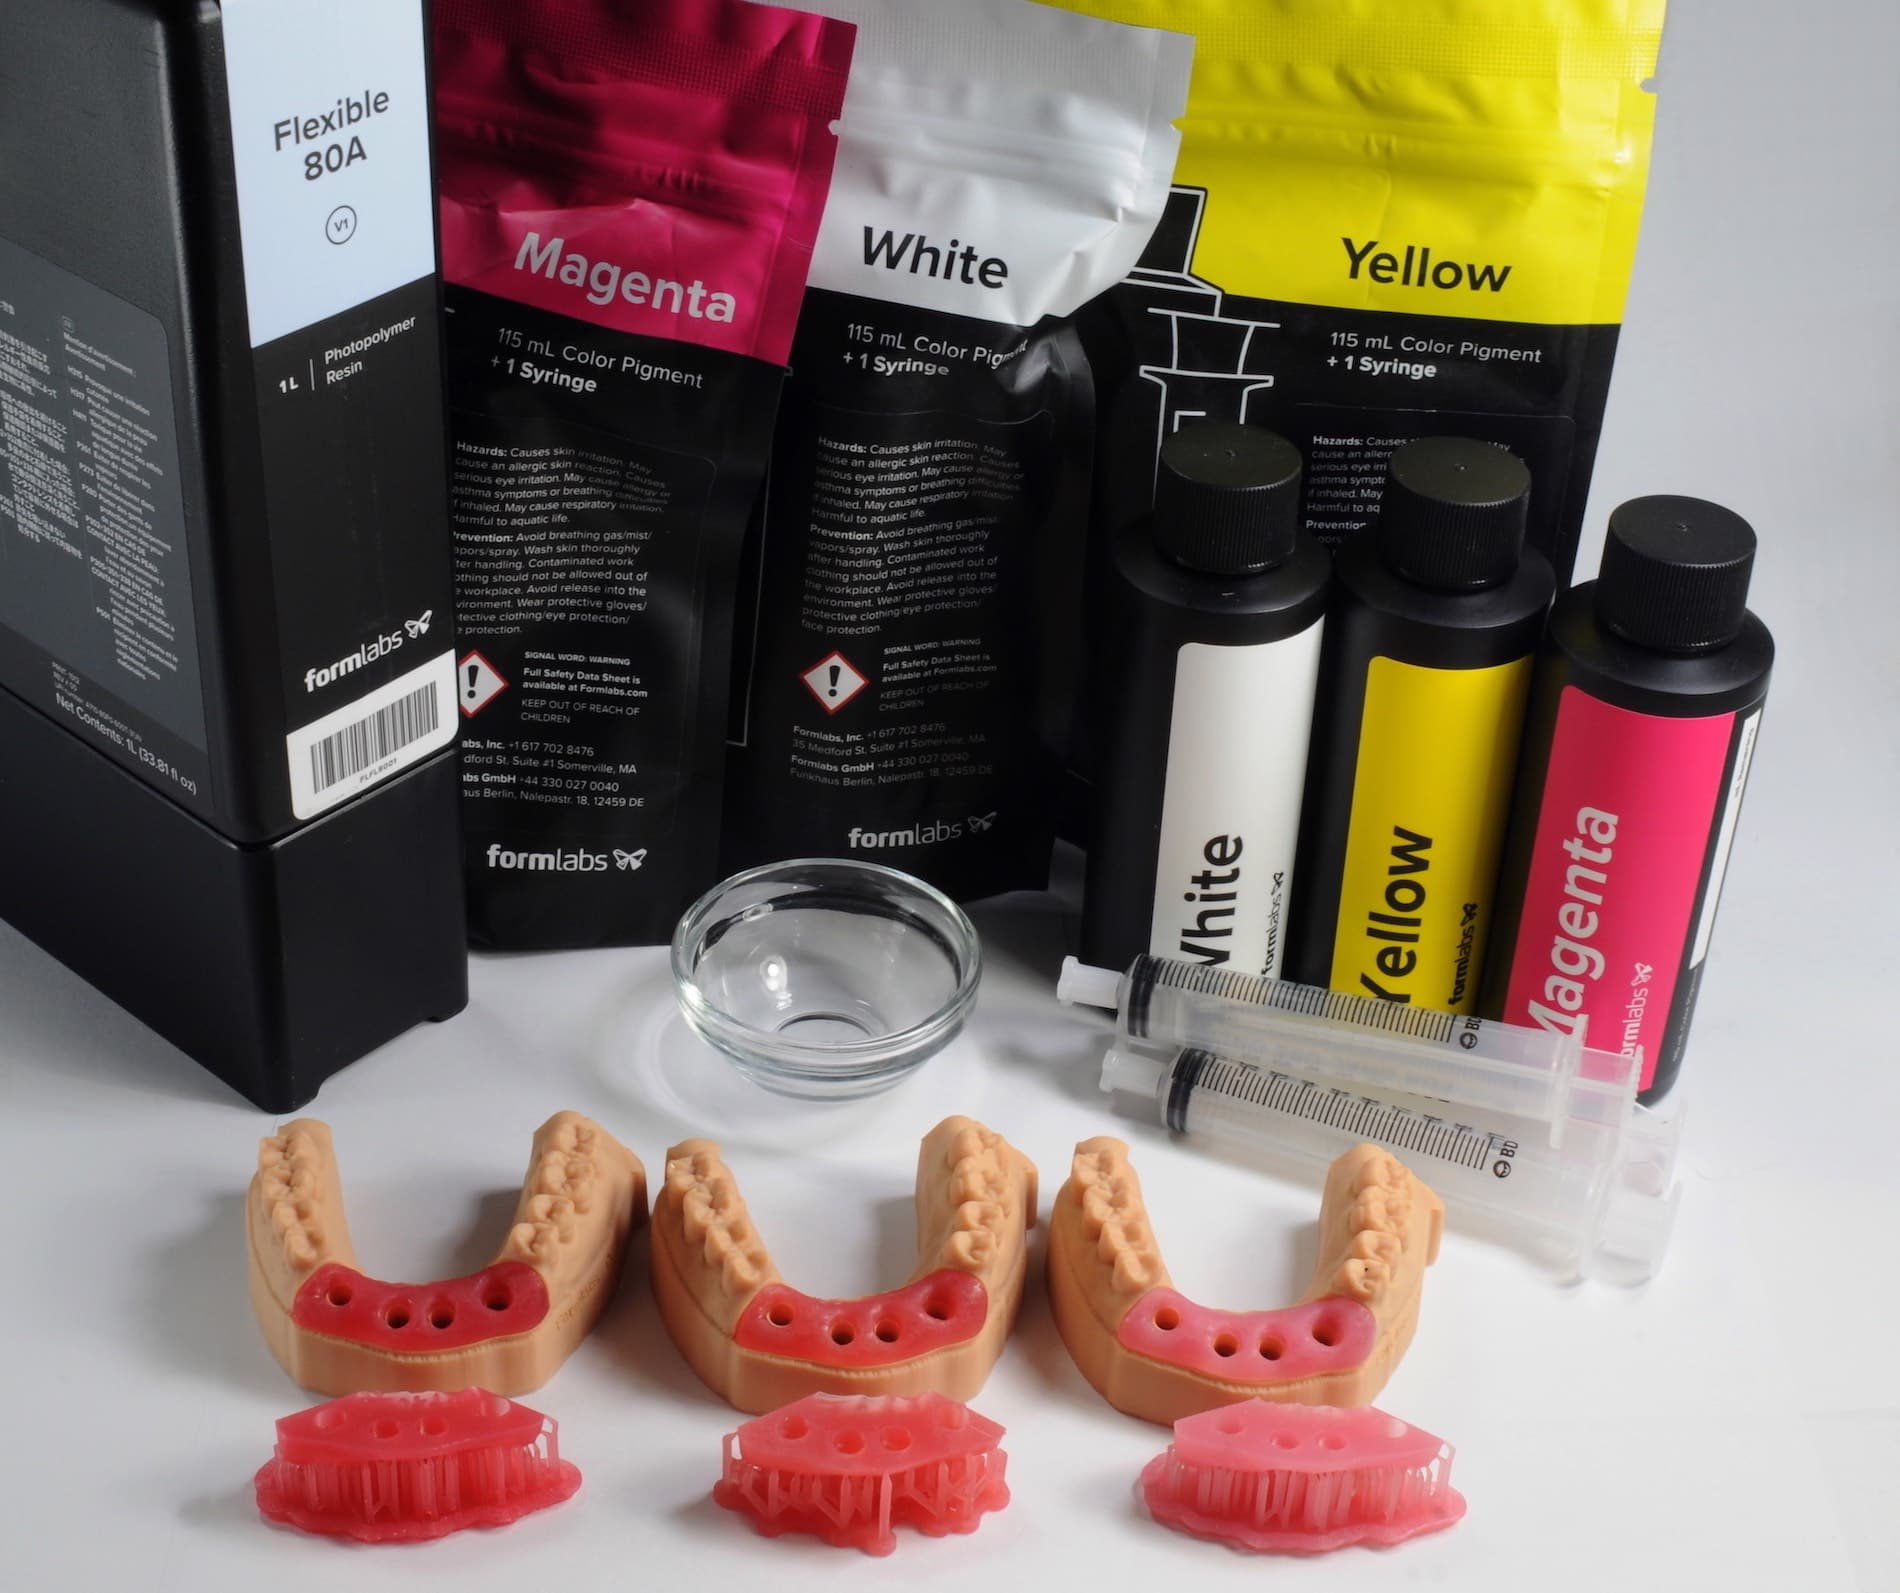
En utilisant Flexible 80A Resin et des pigments de couleur dans le cadre d’un flux de travail numérique pour prothèses implantaires, les professionnels de la santé peuvent désormais imprimer en 3D des pièces de tissus mous qui simulent mieux la gencive à des fins de modélisation d’implants dentaires. Les pigments de couleur personnalisables permettent d’adapter la couleur et l’opacité de votre modèle imprimé final.
Soft Tissue Resin s’imprime à 50 microns et 100 microns.
Remarque :
Pour en savoir plus sur les performances ou les propriétés spécifiques des matériaux de Soft Tissue Resin, consultez la fiche de données de sécurité (FDS) et la fiche technique. Consultez toujours la FDS comme source principale d’information pour savoir comment manipuler les matériaux Formlabs correctement et en toute sécurité.
Ressources nécessaires
Produits par Formlabs :
Aperçu du processus de travail
Avis :
Il s’agit d’une version abrégée du guide d’application, Impression 3D de tissus mous pour les masques gingivaux sur les modèles dentaires [en]. Consultez le guide d’application pour obtenir des instructions détaillées du processus de travail avec Soft Tissue Resin.
Scan
Pour imprimer en 3D une couronne permanente ou une autre restauration, utilisez un scanner afin de collecter les données anatomiques de la dentition du patient. L’empreinte numérique est obtenue directement à l’aide d'un scanner intra-oral ou indirectement en numérisant une empreinte en polyvinyle siloxane (PVS) ou un modèle en plâtre avec un scanner optique de bureau.
Conception
Utilisez un logiciel de CAO dentaire pour traiter et concevoir la restauration avant de l’imprimer. Le logiciel devra proposer l’exportation de fichiers ouverts STL.
Impression
Avis :
Pour éviter d’endommager votre équipement, consultez le tableau de compatibilité des bacs à résine dans la section Choisir le bon matériau afin de vous assurer que vous utilisez un bac à résine compatible avec ce matériau.
Suivez les instructions du guide d’application Impression 3D de tissus mous pour les masques gingivaux sur les modèles dentaires [en], pour mélanger la teinte appropriée de Soft Tissue Resin.
Installez ou mettez à jour PreForm, puis configurez la prochaine tâche d’impression.
Pour préparer un modèle à l’impression dans PreForm :
Utilisez les paramètres PreForm pour Flexible 80A Resin : 50 microns et 100 microns.
Finition
La Form Wash agite le bain de solvant et sort les pièces du bain après une durée définie. Lavez les pièces conformément à l’article d’assistance Paramétrage des durées de lavage de la Form Wash. Accordez une attention particulière aux informations ayant une incidence sur les propriétés mécaniques ou les exigences en matière de biocompatibilité.
Si le modèle présente des cavités ou des canaux internes, la résine liquide doit être soigneusement évacuée de ces éléments. Laissez les pièces sécher complètement avant de les post-polymériser.
Conditions de post-polymérisation
Soft Tissue Resin nécessite une post-polymérisation pour acquérir ses propriétés mécaniques optimales.
Pour connaître les recommandations de post-polymérisation, consultez l'article d'assistance Paramètres de durée et de température de la Form Cure.
Ressources supplémentaires