

Diagnosing a print failure (SLS)
Diagnosing a print failure (SLS)
During a successful SLS print, the laser sinters powder to build parts layer by layer. After the parts cool, separate the printed parts from the unsintered powder. Post-process the printed parts and reserve the unsintered powder for reuse or disposal.
Normally, an SLS 3D printed part has a slightly grainy surface. If the temperature inside the build chamber is too hot, or not hot enough, the resulting temperature difference causes defects on the part’s surface. Obstructions in the laser path can also cause print defects.
Best practices
Fuse 1 generation
To reduce the likelihood of print failures, follow Formlabs instructions and perform routinely scheduled maintenance on your Fuse 1 generation printer:
- Use the recommended refresh rate for your material
- Adjust the bed temperature for optimal part quality
- Clean the optical cassette
- Clean the IR sensor and IR sensor housing
- Clean the print enclosure
- Wait for the internal temperature to drop to 30 °C (86 °F) before removing or handling the build chamber
Fuse X1
To reduce the likelihood of print failures, follow Formlabs instructions and perform routinely scheduled maintenance on your Fuse X1 printer:
- Use the recommended refresh rate for your material
- Adjust the bed temperature for optimal part quality
- Clean the build sheet and troughs between prints
- Clean the recoater roller between prints
- Clean the lower laser window
- Clean the IR sensor and IR sensor housing
- Wait for the internal temperature to drop to 30 °C (86 °F) before removing or handling the build unit
These cleaning and calibration steps are key to consistent and successful prints.
- Refresh rate: Each Formlabs SLS powder has a recommended refresh rate. Refresh rate defines how much powder can be reused from a previous build. A lower refresh rate, which uses less fresh powder, is considered more cost effective, but can lead to an increased print defect rate. The refresh rate advertised by Formlabs is decided by Formlabs as the best balance of cost, performance, and appearance.
- Bed temperature: Formlabs recommends tuning the bed temperature of your printer before printing with any nylon-based powder for the first time. Formlabs offers a tuning print for each powder type. An incorrect bed temperature can lead to print defects, such as poor surface finish, or complete print failures due to melting.
- Optical windows: The laser and camera on Fuse Series printers sit behind protective optical windows. If the laser window is contaminated by powder or lauralactam, powder may fail to fully sinter wherever the laser is blocked. If the camera window is contaminated, the printer may falsely flag the contamination as an issue with the print.
- IR sensor: The print process for Fuse Series printers requires that the material be sintered at a precise temperature, which is measured by the printer’s IR sensor. If the IR sensor is partially blocked or contaminated by powder or lauralactam, it may measure the bed temperature as lower than it actually is. This can cause the printer to overheat the powder, leading to melting.
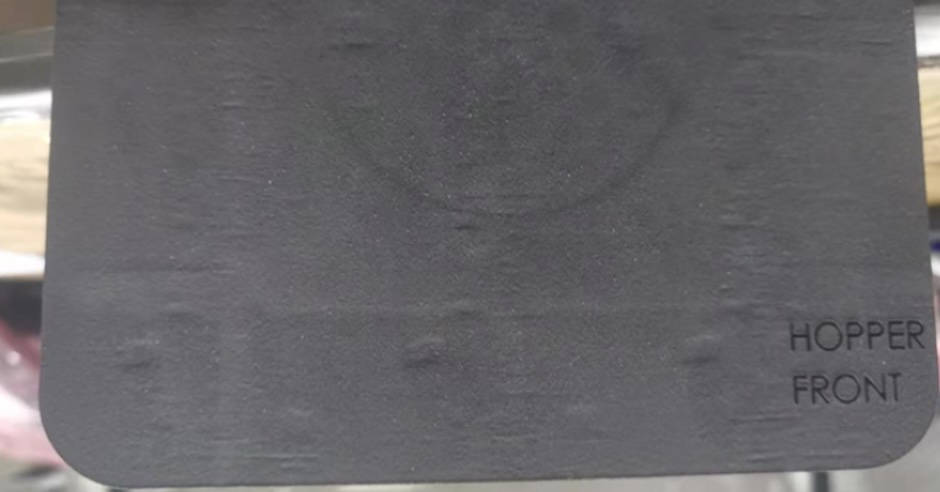
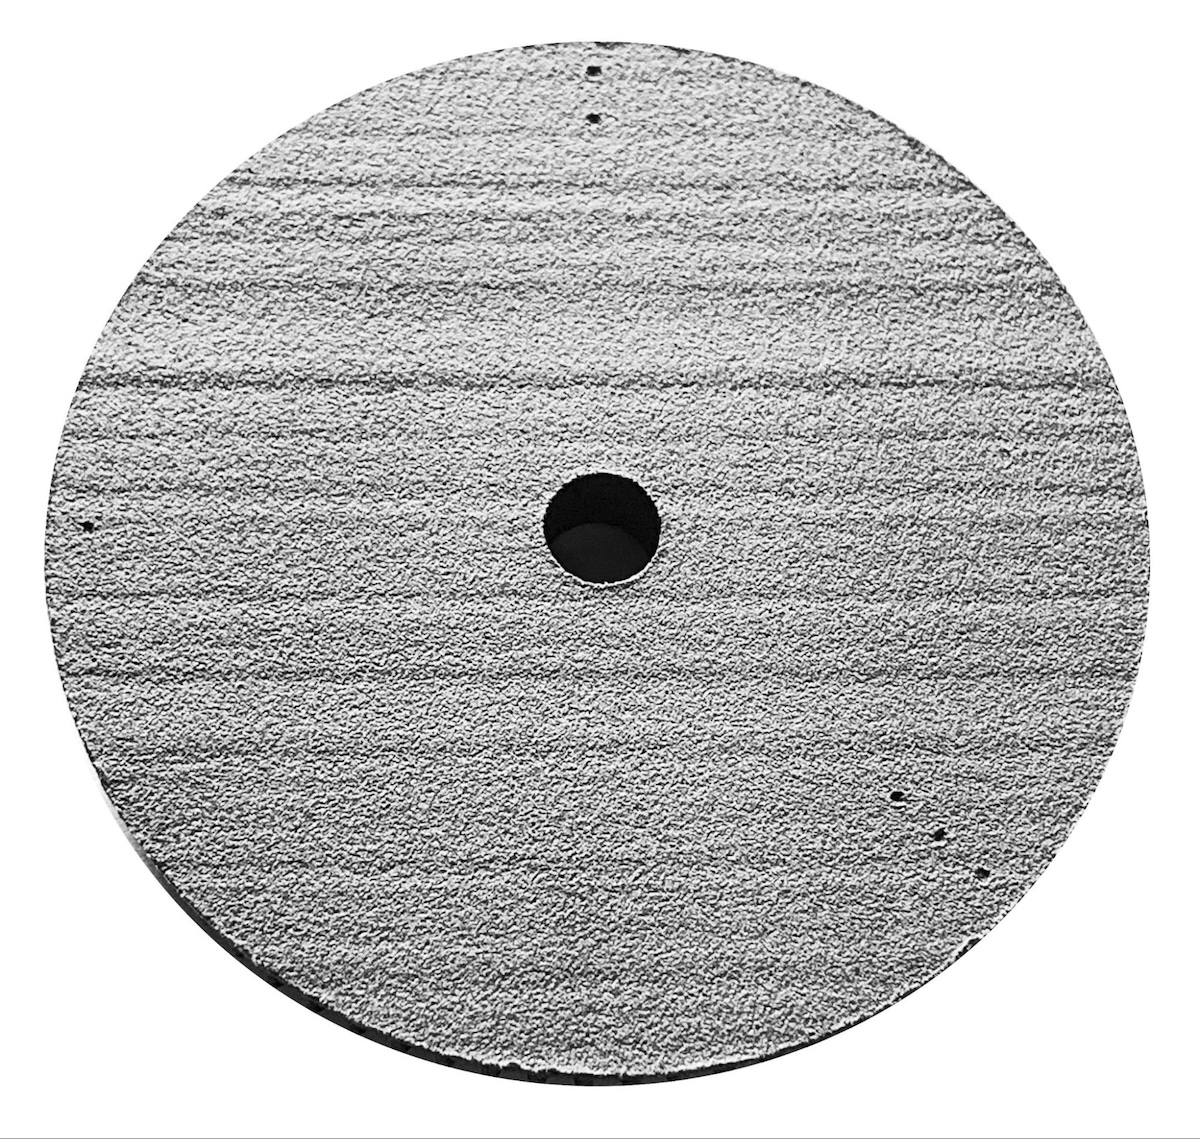
- Print enclosure, build sheet, and troughs: The recoater and powder troughs are key parts of the powder distribution system in Fuse Series printers. Keep them clean to avoid powder contamination, partially-sintered powder being pulled into subsequent prints, and related print failures.
- Powder cake temperature: The build chamber (Fuse 1 generation) or build unit (Fuse X1) may be removed from the printer at 100 ºC, but unpacking the print at higher temperatures increases the risk of warping. For best results, wait for the powder cake to cool to below 30 ºC (86 °F) before unpacking parts.
Print defect overview
If you experience print defects with a Formlabs SLS printer, consult the list below and visit the relevant support article to troubleshoot and resolve them.
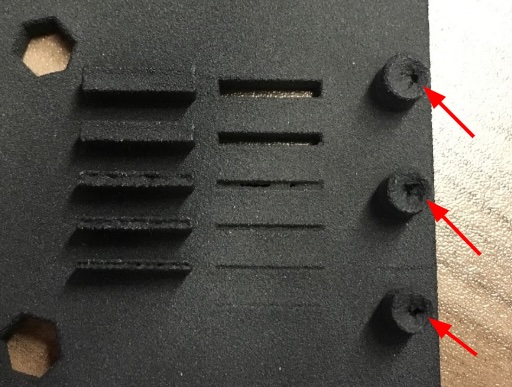
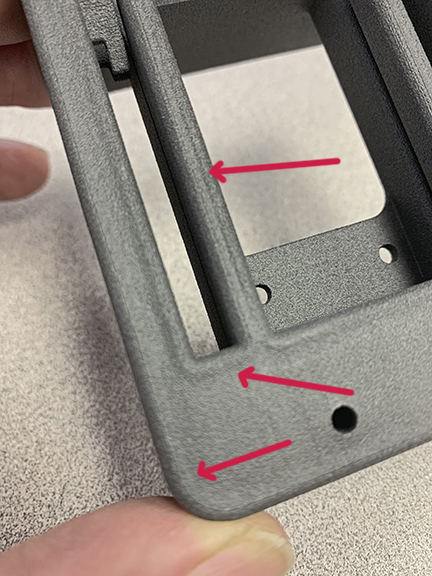
Dimpling and pittingSymptoms:
Troubleshooting steps: |
  |
Layer shiftingSymptoms:
Troubleshooting steps: | 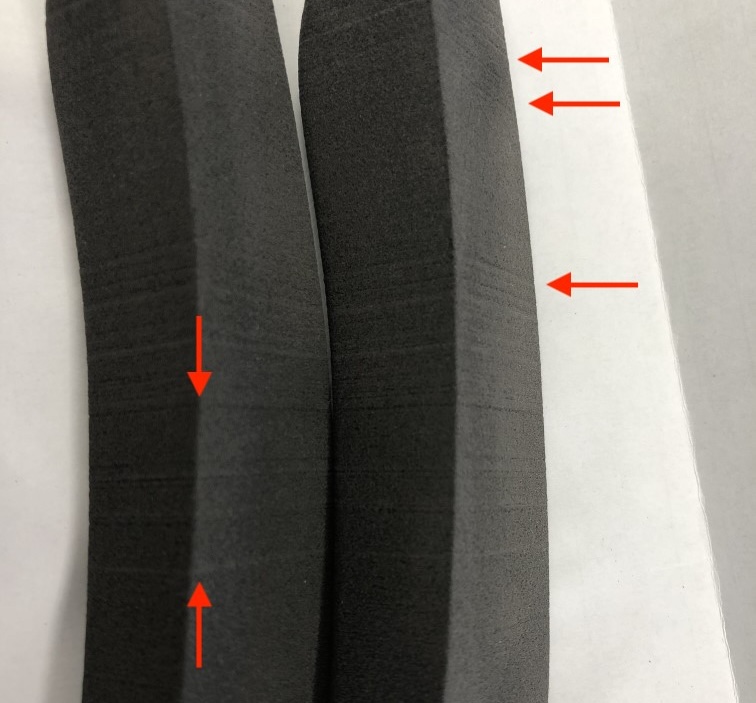 |
Horizontal bandsSymptoms:
Troubleshooting steps: | 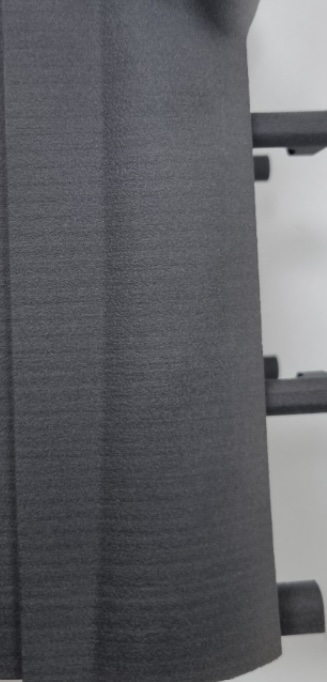 |
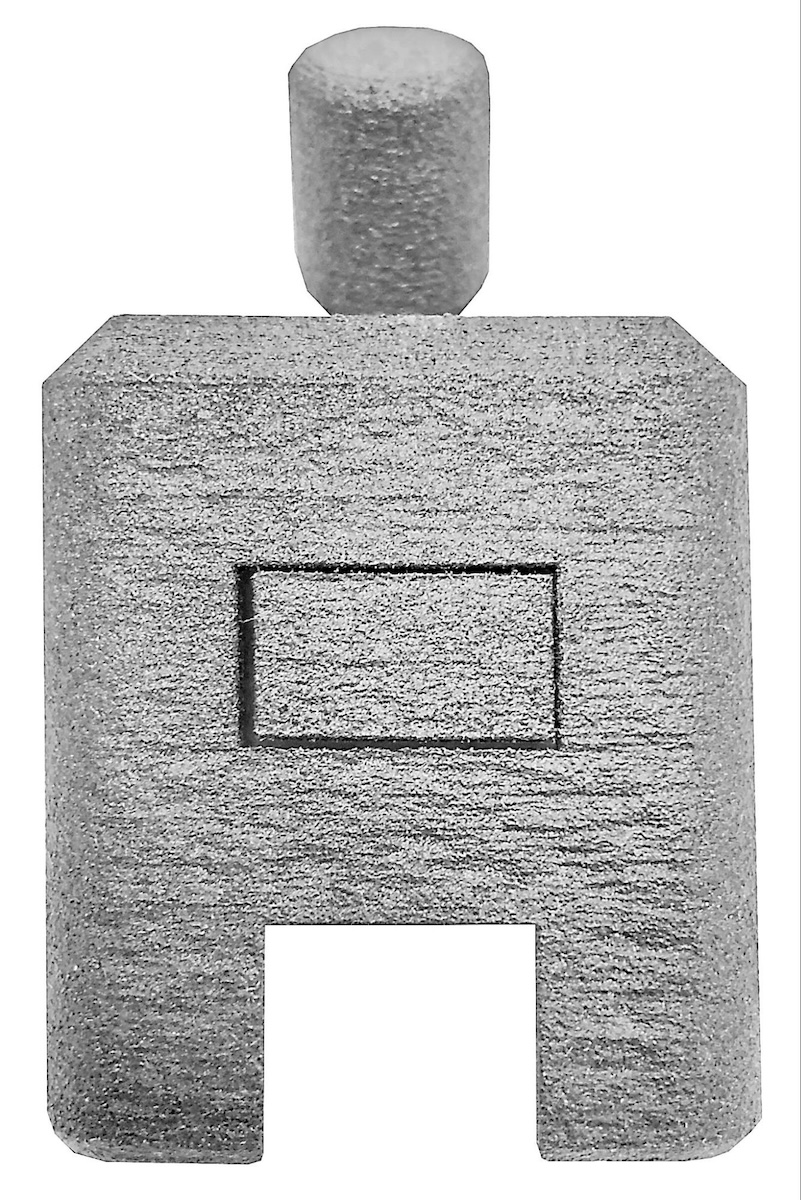
Poor finish or orange peel texture on vertical surfacesSymptoms:
Troubleshooting steps: |
  |
WarpingSymptoms:
Troubleshooting steps: | 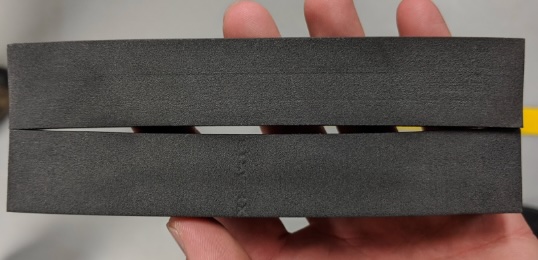 |
Fragile partsSymptoms:
Troubleshooting steps: |  |
Bumps along Z-axisSymptoms:
Troubleshooting steps: | 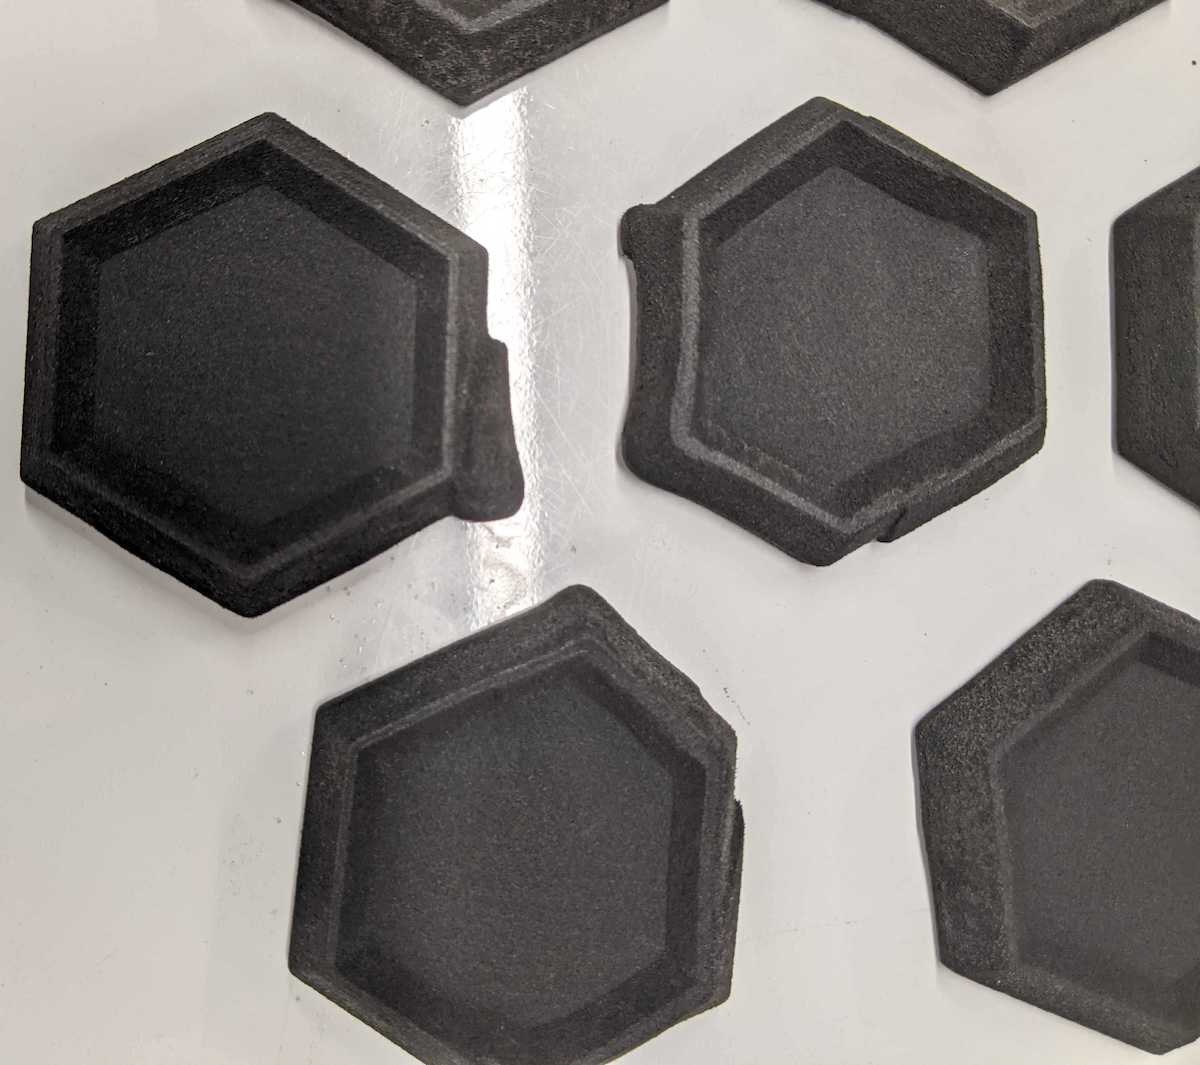 |
Blurred or missing featuresSymptoms:
Troubleshooting steps: | 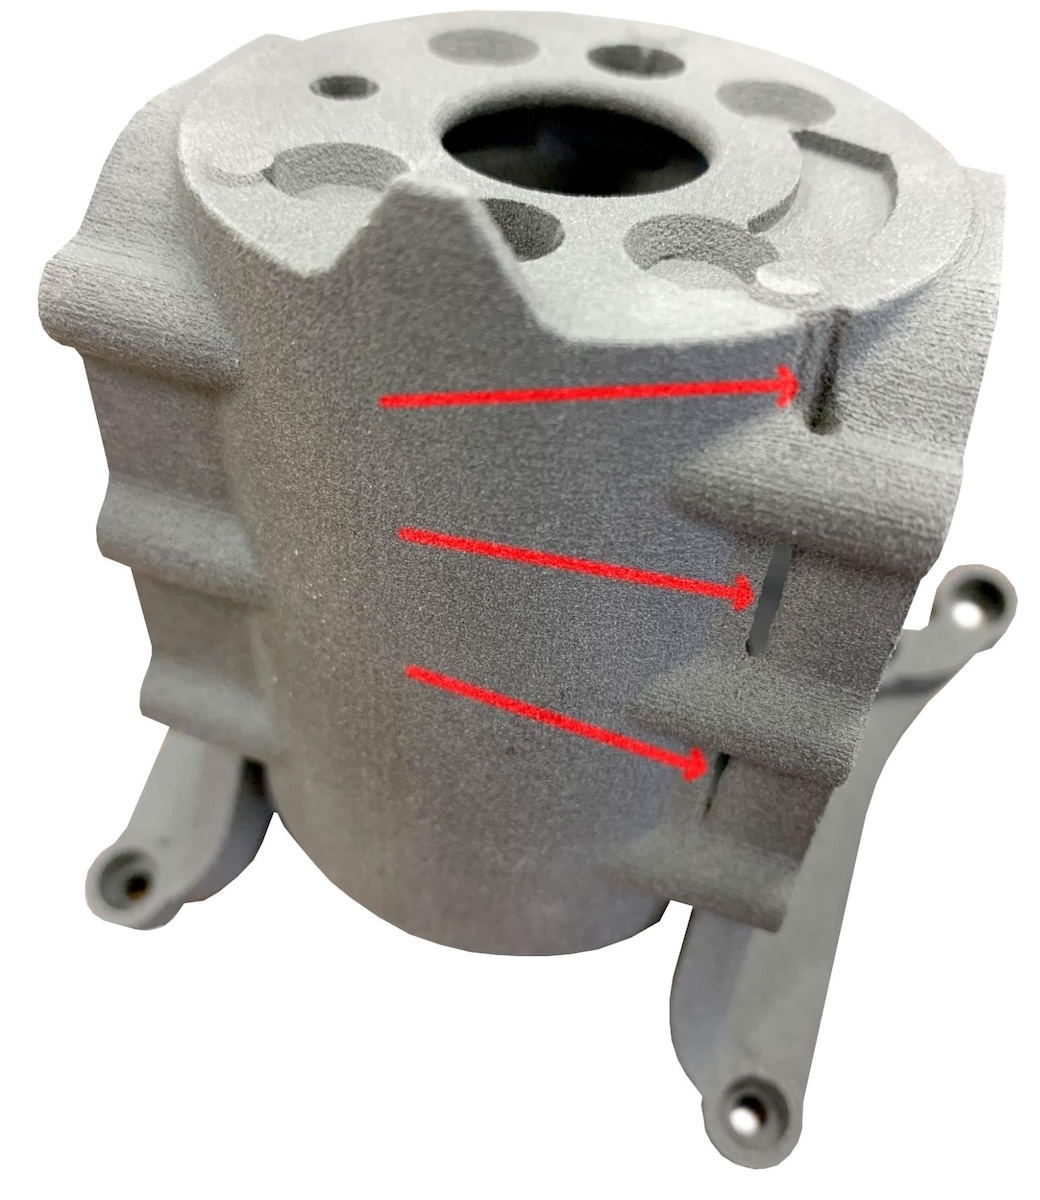 |
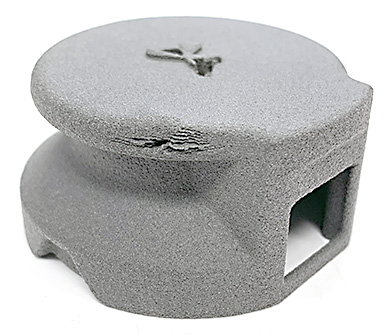
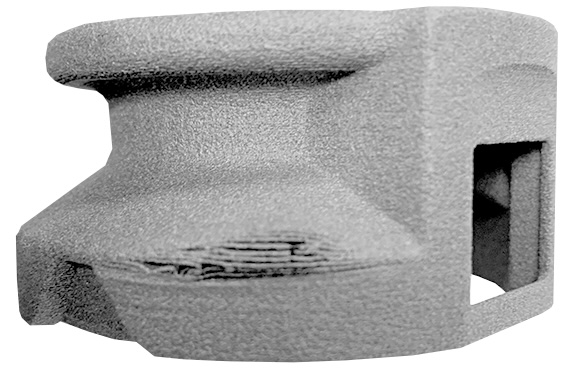
DelaminationSymptoms:
Troubleshooting steps: |
  |
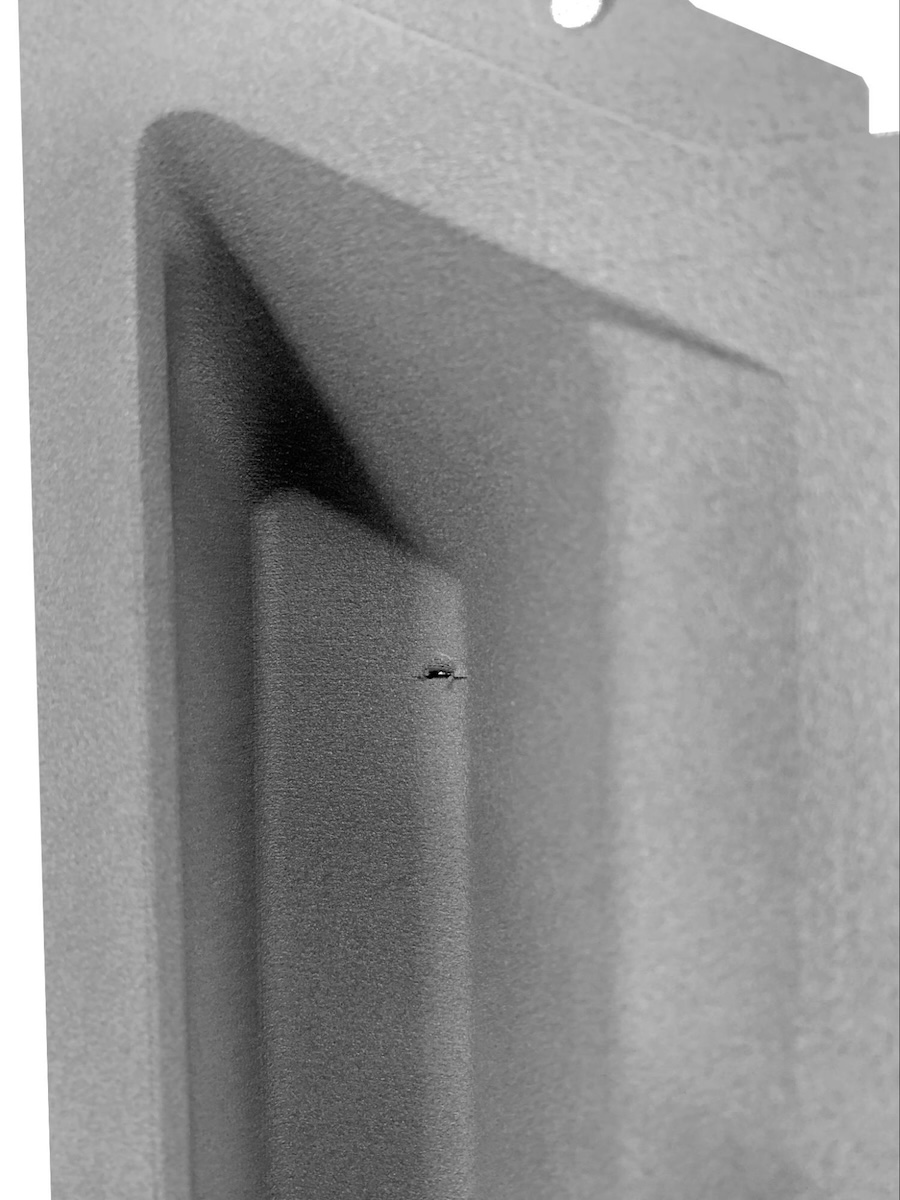
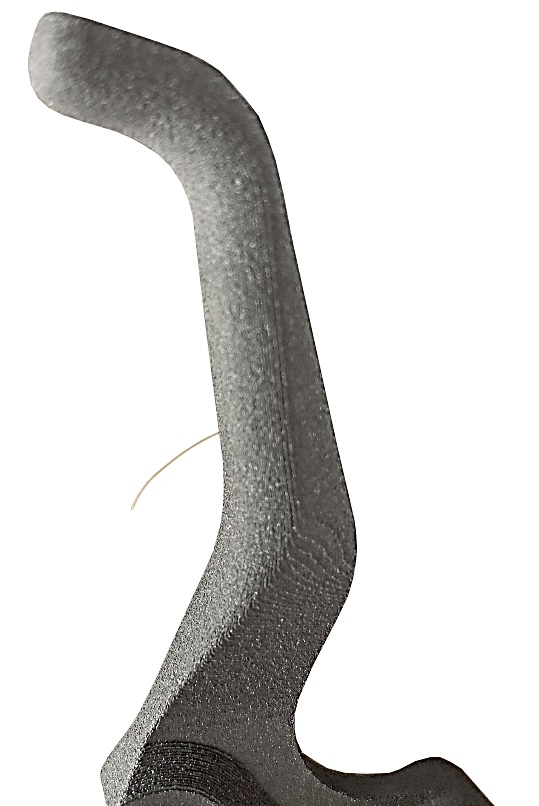
Powder contaminationSymptoms:
Troubleshooting steps: |
  |
Recoater artifactsSymptoms:
Troubleshooting steps: |
  |
Hard cakingSymptoms:
Troubleshooting steps: | 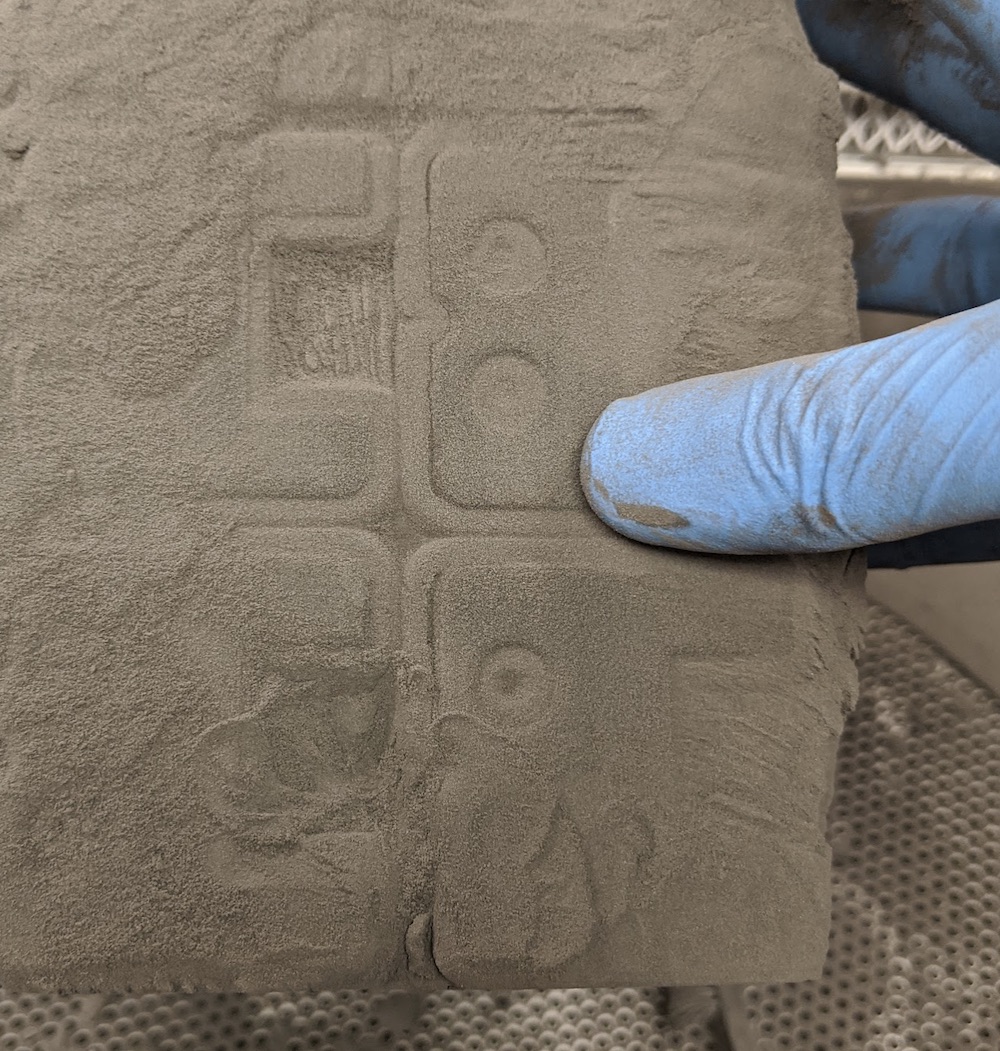 |