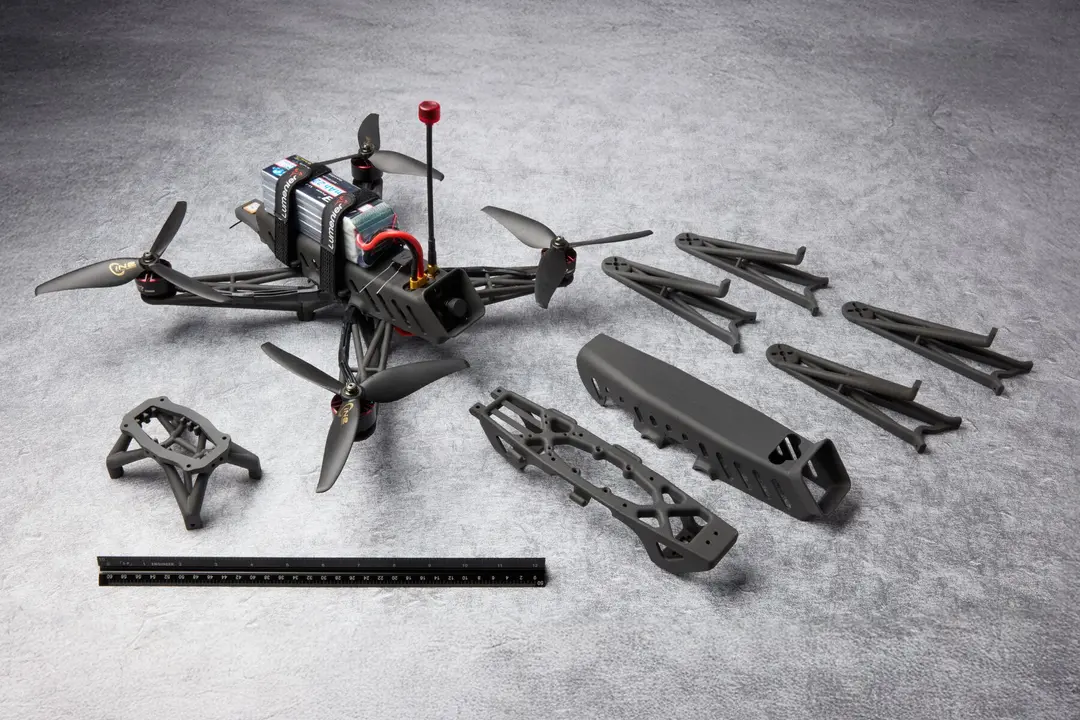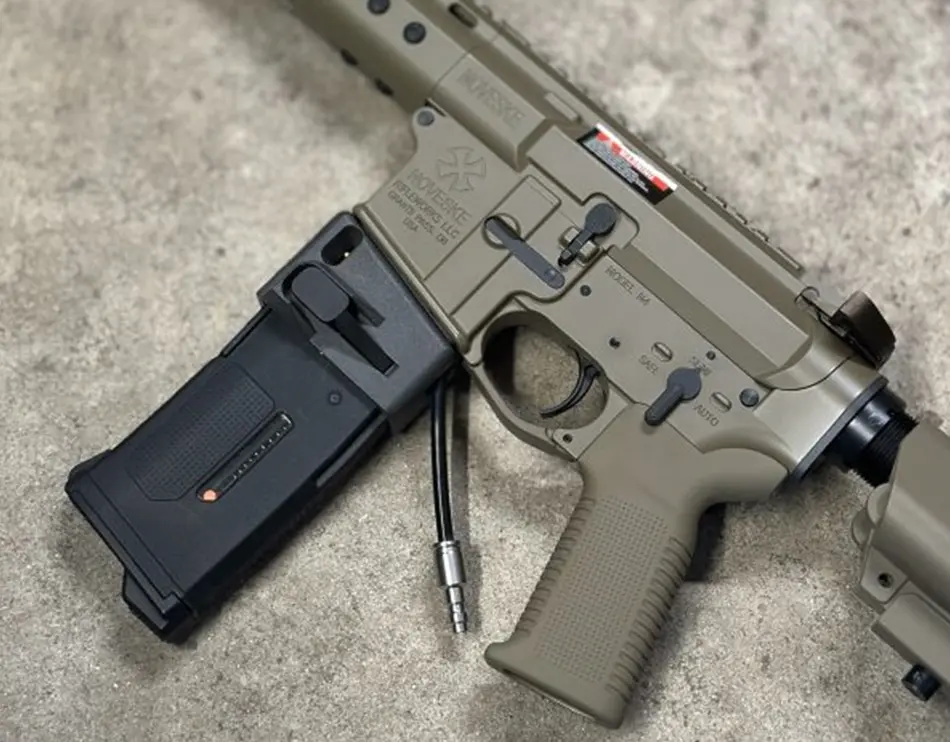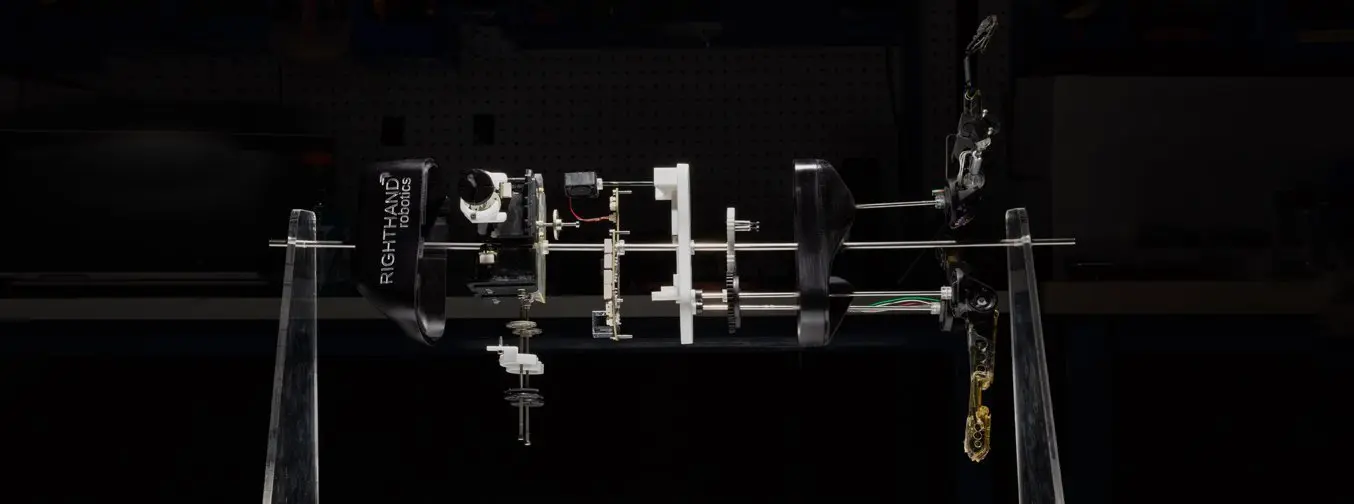
Plastics are the most common materials for producing end-use parts and products, for everything from consumer products to medical devices. Plastics are a versatile category of materials, with thousands of polymer options, each with their own specific mechanical properties. But how are plastic parts made?
A variety of plastic manufacturing processes have been developed to cover a wide range of applications, part geometries, and types of plastics. For any designer and engineer working in product development, it is critical to be familiar with the manufacturing options available today and the new developments that signal how parts will be made tomorrow.
This guide provides an overview of the most common manufacturing processes for producing plastic parts and guidelines to help you select the best option for your application.
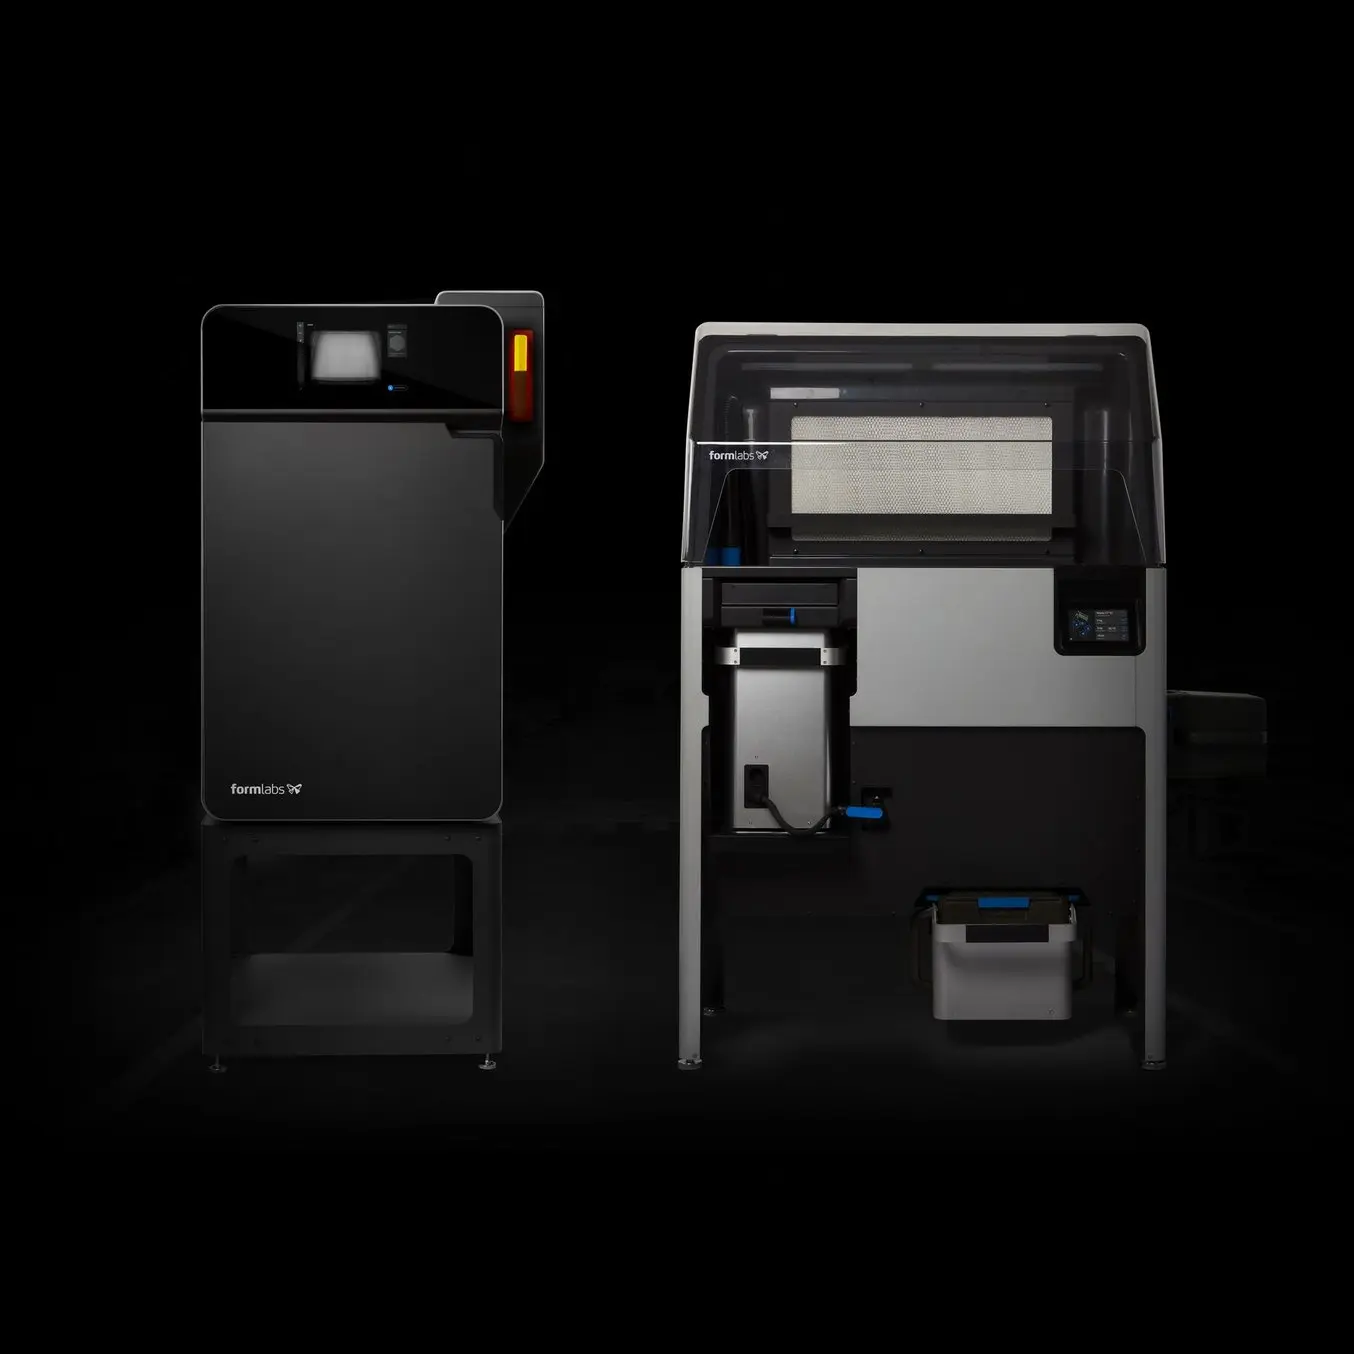
Book a Free Consultation
Get in touch with our 3D printing experts for a 1:1 consultation to find the right solution for your business, receive ROI analyses, test prints, and more.
How to Choose the Right Plastic Manufacturing Process
Consider the following factors when selecting a manufacturing process for your product:
Form: Do your parts have complex internal features or tight tolerance requirements? Depending on the geometry of a design, manufacturing options may be limited, or they may require significant design for manufacturing (DFM) optimization to make them economical to produce.
Volume/cost: What’s the total or the annual volume of parts you’re planning to manufacture? Some manufacturing processes have high front costs for tooling and setup, but produce parts that are inexpensive on a per-part basis. In contrast, low volume manufacturing processes have low startup costs, but due to slower cycle times, less automation, and manual labor, cost per part remains constant or decreases only marginally when volume increases.
Lead time: How quickly do you need parts or finished goods produced? Some processes create first parts within 24 hours, while tooling and setup for certain high volume production processes takes months.
Material: What stresses and strains will your product need to stand up to? The optimal material for a given application is determined by a number of factors. Cost must be balanced against functional and aesthetic requirements. Consider the ideal characteristics for your specific application and contrast them with the available choices in a given manufacturing processes.
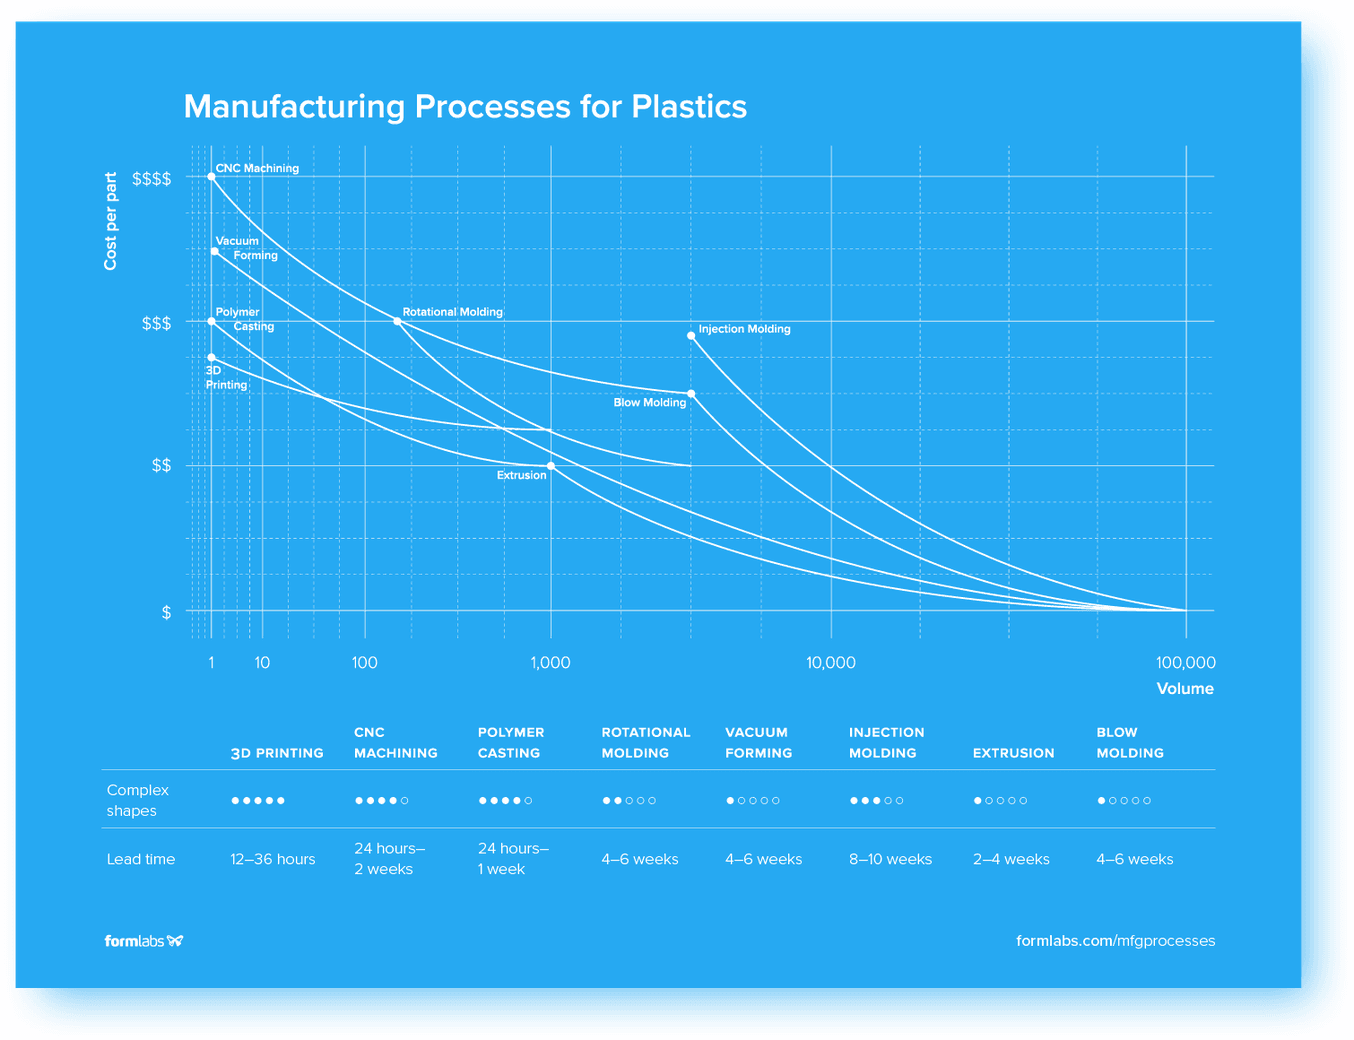
Download the high-resolution version of this infographic here.

How to Choose a 3D Printing Technology
Having trouble finding the best 3D printing technology for your needs? In this video guide, we compare FDM, SLA, and SLS technologies across popular buying considerations.
Types of Plastics
Plastics come in thousands of varieties with different base chemistries, derivatives, and additives that are formulated to cover a wide range of functional and aesthetic properties.
To simplify the process of finding the material best suited for a given part or product, let’s look first at the two main types of plastic: thermoplastics and thermosets.
Thermoplastics
Thermoplastics are the most commonly used type of plastic. The main feature that sets them apart from thermosets is their ability to go through numerous melt and solidification cycles without significant degradation. Thermoplastics are usually supplied in the form of small pellets or sheets that are heated and formed into the desired shape using various manufacturing processes. The process is completely reversible, as no chemical bonding takes place, which makes recycling or melting and reusing thermoplastics feasible.
Common types of thermoplastic materials:
- Acrylic (PMMA)
- Acrylonitrile butadiene styrene (ABS)
- Polyamide (PA)
- Polylactic acid (PLA)
- Polycarbonate (PC)
- Polyether ether ketone (PEEK)
- Polyethylene (PE)
- Polypropylene (PP)
- Polyvinyl chloride (PVC)
Thermosetting Plastics
In contrast with thermoplastics, thermosetting plastics (also referred to as thermosets) remain in a permanent solid state after curing. Polymers in thermosetting materials cross-link during a curing process that is induced by heat, light, or suitable radiation. This curing process forms an irreversible chemical bond. Thermosetting plastics decompose when heated rather than melting, and will not reform upon cooling. Recycling thermosets or returning the material back into its base ingredients is not possible.
Common types of thermoplastic materials:
- Cyanate ester
- Epoxy
- Polyester
- Polyurethane
- Silicone
- Vulcanized rubber
Types of Manufacturing Processes
3D Printing
Professional 3D printers create three-dimensional parts directly from CAD models by building material layer by layer until a complete physical part is formed.
Manufacturing Process
- Print setup: Print preparation software is used for orienting and laying out models within a printer’s build volume, adding support structures (if needed), and slicing the supported model into layers.
- Printing: The printing process depends on the type of 3D printing technology: fused deposition modeling (FDM) melts a plastic filament, stereolithography (SLA) cures liquid resin, and selective laser sintering (SLS) fuses powdered plastic.
- Post-processing: When printing is complete, parts are removed from the printer, cleaned or washed, post-cured (depending on the technology), and the support structures removed (if applicable).
As 3D printers require no tooling and minimal setup time for a new design, the cost of producing a custom part is negligible in comparison with traditional manufacturing processes.
3D printing processes are generally slower and more labor-intensive than manufacturing processes used for mass production.
As 3D printing technologies improve, cost per part continues to fall, opening up a wider range of low- to mid-volume applications.
| 3D Printing | |
|---|---|
| Form | High degree of freedom |
| Lead time | Less than 24 hours |
| Cycle time | < 1 hour to multiple hours, depending on part size and volume |
| Setup cost | $ |
| Cost per part | $$$ |
| Volume | Low to mid-volume applications (~1-1000 parts) |
While most plastic manufacturing processes require expensive industrial machinery, dedicated facilities, and skilled operators, 3D printing allows companies to easily create plastic parts and rapid prototypes in-house.
Compact desktop or benchtop 3D printing systems for creating plastic parts are affordable and require very little space and no special skills, enabling professional engineers, designers, and manufacturers to speed up iteration and production cycles from days or weeks to a few hours.
Materials
There are many types of 3D printers and 3D printing technologies on the market, and the available materials vary by technology.
| 3D Printing Materials | |
|---|---|
| Fused deposition modeling (FDM) | Various thermoplastics, mainly ABS and PLA |
| Stereolithography (SLA) | Thermoset resins |
| Selective laser sintering (SLS) | Thermoplastics, typically nylon and its composites |
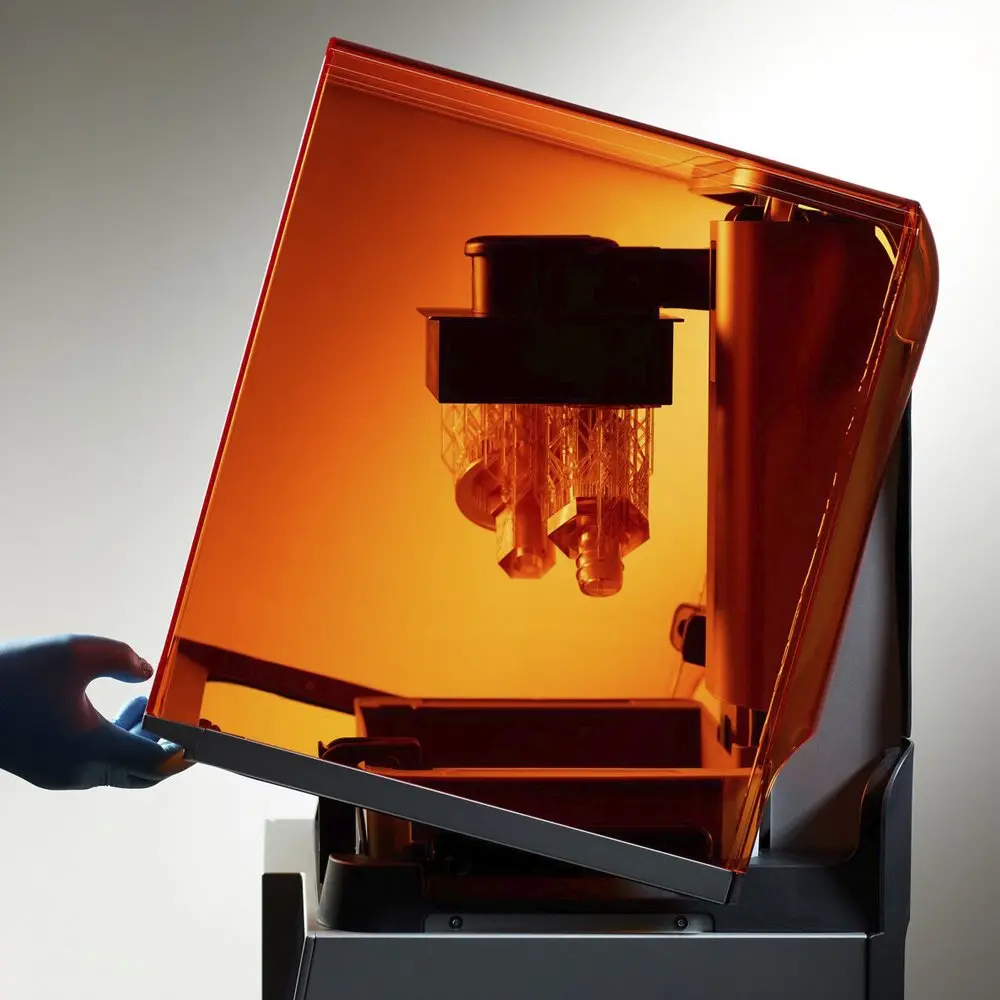
Introduction to 3D Printing With Desktop Stereolithography (SLA)
Looking for a resin 3D printer to realize your 3D models in high resolution? Download our white paper to learn how SLA printing works and why it's the most popular 3D printing process for creating models with incredible details.
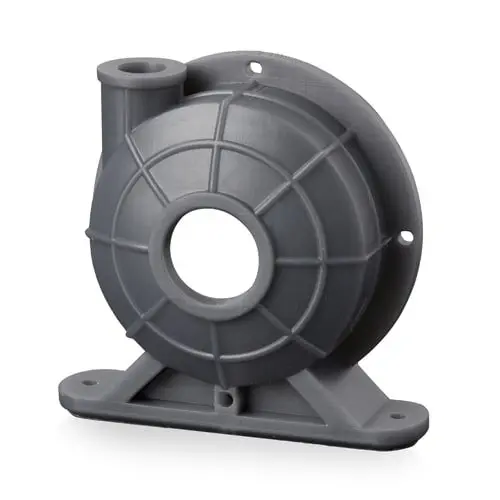
Request a Free Sample Part
See and feel Formlabs quality firsthand. We’ll ship a free sample part to your office.
CNC Machining
CNC machining includes mills, lathes, and other computer-controlled subtractive processes. These processes start with solid blocks, bars, or rods of metal, or plastic that are shaped by removing material through cutting, boring, drilling, and grinding.
Unlike most other plastic manufacturing processes, CNC machining is a subtractive process where material is removed by either a spinning tool and fixed part (milling) or a spinning part with a fixed tool (lathe).
Manufacturing Process
- Job setup: CNC machines require an intermediary step of generating and validating toolpaths (CAD to CAM). Toolpaths control where the cutting tools move, at what speeds, and any tool changeovers.
- Machining: The toolpaths are sent to the machine where the given subtractive process begins. Depending on the desired shape of the final product, the workpiece may need to be set in a new position so that the tool head can reach new areas.
- Post-processing: After manufacture, the part is cleaned and deburred, trimmed.
Machining is ideal for low volume plastic part applications that require tight tolerances and geometries that are difficult to mold. Typical applications include prototyping and end-use parts like pulleys, gears, and bushings.
CNC machining has low to moderate setup costs, and can produce high-quality plastic components with short lead times from a wide range of materials.
Machining processes have more part geometry restrictions than 3D printing. With machining, cost per part increases with part complexity. Undercuts, pass throughs, and features on multiple part faces all contribute to increased part cost.
Machining processes require allowances for tool access and certain geometries, like curved internal channels, are difficult or impossible to produce with conventional subtractive methods.
| CNC Machining | |
|---|---|
| Form | Medium degree of freedom |
| Lead time | Less than 24 hours |
| Cycle time | < 1 hour to multiple hours, depending on part size, design, and complexity |
| Setup cost | $$ |
| Cost per part | $$$$ |
| Volume | Low to high-volume applications (~1-5000 parts) |
Materials
Most hard plastics can be machined, with some variation in difficulty. Softer thermoset plastics require specialized tooling to support the parts during machining, and filled plastics can be abrasive and decrease cutting tool life.
Some commonly machined plastics are:
- Acrylic (PMMA)
- Acrylonitrile butadiene styrene (ABS)
- Polyamide nylon (PA)
- Polylactic acid (PLA)
- Polycarbonate (PC)
- Polyether ether ketone (PEEK)
- Polyethylene (PE)
- Polypropylene (PP)
- Polyvinyl chloride (PVC)
- Polycarbonate (PC)
- Polystyrene (PS)
- Polyoxymethylene (POM)
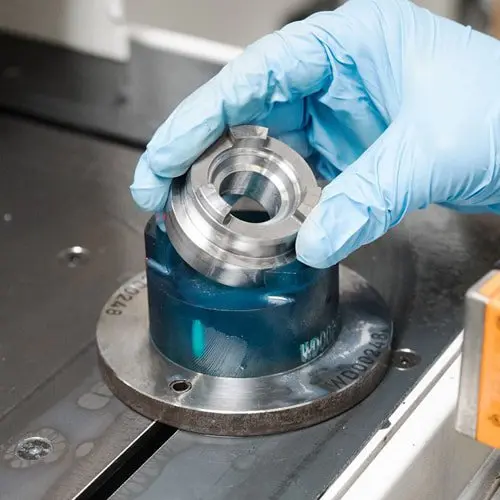
Innovation on the Production Floor: 3D Printed Jigs and Fixtures
In this webinar, learn how to design and 3D print jigs and fixtures to replace machined parts, and five ways to improve the efficiency of your factory floor with 3D printing.
Polymer Casting
In polymer casting, a reactive liquid resin or rubber fills a mold which reacts chemically and solidifies. Typical polymers for casting include polyurethane, epoxy, silicone, and acrylic.
Manufacturing Process
- Mold preparation: The mold is coated with a release agent to facilitate demolding, and often preheated to a material specific temperature.
- Casting: The synthetic resin is mixed with a curing agent and poured or injected into the mold, where it fills the mold cavity.
- Cure: The casting cures in the mold until it solidifies (subjecting the mold to heat can accelerate the cure time for certain polymers).
- De-mold: The mold is opened and the cured part is removed.
- Trimming: Casting artifacts like flash, sprues, and seams are cut or sanded away.
Flexible molds made from latex rubber or room temperature vulcanized (RTV) silicone rubber are inexpensive when compared to hard tooling, but can produce only a limited number (around 25 to 100) of castings as the chemical reaction of urethanes, epoxies, polyester, and acrylic degrades the mold surfaces.
RTV silicone molds can reproduce even the smallest details, yielding high quality cast parts. Stereolithography 3D printing is a common way to create masters for molds directly from CAD designs, in part due to its high resolution and similar ability to produce fine features.
Polymer casting is relatively inexpensive, with little initial investment, but thermoset polymers for casting are usually more expensive than their thermoplastic counterparts and molding cast parts is labor-intensive. Each cast part requires some hands-on labor for post-processing, making the final cost per part high compared to automated production methods like injection molding.
Polymer casting is typically used for prototyping, short run production, as well as certain dental and jewelry applications.
| Polymer Casting | |
|---|---|
| Form | High degree of freedom |
| Lead time | Less than 24 hours to a few days |
| Cycle time | Minutes to multiple days, depending on cure time |
| Setup cost | $ |
| Cost per part | $$ |
| Volume | Low volume applications (~1-1000 parts) |
Materials
- Polyurethane
- Epoxy
- Polyether
- Polyesters
- Acrylic
- Silicone
Rotational Molding
Rotational molding (also called rotomolding) is a process that involves heating a hollow mold filled with powdered thermoplastic and rotated around two axes to produce mainly large hollow objects. Processes for rotomolding thermoset plastics are available as well, however less common.
Manufacturing Process
- Charging: Plastic powder is loaded into the mold cavity, and then the remaining parts of the mold are installed, closing the cavity for heating.
- Heating: The mold is heated until the plastic powder melts and adheres to the mold’s walls, while the mold is rotated along two perpendicular axes to ensure a uniform plastic coating.
- Cooling: The mold is slowly cooled while the mold remains in motion to ensure that the skin of the part does not sag or collapse before fully solidifying.
- Part removal: The part is separated from the mold, any flashing is trimmed away.
Rotational molding requires less expensive tooling than other molding techniques as the process uses centrifugal force, not pressure, to fill the mold. The molds can be fabricated, CNC machined, cast, or formed from epoxy or aluminum at a lower cost and much faster than tooling for other molding processes, especially for large parts.
Rotomolding creates parts with nearly uniform wall thickness. Once the tooling and process are set up, the cost per part is very low relative to the size of the part. It is also possible to add prefinished pieces, like metal threads, internal pipes, and structures to the mold.
These factors make rotational molding ideal for short-run production or as an alternative to blow molding for lower volumes. Typical rotomolded products include tanks, buoys, large containers, toys, helmets, and canoe hulls.
Rotomolding has some design constraints and finished products have looser tolerances. As the entire mold has to be heated and cooled down, the process also has long cycle times and is quite labor intensive, limiting its efficiency for higher volume applications.
| Rotational Molding | |
|---|---|
| Form | Medium degree of freedom, ideal for large hollow parts |
| Lead time | Days to a few weeks |
| Cycle time | Typically < 1 hour |
| Setup cost | $$$ |
| Cost per part | $$ |
| Volume | Medium volume applications (~200-5000 parts) |
Materials
The most common material for rotational molding is polyethylene (PE) which is used in 80% of applications, mainly because PE can be easily ground into a powder at room temperature.
Commonly rotomolded plastics include:
- Polyethylene
- Polypropylene
- Polyvinyl chloride
- Nylon
- Polycarbonate
Vacuum Forming
Vacuum forming or thermoforming is a manufacturing method where a plastic is heated and formed, typically using a mold. Vacuum forming machines vary in size and complexity from low-cost desktop devices to automated industrial machinery. The steps below describe the typical process for industrial vacuum forming.
Manufacturing Process
- Clamping: A plastic sheet is clamped in a frame.
- Heating: The sheet and the frame are moved close to heating elements, which makes the plastic soft and pliable.
- Vacuum: The frame is lowered, and the plastic is stretched over the mold, while vacuum is activated to suck all the air out from between the plastic and the mold, thus forming the part.
- Cooling and release: Once the part has been formed over the mold, it must be given time to cool before removal. Cooling system like fans and sprayed mist are sometimes used to reduce cycle times.
- Trimming: Once the part is released, excess material is cut off either by hand or with a CNC machine.
Tooling costs for vacuum forming are low compared to other molding techniques, due to low forces and pressures involved. Molds are made from wood, plaster, or 3D printed resin for short production runs and custom parts. For high production volumes, manufacturers use more durable metal tooling.
Given the wide scale of thermoforming and vacuum forming machinery available and the possibilities for automation on the high end, thermoforming is ideal for any application from custom products or prototypes to mass production. However, the process offers only limited form freedom and can only be used to manufacture parts with relatively thin walls and simple geometries.
Commonly vacuum formed parts include product packaging, shower trays, car door liners, boat hulls, and custom products like dental aligners.
| Vacuum Forming | |
|---|---|
| Form | Limited freedom, only thin-walled parts, no complex geometries |
| Lead time | Less than 24 hours to weeks |
| Cycle time | Seconds to minutes, depending on the machinery |
| Setup cost | $-$$$$ |
| Cost per part | $-$$$ |
| Volume | Any volume |
Materials
Most thermoplastics can be used for thermoforming, offering flexibility in material selection.
Plastics commonly used for thermoforming include:
- Acrylic (PMMA)
- Acrylonitrile butadiene styrene (ABS)
- Polyethylene terephthalate glycol (PETG)
- Polystyrene (PS)
- Polycarbonate (PC)
- Polypropylene (PP)
- Polyethylene (PE)
- Polyvinyl chloride (PVC)
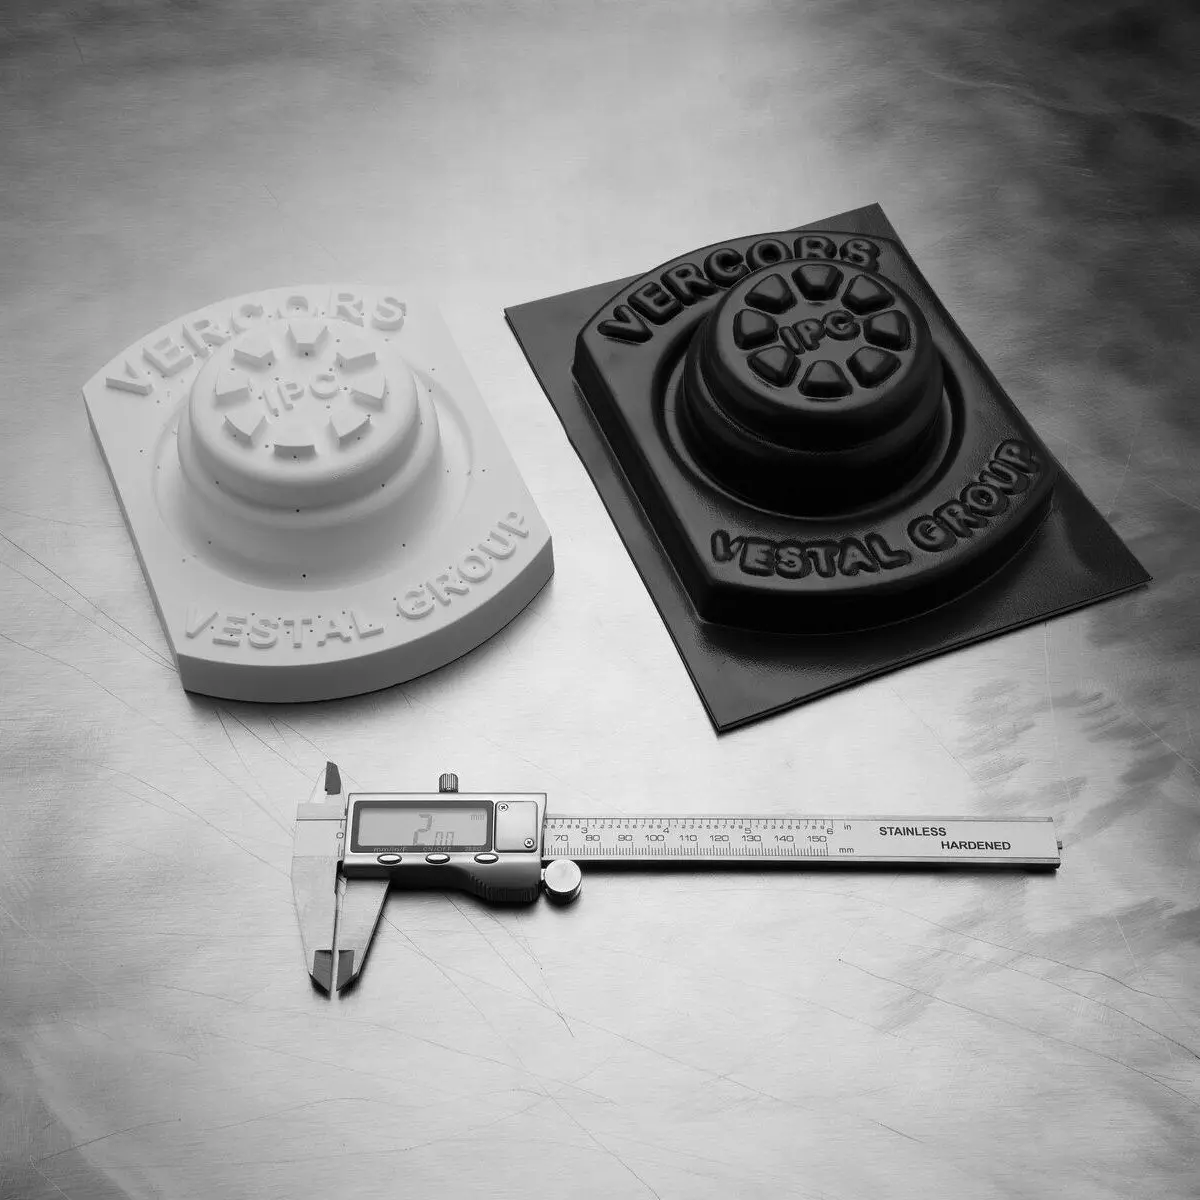
Low-Volume Rapid Thermoforming With 3D Printed Molds
Download our white paper to see how to create complex molds with 3D printing fast and learn about tips and guidelines that you’ll want to follow when preparing your mold parts.
Injection Molding
Injection molding (IM) works by injecting molten thermoplastic into a mold. It is the most widely used process for mass manufacturing of plastic parts.
Manufacturing Process
- Mold setup: If the part has inserts, these are added either by hand or robotically. The mold is closed by a hydraulic press.
- Plastic extrusion: Small plastic pellets are melted and extruded through a heated chamber by a screw.
- Molding: The molten plastic is injected into the mold.
- Cooling and release: The part cools in the mold until it is solid enough to be ejected, either mechanically or by compressed air.
- Post-processing: Sprues, runners and any flash (if applicable) is removed from the part, often automatically as part of the mold opening.
Molds for injection molding are highly complex and need to be manufactured to tight tolerances to produce high-quality parts. Due to the high temperature and pressures involved, these molds are machined from metals like hardened steel. Softer aluminum molds are less expensive, but also wear faster, so are typically used for more moderate production runs.
Injection molding can be used to produce highly complex parts, but certain geometries will increase cost significantly. Following design for manufacturing (DFM) guidelines will help to keep tooling costs manageable. Creating new molds for injection molding can take months to complete, and their costs can run into five or six digits.
Despite the high initial costs and slow ramp up, injection molding has no match for high volume applications. Once the tooling is up and running, cycle times only take a few seconds, and millions of high-quality parts can be produced at a fraction of the cost of all other manufacturing processes.
| Injection Molding | |
|---|---|
| Form | Moderate to high degree of freedom |
| Lead time | 2-4 months |
| Cycle time | Seconds |
| Setup cost | $$$$$ |
| Cost per part | $ |
| Volume | High volume applications (5000+ parts) |
Materials
Injection molding can be done with almost any type of thermoplastic. A similar method known reaction injection molding (RIM) is used to manufacture parts out of thermosetting plastics.
Plastics commonly used in injection molding include:
- Acrylic (PMMA)
- Acrylonitrile butadiene styrene (ABS)
- Polyamide (PA)
- Polyethylene terephthalate glycol (PETG)
- Polystyrene (PS)
- Polycarbonate (PC)
- Polypropylene (PP)
- Polyethylene (PE)
- Polyvinyl chloride (PVC)
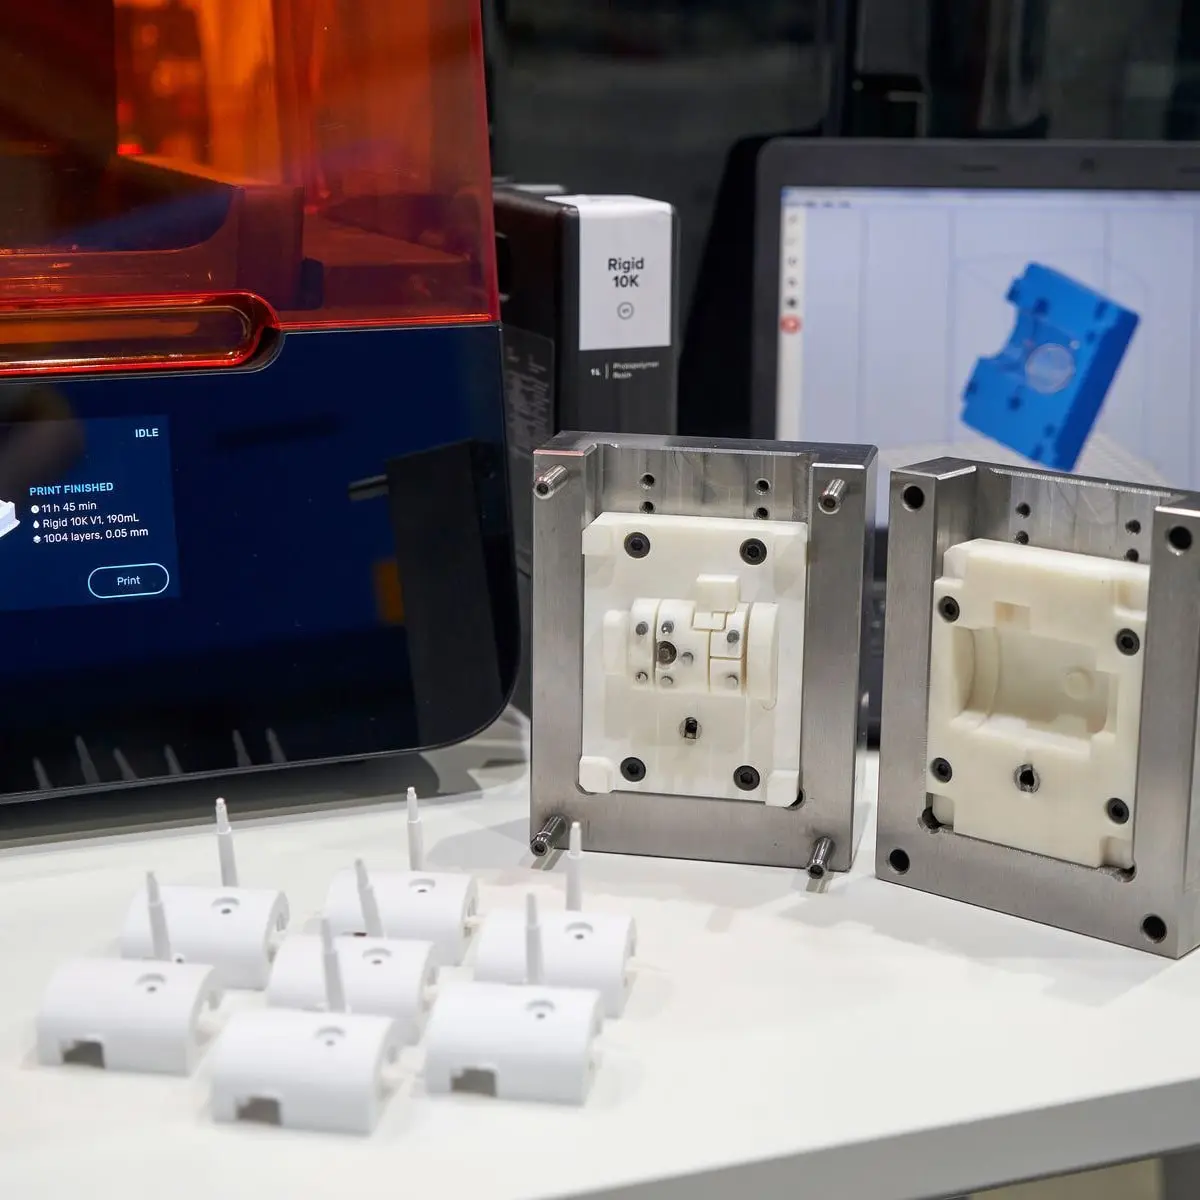
Low-Volume Rapid Injection Molding With 3D Printed Molds
Download our white paper for guidelines for using 3D printed molds in the injection molding process to lower costs and lead time and see real-life case studies with Braskem, Holimaker, and Novus Applications.
Extrusion
Extrusion molding works by pushing plastic through a die. The shape of the die is a cross-section of the final part.
Manufacturing Process
- Plastic extrusion: Plastic is heated and pushed through a heated chamber by a screw.
- Molding: Plastic is forced through a die that creates the final shape of the part.
- Cooling: The extruded plastic is cooled.
- Cut or spool: The continuous shape is spooled or cut into lengths.
Extrusion machinery is relatively cheap compared to other industrial machines like CNC or injection molding as it is less complex and does not require such high levels of machine accuracy. Due to the simple shapes, dies are also less expensive, with tooling costs that are a fraction of molds for injection molding.
Much like injection molding, extrusion molding is an almost continuous process, which makes the price of extruded parts very low.
Forms and shapes that can be manufactured with extrusion are limited to products that have continuous profiles, such as T-sections, I-sections, L-sections, U-sections, and square or circular sections. Typical applications include pipes, hoses, straws, and window frame moldings.
| Extrusion | |
|---|---|
| Form | Limited, only long continuous shapes |
| Lead time | Weeks |
| Cycle time | Seconds (or continuous) |
| Setup cost | $$$ |
| Cost per part | $ |
| Volume | Medium to high volume applications (1000+ parts) |
Materials
Almost any type of thermoplastic extruded, including:
- Acrylic (PMMA)
- Acrylonitrile butadiene styrene (ABS)
- Polyamide (PA)
- Polyethylene terephthalate glycol (PETG)
- Polystyrene (PS)
- Polycarbonate (PC)
- Polypropylene (PP)
- Polyethylene (PE)
- Polyvinyl chloride (PVC)
Blow Molding
Blow molding is a manufacturing technique used to create hollow plastic parts by inflating a heated plastic tube inside a mold until it forms into the desired shape.
Manufacturing Process
- Mold setup: Small plastic pellets are melted and formed into a hollow tube, called the parison or preform (depending on the blow molding subtype).
- Molding: The parison is clamped into a mold and gets inflated by pressurized air until it takes the shape of the inside of the mold.
- Cooling and release: The part cools in the mold until it is solid enough to be ejected.
Blow molding operates at far lower pressures than injection molding, which contributes to a lower tooling cost. Much like injection molding and extrusion, blow molding is a continuous process that can be fully automated, resulting in high production rates and low unit costs.
Blow molding is the most common process for creating hollow plastic products at scale. Typical applications include as bottles, toys, automotive components, industrial parts, and packaging.
| Blow Molding | |
|---|---|
| Form | Limited freedom, only hollow, thin-walled shapes, no complex geometries |
| Lead time | Weeks |
| Cycle time | Seconds |
| Setup cost | $$$$ |
| Cost per part | $ |
| Volume | High volume applications (5000+ parts) |
Materials
Blow molding can be done with a variety of thermoplastic materials, with the most common examples being:
- Polyethylene terephtalate (PET)
- Polypropylene (PP)
- Polyvinyl chloride (PVC)
- Polystyrene (PS)
- Polycarbonate (PC)
- Acrylonitrile butadiene styrene (ABS)
Manufacture Plastic Parts Rapidly With 3D Printing
Plastic manufacturing processes are constantly evolving and the inflection points where it makes sense to move from one technique to another are shifting due to improvements in equipment, materials, and economies of scale.
3D printing is a more recent, but rapidly maturing set of technologies opening up to a wider range of low- to mid-volume applications as hardware and materials improve and cost per part continues to fall.
Learn more about how leading manufacturers leverage 3D printing to save money and shorten lead times from design to production.
Not sure which 3D printing solution fits your business best? Book a 1:1 consultation to compare options, evaluate ROI, try out test prints, and more.
