WHITEPAPER
Formlabs Logo

Cleaning after a resin spill (Form 4 generation)

Cleaning after a resin spill (Form 4 generation)

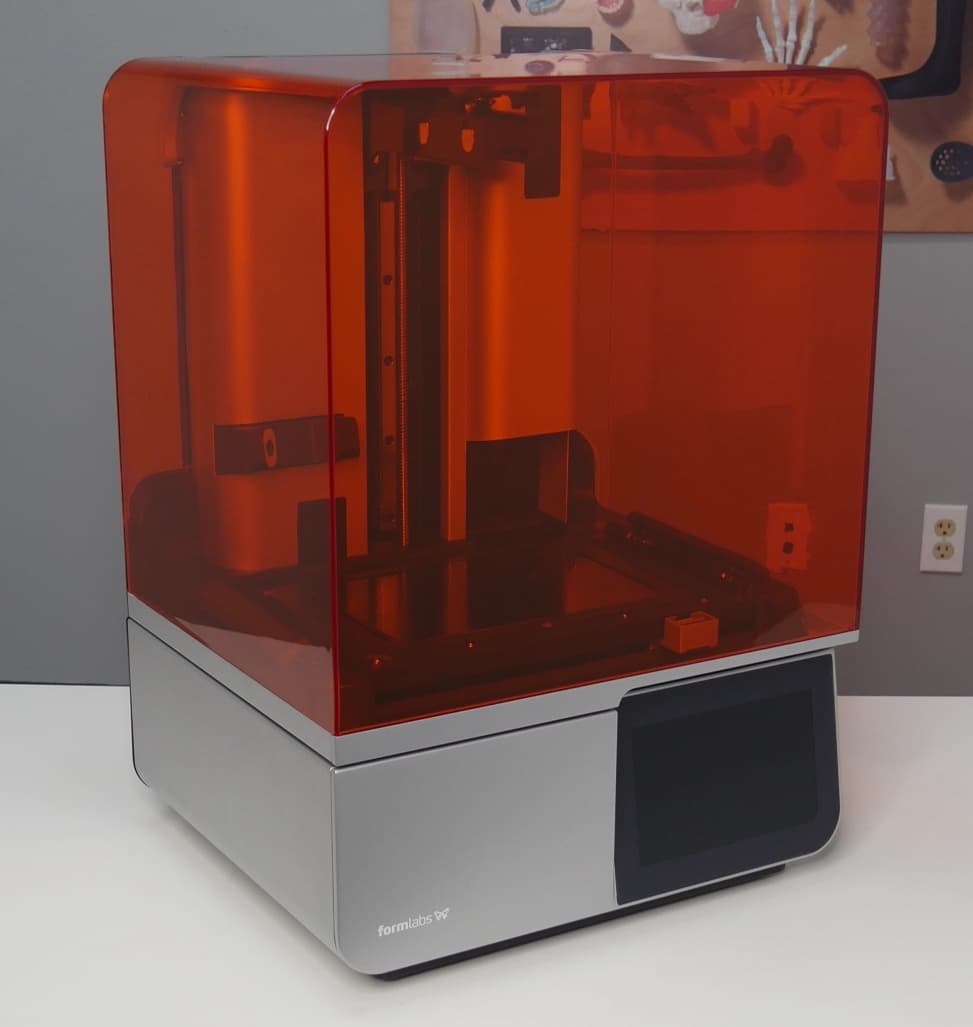
Promptly clean and inspect the printer after a resin spill to minimize any cosmetic or functional damage to the printer. Learn about the primary causes of resin spills and how to prevent spills.

Tipp:

Wenden Sie sich sofort an den Formlabs-Kundenservice oder Ihren autorisierten Vertriebspartner, wenn das Harz in großem Umfang ausgelaufen ist oder wenn Harz in das Innere des Druckers gelangt sein könnte. Legen Sie Fotos des ausgelaufenen Kunstharzes bei.

Sofortmaßnahmen nach ausgelaufenem Kunstharz

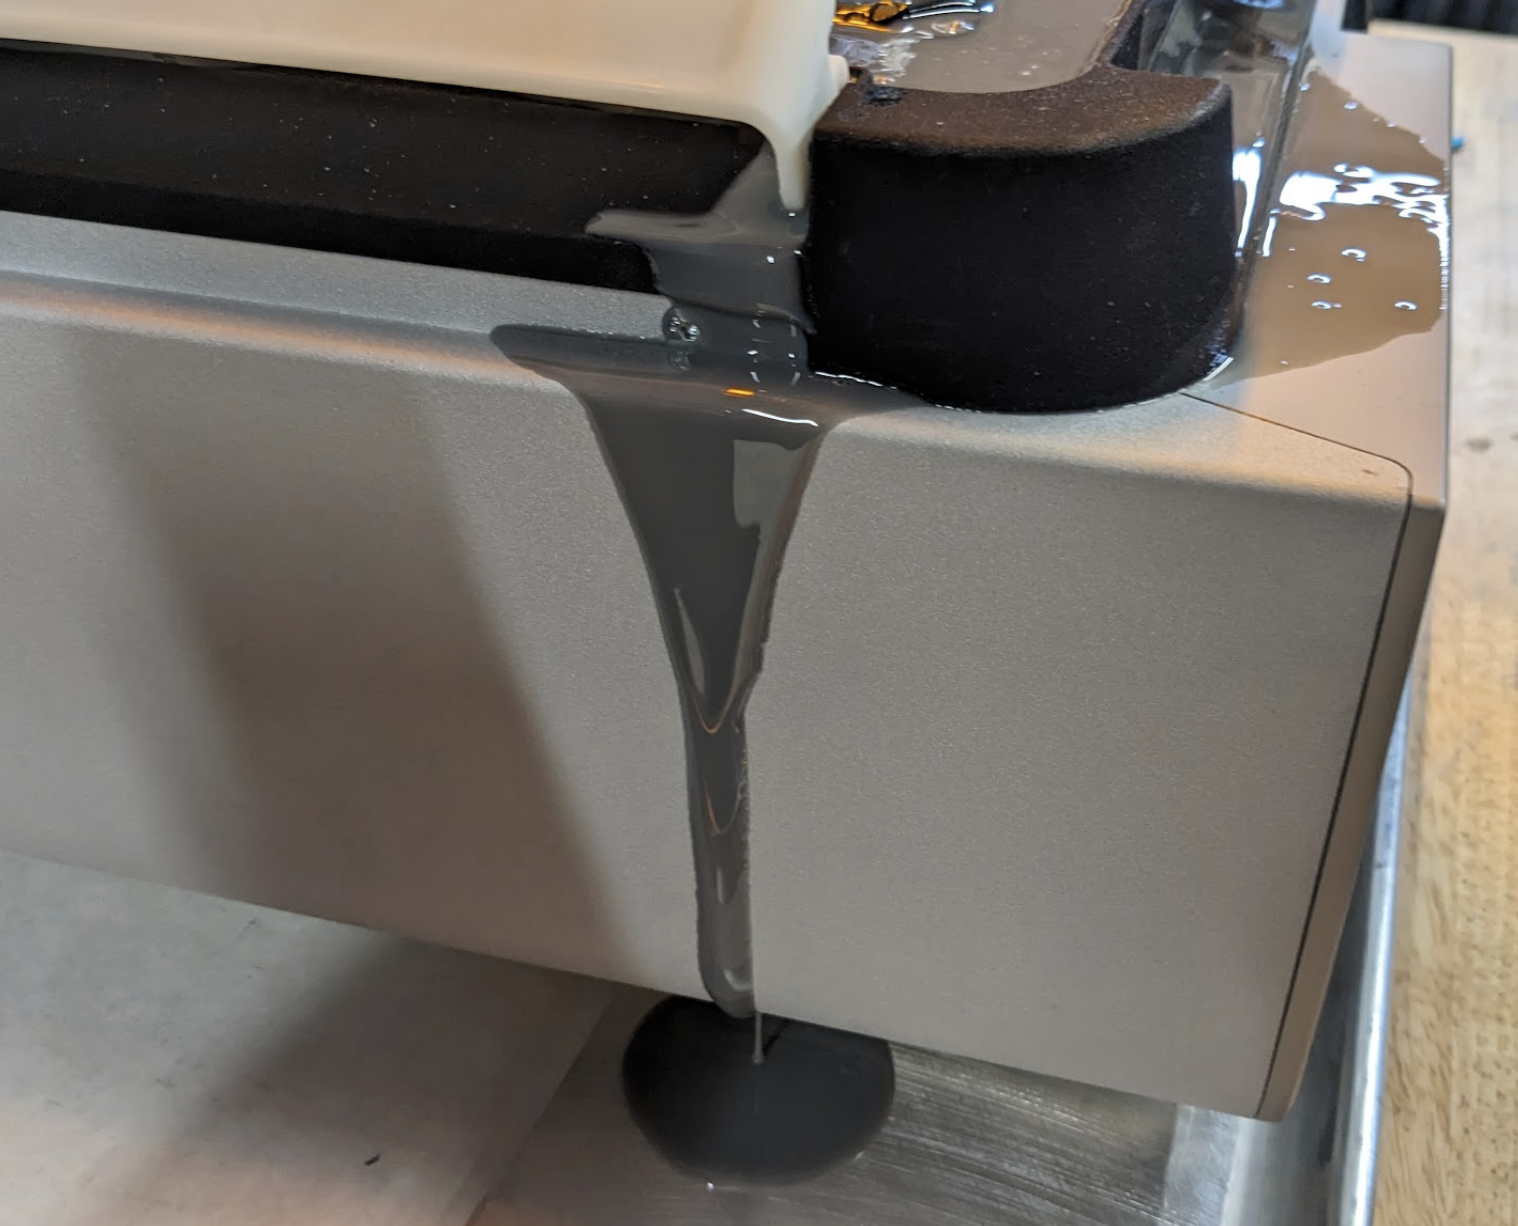
Small resin spills on the printer exterior are harmless and can occur during normal use. More extensive resin spills may require additional cleaning and support to assess and reduce potential damage. Resin inside the printer may contaminate or erode critical components. For more extensive spills, photograph the spill and contact Formlabs Support or your authorized reseller for further assistance.

  1. If a print is in progress, cancel the print on the Form 4 touchscreen.
  2. Clean the resin spill as soon as possible.
  3. If cleaning the resin spill immediately is not possible, keep the orange cover closed to prevent ambient light from curing the resin.

Übersicht

Warnung:

Kunstharz kann Hautreizung oder allergische Hautreaktionen hervorrufen. Tragen Sie bei der Handhabung von flüssigem Kunstharz oder kunstharzbeschichteten Oberflächen stets Handschuhe. Waschen Sie Ihre Haut mit reichlich Wasser und Seife.

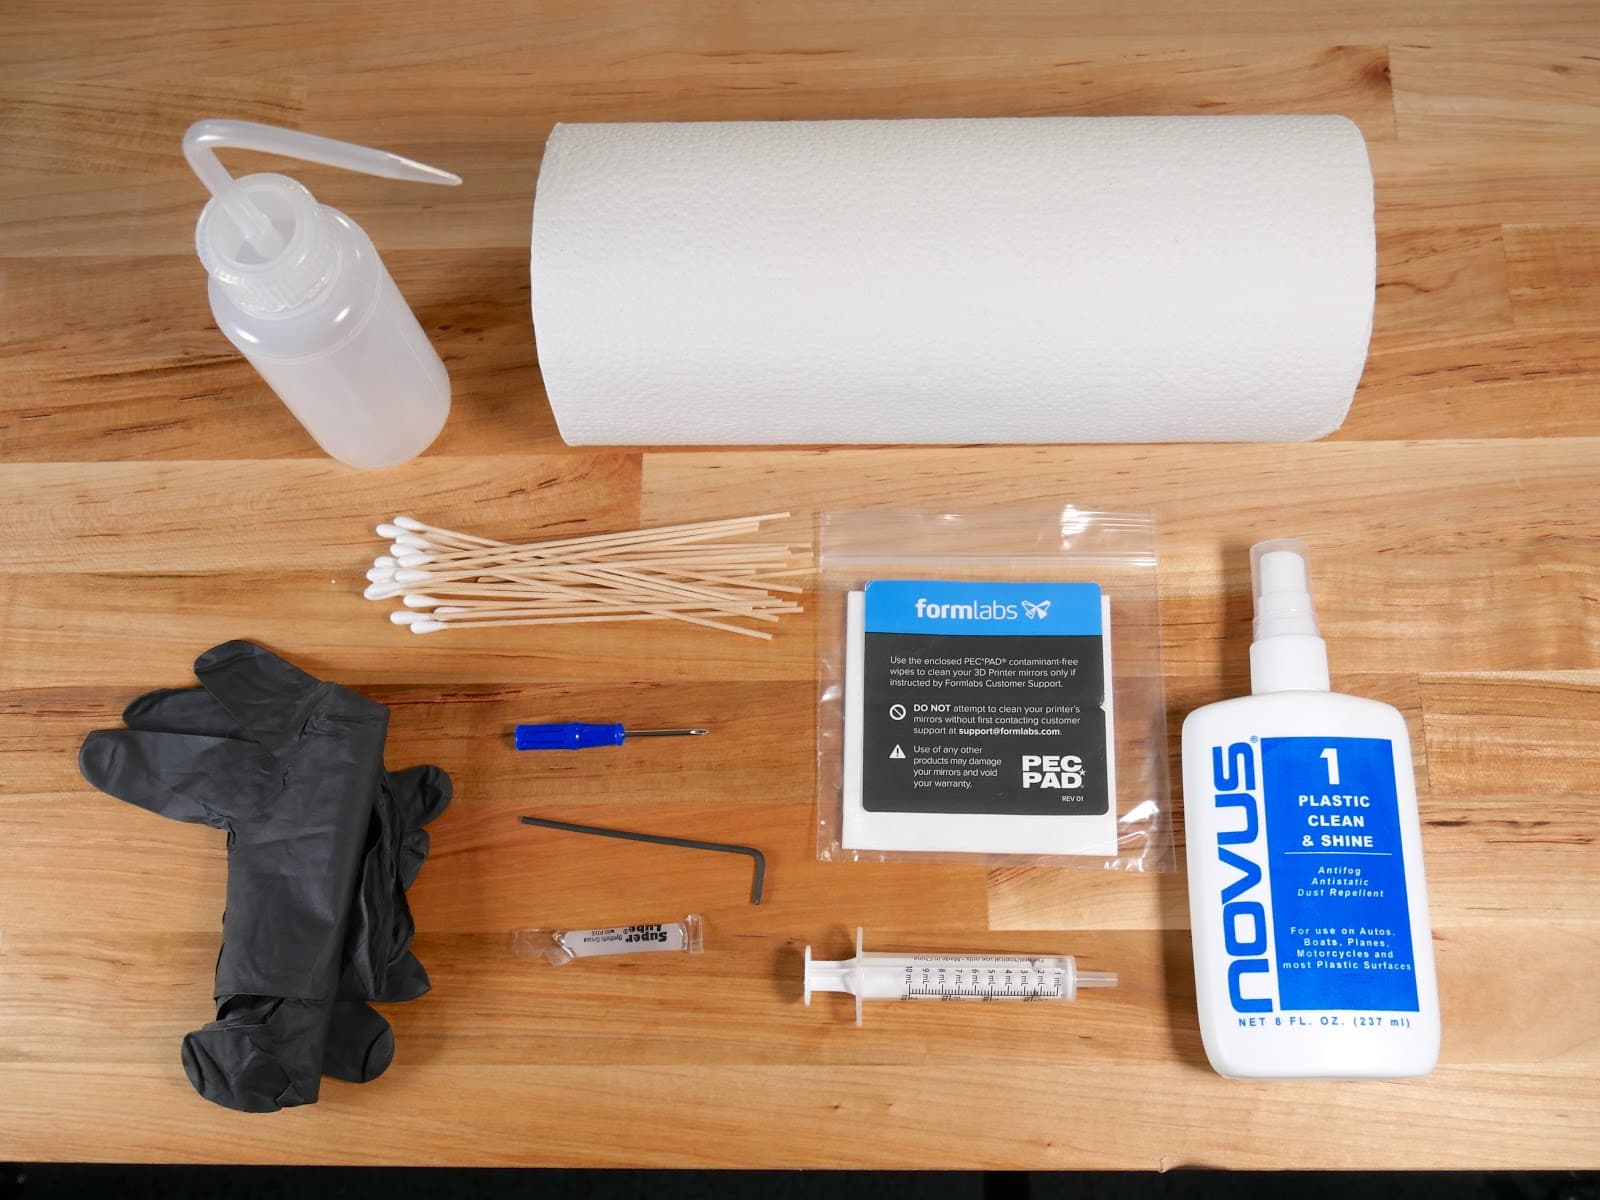
Recommended supplies:

  • Nitrile gloves
  • Soap and water
  • Low-fiber paper towels or disposable microfiber cloths
  • Clean IPA (70% or higher)
  • Cotton swabs
  • PEC*PADs
  • Novus 1: Plastic Clean & Shine, or similar plastic cleaner
  • Plastic spatula or similar
  • Flashlight
  • Disposable syringes or medicine droppers
alttext

Vorbereiten des Druckers

Prepare the printer for inspection and cleaning by disconnecting it from power and removing all consumables.

  1. Turn the power switch on the printer to the 0 position. Disconnect the power cable from the printer.
  2. Remove the build platform first to avoid dripping resin onto the LPU.
  3. Wipe off any resin on the build platform surface. Ambient light can cure liquid resin left on the metal plate, which can cause print adhesion issues.
  4. Remove the resin cartridge and close the vent cap.
  5. Unlatch the resin mixer. Cover the resin tank with the tank lid and remove it and the mixer from the printer. Make sure the tank is not leaking and set it aside.
  6. If the resin spill is extensive, take photos of the spill to share with Formlabs Support or your authorized reseller.

Inspektion und Reinigung von Außenflächen

Flüssiges Kunstharz auf der Außenseite des Druckers kann dazu führen, dass der Drucker sich schwerer bedienen lässt oder dass andere Arbeitsflächen verunreinigt werden. Reinigen Sie die Abdeckung, das Gehäuse und die Anschlüsse, falls Kunstharz darauf gelangt.

Orange cover

  1. Inspect both the inside and outside of the orange cover.
  2. Clean any liquid resin using paper towels dampened with soap and water.

Shell

  1. Dab the shell with paper towels to absorb liquid resin. Avoid smearing resin across the surface.
  2. If resin has cured on the surface of the shell, scrape off the cured resin using a plastic spatula. A metal spatula may scratch the shell.
  3. Clean the remaining resin off external surfaces with soap and water.
alttext
alttext

Note:

The Form 4 resin tank features a groove on the left to redirect resin spills outside of the printer to prevent possible damage to the machine’s components.
alttext

Touchscreen

  1. Inspect the printer’s touchscreen.
  2. Clean any liquid resin using a microfiber cloth dampened with a small amount of IPA.

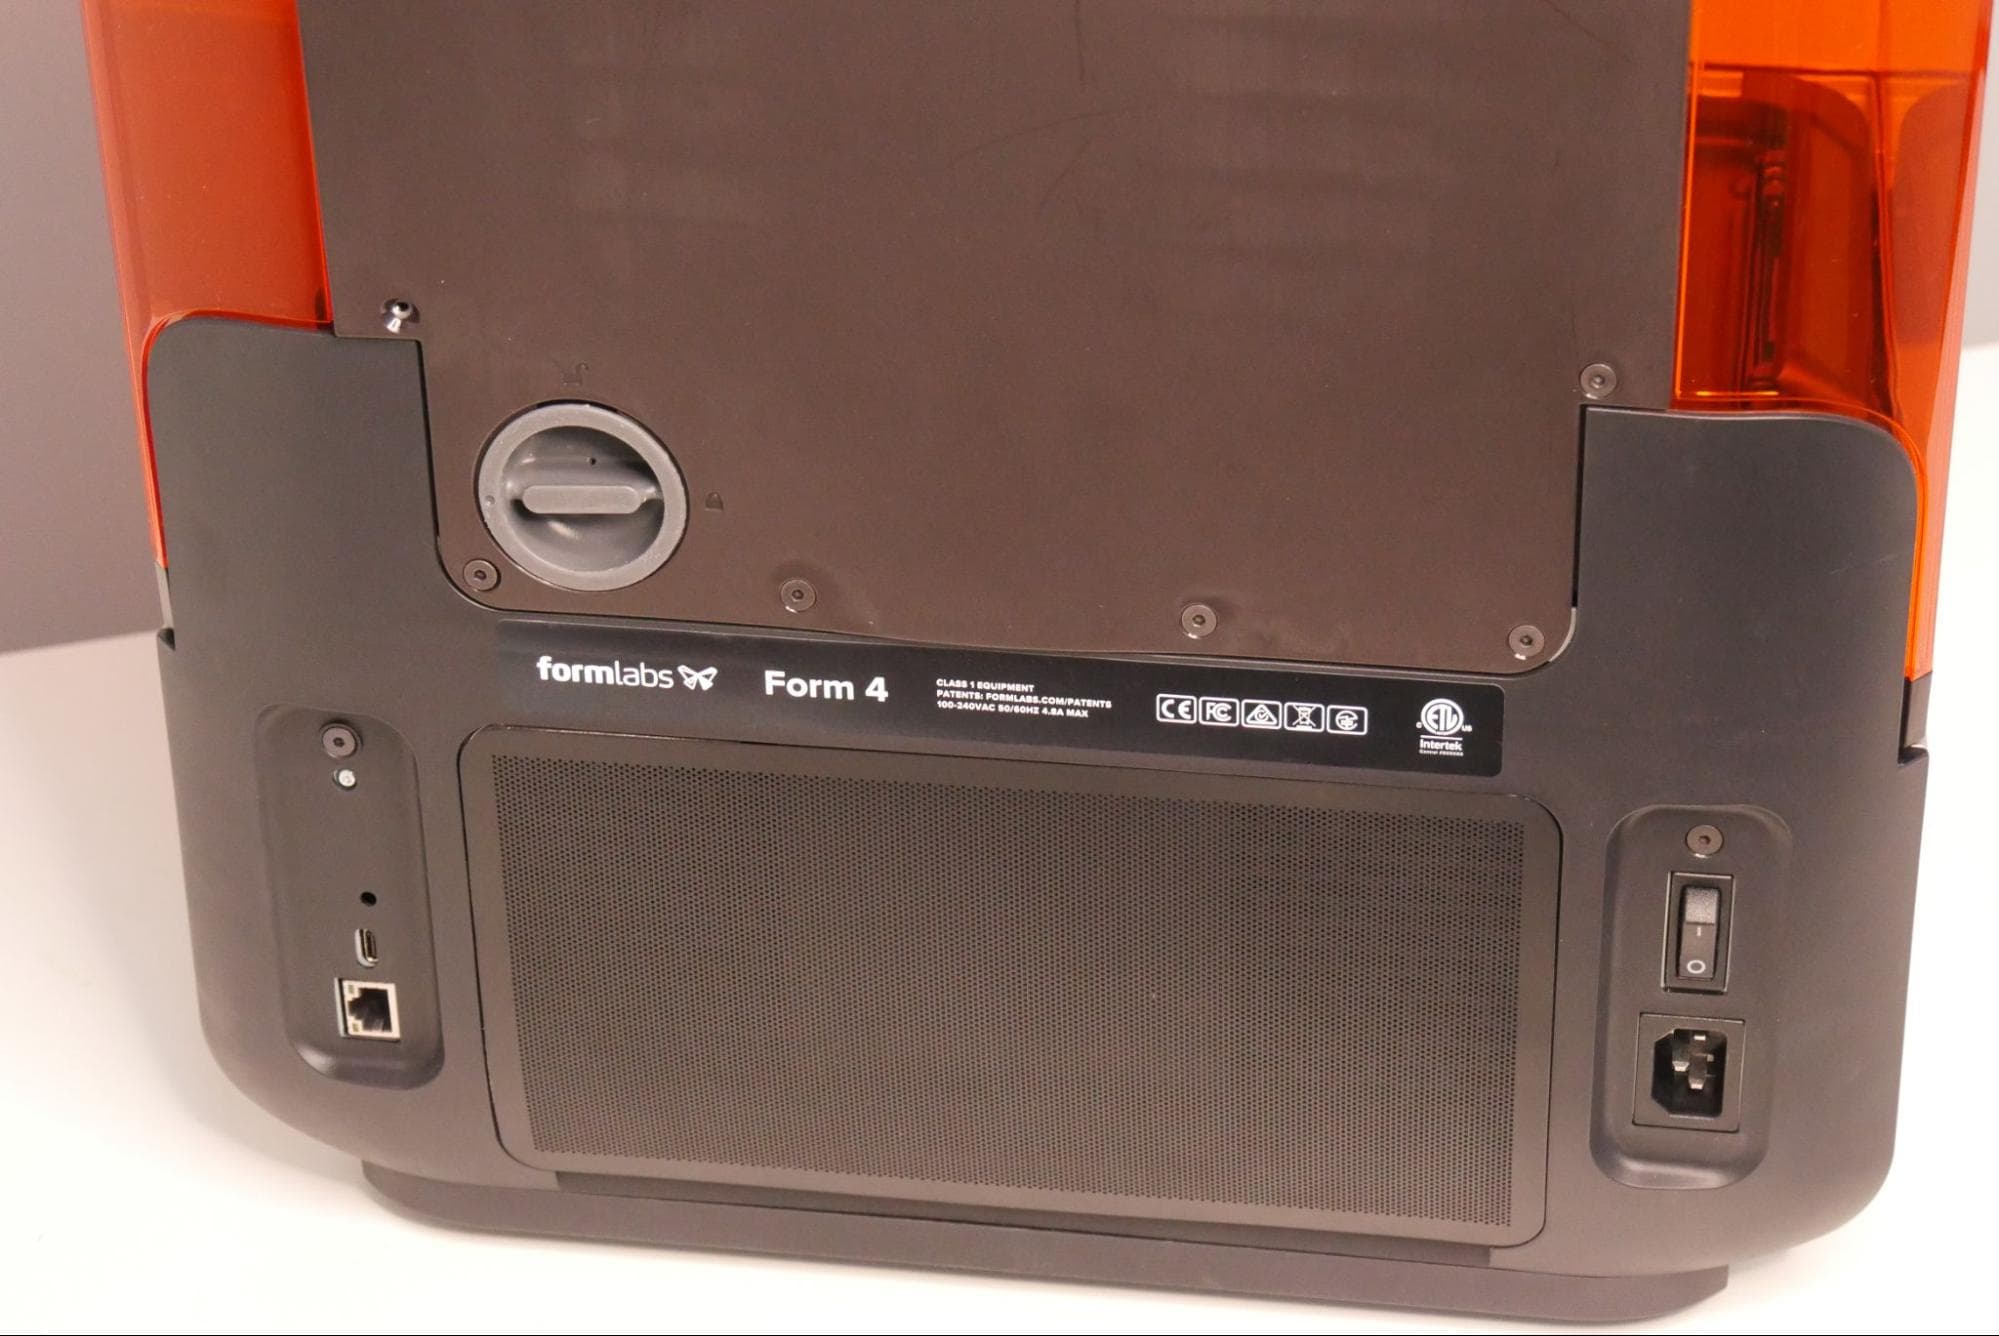
USB port, Ethernet port, power jack, and power switch

alttext
  1. Inspect the USB port, Ethernet port, power jack, and power switch on the back of the printer for resin contamination.
  2. If needed, clean the contacts inside the port or power jack using cotton swabs and a small amount of IPA.

Inspektion der Z-Achse

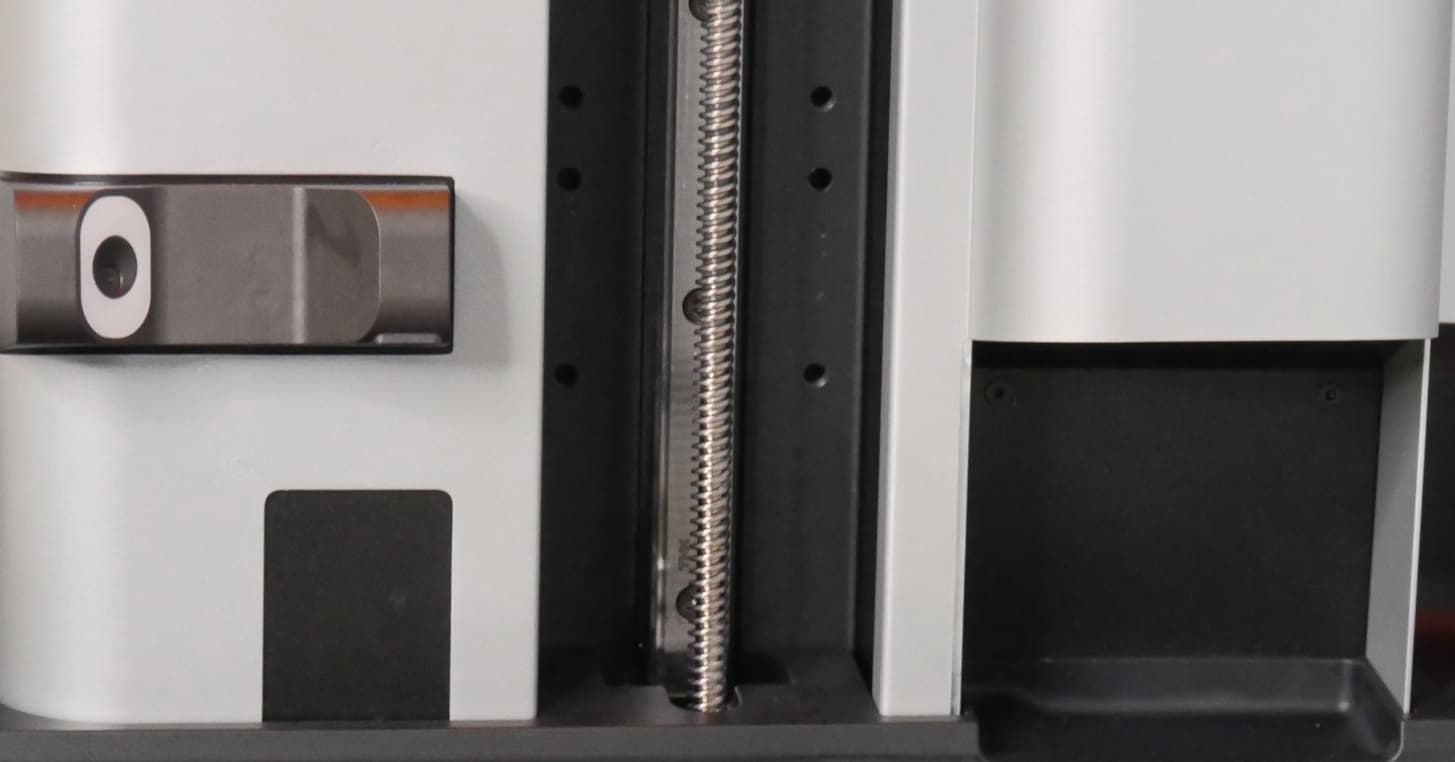
The Z-axis assembly contains the motor and lead screw that drive the build platform carriage. They must be clean for the build platform to move smoothly and accurately. There is a drip catcher below the cartridge slot, which can help prevent or mitigate any future resin spills.

Z-tower and drip catcher

  1. Clean any resin droplets on the Z-tower with a paper towel or cotton swab dampened with soapy water.
alttext
  1. Leuchten Sie mit einer Taschenlampe auf den Tropfenfänger im Sockel des Turms und überprüfen Sie ihn visuell auf ausgelaufenes Harz.
  2. Entfernen Sie Harzansammlungen mit einer Spritze und entsorgen Sie es mit den entsprechenden Verfahren für flüssiges Kunstharz.
  3. Saugen Sie das restliche Harz mit einem Küchenpapier auf.
  4. Reinigen Sie alle verbleibenden Spuren von Harz mit Seifenwasser und einem sauberen Küchenpapier.

Z-Motor und Leitspindel

alttext
  1. Leuchten Sie mit einer Taschenlampe auf die Leitspindel und untersuchen Sie den Z-Motor im Inneren des Turms. Prüfen Sie, ob Harz in die Leitspindel und in die Lager gesickert ist. Sollte Harz in die Lager oder den Motor eingedrungen sein, machen Sie Fotos und wenden Sie sich an den Formlabs Kundenservice oder Ihren autorisierten Vertriebspartner, um weitere Unterstützung zu erhalten.
  2. Wenn sich auf der Leitspindel Kunstharz befindet, der Z-Motor selbst aber sauber ist, entfernen Sie das Kunstharz auf der Leitspindel mit einem Küchenpapier oder einem Wattestäbchen und etwas IPA.

Tip:

If the lead screw is cleaned with IPA, lubricate the lead screw with Rheolube 362HB before printing again to prevent build platform movement issues.

Inspektion des Harztanks

Resin spills are sometimes caused by a failed print. The failed print will also leave cured resin in the resin tank. Inspect and clean the resin tank before running any further prints.

  1. Inspect the resin tank using the plastic tank scraper to check for any failed prints or damage to the tank.
  2. Remove any failed prints (using the plastic tank scraper and then by printing a cleaning sheet) and filter the resin.
  3. Dispose of the tank if there is significant wear or damage to the tank film or if resin leaks through cracks in the tank.

Inspektion der Ablösetextur

Liquid resin on the release texture can contaminate the bottom of the resin tank and affect the quality of subsequent prints.

Clean any resin on the release texture with PEC*PADs. Dampen the PEC*PADs with isopropyl alcohol if necessary to fully remove the resin.

Form 4 cleaning sheet

Entfernen und Reinigen optischer Komponenten nach einem umfangreichen Harzaustritt

In einigen Fällen kann flüssiges Harz unter den Rand der LPU sickern und diese, die Diffusorscheibe oder die Beleuchtungseinheit verunreinigen. Wenn Sie während der Reinigung feststellen, dass Harz unter den Rand der LPU gelangt ist, können Sie diese optischen Komponenten entfernen und reinigen.

Folgen Sie den unten aufgeführten Anleitungen zum Austausch von Teilen, um die LPU, die Beleuchtungseinheit und die Diffusorscheibe zu entfernen. Die Beleuchtungseinheit muss entfernt werden, um an die Diffusorscheibe zu gelangen. Wenn Sie flüssiges Harz oder andere Verunreinigungen sehen, tragen Sie eine kleine Menge sauberes IPA auf ein fusselfreies Tuch auf und wischen Sie die betroffene Oberfläche ab. Lassen Sie die Komponente an der Luft trocknen, bevor Sie sie wieder einbauen.

Reinigung

Entsorgen Sie Harz und alle damit kontaminierten Materialien immer gemäß dem Sicherheitsdatenblatt. Stellen Sie den Behälter mit Seifenwasser und verschmutztes Küchenpapier oder Tupfer ans Fenster oder an einen anderen sonnigen Ort, damit das Harz im Umgebungslicht aushärtet. Nach dem Aushärten des Harzes kann es über den normalen Hausmüll entsorgt werden.

Hinweis:

Lassen Sie alle Komponenten vollständig trocknen, bevor Sie den Drucker wieder an den Strom anschließen.

Kontaktaufnahme mit dem Formlabs-Kundenservice

Contact Formlabs Support or your authorized reseller if the resin spill is extensive or if resin has reached the inside of the printer. Include the following with the support request:

  • Photo of the initial resin spill
  • Top-down photo of the release texture
  • Resin type and version
  • FORM file being printed when the resin spill happened
  • Diagnostic logs
  • The cause of the spill:
    • Failed print
    • Damaged resin tank
    • Damaged resin cartridge bite valve
    • Other (please provide additional information)

Ein Auslaufen von Kunstharz vermeiden

Learn how to recognize common causes of resin spills and how to minimize the likelihood of resin spills.

While resin spills occur for a variety of reasons, the most common reasons are failed prints in the resin tank, damage to the resin tank, and damage to the resin cartridge bite valve.

Failed prints

When a print fails, the entire print or a part of the print may fall into the resin tank. The mixer is designed to detect such a failure and pause the printer, but some resin may still be spilled.

To avoid print failures, exercise these Form 4 best practices:

Damaged resin tank

A damaged resin tank can cause resin to leak onto the printer. The composite flexible film at the bottom of the tank can be damaged by improper storage (such as placing a tank down on top of another object) or rough handling (such as using a sharp tool to remove cured resin). Similarly, the plastic frame of the resin tank can crack due to an impact or other significant force. Use the provided plastic tank scraper to inspect the tank film and always handle the resin tank with care.

Damaged bite valve

A damaged bite valve on the resin cartridge can cause the printer to dispense too much resin, which can cause the resin tank to overflow in rare cases. Learn how to inspect and protect the bite valve.