Anmerkung:
Es ist normal, dass die erste gedruckte Schicht auf Formlabs-LFS-Druckern deutlich dicker als die Nenndicke von 50 Mikrometern ist.


Alumina 4N Resin ist eine hochdichte und hochreine technische Keramik mit außergewöhnlichen Leistungen in extremen Umgebungen: thermisch beständig, hart, abriebfest, mechanisch stark und chemisch inert. Konventionell wird sie durch Pressen oder Keramikspritzguss hergestellt, wobei in beiden Fällen teure Werkzeuge für die Herstellung der Teile erforderlich sind.
Manchmal gelingen Drucke nicht so, wie man es erwartet. Vergleichen Sie die Symptome der häufig auftretenden Probleme bei Druckteilen, die mit Alumina 4N Resin gedruckt wurden, um die Ursache des Problems einzugrenzen und eine Lösung zu finden.
Probleme während dem Drucken
Ablagerung von Partikeln im Harztank oder in der Kartusche
Alumina 4N Resin enthält in der flüssigen Harzmatrix suspendierte Aluminiumoxidpartikel. Wie bei anderen Formlabs-Kunstharzen mit Schwebstoffen kann sich das Aluminiumoxid mit der Zeit absetzen, wenn Ihr Harztank oder Ihre Harzkartusche über einen längeren Zeitraum nicht genutzt wird.
So verhindern Sie, dass sich Partikel im Harztank oder in der Harzkartusche absetzen:
Druckteile haften nicht auf der Konstruktionsplattform
„Nicht-Haftung“ beschreibt einen Druckfehler, bei dem Drucke entweder teilweise oder vollständig von der Konstruktionsplattform abgelöst werden. Dies tritt auf, wenn die anfänglichen Schichten eines Drucks nicht an der Konstruktionsplattform haften bleiben. Bei vollständigem Haftungsverlust ist der Druck nicht auf der Konstruktionsplattform zu finden und es befindet sich ein flacher Bereich aus ausgehärtetem Harz auf dem Boden des Harztanks.
So beheben Sie Haftungsprobleme beim Drucken mit Alumina 4N Resin:
Anmerkung:
Es ist normal, dass die erste gedruckte Schicht auf Formlabs-LFS-Druckern deutlich dicker als die Nenndicke von 50 Mikrometern ist.
Wenn die Haftungsprobleme weiterhin bestehen, schleifen Sie die Oberfläche Ihrer Konstruktionsplattform vor dem Druck mit einem mittleren oder feinen Schleifpapier ab. Eine raue Oberfläche sorgt für eine bessere Haftung an der Konstruktionsplattform für Teile, die mit Alumina 4N Resin gedruckt werden.
Drucke schlagen nach den ersten Schichten fehl (nur Form 3)
Manchmal haften Teile an der Konstruktionsplattform, schlagen aber nach dem Druck der ersten Schichten fehl. Dies ist meist auf eine falsch kalibrierte Z-Achse oder ein Problem mit dem Harztankmischer zurückzuführen.
Um zu verhindern, dass Teile nach dem Druck der ersten Schichten fehlschlagen, kalibrieren Sie die Z-Achse Ihres Druckers.
Wenn der Mischer bei Auftreten des Fehldrucks nicht vollständig im Mischergehäuse an der Seite des Harztanks geparkt ist, nehmen Sie den Mischer aus dem Tank. Biegen Sie die Mischerarme leicht nach außen. Richten Sie den Mischer so aus, dass die Arme nach oben und zum Mischergehäuse auf der linken Seite des Tanks zeigen. Die Magnete im Mischer sollten nach unten zeigen. Schieben Sie den Mischer nach links und in das Mischergehäuse, bis die Biegeelemente an beiden Enden einrasten.
Teile fallen von Stützstrukturen ab
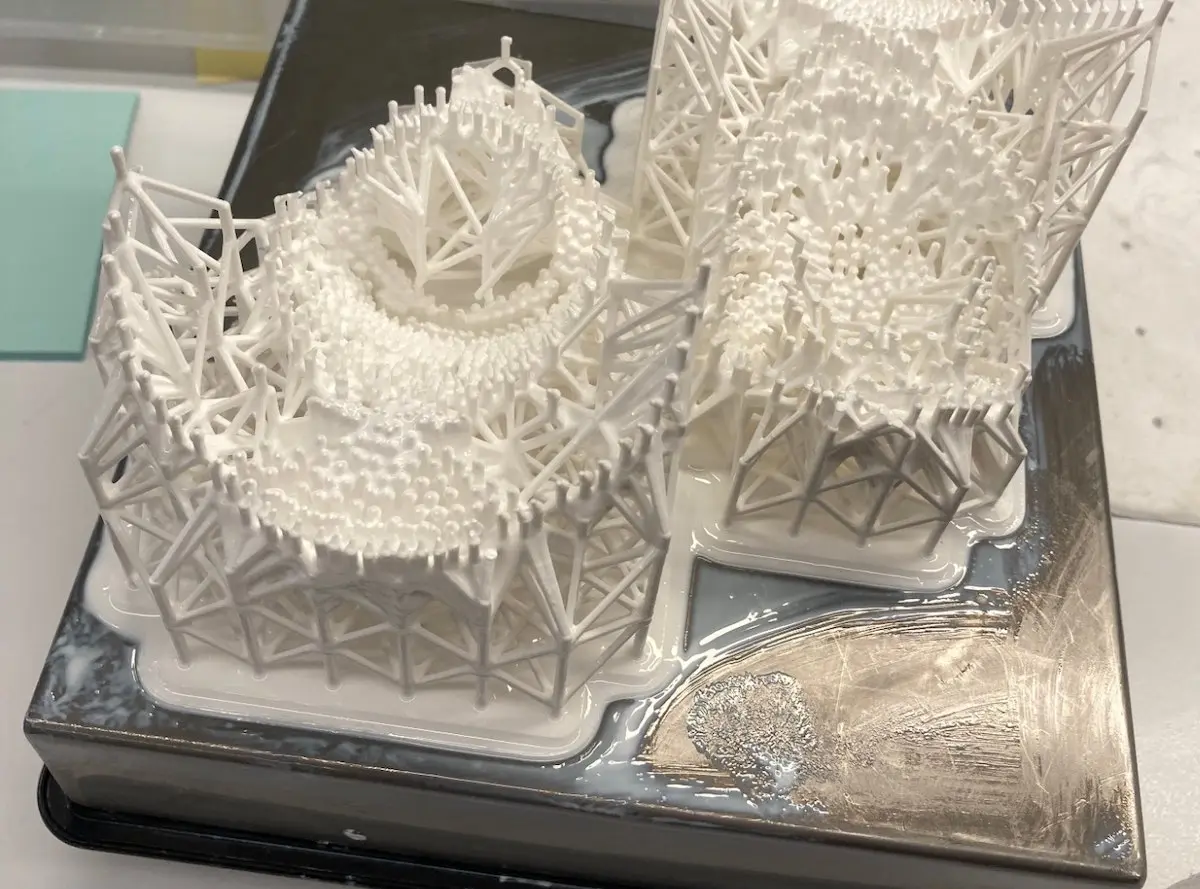
So verhindern Sie, dass Teile während des Drucks von ihren Stützen fallen:
Bruch von Teilen während des Drucks
Teile können auch während des Drucks brechen, selbst wenn sie sich nicht von ihren Stützstrukturen lösen. Dies kann auf unzureichende Stützstrukturen, die Druckgeometrie oder Kollisionen zwischen dem Mischer und dem Druckteil zurückzuführen sein.
So verhindern Sie, dass Teile während des Drucks brechen:
Druckteilgeometrie wird nicht aufgelöst
Besonders kleine Merkmale in Ihren Druckteilen werden möglicherweise nicht richtig gedruckt, insbesondere wenn das Harz altert.
Wenn feine Merkmale nicht aufgelöst werden:
Entkopplung des Mischers (Generation Form 3)
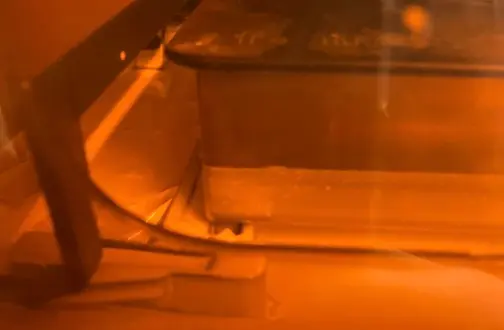
So beheben Sie Probleme mit der Entkopplung des Mischers:
Mischer hat Ablagerungen während des Vordrucks erkannt (Generation Form 4)
Während der Vordruckroutine schabt der Mischer an der Konstruktionsplattform entlang, um nach Ablagerungen von früheren Drucken zu suchen. Die Viskosität von Alumina 4N Resin kann in diesem Stadium zu falsch-positiven Ergebnissen führen.
Mit zunehmendem Alter von Alumina 4N Resin steigt seine Viskosität. Kühlen Sie die Harzkartusche und den Harztank zwischen den Anwendungen, um die Haltbarkeit auf bis zu 12 Monate zu verlängern.
Wenn Sie während der Druckvorbereitung Fehler wie „Mischer hat Ablagerungen erkannt“ sehen:
Wenn Sie weiterhin Probleme mit der Erkennung von Ablagerungen vor dem Druck haben, wenden Sie sich an den Formlabs-Kundenservice oder Ihren autorisierten Vertriebspartner.
Weiße Partikel setzen sich auf der Konstruktionsplattform ab
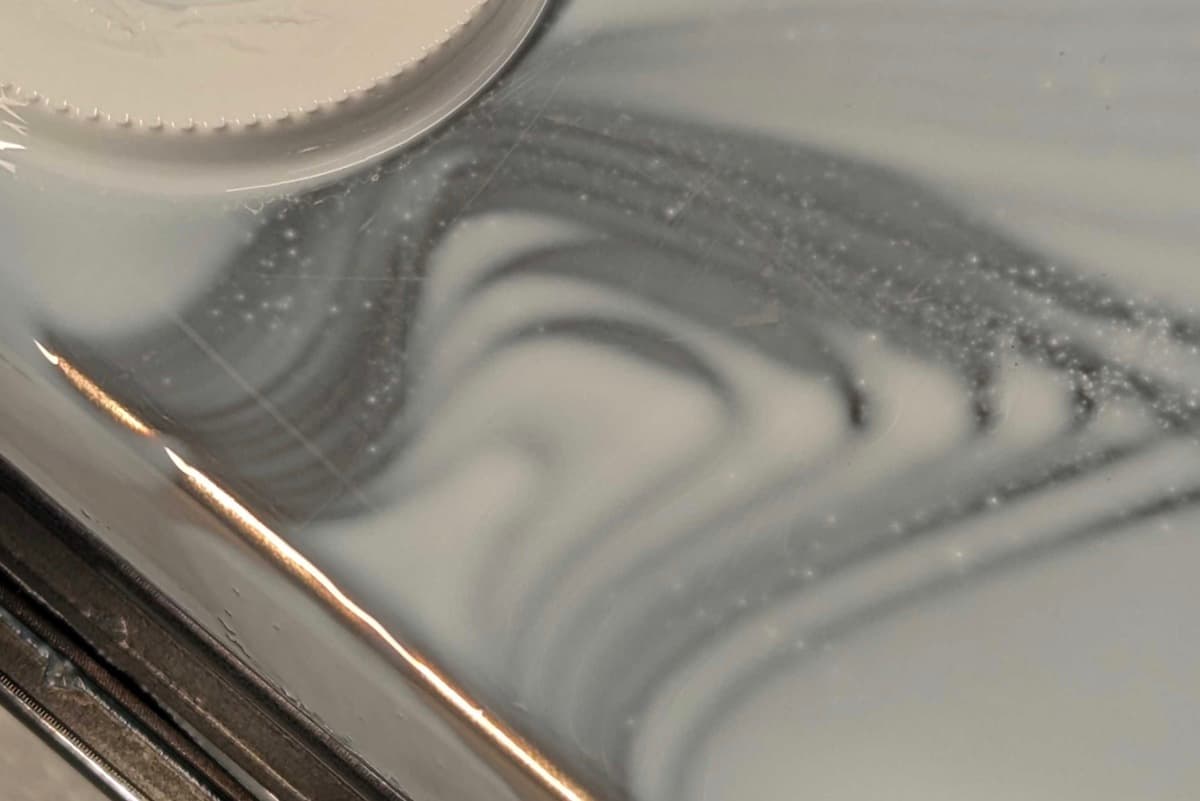
Wenn Sie nach einem Druck weiße Partikel auf der Konstruktionsplattform bemerken:
Ablagerungen auf den Oberflächen der Teile
Größere Ablagerungen auf den Oberflächen der Teile während eines Drucks können von früheren Fehldrucken oder fehlgeschlagenen Abschnitten des aktuellen Drucks stammen. Ausgehärtete Harzflocken können womöglich im Harztank treiben oder durch den Mischer vom Tankfilm abgeschabt werden.
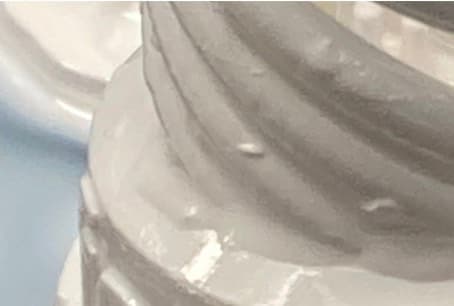
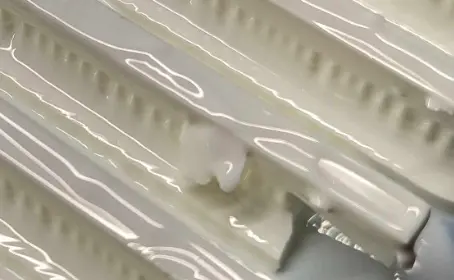
Wenn Sie Flocken aus ausgehärtetem Harz auf der Oberfläche Ihrer Druckteile bemerken:
Rafts haften stark an der Konstruktionsplattform
Mit Alumina 4N Resin gedruckte Teile haften stärker auf einer rauen Oberfläche der Konstruktionsplattform. In manchen Fällen können Ihre Druckteile so stark an der Konstruktionsplattform haften, dass sie nur schwer zu entfernen sind.
Wenn Ihre Druckteile zu stark an der Konstruktionsplattform haften:
Vorsicht:
Die Verwendung der mitgelieferten Werkzeuge (z. B. Seitenschneider oder Spachtel) auf rutschigen Oberflächen (z. B. einer kunstharzbeschichteten Konstruktionsplattform) kann zu ruckartigen Bewegungen führen. Halten und bewegen Sie scharfkantige Werkzeuge immer von Ihrem Körper weg, besonders beim Schneiden oder Schaben.
Probleme mit Teilen im Grünzustand
Teile sind rosa gefärbt

Wenn Sie nach dem Waschen einen rosa Schimmer auf der Oberfläche Ihrer Teile bemerken:
Teile lassen sich nur sehr schwer von den Stützstrukturen entfernen
Teile, die mit Alumina 4N Resin gedruckt wurden, müssen vor dem Brennen von ihren Stützstrukturen entfernt werden. Abhängig von der Druckgeometrie, der Geometrie der Stützstruktur und der Modellausrichtung kann das Entfernen von Stützstrukturen sich als schwierig erweisen.
Wenn sich Ihre Druckteile nur schwer von ihren Stützstrukturen trennen lassen:
Risse auf der Druckteiloberfläche vor dem Brennen sichtbar
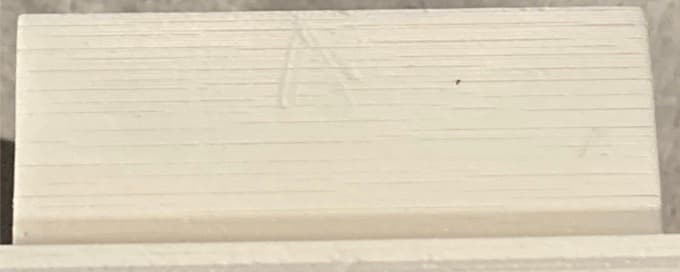
Wenn Ihre Druckteile vor dem Brennen Risse an der Oberfläche bekommen:
Druckteile trocknen nicht vollständig
Trocknen Sie Ihre mit Ceramic Wash Solution gereinigten Druckteile vollständig, bevor Sie sie brennen. Formlabs empfiehlt, die Teile auf einem Sieb oder Gitter zu trocknen, um die Luftzirkulation um das Druckteil zu erhöhen. Die Teile benötigen eine warme Raumtemperatur von 20 bis 30 °C mit 30 bis 45 % Luftfeuchtigkeit, um vollständig zu trocknen. Trocknen Sie die Teile bei Bedarf 8–24 Stunden lang bei 45 °C im Ofen.
Wenn Ihre Teile nicht vollständig trocknen:
Löcher oder andere Vertiefungen, die mit Harz gefüllt sind
Nach dem Druck sind kleine Löcher und andere Vertiefungen oft mit flüssigem Harz gefüllt. Beim Brennen schließt dieses flüssige Harz Ausbrandgase ein und kann zu einem Riss im Teil führen. Wenn das flüssige Harz durch normales Waschen nicht entfernt werden kann, ist das Loch möglicherweise zu klein oder zu lang, damit die Ceramic Wash Solution vollständig eindringen kann.
Wenn nach dem Waschen flüssiges Harz in den Löchern Ihrer Druckteile verbleibt:
Verziehen der Teile während des Trocknens
Nachdem Sie Ihre Druckteile mit der Ceramic Wash Solution gereinigt haben, lassen Sie sie vor dem Brennen vollständig trocknen. Wenn der Luftstrom um ein Teil ungleichmäßig ist, können verschiedene Oberflächen unterschiedlich schnell trocknen, was zu einem Verziehen führt.
Wenn sich Ihre Teile während des Trocknens verziehen:
Probleme während und nach dem Brennen von Teilen
Große Risse in Druckteilen
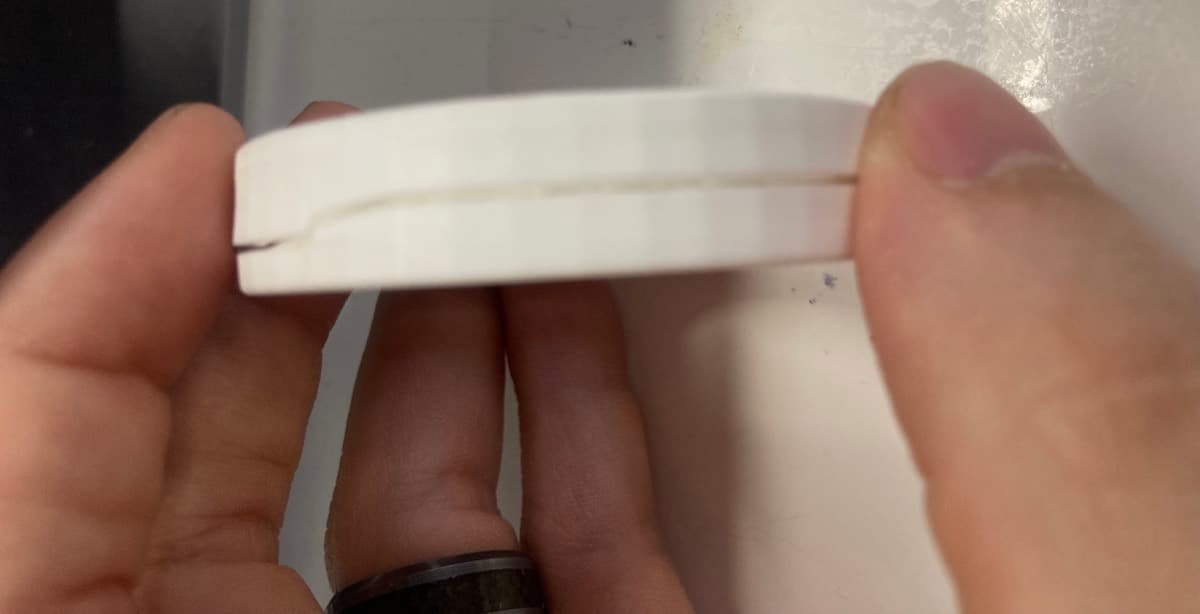
Wenn Sie nach dem Brennen große Risse in Ihren Druckteilen feststellen:
Kleine Risse in Druckteilen
Kleinere Oberflächenrisse können durch zu aggressives Waschen oder durch Schäden von früheren Fehldrucken verursacht werden.
Wenn Sie nach dem Brennen kleine Risse in Ihren Druckteilen feststellen:
Druckteile sind schwächer als erwartet
Das Technische Datenblatt von Alumina 4N Resin listet die nominalen Materialeigenschaften für Druckteile aus dem Harz auf. Wenn Ihre Teile schwächer sind als erwartet, sind wahrscheinlich Risse in den Teilen vorhanden, die ihre Festigkeit beeinträchtigen. Überprüfen Sie Ihre Teile auf Risse und beheben Sie diese gemäß den oben genannten Richtlinien.
Vertikale Linien auf Druckteilen sichtbar
Andere Unregelmäßigkeiten auf der Oberfläche Ihrer Druckteile können mit der Optik Ihres Druckers zusammenhängen und nicht mit einem Fehldruck oder einem Prozessproblem. Insbesondere vertikale Linien können darauf hinweisen, dass das optische Fenster verschmutzt ist. Dies ist ähnlich wie der Druckfehler „Nadelstich/Schnitt“.
Wenn Sie vertikale Linien auf der Oberfläche Ihrer Druckteile bemerken:
Teil beim Brennen mit dem Ofen verschmolzen
Teile, die mit Alumina 4N Resin gedruckt wurden, müssen gebrannt werden, bevor sie einsatzbereit sind. Während des Brennvorgangs können die Druckteile mit dem Brennofen verschmelzen, wenn sie bei einer zu hohen Temperatur oder ohne Setzplatten oder Setzsand gebrannt werden. Dies kann Ihre Druckteile beschädigen.
Wenn Ihre Druckteile beim Brennen mit dem Ofen verschmelzen:
Gedruckte Teile haben eine uneinheitliche Dichte
Nach dem Brennen sollten Teile, die mit Alumina 4N Resin gedruckt wurden, eine gleichmäßige Dichte aufweisen. Jede Veränderung der Dichte innerhalb eines Teils ist ein Indikator für Verunreinigungen, die während des Brennvorgangs eingebracht wurden, oder für eine unzureichende Brenntemperatur. Beachten Sie, dass Verunreinigungen in der Regel auch eine Veränderung der Farbe oder der Lichtdurchlässigkeit des gebrannten Teils verursachen.
So beheben Sie Probleme mit der Dichte von gebrannten Teilen:
Gedruckte Teile sind nicht wie erwartet geschrumpft
Mit Alumina 4N Resin gedruckte Teile schrumpfen beim Brennen. Die erwartete Schrumpfung ist anisotrop: 21,8 % entlang der X- und Y-Skala und 26 % entlang der Z-Achse. Diese Zahlen beruhen auf empirischen Tests und können nicht für jede Geometrie garantiert werden.
Wenn Ihre Druckteile während des Brennens anders schrumpfen als erwartet, skalieren Sie Ihr Design nach Bedarf, um die angestrebten Teileabmessungen zu erreichen.
Das gebrannte Teil hat eine gebrochen weiße Färbung
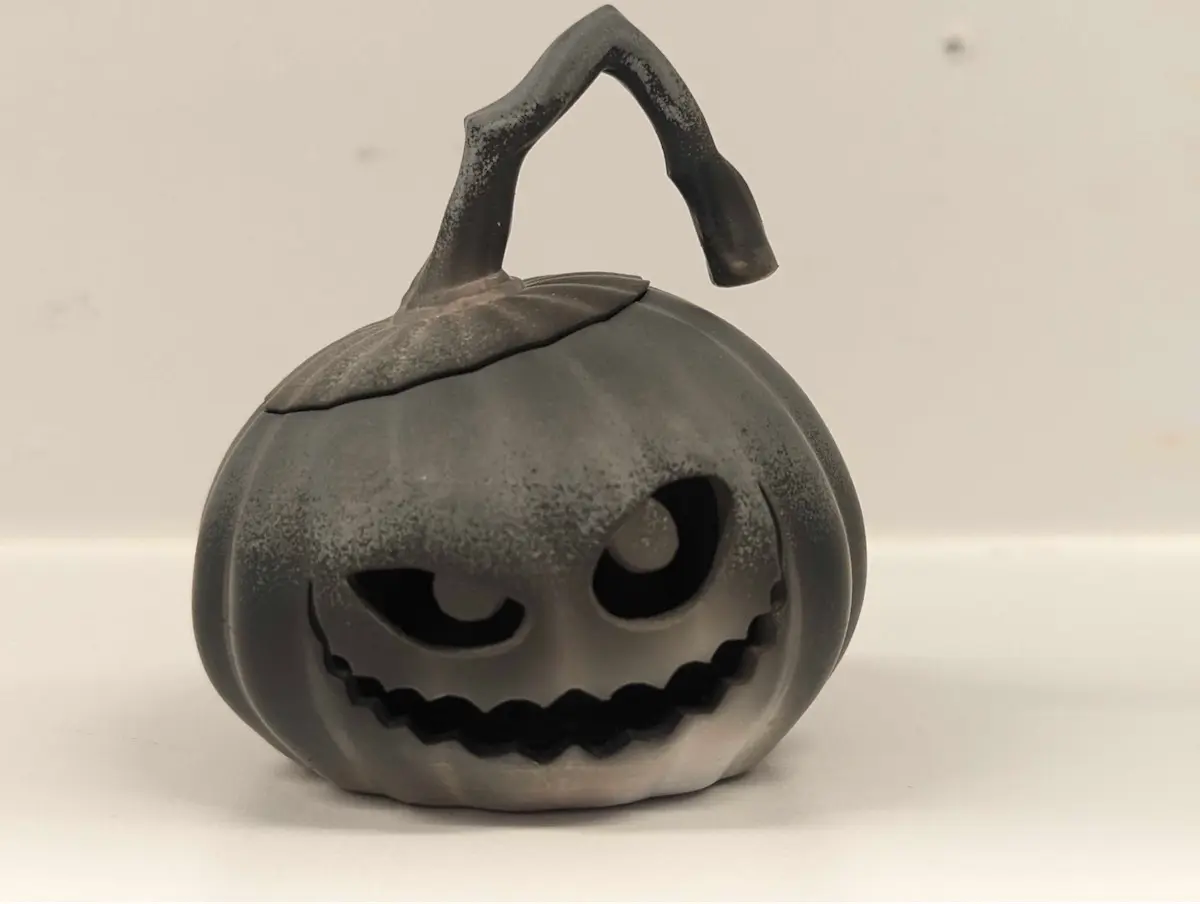
So verhindern Sie, dass Verunreinigungen Ihre Druckteile verfärben: