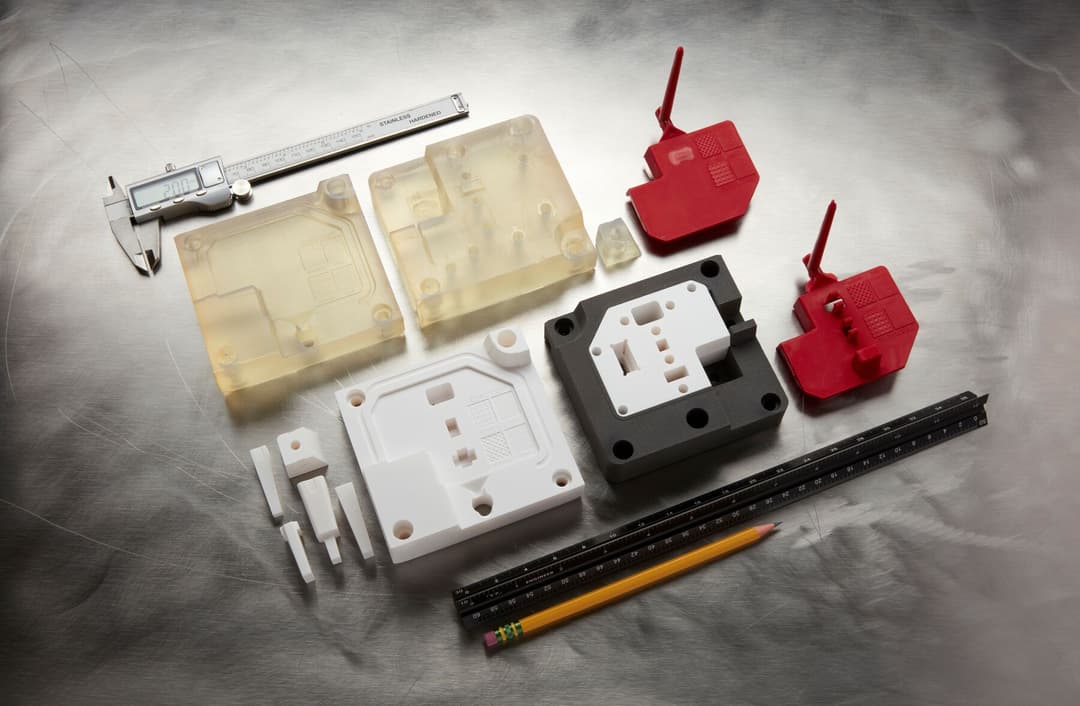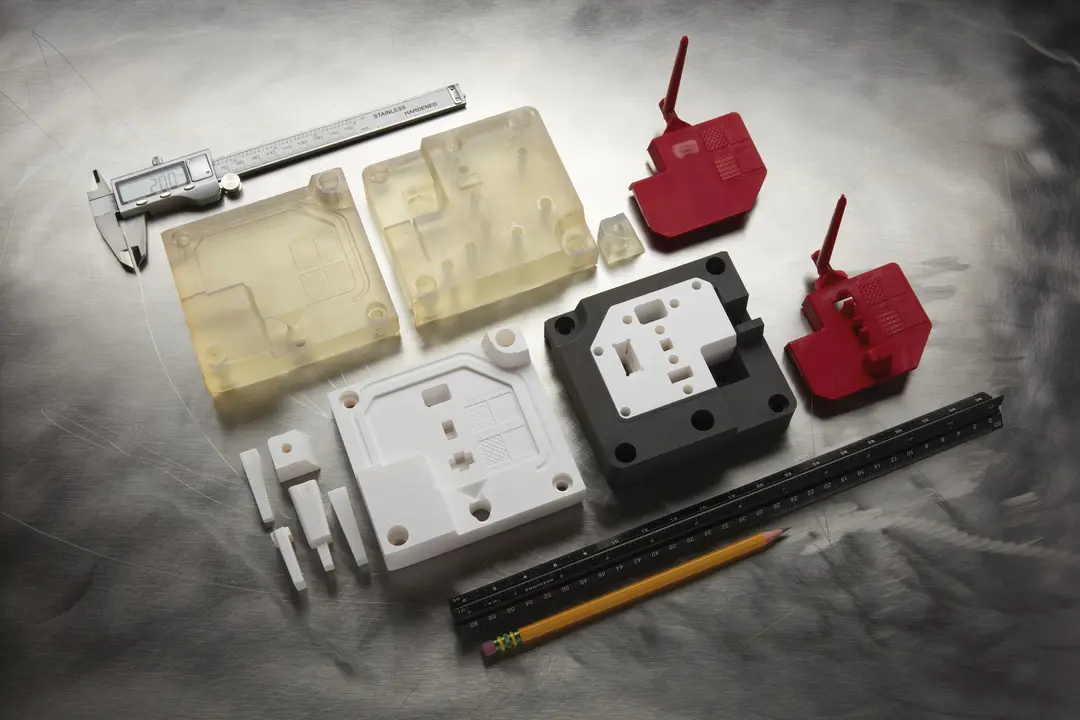
While injection molding is traditionally considered a manufacturing process only for mass production due to its high tooling costs, leveraging 3D printing to fabricate injection molds can empower you to use this process to produce high-quality and repeatable parts for prototyping and low-volume production.
In this comprehensive guide, learn how you can use 3D printed injection molds with both benchtop and industrial machines to efficiently and affordably produce hundreds of functional prototypes and parts that accelerate product development, reduce costs and lead times, and bring better products to market.
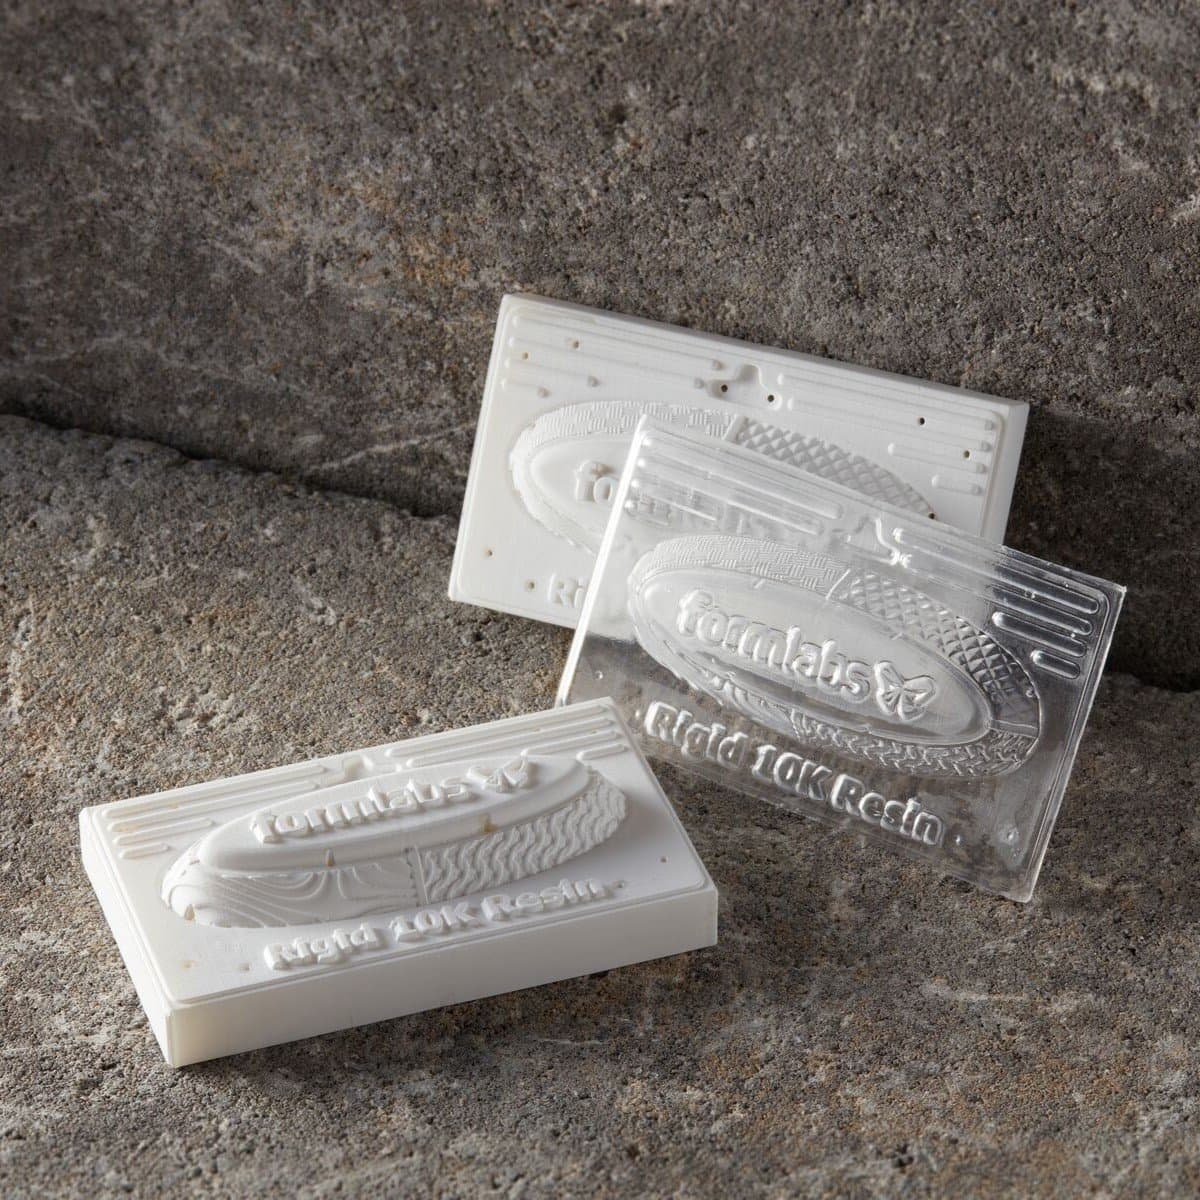
Request a Free Sample Part
See and feel Formlabs quality firsthand. We’ll ship a free 3D printed sample part to your office.
Low-Volume Injection Molding vs. Traditional Injection Molding
Injection molding is one of the leading processes for manufacturing plastics. It is a cost-effective and extremely repeatable technology that yields high-quality parts for large series production. As a result, it is widely used for mass-producing identical parts with tight tolerances.
Injection molding is a fast, intensive process where high heat and pressure are involved to inject molten material inside a mold. The molten material depends on the scope of the manufacturing project. The most popular materials are various thermoplastics, such as ABS, PS, PE, PC, PP, or TPU, but metals and ceramics can be injection molded as well. The mold consists of a cavity that accommodates the injected molten material and is designed to closely mirror the final features of a part.
The molds are traditionally made out of metal by CNC machining or electric discharge machining (EDM). These are expensive industrial methods that require specialized equipment, high-end software, and skilled labor. As a result, the production of a metal mold typically takes four to eight weeks and costs anywhere from $2,000 to $100,000+ depending on the shape and the complexity of the part. For smaller part quantities, the cost, time, specialized equipment, and skilled labor required to fabricate the mold out of common tooling metals and manufacturing methods often makes injection molding at this scale unobtainable. However, there are alternatives to machining molds out of metal. Leveraging in-house 3D printing to fabricate injection molds for prototyping and low-volume production significantly reduces cost and time compared to metal molds, while still producing high-quality and repeatable parts.
In this video, we've partnered with injection molding service provider Multiplus to walk you through the steps of the injection molding process using 3D printed molds.
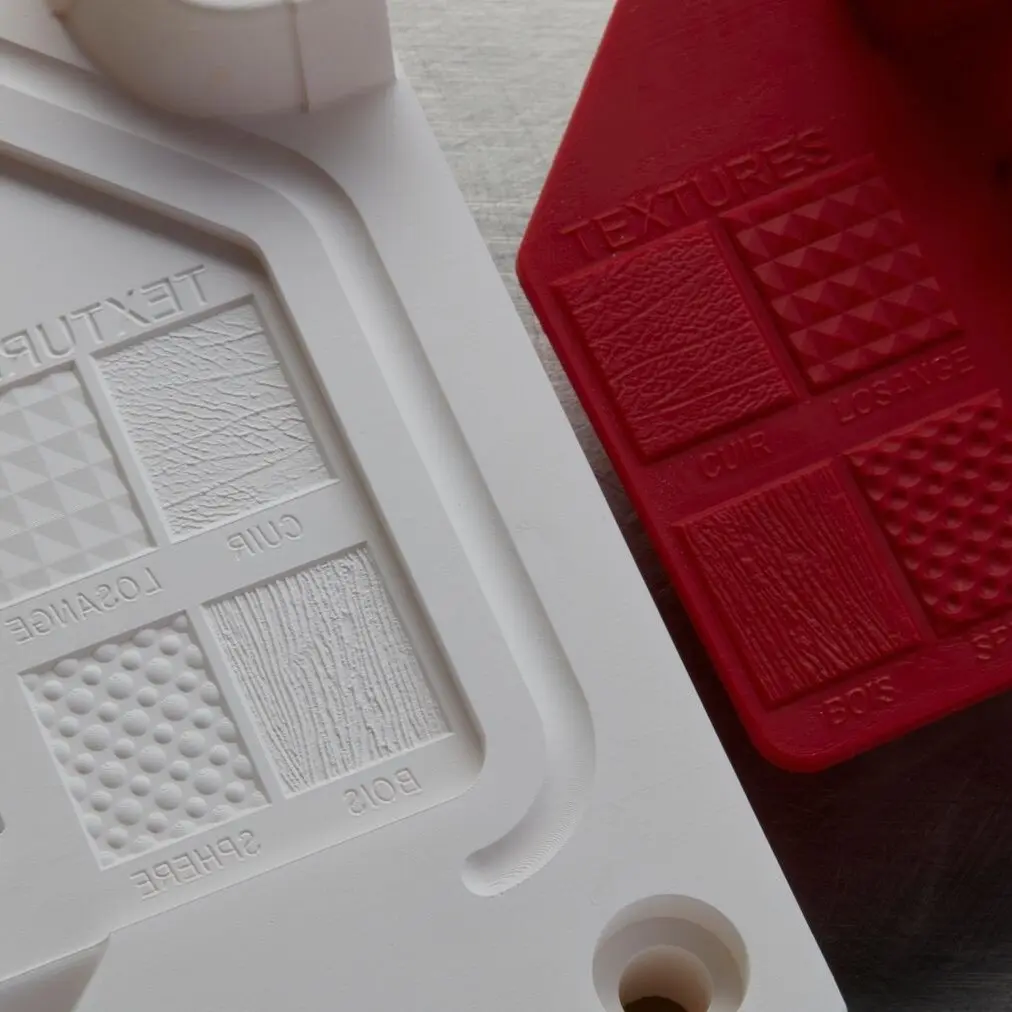
3D Printing for Injection Molding
Get in touch with our 3D printing experts for a 1:1 consultation to find the right solution for your business, receive ROI analyses, test prints, and more.
Desktop 3D printing is a powerful solution to fabricate injection molds rapidly and at a low cost. It requires very limited equipment, saving CNC time and skilled operators for other high-value tasks in the meantime. Manufacturers can benefit from the speed and flexibility of in-house 3D printing to create the mold and couple it with the production force of injection molding to deliver a series of units from common thermoplastics in a matter of days. They can even achieve complicated mold shapes that would be difficult to manufacture traditionally and can be used on both desktop and industrial molding machines, enabling development teams to be more innovative. Furthermore, product development benefits from the ability to iterate on the design and test the end-use material before investing in hard tooling.
Even though 3D printing molds can offer these advantages when used appropriately, there are still some limitations to be aware of. We should not expect the same performance from a 3D printing polymer mold as from a machined metallic one. Critical dimensions are harder to meet, cooling time is longer because the thermal transfer occurs slower in plastic, and printed molds can more easily break under heat and pressure. However, companies across the industry are continuing to implement 3D printed molds into their short-run injection molding workflows, enabling them to quickly produce hundreds to thousands of parts. From designing functional prototypes with end-use materials, fabricating parts during pilot production, or manufacturing low-volume or custom end-use parts, 3D printing injection molds is a cost-effective and quick way to produce parts in limited quantities.
Stereolithography (SLA) 3D printing technology is a great choice for molding. It is characterized by a smooth surface finish and high precision that the mold will transfer to the final part and that also facilitates demolding. 3D prints produced by stereolithography are chemically bonded such that they are fully dense and isotropic, producing functional molds at a quality not possible with fused deposition modeling (FDM) 3D printing. Desktop SLA printers, like those offered by Formlabs, can seamlessly be integrated into any injection molding workflow as they are easy to implement, operate, and maintain.
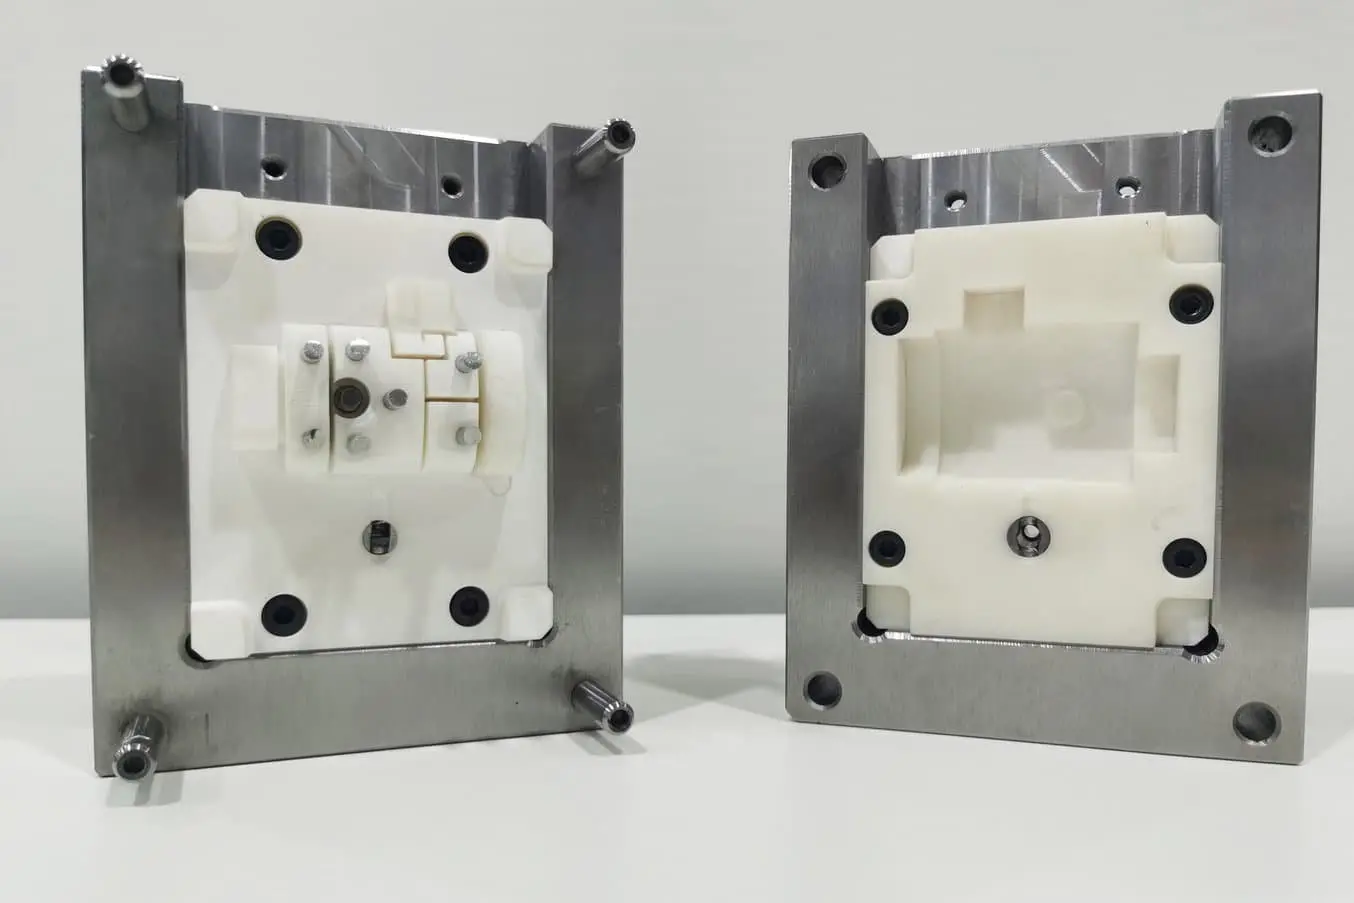
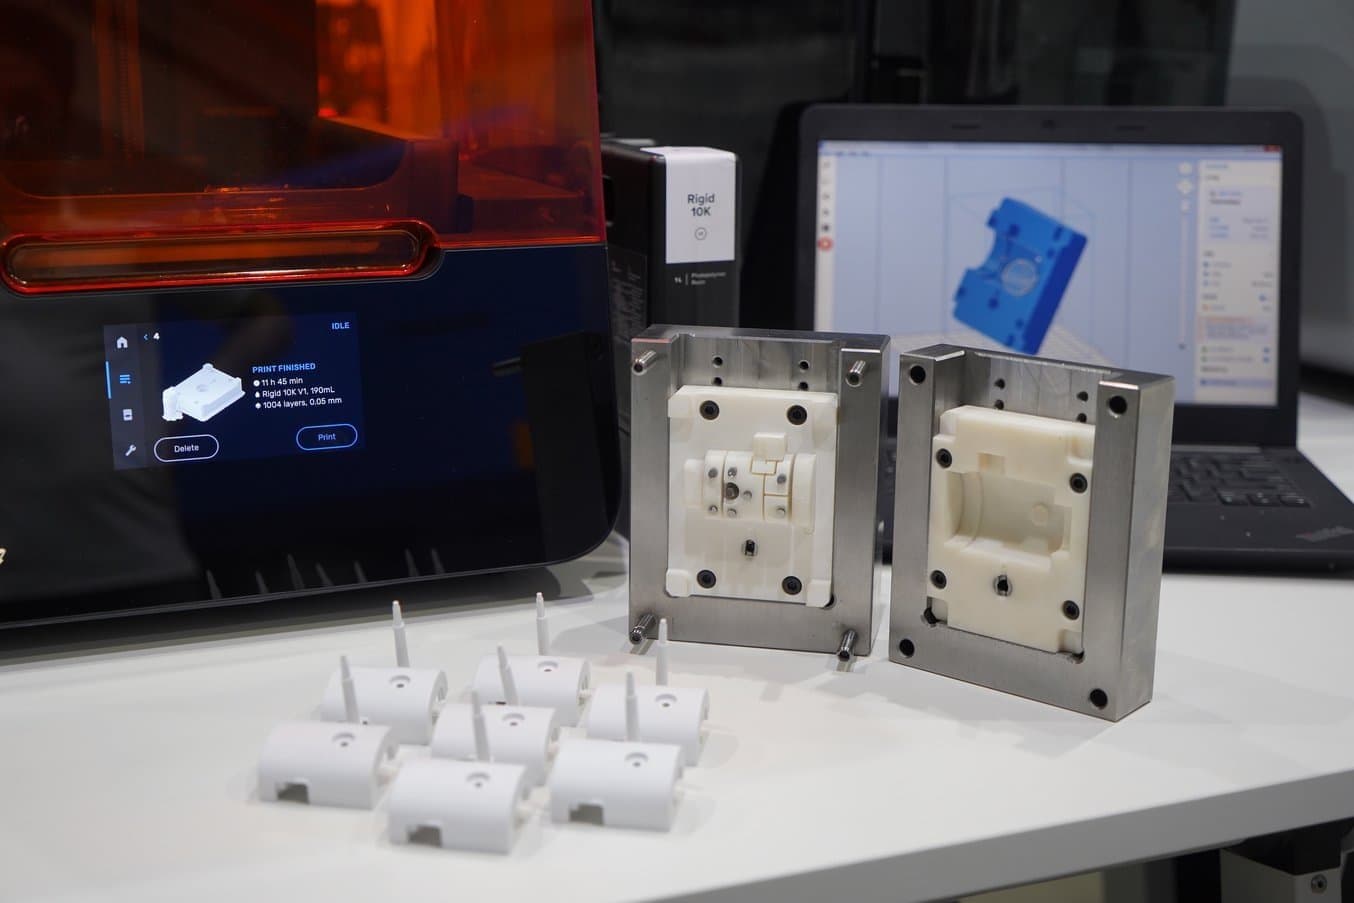
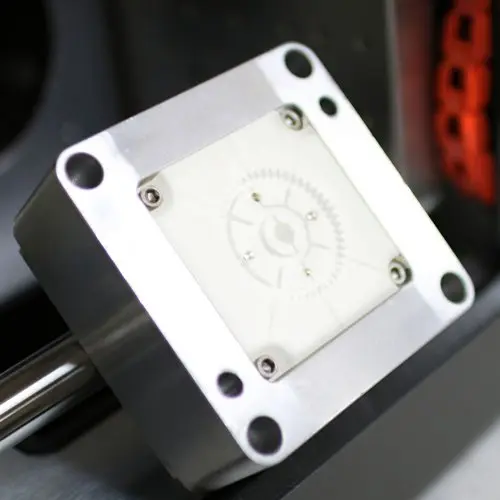
A 3D printed injection mold core assembled with a metal mold shell.
As an alternative for mid-volume production of about 500 to 10,000 parts, machining molds out of aluminum can also reduce the fixed costs associated with manufacturing molds. Machining aluminum is five to ten times faster than steel and causes less wear on the tooling, which means shorter lead times and lower costs. Aluminum also conducts heat faster than steel, resulting in less need for cooling channels and allowing manufacturers to simplify mold designs while maintaining short cycle times.
To sum up, here’s an overview of the different injection molding methods and the mold types that result in the most efficient process and the lowest cost per part depending on the production volume:
| Low-Volume Injection Molding | Mid-Volume Injection Molding | High-Volume Injection Molding | |
|---|---|---|---|
| Method | In house mold production and in house molding | Outsourced mold production and molding | Outsourced mold production and molding |
| Equipment required | 3D printer, desktop injection molding machine | - | - |
| Mold | 3D printed polymer | Machined aluminum | Machined steel |
| Mold cost | <$100 | $2,000 - $5,000 | $10,000 - $100,000 |
| Lead time to final parts | 1-3 days | 3-4 weeks | 4-8 weeks |
| Ideal production volume | <500 | 500 - 10,000 | 5,000+ |
| Applications | Rapid prototyping Custom injection molding Short-run injection molding | Short-run injection molding | Mass production |
The type of injection press does not have a significant influence on the process for low-volume injection molding; traditional large industrial injection molding machines can also be used with 3D printed injection molds. However, these machines are expensive, come with stringent facility requirements, and require skilled labor, and as a result, most enterprises outsource mid- and high-volume production to service providers and contract manufacturers.
If you are new to injection molding and are looking into testing it with limited investment, using a benchtop manual injection molding machine such as the Holipress or the Galomb Model-B100 could be a good option. Automated small-scale injection molding equipment such as the desktop machine Micromolder or the hydraulic machine Babyplast 10/12 are good alternatives for medium-series production of small parts.
Curious to learn about the different factors that make up the total injection molding cost? Read our comprehensive guide.

Injection Molded Parts in <24 Hours? Low-Volume Injection Molding 101
In this webinar, we'll show you how to use stereolithography (SLA) 3D printed molds in the injection molding process to lower costs, reduce lead times, and bring better products to market.
Step-by-Step Workflow for Low-Volume Injection Molding
The workflow for low-volume injection molding includes the following seven steps:
1. Mold Design
Design the mold for your part in the CAD software of your choice. Adhere to common design rules for additive manufacturing and injection mold design. Design recommendations specific to polymer 3D printed molds can be found in our whitepaper.
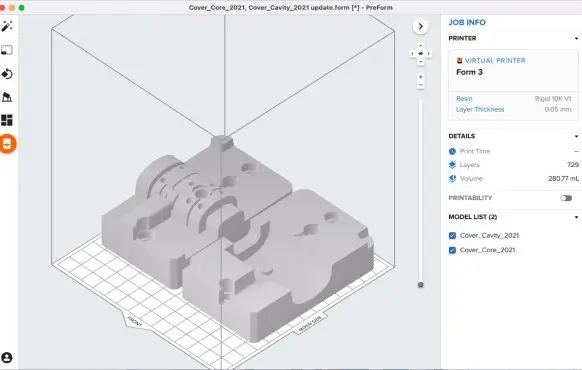
Upload your design into PreForm, Formlabs print preparation software. Prepare your print and send it to your Formlabs 3D printer.
2. Mold 3D Printing
Choose a 3D printing material and begin your print. Rigid 10K Resin at 50 micron layer height is an ideal choice for most mold designs as it combines high strength, stiffness, and thermal resistance.
When possible, it is advised to print the mold flat, directly on the build platform without any supports, in order to reduce warpage.
After washing and post-curing, your 3D printed mold is ready to be integrated into your injection molding process.
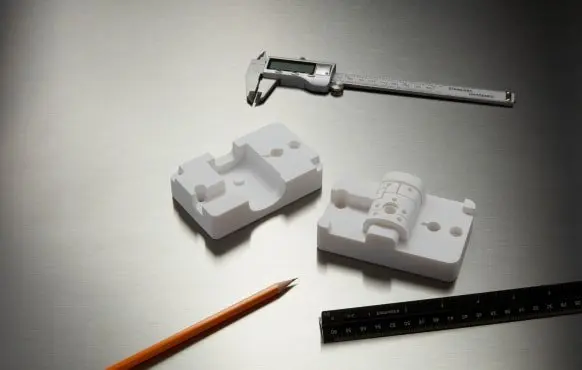
3. Mold Assembly
Prior to assembly, you may choose to finish the mold to meet critical dimensions with hand-sanding, desktop or CNC machining.
It is recommended to place the printed mold inside a standard metal frame, or a Master Unit Die, to support against high pressures and extend the lifetime of your printed mold. Carefully assemble the 3D printed mold inside the metal frame. Add ejector pins, inserts, side-action parts, and other components as needed.
Install the assembled mold in your injection molding machine.
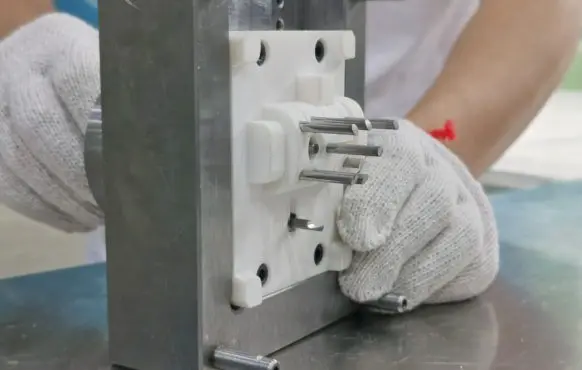
4. Mold Clamping
Insert the plastic pellets, input the required settings, and begin production. A lower clamping force is suggested, particularly if the printed mold is not protected by a metal frame.
A broad range of thermoplastics can be injected with 3D printed molds such as TPE, PP, PE, ABS, POM, ASA, PA, PC, or TPU.
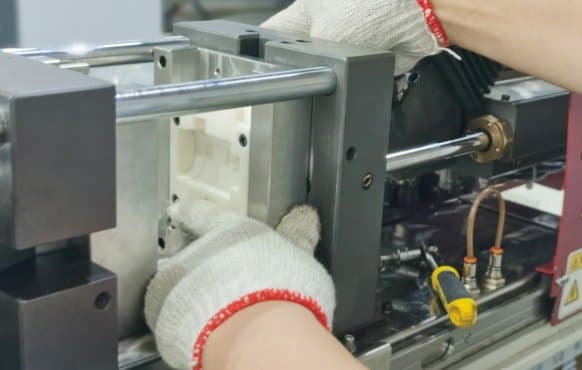
5. Injection
It may take a few shots to identify your ideal process conditions as many factors are at play including part geometry, choice of plastic, injection temperatures and pressures, and other parameters.
Reduce injection pressure and temperature as much as possible.
With one printed mold, Formlabs users are usually injecting 100s of parts in easy-to-process plastics such as TPE, PP, and PE with temperatures up to 250°C. With plastics that require higher injection temperature such as PA or PC, the 3D printed mold might have a shorter lifespan.
Read our process conditions documentation to see test results with both desktop and industrial injection molding machines.
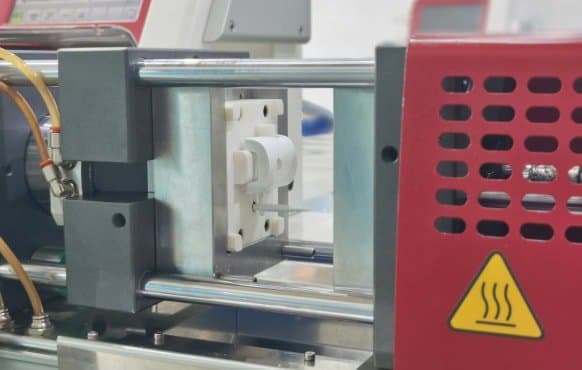
6. Cooling
The cooling time of a polymer printed mold is longer than that of a metal mold, as thermal transfer occurs slower in plastic than metal. As such, adding cooling channels to your printed mold is generally not suggested.
Instead, cooling can be accelerated by applying compressed air to cool the mold, or using interchangeable stacks.
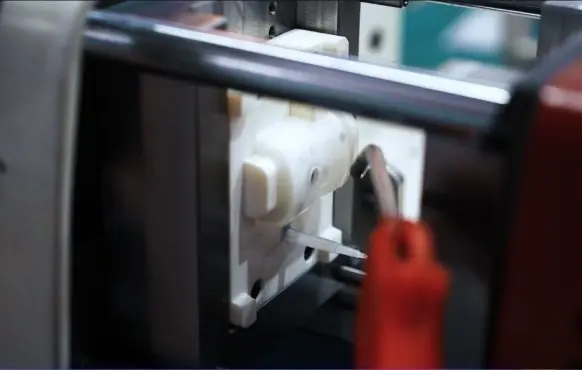
7. Demolding
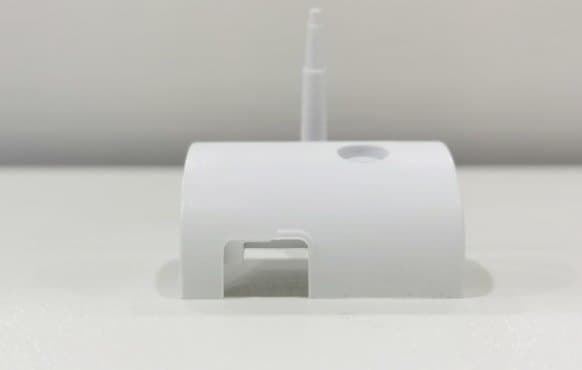
Demold the part either manually or automatically with ejector pins. Apply a release agent for thermoplastics with high viscosity. Mold releases are widely available and silicone mold releases, such as Slide or Sprayon products, are compatible with Formlabs Resins.
Low-Volume Rapid Injection Molding With 3D Printed Molds
Download our white paper for guidelines for using 3D printed molds in the injection molding process to lower costs and lead time and see real-life case studies with Braskem, Holimaker, and Novus Applications.
Low-Volume Injection Molding Applications
The three major applications for low-volume injection molding are rapid prototyping, short-run injection molding, and on-demand or custom injection molding.
Rapid Prototyping With Injection Molding
Rapid prototyping helps companies turn ideas into realistic proofs of concept, advances these concepts to high-fidelity prototypes that look and work like final products, and guides products through a series of validation stages toward mass production.
In general, 3D printing is the most common way to produce rapid prototypes. However, in the later stages of the development process, there is often a need to produce slightly larger volumes of identical prototypes using the same materials and production processes as for the final parts. These prototypes can then be used for applications like beta and field testing. Combining 3D printed molds with injection molding allows manufacturers to rapidly and efficiently develop functional prototypes and speed up the product development process.
For example, French startup Holimaker develops a manual injection molding machine that enables engineers and product designers to process plastic parts on their desktop in low quantities for prototypes, pilot production, or even a limited series of end-use parts.
The company offers feasibility studies for their customers, using 3D printed molds for a fast and affordable turnaround. This allows their clients to quickly and affordably prototype designs and validate final manufacturing conditions during the pilot production phase of new product introduction.
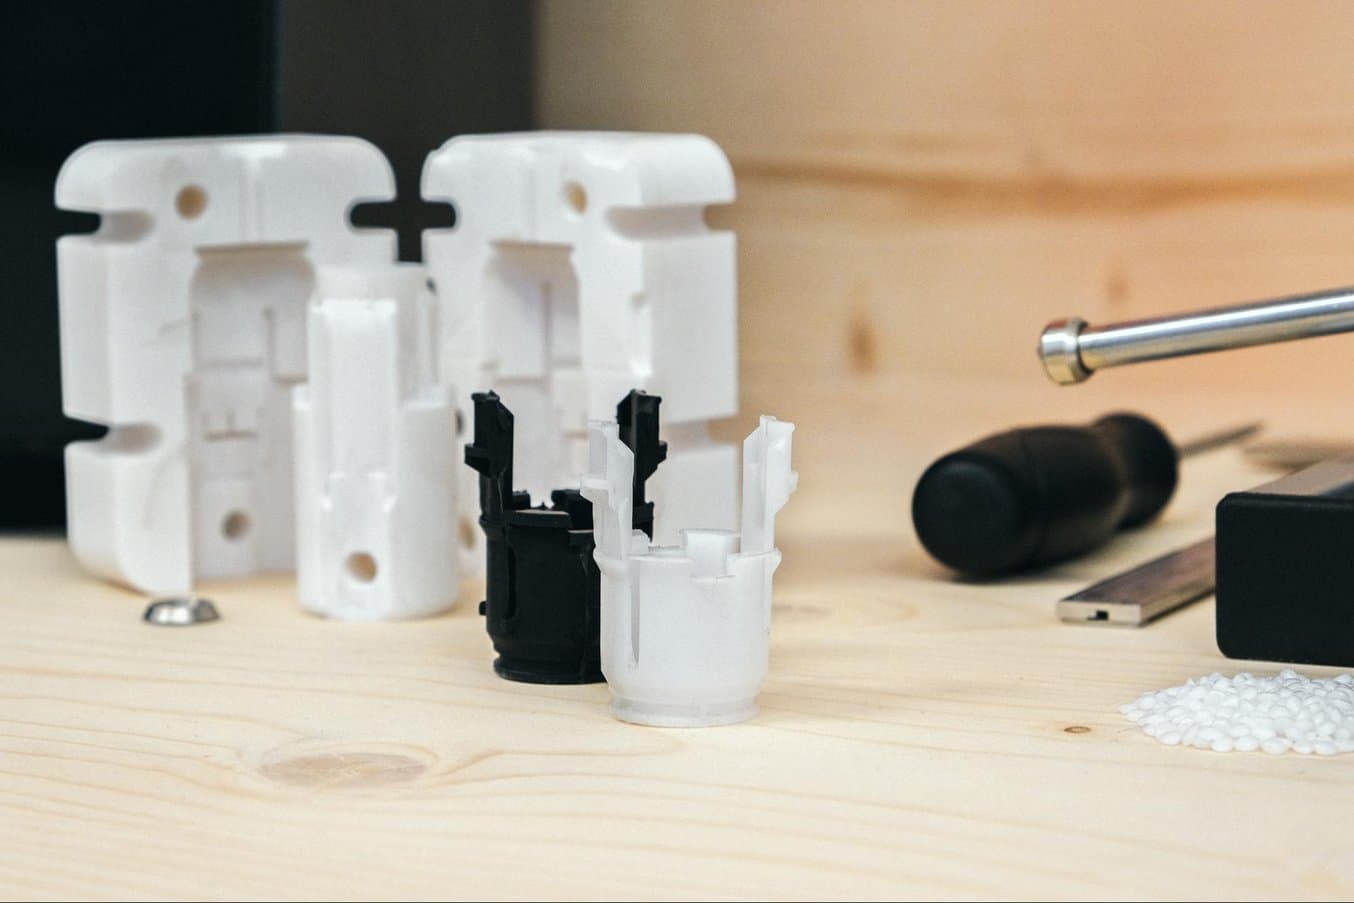
Holimaker used 3D printed molds to injection mold prototypes in POM of a valve connector part for a customer to carry out resistance tests to water pressure.
By using the same manufacturing method including mold design and materials, these parts can be tested in the field and ensure the designs are ready to be produced at scale. The 3D printed mold designs can then be easily adapted for tool-grade steel during mass production.
Using 3D printed molds, Holimaker managed to shorten the lead time for producing molds for the injection molding process to 24 hours and they use 3D printed injection molds in 80% to 90% of their projects today.
Short-Run Injection Molding
Short-run injection molding provides manufacturers with a means to produce smaller series of end-use parts for products that are only produced in limited quantities or manufacture a pilot series of a product for testing the market before sinking too much capital into the venture.
Using low-volume injection molding provides the opportunity to manufacture accurate and repeatable end-use parts without the high fixed costs associated with traditional injection molding.
Multiplus is an injection molding solutions provider based in Shenzhen that covers the entire production cycle from design to manufacturing of plastic products and provides services to over 250 clients per year, including some Fortune 500 companies. Some of these clients require small batch production, which is traditionally expensive and time-consuming with injection molding due to the complexity of manufacturing hard tooling.
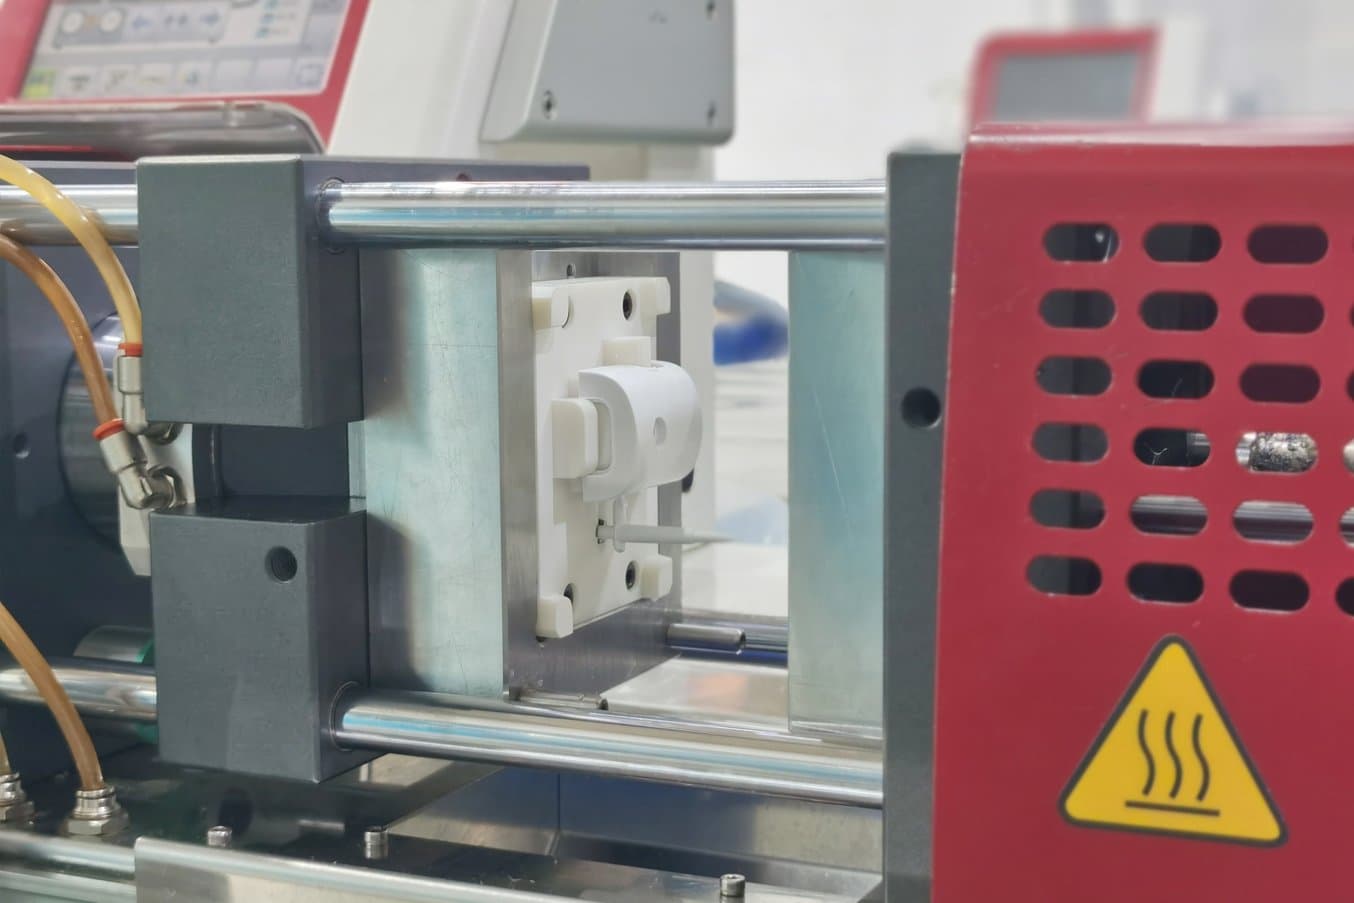
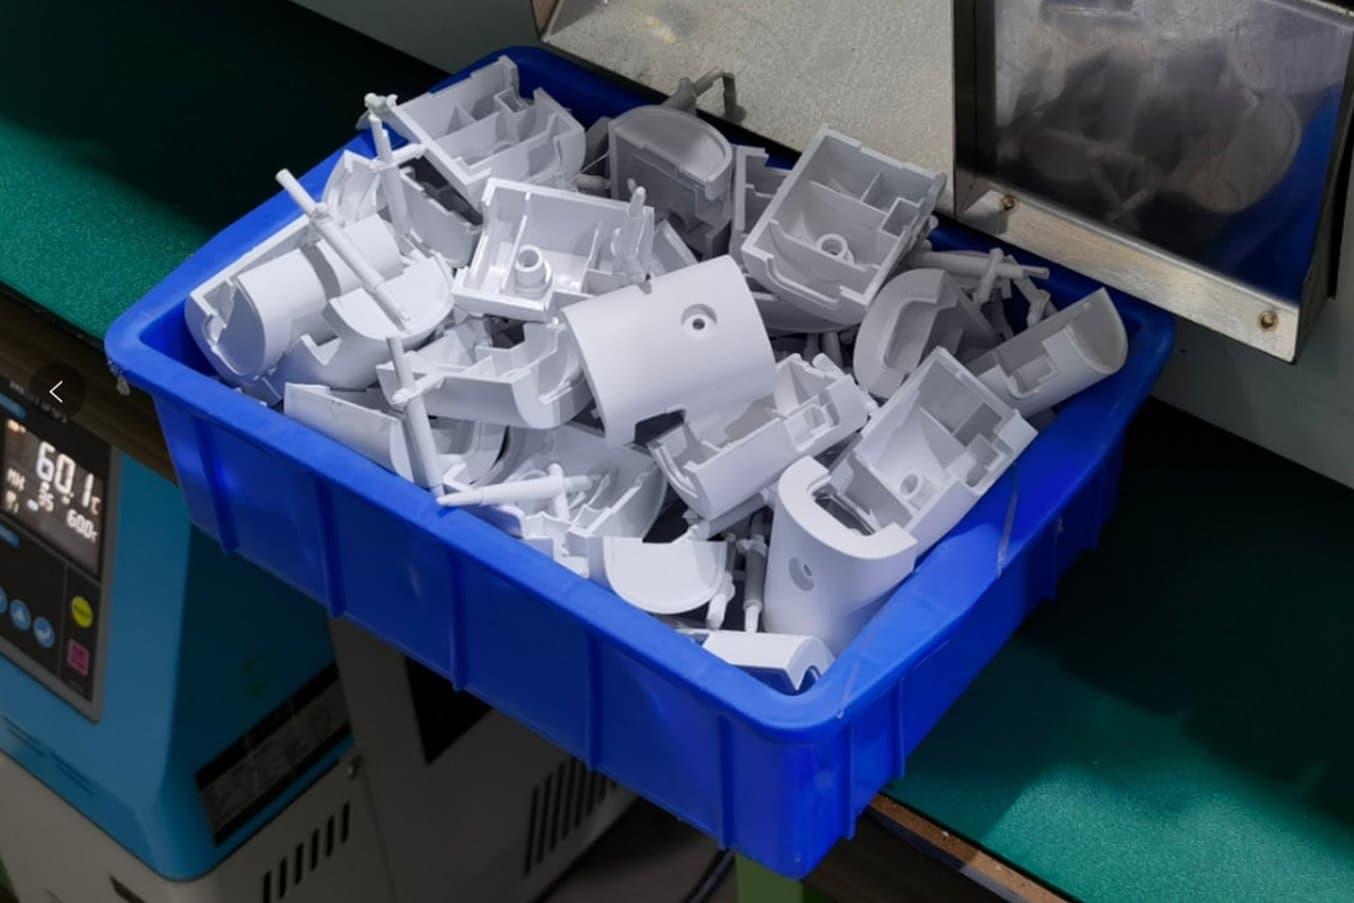
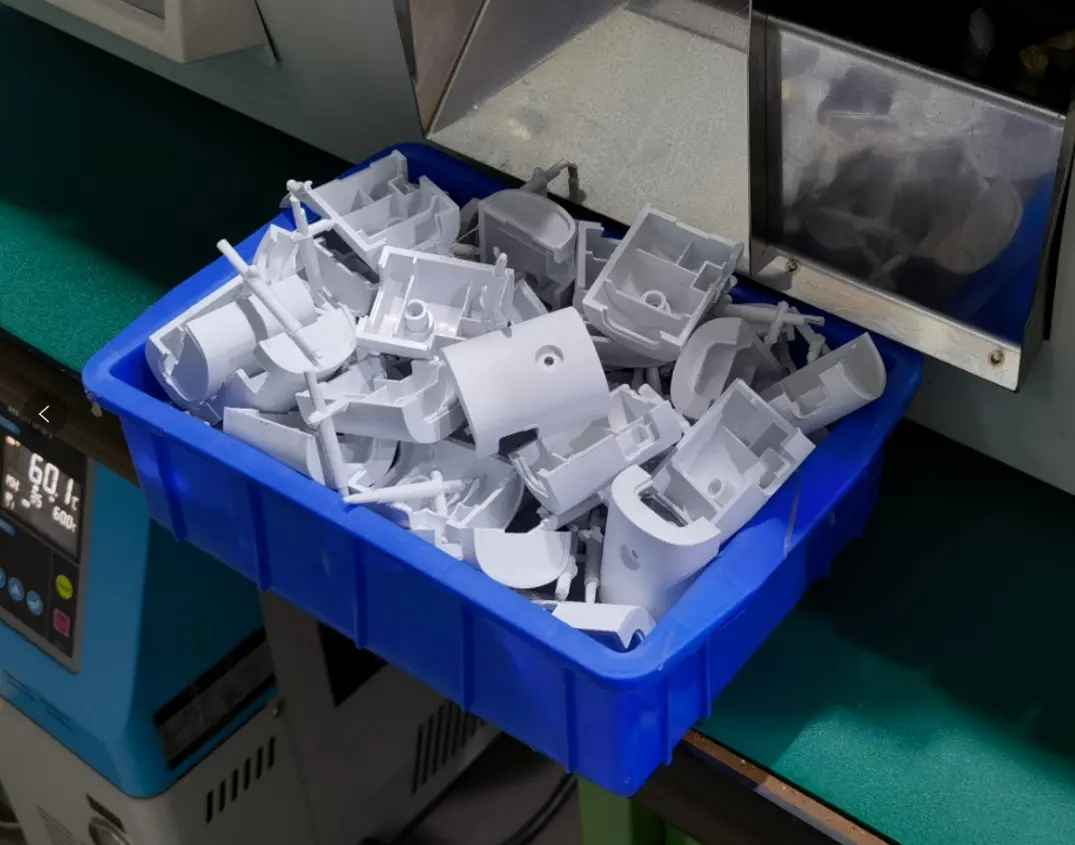
Freshly injection-molded ABS control box housings using 3D printed injection molds.
As the demand for small batch production started to grow, Multiplus turned to 3D printing to explore different materials in an attempt to find a cost-effective way to produce cheaper plastic molds for smaller orders and pilot production runs. Fabricating low-volume injection molds with Formlabs professional 3D printers reduced costs, labor, and time compared to machining aluminum molds, and could seamlessly be used with their Babyplast industrial injection molding machines.
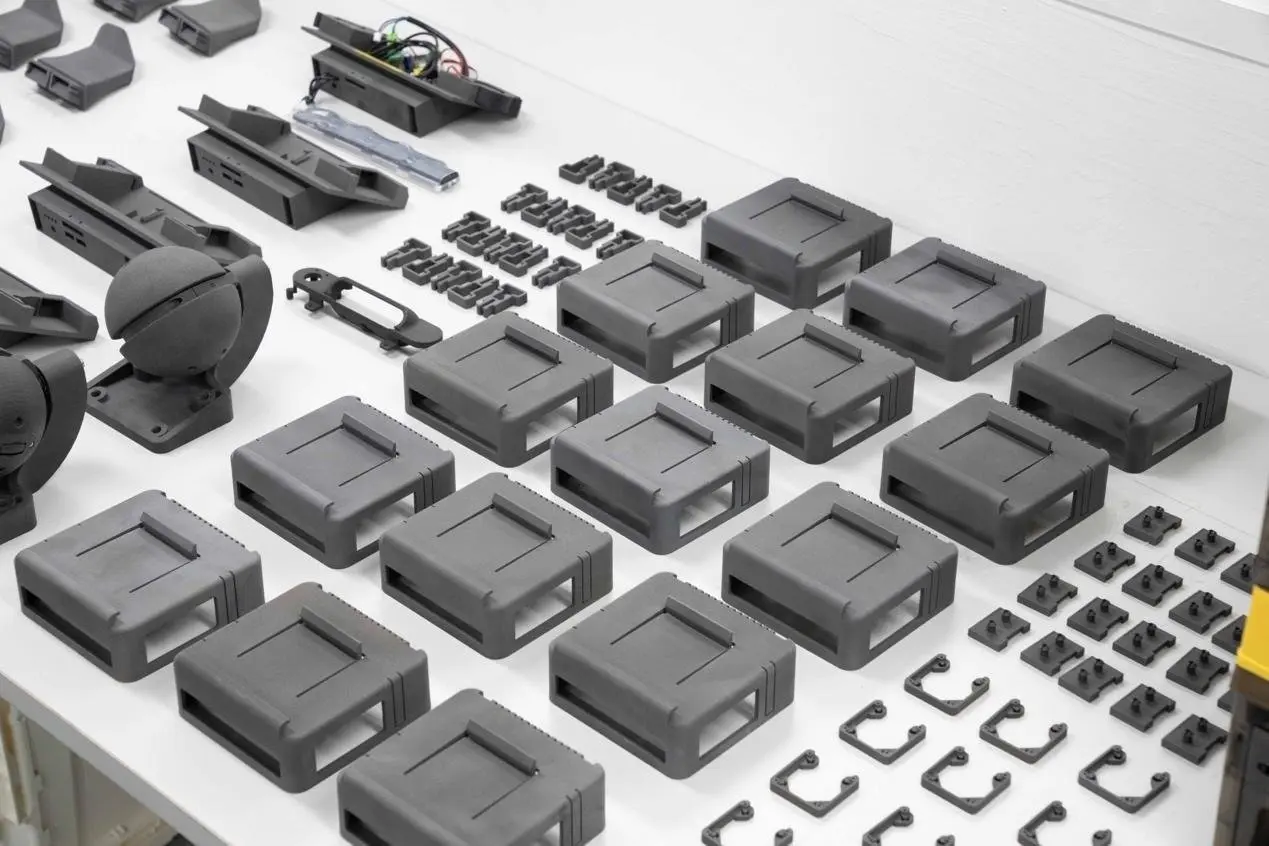
SLS 3D Printing for Production
Bring production in-house and reduce cost per part with a proven, scalable, and accessible SLS ecosystem. Formlabs’ Fuse Series is the #1 SLS 3D printing platform that has helped thousands of customers bring new products to the market and achieve their lowest cost per part, ever.
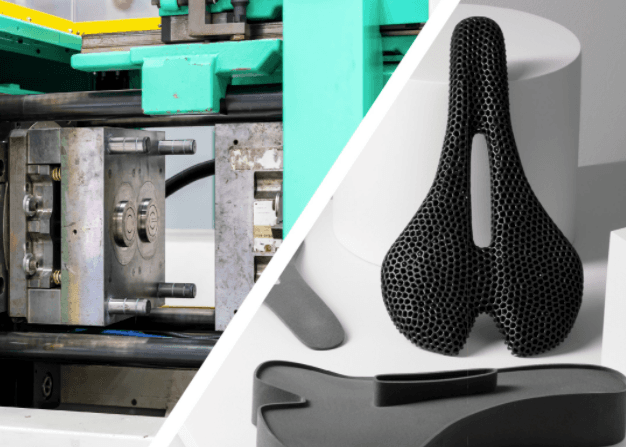
SLS 3D Printing vs. Injection Molding: When to Replace Molded Parts With 3D Printing?
This white paper showcases the cost-dynamics for real-life use cases, and presents guidelines for using SLS 3D printing, injection molding, or both.
On-Demand or Custom Injection Molding
Custom or rapid on-demand injection molding can be required to manufacture customized end-use parts for specific purposes, such as human factors, application, or occasion, often on an expedited timeline. The limited volume and/or short lead time means traditional injection molding with hard tooling is neither efficient nor feasible. In these cases, low volume injection molding with 3D printed molds is an ideal solution to speed up the process and deliver custom parts.
The example of Braskem, one of the world’s leading petrochemical companies, highlights the case for using 3D printed molding to fulfill rapid orders on-demand. During the first wave of the COVID-19 pandemic, the company needed to produce thousands of mask straps to protect its global workforce. Braskem identified injection molding as the ideal method to produce the parts, but without access to 3D printing, they would have had to outsource an expensive metal mold, costing the team money and valuable time.
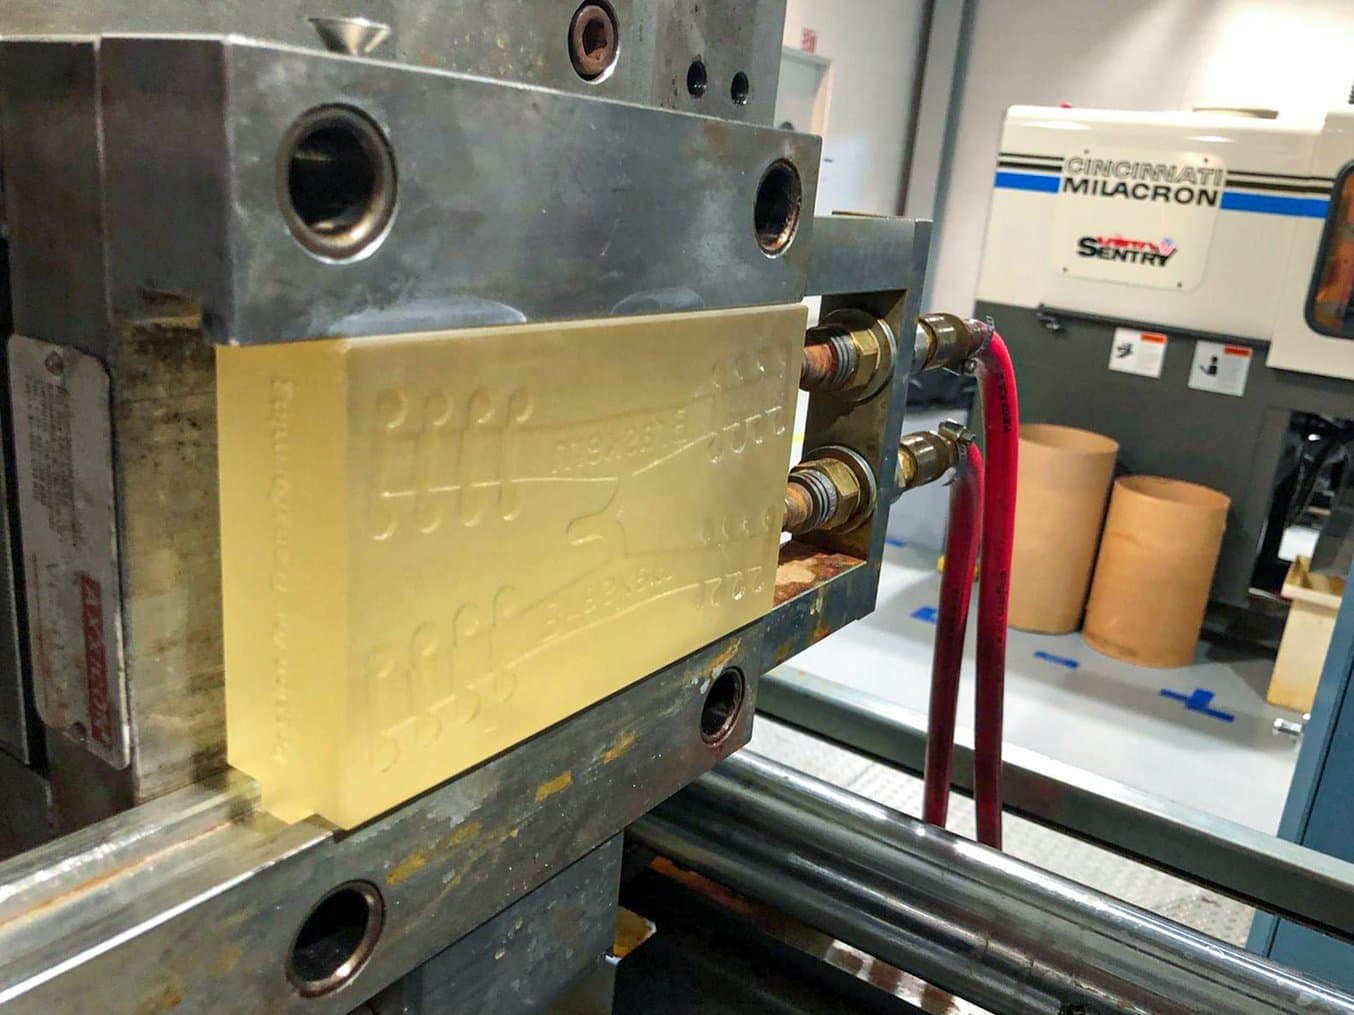
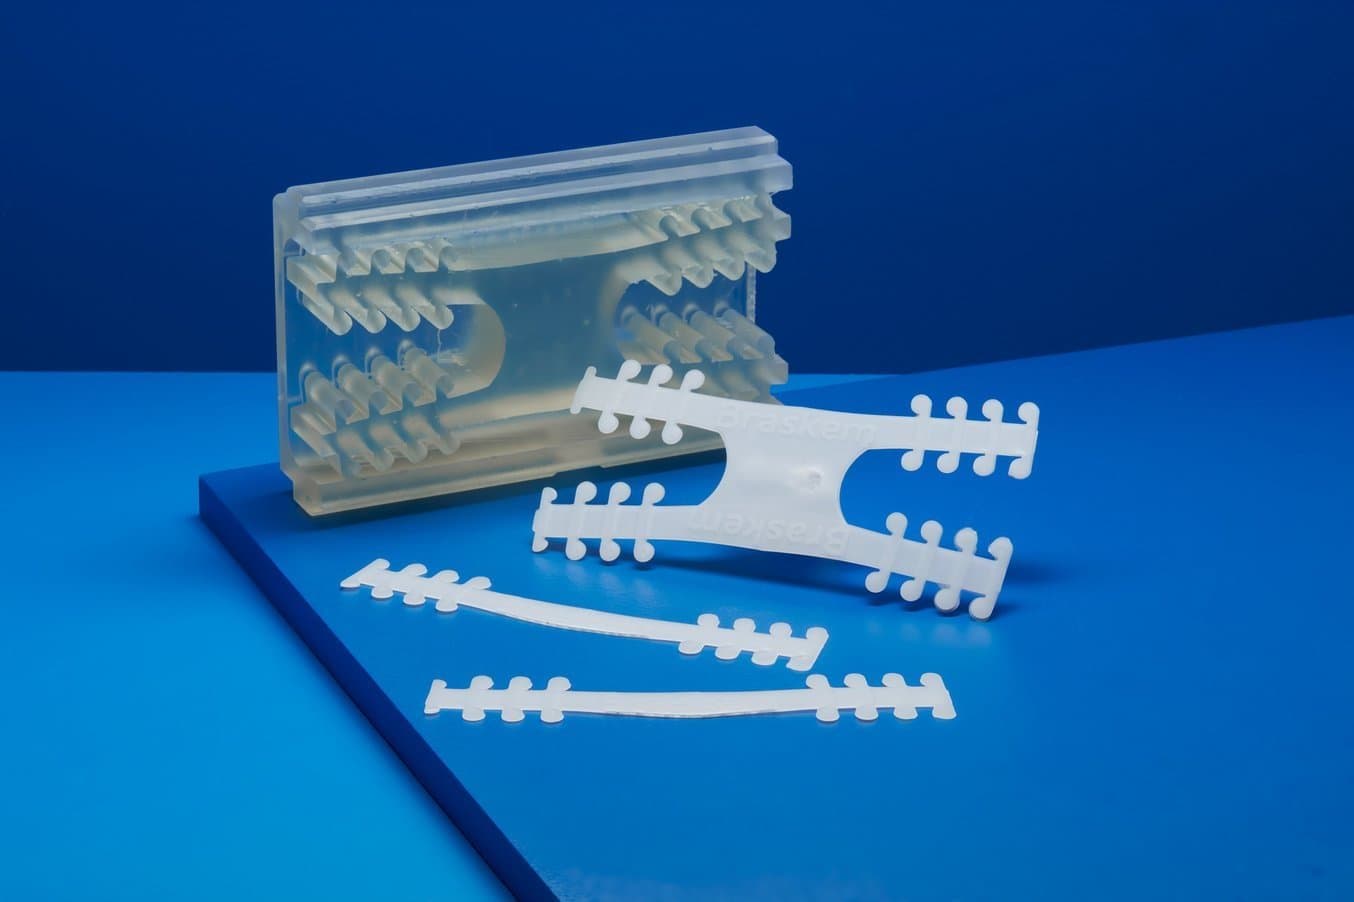
Braskem used a 3D printed mold in combination with a traditional industrial injection molding machine to rapidly injection mold the mask straps.
Braskem’s team turned to injection molding using a Formlabs Form 3 3D printer to print the mold for its straps and the all-electric Cincinnati Milacron 110 Ton Roboshot injection molding machine to develop the straps.
By leveraging 3D printing, the team was producing thousands of straps within a week of receiving the VP’s email and preparing them for shipping to offices around the world.
Guide to Rapid Tooling
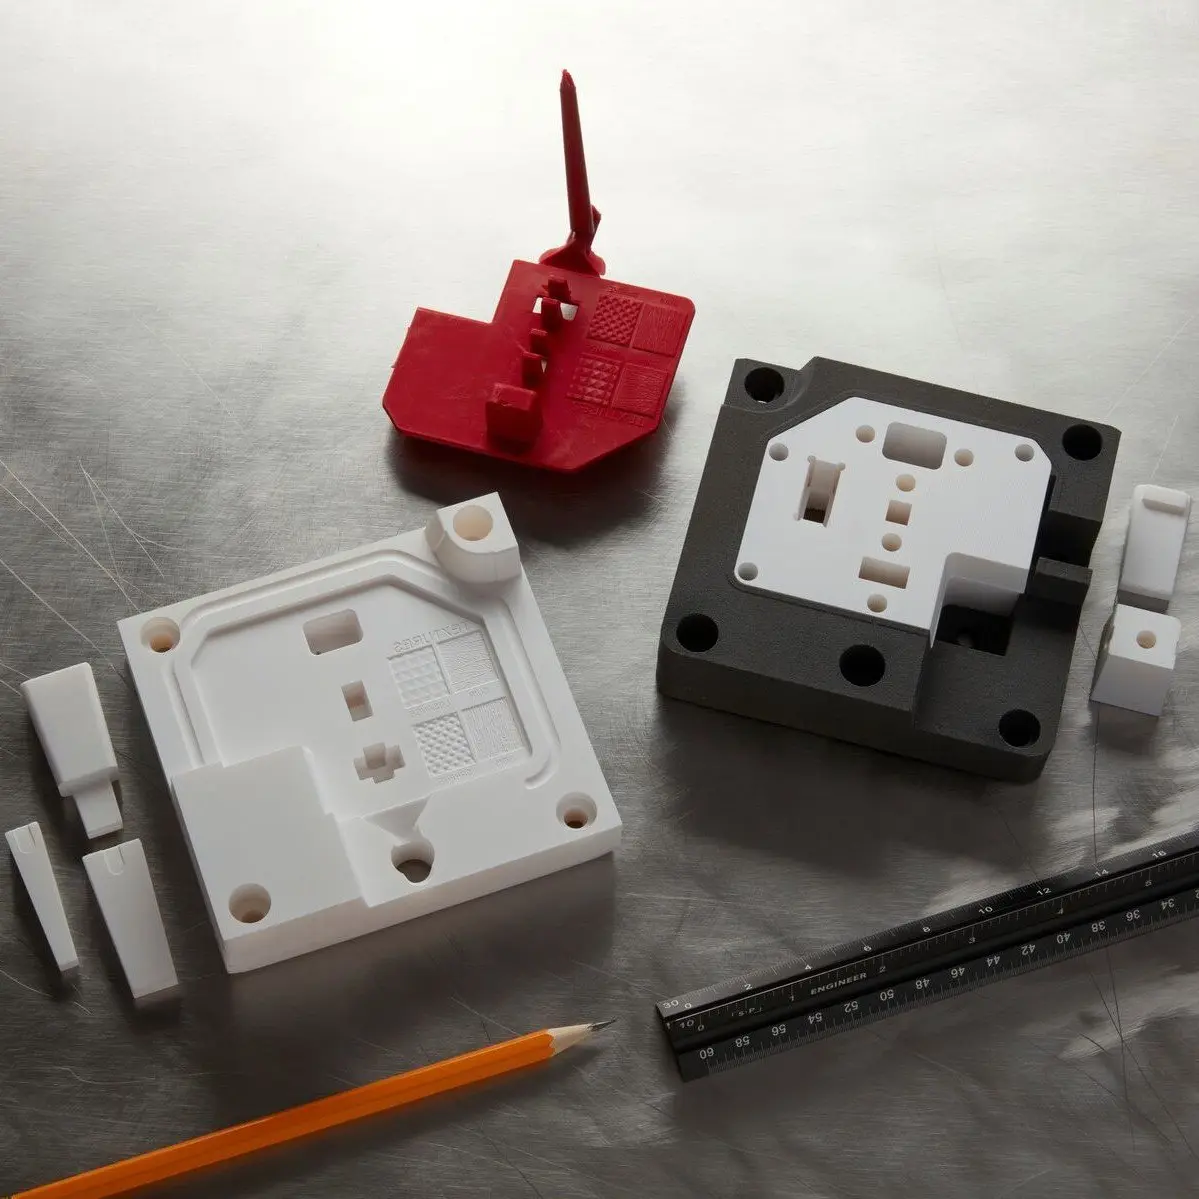
In this white paper, learn how to combine rapid tooling with traditional manufacturing processes like injection molding, thermoforming, or casting.
Get Started With Low-Volume Injection Molding
Accelerate product development, reduce costs and lead times, and bring better products to market by incorporating 3D printing and low-volume injection molding into your development process.
