Avviso:
Per evitare danni alla macchina, controlla la tabella di compatibilità dei serbatoi resina nell'articolo Scelta dei materiali più adatti per assicurarti di utilizzare un serbatoio resina compatibile con questo materiale.


Avviso:
Per evitare danni alla macchina, controlla la tabella di compatibilità dei serbatoi resina nell'articolo Scelta dei materiali più adatti per assicurarti di utilizzare un serbatoio resina compatibile con questo materiale.
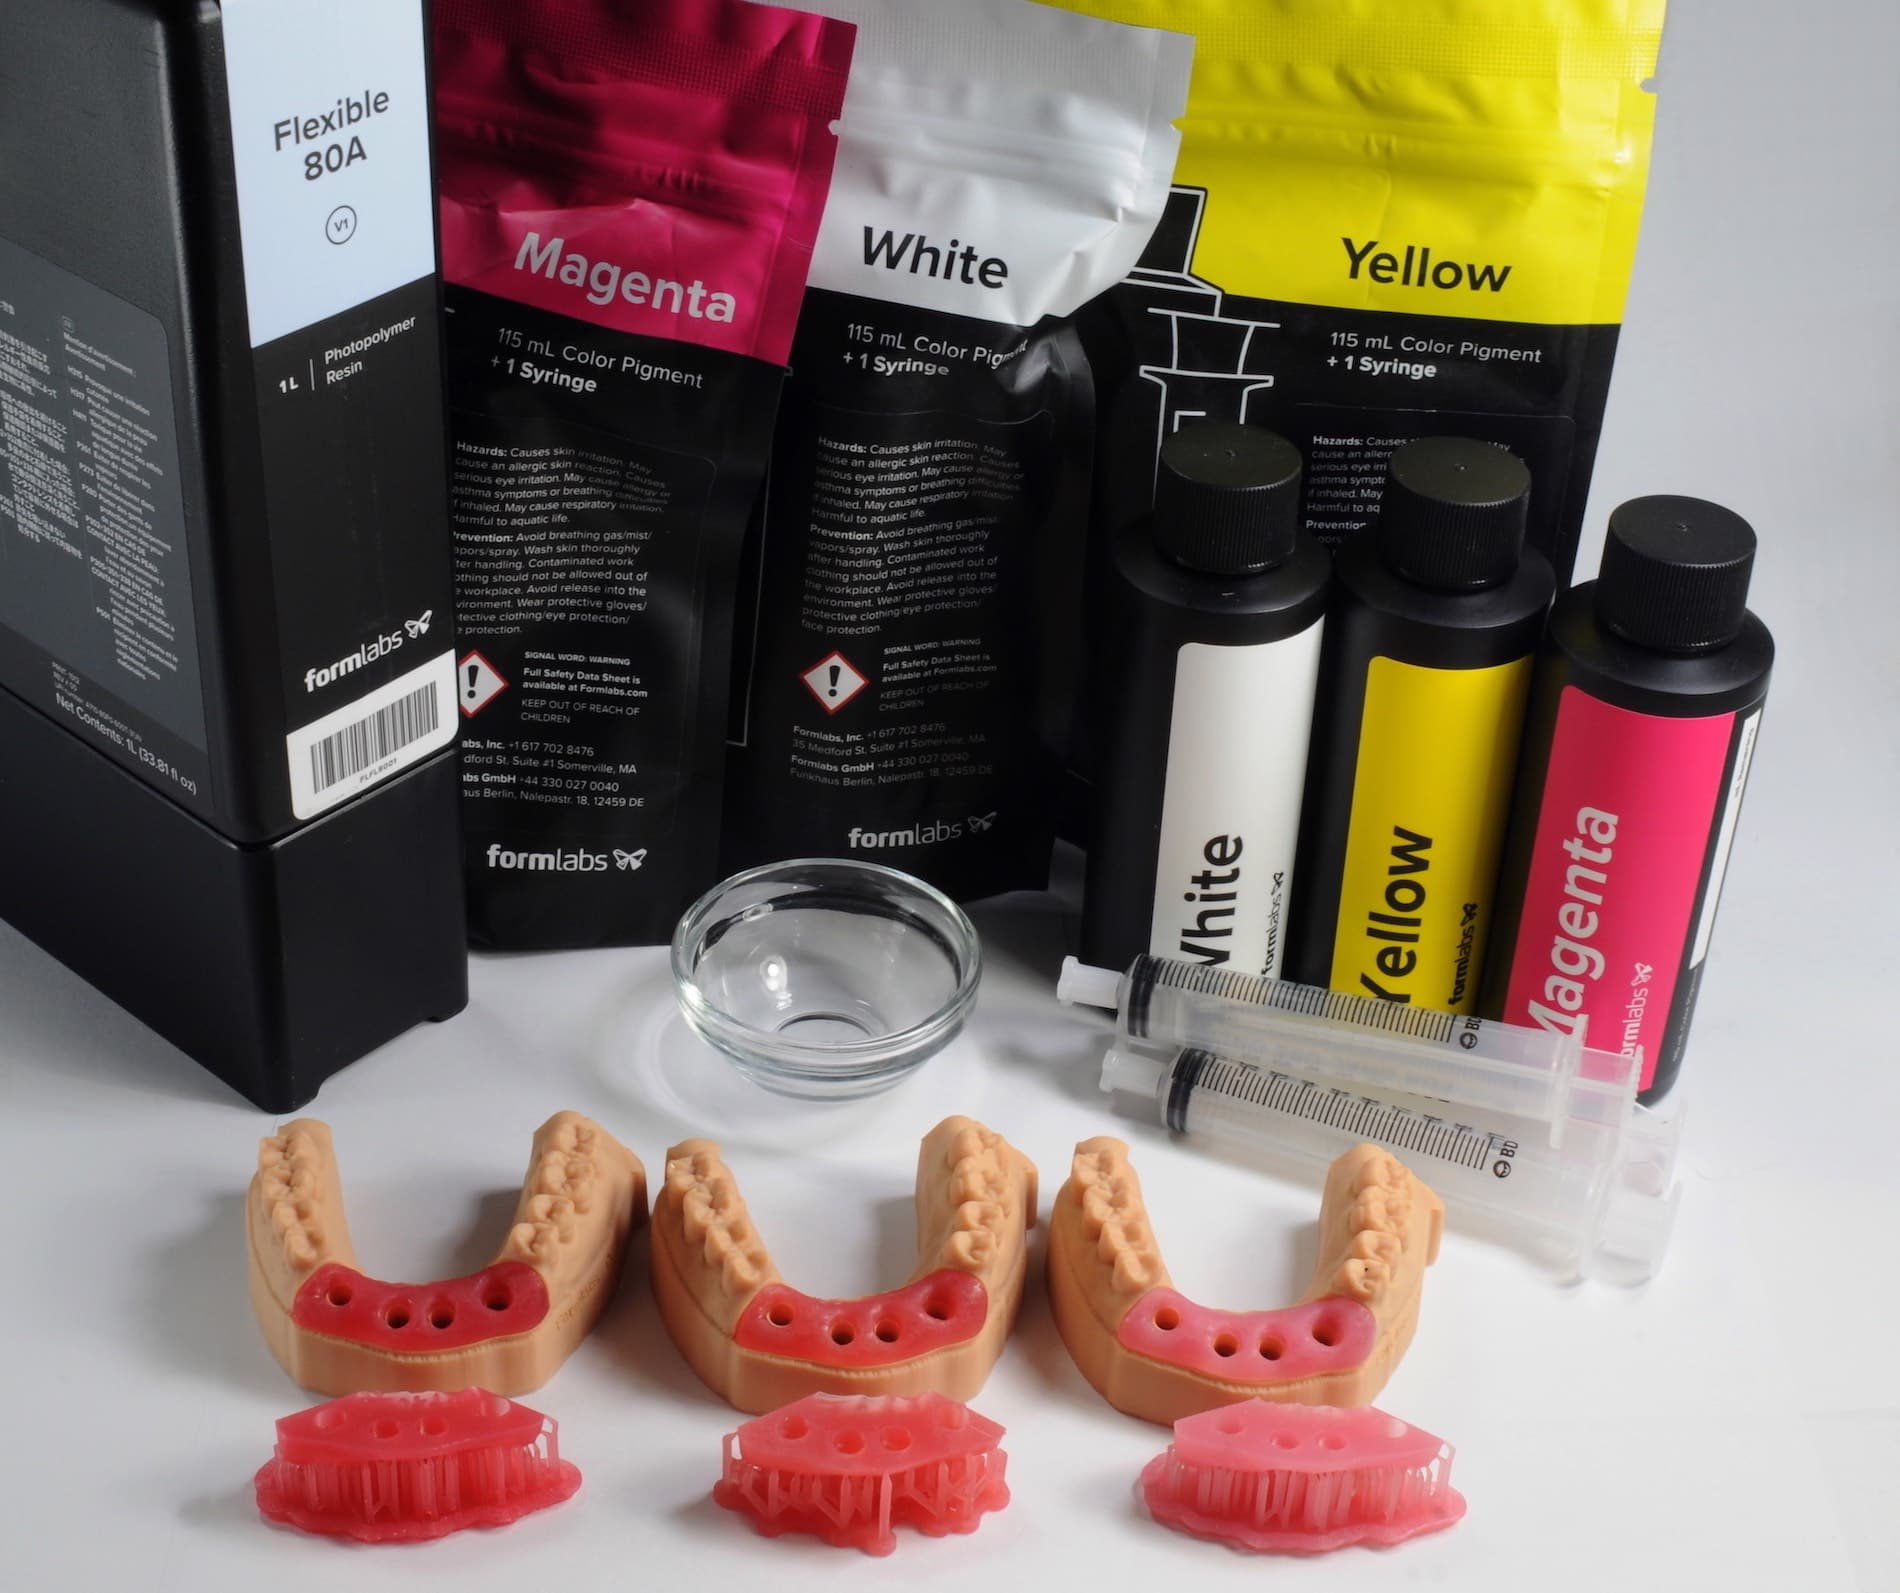
Utilizzando la Flexible 80A Resin e pigmenti colorati come parte di un workflow digitale per protesi implantari, il personale medico può stampare in 3D parti di tessuti molli che simulano meglio la gengiva per scopi di modellazione di impianti dentali. I pigmenti personalizzabili consentono di ottenere il colore e l'opacità desiderati nei modelli stampati.
La Soft Tissue Resin stampa a 50 micron e 100 micron.
Nota:
Per ulteriori informazioni sulle prestazioni o sulle proprietà specifiche dei materiali della Soft Tissue Resin, consulta la scheda dati di sicurezza (SDS) e la scheda tecnica. Leggi sempre la scheda dati di sicurezza come principale fonte di informazioni per comprendere come manipolare e usare in sicurezza i materiali Formlabs.
Risorse richieste
Prodotti da Formlabs:
Panoramica del workflow
Avviso:
Questa è una versione abbreviata del manuale d'uso Stampa 3D di tessuti molli per maschere gengivali su modelli dentali [en]. Leggi il manuale operativo per istruzioni dettagliate sul workflow per la Soft Tissue Resin.
Scansione
Per stampare in 3D una corona permanente o un altro restauro, serviti di uno scanner per raccogliere i dati anatomici della dentatura del paziente. Puoi scansionare il paziente direttamente con uno scanner intraorale o usare uno scanner ottico desktop per scansionare un'impronta in polivinilsilossano (PVS) o un modello in gesso.
Progettazione
Prima di stampare, utilizza un pacchetto software CAD per la progettazione e la fabbricazione di restauri di modelli dentali. Usa un software che permetta l'esportazione di file STL.
Stampa
Avviso:
Per evitare danni alla macchina, controlla la tabella di compatibilità dei serbatoi resina nell'articolo Scelta dei materiali più adatti per assicurarti di utilizzare un serbatoio resina compatibile con questo materiale.
Segui le istruzioni riportate nella guida all'applicazione, Stampa 3D di tessuti molli per maschere gengivali su modelli dentali [en], per miscelare la tonalità appropriata di Soft Tissue Resin.
Prima di impostare la stampa successiva, installa o aggiorna PreForm.
Per preparare un modello di stampa in PreForm:
Utilizza le impostazioni di PreForm per la Flexible 80A Resin: 50 micron e 100 micron.
Finitura
La Form Wash agita il bagno di solvente e rimuove le parti dal bagno dopo un tempo prestabilito. Lava le parti come spiegato nell'articolo di assistenza Impostazioni dei cicli di lavaggio con la Form Wash. Presta particolare attenzione alle informazioni che riguardano le proprietà meccaniche o i requisiti di biocompatibilità.
Se il modello presenta cavità o canali interni, assicurati che la resina liquida venga rimossa accuratamente. Lascia che le parti si asciughino completamente prima di procedere alla polimerizzazione post-stampa.
Requisiti per la polimerizzazione post-stampa
La Soft Tissue Resin deve essere sottoposta alla polimerizzazione post-stampa per raggiungere le proprietà meccaniche ottimali.
Consulta l'articolo di assistenza Form Cure: impostazioni di durata e temperatura per raccomandazioni riguardanti la polimerizzazione post-stampa.
Risorse addizionali