WHITE PAPER
Formlabs Logo

Managing a Printer Group with Dashboard

Managing a Printer Group with Dashboard

Organize printers into Printer Groups based on location or purpose to better track prints or material usage and to manage access to these printers. To do that, share your Printer Group with other Dashboard users. If you have Fleet Control, you can also send prints directly to a group’s queue via PreForm.

Creating a new Printer Group

Easily organize printers and share printer access across a group and track their activity.

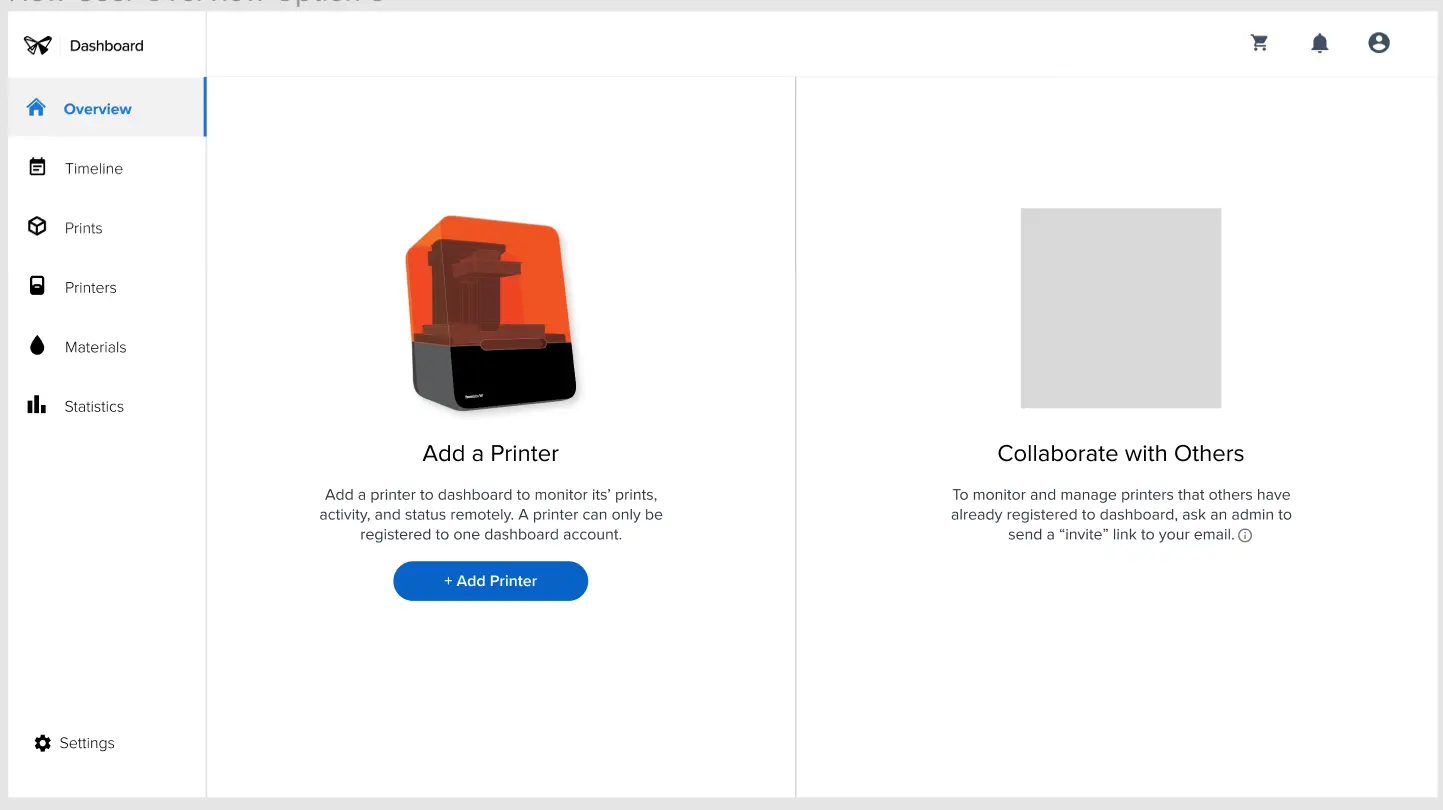
  1. Click Printers. If you have not created printer groups, a list of your printers appear. If you have already, you will see your printers in Printer Groups.
  2. Click Organize Printers. The printer organization options appear.
The 'Printers' page with the 'Organize Printers' button highlighted
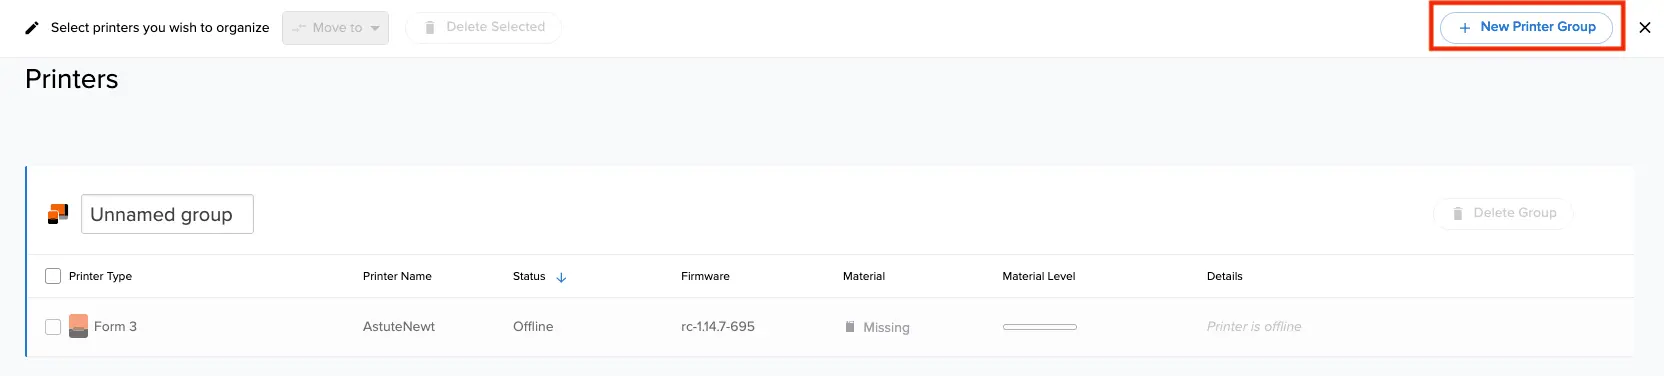
  1. Click + New Printer Group on the top bar. A new, empty Printer Group appears in-line as a new header without any printers in it.
The '+ New Printer Group' button
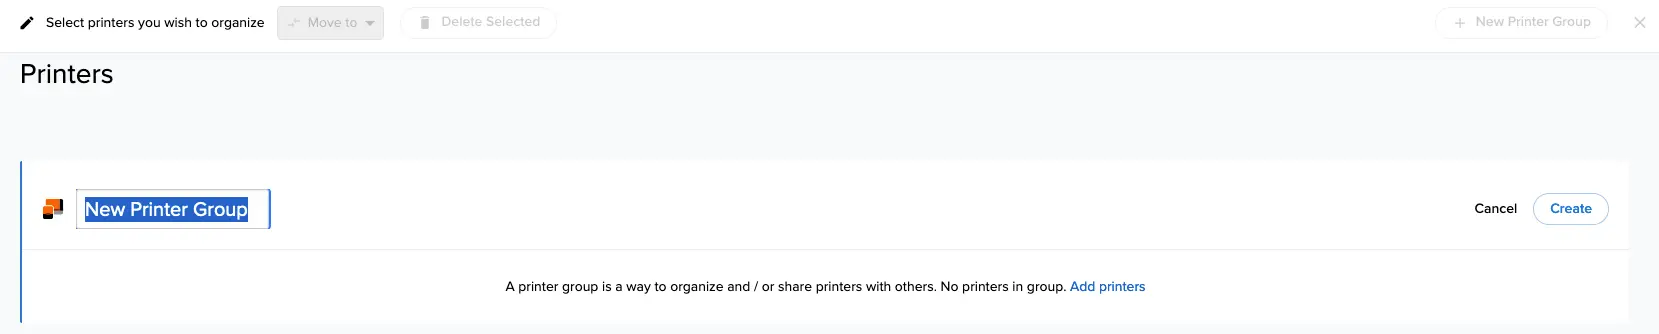
  1. Name the Printer Group. Click Create to finalize the Printer Group
The 'Create' button

Tip:

Creating a Printer Group makes you the admin for that Printer Group.

Renaming a Printer Group

You can rename existing groups to make them easier to find and use.
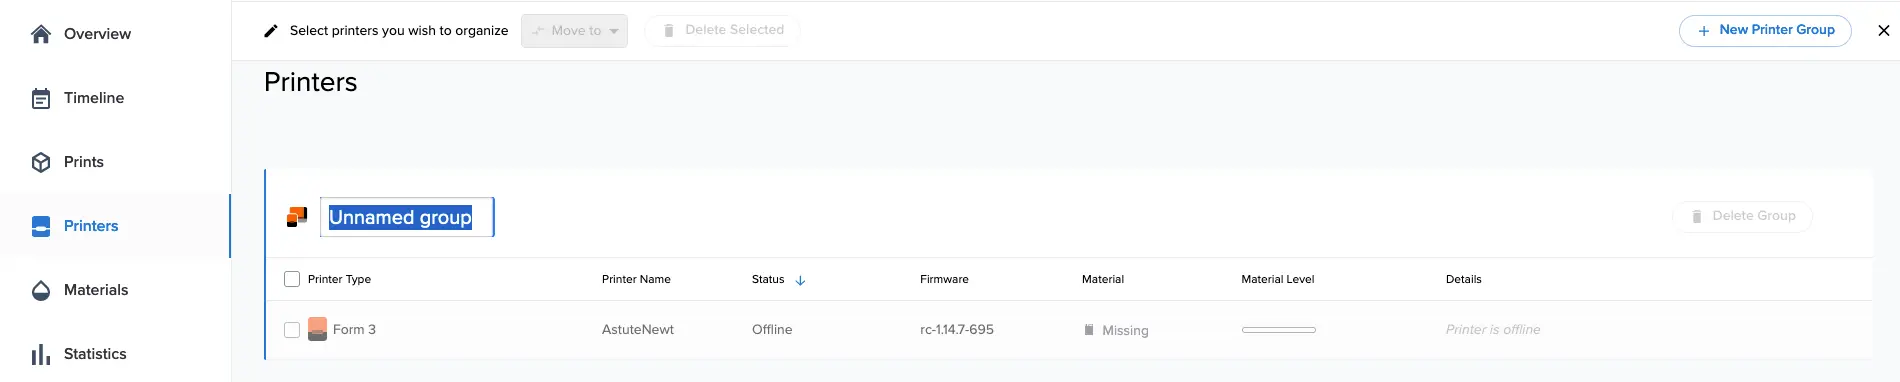
  1. Click Printers. A list of your printers and Printer Groups appears.
  2. After creating at least one printer group, click Organize Printers. The printer organization options appear.
  3. Click the name of a printer group.
Renaming a Printer Group
  1. Rename the Printer Group. Click × to close the edit bar.

Adding a printer to a Printer Group

When registering a printer to Dashboard, you can add it directly to an existing Printer Group.

For Form 4 generation printers running firmware versions 1.4.1 or older, enable Dashboard Logging before adding your printer to Dashboard.
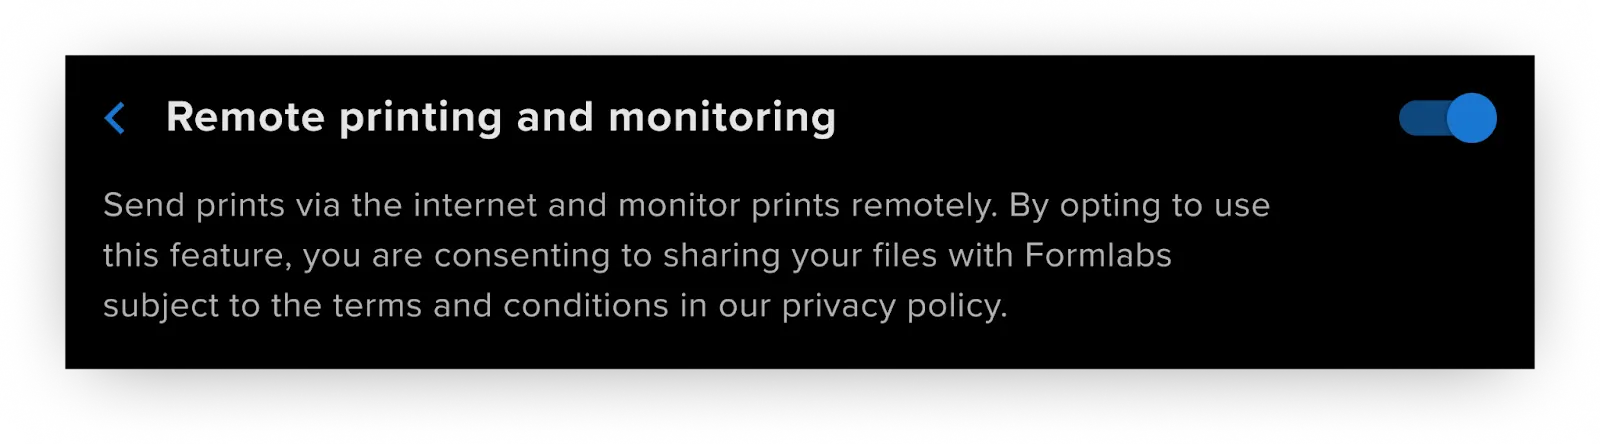
Enable Remote printing and monitoring.

Connect a printer to Dashboard using the personal registration code from the printer's Settings menu.

  1. Ensure the printer's firmware is up to date
  2. See table below:

2. 

Form 3/Form 3L/Fuse 1/Fuse 1+ generation Form 4/Form 4L generation
Tap Settings > Connectivity > Register to Dashboard. Tap Settings > Connectivity > Remote printing and monitoring > Add account.

Note:

If the printer is already registered to Dashboard, the touchscreen displays the group information.
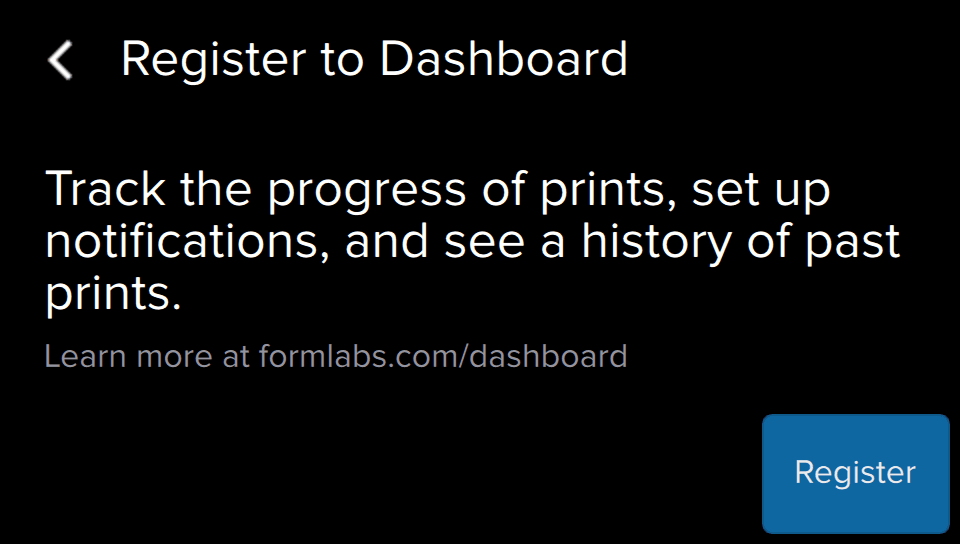
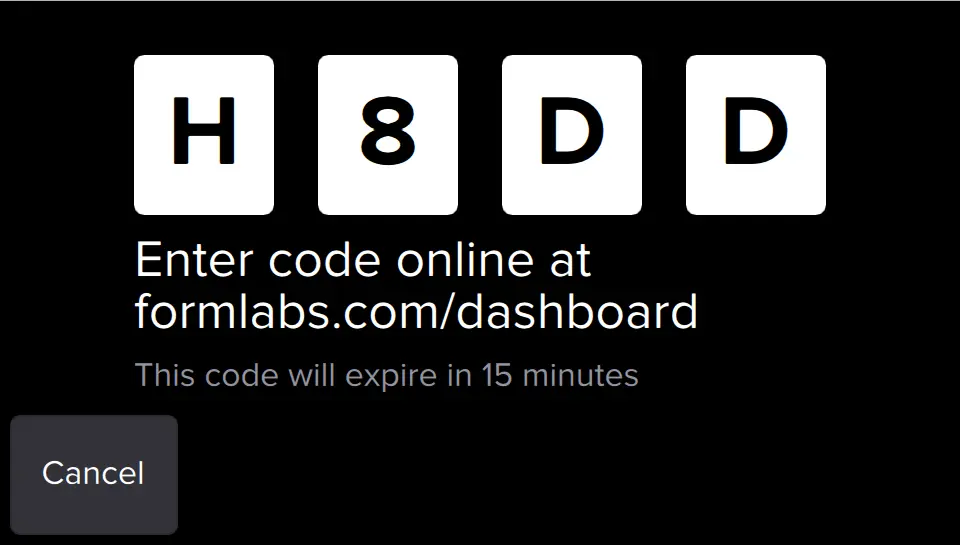
  1. Tap Register. A unique four-character code appears.
Form 2 touchscreen asking to register to dashboard
  1. The touchscreen displays a custom registration code: a sequence of four alphanumeric characters, 0–9 and A–Z.
Form 2 touchscreen showing dashboard registration code
  1. Open Dashboard online at formlabs.com/dashboard and log in.
  2. Click Printers. A list of your printers and printer groups appears. If this is your first time registering a printer, the page is blank.
Within Dashboard, the 'Printers' menu item is highlighted on the menu running along the left side of the screen.
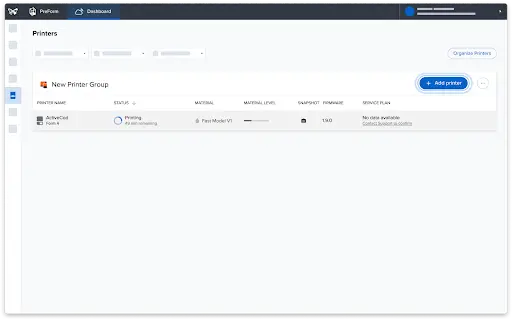
  1. Click + Add Printer. The Add New Printer window appears.
Add New Printer window November 2024
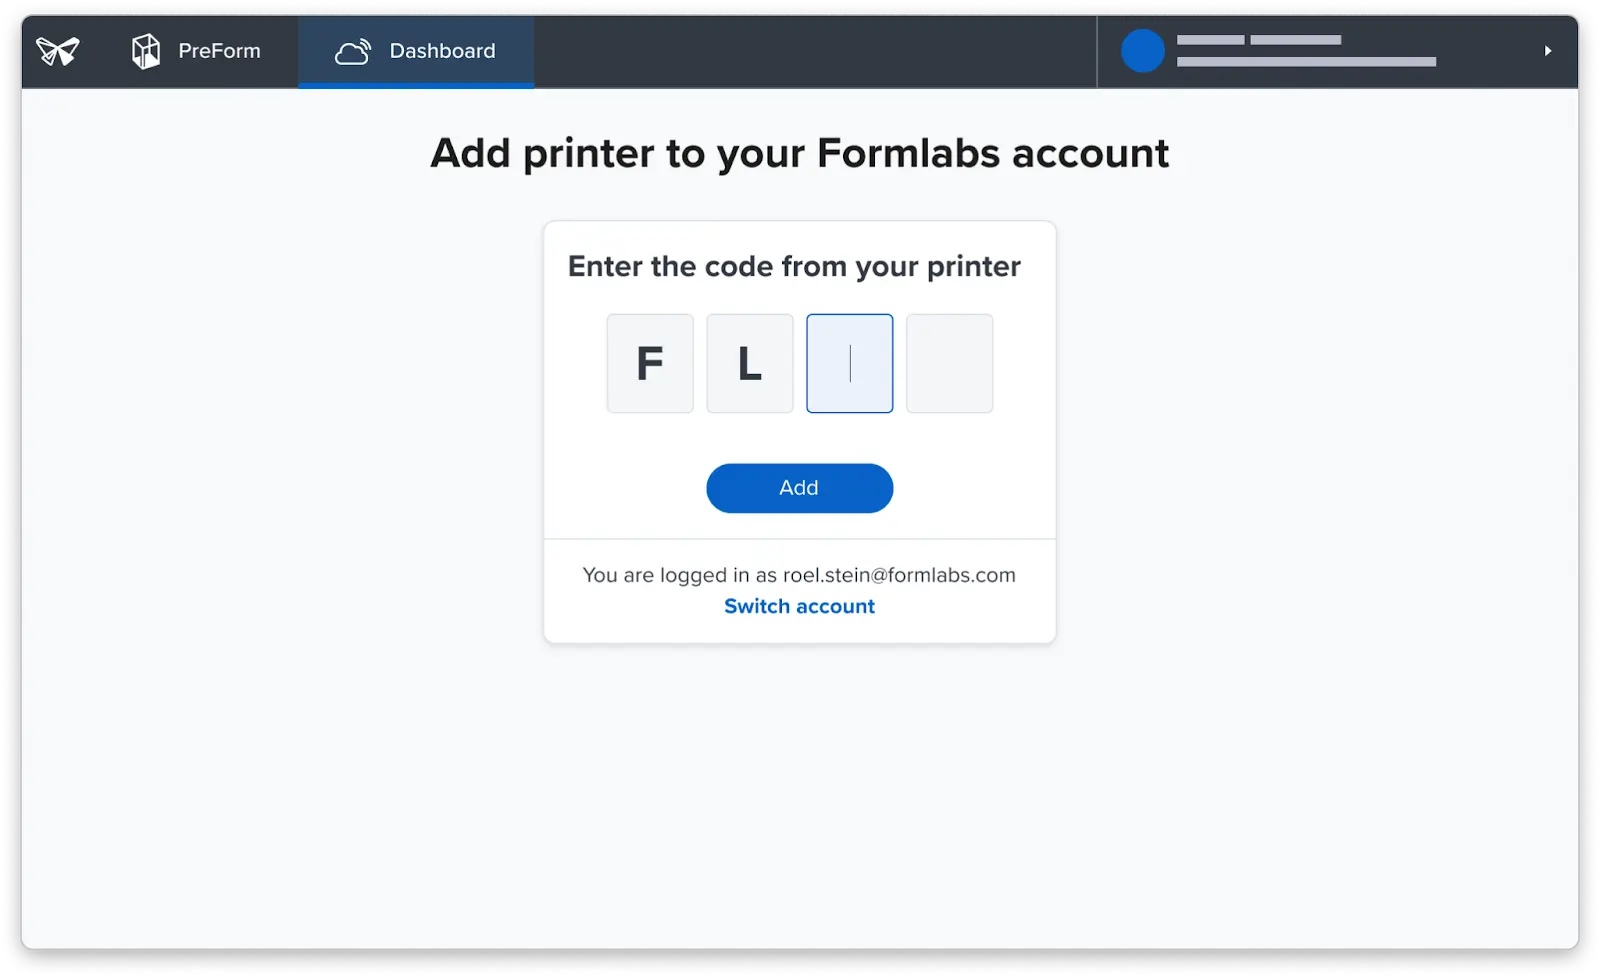
  1. Enter the registration code into Dashboard.
Enter registration code.
  1. Click Add. Your printer is added to your Dashboard or to the selected group.

Note:

If the printer is already registered to Dashboard, this process adds to the existing Printer Group.
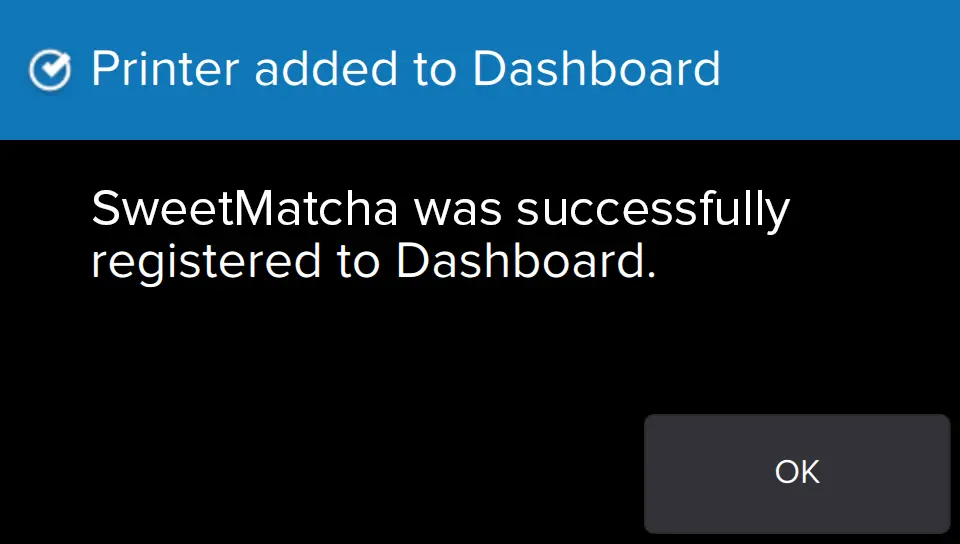
  1. Confirm the printer's registration with Dashboard and the printer's touchscreen.
A printers touchscreen displays a success message.

Tip:

Your Dashboard account uses the same log-in credentials to access orders and saved addresses for the store, as well as your newsletter and mailing preferences.

Removing a printer from a Printer Group

If you are an admin of a Printer Group, you can remove a printer from that group.
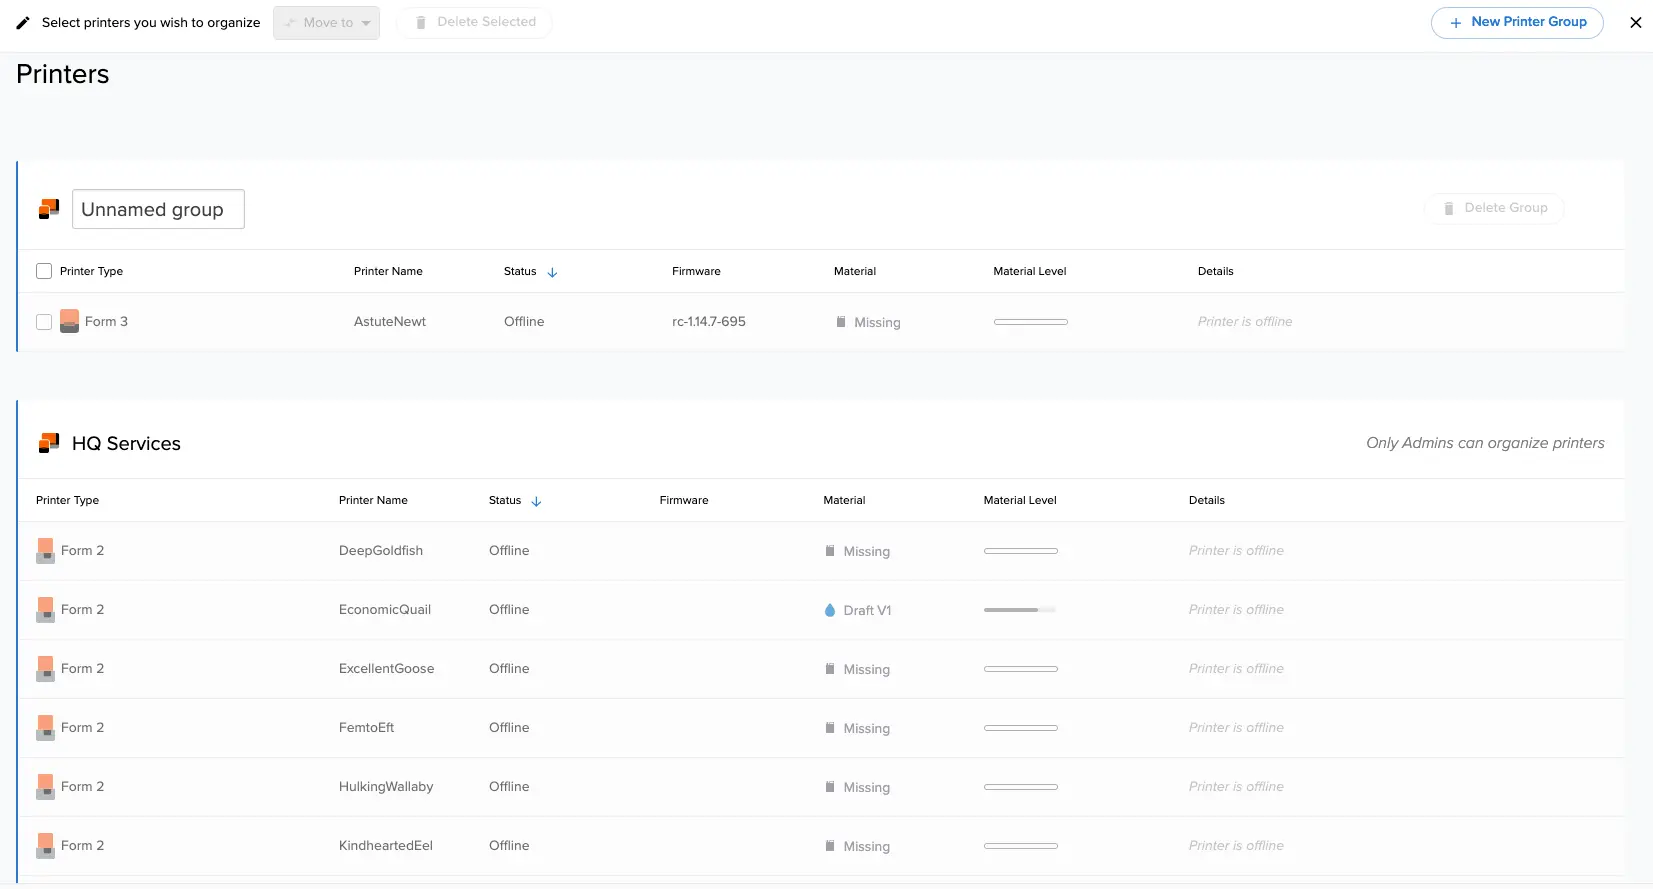
  1. Click Printers. A list of your printers and Printer Groups appears.
  2. Click Organize Printers. The Edit Printers page appears.
  3. Select the checkbox next to each printer you want to remove from a group. If you are not an admin of a group, the checkbox is not available.
Editing Printer Groups
  1. Click Delete Selected at the top of the screen to deregister the selected printers from Dashboard and remove them from their respective groups.
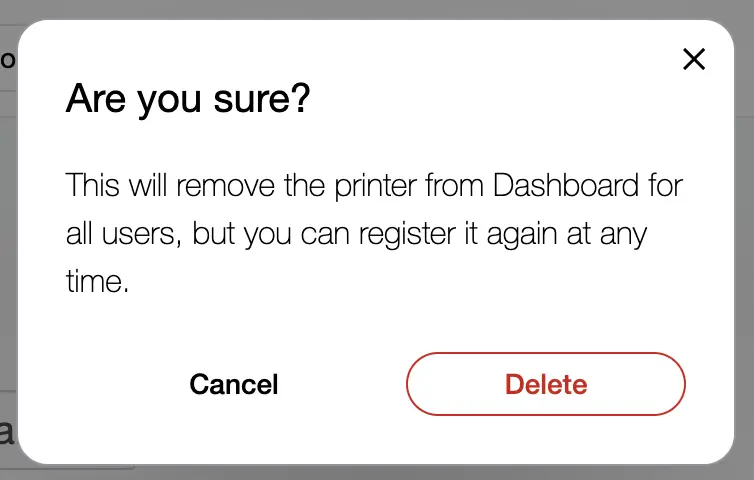
  2. Click Delete to confirm. The printer is deleted from Dashboard.
A confirmation screen appears when you delete a printer from a Printer Group

Deleting a Printer Group

Admins can delete any empty Printer Group they administer. Deleting a group also deletes all queued prints and the group’s print history. Prints currently in progress are not affected.

Note:

A Printer Group can only be deleted if it is empty. You must deregister or move all printers in a group before you can delete the group.

  1. Click Printers. A list of your printers and Printer Groups appears.
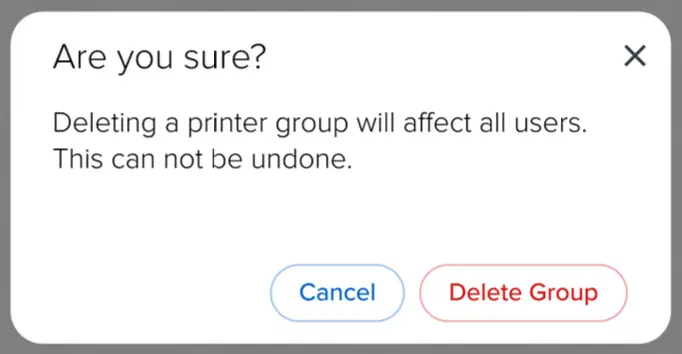
  2. Click the Delete Group button to the right of the name of the group you want to delete. A confirmation window appears. The button is only active if the group is empty and you are an administrator of the group.
The 'Delete Group' button on a Printer Group
  1. Click Delete Group to confirm. The group is deleted.
A confirmation screen appears when you delete a printer from a Printer Group

Sharing a Printer Group

Admins can invite others to become members or admins of an existing Printer Group.
  1. Click Printers. A list of your printers and Printer Groups appears.
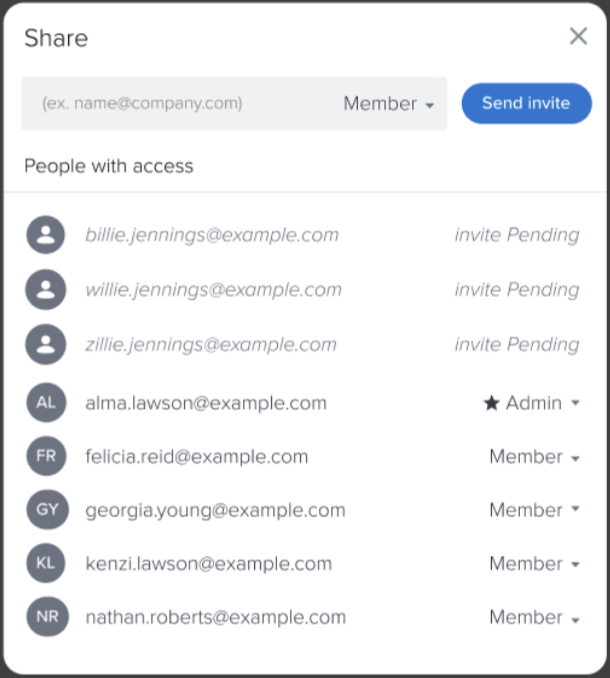
  2. Click the Share button to the right of the name of the group you administer and want to modify. The Share window appears.
  3. Enter an email address at the top of the window.
  4. Select an permission level for the new member (Member or Admin).
  5. Click Send invite. An invite is sent to the email address.
Sharing a Printer Group

Note:

The recipient must confirm the invite to become a member. Until then, the invite is pending and can be revoked.

Leaving a Printer Group

Group members can leave a group if they no longer wish to view the group in Dashboard.
  1. Click Printers. A list of your printers and Printer Groups appears.
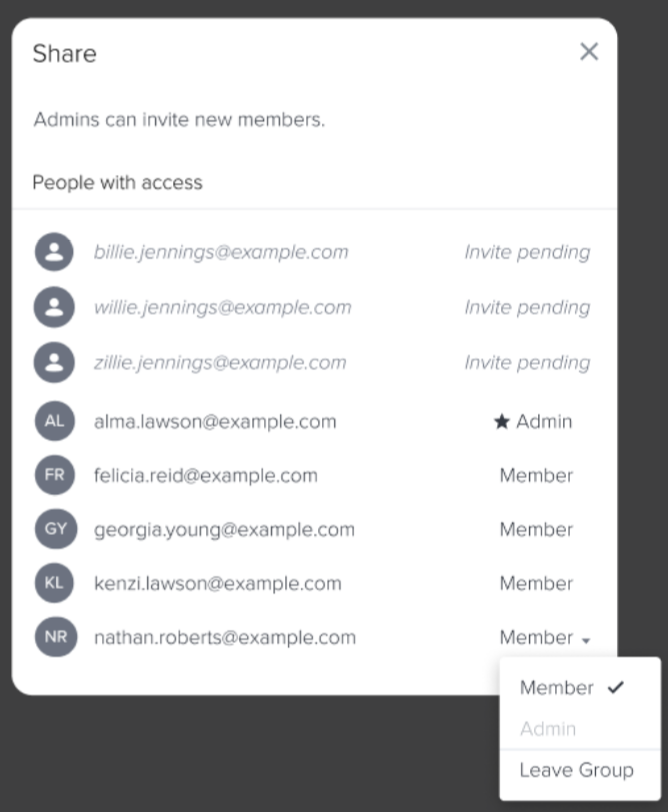
  2. Click the Share button to the right of the name of the group you want to leave. The Share window appears.
  3. Scroll through the list of members in the group to find your own email address.
  4. Click the down arrow next to your member type. The access control dropdown menu appears.
  5. Click Leave Group.
Leaving a Printer Group

Note:

Under the following circumstances, you are unable to leave a group:

  • You are the only admin in the printer group. If there are other group members, assign at least one to the admin role.
  • You are the Fleet Control admin and Fleet Control is turned on for the printer group. To leave the group, either turn off Fleet Control (not recommended) or contact Formlabs Support to assign the Fleet Control admin role to another user account.
  • You are the only member of the printer group. To leave the group, delete it.

Making a Member an Admin

Admins of a Printer Group have the permission to add new members, to remove existing members, and to delete the Printer Group.

  1. Click Printers. A list of your printers and Printer Groups appears.
  2. Click the Share button to the right of the name of the group you want to modify. The Share window appears.
  3. Scroll through the list of members in the group to find the email address of the member you want to make an admin.
  4. Click the down arrow next to their member type. The access control dropdown menu appears.
  5. Click Make Admin. The selected member becomes an admin.

Note:

An individual must already be added as a member to become an admin.

Removing a Member from a Printer Group

Admins can remove an existing member from a Printer Group.

  1. Click Printers. A list of your printers and Printer Groups appears.
  2. Click the Share button to the right of the name of the group you want to modify. The Share window appears.
  3. Scroll through the list of members in the group to find the email address of the member you wish to remove.
  4. Click the down arrow next to their member type. The access control dropdown menu appears.
  5. Click Remove Access. The selected member is removed from the group.

FAQs

Can I still register printers to just myself after I invited others to collaborate?

Yes. If you’ve already invited others to collaborate in a group, you can create a new printer group and move printers to it.

Can I leave a printer group?

Yes. If you are the only admin in the printer group and there are other users, you need to assign a new admin first. You cannot leave a printer group where you are the only user—you need to delete the printer group instead.

How can I remove a printer from a printer group?

You can delete a printer from your Dashboard. You can also move printers between printer groups, effectively adjusting access to them.

Can I share only a single printer in the printer group?

No. In order to do that, you need to move the printer to another printer group and set the sharing settings of that printer group accordingly.

What if I delete a printer group?

You can only delete a printer group if it is empty. Only admins can delete printer groups. Prints in progress won’t be aborted. Prints in the queue and print history will be deleted.

Am I a different kind of admin in the printer groups I created?

No. If you make others admin, they have the same access rights and privileges as you. Note that this means that they can even revoke your admin rights.