WHITE PAPER
Formlabs Logo

Replacing the Form Wash L impeller coupler motor assembly

Replacing the Form Wash L impeller coupler motor assembly

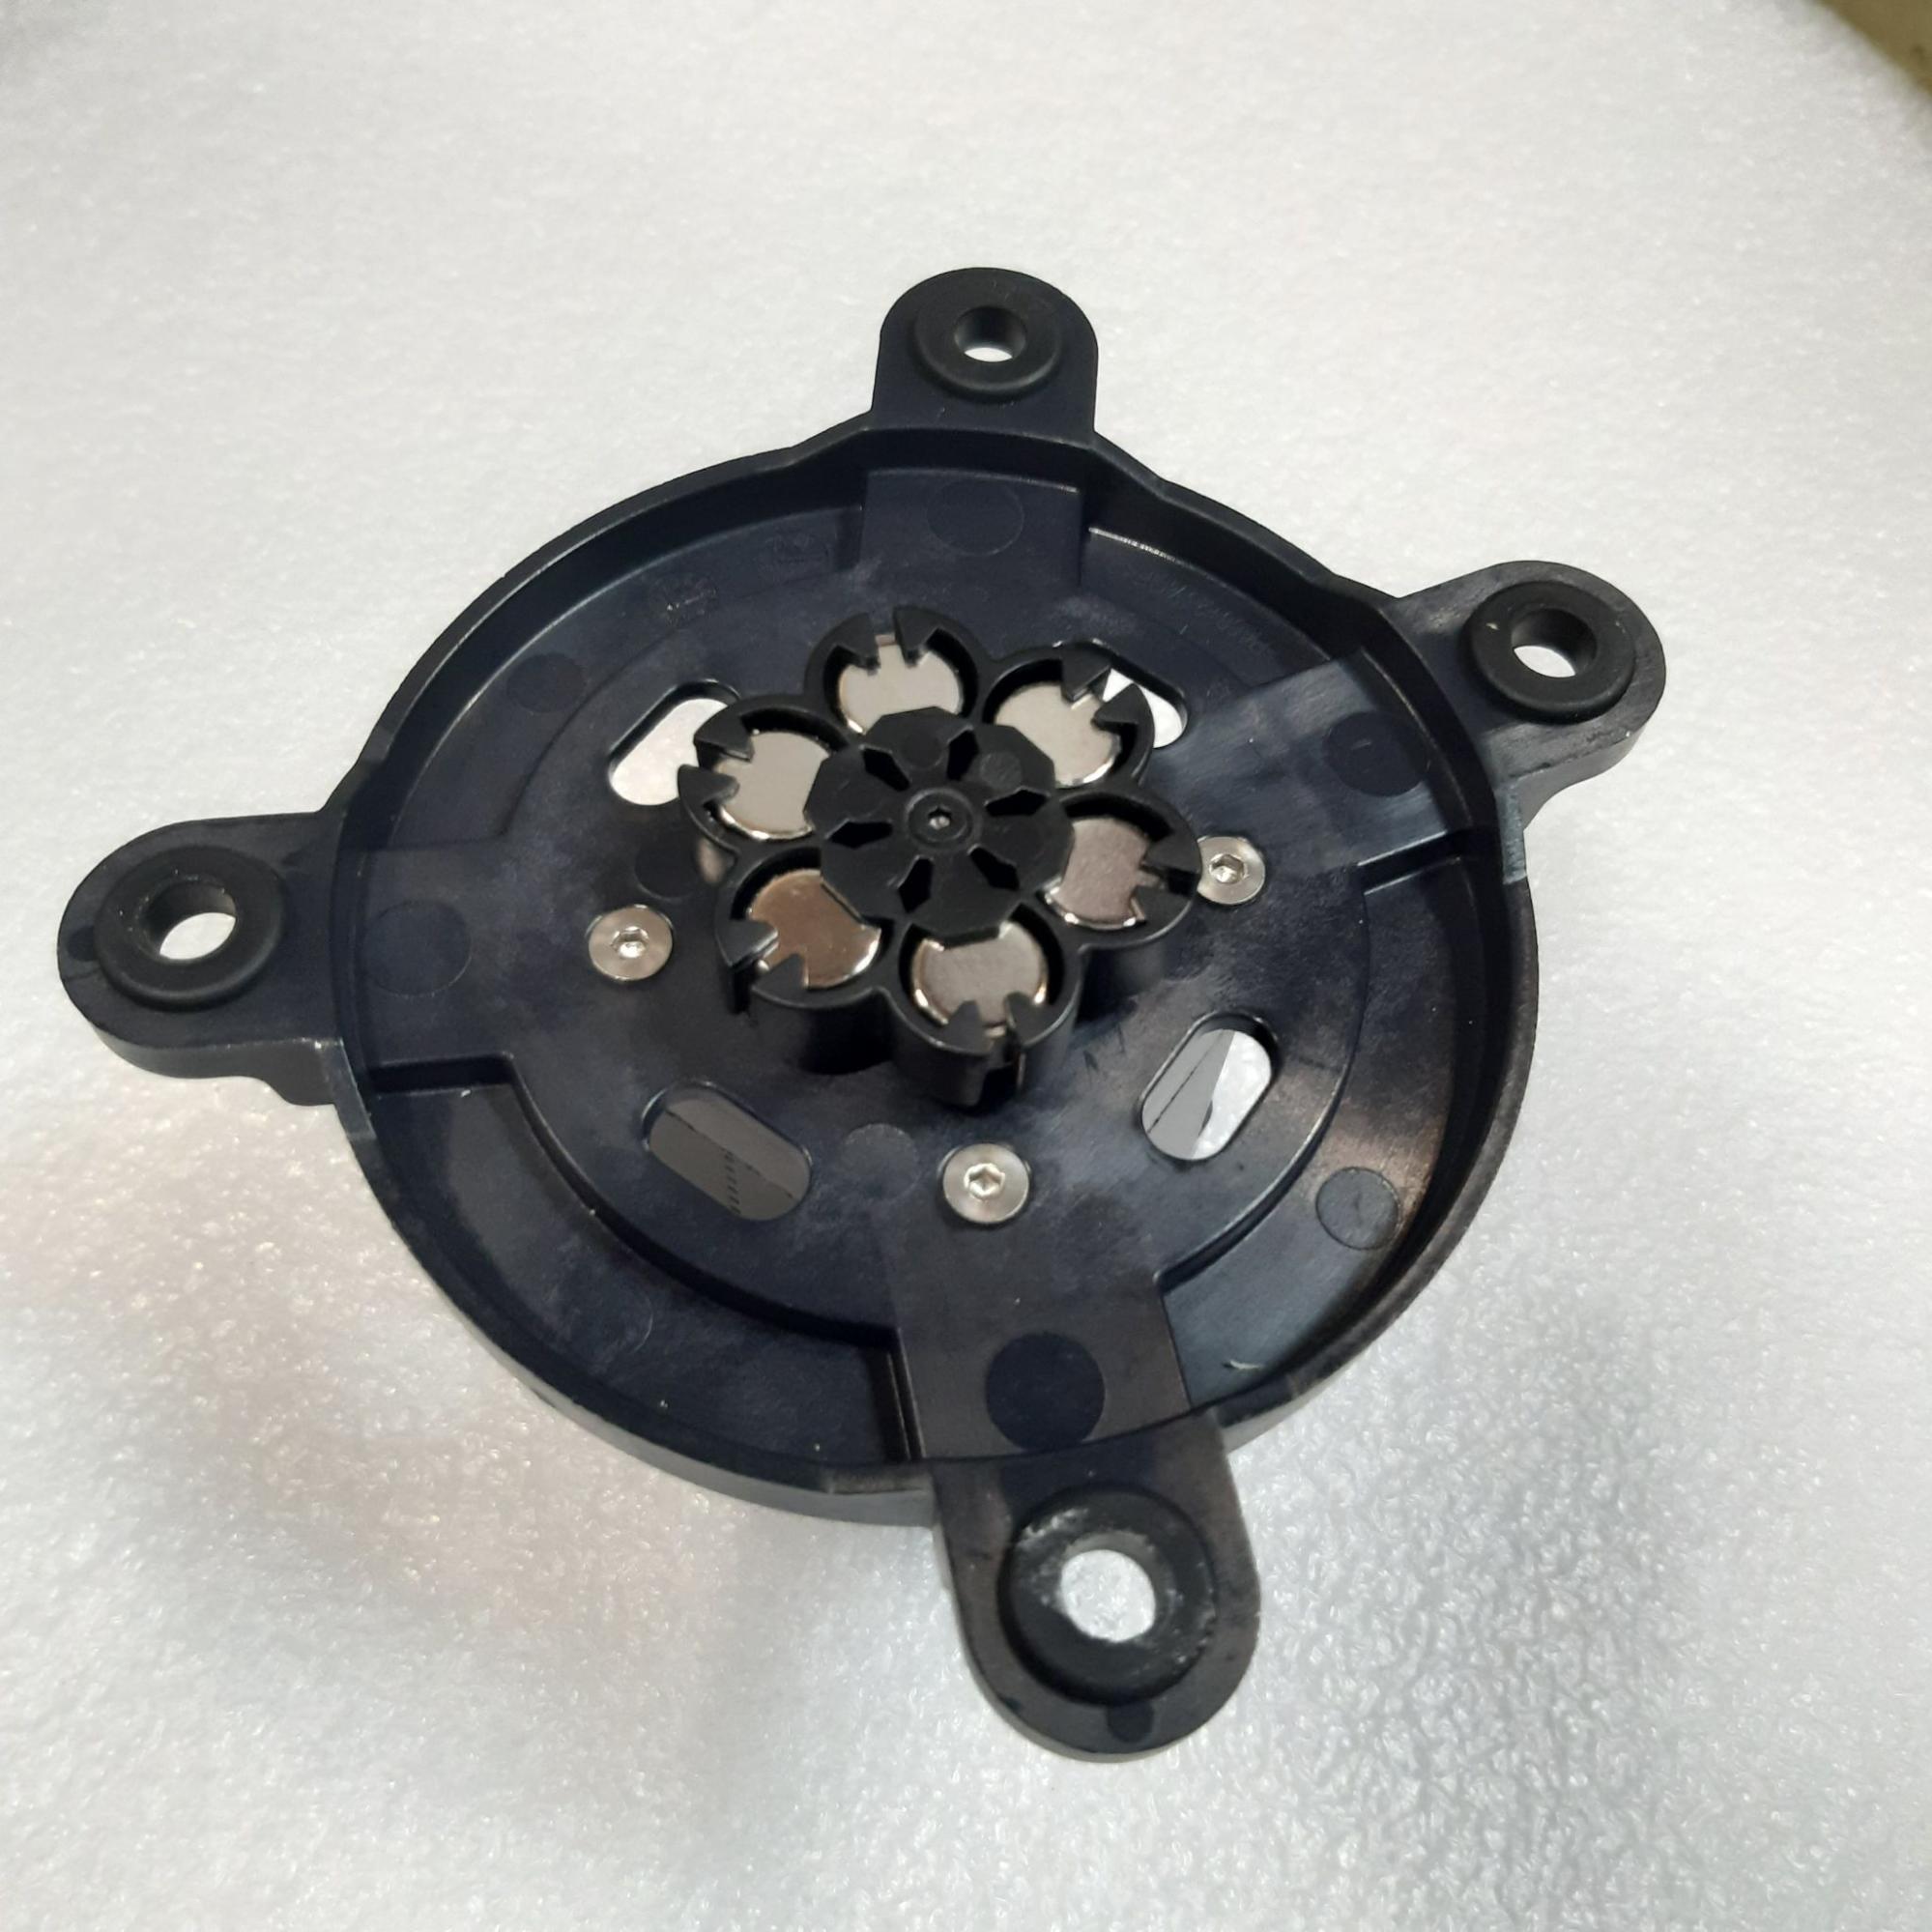
The Form Wash L contains magnetic impellers to agitate the solvent in the wash bucket to help clean printed parts. If the impeller is not turning properly, the magnets in the impeller coupler may need replacing or reversing.

Use this guide to replace the impeller coupler motor assembly and impeller coupler magnets in the Form Wash L.

Required supplies:

Required supplies:

Formlabs:

  • Replacement impeller coupler motor assembly
  • Electric siphon pump, included with the Form Wash L

Third-party:

  • 2.5 mm hex driver
  • 1.5 mm hex driver
  • Flathead screwdriver, any size
  • Magnet
  • 43 L (11.4 US gal) of fresh solvent (IPA, TPM, or water)
  • Empty container, suitable for storing up to 43 L (11.4 US gal) of solvent
  • Non-reactive nitrile gloves
  • Safety glasses
  • Flashlight

Estimated time: 3 hours

Preparing the workspace

Overview: Prepare the Form Wash L and a dust-free workspace for replacing the impeller magnets.

Caution:

Wear gloves when handling parts and surfaces that come into contact with solvents or liquid resin.

Step 1: Remove the solvent

On the touchscreen, tap Solvent. The Solvent screen appears. Tap Replace Solvent. Follow the on-screen instructions to empty the wash bucket.

Step 2: Assemble the electric siphon pump

Install two D cell batteries in the pump. Attach the flexible pump hose to the port on the side of the pump.

Step 3: Empty the Form Wash L

Danger:

Always consult the safety data sheet (SDS) from the IPA supplier as the primary source of information. IPA is flammable and should be used and stored away from ignition sources. Store small quantities of IPA in appropriately labeled and sealed containers.

Place the intake end of the electric siphon pump into the wash bucket. Securely place the flexible pump hose into the empty solvent container. Turn on the pump switch to transfer solvent from the wash bucket to the solvent container. Set aside the solvent container and the electric siphon pump on a horizontal surface lined with paper towels or other absorbent materials.

Step 4: Raise the Z-stage.

Tap Raise on the touchscreen.

Step 5: Remove the wire basket

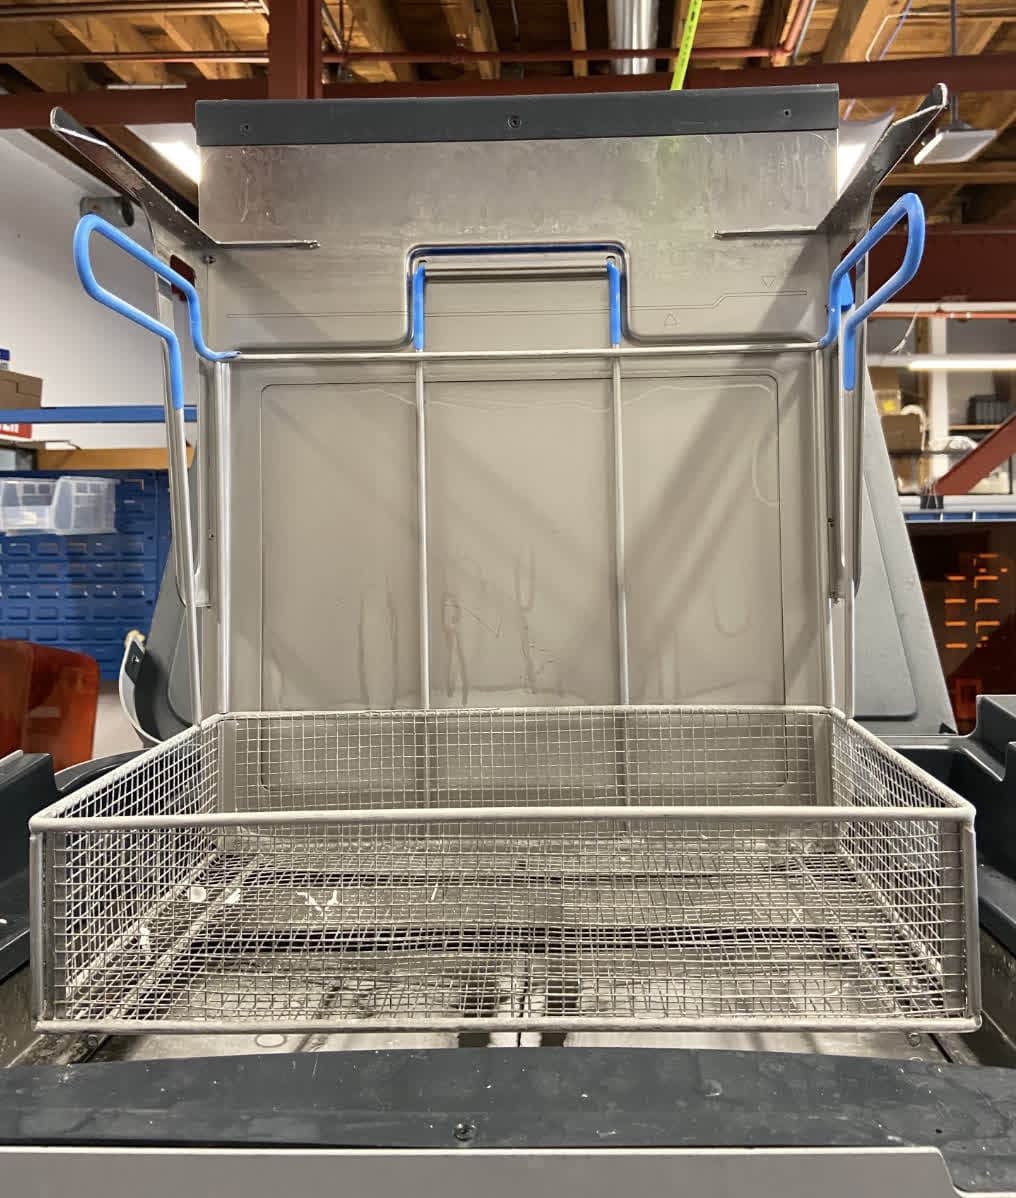
Remove the wire basket by lifting it upwards. Set aside on a paper towel or other absorbent surface.

Step 5: Remove the wire basket

Step 6: Remove the backplate

Removing the Form Wash L backplate

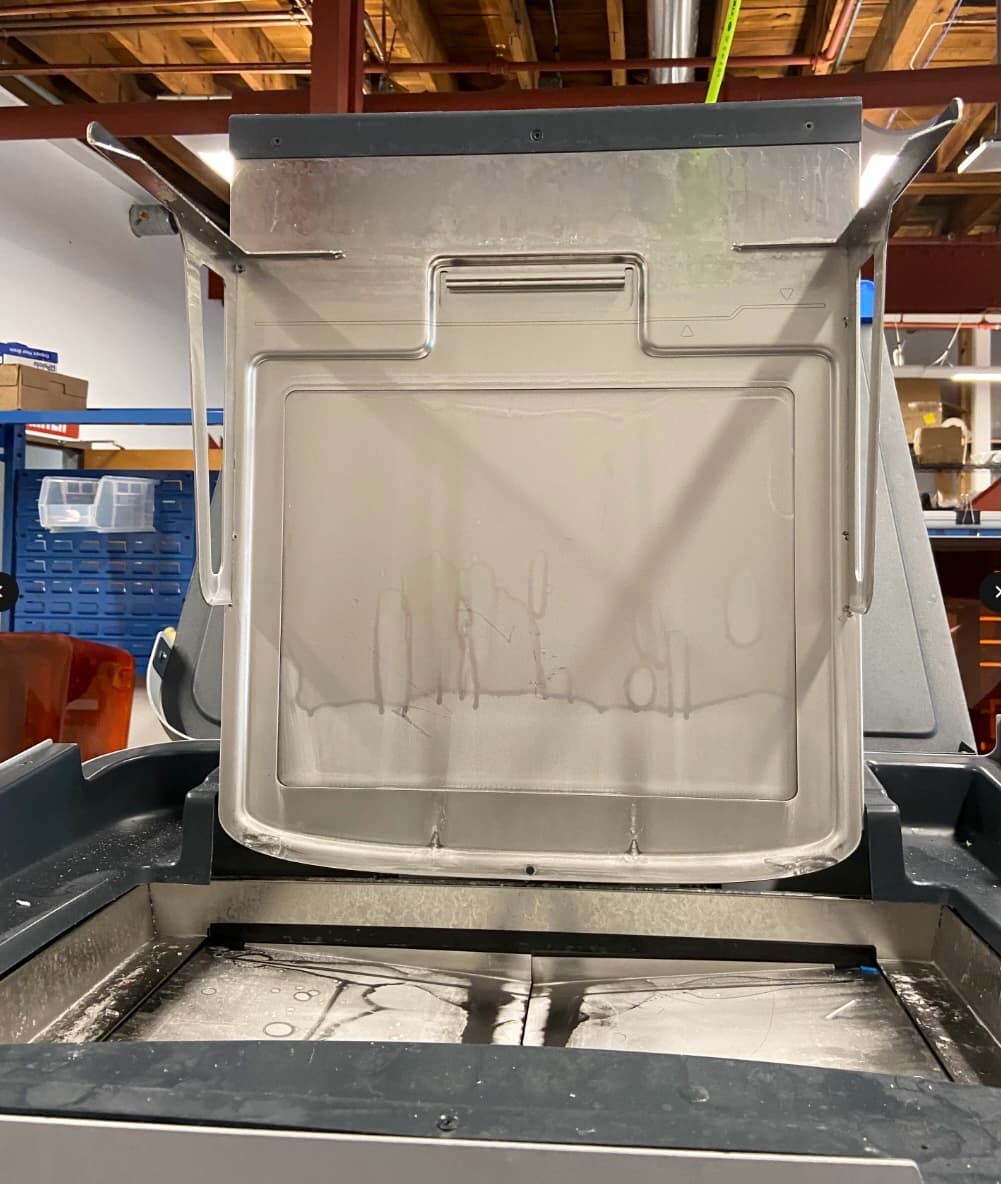
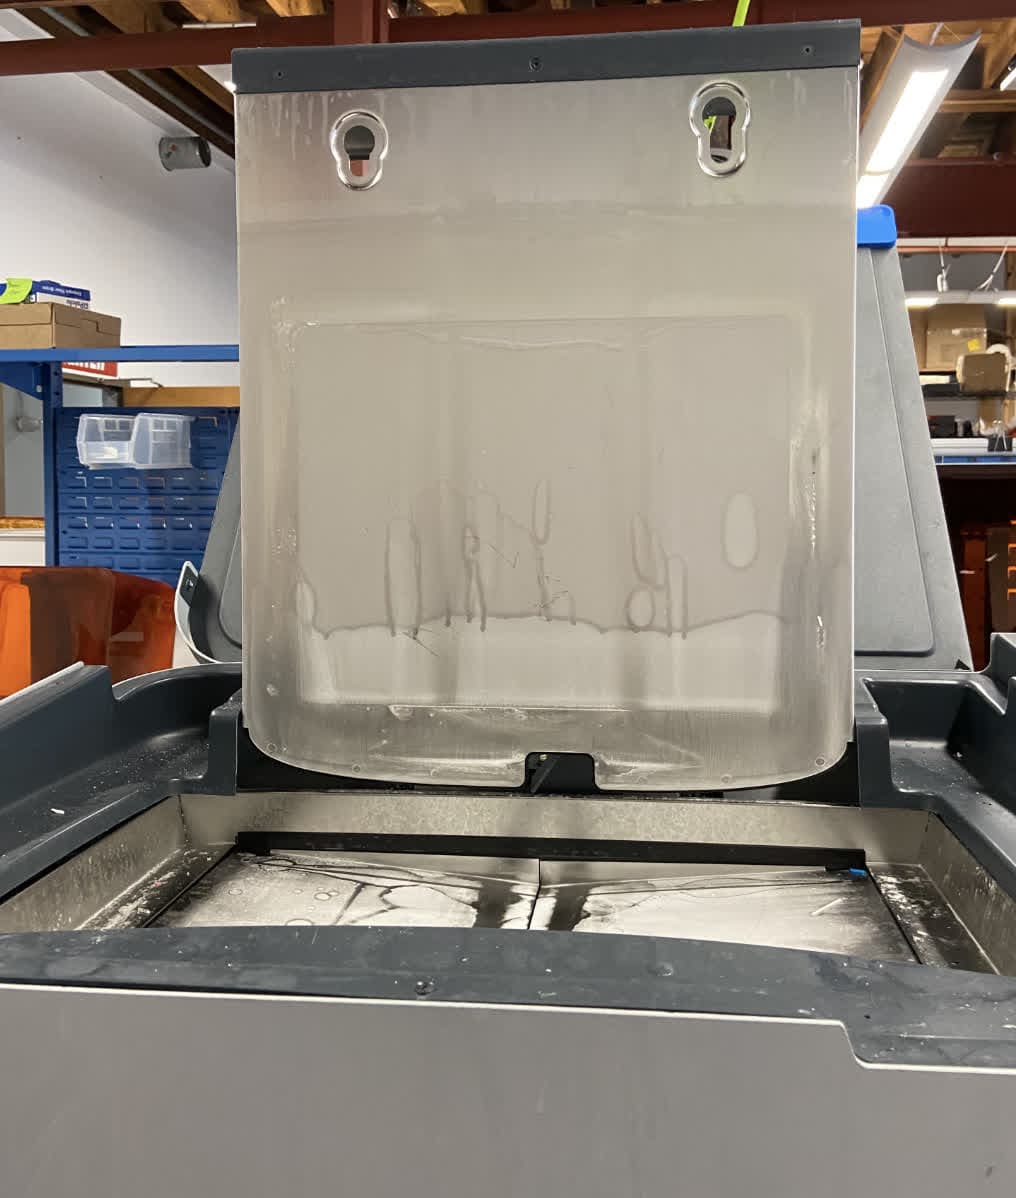
Remove the backplate by lifting it upwards to unlatch and then pulling it towards yourself. Set aside on a paper towel or other absorbent surface.

Step 7: Lower the Z-stage

Tap Lower on the touchscreen.

Step 8: Unplug the machine

Disconnect the power cable before continuing with maintenance. Do not perform maintenance on the machine while it is connected to power. Wait five minutes after disconnecting the machine from power before proceeding.

Danger:

Performing maintenance on the machine while it is plugged in increases the risk of electric shock. Never remove the panels of the machine while it is plugged in. Never reconnect the machine to power while the panels are uninstalled.

Step 9: Unplug the networking cables and Wi-Fi antenna

Disconnect the Ethernet and USB cables from the unit, if they are connected. Unscrew and remove the Wi-Fi antenna.

Disassembling the Form Wash L

Overview: Disassemble the Form Wash L to access the impeller coupler motor assembly and magnets.

Notice:

The Form Wash L contains sensitive electronic components. Ground yourself before touching any electronics in the machine by using a grounding strap or touching a grounded piece of metal.

Step 1: Open the front panel

Pull the front panel from the right side. Leave open to access the solvent monitor and bucket.

Step 2: Unplug the solvent monitor

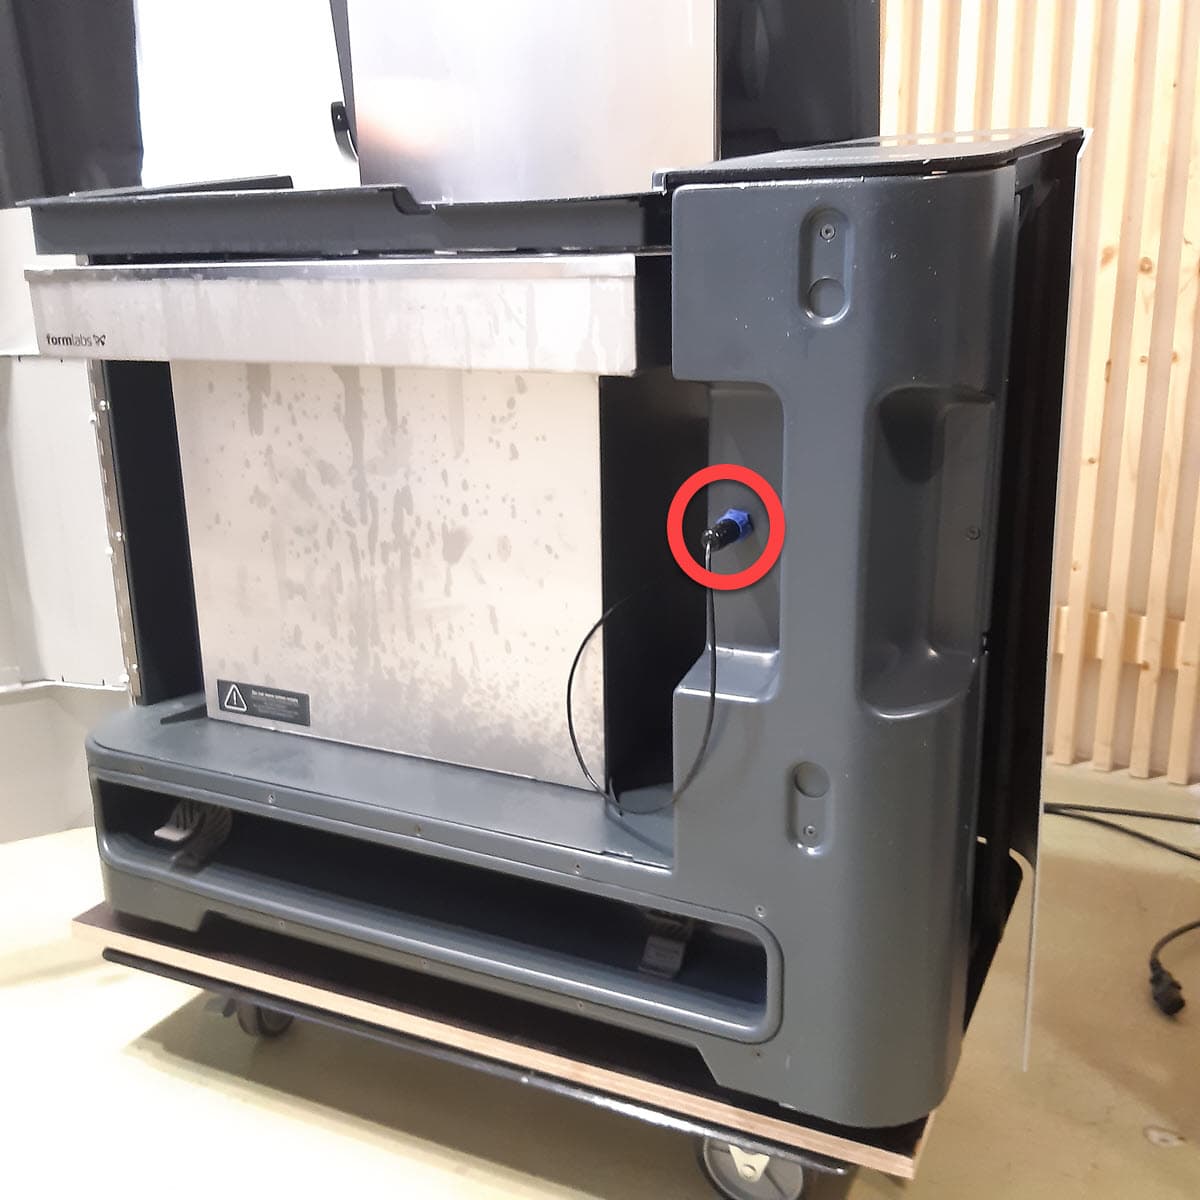
Unplug the solvent monitor plug from the front of the Form Wash L. Lift the solvent monitor bracket with the solvent monitor attached out of the wash bucket and set it aside on a paper towel or other absorbent surface.

Step 2: Unplug the solvent monitor

Step 3: Remove the bucket

Gently pull the wash bucket towards you to remove it from the Form Wash L. Set aside on a paper towel or other absorbent surface.

Tip:

Clean the wash bucket while it is empty and removed from the Form Wash L.

Step 4: Partially remove the right panel

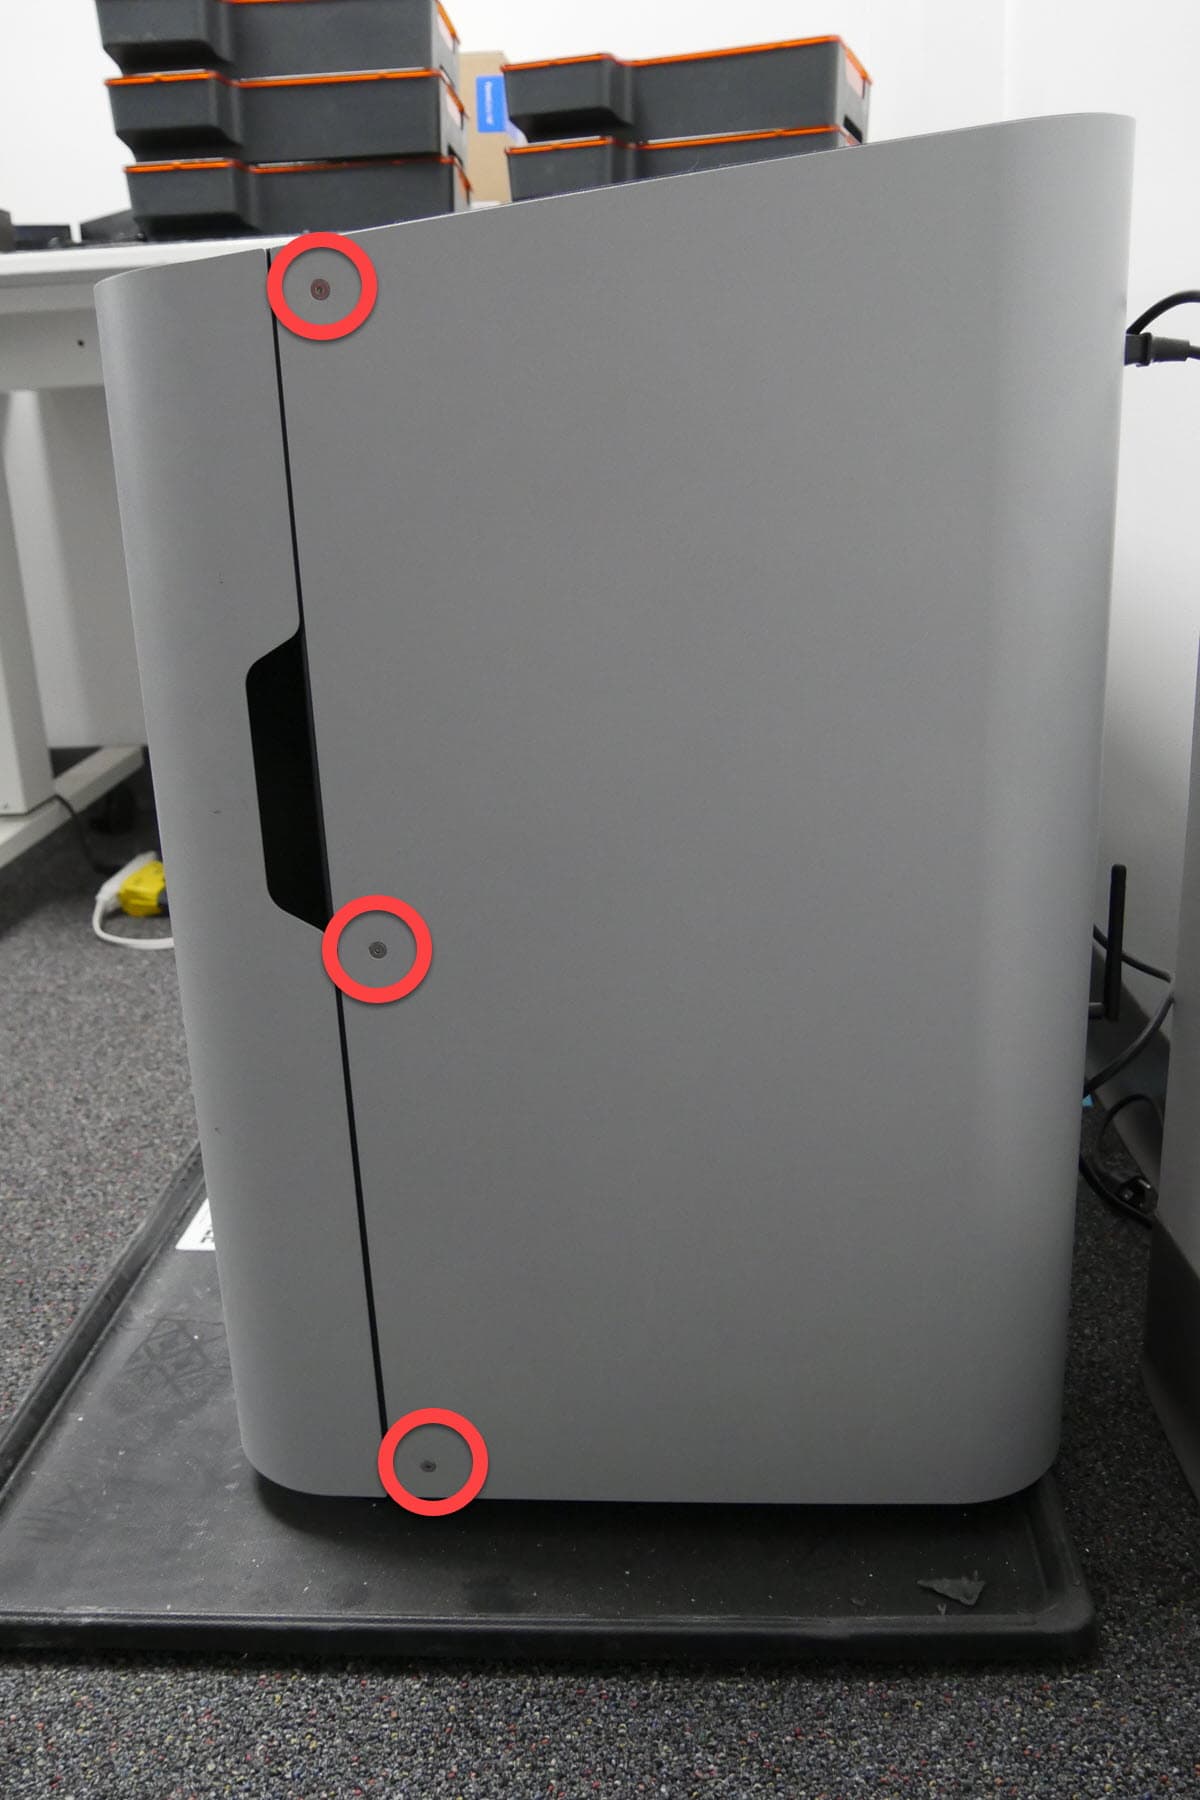
Using a 2.5 mm hex key, unscrew the three screws securing the right panel to the right side of the machine. Set the screws aside.

Step 4: Partially remove the right panel

Step 5: Unscrew the solvent monitor socket retention nut

Step 5: Unscrew the solvent monitor socket retention nut

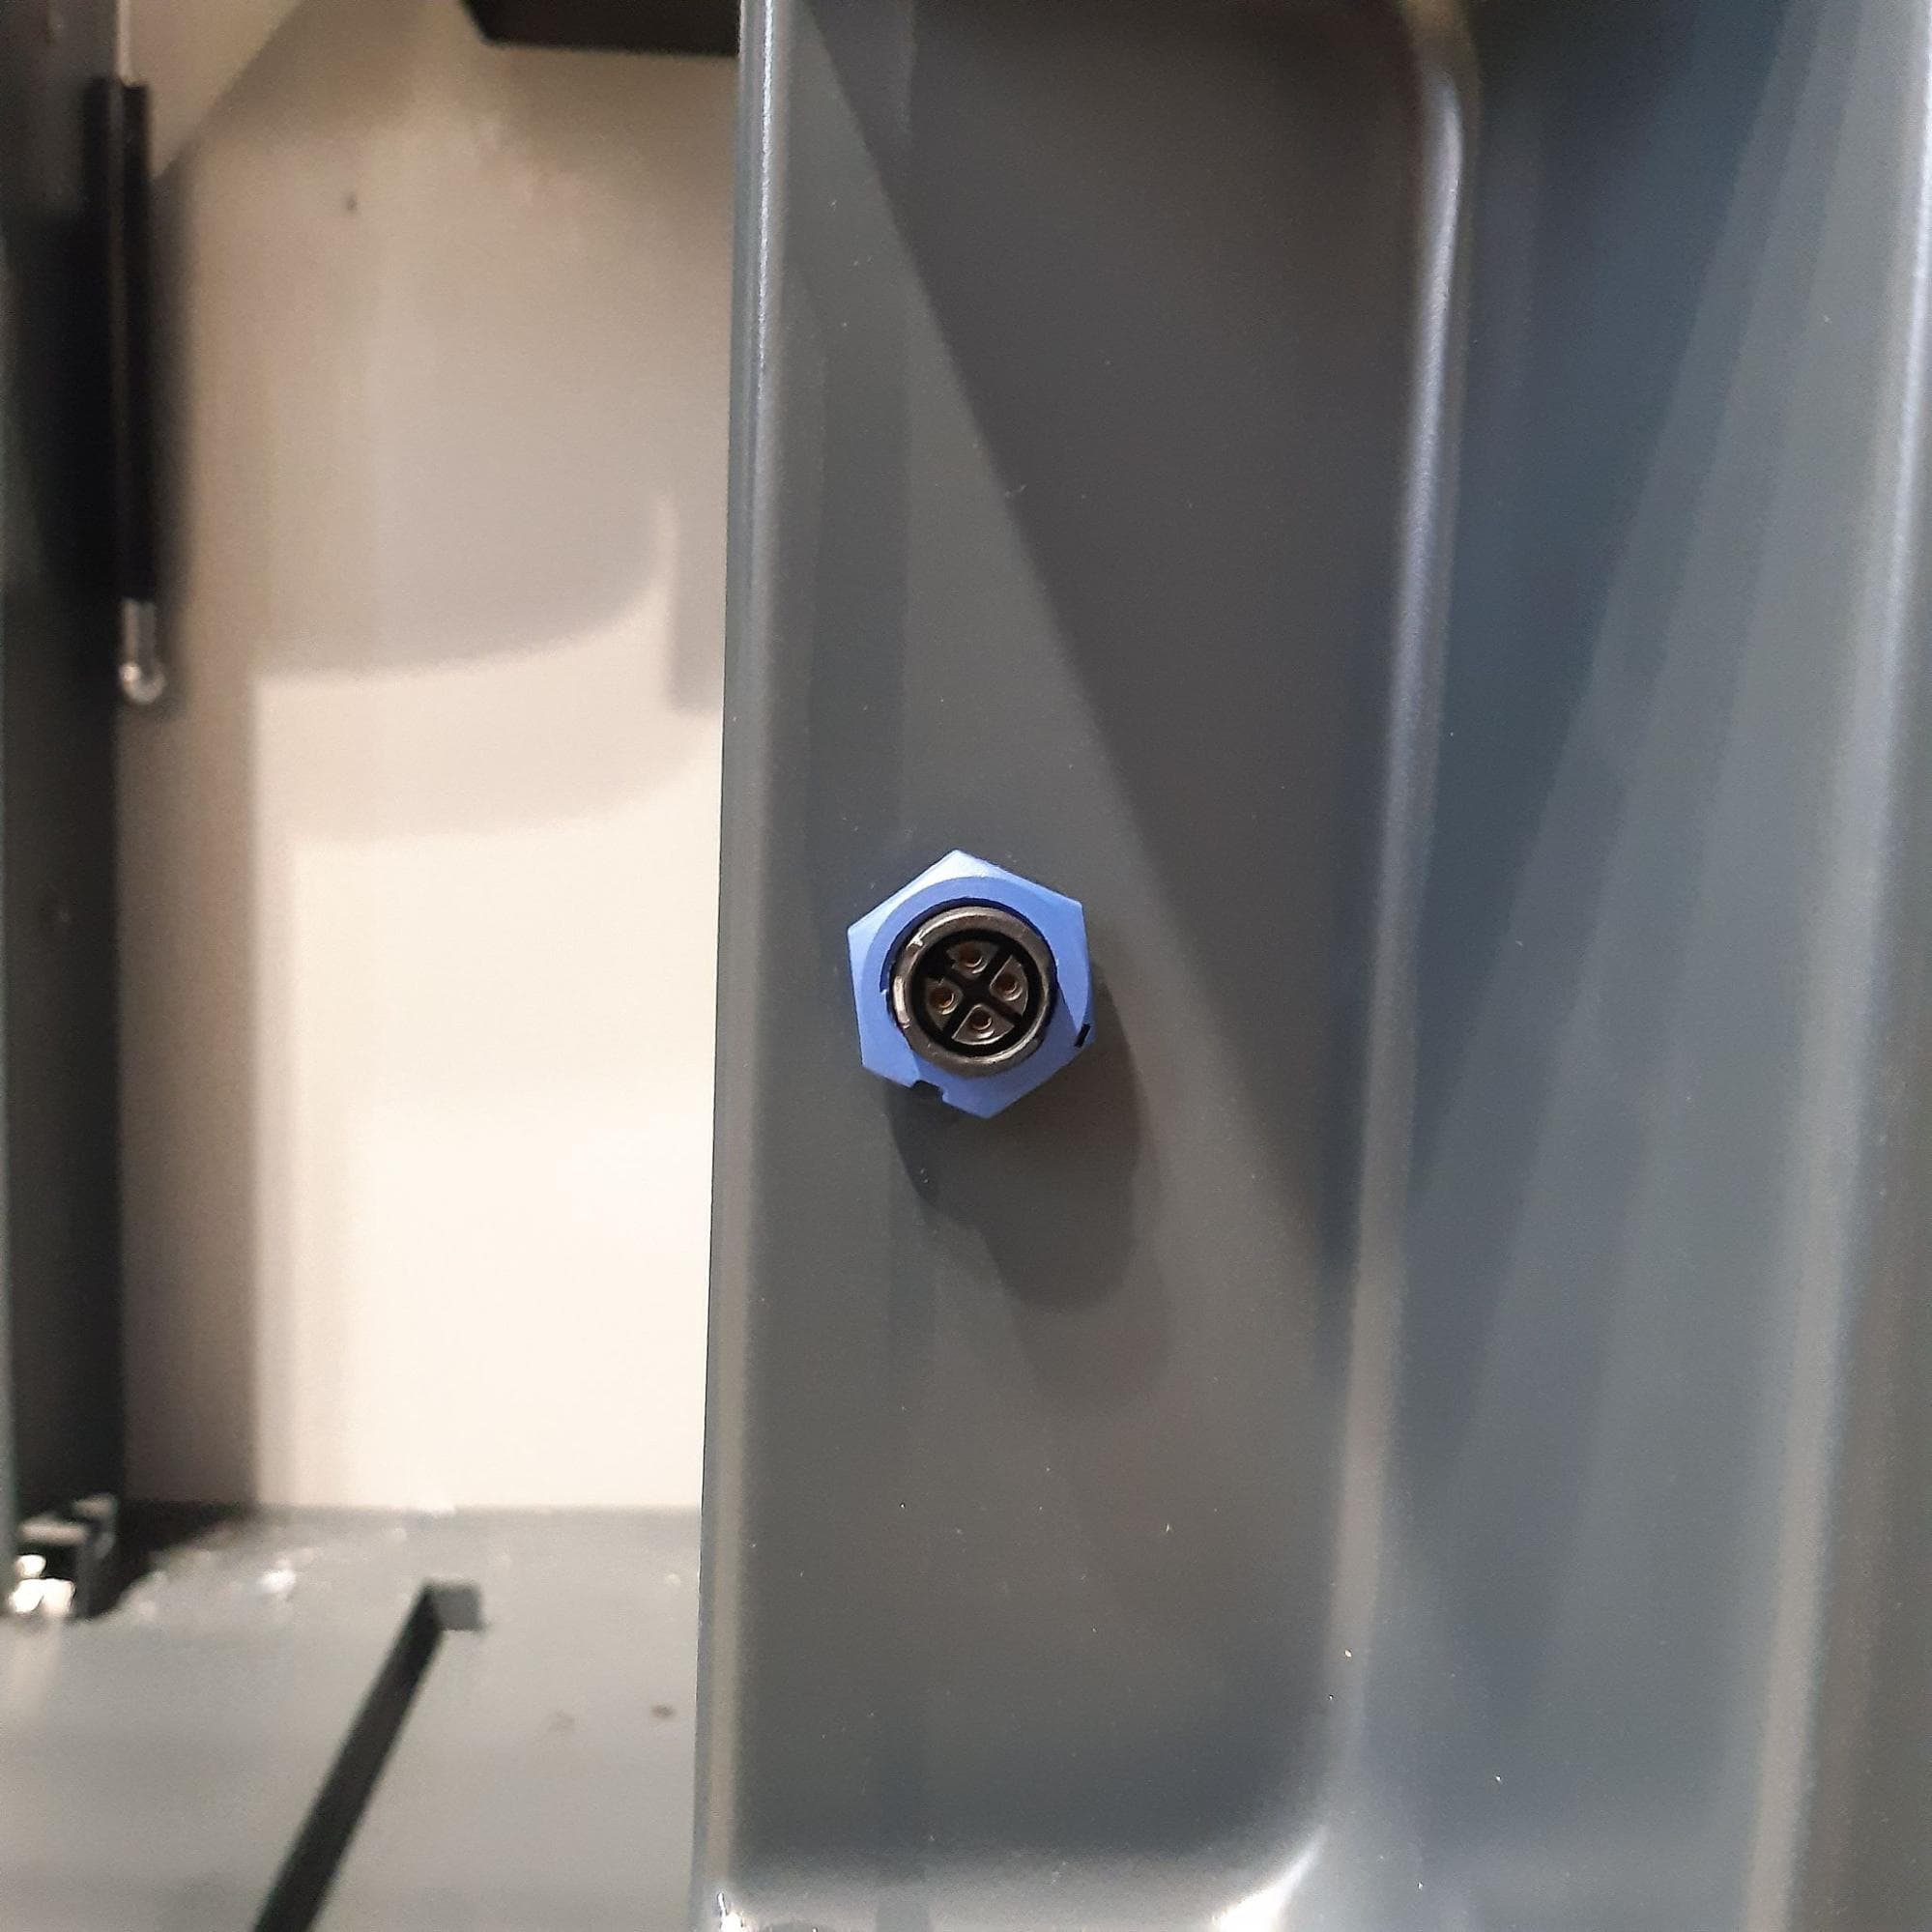
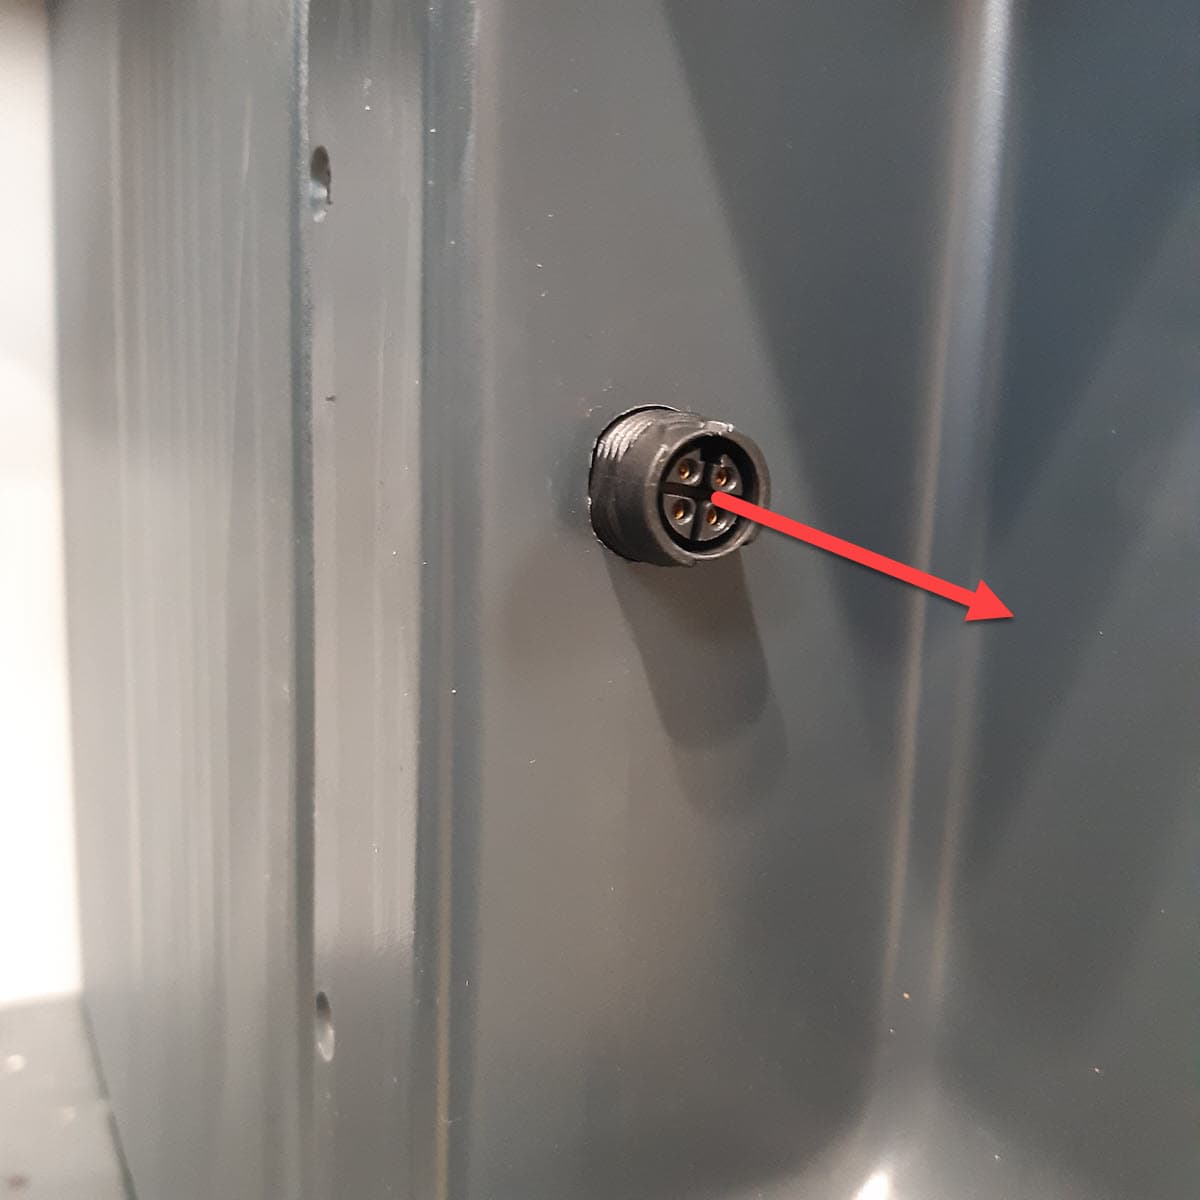
Unscrew the blue nut securing the solvent monitor socket to the front of the machine. Set the nut aside. Push the socket through the panel into the interior of the machine.

Step 6: Remove the lower front panel

Step 6: Remove the lower front panel

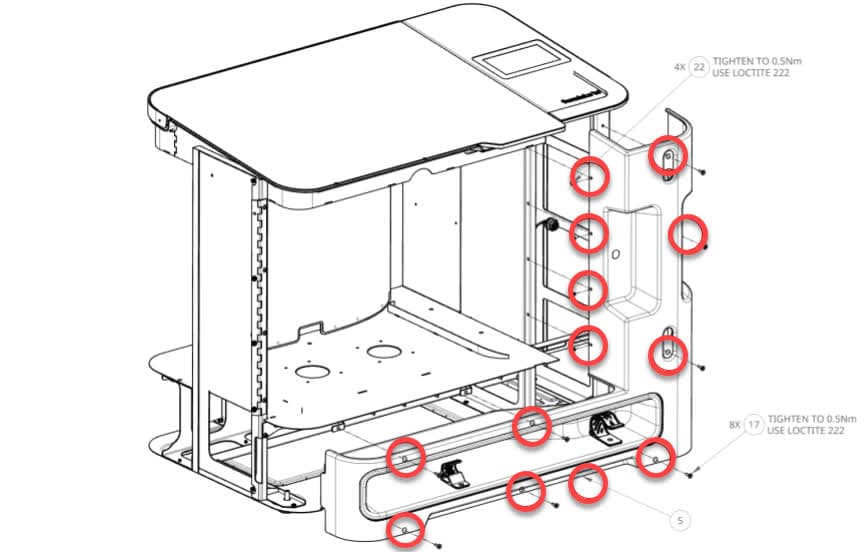
Use a 2.5 mm hex key to unscrew the 13 screws shown above that secure the lower front panel to the Form Wash L. Set the screws aside. Some screws may have a nut on the inside of the lower front panel. Set these aside as well.

Removing the Form Wash L impeller coupler assembly

Overview: Remove the motor assembly to replace the Form Wash L impeller coupler magnets.

Step 1: Locate the motor assembly

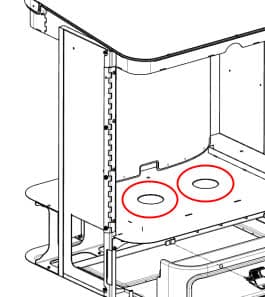
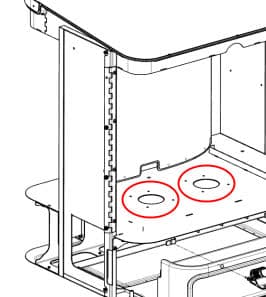
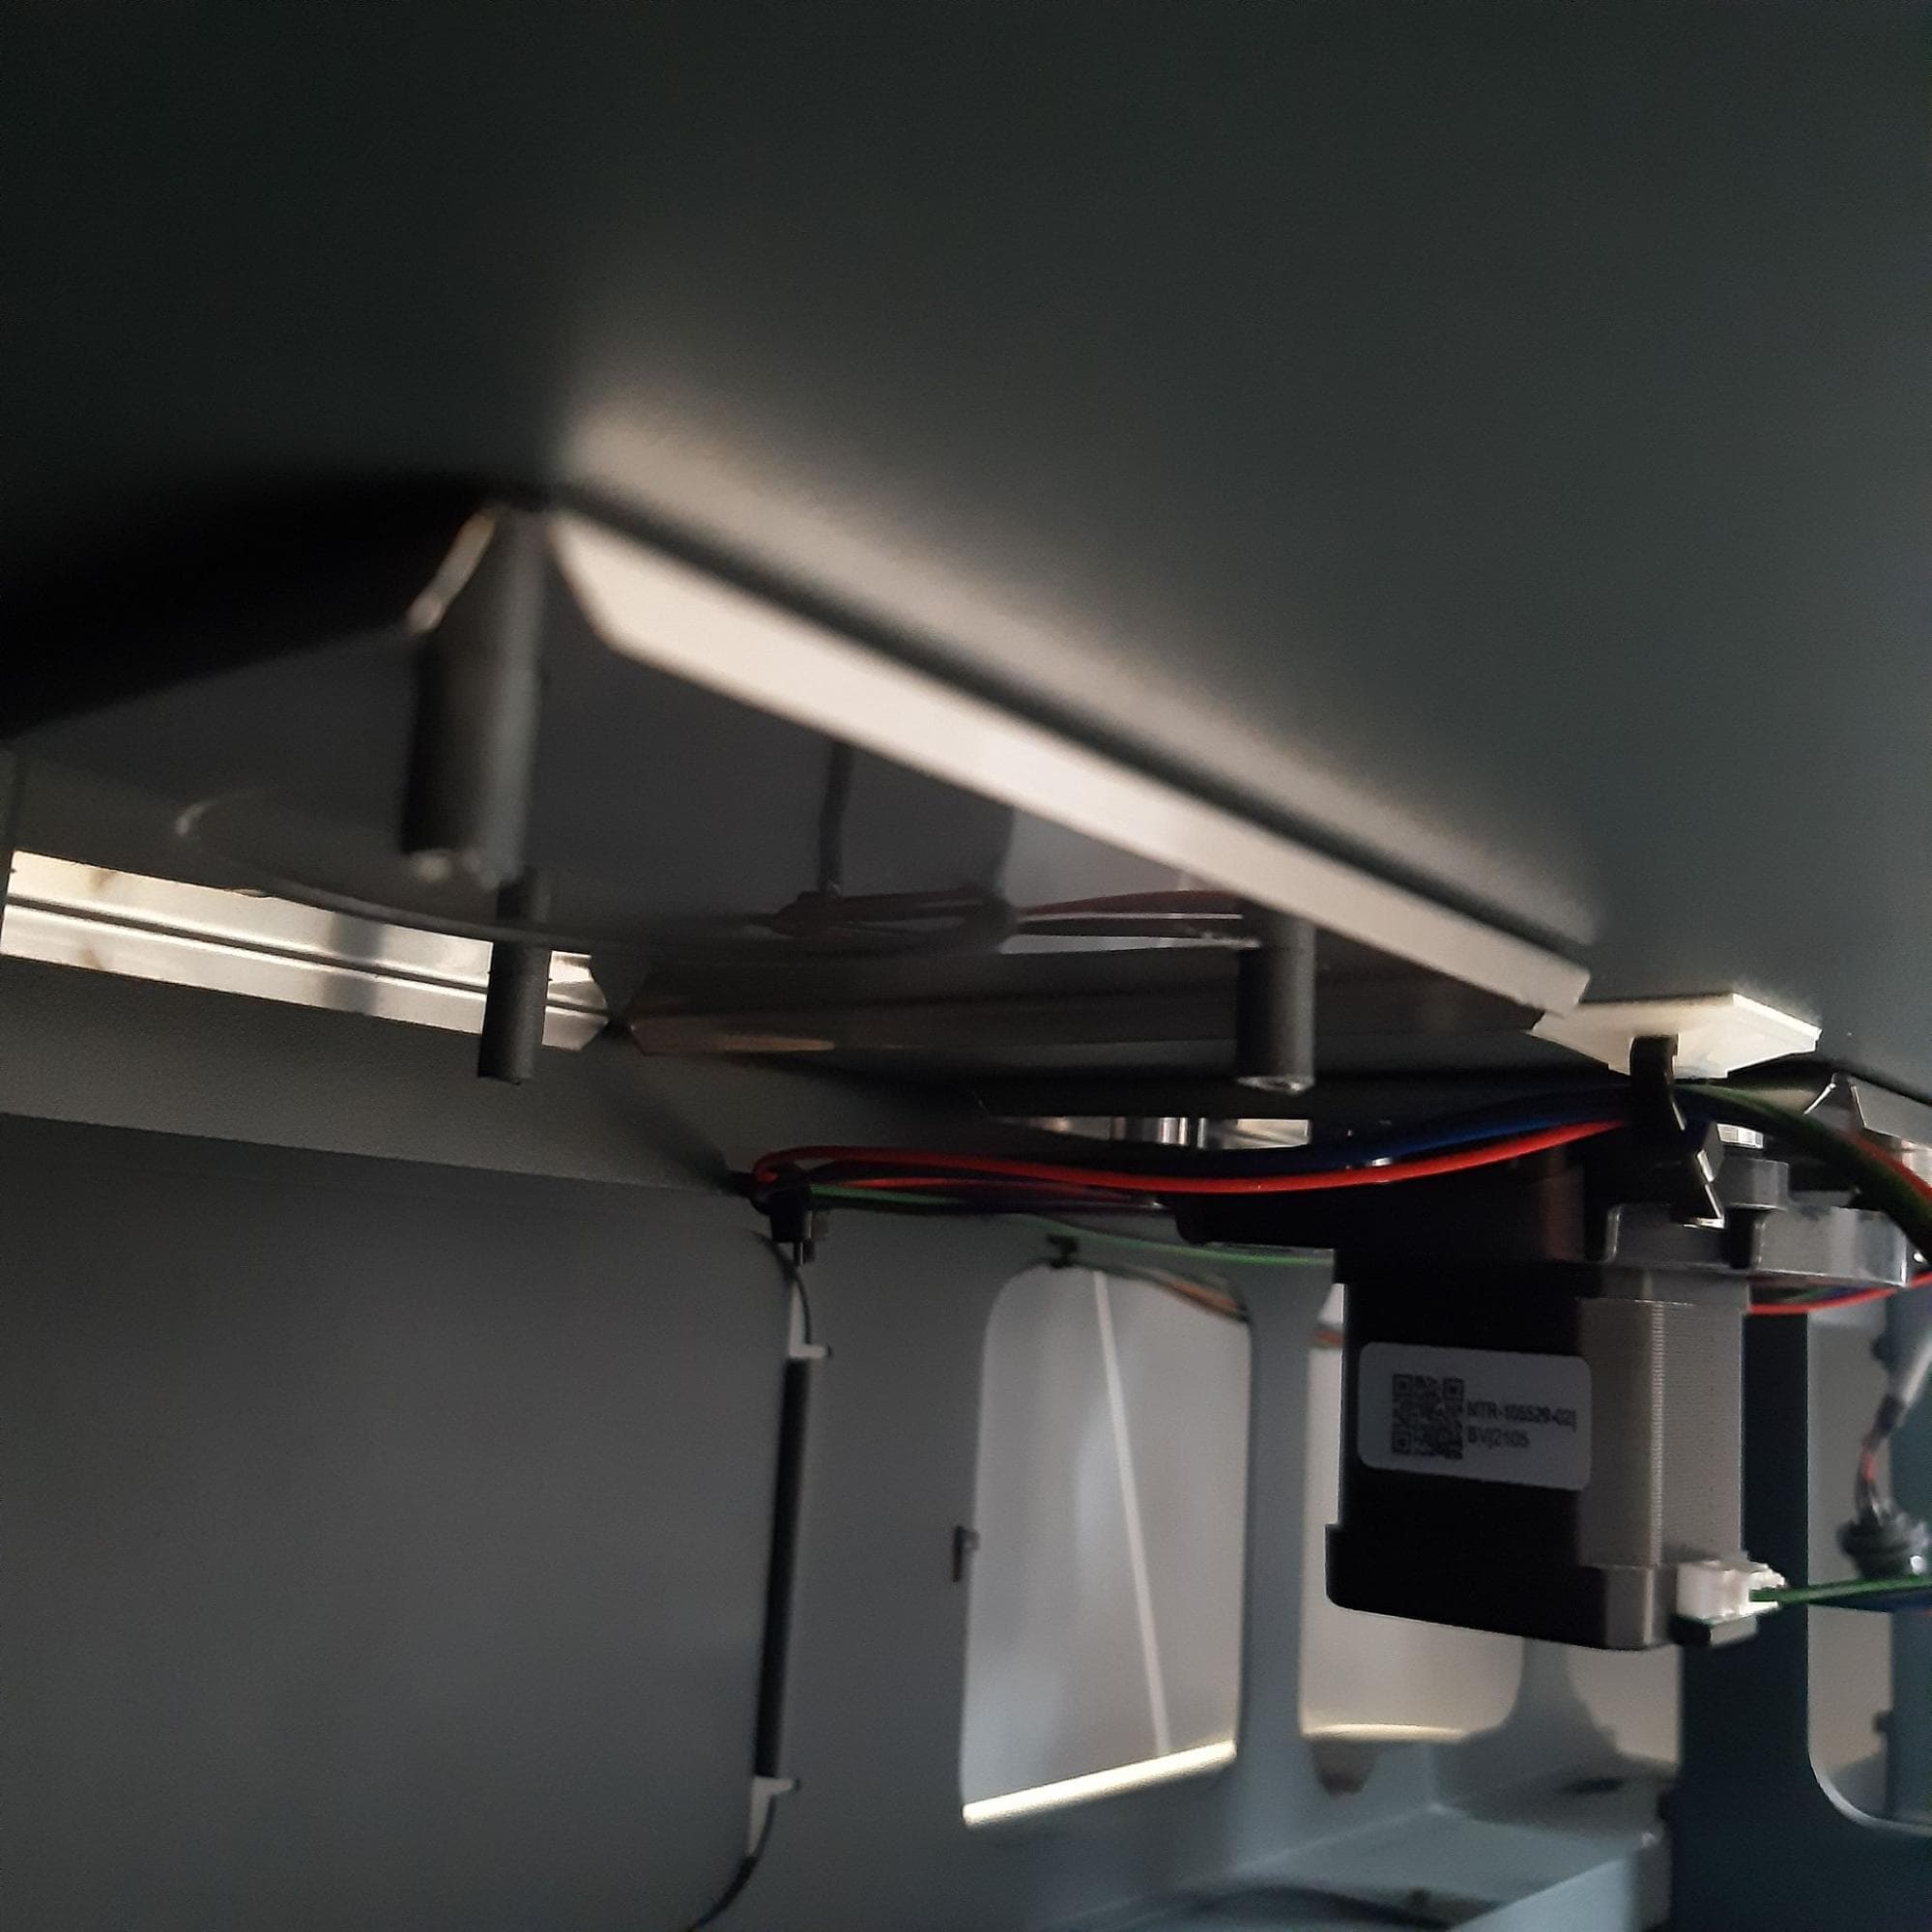
The Form Wash L has two impeller motor assemblies located underneath the base plate of the machine. Identify and locate the motor or magnetic coupler that is not functioning properly. Formlabs recommends using a flashlight to illuminate the motor assembly.

Step 2: Lay the Form Wash L on its back

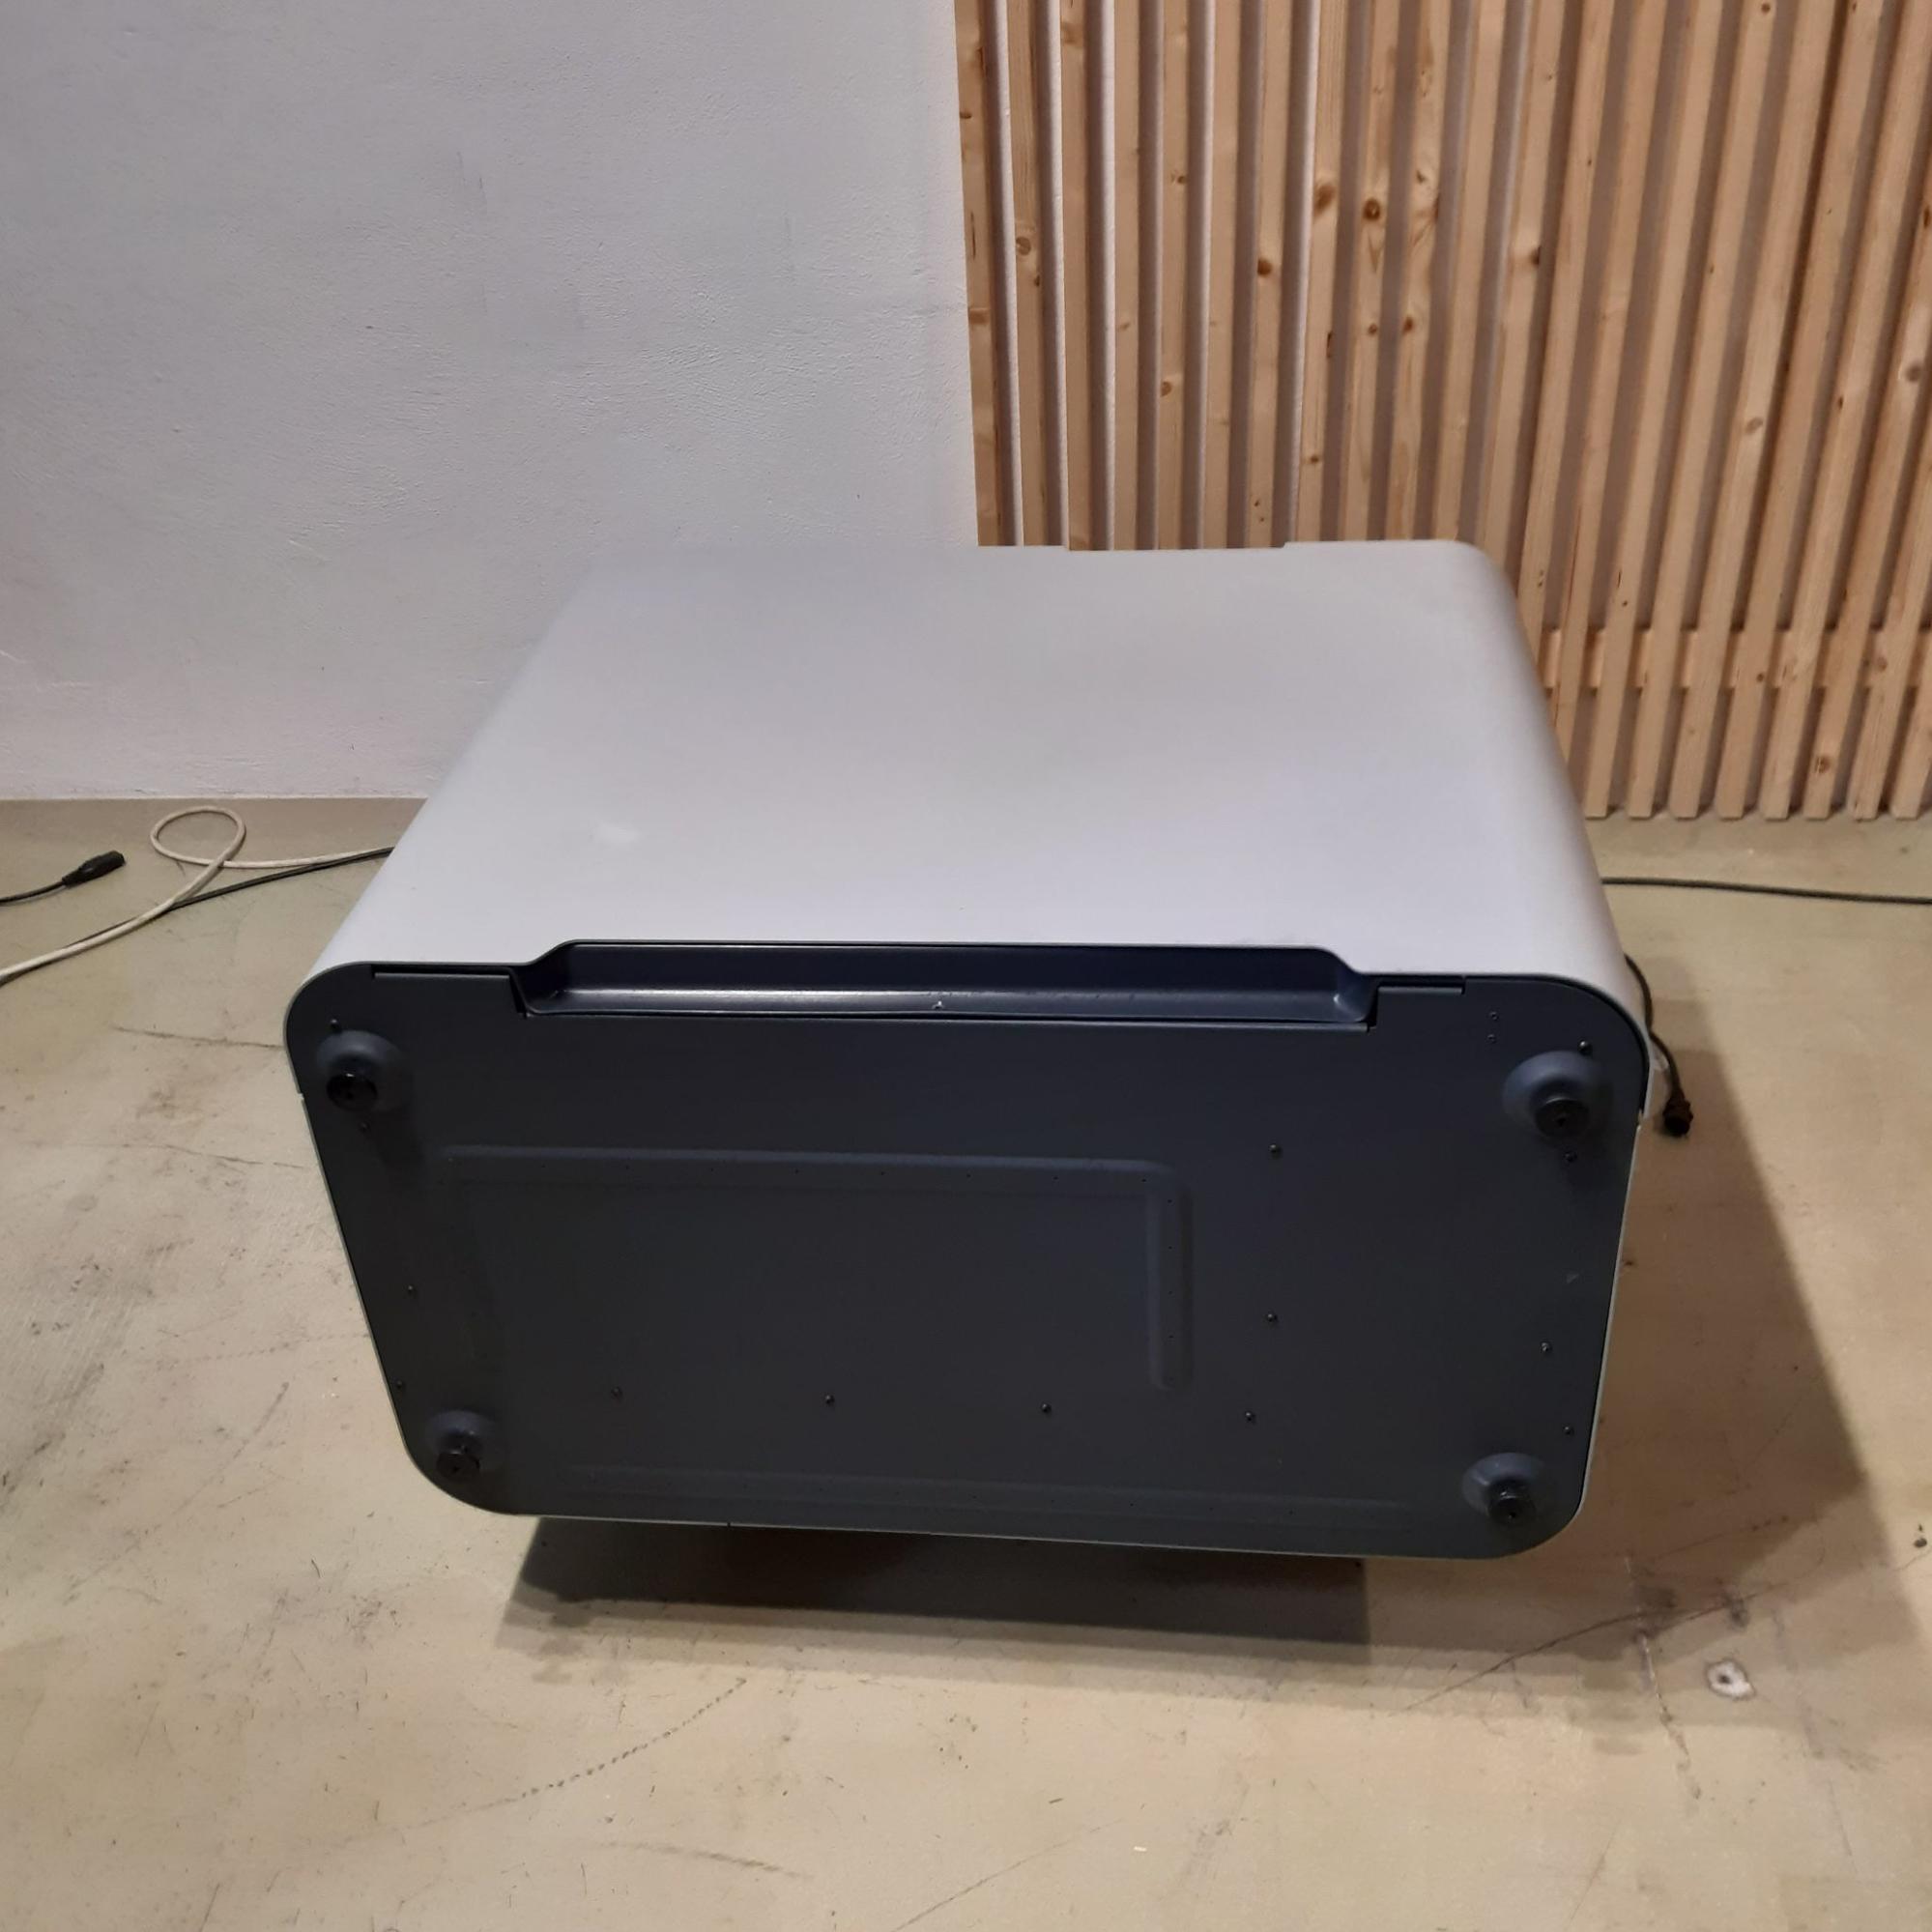
Lay a soft cloth on the work surface to protect the switch or Wi-Fi antenna plug. Rotate the machine onto its back for easier access to the motor assemblies.

Step 2: Lay the Form Wash L on its back

Caution:

Moving the machine requires at least two people that are comfortable lifting large and heavy objects.

Step 3: Unplug the motor assembly cable

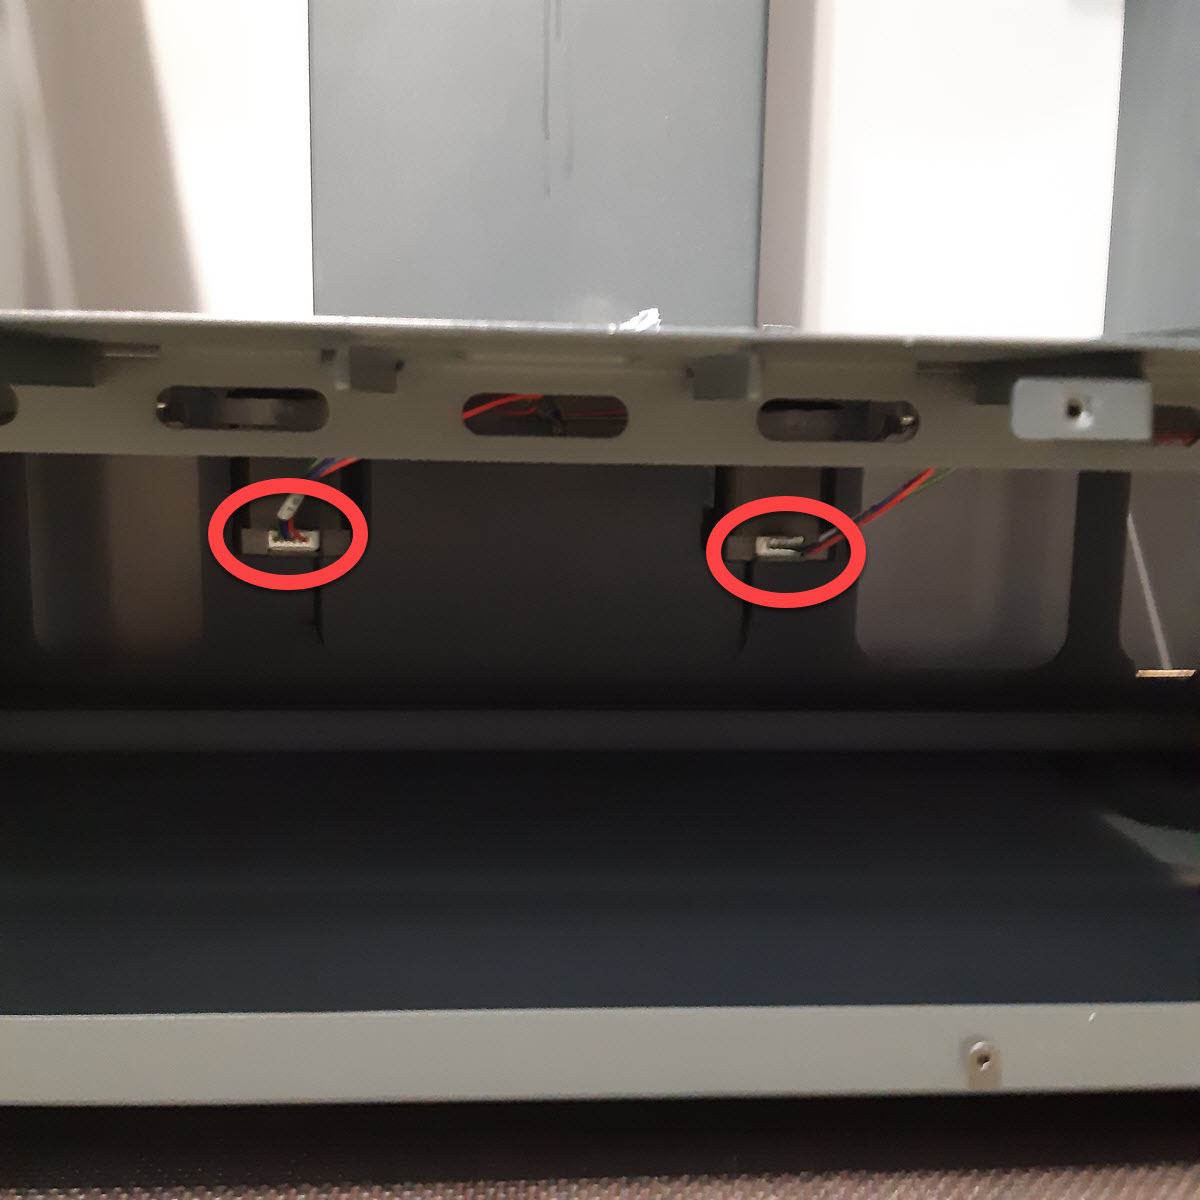
Press the connector tab of the cable connected to each of the motor assemblies. Gently pull the white connector tab to remove the cable from the motor assembly.

Step 3: Unplug the motor assembly cable

Notice:

Do not pull on the motor assembly cable or pull the motor assembly cable away from the machine. Doing so may damage the cable.

Step 4: Unscrew the motor assembly

Step 4: Unscrew the motor assembly

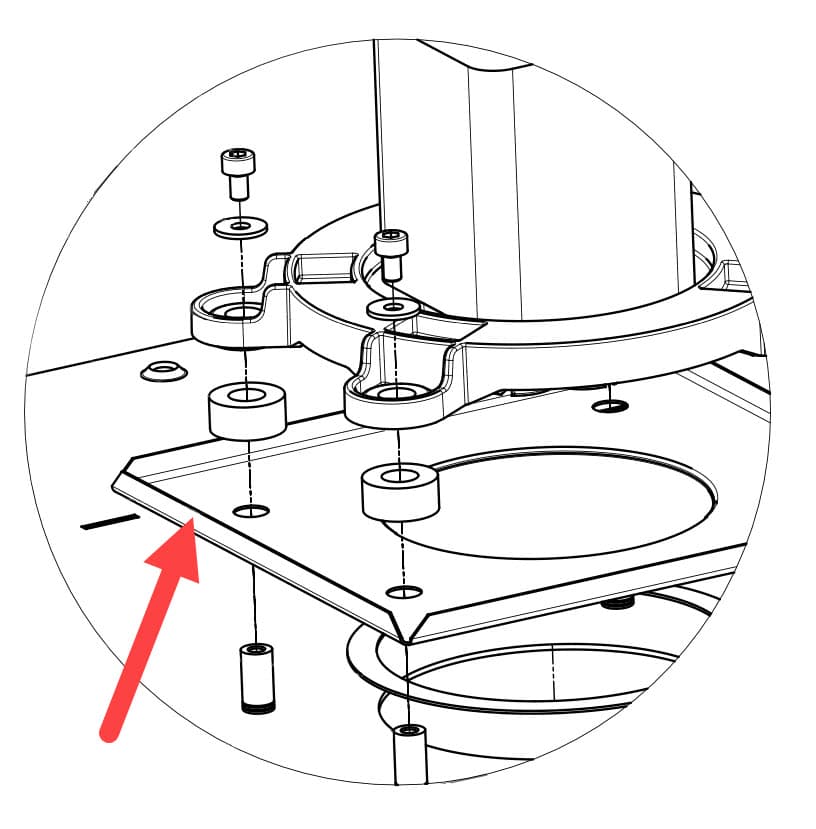
Using the 2.5 mm hex key, unscrew the four screws around each motor, starting with the furthest screw and working forward. Set aside the screws and washers.

Depending on the manufacturing date of your Form Wash L, the motor assembly screwheads may be accessible from either the top or the bottom of the machine’s base plate. If your motor assembly screws are located beneath the panel, use an L-shaped 2.5 mm hex key.

Each motor assembly also includes four silver spacers. Set these aside as well.

Tip:

Hold the motor from below before removing the last screw to prevent the motor from falling.

Step 5: Remove the clutch cover

Remove the clutch cover from the base plate. The fit may be snug. Set the clutch cover aside.

Step 5: Remove the clutch cover

Step 6: Unscrew magnetic coupler assembly

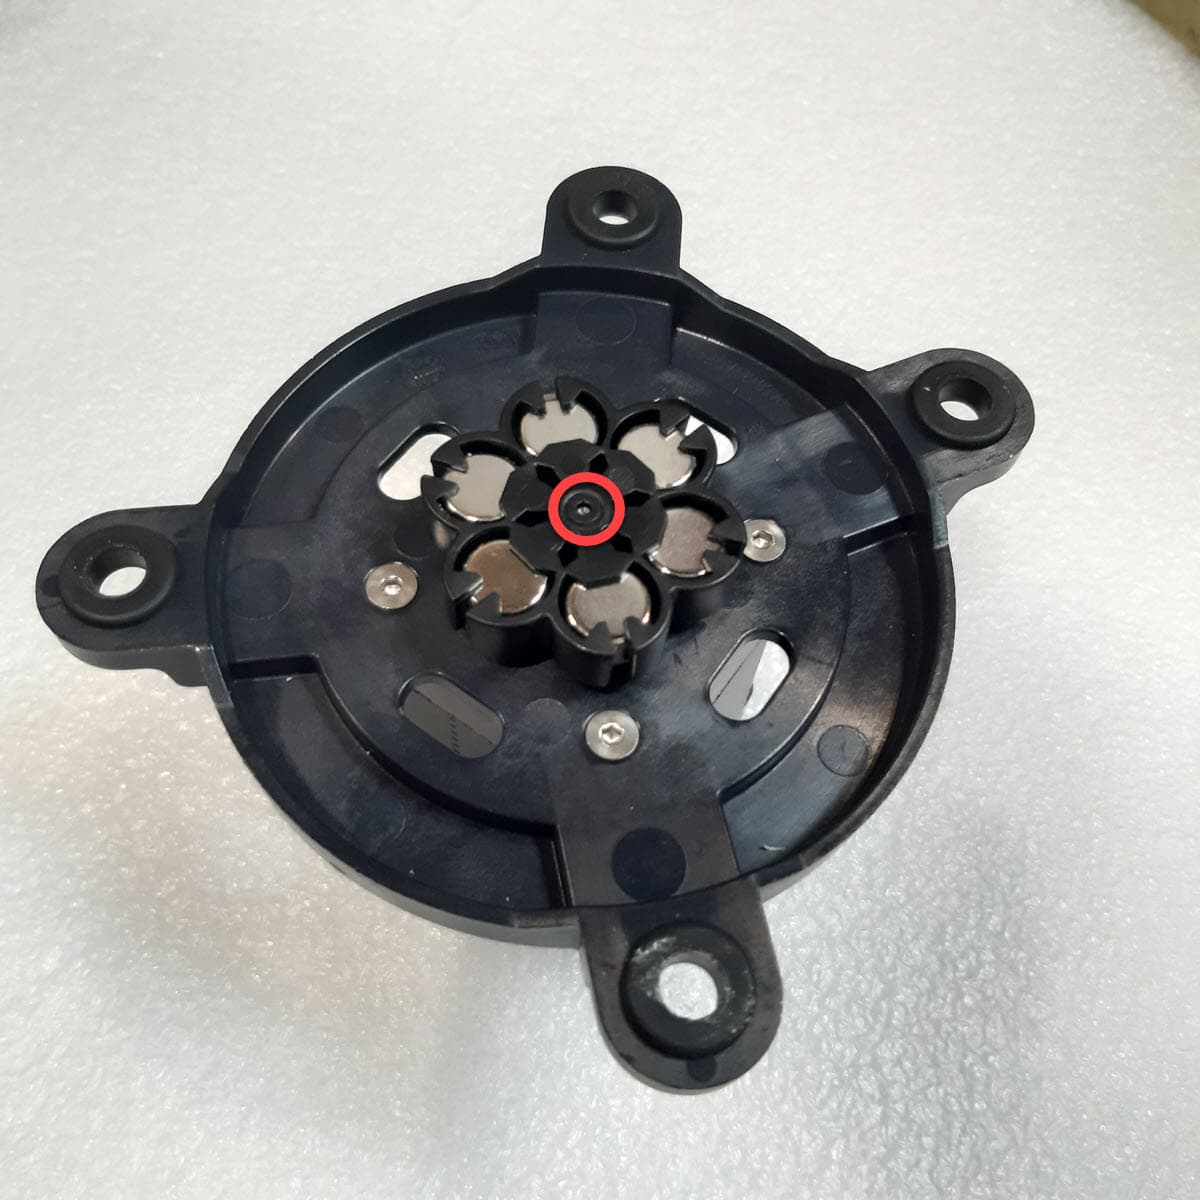
Use a 1.5 mm hex key to remove the screw on top of the magnetic coupler assembly and set it aside. Separate the coupler assembly from the motor.

Step 7: Unscrew magnet coupler assembly (optional)

Step 7: Check magnet orientation (optional)

If the impeller motor is functioning properly but the impeller in the wash bucket was not spinning, check the orientation of the impeller coupler magnets. Hold a magnet near each of the six magnets on top of the motor. Note the magnets’ orientation and ensure that their polarities alternate (i.e., they follow a + - + - + - pattern).

Step 8: Fix any incorrectly oriented magnets (optional)

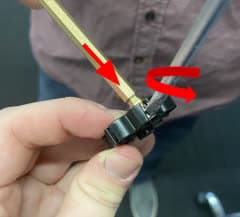
If you find any incorrectly-oriented magnets, use a flathead screwdriver to gently pry the casing open. Push the magnet out of the magnetic coupler assembly with a 1.5 mm hex key. Repeat as needed.

Flip and reinstall any incorrectly oriented magnets. Ensure that the magnets’ polarities now alternate.

Step 8: Remove incorrectly oriented magnets (optional)

Installing the replacement impeller coupler motor assembly

Overview: Reassemble the impeller coupler motor assembly and reattach the motor assembly to the Form Wash L.

Step 1: Attach magnetic coupler assembly to motor assembly

Using a 1.5 mm hex key, screw the magnetic coupler assembly back into the motor assembly.

Step 2: Install the clutch cover onto the base plate

Align the four small holes in the new clutch cover with the four posts on the base plate. Slide the clutch cover onto the posts until flush with the base plate. The fit may be snug.

Step 2: Install the clutch cover onto the base plate

Step 3: Place silver spacers onto the posts of the base plate

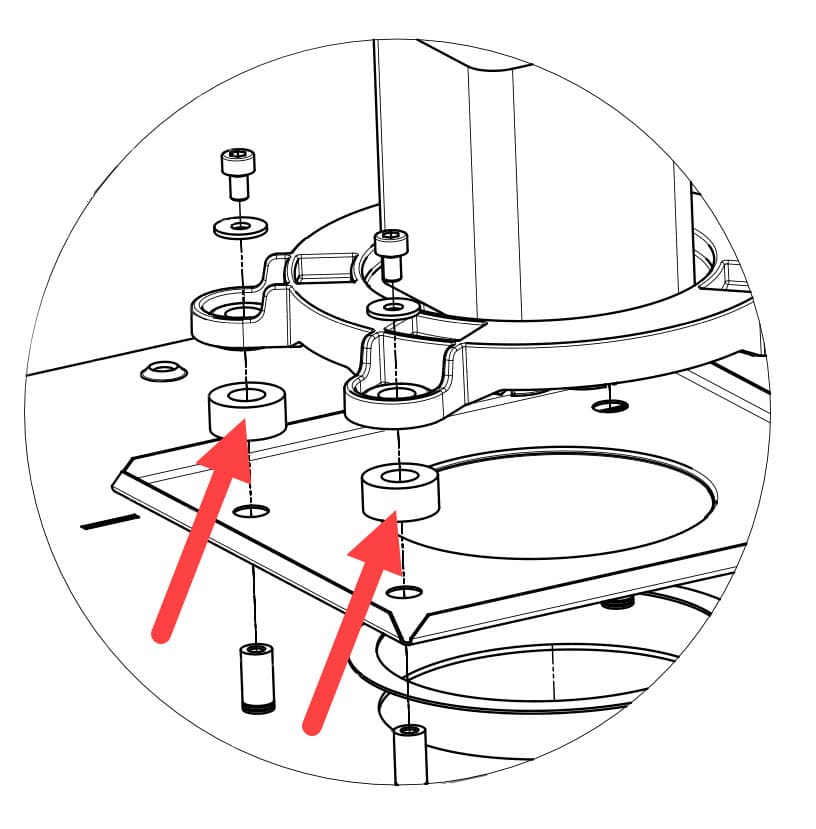
Place one of the four silver spacers on each of the posts of the base plate. These spacers rest between the motor assembly and the clutch cover when fully installed.

Step 3: Place silver spacers onto the posts of the base plate

Step 4: Reattach the motor assembly to the Form Wash L

Hold the motor to the clutch cover so that the screw holes match up and the white cable connector is facing the front of the machine. The large silver spacers should rest between the clutch cover and the motor. Place a washer on one of the 2.5 mm hex screws. Thread the hex screw into one of the four screw holes. Repeat for the remaining screws and washers. Use the 2.5 mm hex key to tighten each screw until finger tight, starting with the furthest screw and working forwards.

Step 5: Reconnect the motor assembly cable connectors

Gently plug the motor assembly cable connectors back into their respective motors.

Step 6: Set the Form Wash L upright

Return the machine to its normal upright position.

Reassembling the Form Wash L

Overview: Reattach the solvent monitor cable and the lower front panel to the Form Wash L.

Step 1: Mount the lower front panel

Line up the lower front panel to the front of the Form Wash L. Take note of any screw holes that do not align with any corresponding screw holes on the machine’s frame. These screws must be reinstalled first before attaching the lower front panel to the machine.

Step 2: Screw in dummy screws (optional)

If you noticed any screw holes that did not align with any corresponding screw holes in the machine’s frame, place a screw into each of these holes and secure it with a nut on the inside of the panel.

Step 3: Reattach the solvent monitor cable

Step 3: Reattach solvent monitor cable

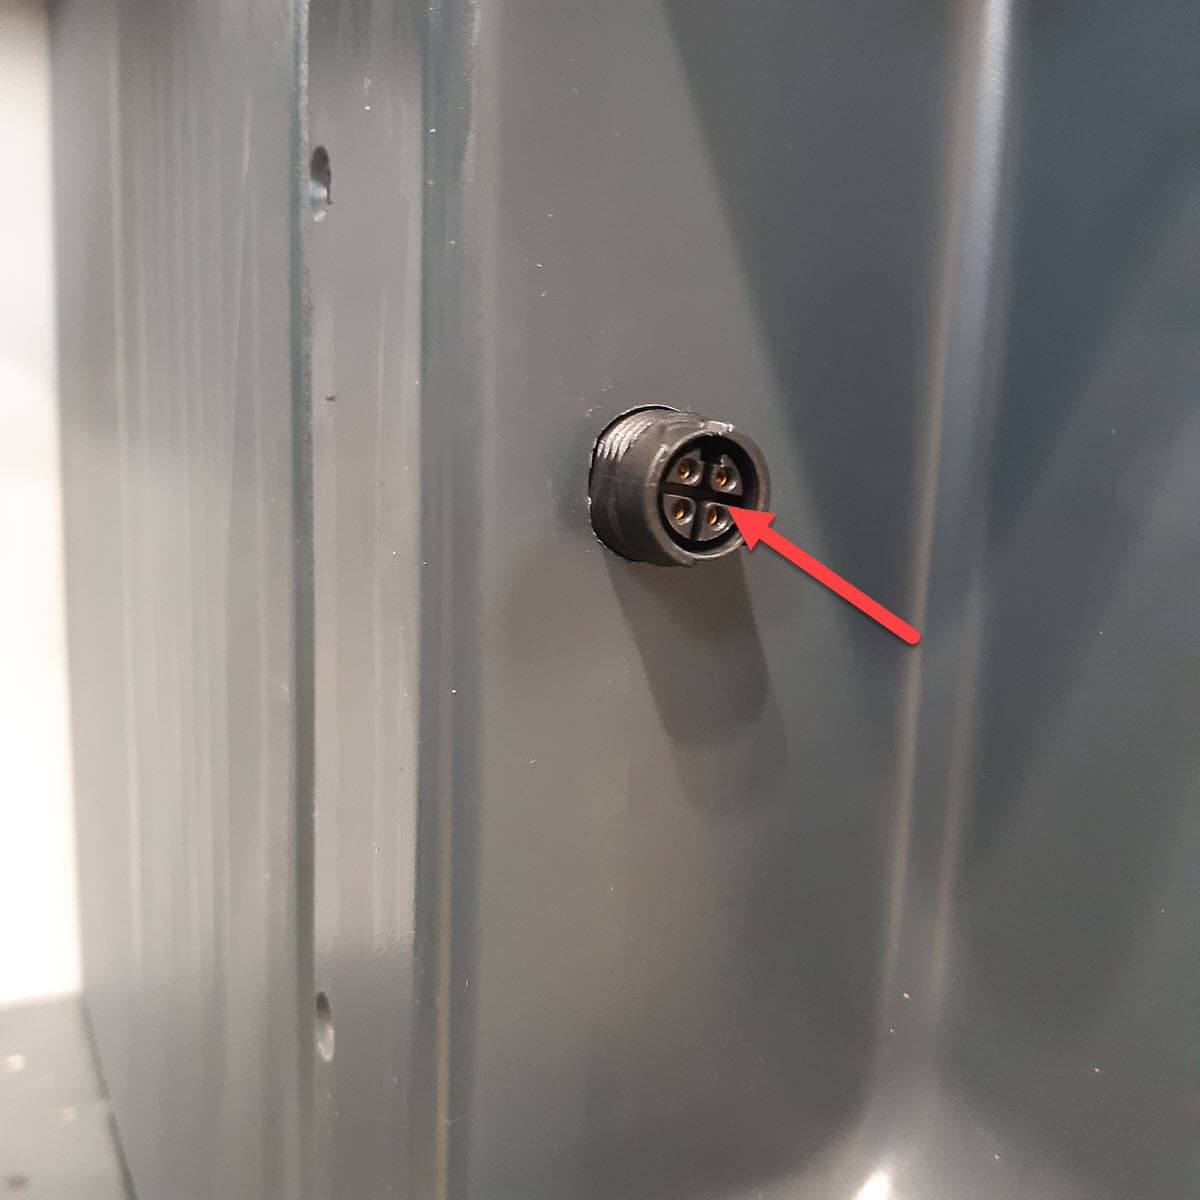
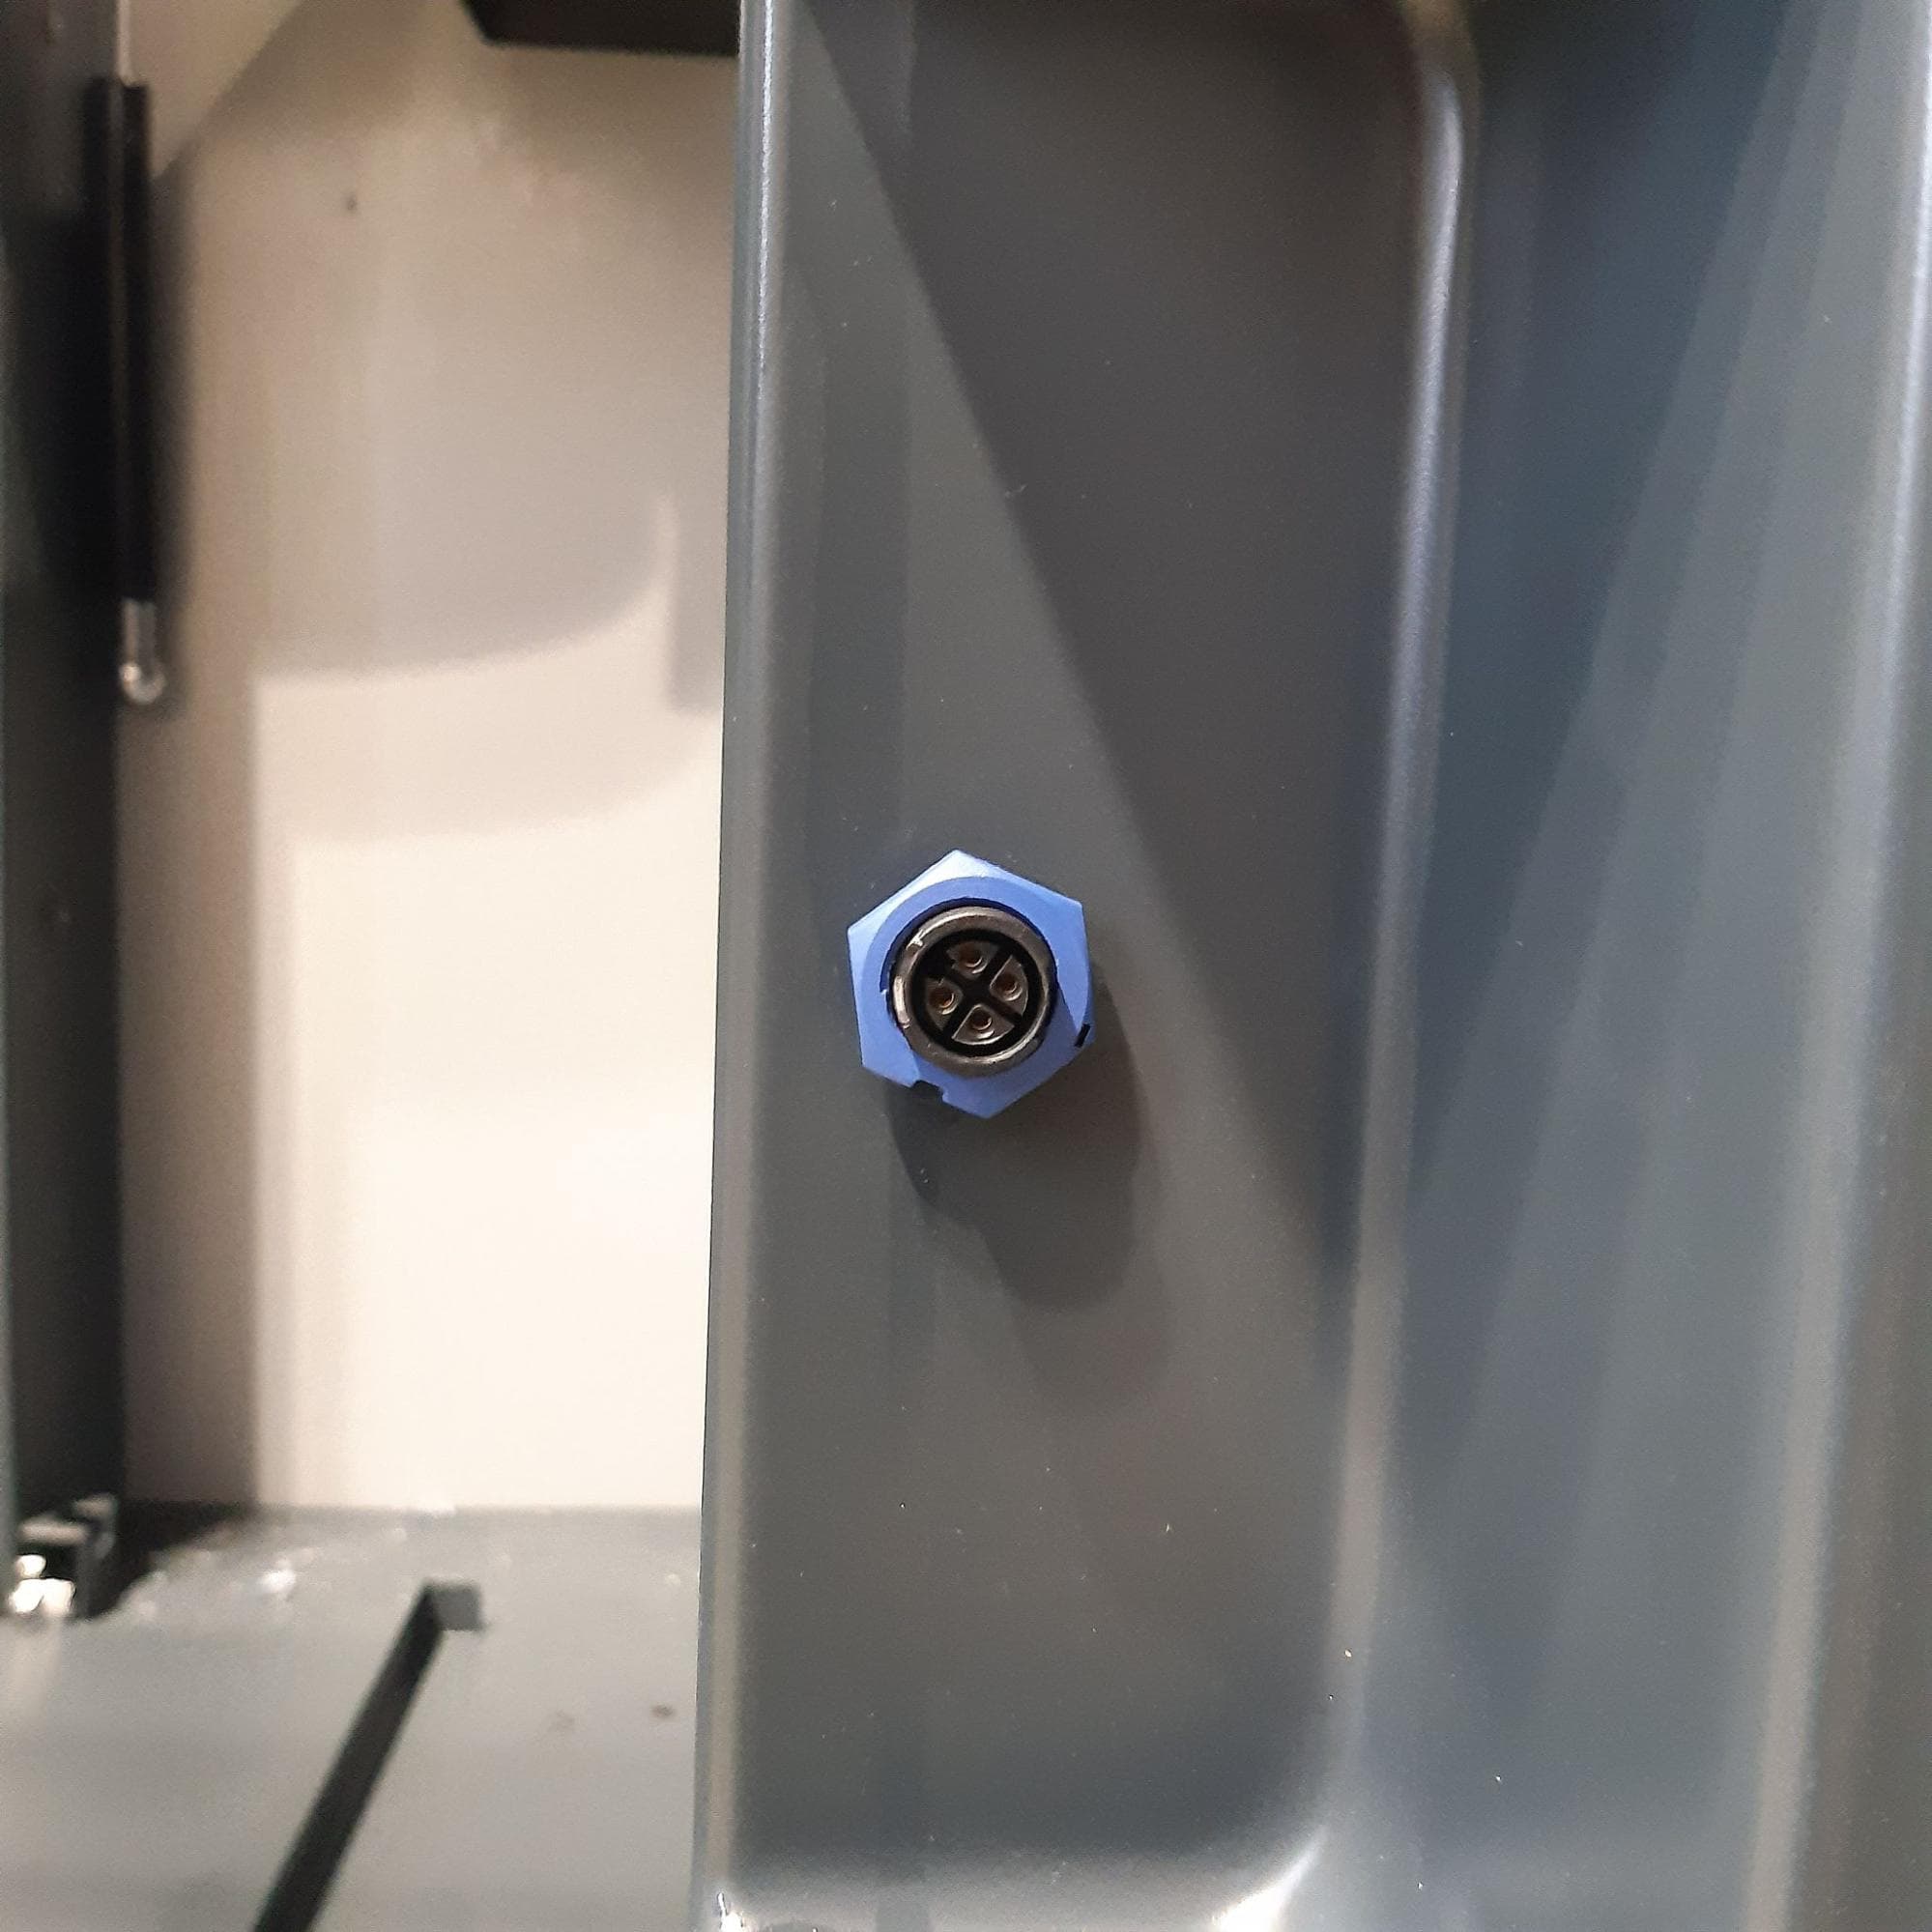
Retrieve the solvent monitor cable from the interior of the Form Wash L. Reinsert the socket through the lower front panel until the threads are completely outside. Tighten the blue nut until snug.

Step 4: Reattach the lower front panel

Step 4: Reattach the lower front panel

Slide the lower front panel into position. Thread one 2.5 mm hex screw into each open screw hole in the lower front panel. Tighten the screws using the 2.5 mm hex key until finger tight.

NOTICE:

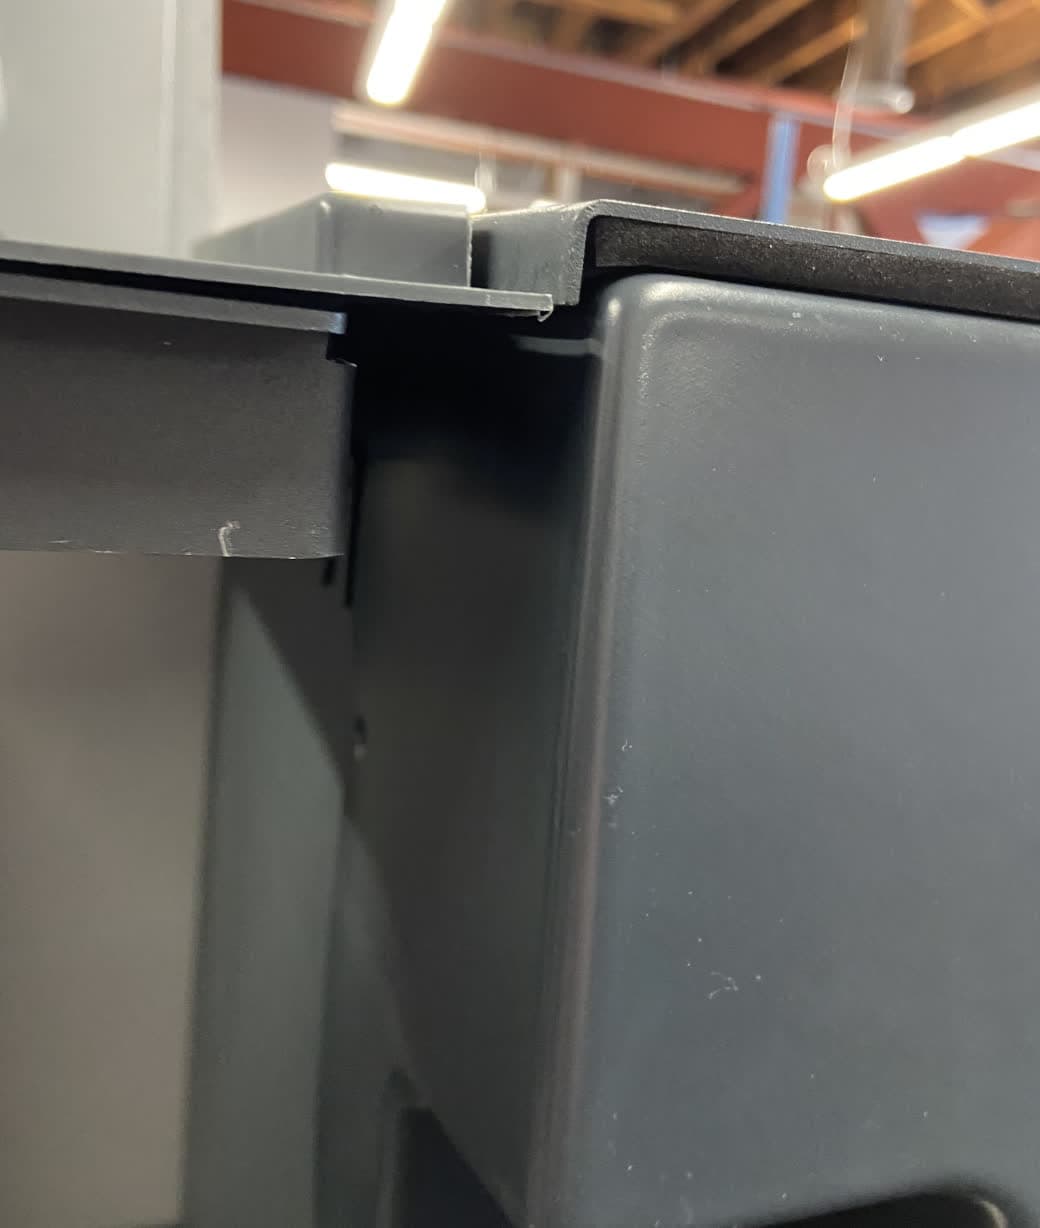
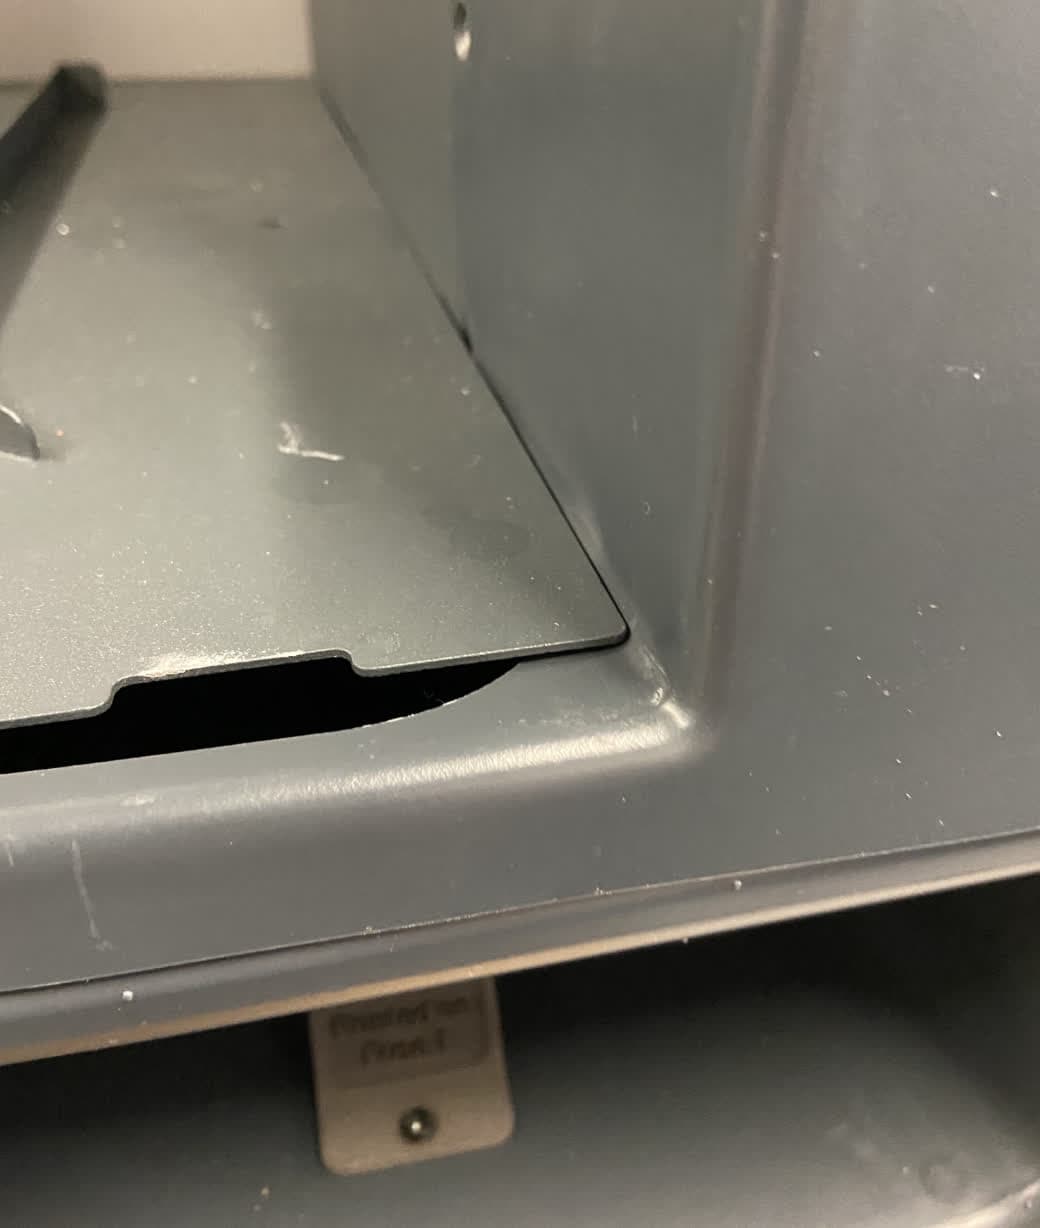
Make sure that the right side of the lower front panel slots in below the right panel.

Step 5: Reattach the right panel

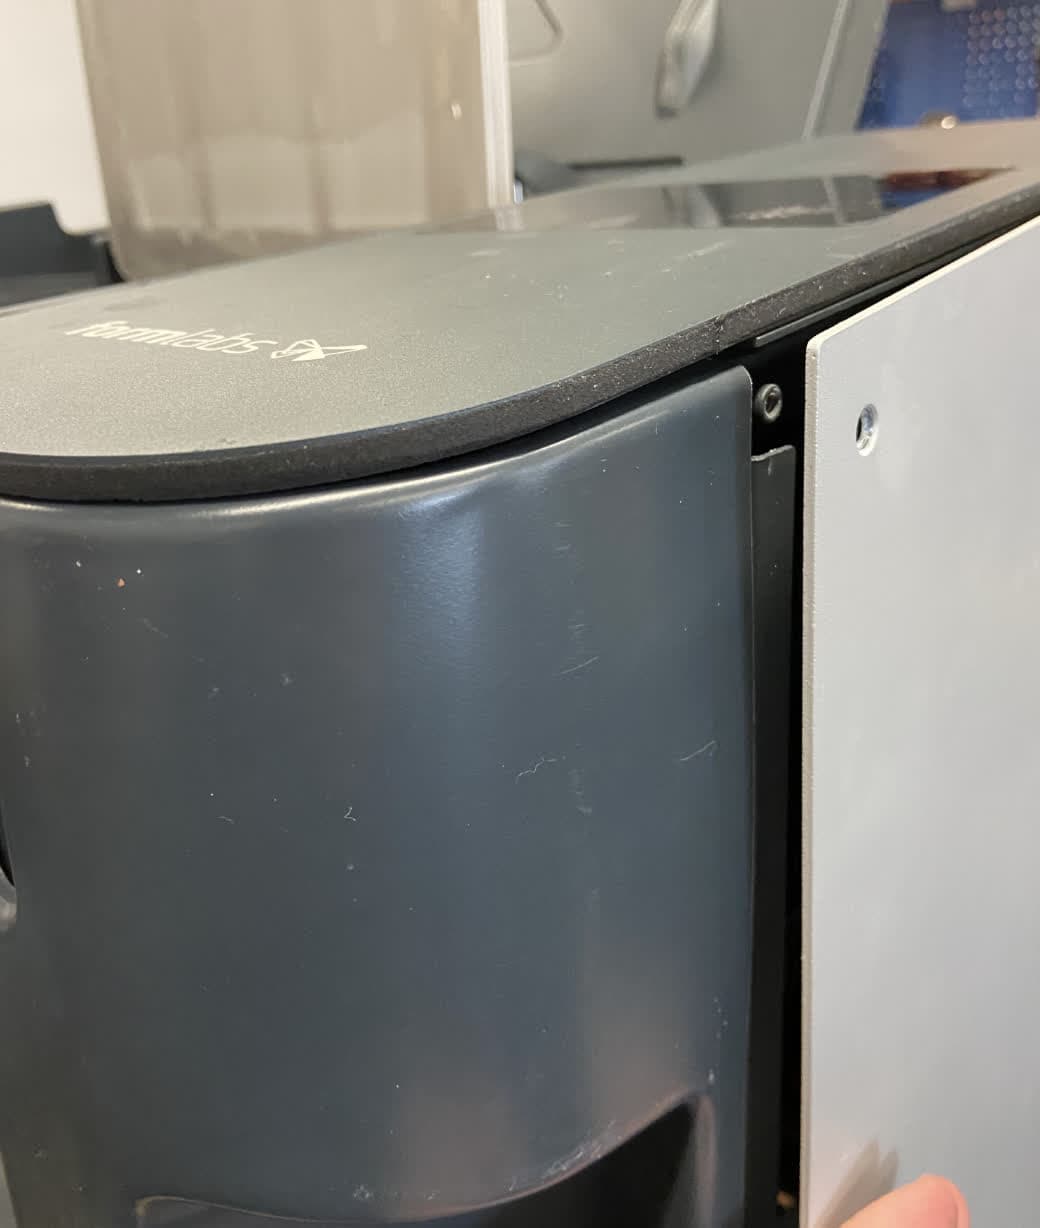
Thread one 2.5 mm hex screw into each of the three open screw holes in the right panel. Tighten the screws using the 2.5 mm hex key until finger tight. Make sure that the right panel rests above the lower front panel.

Step 6: Install the solvent monitor

Open the wash bucket lid. Clip the solvent monitor bracket with the solvent monitor attached onto the front edge of the wash bucket.

Step 7: Insert the wash bucket

Reinsert the wash bucket by sliding it into place and clos ing the door. In more recently manufactured machines, the Formlabs logo is visible on the left side of the bucket when properly installed.

Step 8: Plug in the solvent monitor cable

Plug the solvent monitor cable from the wash bucket into the socket on the front panel.

Finalizing the repair

Overview: After reinstalling the shells, power on the machine and perform final checks.

Step 1: Power on the machine

Connect the power cable to the Form Wash L and the power supply. Flip the breaker switch on the back of the unit to the ON position to turn on the machine.

Step 2: Raise the Z-stage

On the touchscreen, tap Raise.

Step 3: Attach the back plate

Hook the back plate back onto its mount on the Form Wash L.

Step 4: Reinsert the basket

Reinsert the wire basket into the Form Wash L.

Step 5: Close the front panel

Gently push the front panel until it is closed.

Step 6: Replace the solvent

On the touchscreen, tap Solvent. The Solvent screen appears. Tap Replace Solvent and follow the on-screen instructions to refill the wash bucket.

Step 7: Fill the wash bucket with solvent

Place the siphon pump intake into the solvent container. Securely place the flexible pump hose into the wash bucket. Pump solvent into the wash bucket until it has reached the fill line.

Step 8: Dispose of leftover solvent

Dispose of any extra solvent and used rags according to local regulations.

Step 9: Test the repair

Start a wash cycle. The impellers should rotate properly if the repair was successful. Contact Formlabs Support or your authorized reseller to share the results of the procedure.