
Note:
Formlabs has sunsetted this material, and it is no longer available for purchase. For information about other Formlabs materials, visit Choosing the right material.

Note:
Formlabs has sunsetted this material, and it is no longer available for purchase. For information about other Formlabs materials, visit Choosing the right material.
Ceramic is intended to be fired in a kiln or furnace, where the polymer matrix burns away and the model transforms into a silica ceramic part.
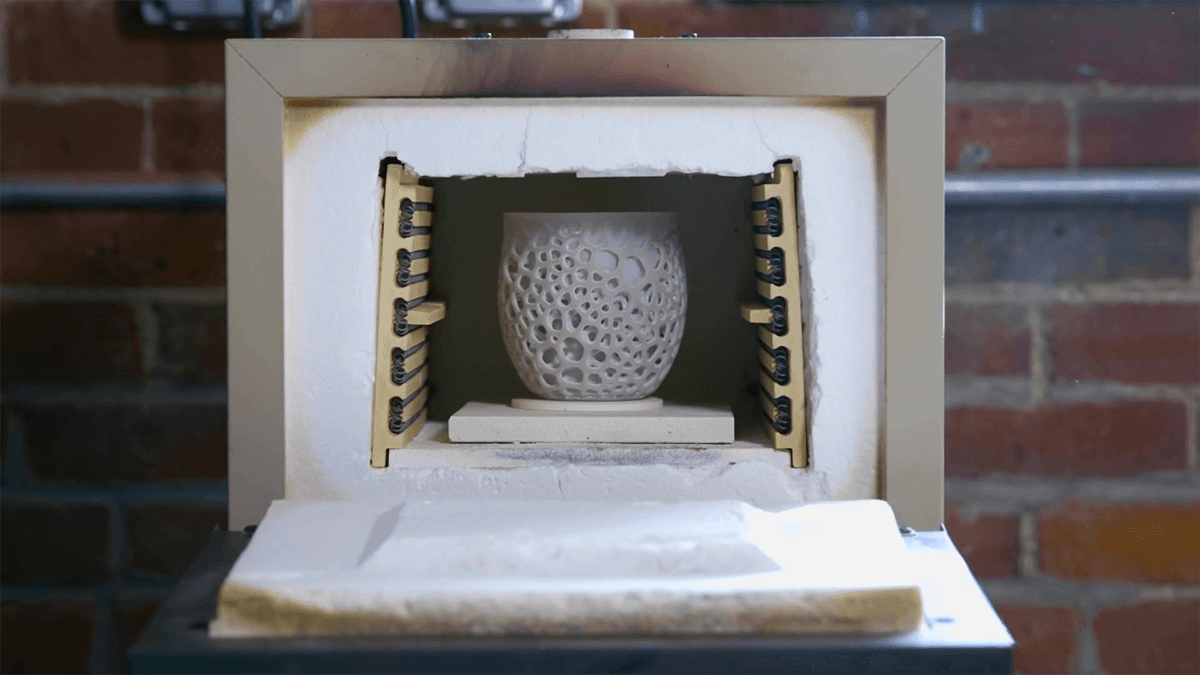
Creating fired ceramic parts with Ceramic Resin V1 requires special equipment, including access to a Cone 8 (1271 °C) or hotter kiln/furnace with active external ventilation and digital time/temperature control. Formlabs provides a firing schedule and explanation of each phase of the firing process. After firing, apply a high fire glaze. These instructions are guidelines, and modifying the workflow may work better for some situations.
Ceramic Resin V1 has a lower print success rate than standard Formlabs materials, and therefore benefits from a higher level of skill and attention than other Formlabs products. Ceramic Resin V1 has special requirements for part design and print planning. Some models require modification to fire well.
Note:
Fire parts printed with Ceramic Resin V1 in an actively ventilated kiln that fires to at least Cone 8 to burn out the photopolymer from the material and create a fully ceramic final part.
In the case that parts are not coming out as expected, consider the list of troubleshooting causes and solutions.
Firing schedule and instructions

| Total time (min) | Time to temp (min) | Temp (°C) | Phase |
|---|---|---|---|
| 0 | 0 | 0 | Ramp 1 |
| 240 | 240 | 240 | |
| 720 | 480 | 240 | Burnout Hold |
| 780 | 60 | 300 | |
| 840 | 60 | 300 | |
| 1173 | 333 | 1271 | Ramp 2 |
| 1178 | 5 | 1271 | Sintering Hold |
| 1238 | 60 | 900 | Cool Down |
| 1688 | 450 | 0 |
Ramp 1
During Ramp 1, the part is heated to 240 °C for Burnout.
Burnout
Ceramic Resin V1 prints with a polymer matrix, which is removed during the Burnout phase. At burnout temperatures (240 °C), the ceramic particles have not yet fused, and are loosely held together as a powder body.
The Burnout phase should be long enough to completely remove the polymer matrix. Partial burnout will cause vapor pressure to increase during the Ramp phase, resulting in cracks and distortion as vapor escapes. Thinner walls (less than 6 mm) require less time to burn out, and tend to have the best surface quality and accuracy. Very thick sections (thicker than 10 mm) require very long burnout times.
Set the Burnout Hold (time at 240 °C) based on the the maximum cross-sectional thickness of any part being fired. Parts can be held at the Burnout Hold temperature for extra time without issue. A short secondary hold at 300 °C ensures that all polymer is burned out before Ramp 2.
Tip:
For example, a part with a maximum wall thickness of 15mm should be held at 240 °C for 15 hours, then at 300 °C for 1 hour. A part with a maximum wall thickness of 4 mm should be held at 240 °C for 4 hours, then at 300 °C for 1 hour.
Ramp 2
The Ramp 2 phase is the increase in temperature preceding sintering. Formlabs recommends a ramp rate of 3 °C per minute in order to heat parts uniformly.
Parts with large variations in wall thickness benefit from slower ramp rates. Parts designed to have uniform, thin walls throughout can be ramped more quickly.
Sintering
During sintering, the silica particles in Ceramic Resin V1 fuse to form a solid part. The particles become semi-liquid, allowing them to shrink together and become denser. Ceramic Resin V1 shrinks by 15% during sintering, reaching up to 90% density.
When Ceramic Resin V1 is properly sintered, the material becomes slightly translucent and watertight. Parts printed with Ceramic Resin V1 are fired at temperatures between 1250 °C and 1300 °C. Formlabs recommends holding at 1271 °C for 5 minutes. Decreasing the maximum temperature or hold time will result in a more porous, less glassy part.
If you require specific dimensions, compensate for shrinkage by scaling the model. Learn more about how to properly scale and support models in the design guidelines.
Cool Down
Between maximum temperature and 900 °C, cool at the freefall rate of your kiln or furnace. This fast Cool Down phase limits additional slumping. Cool at a controlled rate of 2 °C per minute between 900 °C and room temperature to avoid structural cracking.
Tip:
Many kilns do not have a linear natural Cool Down. Program the final step to ensure a constant Cool Down rate.
Glazing instructions
Glaze parts printed in Ceramic Resin V1 to make them smooth to the touch. If using a dinnerware safe glaze, finished parts can be used in contact with food. Although Ceramic fired to Cone 8 is typically watertight, it is not considered dinnerware safe unless glazed. Formlabs Ceramic Resin V1 can be used with high fire glaze. Brush glaze onto the fired ceramic bisque in two thin coats, allowing the glaze to fully dry between coats.
Additional resources