Hinweis:
Überprüfen Sie zur Vermeidung von Schäden am Gerät die Kompatibilitätstabelle für Harztanks unter Verwendung des richtigen Materials, damit Sie einen für dieses Material kompatiblen Harztank verwenden.


Hinweis:
Überprüfen Sie zur Vermeidung von Schäden am Gerät die Kompatibilitätstabelle für Harztanks unter Verwendung des richtigen Materials, damit Sie einen für dieses Material kompatiblen Harztank verwenden.
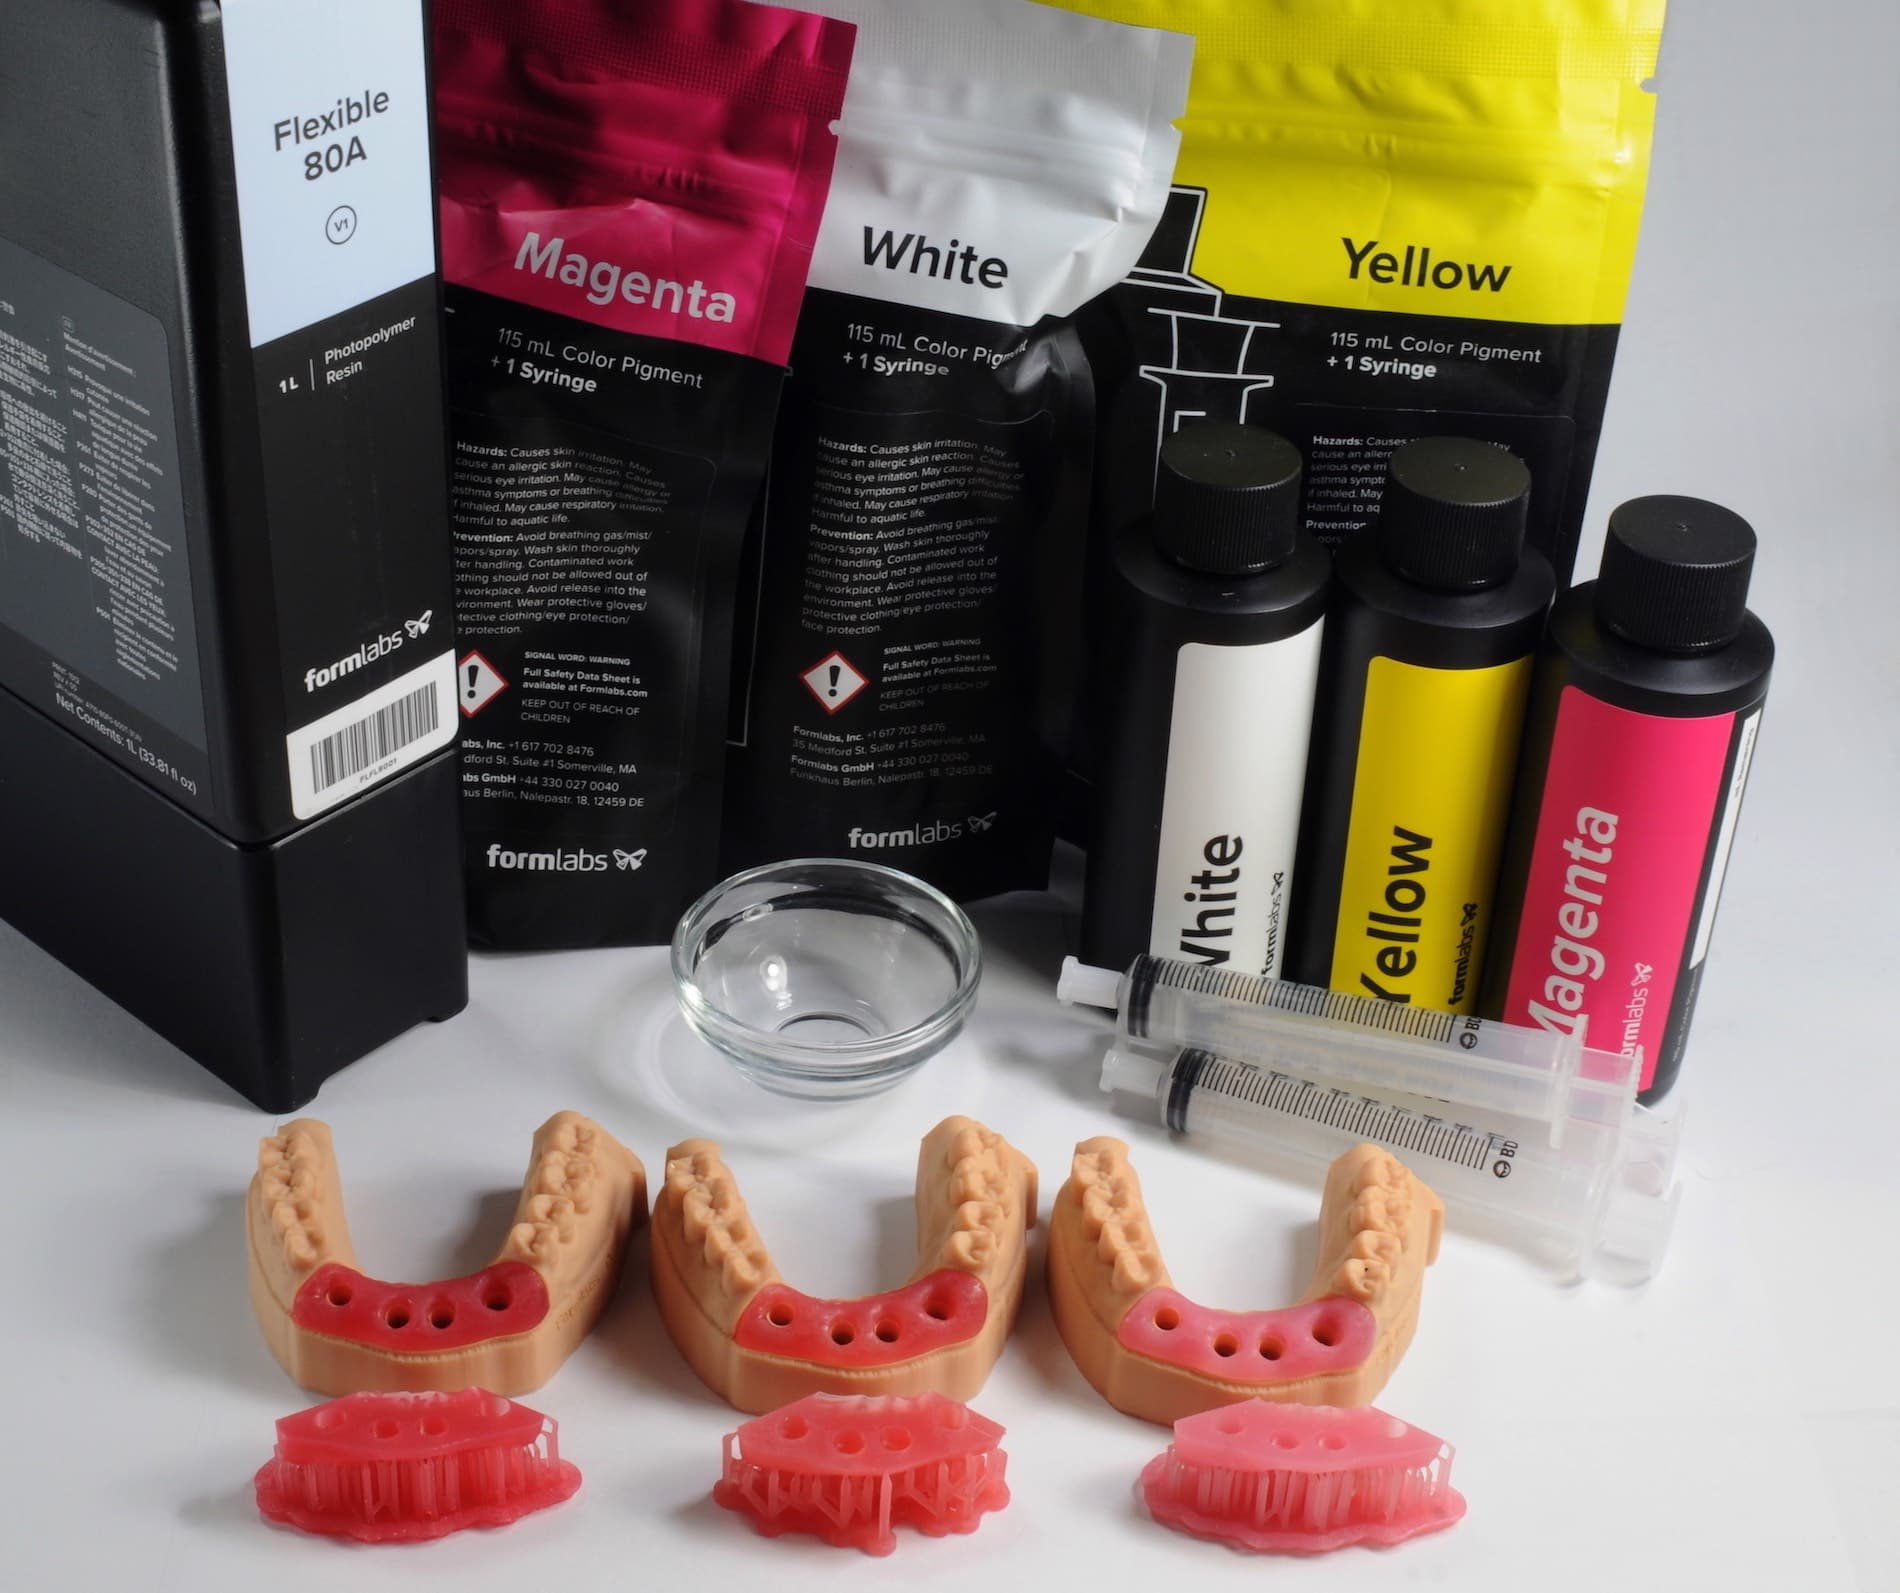
Mit Flexible 80A Resin und Farbpigmenten als Teil eines digitalen Workflows für Implantatprothetik können medizinische Fachkräfte nun Weichgewebeteile im 3D-Druck herstellen, die das Zahnfleisch für die Modellierung von Zahnimplantaten besser simulieren. Mit anpassbaren Farbpigmenten können Sie die Farbe und Opazität Ihres endgültigen Druckmodells individuell gestalten.
Soft Tissue Resin druckt bei 50 und 100 Mikrometern.
Anmerkung:
Um mehr über die Leistung oder die spezifischen Materialeigenschaften von Soft Tissue Resin zu erfahren, lesen Sie bitte das Sicherheitsdatenblatt (SDB) und das Technische Datenblatt (TDB). Beziehen Sie sich primär auf das SDB zu den Themen Sicherheit und Handhabung von Formlabs Materialien.
Erforderliches Zubehör
Von Formlabs:
Übersicht des Arbeitsablaufs
Hinweis:
Dies ist eine gekürzte Version des Anwendungsleitfadens 3D-Druck von Weichgewebe für Gingivamasken auf Dentalmodellen [in]. Lesen Sie den Anwendungsleitfaden für detaillierte Anweisungen zum Arbeitsablauf für Soft Tissue Resin.
Scan
Um eine permanente Krone oder eine andere Restauration in 3D zu drucken, verwenden Sie einen Scanner, um die anatomischen Daten des Gebisses des Patienten zu erfassen. Scannen Sie dazu das Gebiss entweder direkt mit einem Intraoralscanner oder unter Zuhilfenahme eines optischen Desktopscanners, der einen Abdruck aus Polyvinylsiloxan (PVS) oder ein Steinmodell scannt.
Design
Verwenden Sie vor dem Druck ein CAD-Dentalsoftwarepaket, um den Zahnersatz vorzubereiten und zu gestalten. Wählen Sie eine Software, die den Export in das offene Dateiformat STL unterstützt.
Hinweis:
Überprüfen Sie zur Vermeidung von Schäden am Gerät die Kompatibilitätstabelle für Harztanks unter Verwendung des richtigen Materials, damit Sie einen für dieses Material kompatiblen Harztank verwenden.
Befolgen Sie die Anweisungen im Anwendungsleitfaden 3D-Druck von Weichgewebe für Gingivamasken auf Dentalmodellen [en], um den entsprechenden Farbton von Soft Tissue Resin zu mischen.
Installieren oder aktualisieren Sie PreForm und richten Sie dann den nächsten Druckauftrag ein.
So bereiten Sie in PreForm ein Modell für den Druck vor:
Verwenden Sie die PreForm-Einstellungen für Flexible 80A Resin: 50 Mikrometer und 100 Mikrometer.
Fertigstellung
Der Form Wash bewegt das Lösungsmittelbad und entnimmt die Teile nach der vorgegebenen Zeit. Waschen Sie die Teile gemäß den Einstellungen im Supportartikel Zeiteinstellungen beim Form Wash. Achten Sie besonders auf Informationen zu den mechanischen Eigenschaften oder den Anforderungen an die Biokompatibilität.
Stellen Sie bei Modellen mit Hohlräumen oder internen Kanälen sicher, dass das flüssige Kunstharz gründlich aus allen internen Kanälen und Hohlräumen herausgewaschen wurde. Lassen Sie die Teile vor dem Nachhärten vollständig trocknen.
Nachhärtungsanforderungen
Soft Tissue Resin muss nachgehärtet werden, um seine optimalen mechanischen Eigenschaften zu erreichen.
Empfehlungen für die Nachhärtung finden Sie im Supportartikel Zeit- und Temperatureinstellungen beim Form Cure.
Weitere Ressourcen