
Required supplies:
Formlabs:
- Replacement impeller (RP-WA2-IMP-01)
Third-party:
- 2 mm hex driver
- Small flat-blade screwdriver
- Nitrile gloves
- Solvent storage container (15 L)

Form Wash(第2世代)には、ウォッシュバケット内の溶剤を撹拌して洗浄を補助するインペラーが搭載されています。Form Wash(第2世代)のインペラーが破損すると、カチカチという大きな音がしたり、正常に動作しなくなったりすることがあります。
このガイドを参照し、Form Wash(第2世代)のインペラーを交換してください。
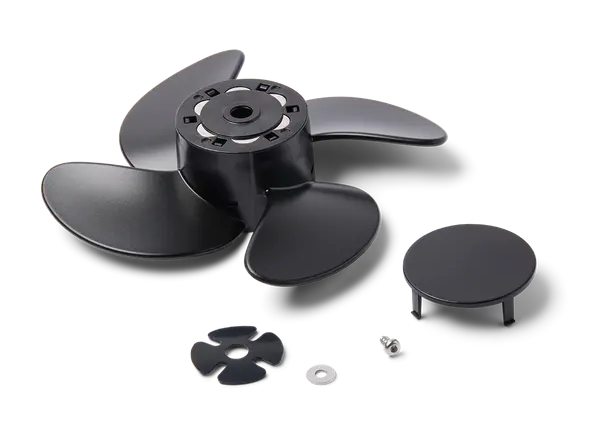
Required supplies:
Formlabs:
Third-party:
推定所要時間: 30分
作業スペースの準備
概要:インペラーを交換するために、Form Washと水平な作業スペースを用意します。
警告:
レジンが肌に触れると、皮膚炎またはアレルギー性皮膚反応の原因になる恐れがあります。液体レジンまたはレジンが付着した表面に触れる際は、必ず手袋を着用してください。レジンが皮膚に付着したら、石鹸と水で念入りに洗い流してください。
Step 1: Raise the Form Wash elevator
Turn the Form Wash knob to select Raise on the display. Push the knob to confirm. The Form Wash raises the elevator and basket out of the wash bucket.
Step 2: Remove the wash bucket and inner lid
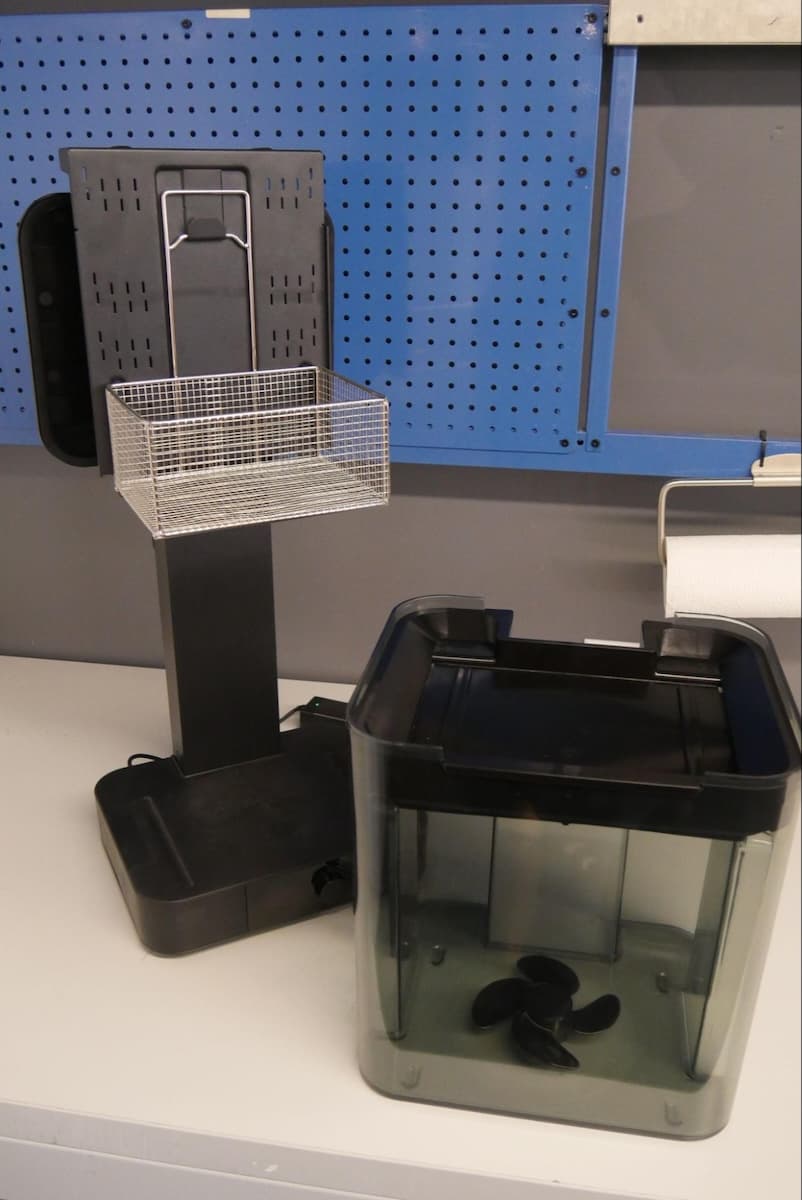
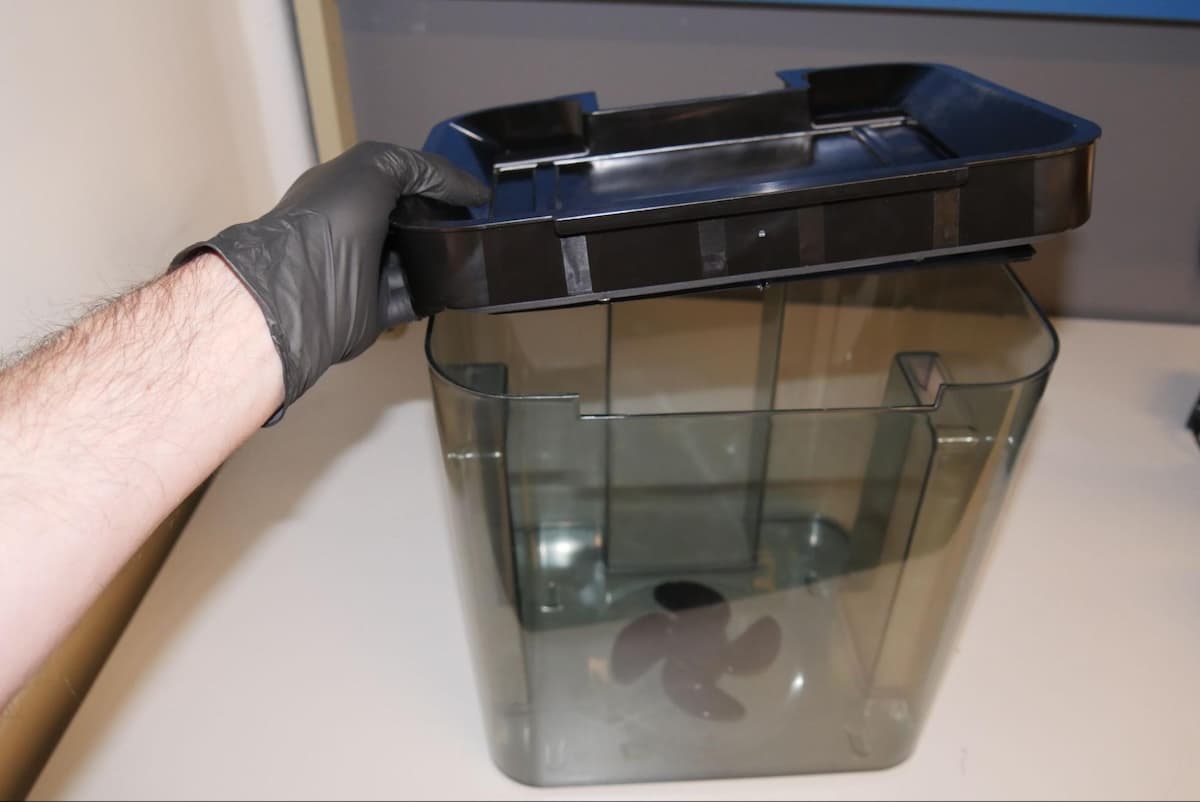
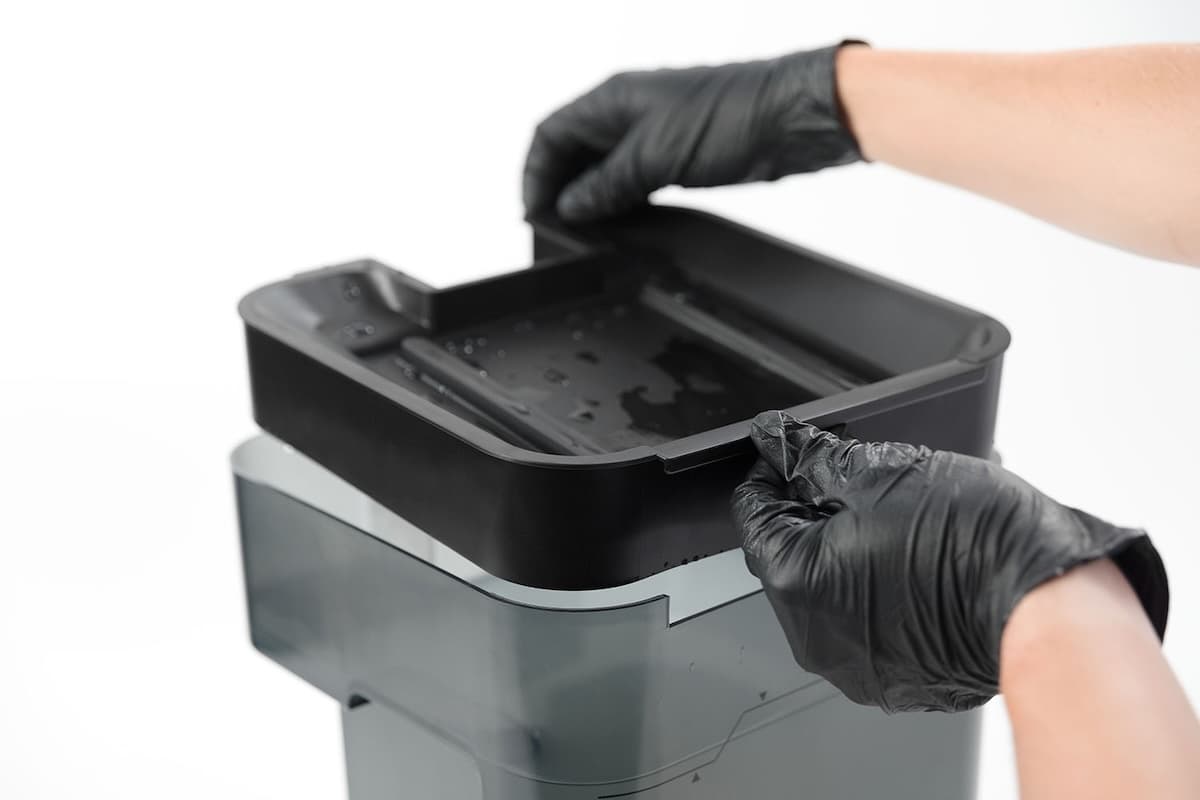
ウォッシュバケットをベース部から取り外し、安定した平らな場所に置きます。内蓋を持ち上げて取り出し、脇に置いておきます。
ステップ3:使用済み溶剤を空の容器に移す
洗浄バケットから容量15L以上の空の容器に溶剤を注ぐか、サイフォンで吸い上げます。
危険:
イソプロピルアルコールは可燃性です。容器は必ず蓋が閉じた状態で、お子様の手が届かないところで保管してください。
ステップ4:洗浄バケットをすすぐ
洗浄バケットを水ですすぎ、残ったレジンをペーパータオルで拭き取ります。
インペラーの交換
Overview: Remove the impeller and install the replacement impeller.
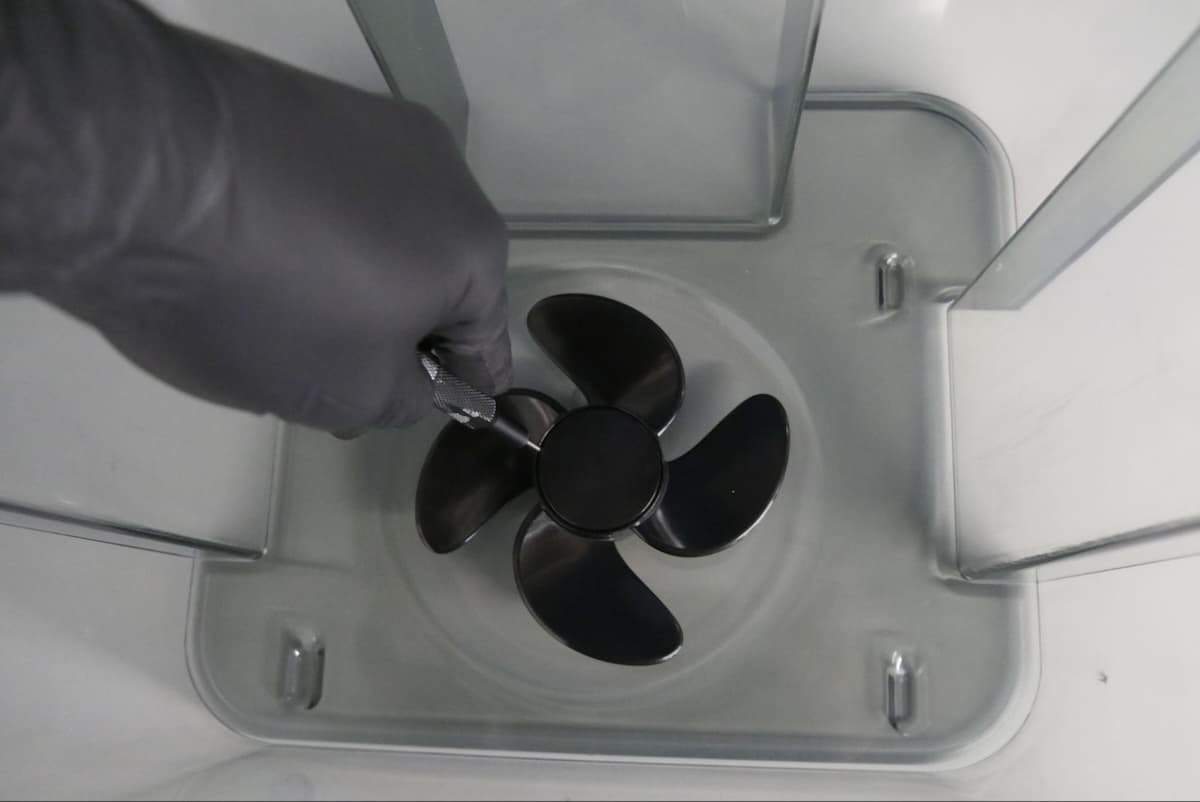
Using a small flat-blade screwdriver or other similar tool, pry the cap loose from the impeller.
Step 2: Remove the impeller
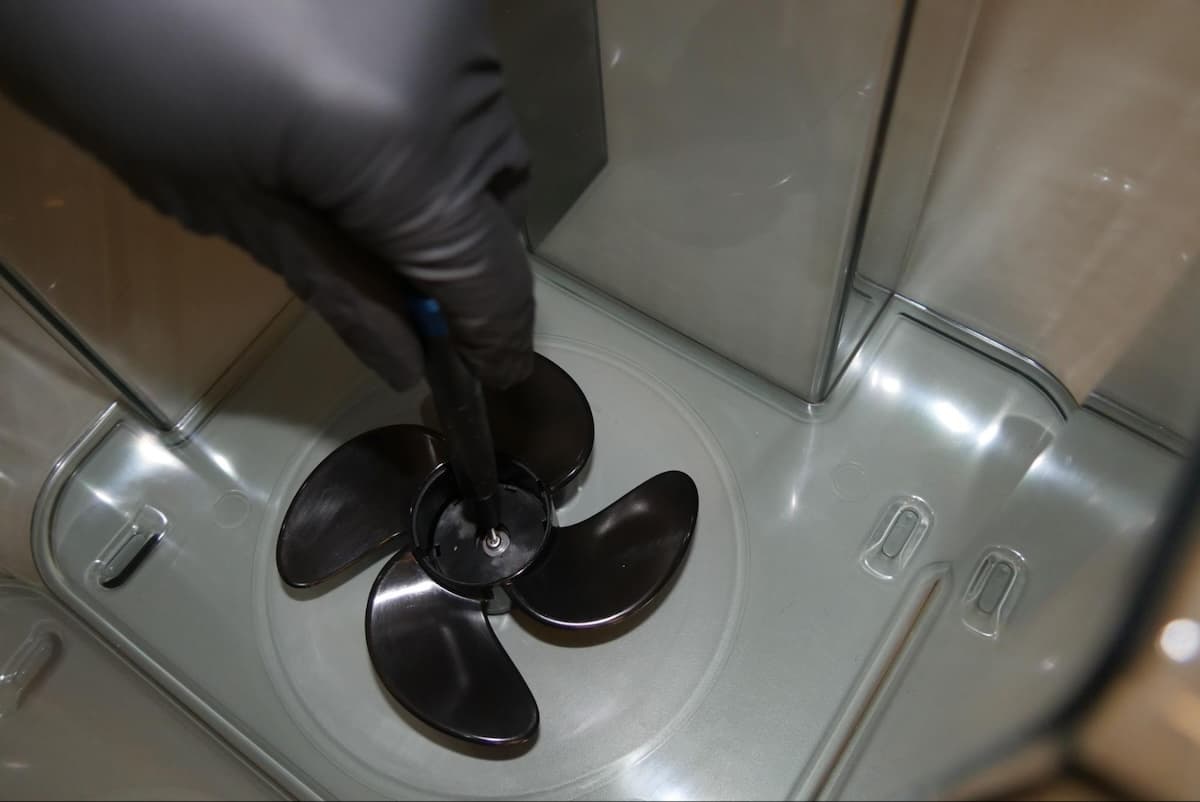
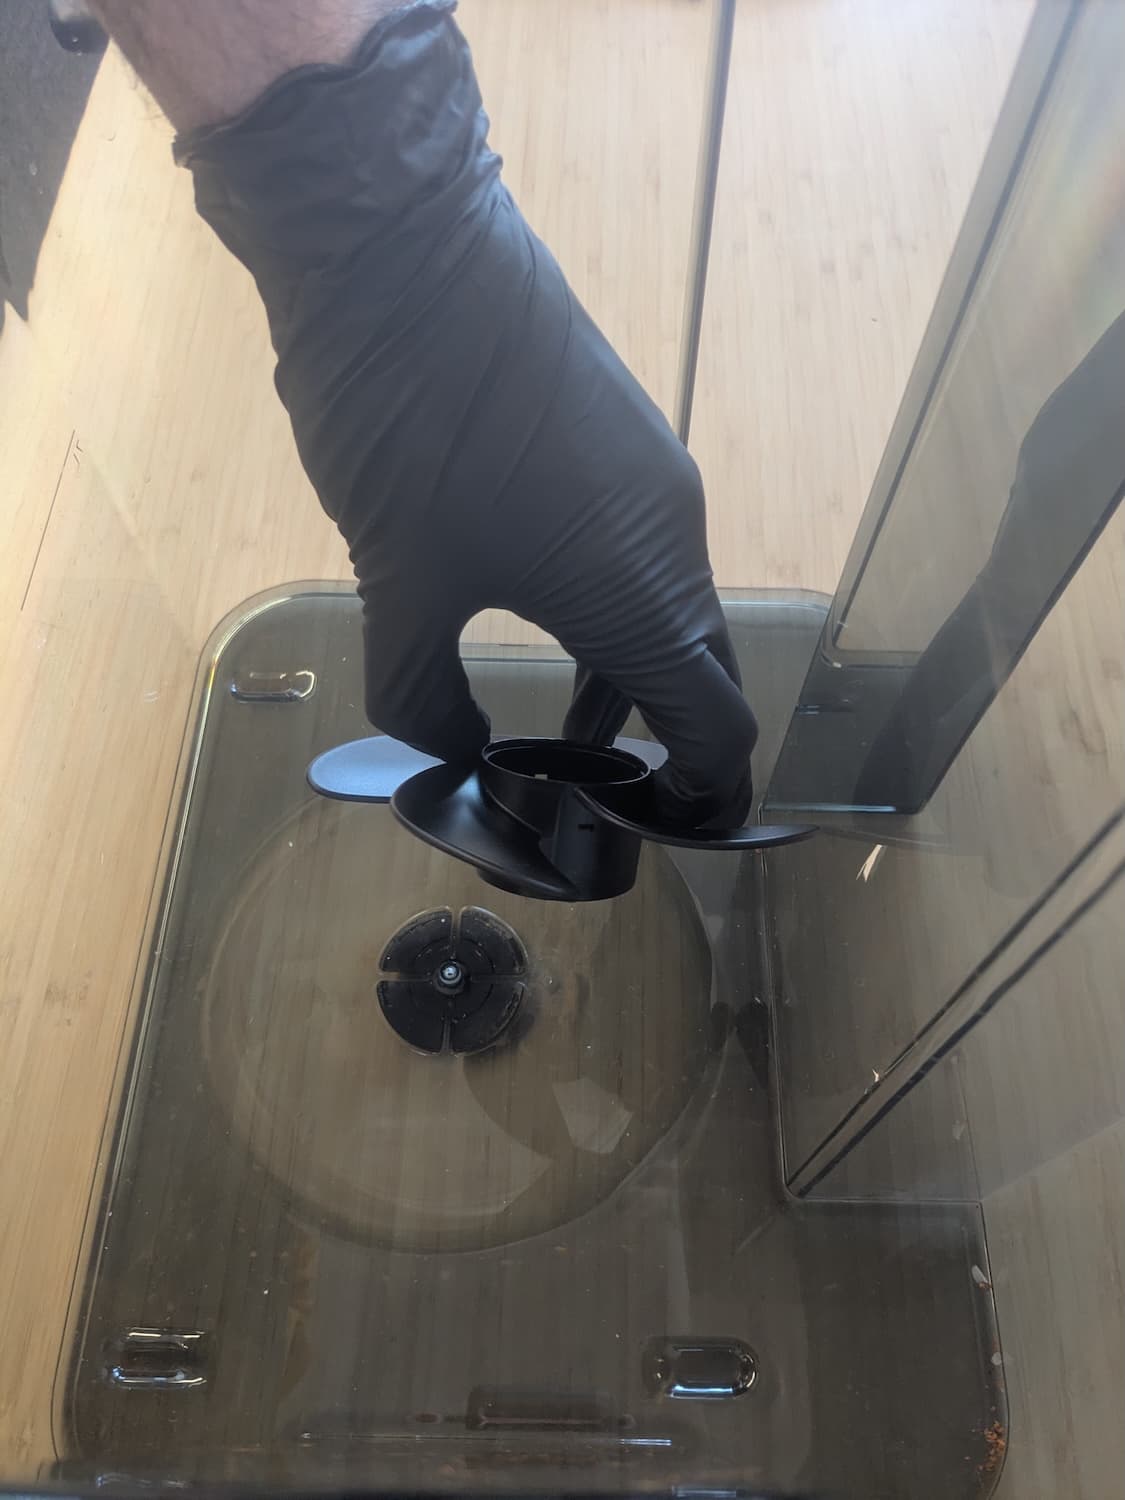
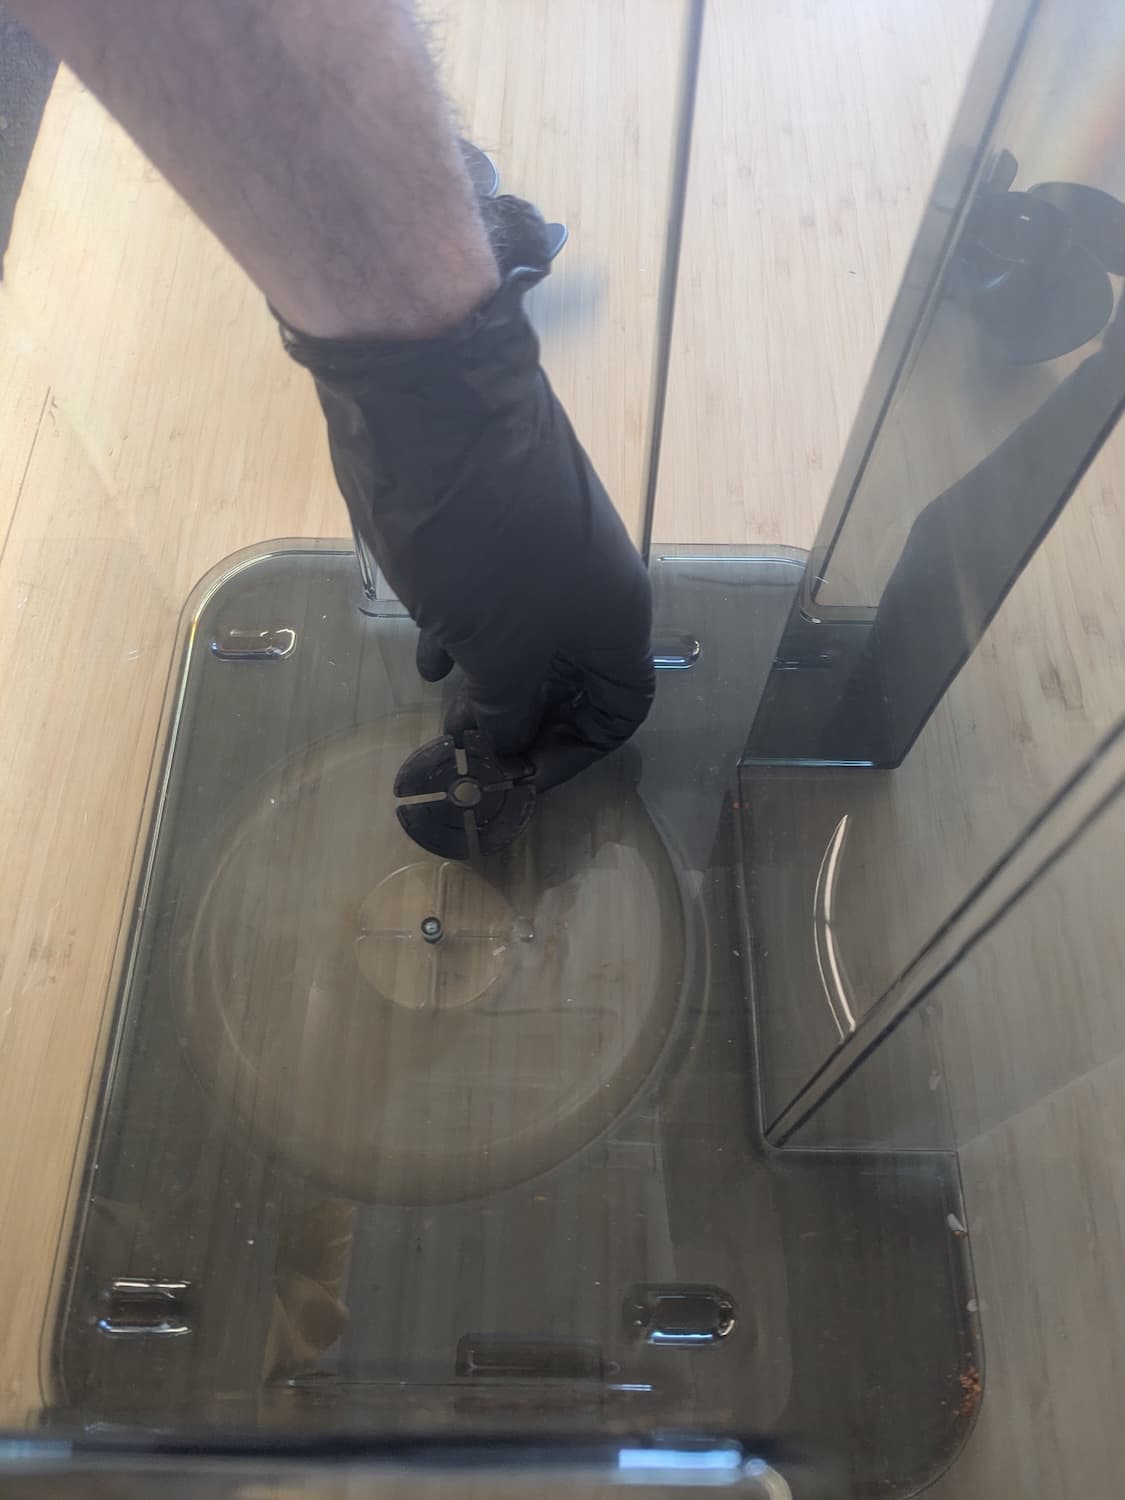
The impeller is secured by one screw with a washer. Use a 2 mm hex driver to remove the screw. Remove the washer, the impeller, and the flat four-lobed bearing below the impeller. Set the components aside for disposal.
Step 3: Install the replacement impeller
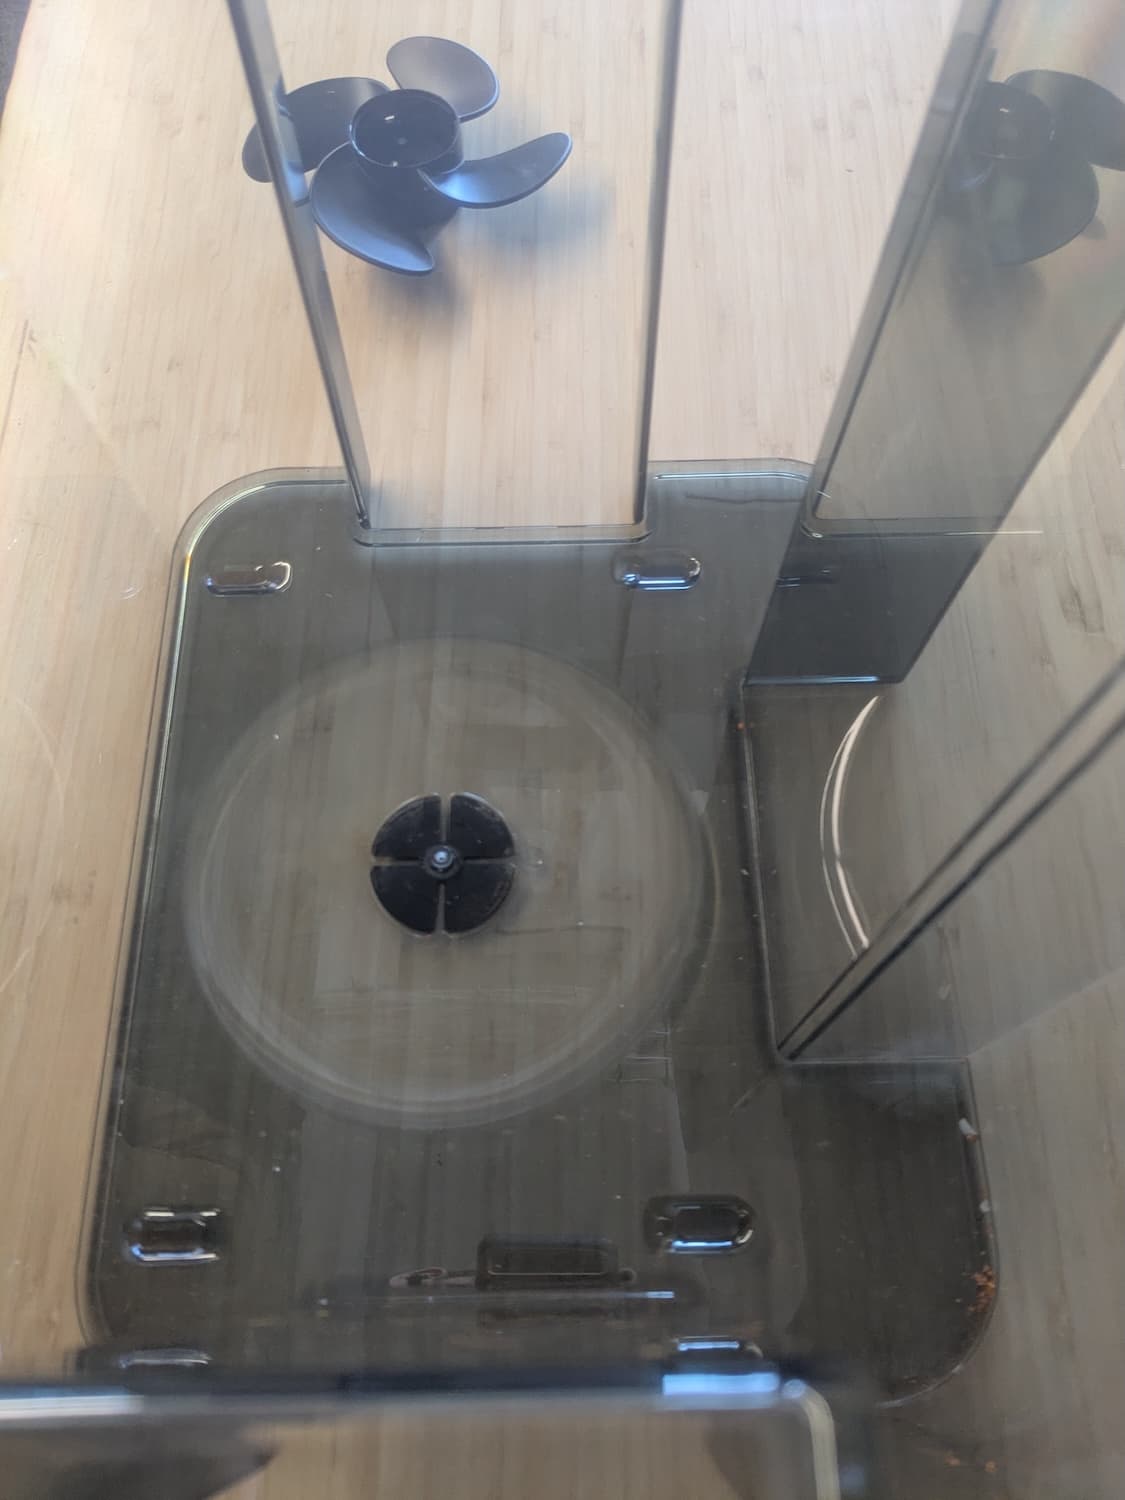
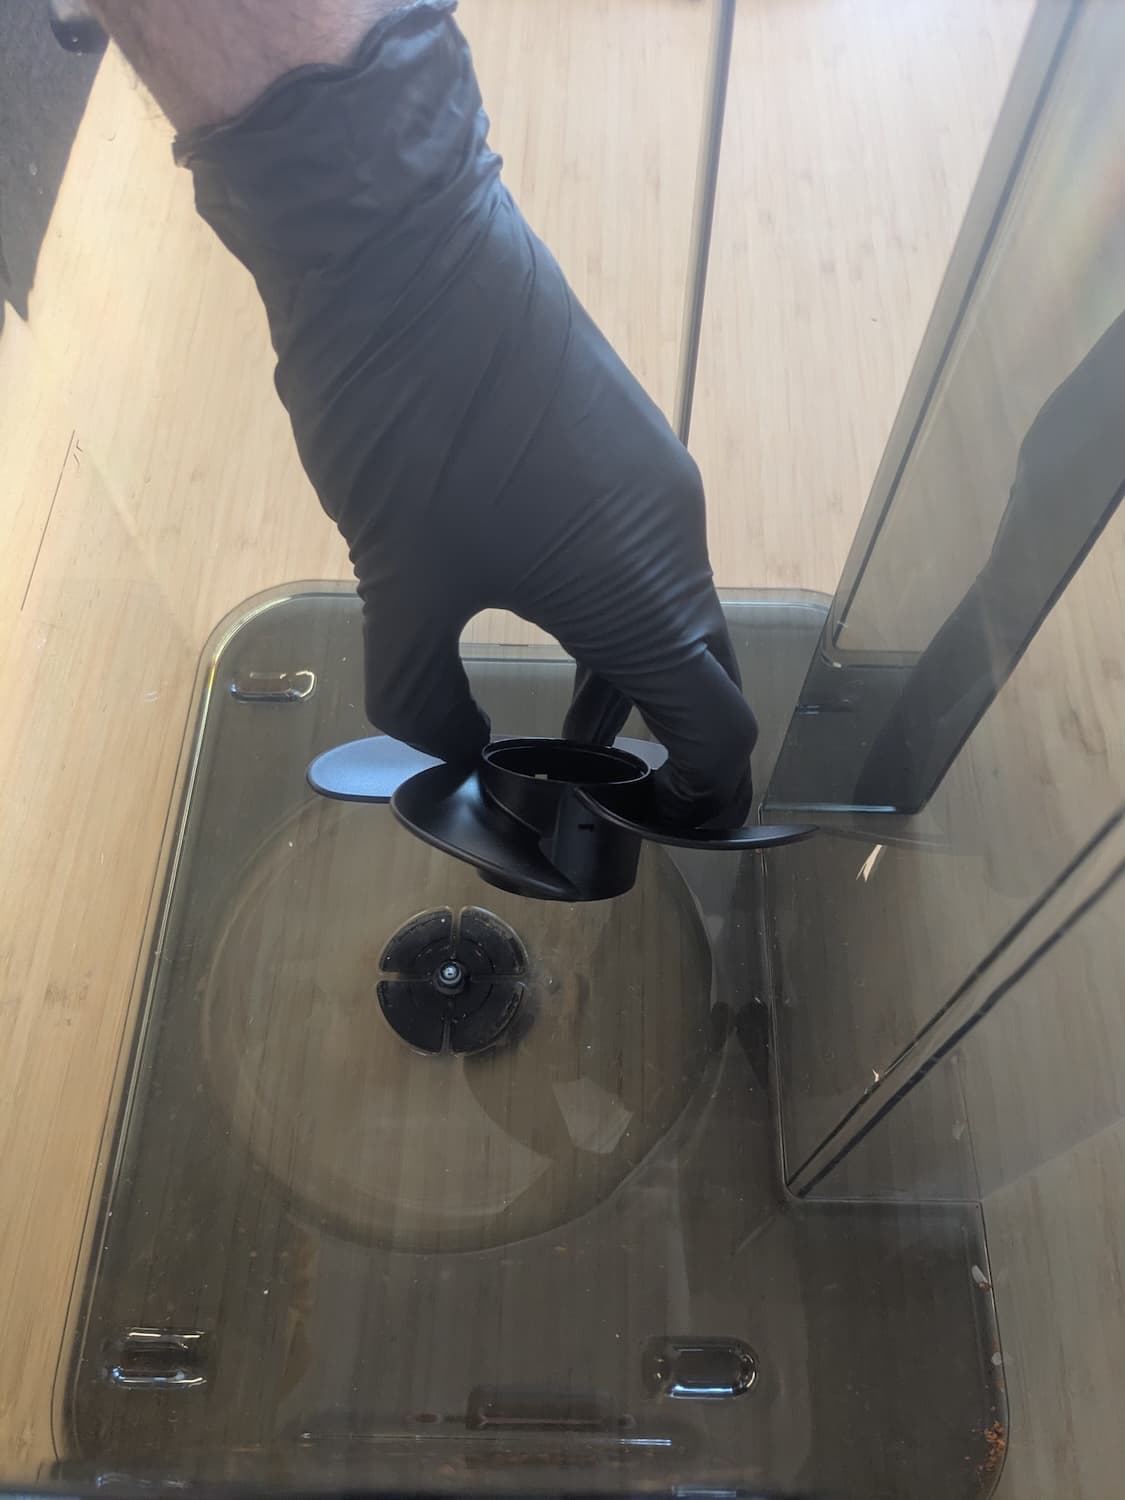
The wash bucket has an engraved depression shaped to hold the flat four-lobed bearing. Place the new bearing into this depression. Insert the new impeller into the wash bucket. Align the impeller’s screw hole with the corresponding screw hole in the wash bucket. The impeller should sit flat against the bottom of the wash bucket.
Step 4: Reinstall the impeller screw
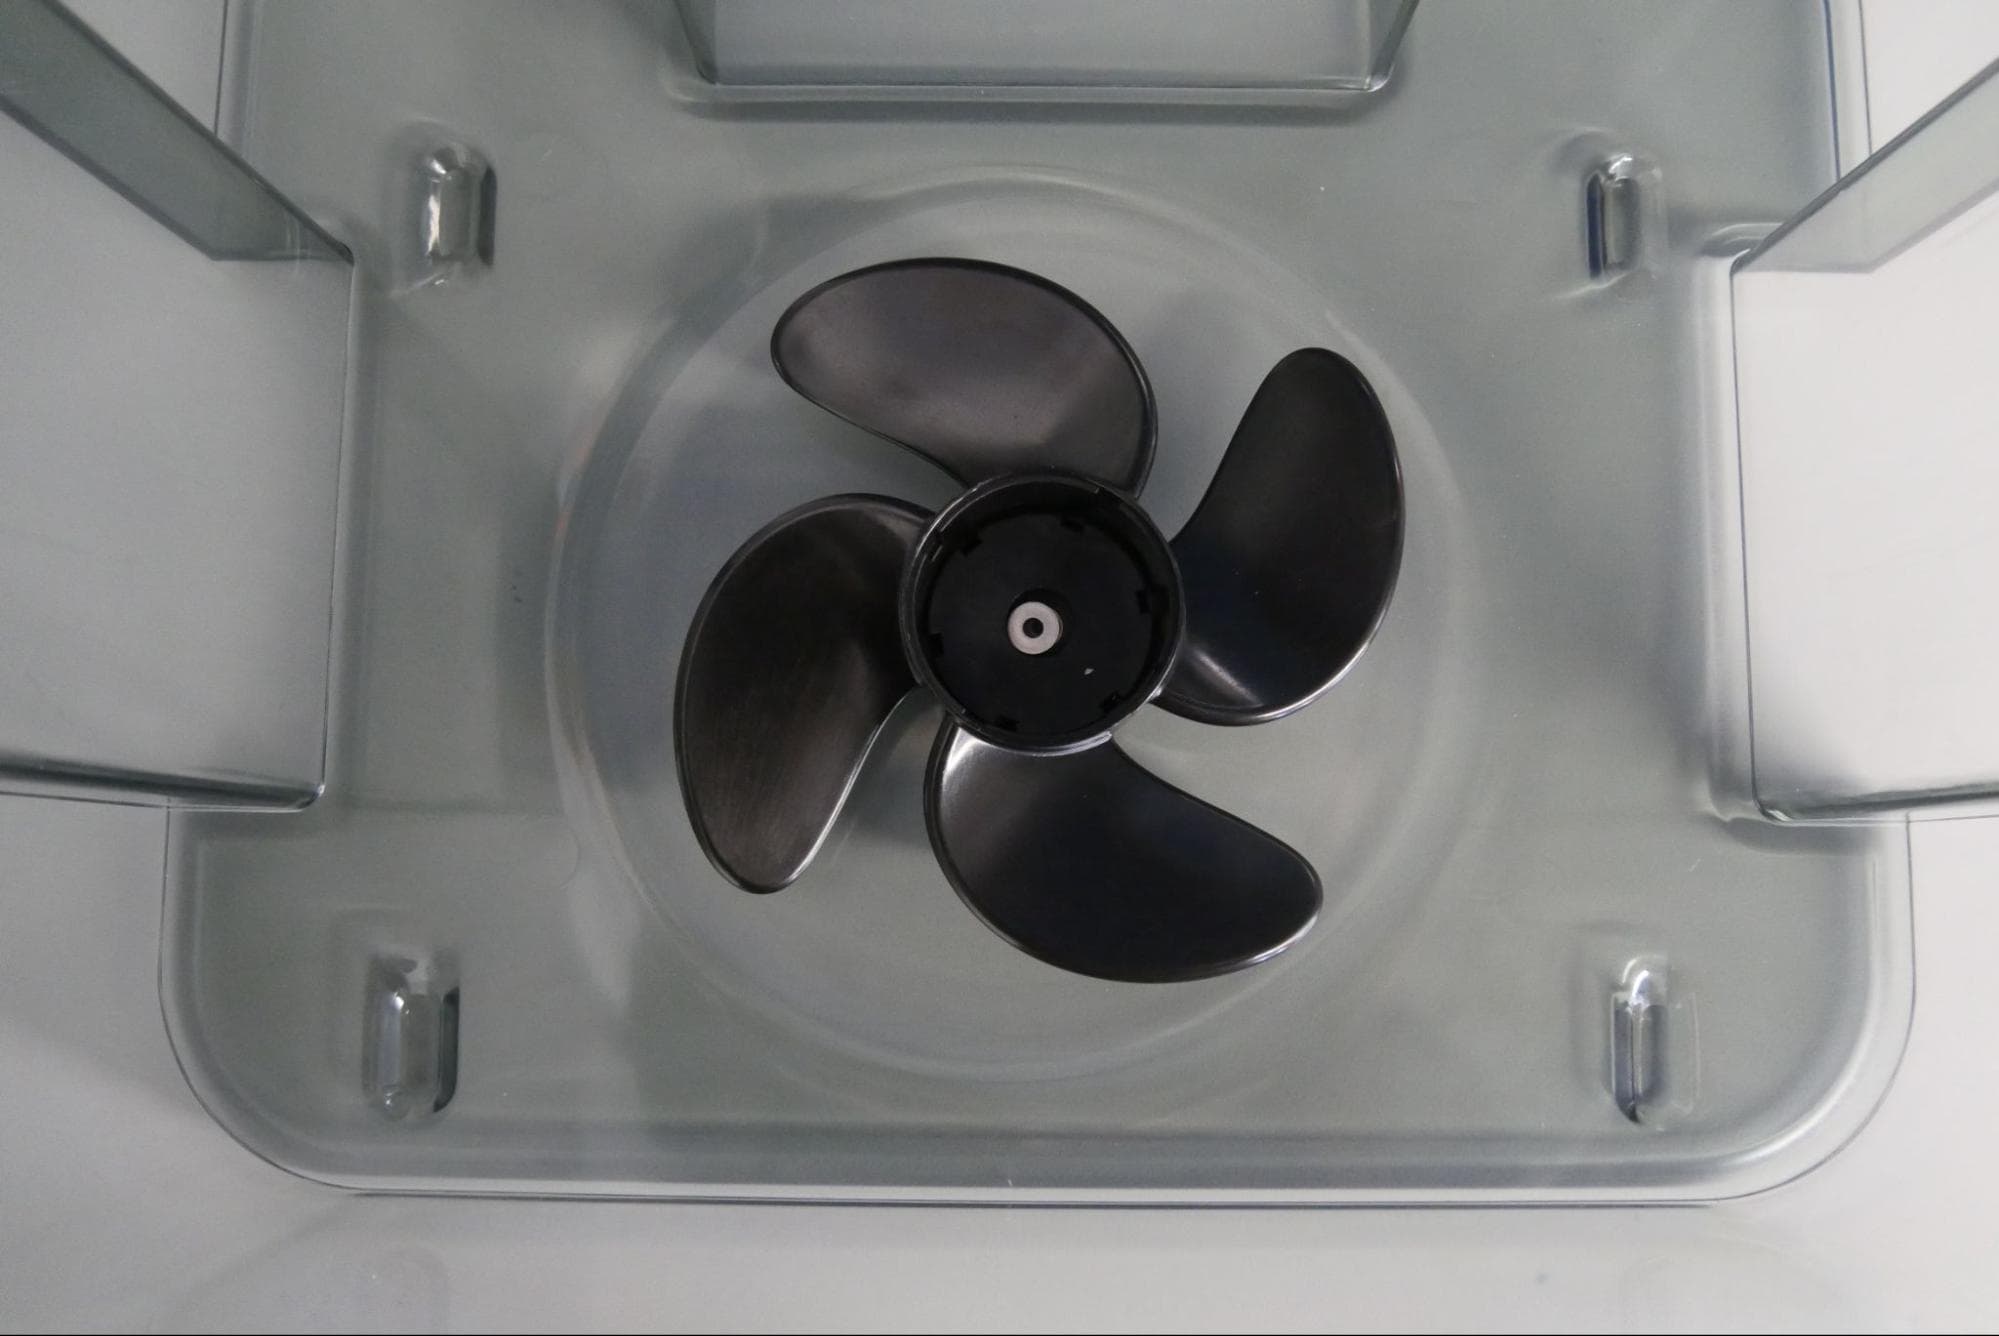
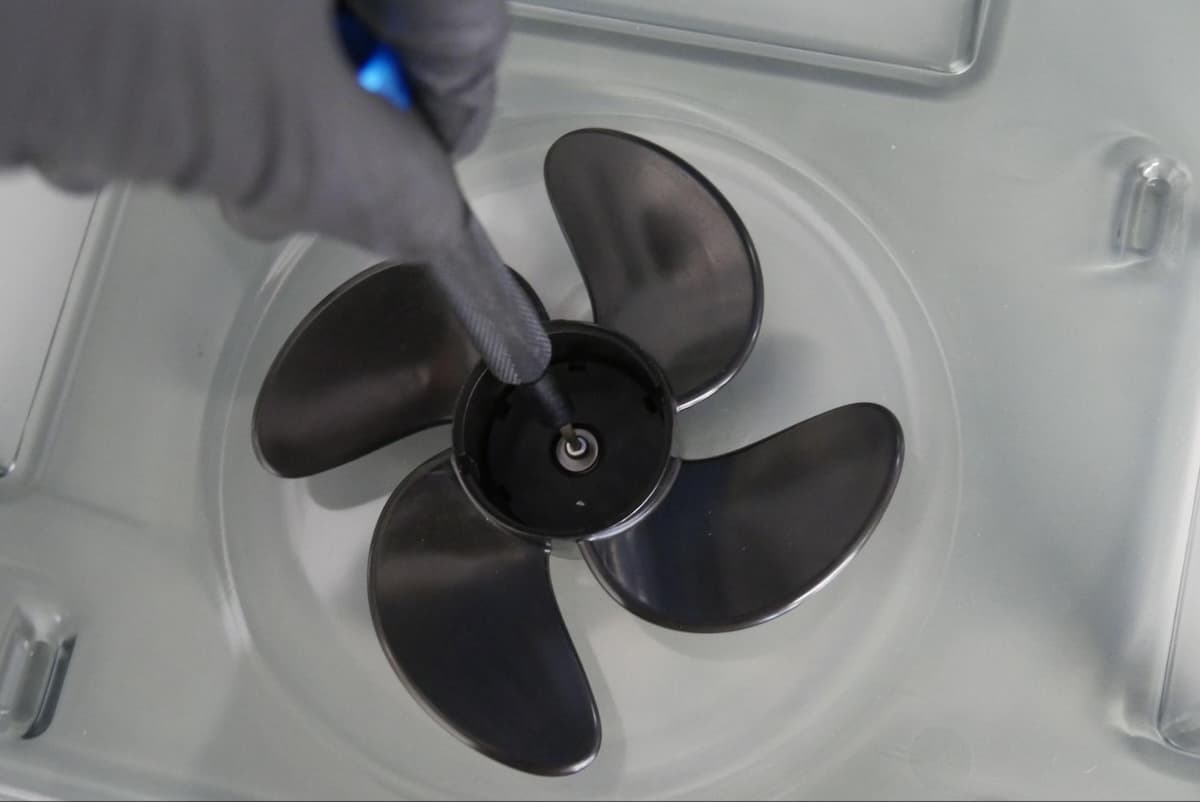
Place the washer onto the impeller’s screw hole. Thread the screw into the Form Wash impeller’s screw hole. Using a 2 mm hex driver, tighten the screw until finger tight. Take care to not overtighten or strip the plastic threads in the wash bucket.
Spin the impeller by hand. It should spin freely. If it does not, loosen the screw half a turn and check again. Repeat as needed.
Align the posts on the impeller cap with the grooves of the impeller. Gently press the impeller cap into place.
修理を完了する
Overview: After installing the new impeller, power on the machine and perform final checks.
Step 1: Refill the wash bucket
Refill the wash bucket to your desired fill level.
Align the front edge of the inner lid with the wash bucket’s edge and lower the inner lid directly into the top of the wash bucket.
Insert the wash bucket into the Form Wash.
Turn the Form Wash knob to select Lower on the display. Push the knob to confirm. The Form Wash lowers the elevator and basket into the wash bucket.
Step 5: Test the repair
Turn the knob to navigate the display menu and set the Time. Push the knob to select or confirm. Select Start. Check to see that the wash cycle starts normally and that the Form Wash does not make any unusual noises and that the impeller is moving properly. Contact Formlabs Support or your authorized reseller to share the results of the procedure.