WHITE PAPER
Formlabs Logo

Aligning the Form 3L lasers

Aligning the Form 3L lasers

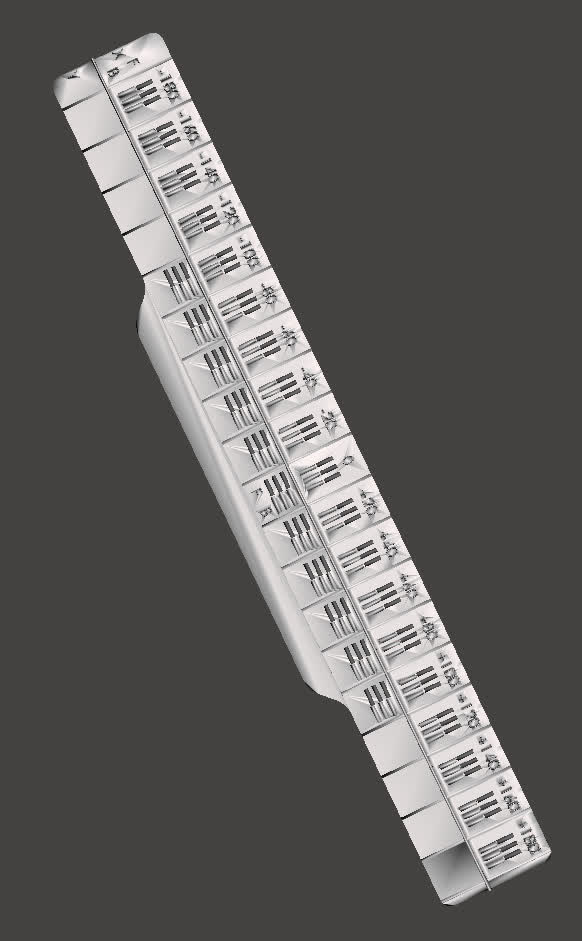
The Form 3L has two lasers that must align well with each other in order to produce accurate printed parts with good surface quality, particularly along the line where the two lasers meet. The printer performs regular self-tests to correct for most misalignments, but certain types of laser misalignments require additional calibration.

Use this guide to print the Laser Alignment Print (LAP), interpret it, and calibrate your Form 3L.

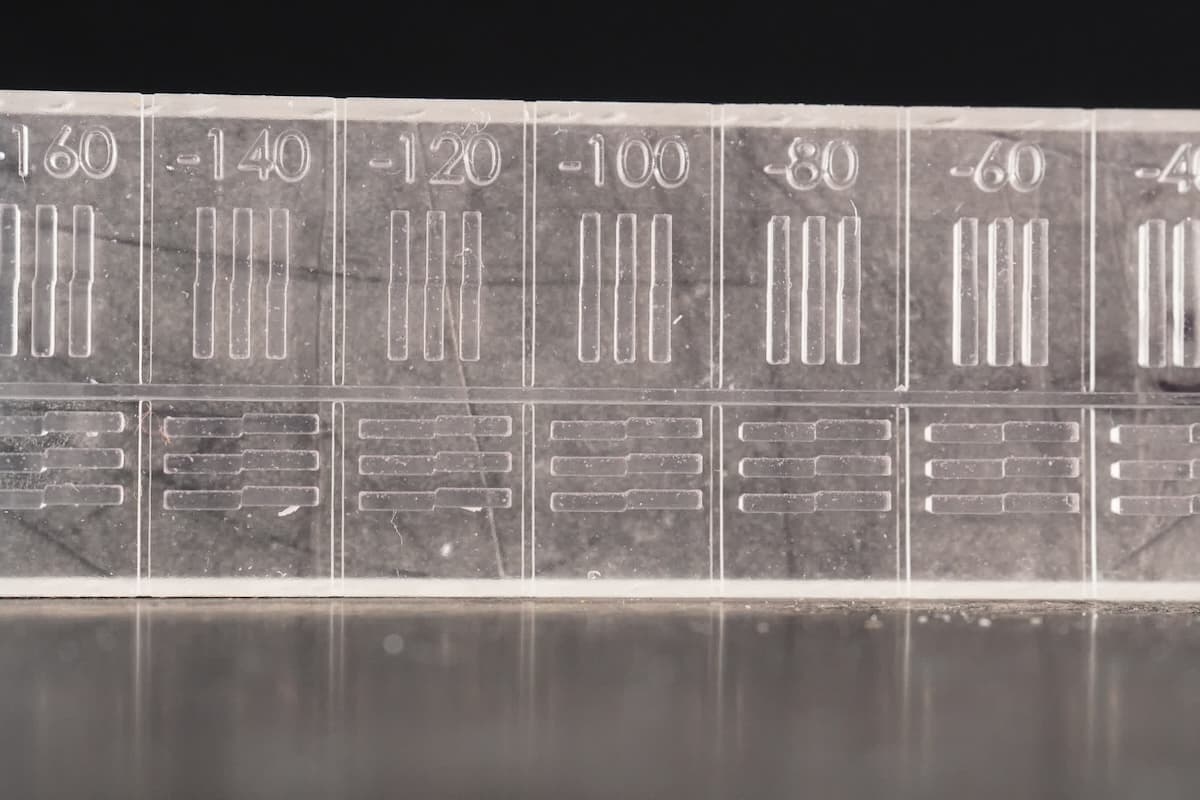
f3l-lap-example.jpg

Required Supplies:

  • Form 3L/Form 3BL 3D printer
  • Form 3L Build Platform
  • Form 3L Resin Cartridge
    • Tough 2000 Resin V1, Grey Resin V4, or Clear Resin V4 is required. Of these, only Tough 2000 Resin V1 is still available for purchase on the Formlabs Store. If you do not have one of these resins available, please inform Formlabs Support.
  • Form 3L Resin Tank (unused or matching your resin cartridge)
  • Magnifying glass or other form of magnification
  • Clean solvent (e.g., IPA or TPM)
  • Nitrile gloves

Estimated time: 1.5–2 hours

NOTICE:

Wear gloves during this procedure. Wash skin with hand soap and water after handling resin. Do not use IPA to remove resin from skin.

Preparing the workspace

Overview: Prepare the printer and a dust-free workspace for printing the Laser Alignment Print.

Step 1: Remove any previous prints

If the printer recently completed another print, remove the build platform and printed part and clean the printer as necessary.

Step 2: Insert consumables

Insert the resin tank, resin cartridge, and a clean build platform. Lower the cam handle to lock the build platform in place. Close the printer cover and press open the cartridge vent cap.

Printing the Laser Alignment Print

Overview: Print and wash the Laser Alignment Print before using it to calibrate your printer.

Step 1: Print the LAP

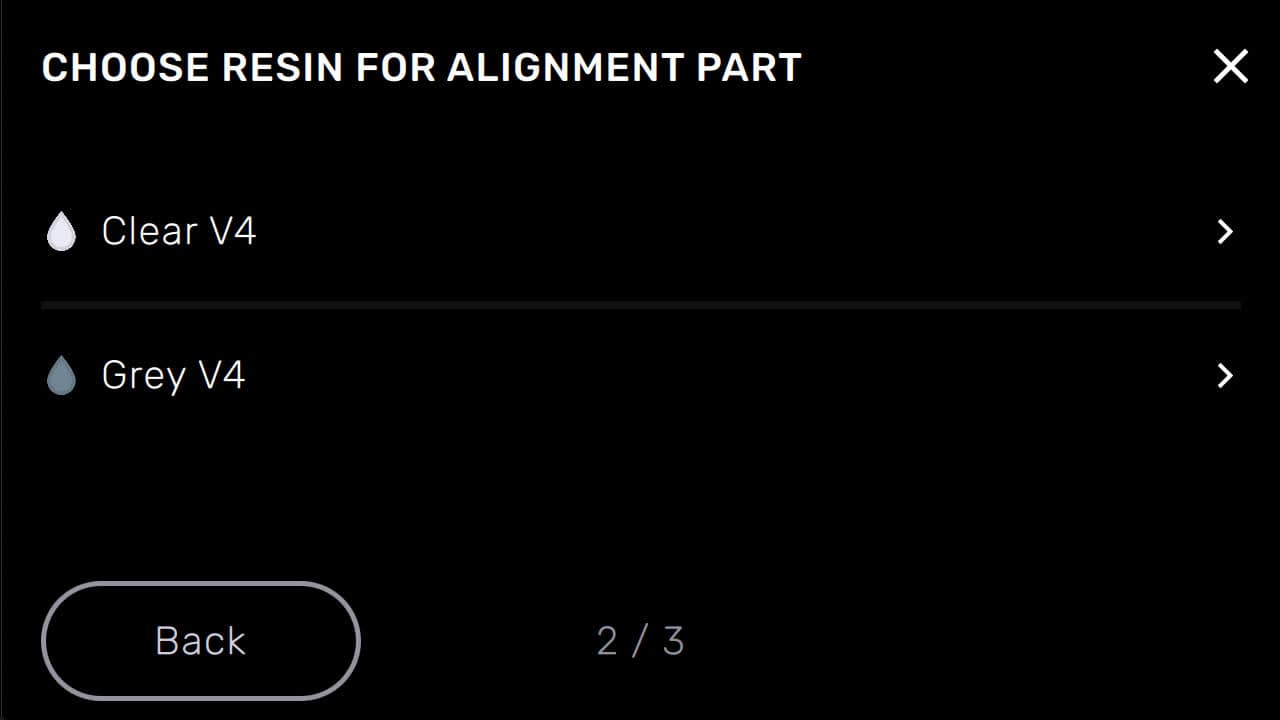
f3l-lap-choose-resin.jpg
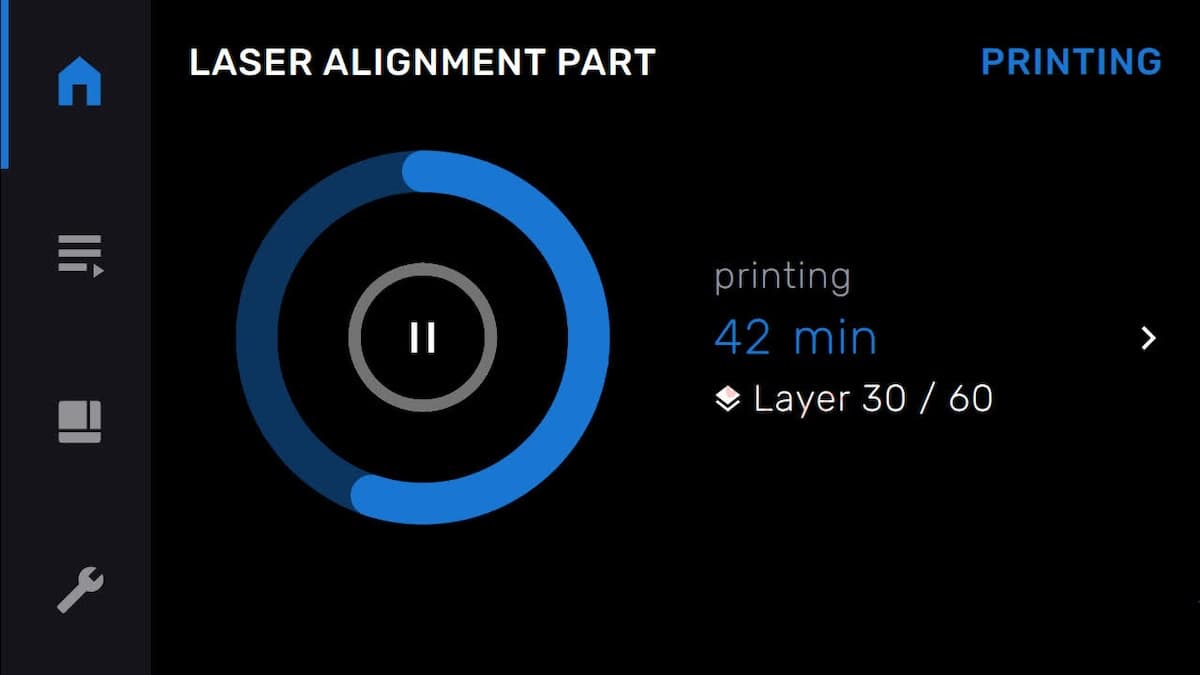
f3l-lap-printing.jpg

With the printer plugged in and powered on, tap the wrench icon to enter the Settings menu, then tap Maintenance > Calibration > Calibrate Laser Alignment > Print Test Part. Select your resin type and start the print job. It should take roughly one hour to finish printing.

Step 2: Wash the LAP

Wash the LAP in your solvent of choice and allow it to dry while still attached to the build platform.

Inspecting the Laser Alignment Print

Overview: After washing the Laser Alignment Print, examine the embossed bars on the printed part.

Step 1: Examine the X-axis bars

Locate the set of X-axis bars on the LAP. The X-axis bars are oriented perpendicular to the long axis of the LAP, directly next to the number markings. An embossed X is located at the left end of the set of X-axis bars.

f3l-lap-x-axis-bars.jpg

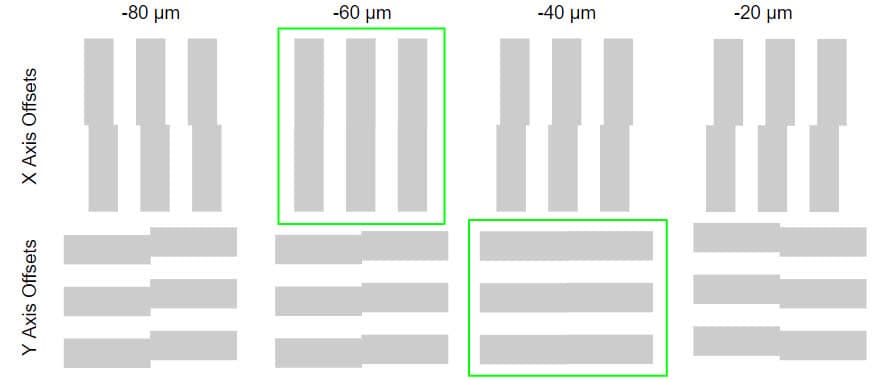
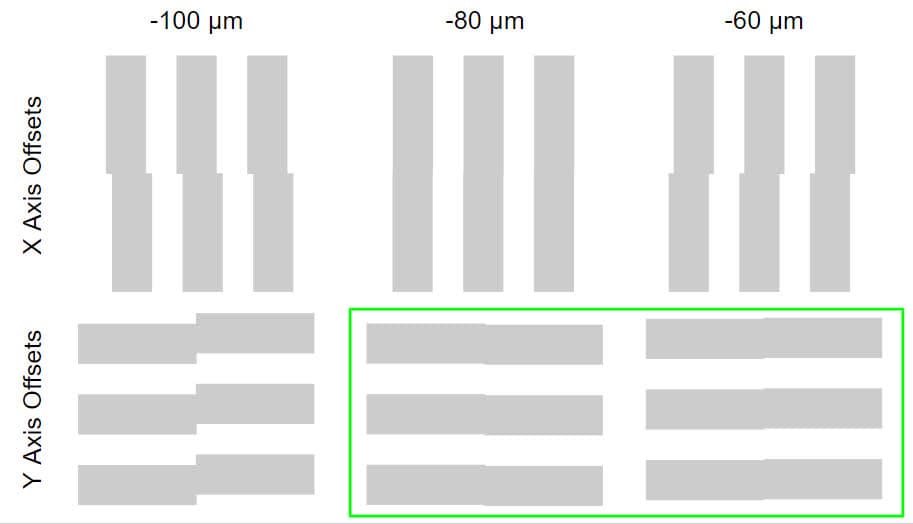
Using a magnifying glass or other source of magnification, select the offset that best aligns the two halves of the bars. If two neighboring sets of bars look roughly equivalent to one another, the midpoint offset value should be considered the correct alignment. In the example below, the -60 μm offset shows the best alignment.

f3l-lap-x-axis-best-alignment.jpg

Record the offset that best aligns the bars.

Step 2: Examine the Y-axis bars

Locate the set of Y-axis bars on the LAP. The Y-axis bars are oriented parallel to the long axis of the LAP. An embossed Y is located at the left end of the set of Y-axis bars.

Using a magnifying glass or other source of magnification, select the offset that best aligns the two halves of the bars. If two neighboring sets of bars look roughly equivalent to one another, the midpoint offset value should be considered the correct alignment. In the example below, the -80 μm offset and -60 μm offset show equivalently good alignment. The proper offset would then be -70 μm.

f3l-lap-y-axis-best-alignment.jpg

Record the offset that best aligns the bars.

Calibrating the printer

Overview: After determining the correct offsets using the LAP, input the offsets on the printer’s touchscreen.

Step 1: Open the Laser Alignment menu

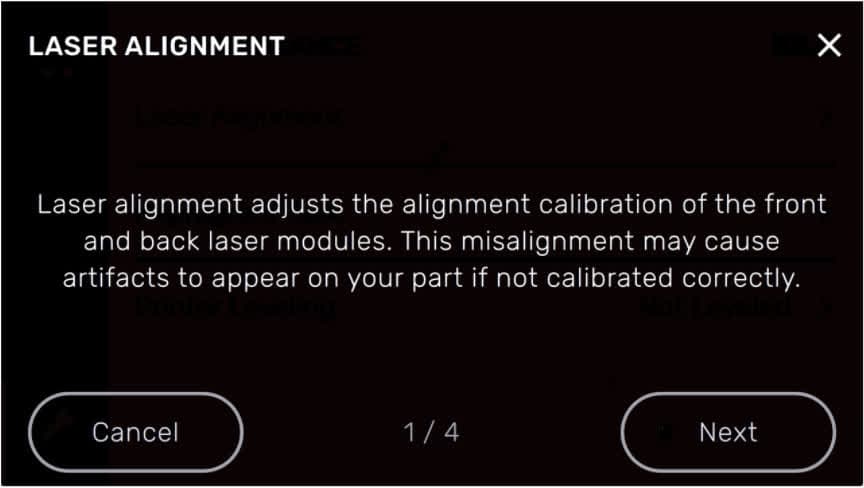
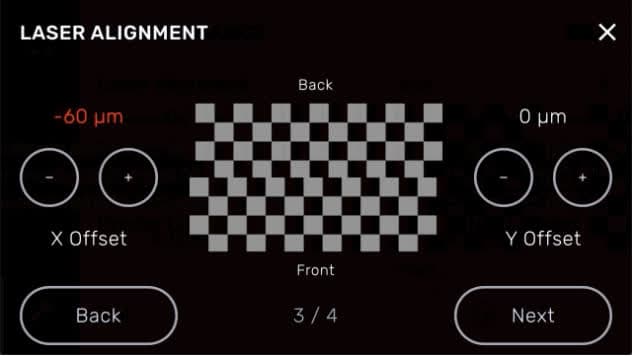
With the printer plugged in and powered on, tap the wrench icon to enter the Settings menu, then tap Maintenance > Calibration > Calibrate Laser Alignment > Enter Calibration Values. Read the on-screen instructions. Tap Next until you reach a screen with options to change the X Offset and Y Offset.

f3l-lap-menu.jpg

Step 2: Input the X Offset

Using the + and - buttons labeled X Offset, input the correct X-axis offset from the LAP. Tapping the + and - button changed the offset in increments of 10 μm, up to ±300 μm.

f3l-lap-x-offset.jpg

Step 3: Input the Y Offset

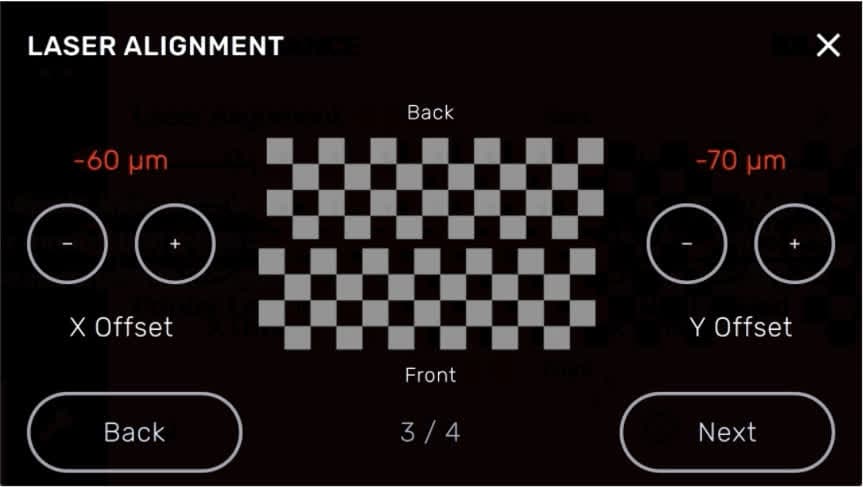
Using the + and - buttons labeled Y Offset, input the correct Y-axis offset from the LAP. Tapping the + and - button changed the offset in increments of 10 μm, up to ±300 μm.

f3l-lap-y-offset.jpg

Note:

Any changes to the calibration values are not applied to the LAP. The LAP prints as is, even if laser alignment is adjusted.

Step 4: Complete the calibration

When both offset values are correct, tap Next to save them to the printer. Tap Done to complete the calibration procedure and return to the Maintenance screen.

Finalizing the repair

Overview: After calibrating the printer, print a test print and perform final checks.

Step 1: Print a test print

Run a short test print of your choice. Note that any changes to the laser alignment do not apply to the LAP. Clean the printed parts and assess their accuracy and surface quality relative to parts printed before the calibration. Contact Formlabs Support or your authorized reseller if you have any additional questions.