
Caution:
Do not use compressed air or an air gun to clean the print enclosure, build chamber, or any other component. Mobilizing loose powder increases the risk of unintentional inhalation or ingestion.

The Fuse 1’s touchscreen displays a live feed of the print enclosure. To capture the print progress in real time, a camera is embedded in the ceiling of the print enclosure that points down through the optical cassette at the chamber bed. Clean the camera lens after 500 hours of printing to maintain a visual feed of the print enclosure.

Caution:
Do not use compressed air or an air gun to clean the print enclosure, build chamber, or any other component. Mobilizing loose powder increases the risk of unintentional inhalation or ingestion.
Required supplies
Estimated time: 15 minutes
To remove contamination:
Cleaning the camera lens with ethanol
Remove the optical cassette for easier access to the camera lens before cleaning.
Step 1: Put on gloves
Put on a clean pair of nitrile gloves. Powder, skin oils, and other contaminants may smudge the lens or glass.
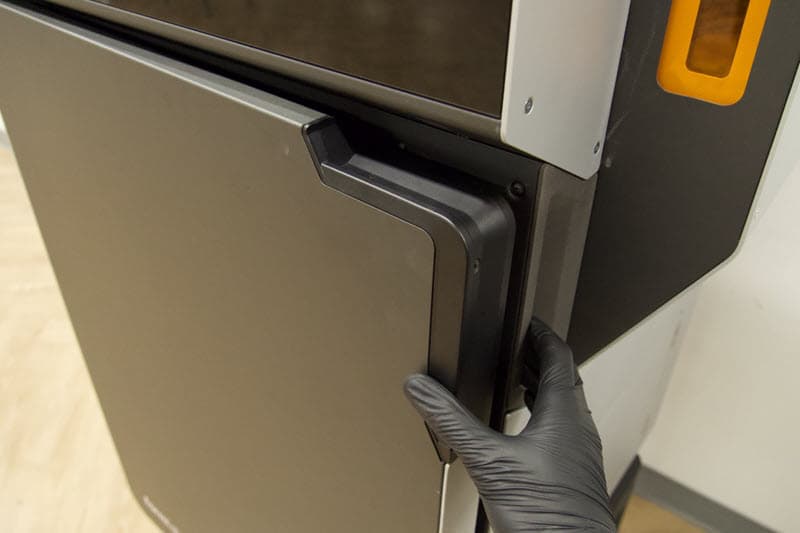
Step 2: Open the print enclosure door
On the touchscreen, drag the Unlock Door slider. The print enclosure door unlocks. Open the print enclosure door.
Step 3: Open the cassette tray
On the ceiling of the print enclosure, loosen the thumb screw in the front-center of the printer cavity. The cassette tray swings down.

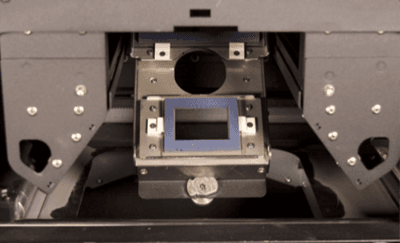
Step 4: Remove the optical cassette
Slide the optical cassette out of the cassette tray for easier access to the camera lens.
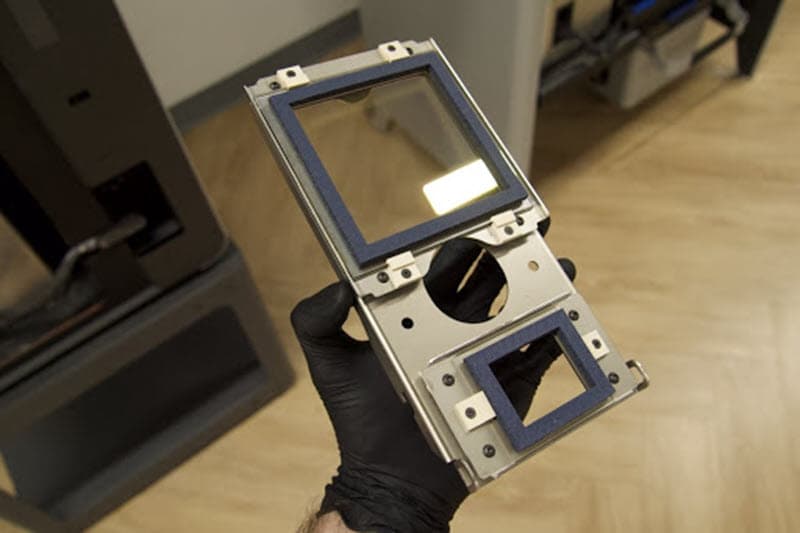
Step 5: Set the optical cassette aside
Set the optical cassette aside on a clean, flat surface with the blue gaskets facedown. Ensure that nothing is directly touching the glass of the optical cassette.
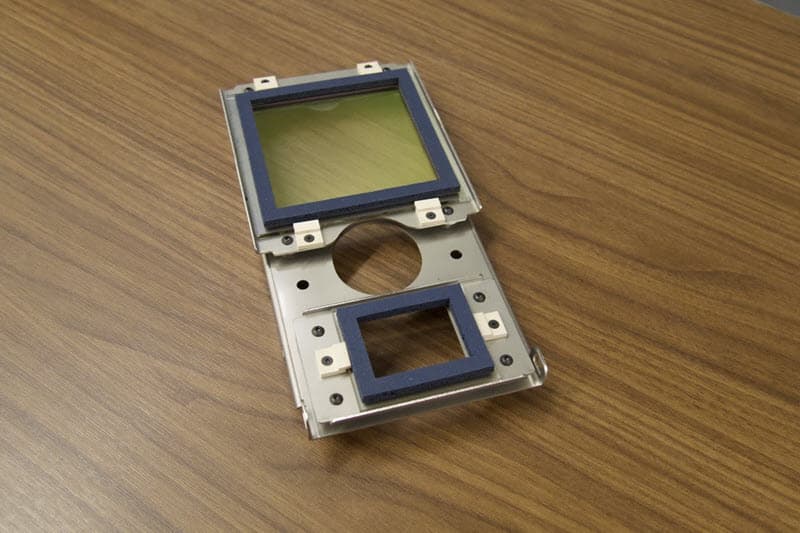
Step 6: Close the cassette tray
Return the cassette tray to its closed position without the optical cassette and tighten the thumb screw. This provides easier access to the upper laser window. Tighten the thumb screw to lock the cassette tray in place.

Step 7: Locate the camera lens
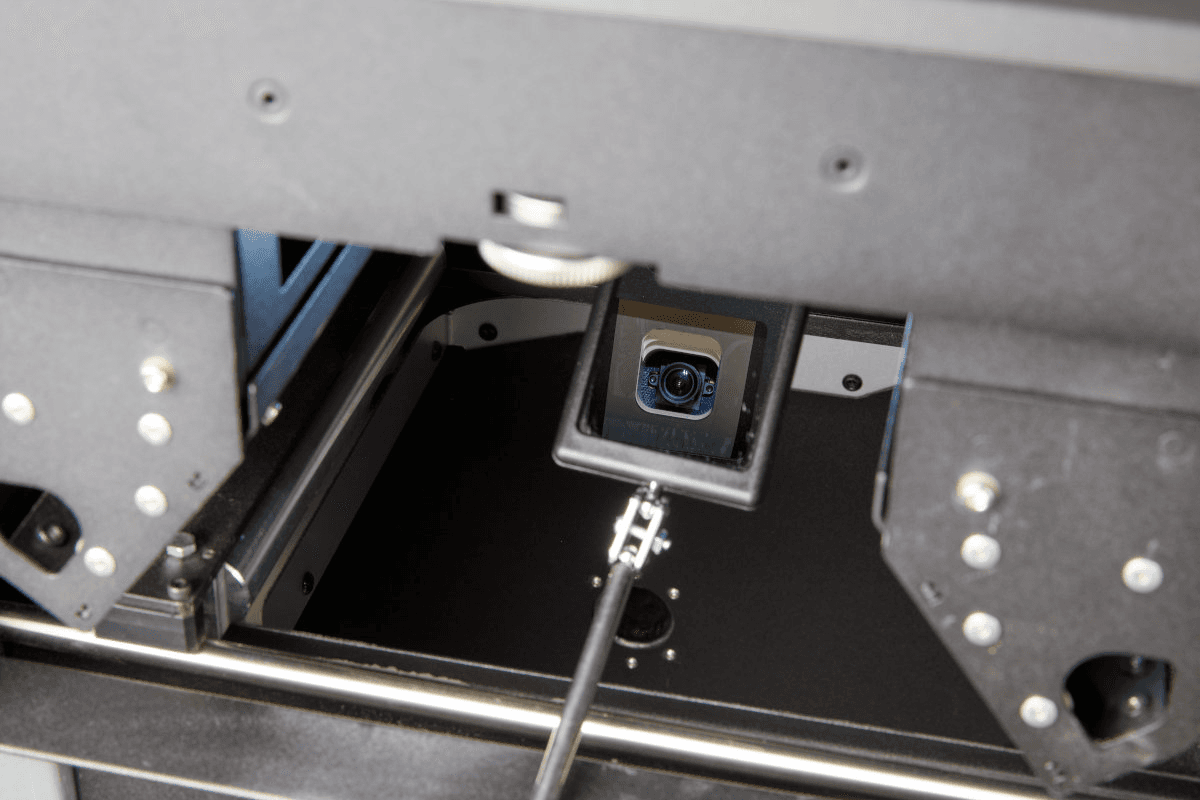
Using the provided mirror wand, visually locate the camera lens. The lens corresponds to the smaller window of the optical cassette.
Tip:
Remember the position of the camera lens for later in the procedure.
Step 8: Wet a cloth polyester swab with ethanol
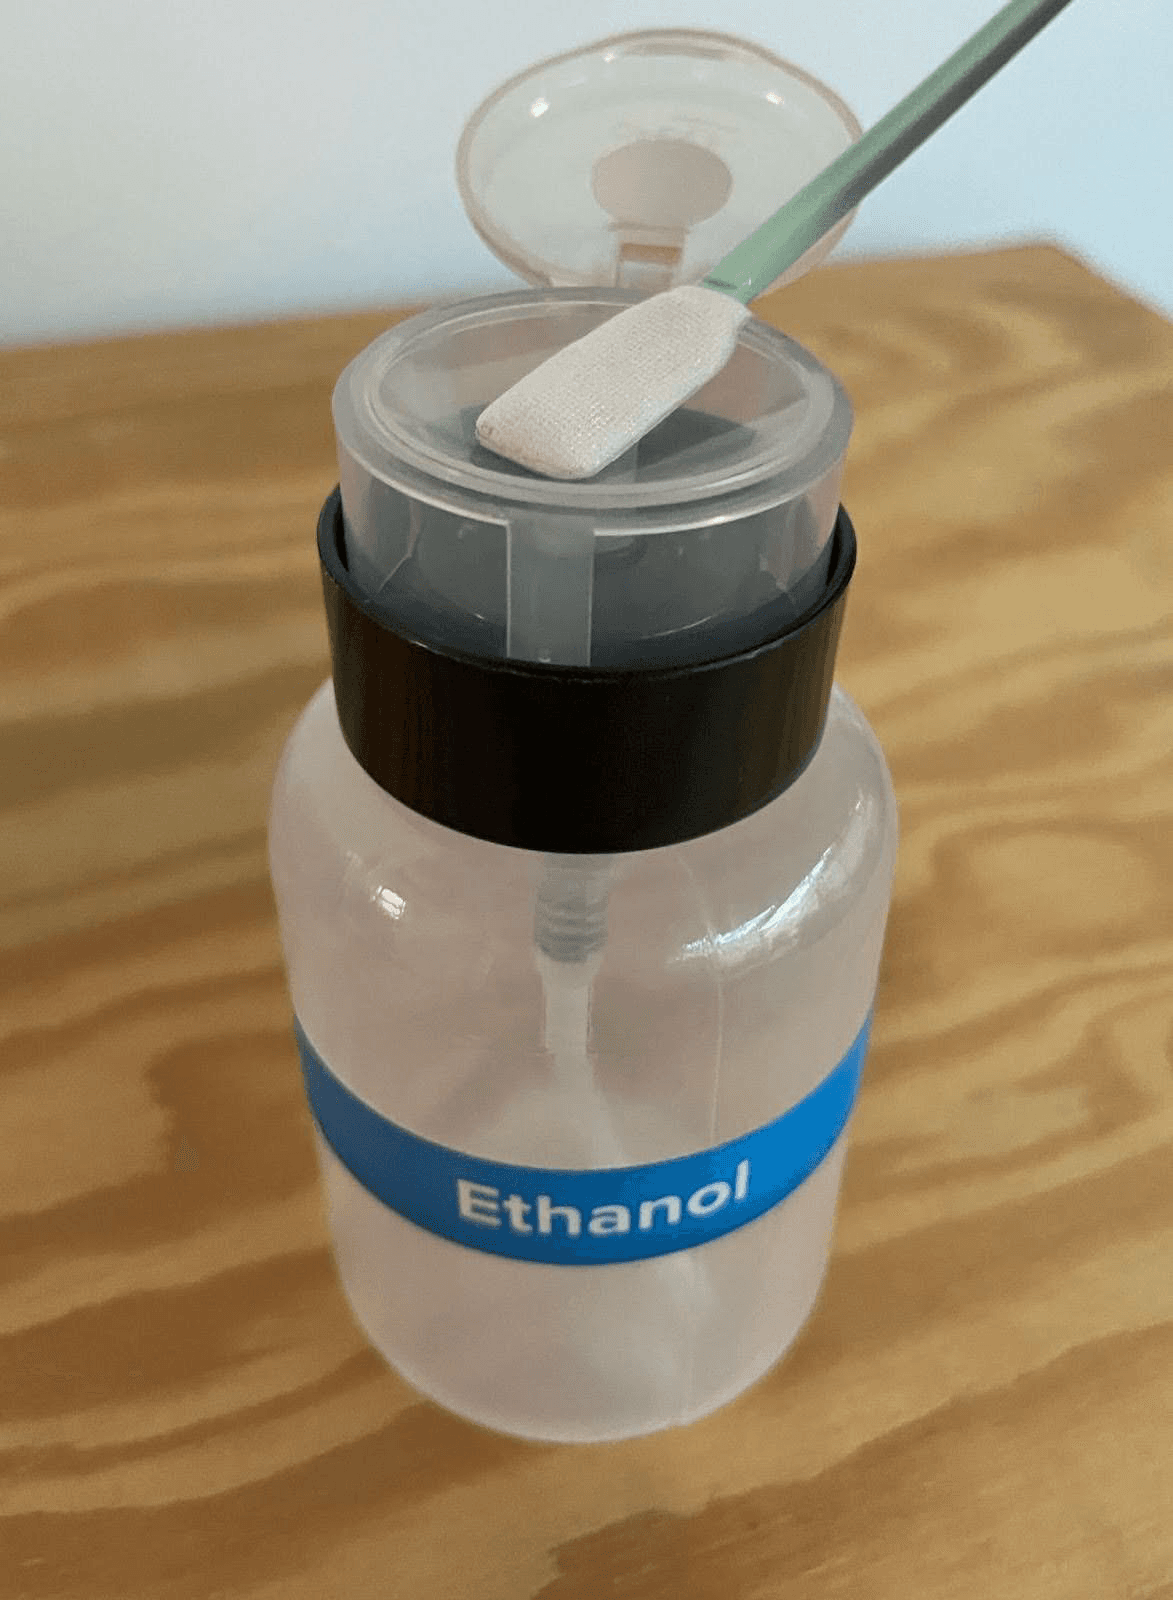
Wet a cloth polyester swab with a small amount of ethanol.
Step 9: Wipe the camera lens
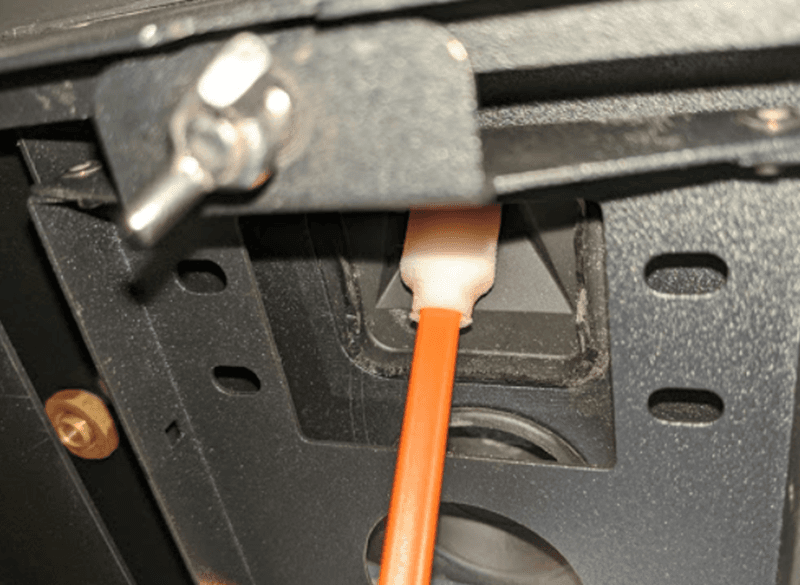
Using the mirror wand to guide your hand, wipe the camera lens with the tip of the ethanol-wetted cloth polyester swab.
Step 10: Wait for ethanol to evaporate
Wait five minutes for the ethanol to evaporate before inspecting the camera lens or replacing the optical cassette.
Step 11: Inspect the camera lens
Use the mirror wand to visually verify that the camera lens is clean and clear of obstruction. If there are streaks or debris on the lens, repeat this procedure.
Notice:
Streaks or debris can inhibit the functionality of the camera lens and prevent it from performing properly.
Step 12: Open the cassette tray
Once confirming that the camera lens is clean, loosen the thumb screw on the ceiling of the printer cavity. The cassette tray swings down.
Step 13: Replace the optical cassette
Place a clean optical cassette into the cassette tray.
Step 14: Close the cassette tray
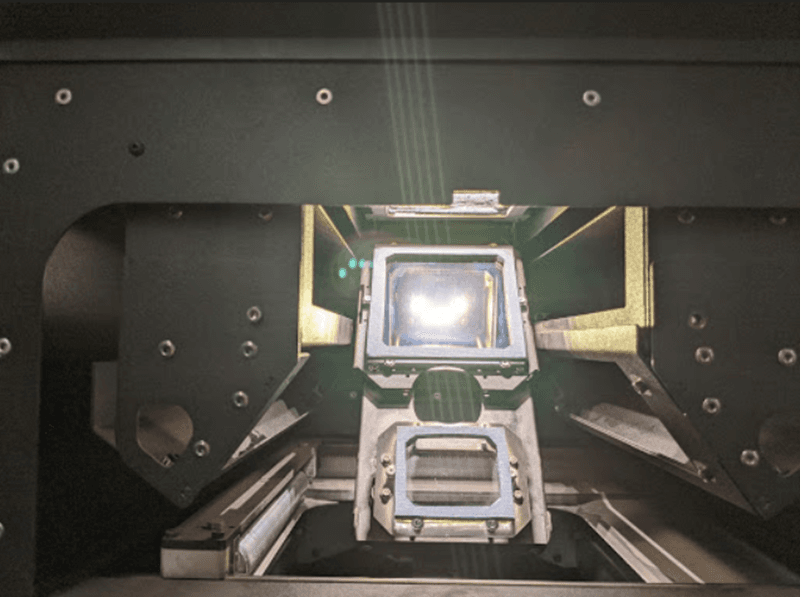
Return the cassette tray to its closed position and tighten the thumb screw.