
Tip:
If you notice dust or contamination on the underside of the optical window, contact Formlabs Support or your authorized reseller for additional instructions.

Each Form 2 has an anti-reflective coated glass optical window to preserve print quality and reliability by protecting the internal mirrors and printer components from dust, oil, and resin contamination. Keep the glass optical window clean to ensure successful prints.
The glass optical window is a part of the printer’s optical surfaces and sits below the resin tank. Any contamination, dust, or debris on the printer’s optical surfaces can cause the laser light to diffuse or weaken, resulting in print failures.
View the interactive 3D Form 2 glossary to learn more about the optical window and its location in the printer.
Tip:
If you notice dust or contamination on the underside of the optical window, contact Formlabs Support or your authorized reseller for additional instructions.
Overview
To maintain the glass optical window, before inserting a resin tank inspect the optical window surface for dust, oil, or contamination using a flashlight, LED, or cell phone light.
If dust, oil, or contamination is noted, clean the glass surface following Formlabs instructions. As with most optical surfaces, minimal cleaning is the best cleaning.
Tip:
To protect the optical window from dust, keep the Form 2 cover closed when the printer is not in use.
Required supplies
To remove dust:
To wet wipe:*
* Wet wipe only if necessary after removing dust.
Estimated time: 10 minutes
1. Disengage the wiper
Pull the wiper toward the front of the printer to release the wiper insertion foot from the wiper mount. Set the wiper aside, resting it on the far right edge of the resin tank. Manually slide the wiper’s mount to the center.
Tip:
Wear gloves and hold the tank by the front tabs, sides, or rim to avoid getting fingerprints on or scratching the optical surface on the underside of the resin tank window.
2. Cover the resin tank
3. Remove the build platform and resin tank
Always remove the build platform before removing the resin tank to avoid dripping resin onto the optical window. Set aside the build platform and covered resin tank on a clean, flat surface.
4. Inspect the optical window
Tip:
For best results, dim or turn off the main lights in the room when inspecting the optical window with a secondary light source. Always wear clean gloves when handling optical surfaces to avoid contamination.
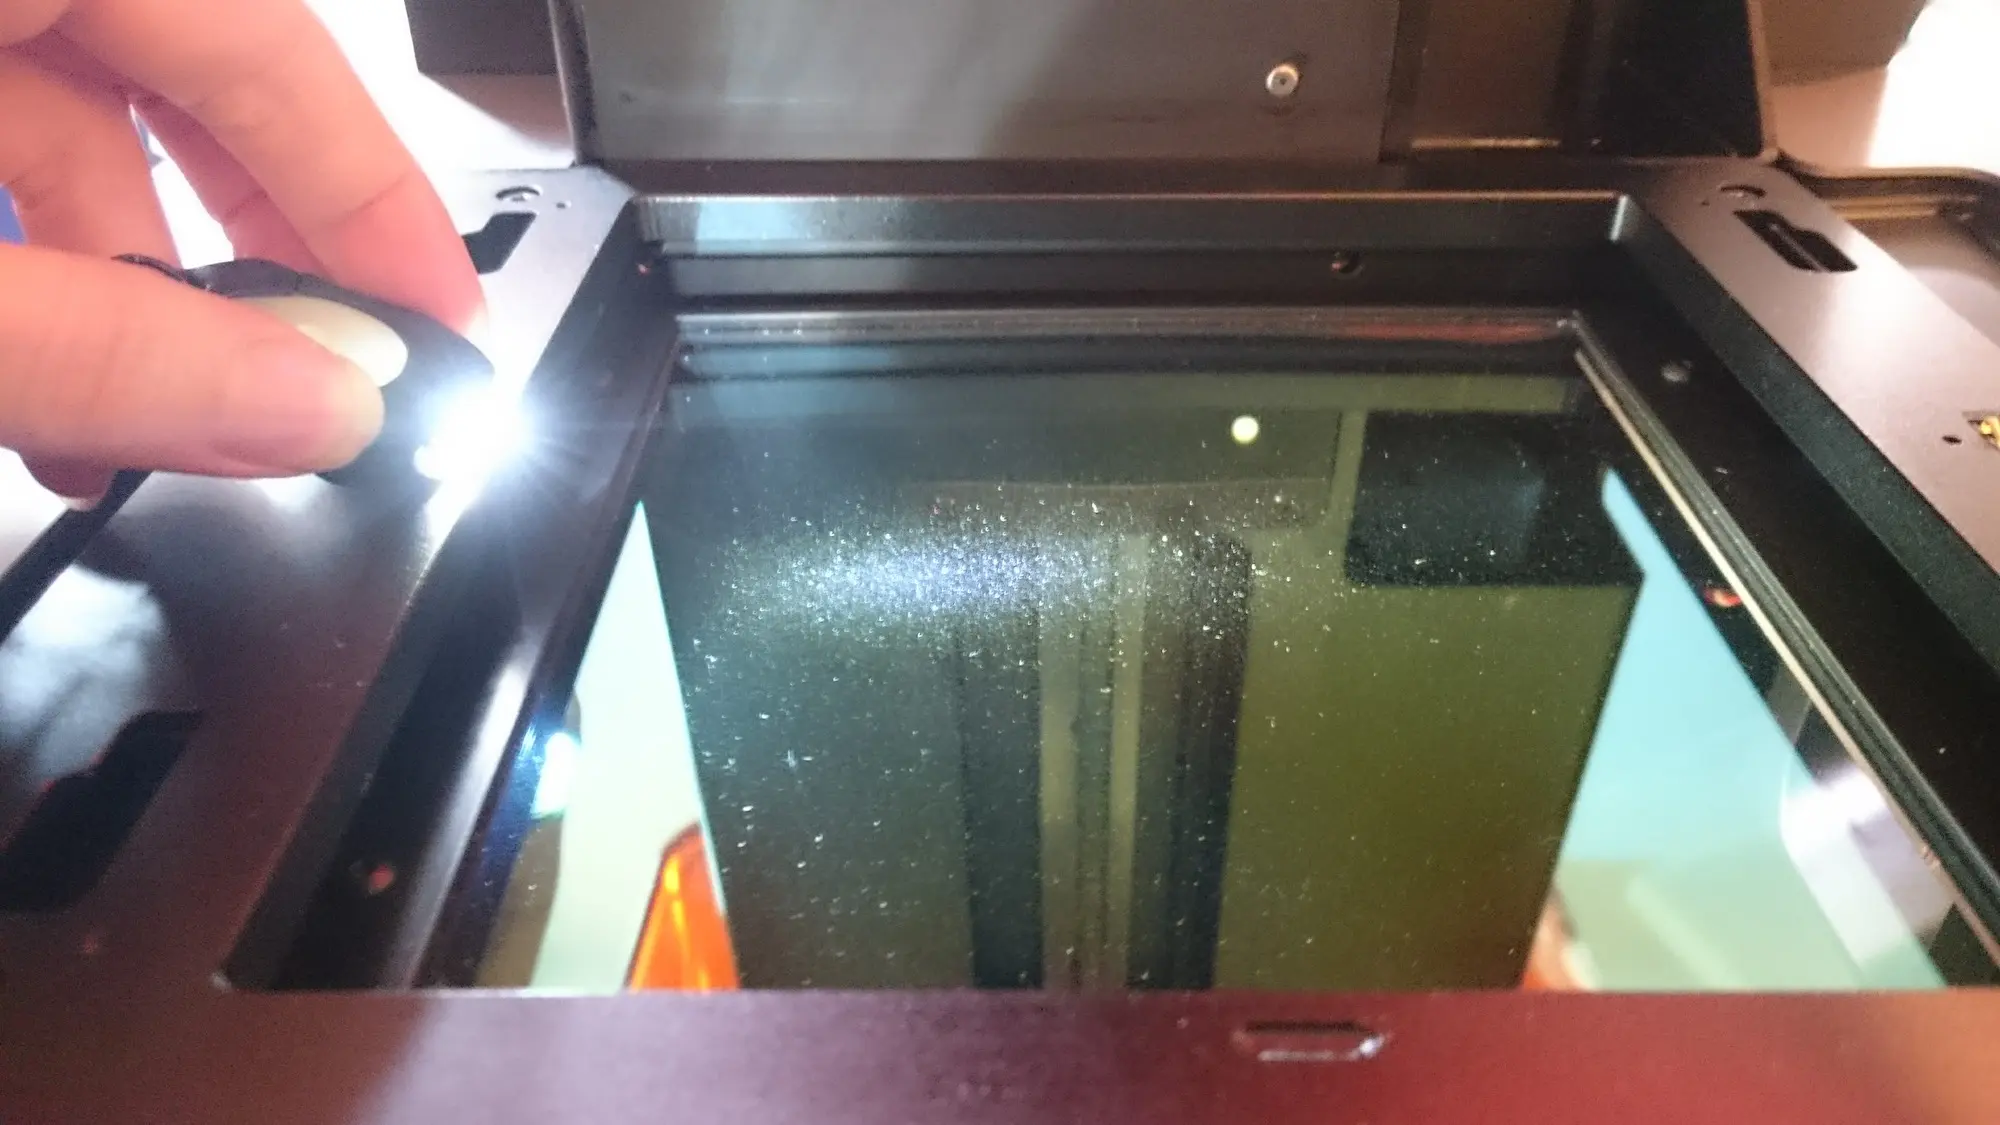
A properly illuminated glass optical window
Shine a secondary light source (for example, a flashlight, LED or cell phone light) onto the optical window to reveal any hidden contamination on the glass surface.
Hold the light source at the shallowest angle possible. From the edges of all three accessible sides (that is, left, front, and right), scan the light back and forth across the optical window.
Inspect the optical surface for dust, oil streaks, fingerprints, or cured resin. Oil streaks appear as a blue or purple haze.
5. Remove dust
Use a rubber bulb air blower to gently remove any visible dust from the optical window. Make sure to remove any large particles that may scratch the glass surface. If a rubber bulb air blower is not available, compressed air may be used.
Tip:
Avoid using compressed air. If necessary, carefully follow the directions on the canister to avoid depositing propellant onto the glass surface. Propellant contaminates the optical window and can affect print quality.
Use a new PEC*PAD to remove any remaining dust from the optical window with a dry wipe. Wipe slowly, pulling the PEC*PAD toward you and moving from the left to the right side of the optical window until you have cleaned the entire glass surface.
Proceed with a wet wipe only if the dry wipe does not clean the glass completely.
Notice:
Wiping the optical window with non-recommended materials may damage the glass surface and affect print quality.
6. Wet wipe
Wet wipe the optical window only if oil, smudges, fingerprints, or resin contamination is visible. Only use IPA to clean the glass surface as any other cleaning solution may degrade the anti-reflective coating.
Notice:
Avoid using cleaners or materials that can scratch or leave residue on the anti-reflective glass surface of the optical window.
Apply a small amount of IPA to a new PEC*PAD. Wipe slowly, pulling the PEC*PAD toward you and moving from the left to the right side of the optical window until you have cleaned the entire glass surface. Multiple passes may be necessary to achieve a streak-free surface.
If necessary, use a flashlight to inspect your work. Each PEC*PAD can be used multiple times by refolding the material to expose a fresh surface for each pass on the glass panel.
Tip:
If resin has dripped onto the window, use a small amount of IPA with a clean microfiber cloth first. Move the cloth slowly to allow the IPA to dissolve the resin. Allow the IPA to dry before using IPA with PEC*PADs to wipe the glass surface.
After cleaning with a wet wipe, dry wipe the glass surface again with a new PEC*PAD to remove any remaining streaks.
If streaks are difficult to remove, contact Formlabs Support or your authorized reseller. When requesting help, please provide photos of the optical window illuminated by a secondary light source and a list of attempted cleaning steps.