
TIP:
Review our design specifications before designing a model in your preferred 3D design package.

A model’s design directly influences how it prints. Understanding which features require support, the limitations of the build volume, and whether there is a risk of cupping leads to a higher print success rate.
TIP:
Review our design specifications before designing a model in your preferred 3D design package.
Staying within the build volume
Parts that are too large to fit within the build volume can be scaled down within PreForm at the cost of dimensional accuracy. To preserve dimensions and scale ratios, consider designing large parts in multiple sections that can be assembled after printing.
The maximum build volume for Formlabs printers are:
TIP:
Larger parts can be resized within PreForm. To maintain dimensional accuracy, consider designing them in multiple sections that can be assembled after printing.
Overcoming challenges with hollow models
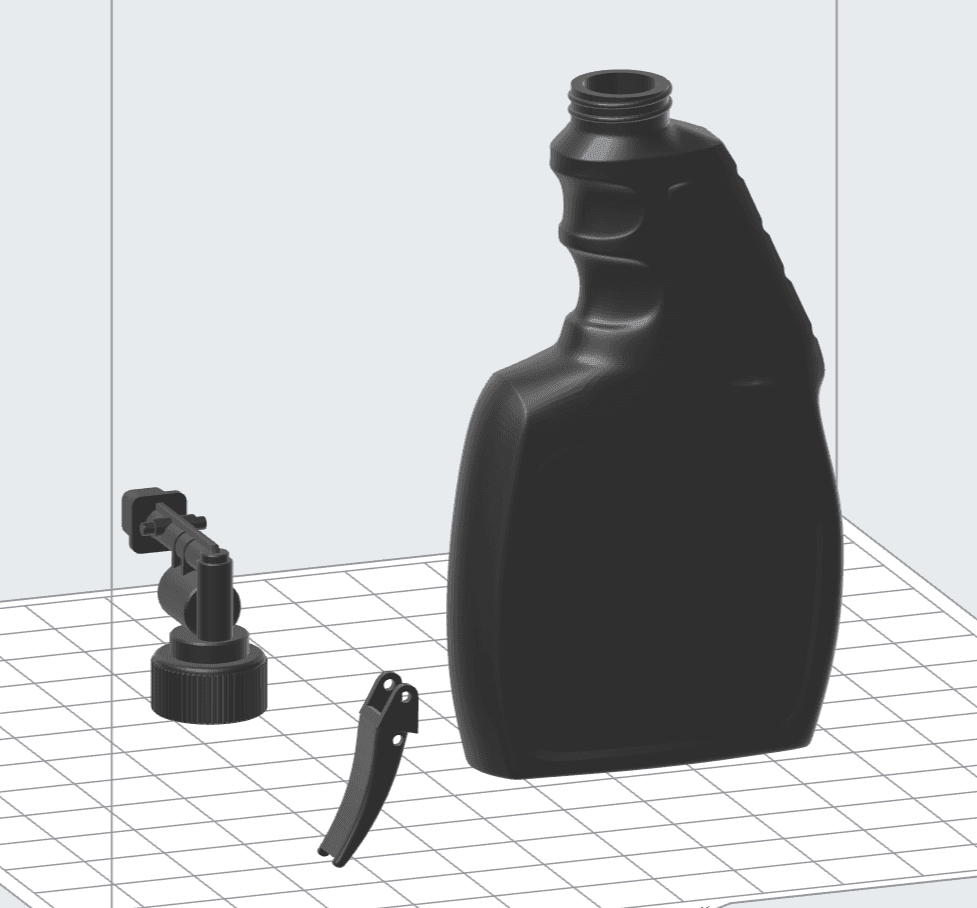
Printing a model as a hollow object conserves resin and decreases print time, but it can also be a functional requirement. The challenge a fully enclosed cavity presents is that air becomes trapped while printing. The resulting suction cup may jam the printer’s motors and prevent the build platform from raising to continue to the next layer.
Design drainage holes in your model to allow air to escape and prevent a print failure. Place them discreetly or incorporate them into other features to preserve the aesthetic or functional appearance of the model. A second option is to design the model in two halves to be assembled after printing. The resulting seam may also affect the aesthetic, but does not create a permanent hole on the surface of the model.
TIP:
Enable the Show Cups toggle to highlight potential cups in your model.
Overcoming challenges with overhangs
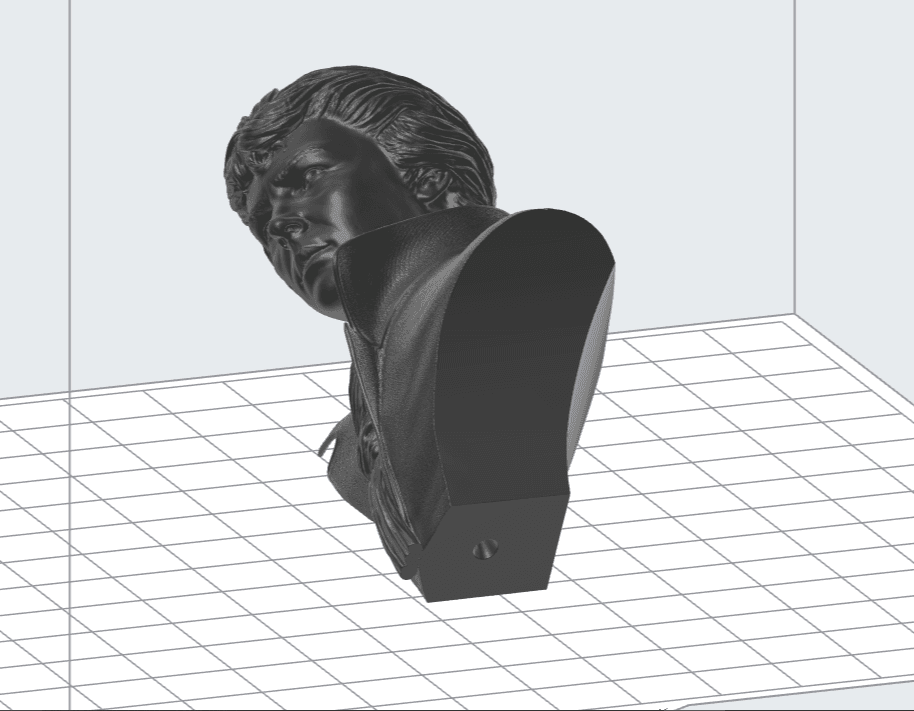
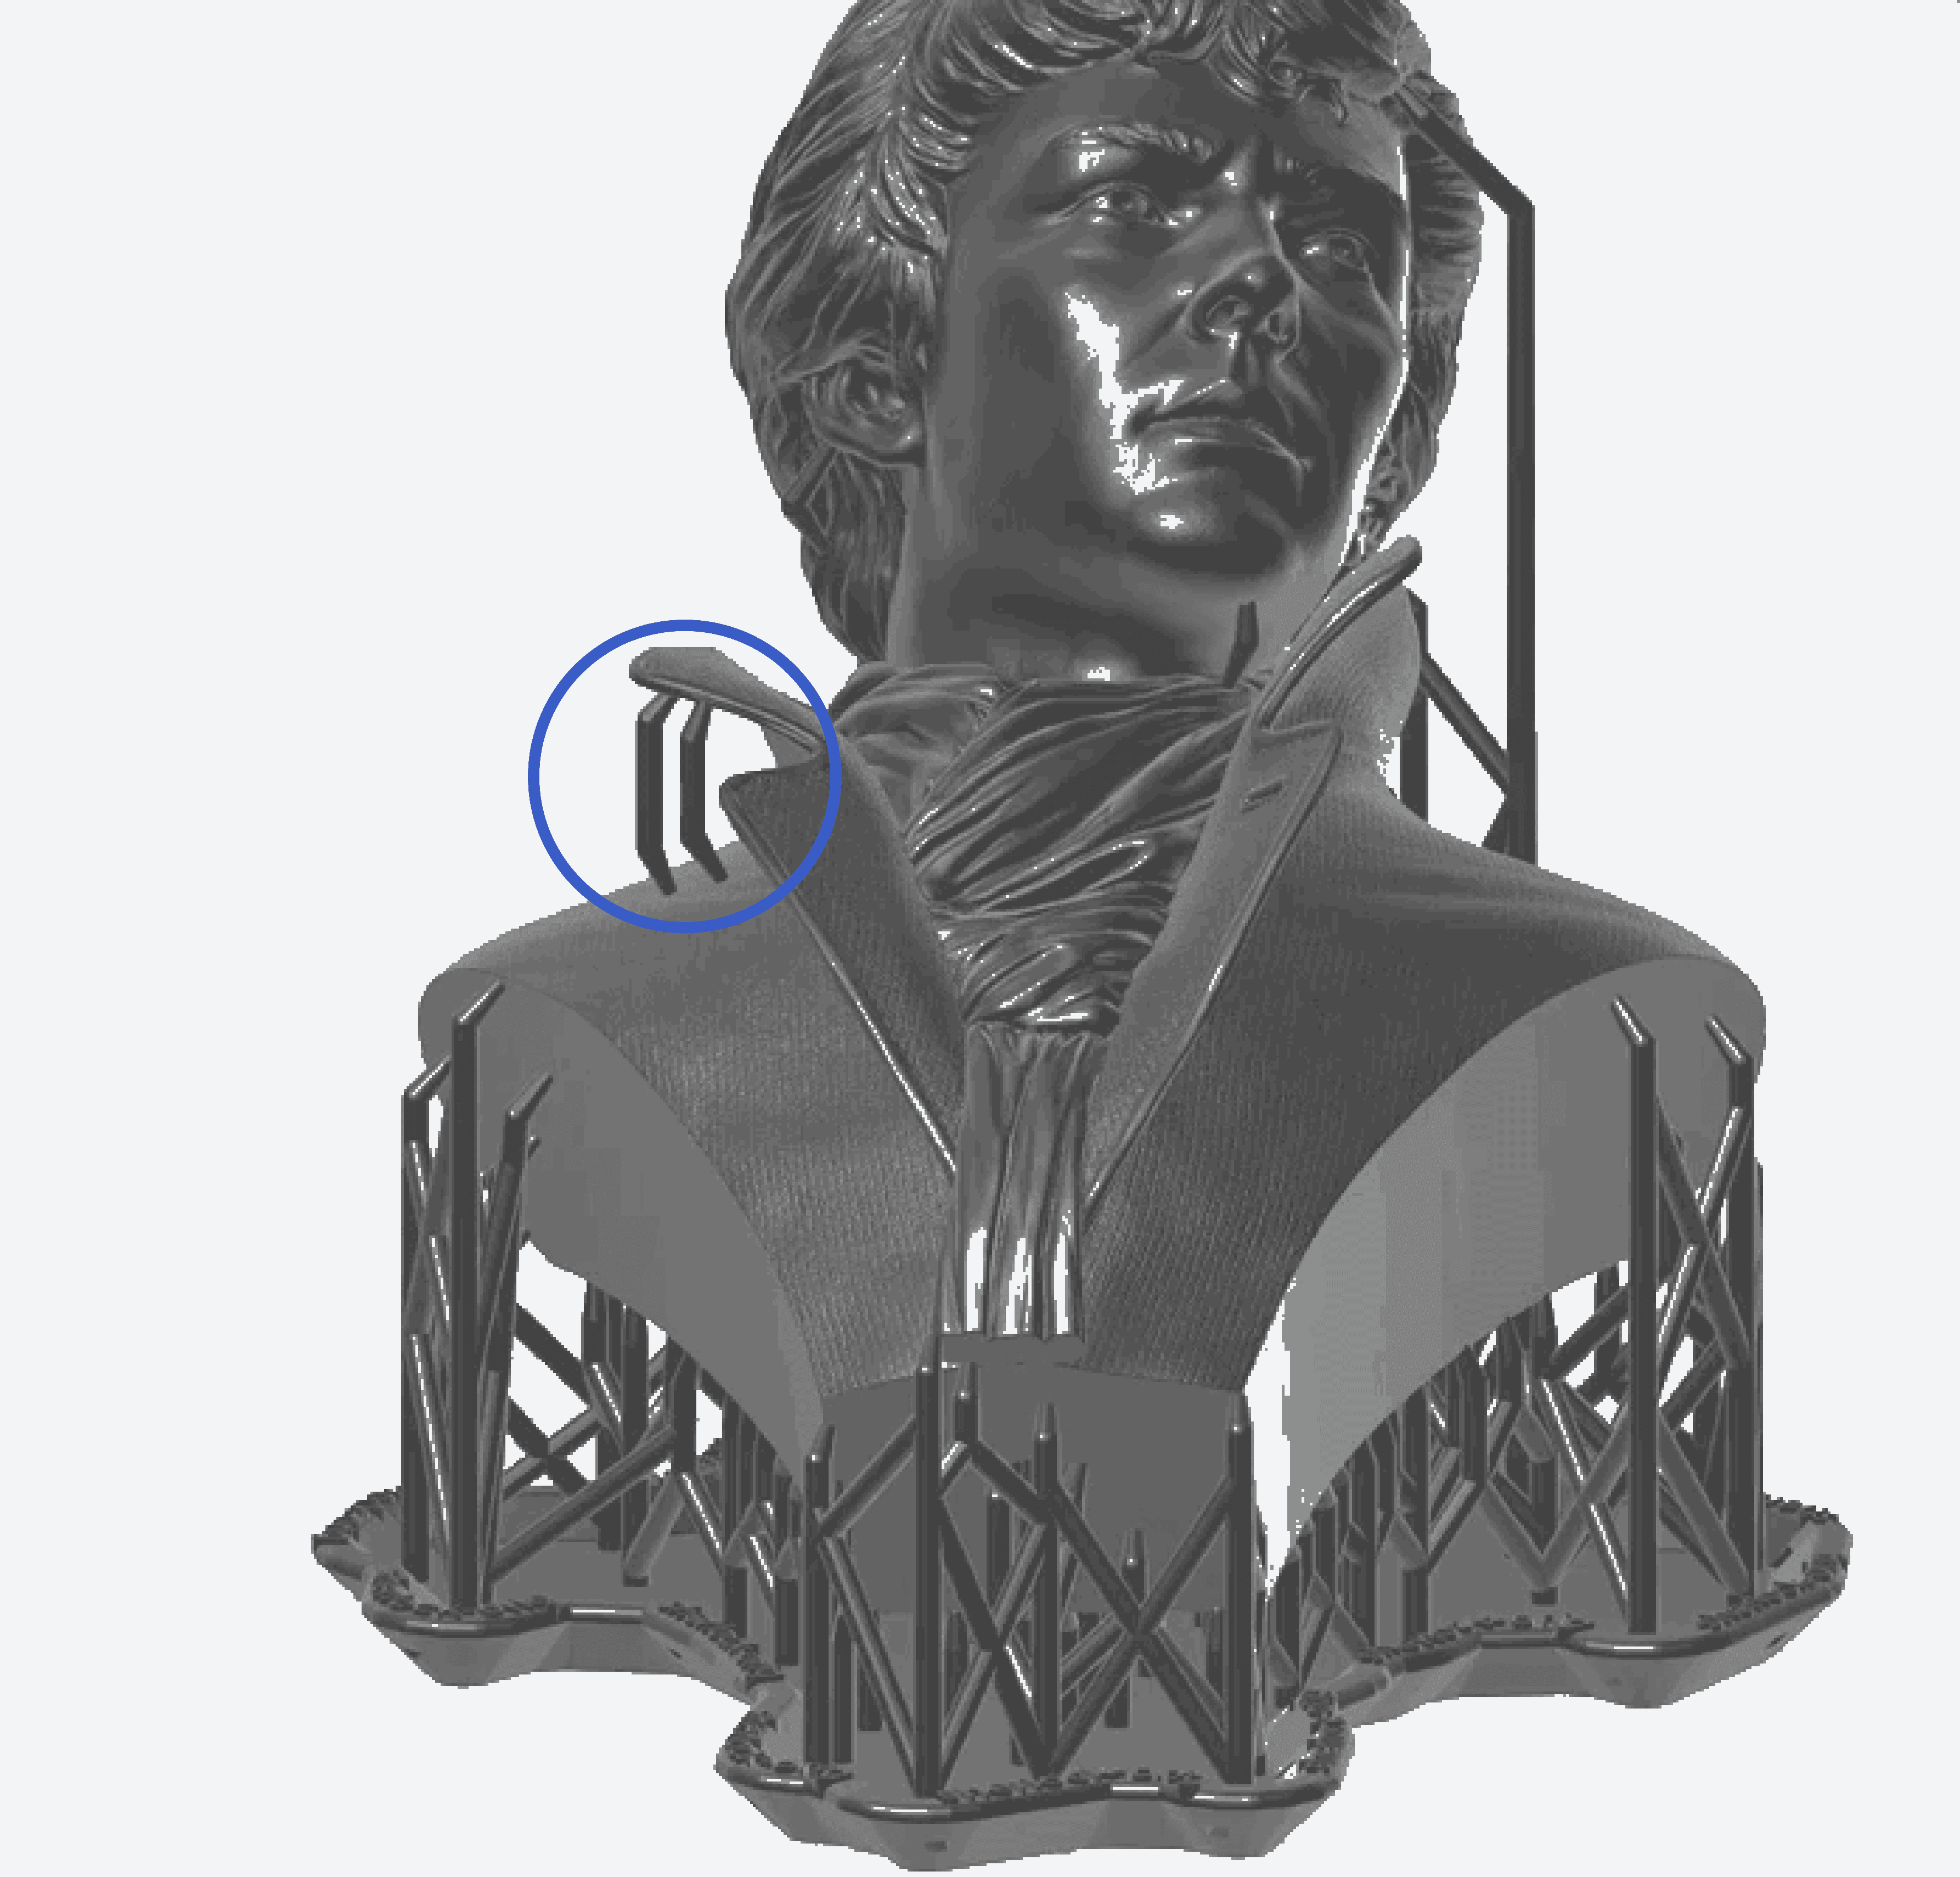
Most models do not have smooth surfaces on all sides. They may have detailed features, recesses, peaks, and overhanging features. If the overhanging feature protrudes past the previous layer, then PreForm will highlight it and show a warning for unsupported minima.
Tip:
Enable the Show Minima toggle to highlight undersupported areas in your model.
Choosing units of measurement
PreForm supports both millimeters and inches as units of measurement. If your model appears too small after importing it into PreForm, it's possible that the model's measurements in inches were converted into millimeters. To change the unit of measurement, click Edit > Model Units > in.
Most 3D design packages use millimeters as the default unit of measurement when creating a model. If your model appears too large after importing to PreForm, it's possible that the model's measurements in millimeters were converted into inches. To change the unit of measurement, click Edit > Model Units > mm.