
Tip:
If you notice dust or contamination on the underside of the glass optical window or inside the LPUs, contact Formlabs Support or your authorized reseller for additional instructions.

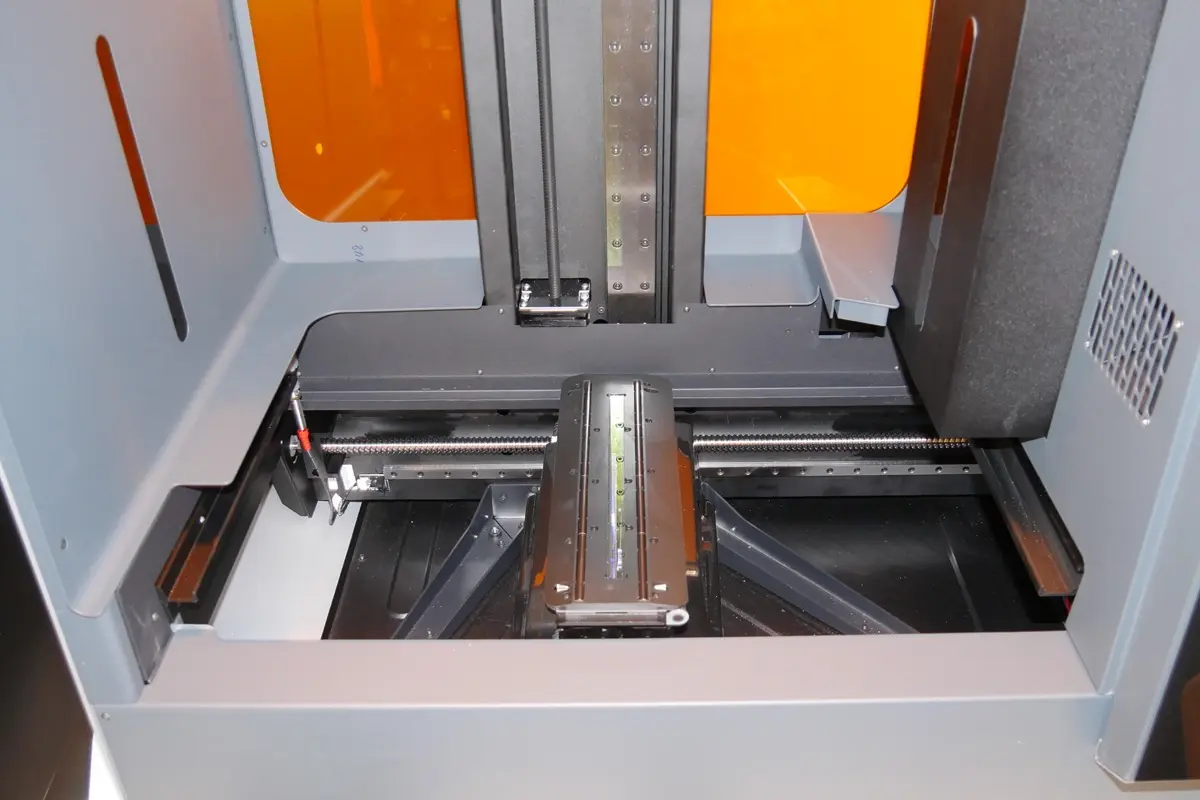
In the Form 3L/Form 3BL, the optical components—the laser diodes and mirrors—are contained in two modules called the Light Processing Units (LPUs). The LPUs, sitting inside the LPU housing, move left and right in the printer during each layer of a print. The laser light exits the LPUs through an anti-reflective coated glass optical window mounted on top of the LPU housing. The glass optical window preserves print quality and reliability by protecting the components inside the LPUs from dust, oil, and resin contamination. Keep the glass optical window clean to ensure successful prints.
The LPU housing, with the LPUs, roller holder, and glass optical window, sits in the LPU garage on the right side of the printer when a print is not running. The LPU garage protects the glass optical window from most forms of contamination, but dust can still accumulate on the glass surface over time. As the laser light passes through the glass optical window, any such contamination can cause the laser light to diffuse or weaken, resulting in print defects.
Tip:
If you notice dust or contamination on the underside of the glass optical window or inside the LPUs, contact Formlabs Support or your authorized reseller for additional instructions.
Overview
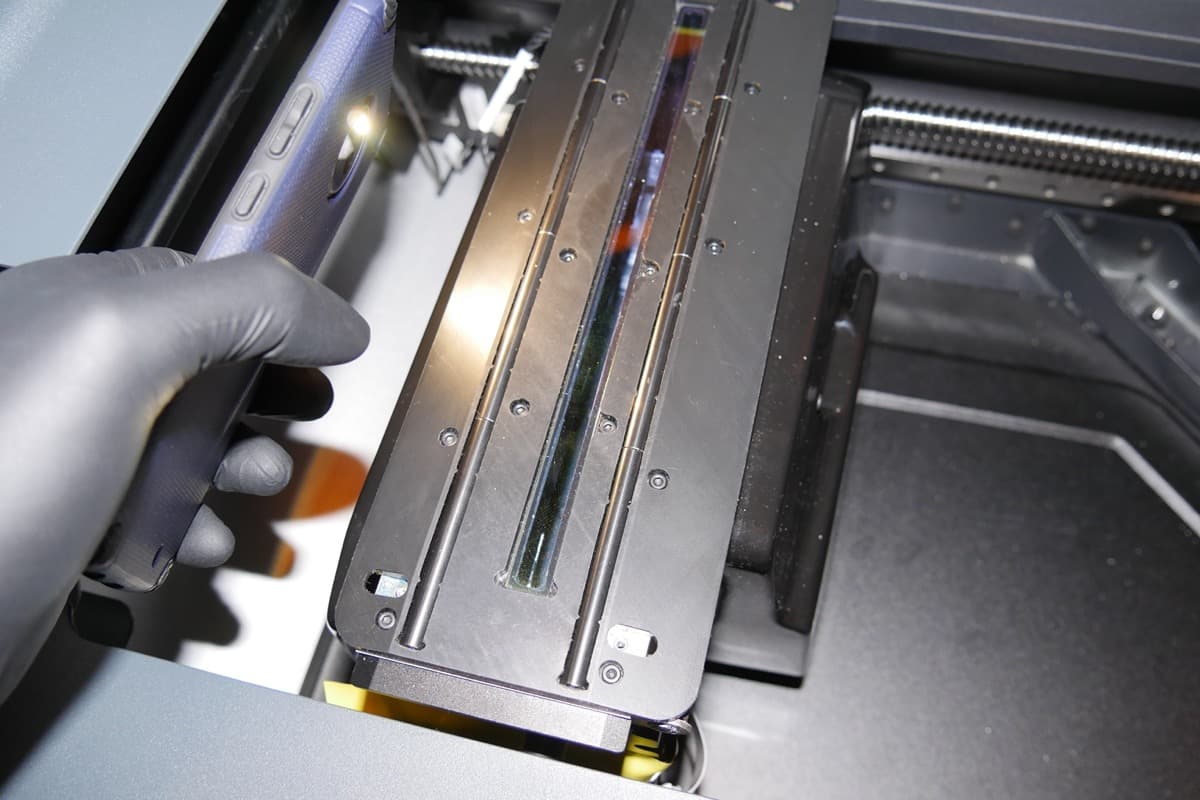
To maintain the glass optical window, inspect the glass surface for dust, oil, or contamination using a flashlight, LED, or cell phone light. If dust, oil, or contamination is noted, clean the glass optical window following Formlabs instructions. As with most optical surfaces, minimal cleaning is the best cleaning.
Tip:
To protect the optical window from dust, keep the cover closed when the printer is not in use.
Required supplies
To remove dust:
To wet wipe:*
* Wet wipe only if necessary after removing dust.
Estimated time: 10 minutes
Removing the consumables
Always remove the build platform, resin cartridges, and resin tank before performing maintenance on the printer to avoid dripping resin into the printer cavity.
Inspecting the optical window
Inspect the optical window for dust, oil streaks, fingerprints, or cured resin.
Tip:
For best results, dim or turn off the main lights in the room when inspecting the glass optical window with a secondary light source. Always wear clean gloves when handling optical surfaces to avoid contamination. Do not touch the roller holder next to the glass optical window to avoid contamination. If the roller holder is contaminated, refer to the support article Cleaning the roller holder (Form 3L/Form 3BL).
To access the maintenance option through the printer’s touchscreen:
Cleaning with a dry wipe
Remove dust and other loose contaminants, which can interfere with the laser.
Tip:
Avoid using compressed air. If necessary, carefully follow the directions on the canister to avoid depositing propellant onto the glass surface. Propellant contaminates the glass optical window and can affect print quality.
Notice:
Wiping the optical window with non-recommended materials may damage the glass surface and affect print quality.
To remove dust:

Cleaning with a wet wipe
Wet wipe the glass optical window only if oil, smudges, fingerprints, or resin contamination is visible. Only use PEC*PADs and non-recycled isopropyl alcohol with a concentration of 90% or higher to clean the glass surface as any other cleaning agent or material may degrade the anti-reflective coating.
Tip:
If resin has dripped onto the glass optical window, use a small amount of isopropyl alcohol with a low-fiber, clean microfiber cloth first. Move the microfiber cloth slowly to allow the isopropyl alcohol to dissolve the resin. Allow the glass surface to dry before using additional isopropyl alcohol with PEC*PADs to wipe the glass surface.
Notice:
Only use approved materials to wet wipe the glass optical window. Any other materials may scratch or leave residue on the anti-reflective coating, which affects print quality.
To clean with a wet wipe:
Further troubleshooting
If streaks are difficult to remove, contact Formlabs Support or your authorized reseller. When requesting help, please provide photos of the optical window illuminated by a secondary light source and a list of attempted cleaning steps.
Completing the maintenance
After cleaning the glass optical window, power on the printer to complete the maintenance process. Close the cover and connect the power cable to the printer and the power supply. The printer initializes and the LPU housing moves back to its home position to perform a calibration.