
Required Supplies:
Formlabs:
- Replacement Build Platform 2L side handle (RP-QRBPL-HDL-01)
Third-party:
- 2 mm hex driver
- 2.5 mm hex driver
- Nitrile gloves

The Build Platform 2L has two side handles. If one of these handles breaks, such as from a drop, the Build Platform 2L will be harder to insert into or remove from your Form 3L generation printer.
Use this guide to remove and replace a side handle on a Build Platform 2L.
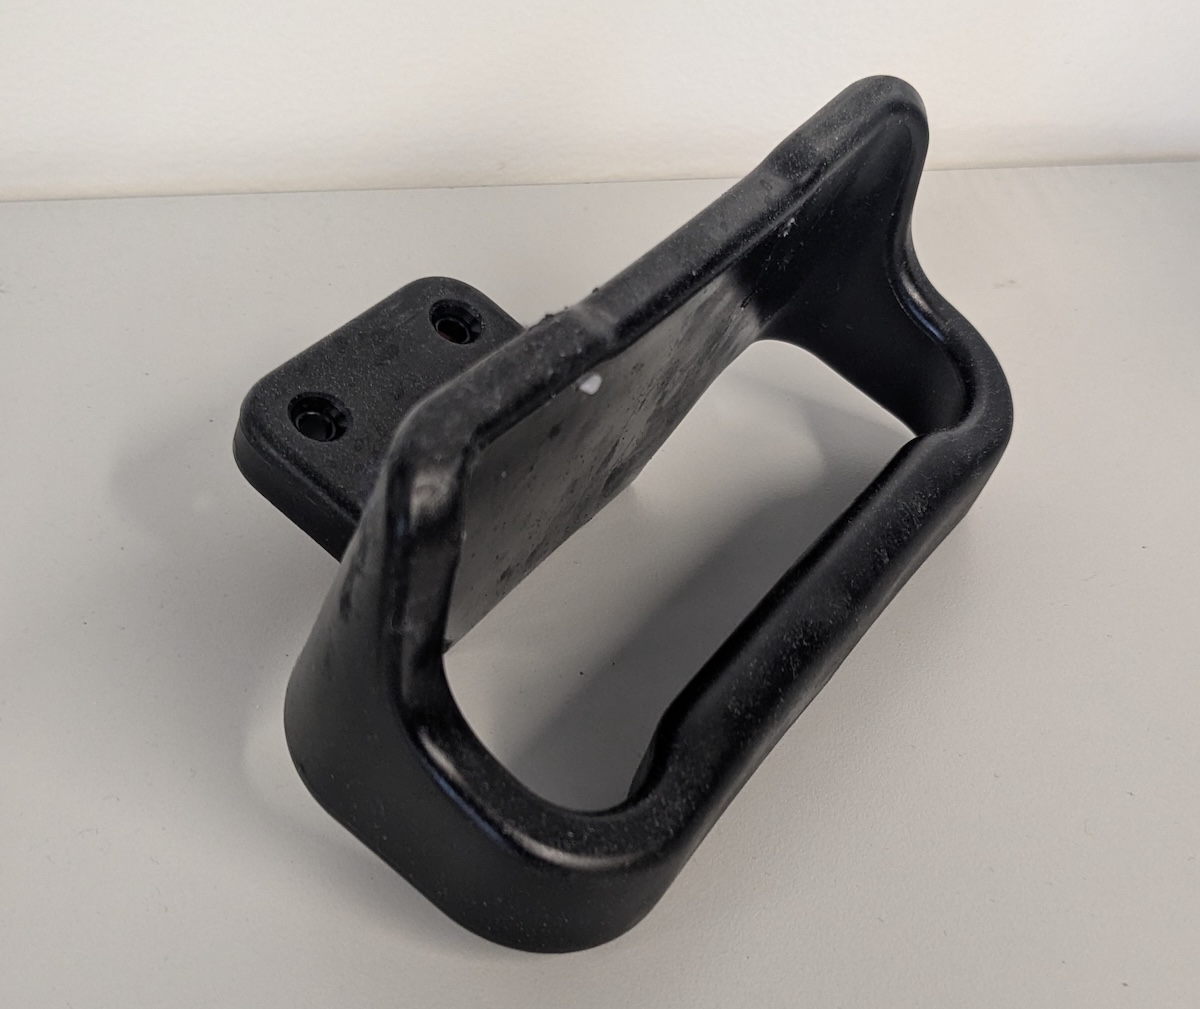
Required Supplies:
Formlabs:
Third-party:
Estimated time: 5–10 minutes
Preparing the workspace
Overview: Prepare the build platform and a dust-free workspace for replacing the Build Platform 2L side handle.
Step 1: Prepare the workspace
Clear a workspace. Ensure that the workspace is well-ventilated and free of dust.
Step 2: Clean the build platform
Warning:
Resin may cause skin irritation or an allergic skin reaction. Wear gloves when handling liquid resin or resin-coated surfaces. Wash skin with plenty of soap and water.
Clean any resin on the build platform with paper towels. Dampen the paper towels with isopropyl alcohol if necessary to fully remove the resin.
Danger:
Fire hazard. IPA is flammable. Keep containers closed, and keep out of the reach of children.
Removing the Build Platform 2L side handle
Overview: Separate the original handle from the build platform.
Step 1: Remove the build platform handle retention screws
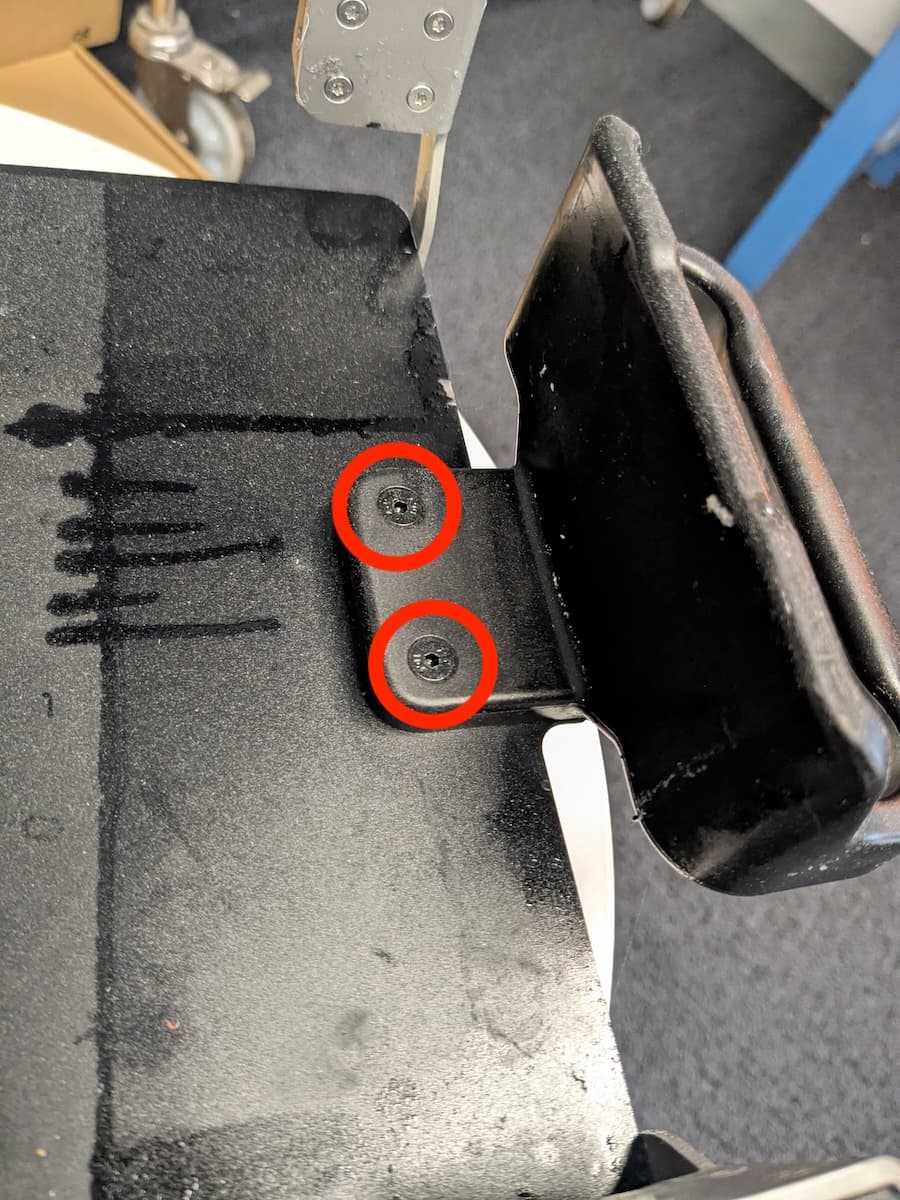
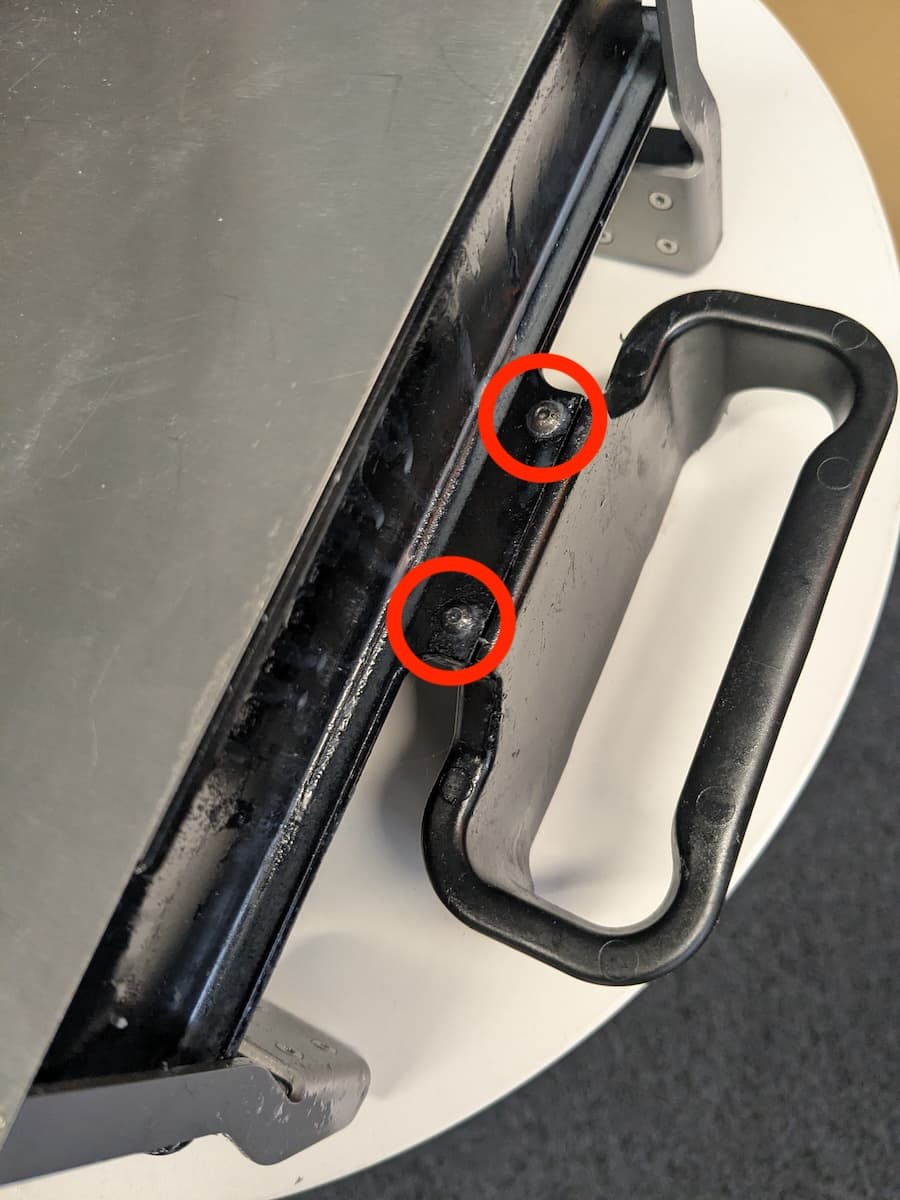
The Build Platform 2L side handles are both secured to the build platform body with four screws: two flat head screws on the top of the handle and two button head screws on the bottom. Use a 2.5 mm hex driver to remove the two screws on the top of the handle. Use a 2 mm hex driver to remove the two screws on the bottom of the handle. Set the screws aside for reuse.
Lift the side handle off of the build platform body. Set it aside for disposal. Clean any resin that may have seeped under the handle.
If you are replacing both side handles, repeat steps 1–2 for the other handle.
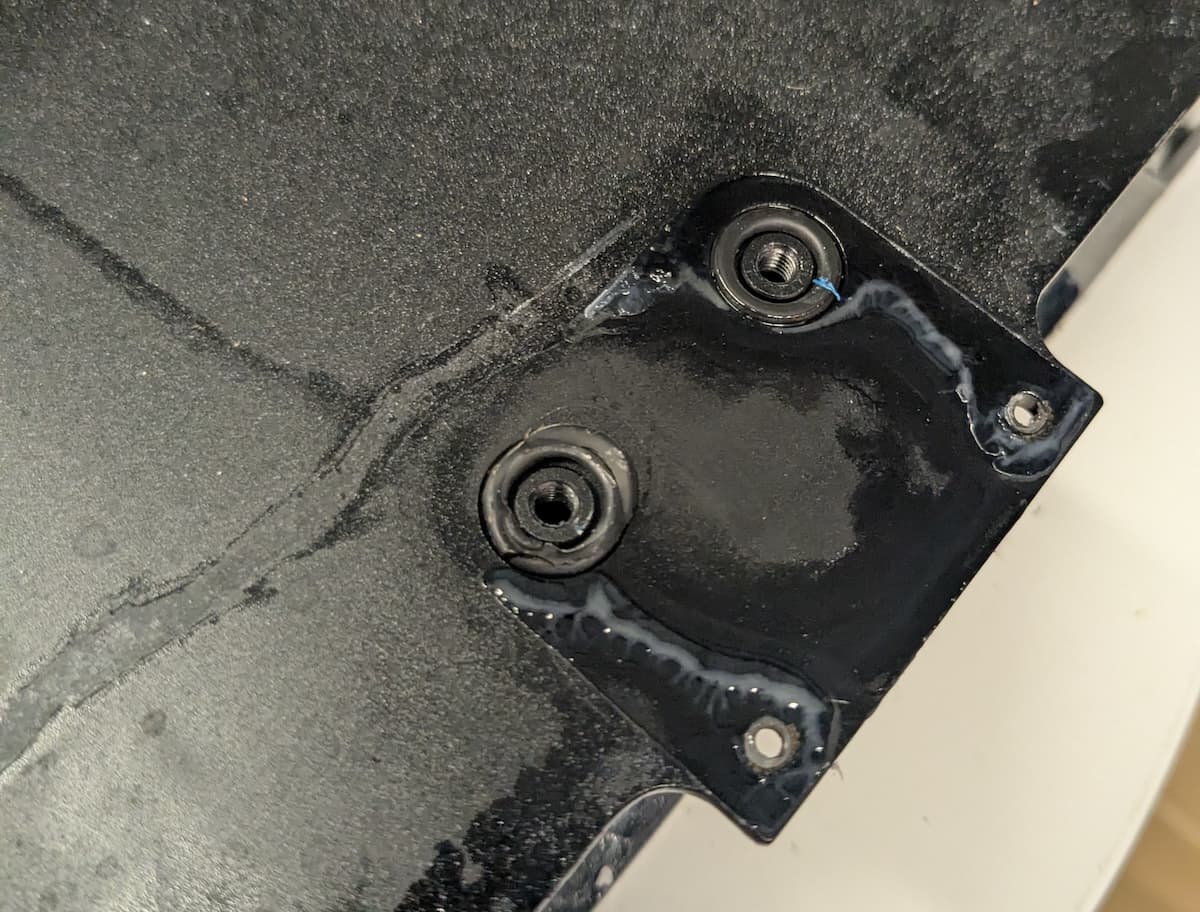
Installing the replacement Build Platform 2L side handle
Overview: Mount and secure the new build platform handle.
Place the side handle on its mounting surface on the top of the build platform body. Check that the screw holes in the handle align with the corresponding screw holes in the build platform.
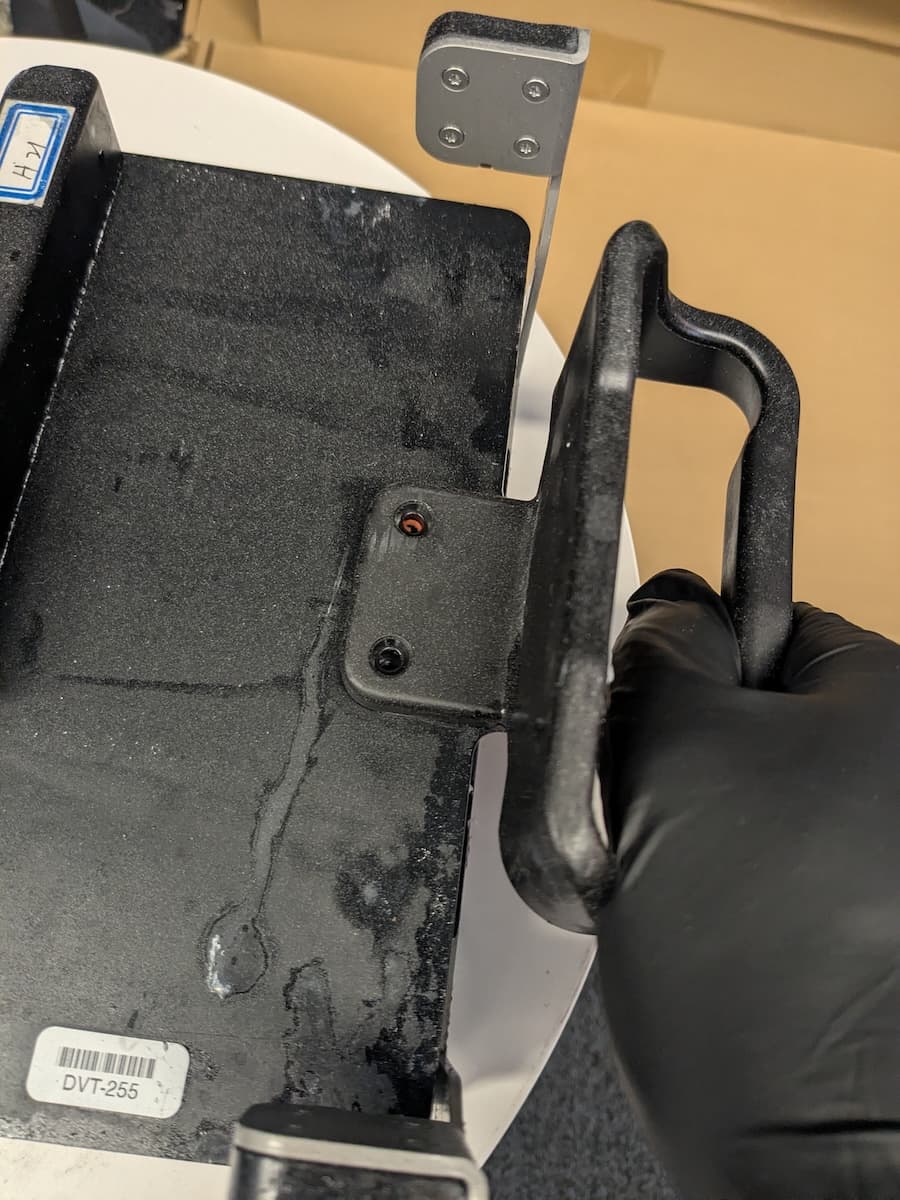
Step 2: Secure the build platform handle
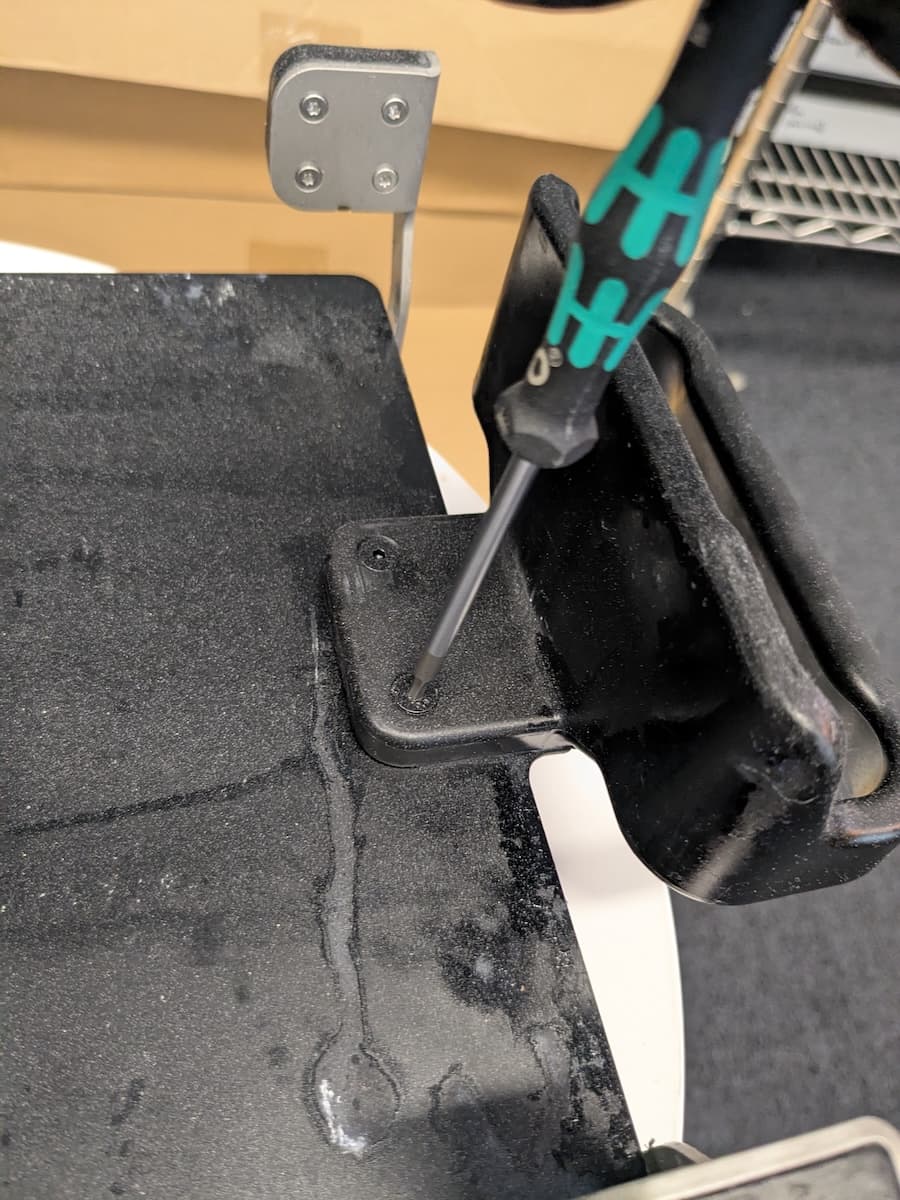
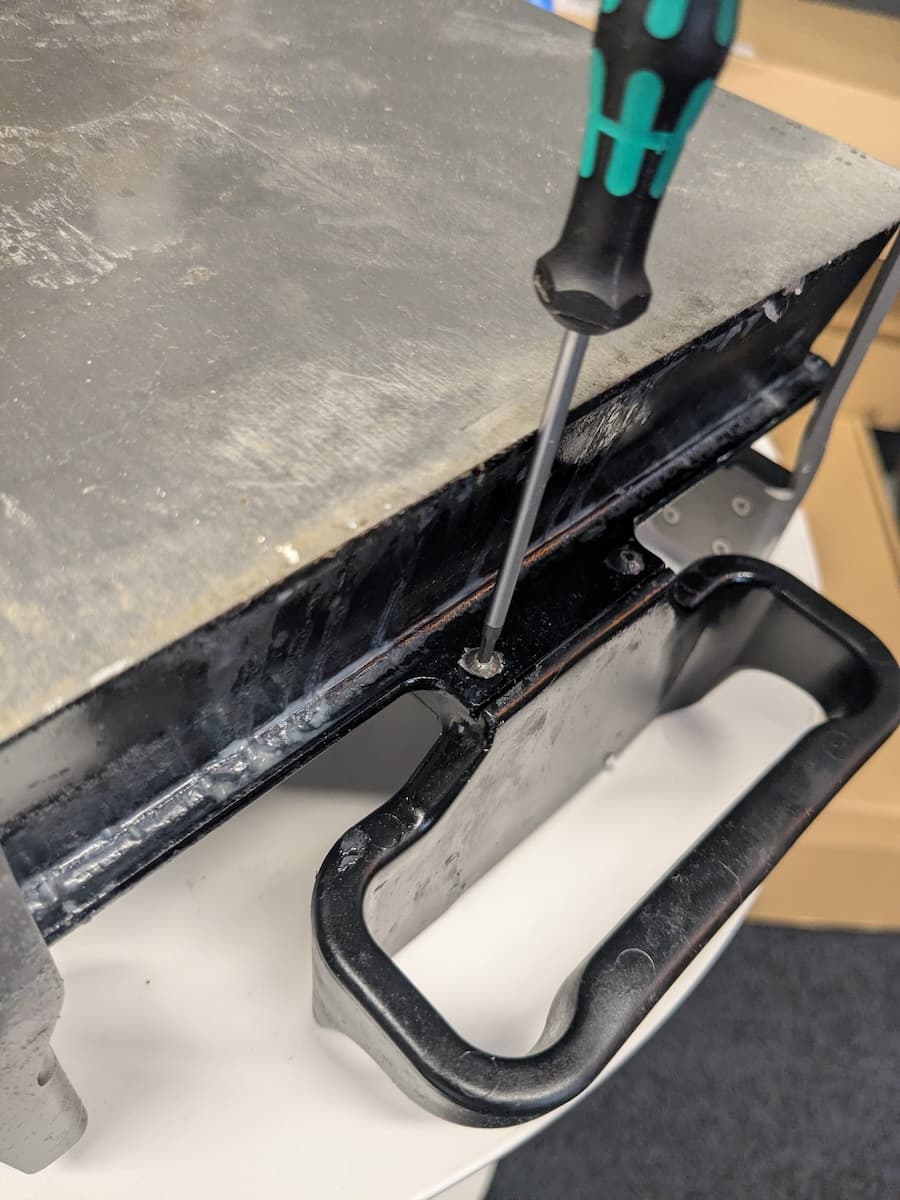
Thread one flat head mounting screw into both of the screw holes on the top of the handle. Using a 2.5 mm hex driver, tighten until snug.
Turn the build platform over and thread the other two button head mounting screws into the screw holes on the bottom of the handle. Using a 2 mm hex driver, tighten until snug.
Step 3: Install the other side handle (optional)
If you are replacing both side handles, repeat steps 1–2 for the other handle.
Finalizing the repair
Overview: After installing the new Build Platform 2L side handle, test the repair.
Step 1: Insert the build platform into a printer
Lift the Build Platform 2L by its side handles and make sure they feel secure. Test a variety of actions, such as inserting Open the printer cover and lift the build platform latch. Align the build platform with the build platform mount and push it into place. Lower the latch to secure the build platform. Check that the build platform stays locked in place.