
Required supplies:
Formlabs:
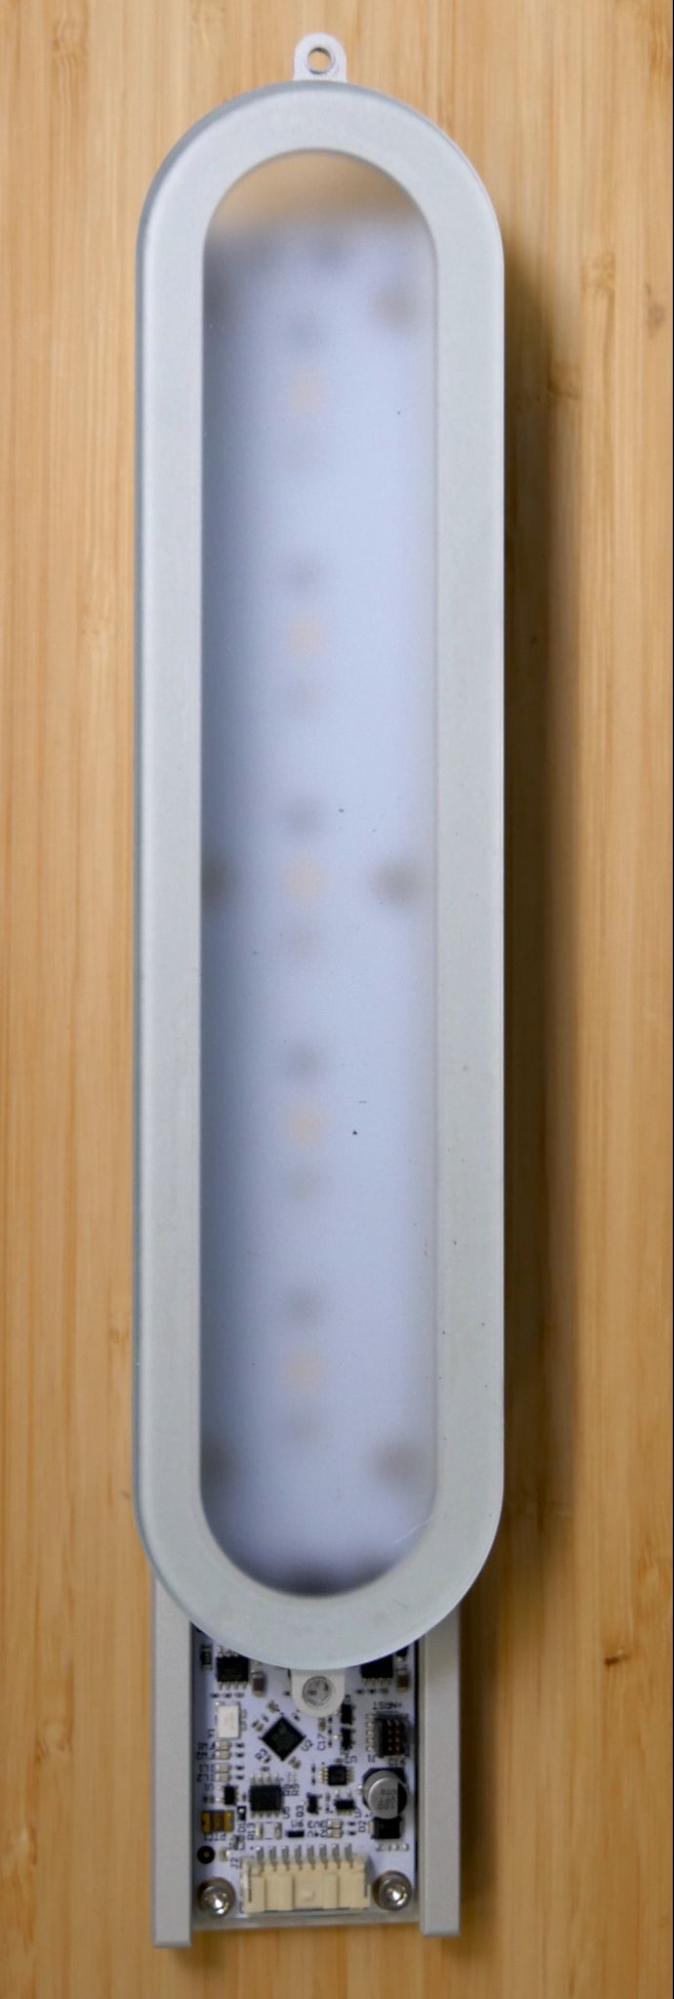
- Replacement LED module (RP-FHL-CU-LED-01)
- Includes replacement LED module sticker
Third-party:
- 2.5 mm hex driver driver
- Nitrile gloves

The Form Cure L V1 has three LED modules that expose printed parts to light during post-curing. If any of the LED modules are malfunctioning or broken, printed parts may not post-cure properly and may not reach their optimal mechanical properties.
Use this guide to remove and replace the Form Cure L V1 LED modules.
Required supplies:
Formlabs:
Third-party:
Danger:
Read and follow all safety instructions and warnings in the operator manual. Replacement with incorrect parts can lead to burns, shock, fire, or explosion. Dispose of all parts in accordance with local regulations.
Preparing the workspace
Overview: Prepare the Form Cure L and a dust-free workspace for replacing the LED modules.
Step 1: Prepare the workspace
Clear a workspace around your machine. Ensure that the workspace is well-ventilated and free of dust.
Step 2: Clean the cure chamber
Warning:
Resin may cause skin irritation or an allergic skin reaction. Wear gloves when handling liquid resin or resin-coated surfaces. Wash skin with plenty of soap and water.
Open the Form Cure L door. Clean any resin that may have pooled or cured in the post-cure chamber with paper towels. Dampen the paper towels with isopropyl alcohol if necessary to fully remove the resin.
Danger:
Fire hazard. IPA is flammable. Keep containers closed, and keep out of the reach of children. Allow IPA to fully evaporate before starting a post-cure cycle.
Step 3: Unplug the machine
Disconnect the power cable before continuing with maintenance. Do not perform maintenance on the machine while it is connected to power. Wait five minutes after disconnecting the machine from power before proceeding. If the machine was recently in use, the post-cure chamber will be warm. Wait at least two hours for the chamber to cool.
Danger:
Performing maintenance on the machine while it is plugged in increases the risk of electric shock. Never remove the panels of the machine while it is plugged in. Never reconnect the machine to power while the panels are uninstalled.
Step 4: Remove the turntable
Lift the turntable out of the machine and set it aside. The Form Cure L turntable is made of glass. Handle with care.
Removing the LED module
Overview: Unscrew, unplug, and uninstall the LED module that is being replaced.
Notice:
The Form Cure L contains sensitive electronic components. Ground yourself before touching any electronics in the printer by using a grounding strap or touching a grounded piece of metal.
Step 1: Locate the LED modules
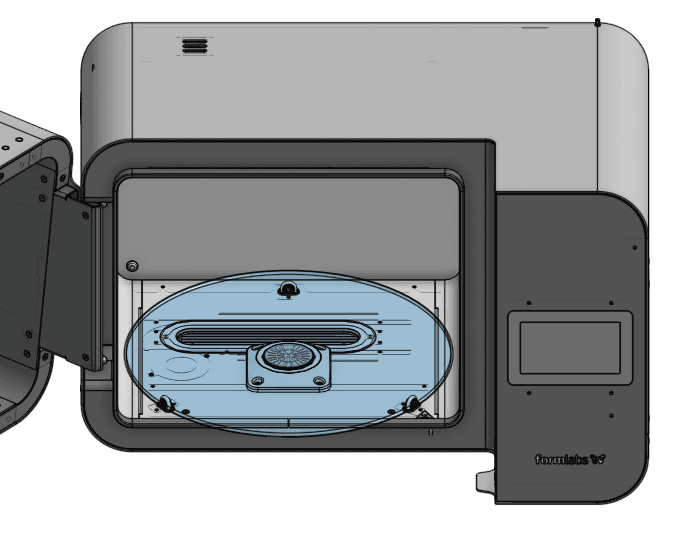
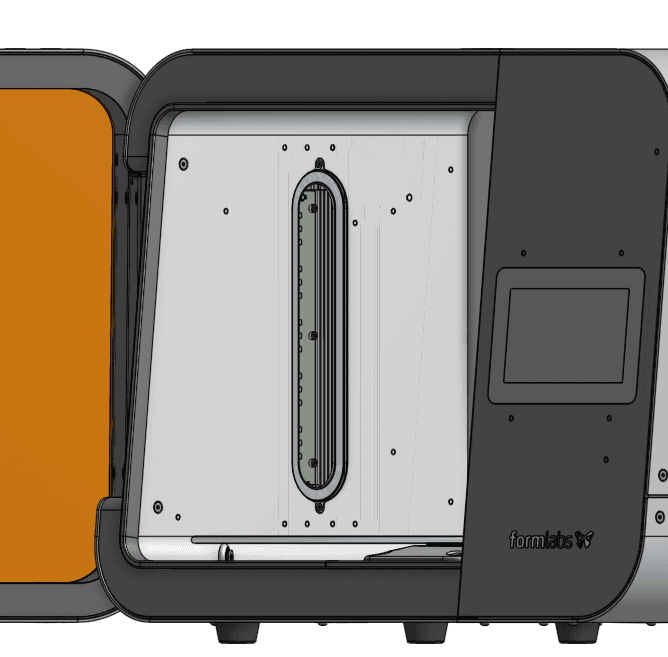
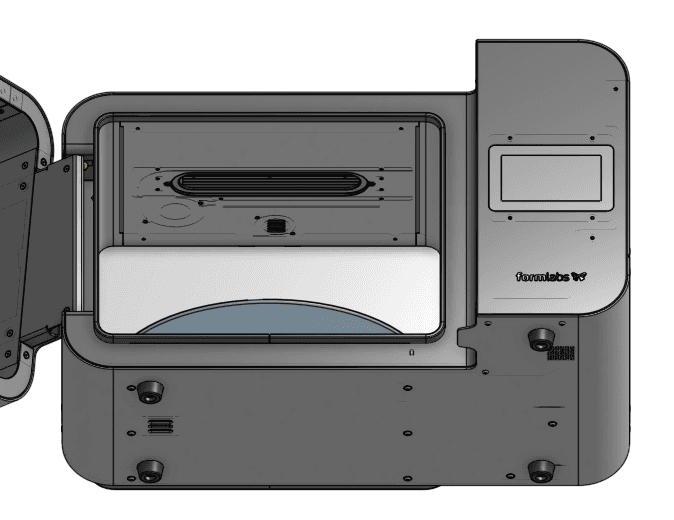
Open the Form Cure L door and locate the LED module you are replacing. The Form Cure L has three oval LED modules: one on the top of the post-cure chamber, one on the left wall of the chamber, and one on the bottom of the chamber underneath the turntable.
Step 2: Remove the turntable shroud (bottom LED module only)
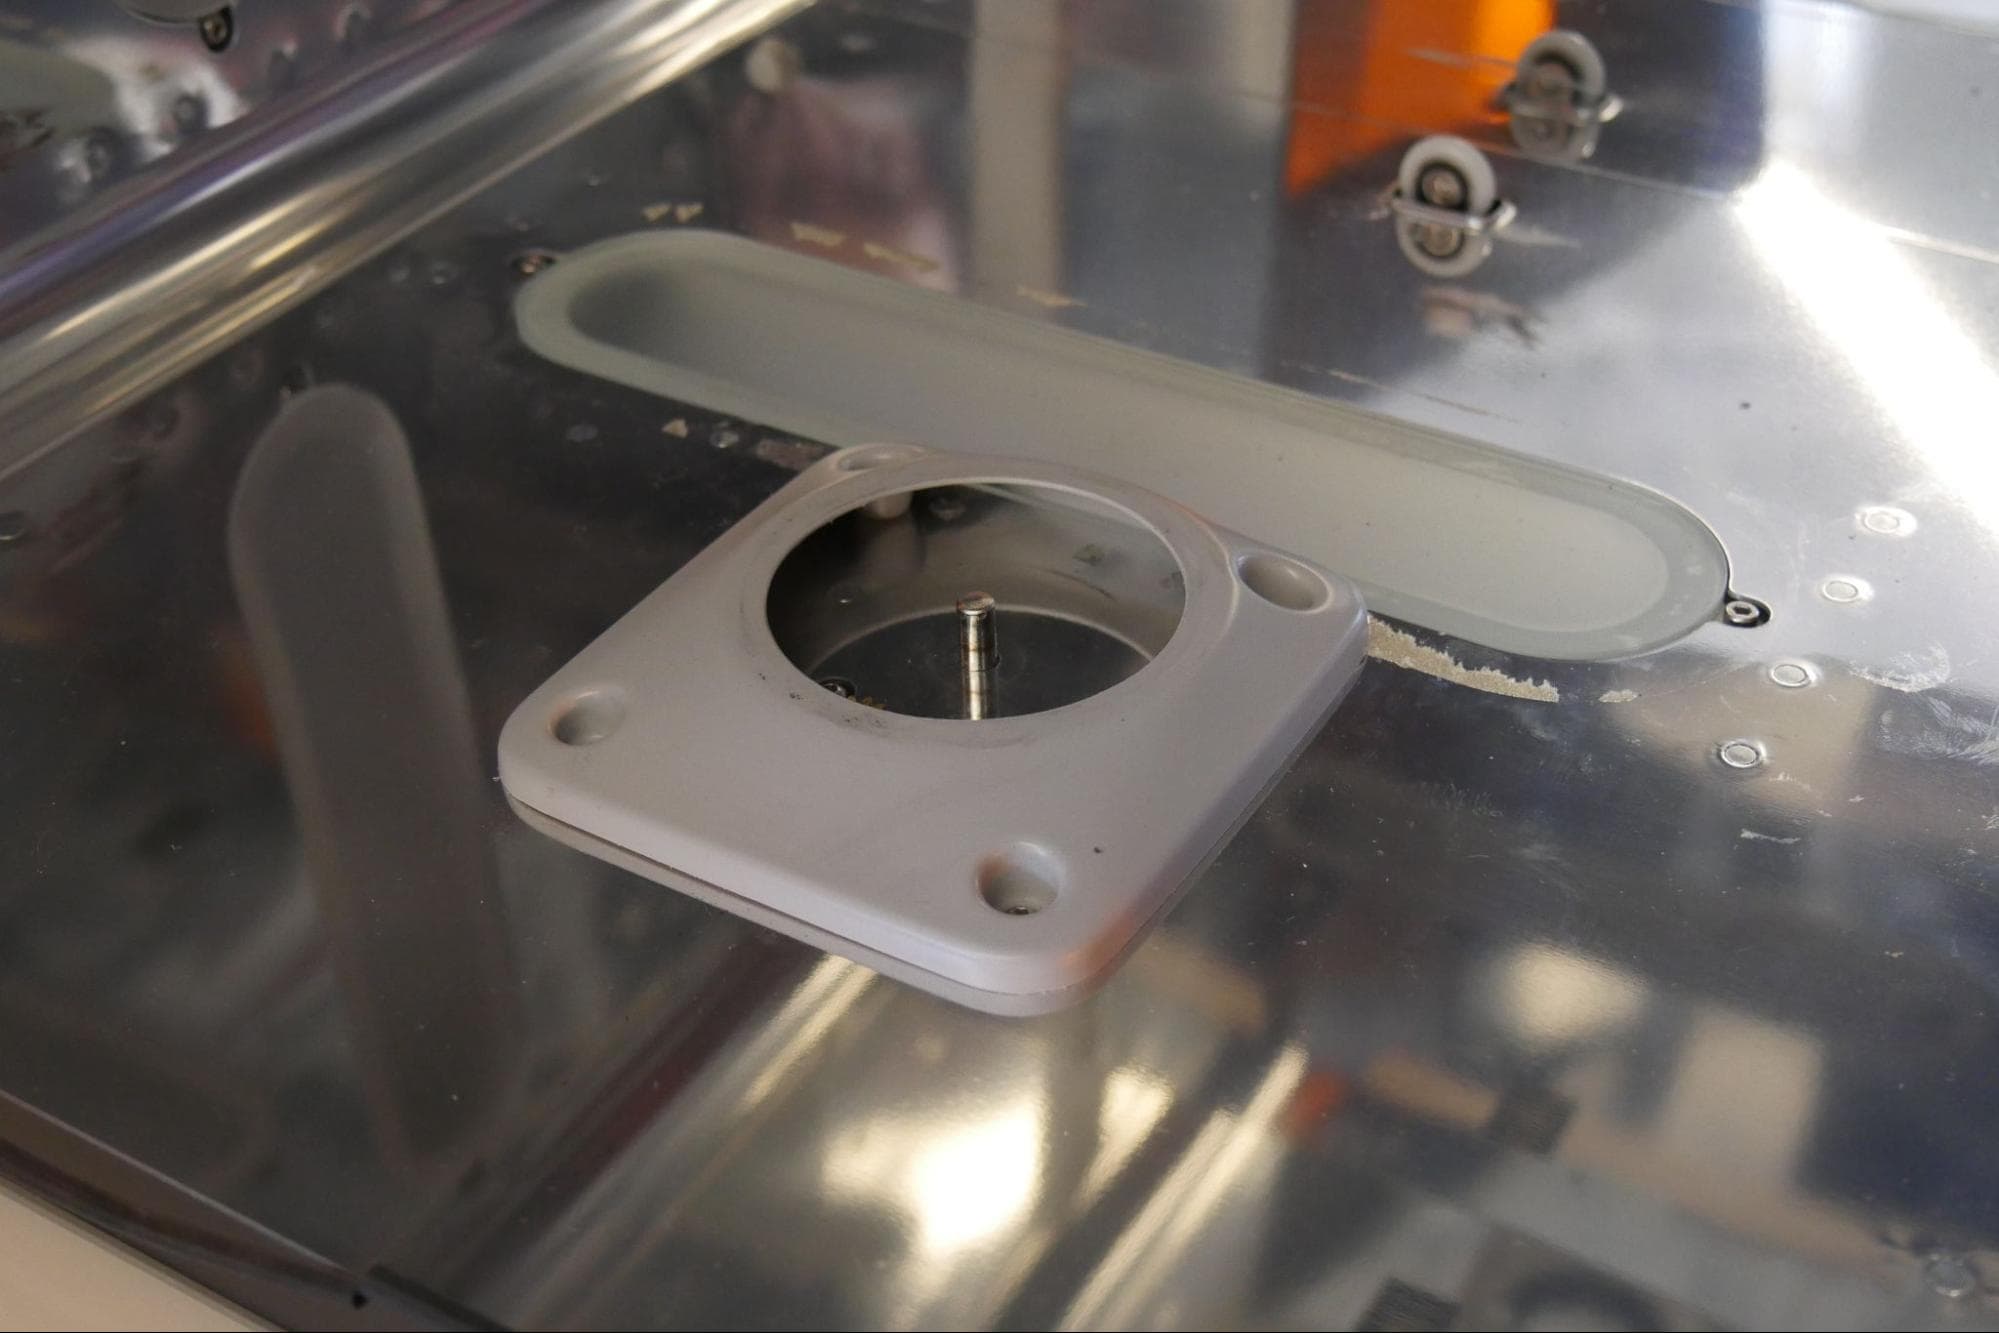
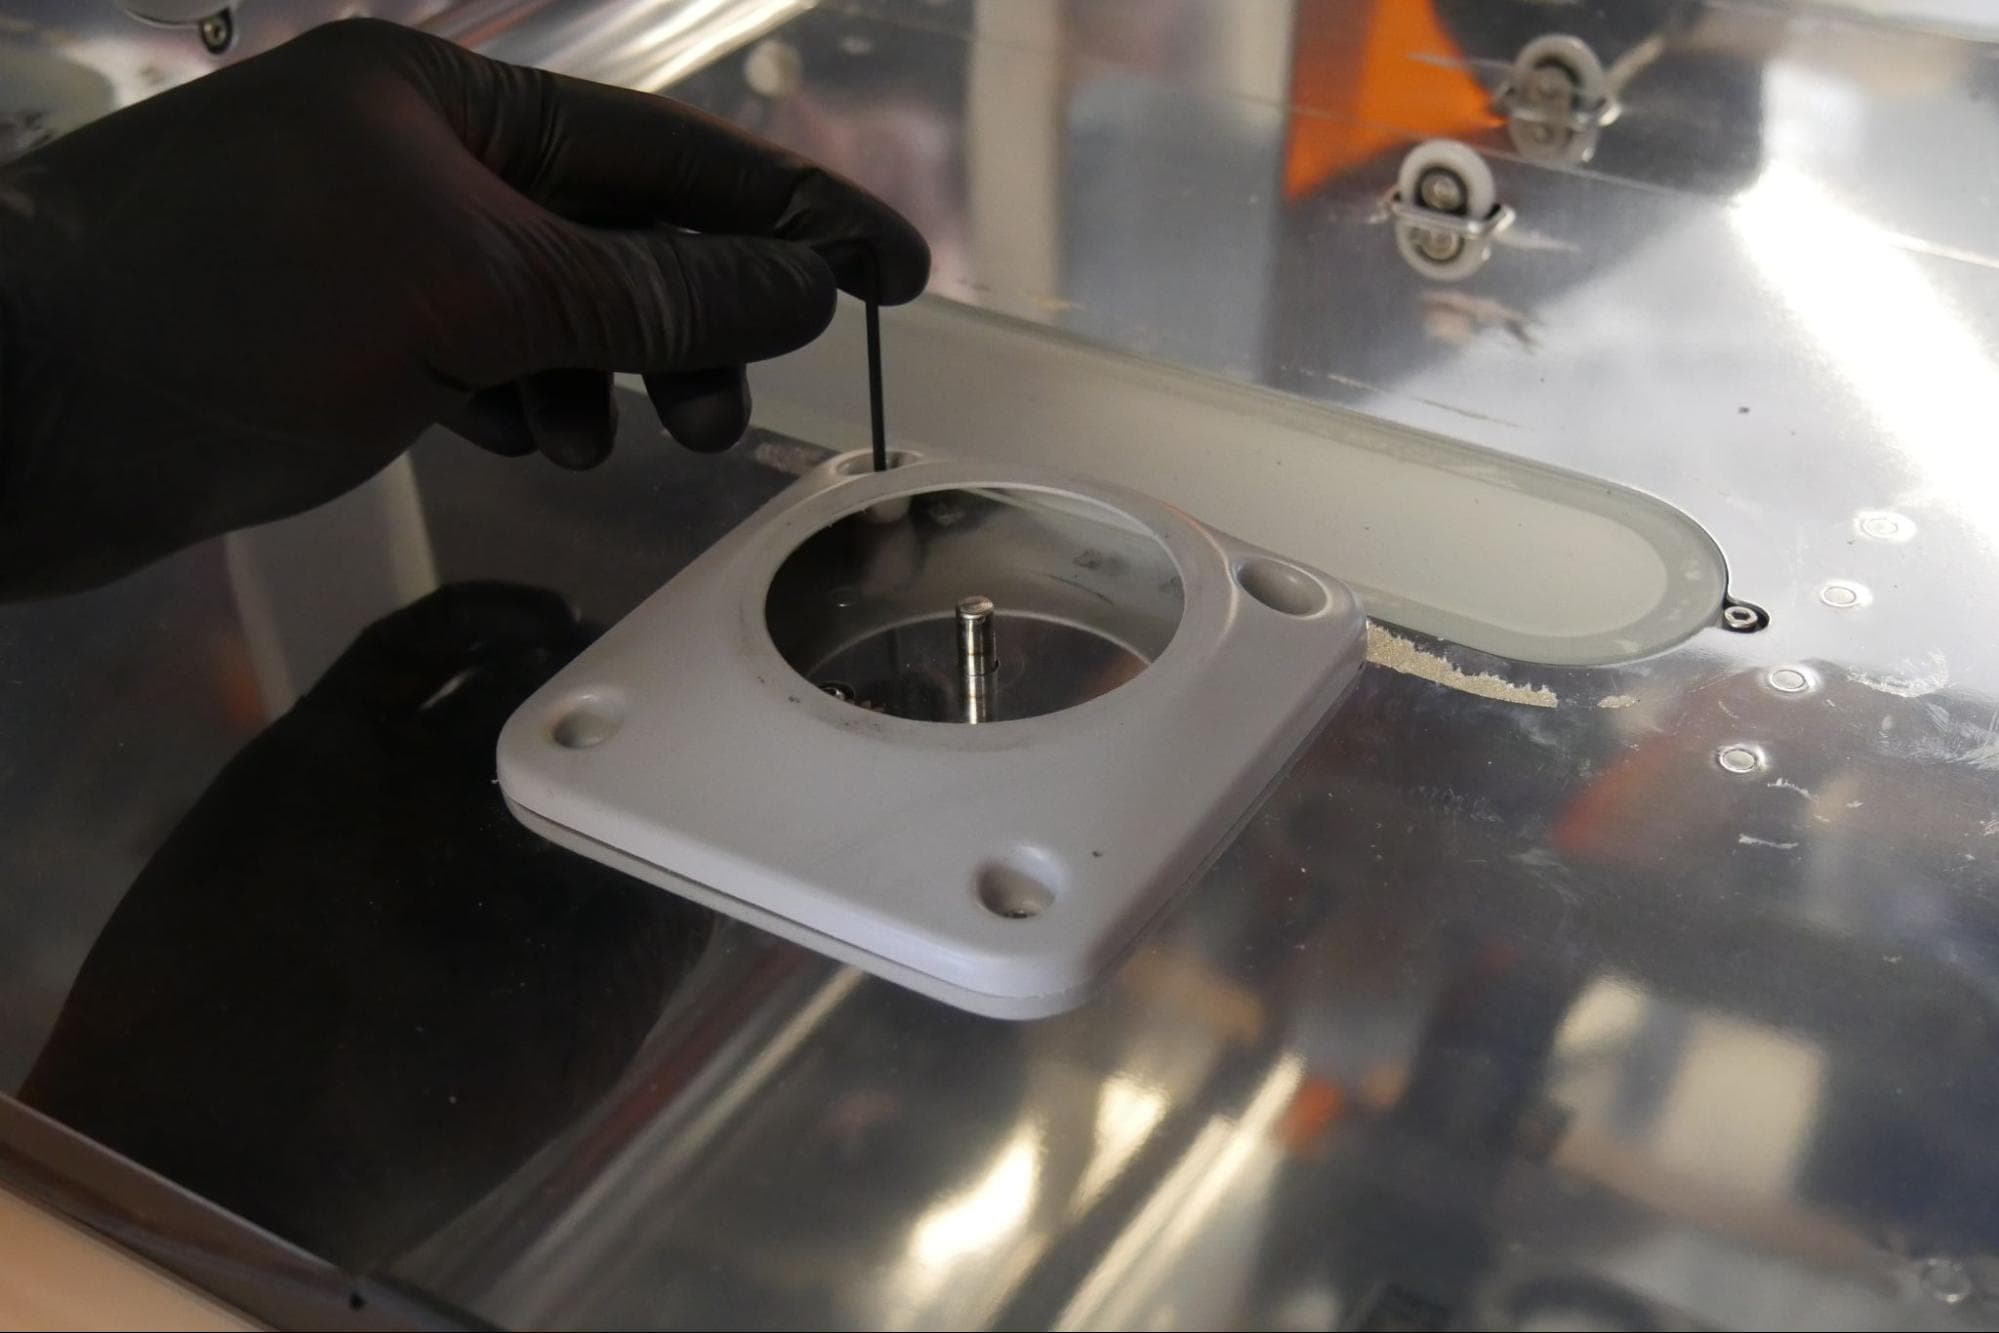
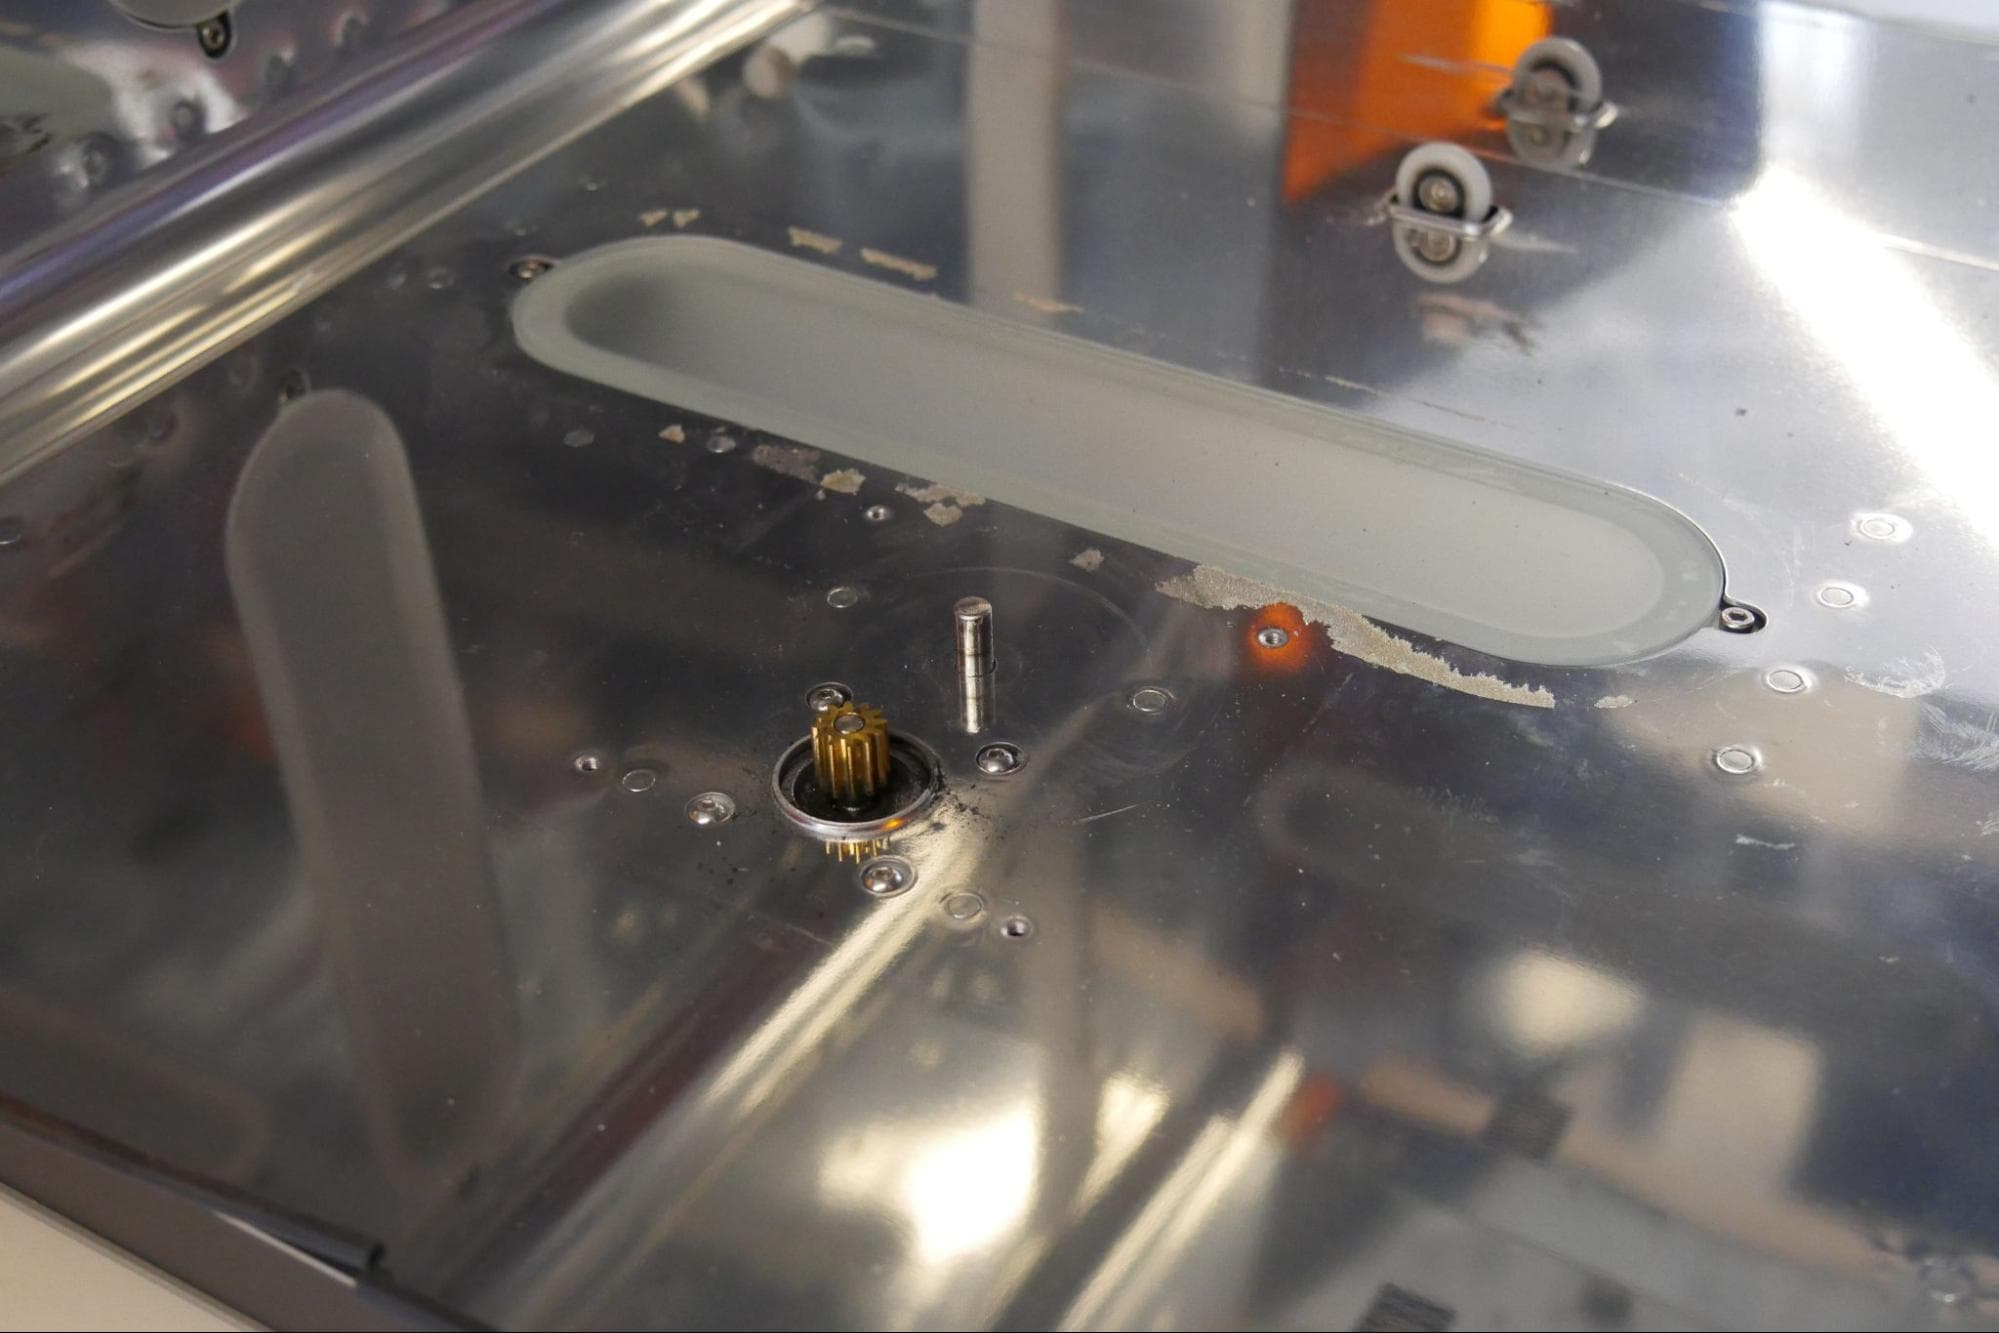
The turntable shroud is a rectangular cover that surrounds the turntable mount. If you are replacing the bottom LED module, remove the turntable shroud before proceeding. Using the 2.5 mm hex driver, loosen and remove the four screws securing the turntable shroud to the Form Cure L. Lift the turntable shroud out of the machine and set it aside.
Step 3: Remove the LED module sticker (bottom LED module only)
The lip of the bottom LED module is covered by a sticker. This sticker prevents any uncured resin or other liquids from dripping down past the sides of the LED module. If you are replacing the bottom LED module, remove the sticker before proceeding.
Step 4: Unscrew the LED module screws
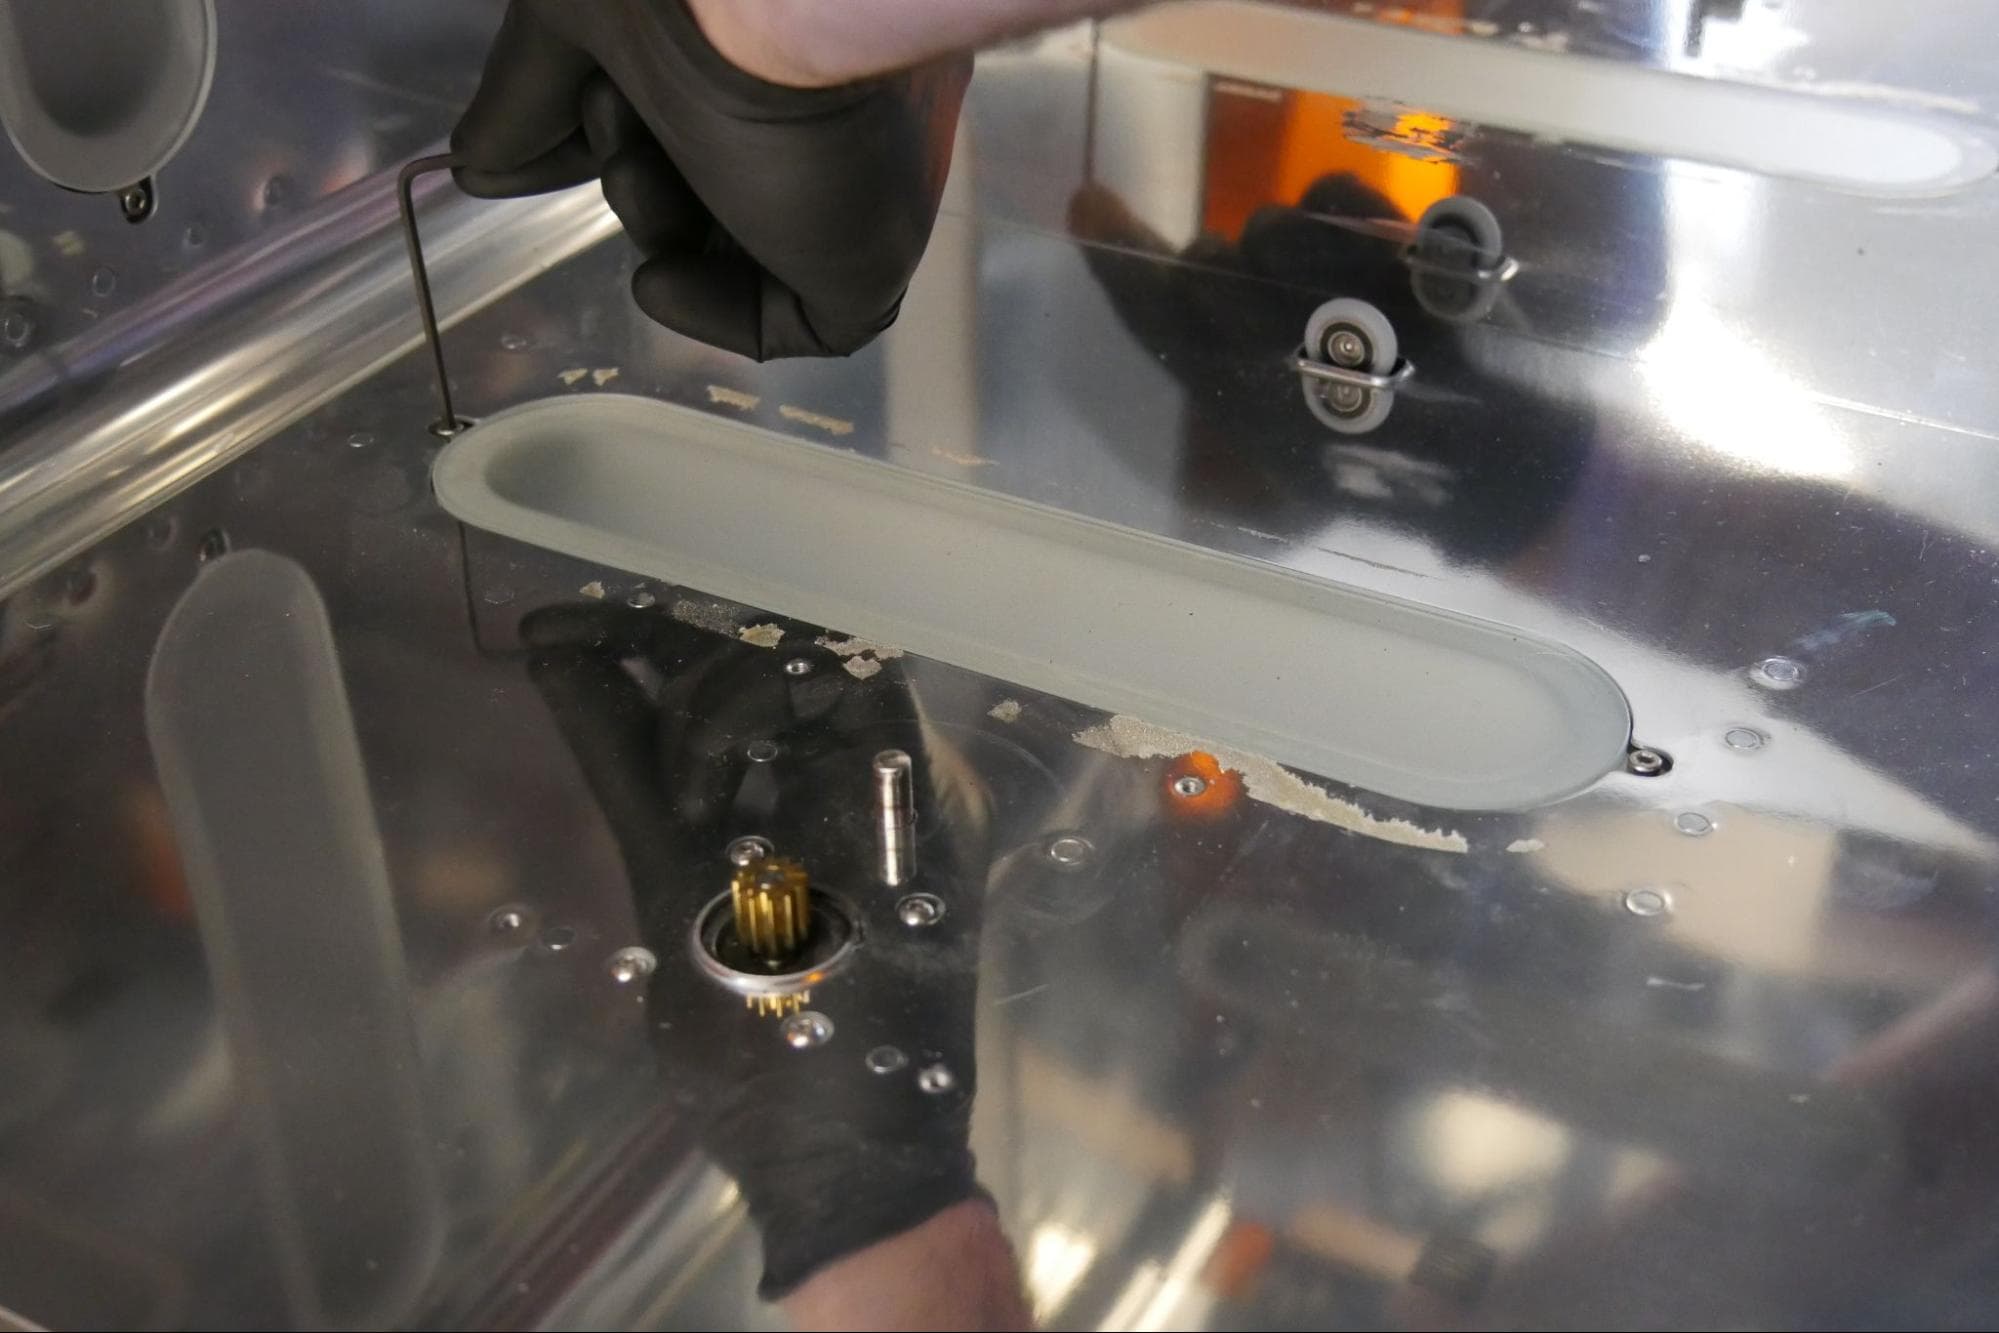
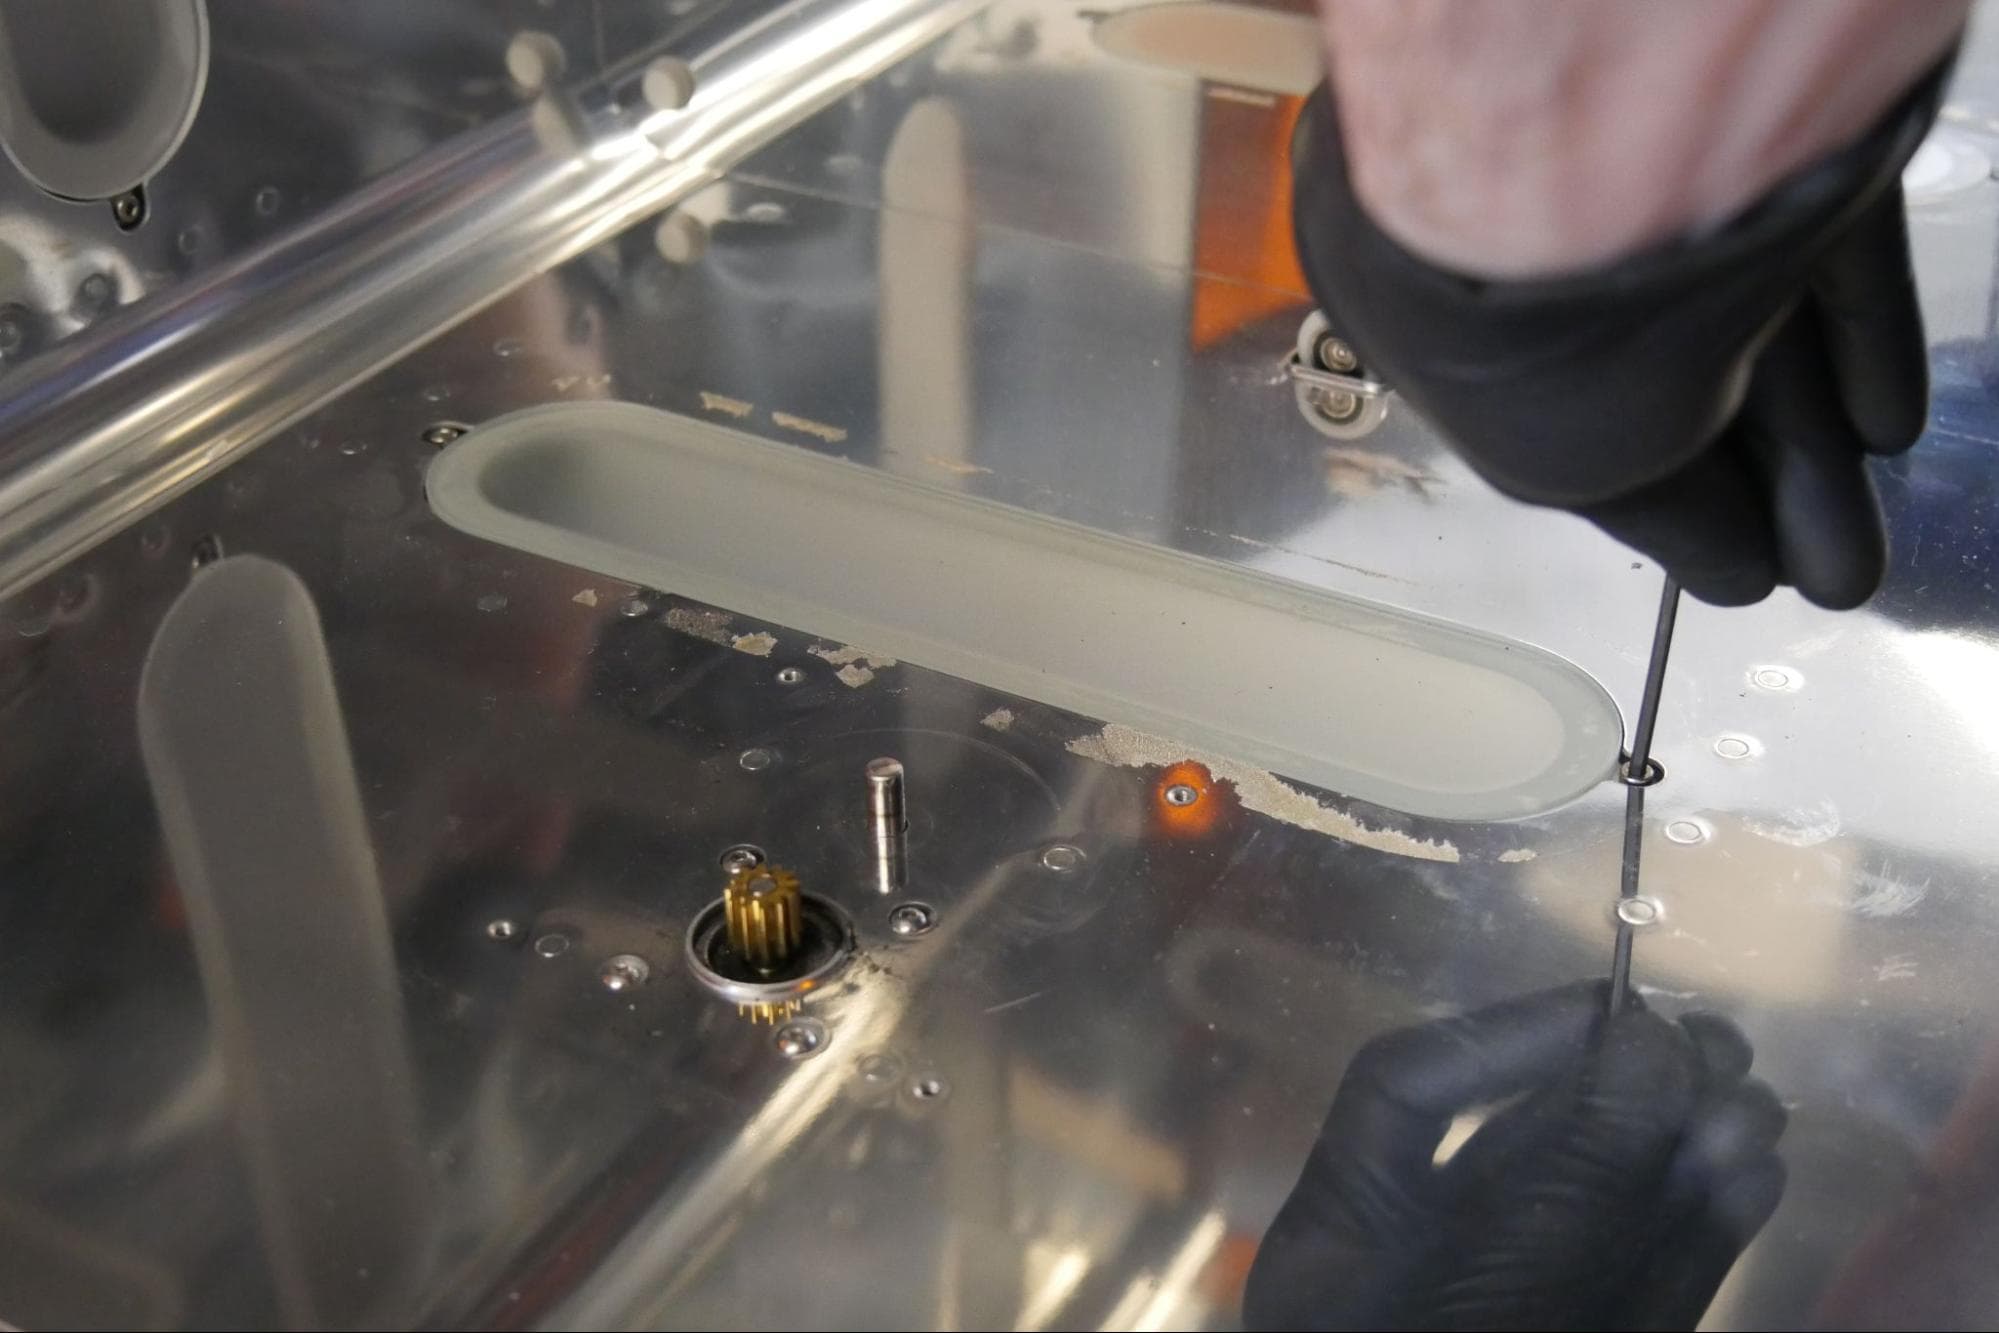
Each LED module is secured by two screws, one on each end. Using the 2.5 mm hex driver, loosen and remove the two screws. If you are replacing the top or left-hand LED module, support the module to keep it from shifting or falling. Set the screws aside.
Step 5: Disconnect the LED module cable
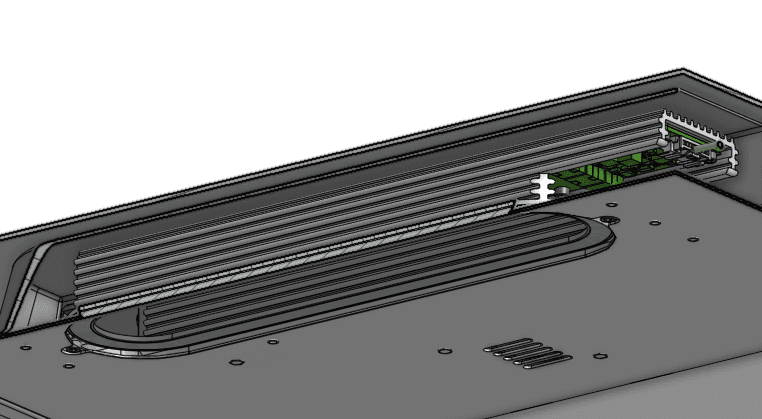
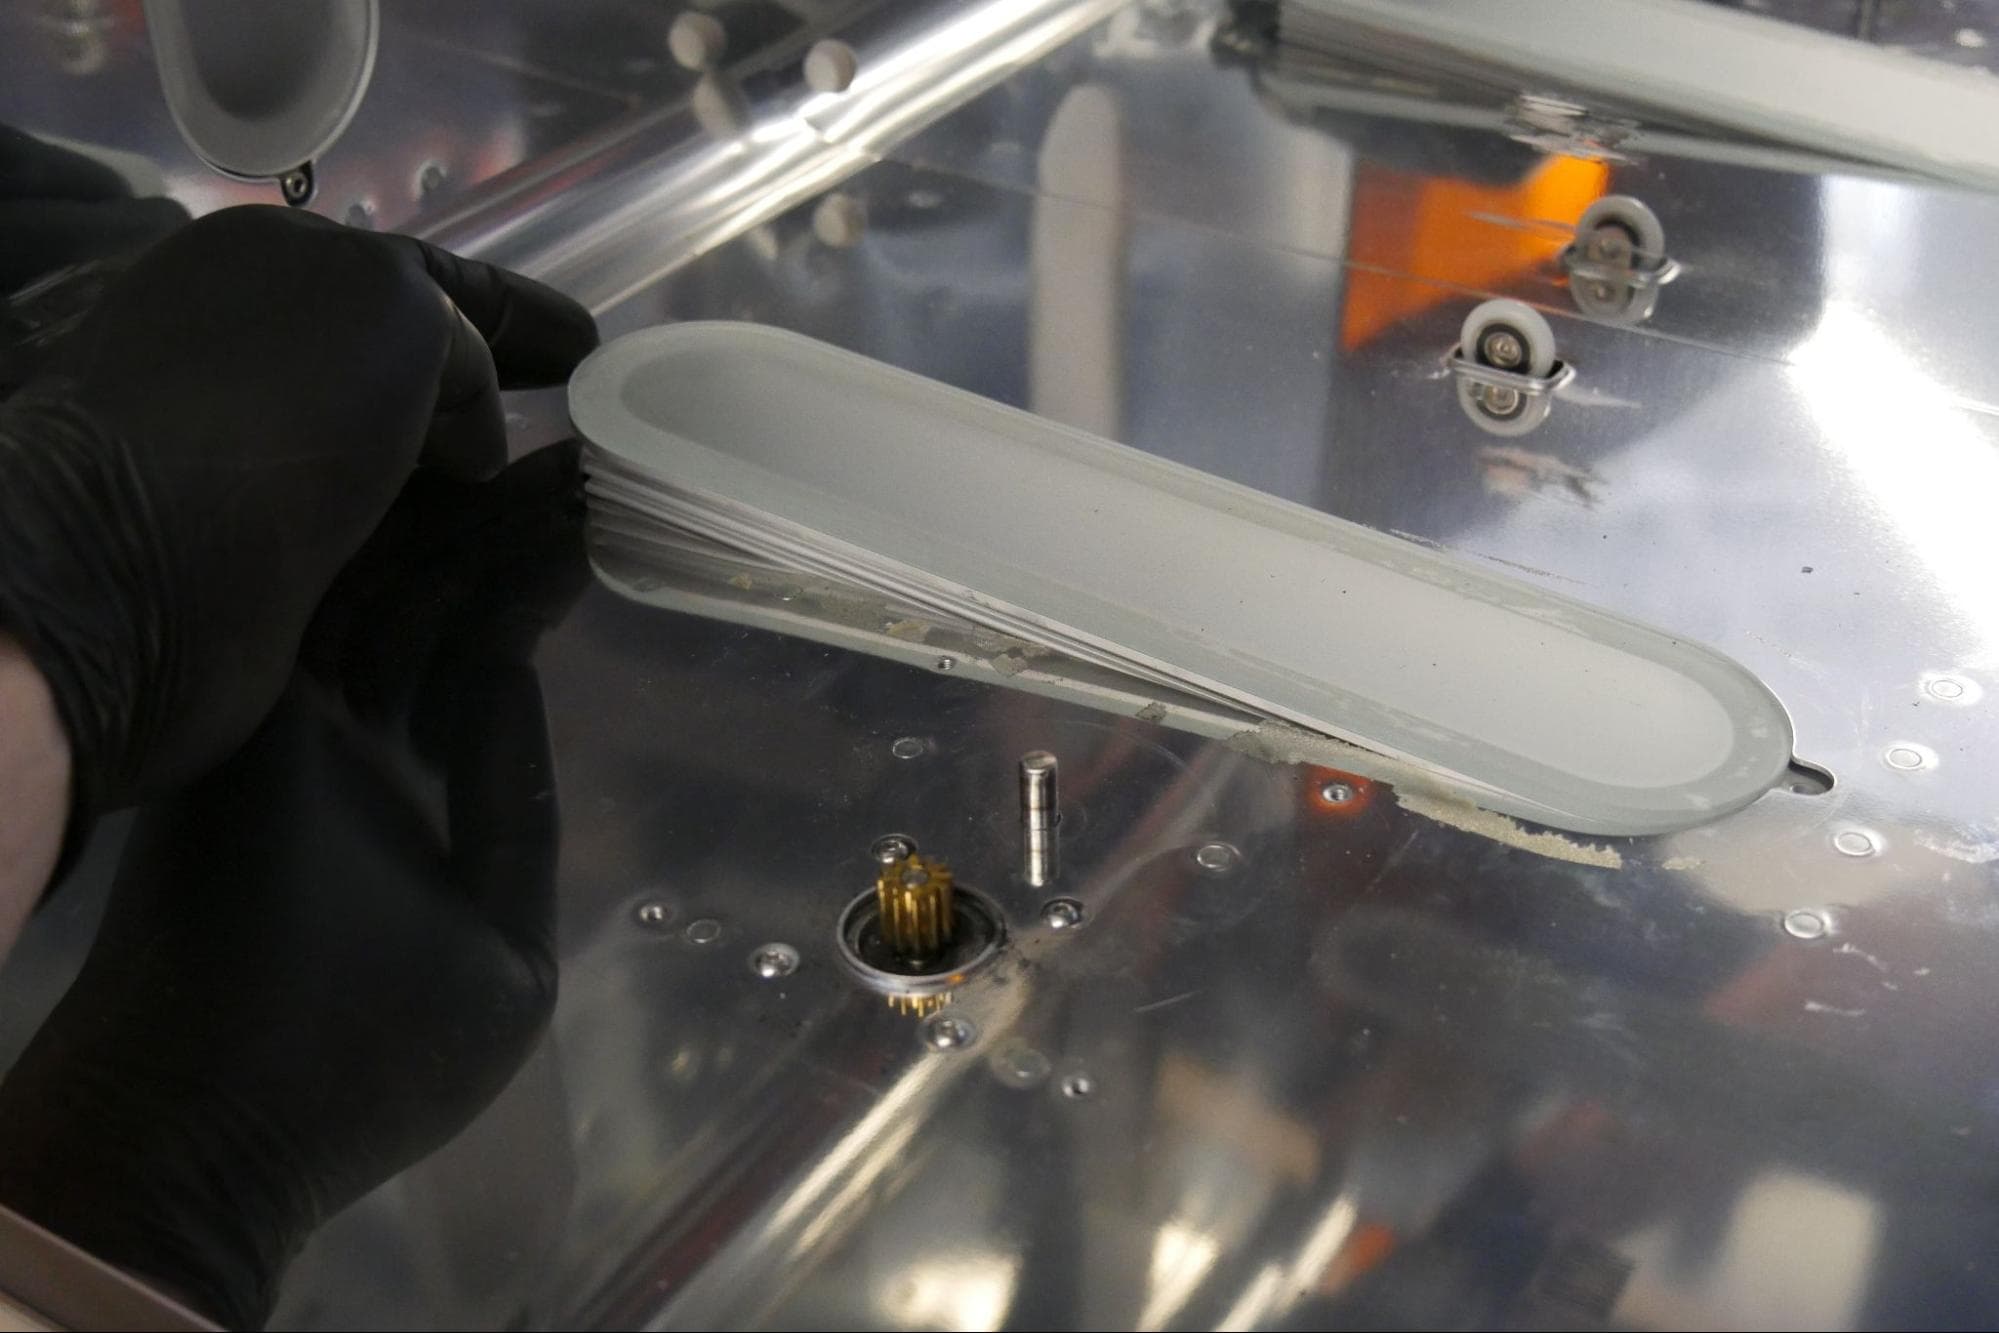
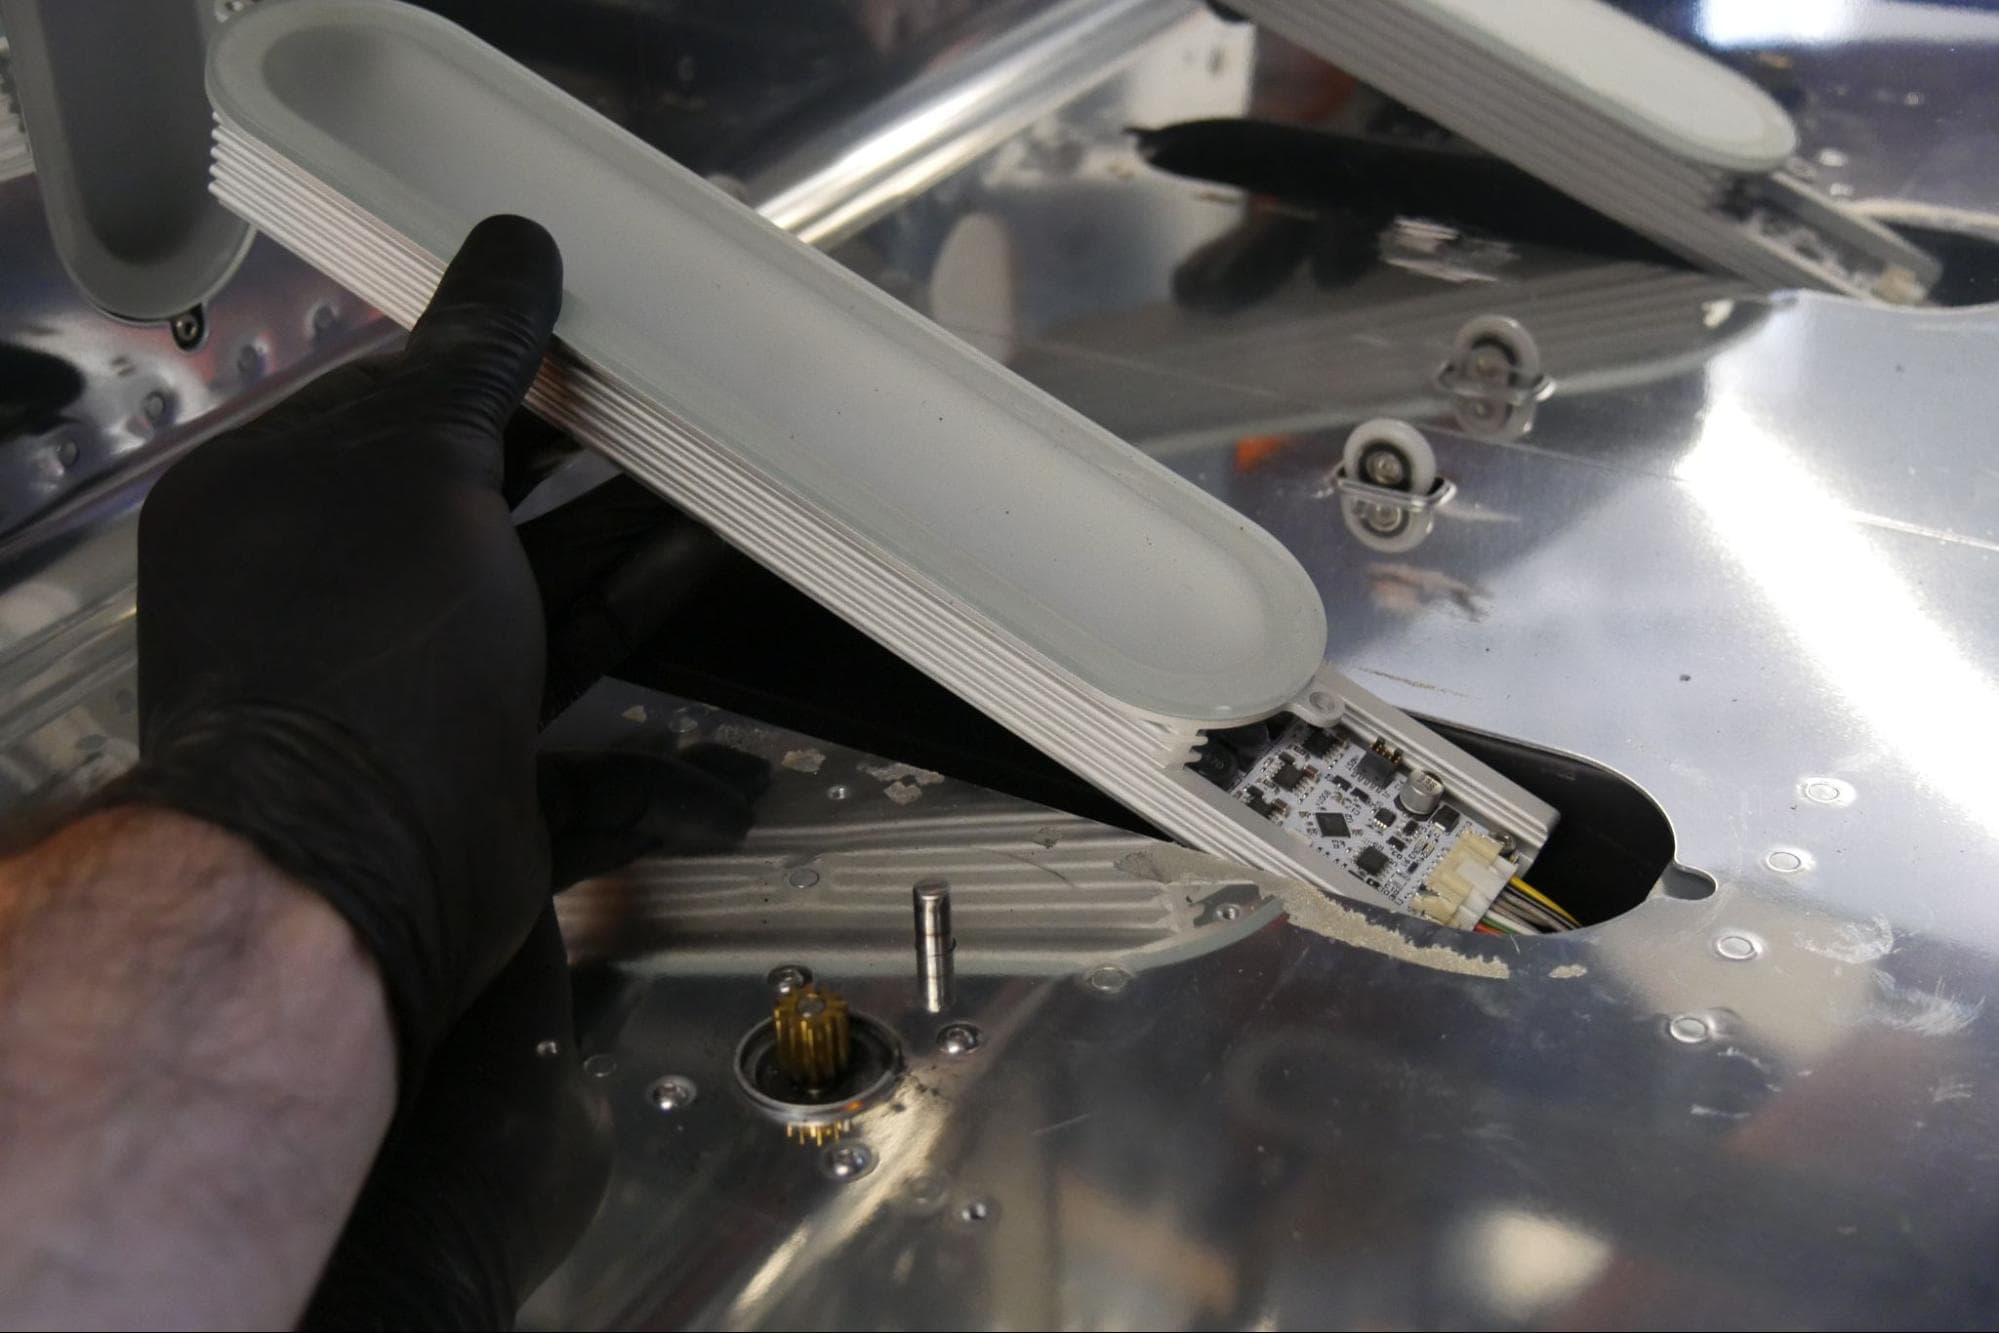
Tilt the LED module away from the body of the Form Cure L. Note that a portion of the LED module extends behind the wall of the post-cure chamber. Do not pull the LED module directly away from the chamber wall.
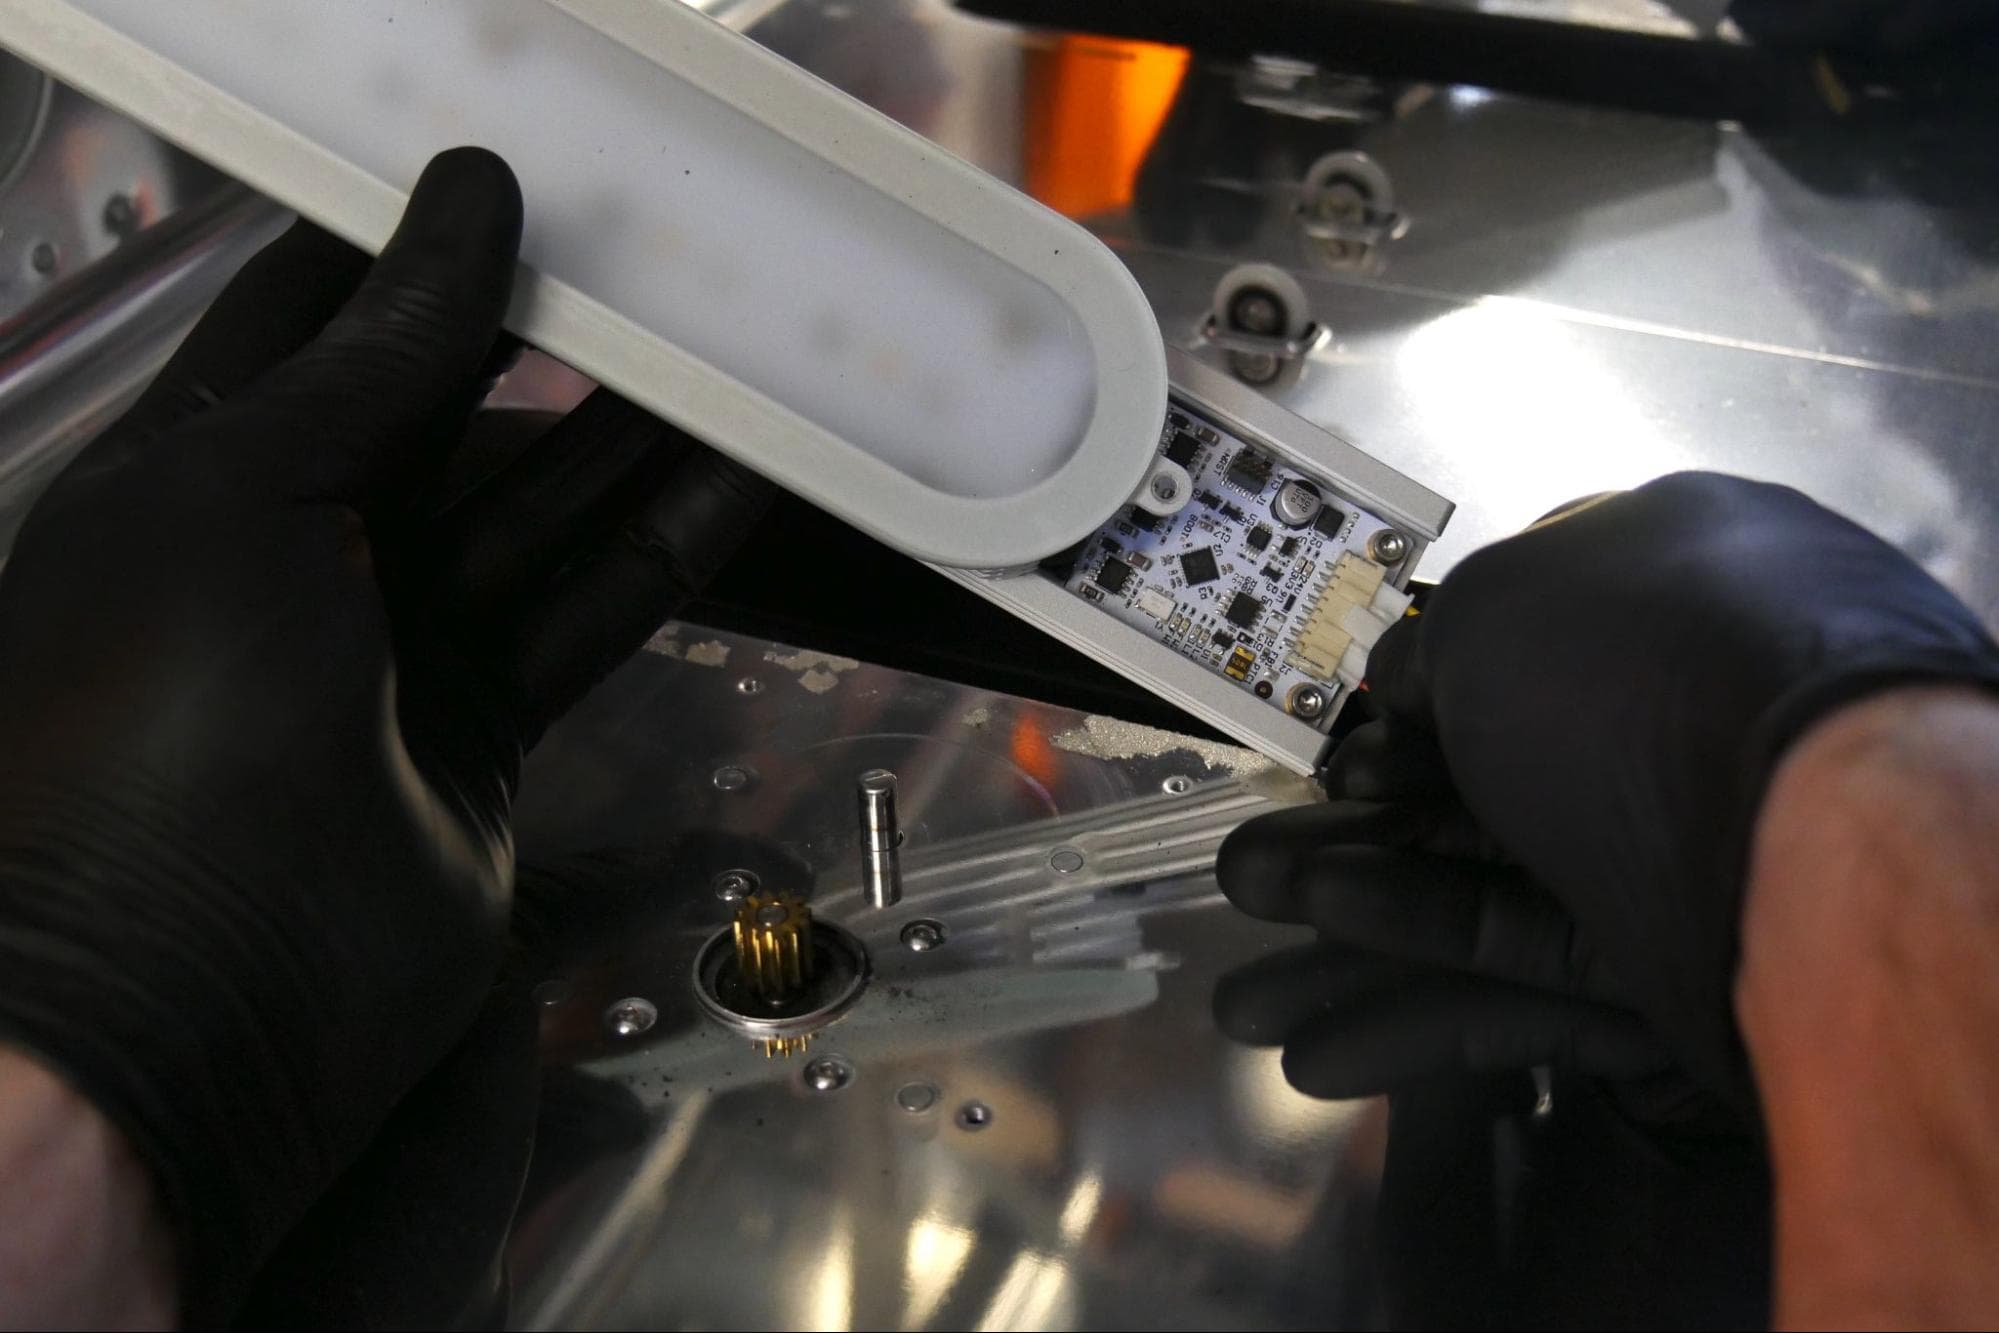
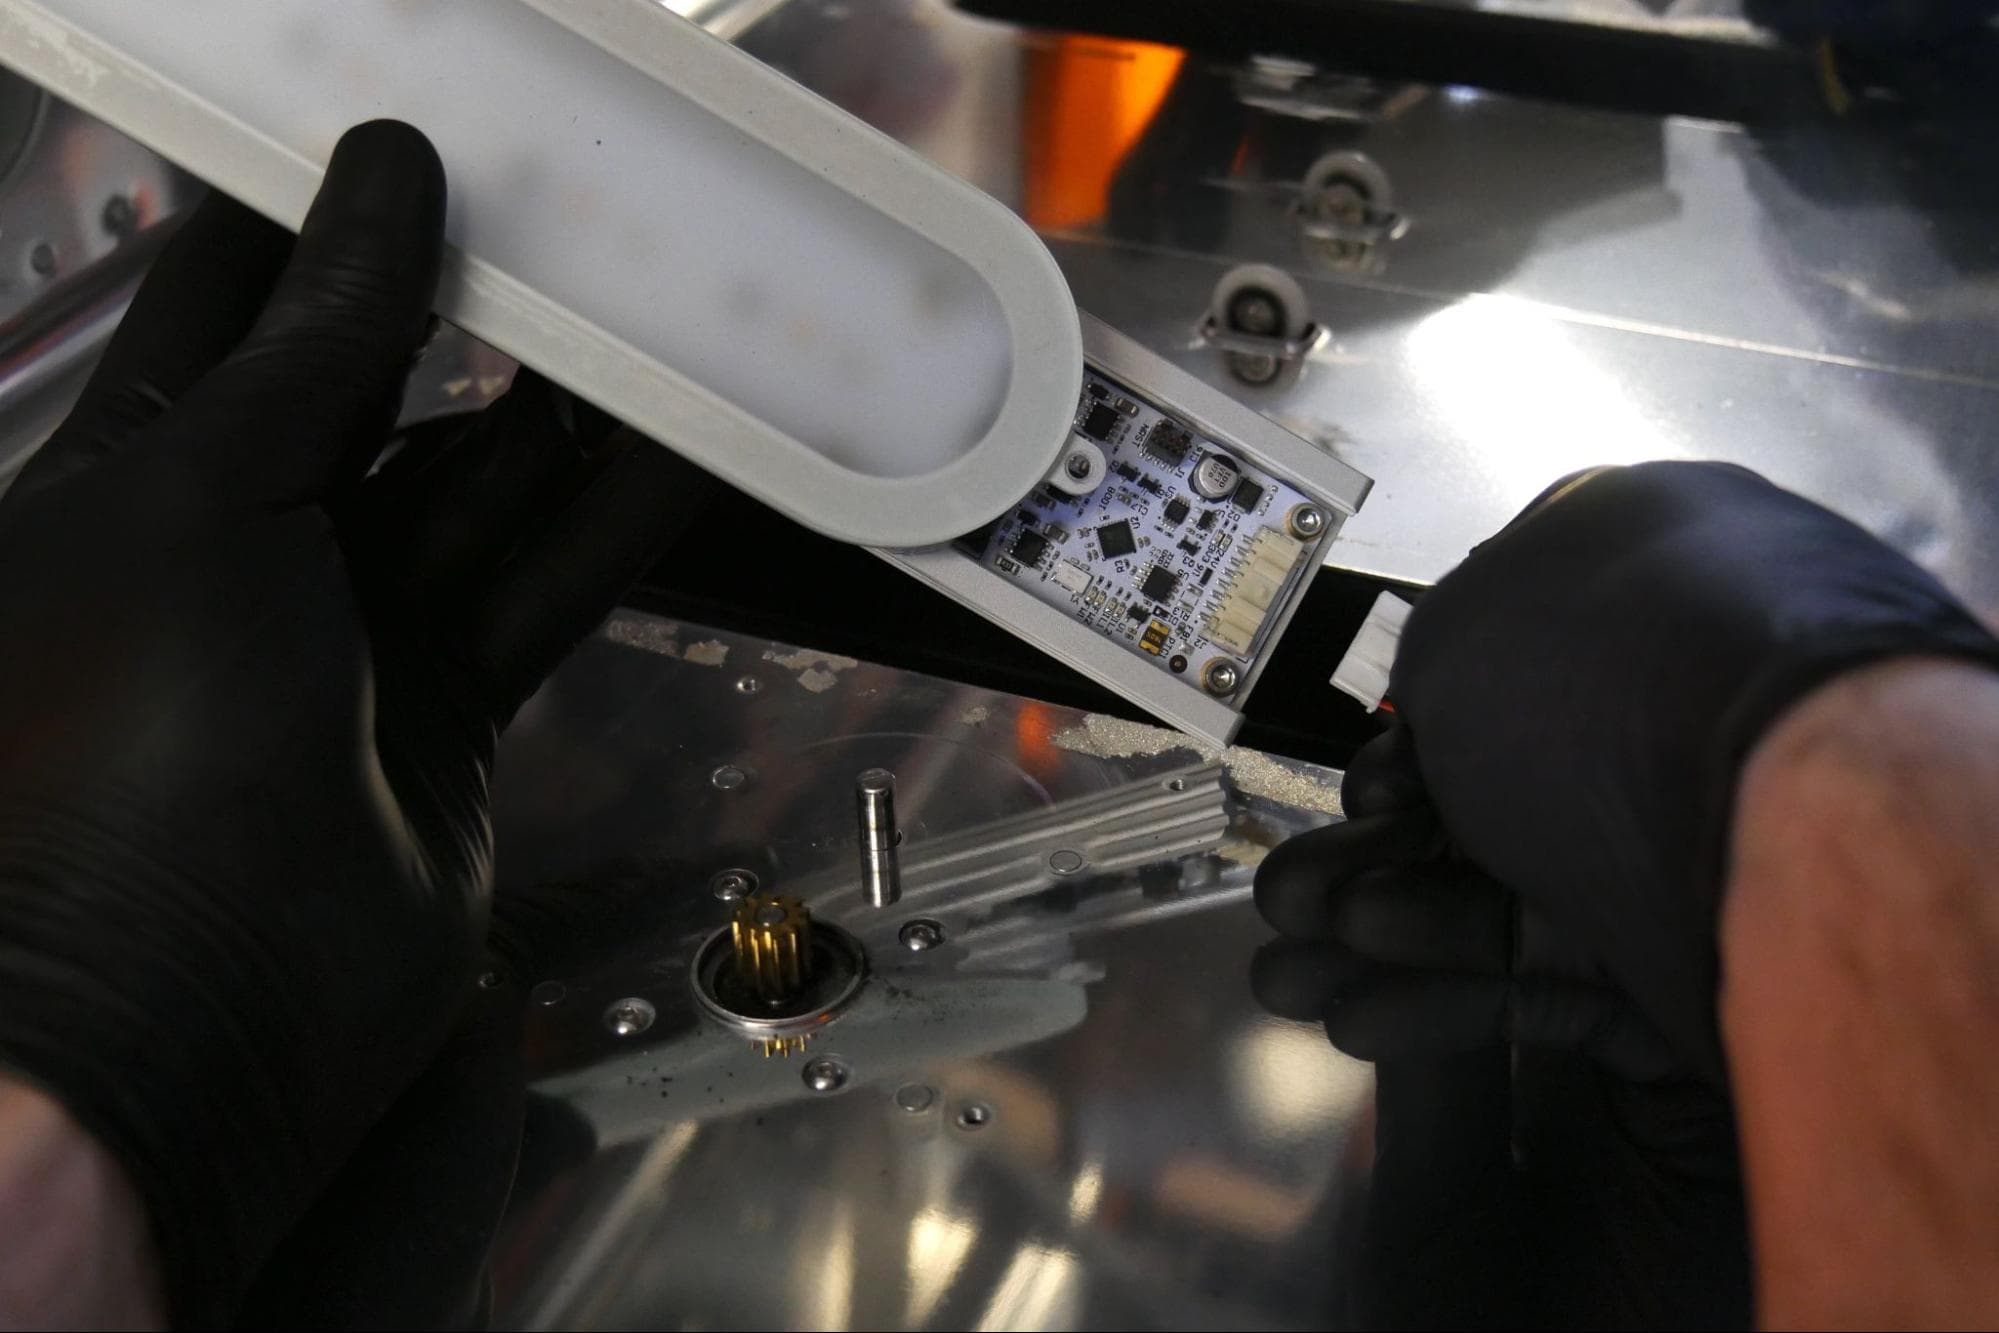
Unplug the LED module cable. When disconnecting the cable, grip the connector, press in on the tab, and separate it from the LED module. Do not pull on the wires themselves.
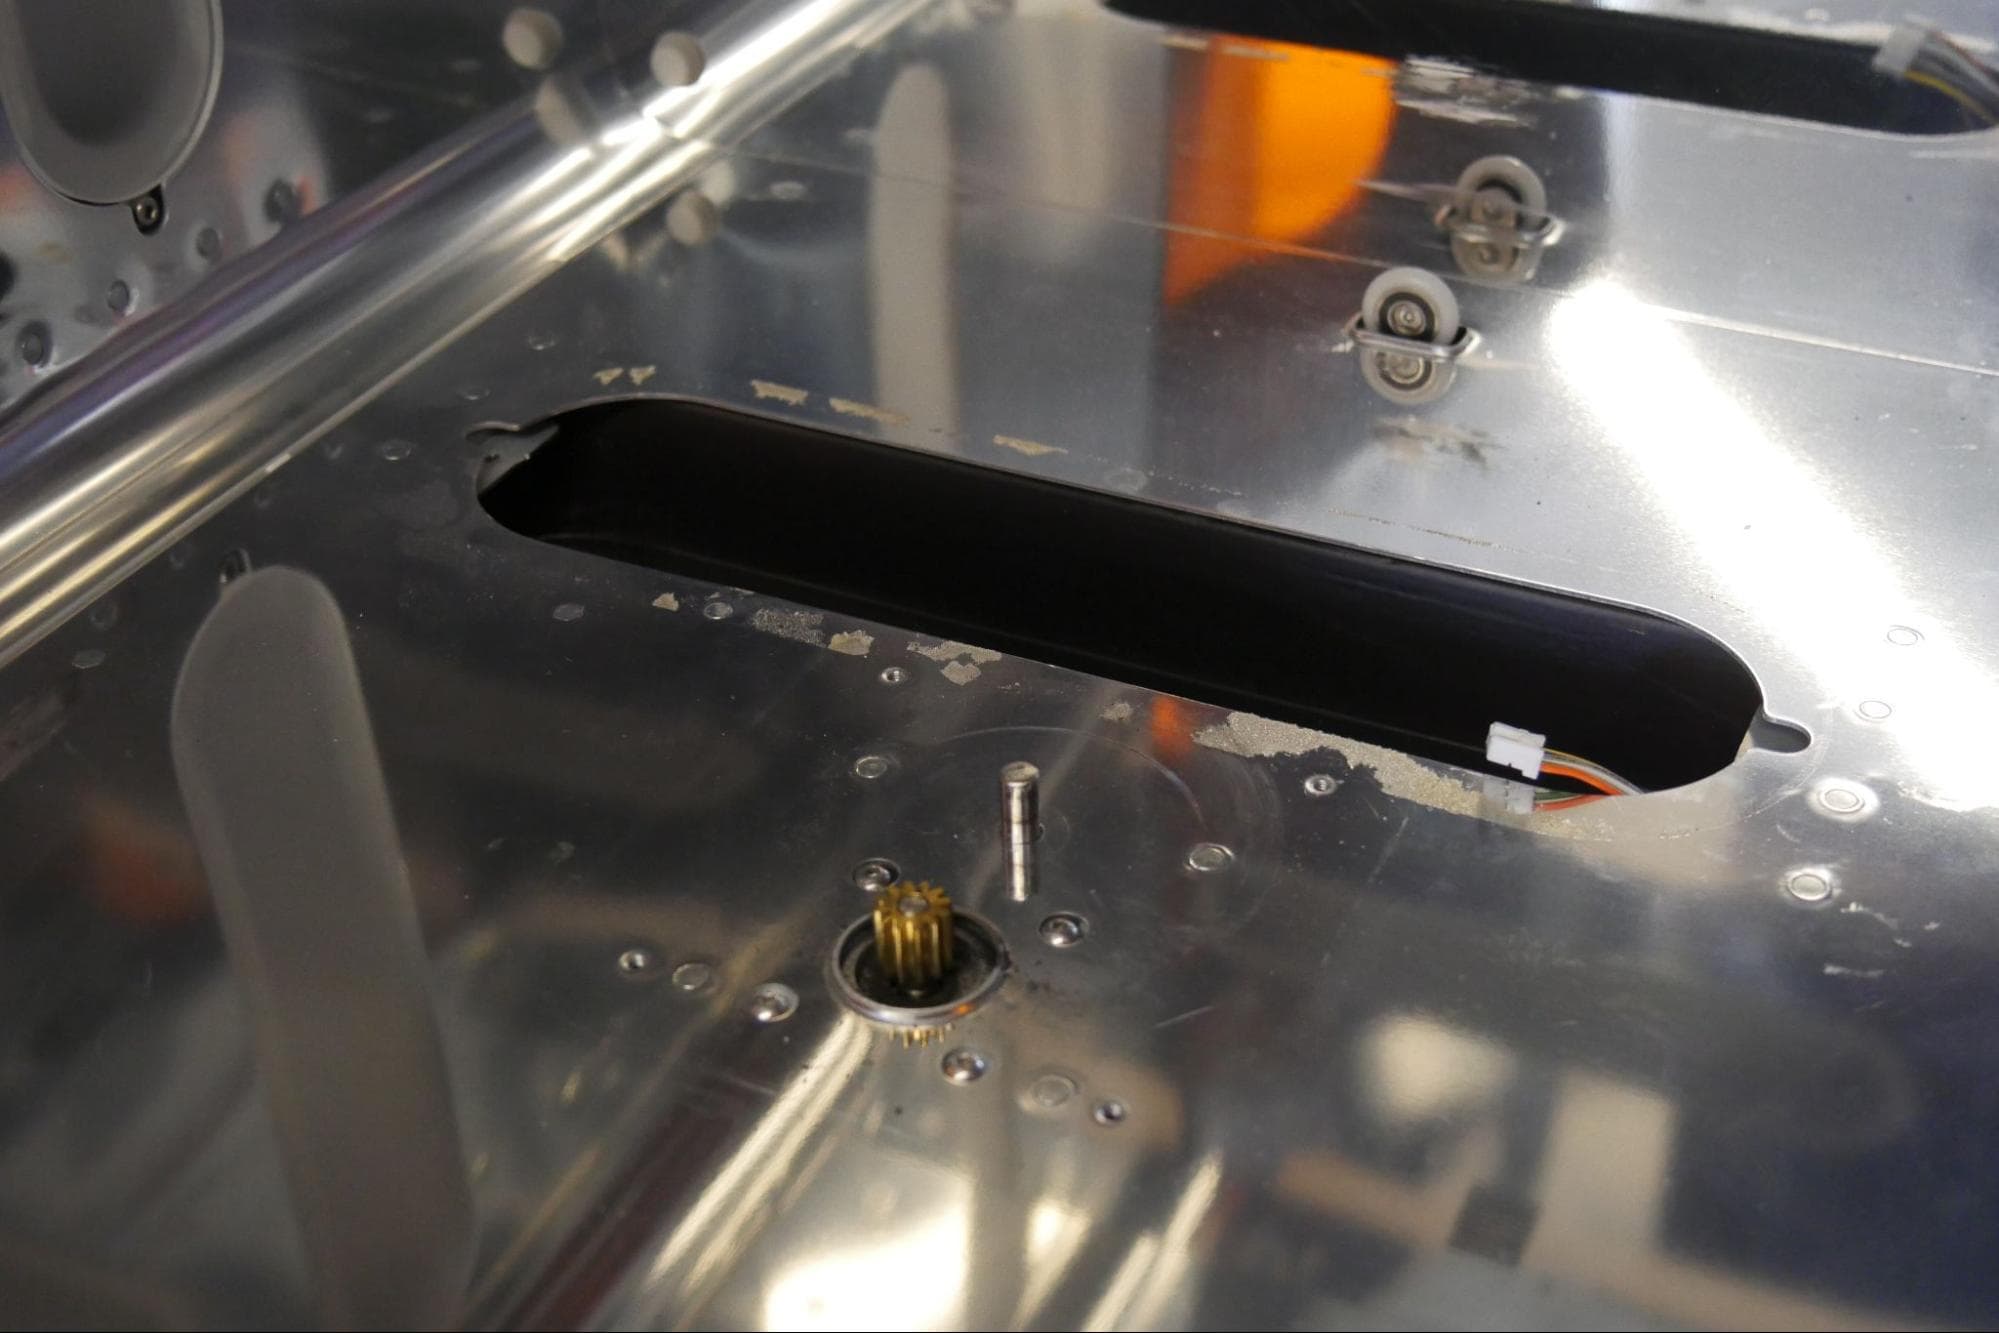
Remove the LED module from the Form Cure L and set it aside.
Repeat steps 1–6 for any other LED modules you are replacing.
Installing the new LED module
Overview: Mount and secure the new LED module.
Step 1: Reconnect the LED module cable
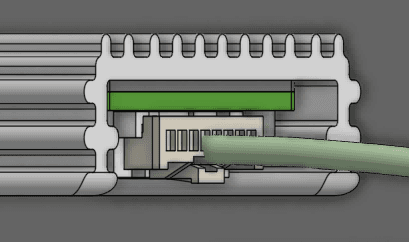
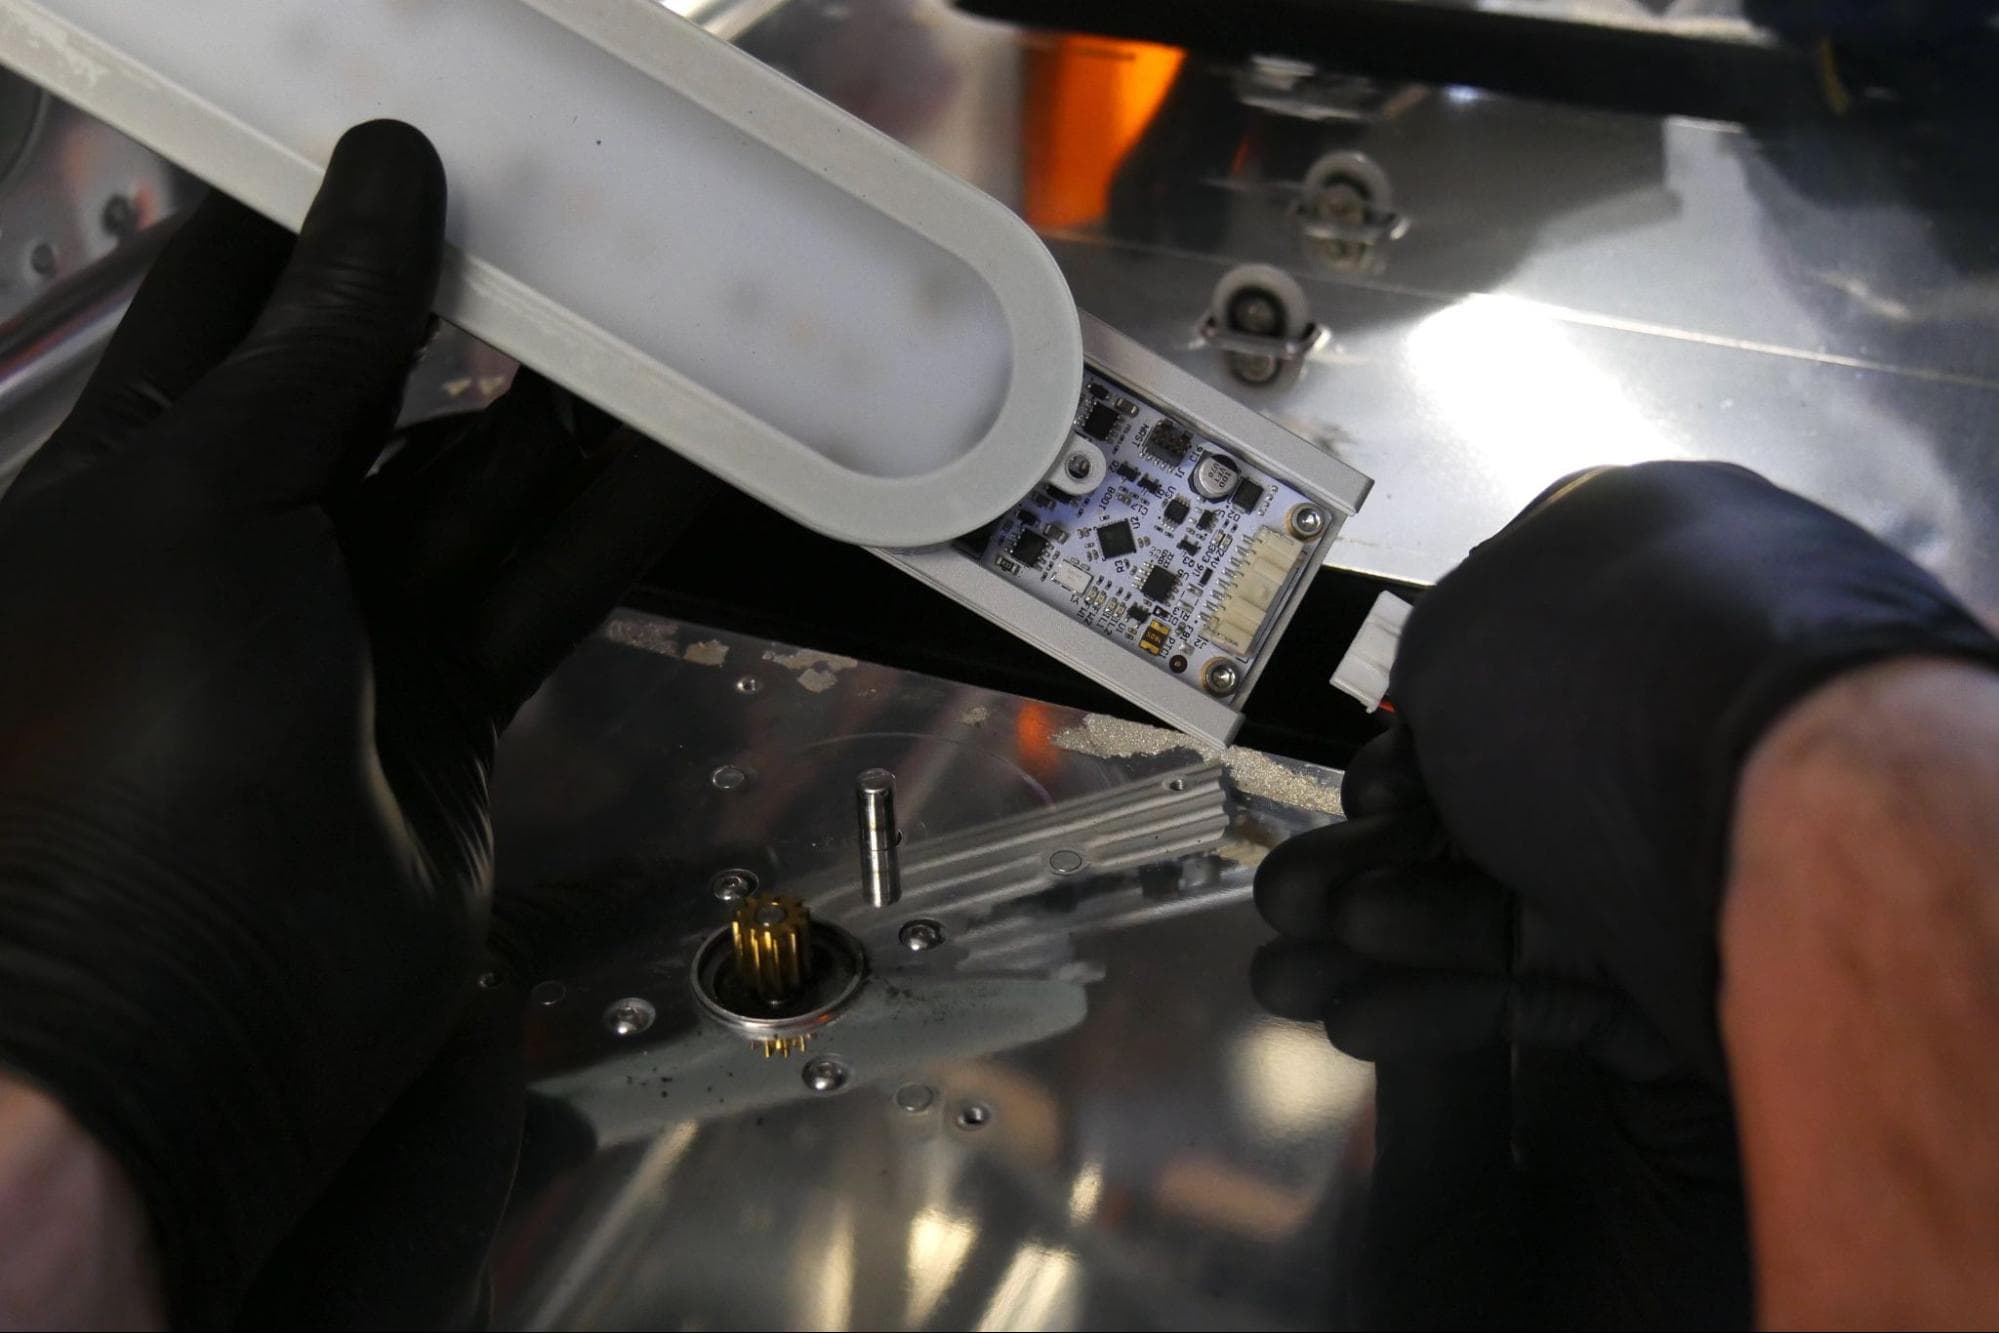
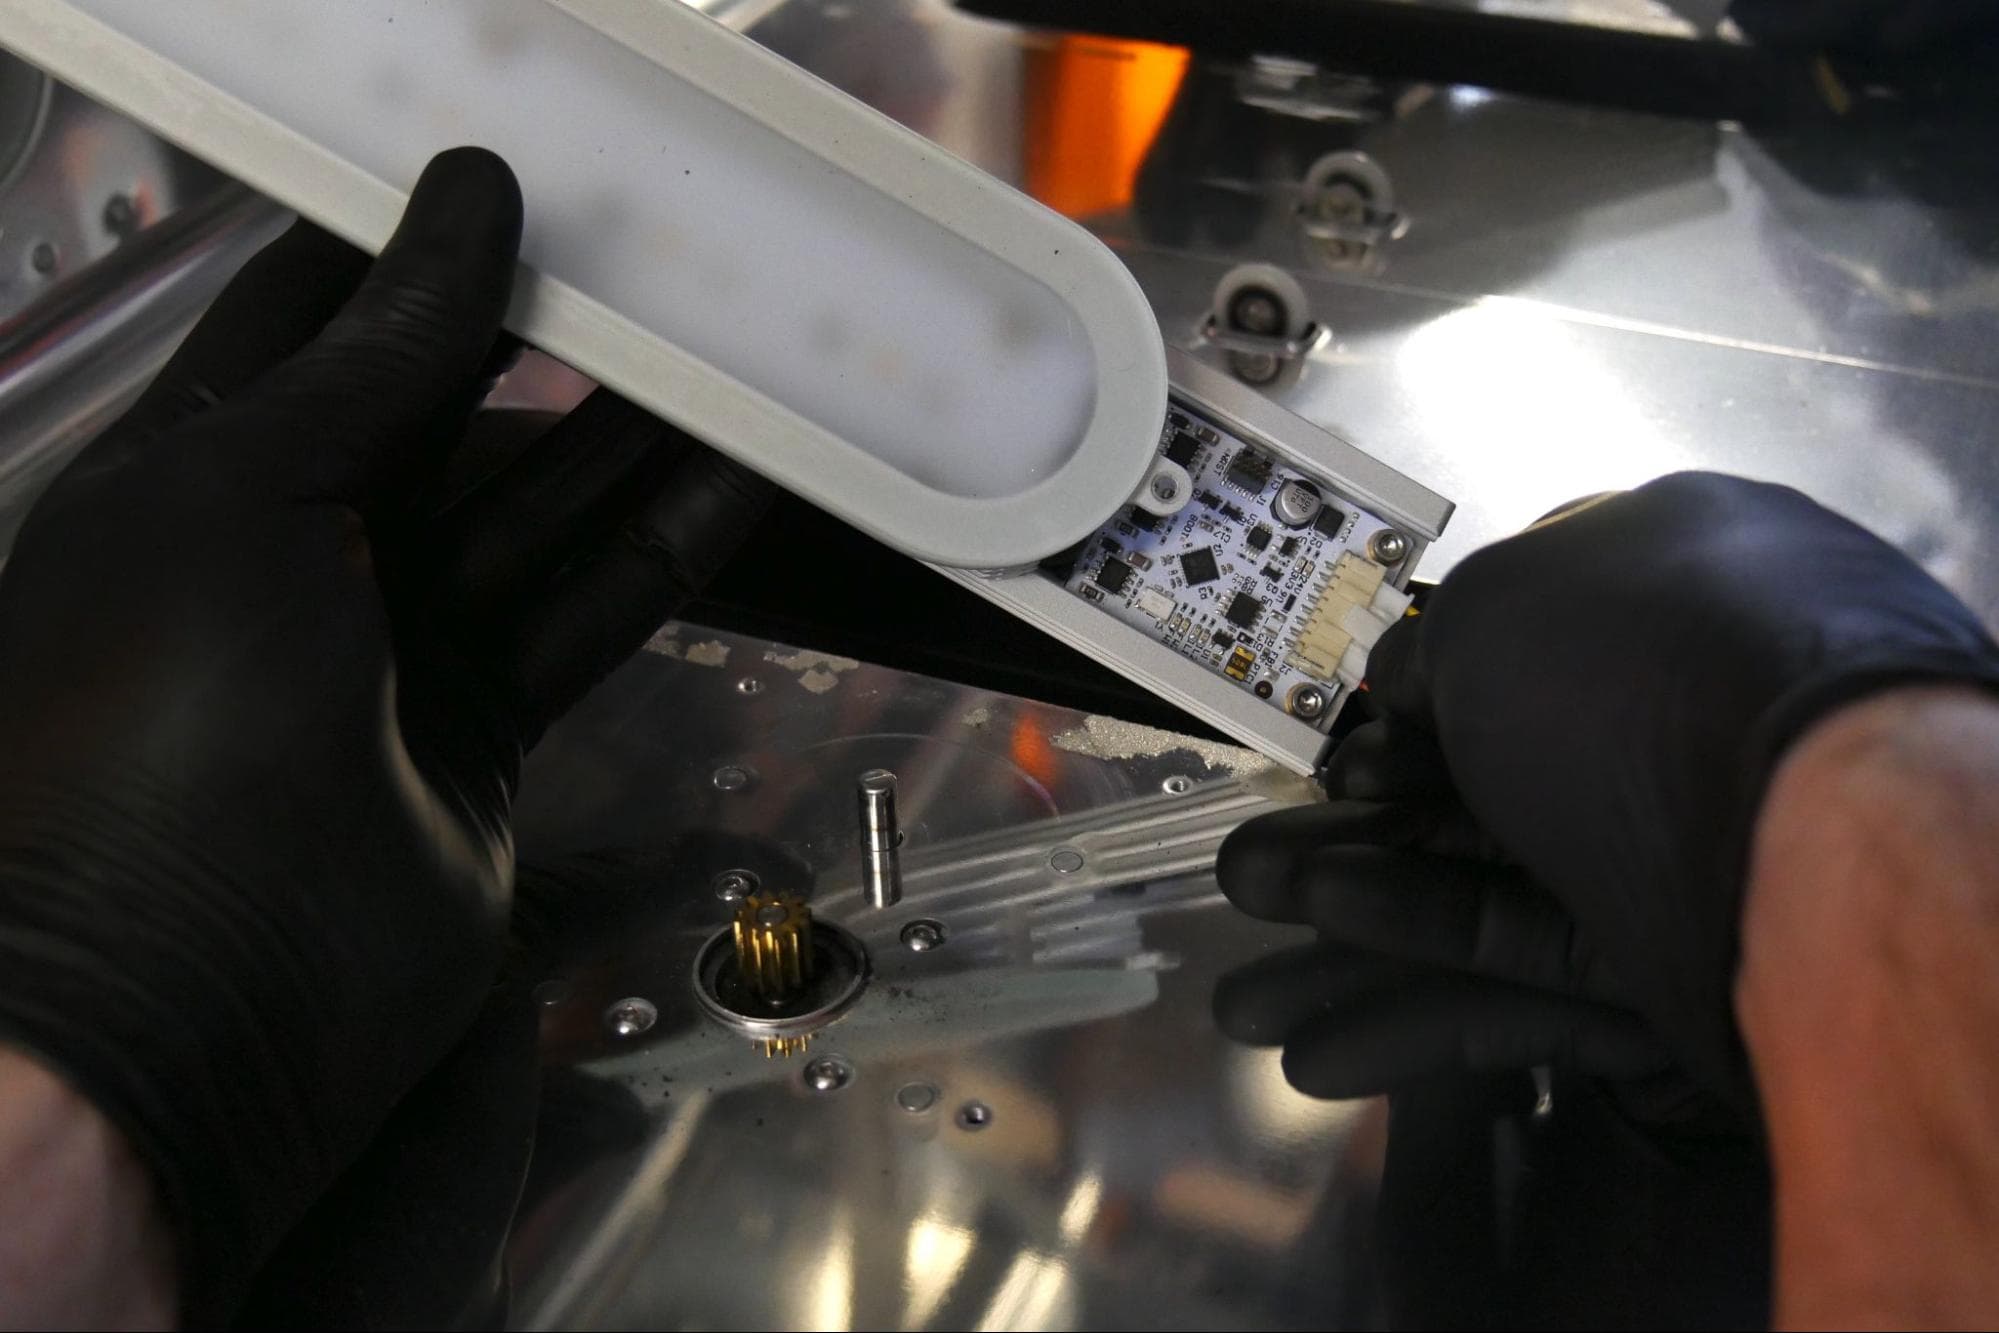
Reconnect the LED module cable. The connector will only plug into the module properly in the correct orientation. Be careful not to bend the pins in the connector.
Step 2: Mount and secure the replacement LED module
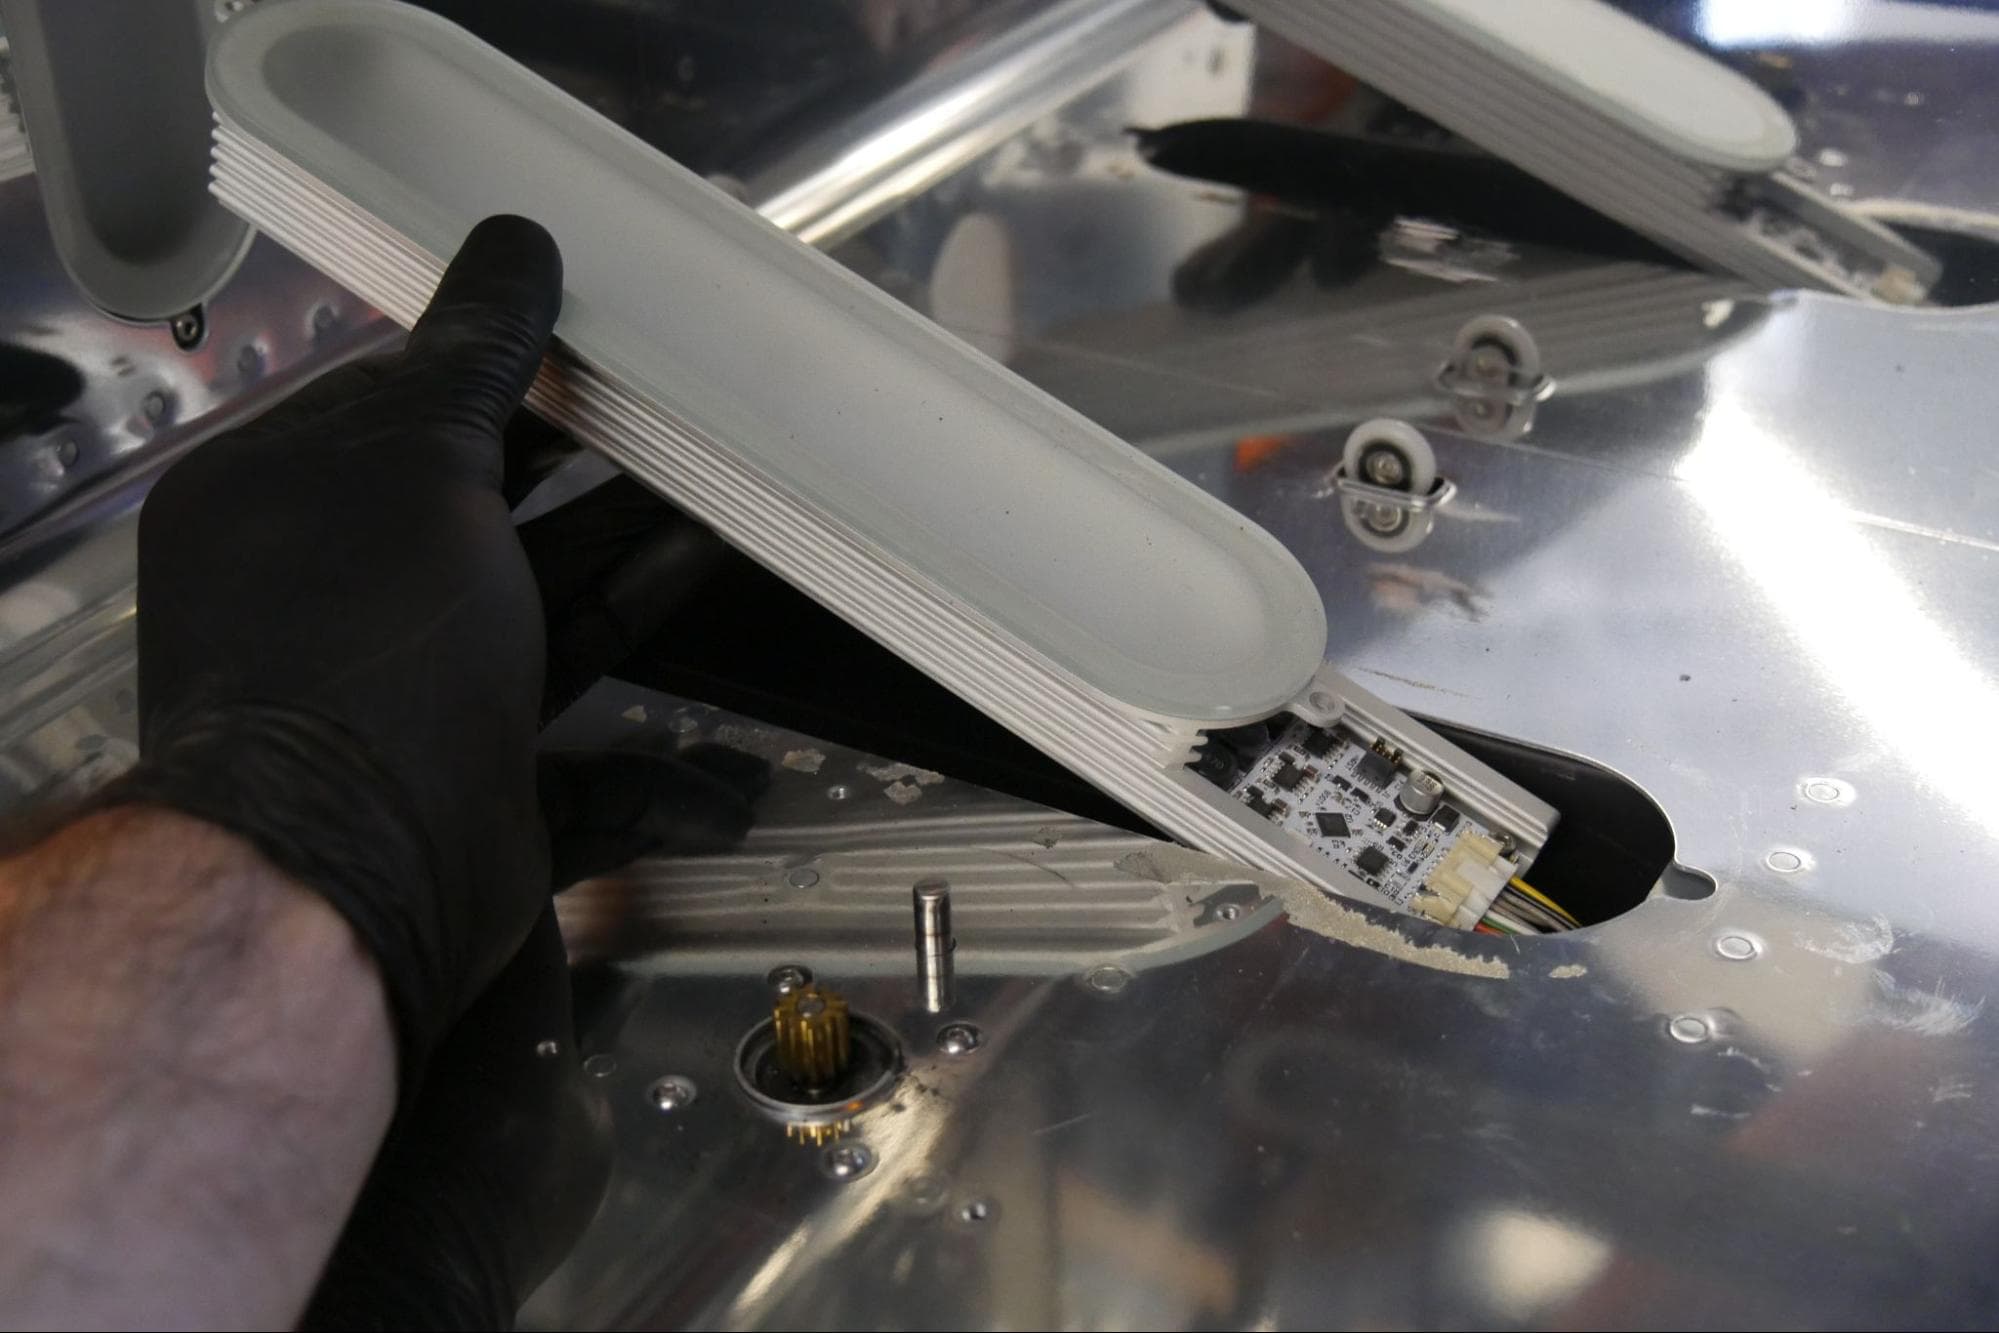
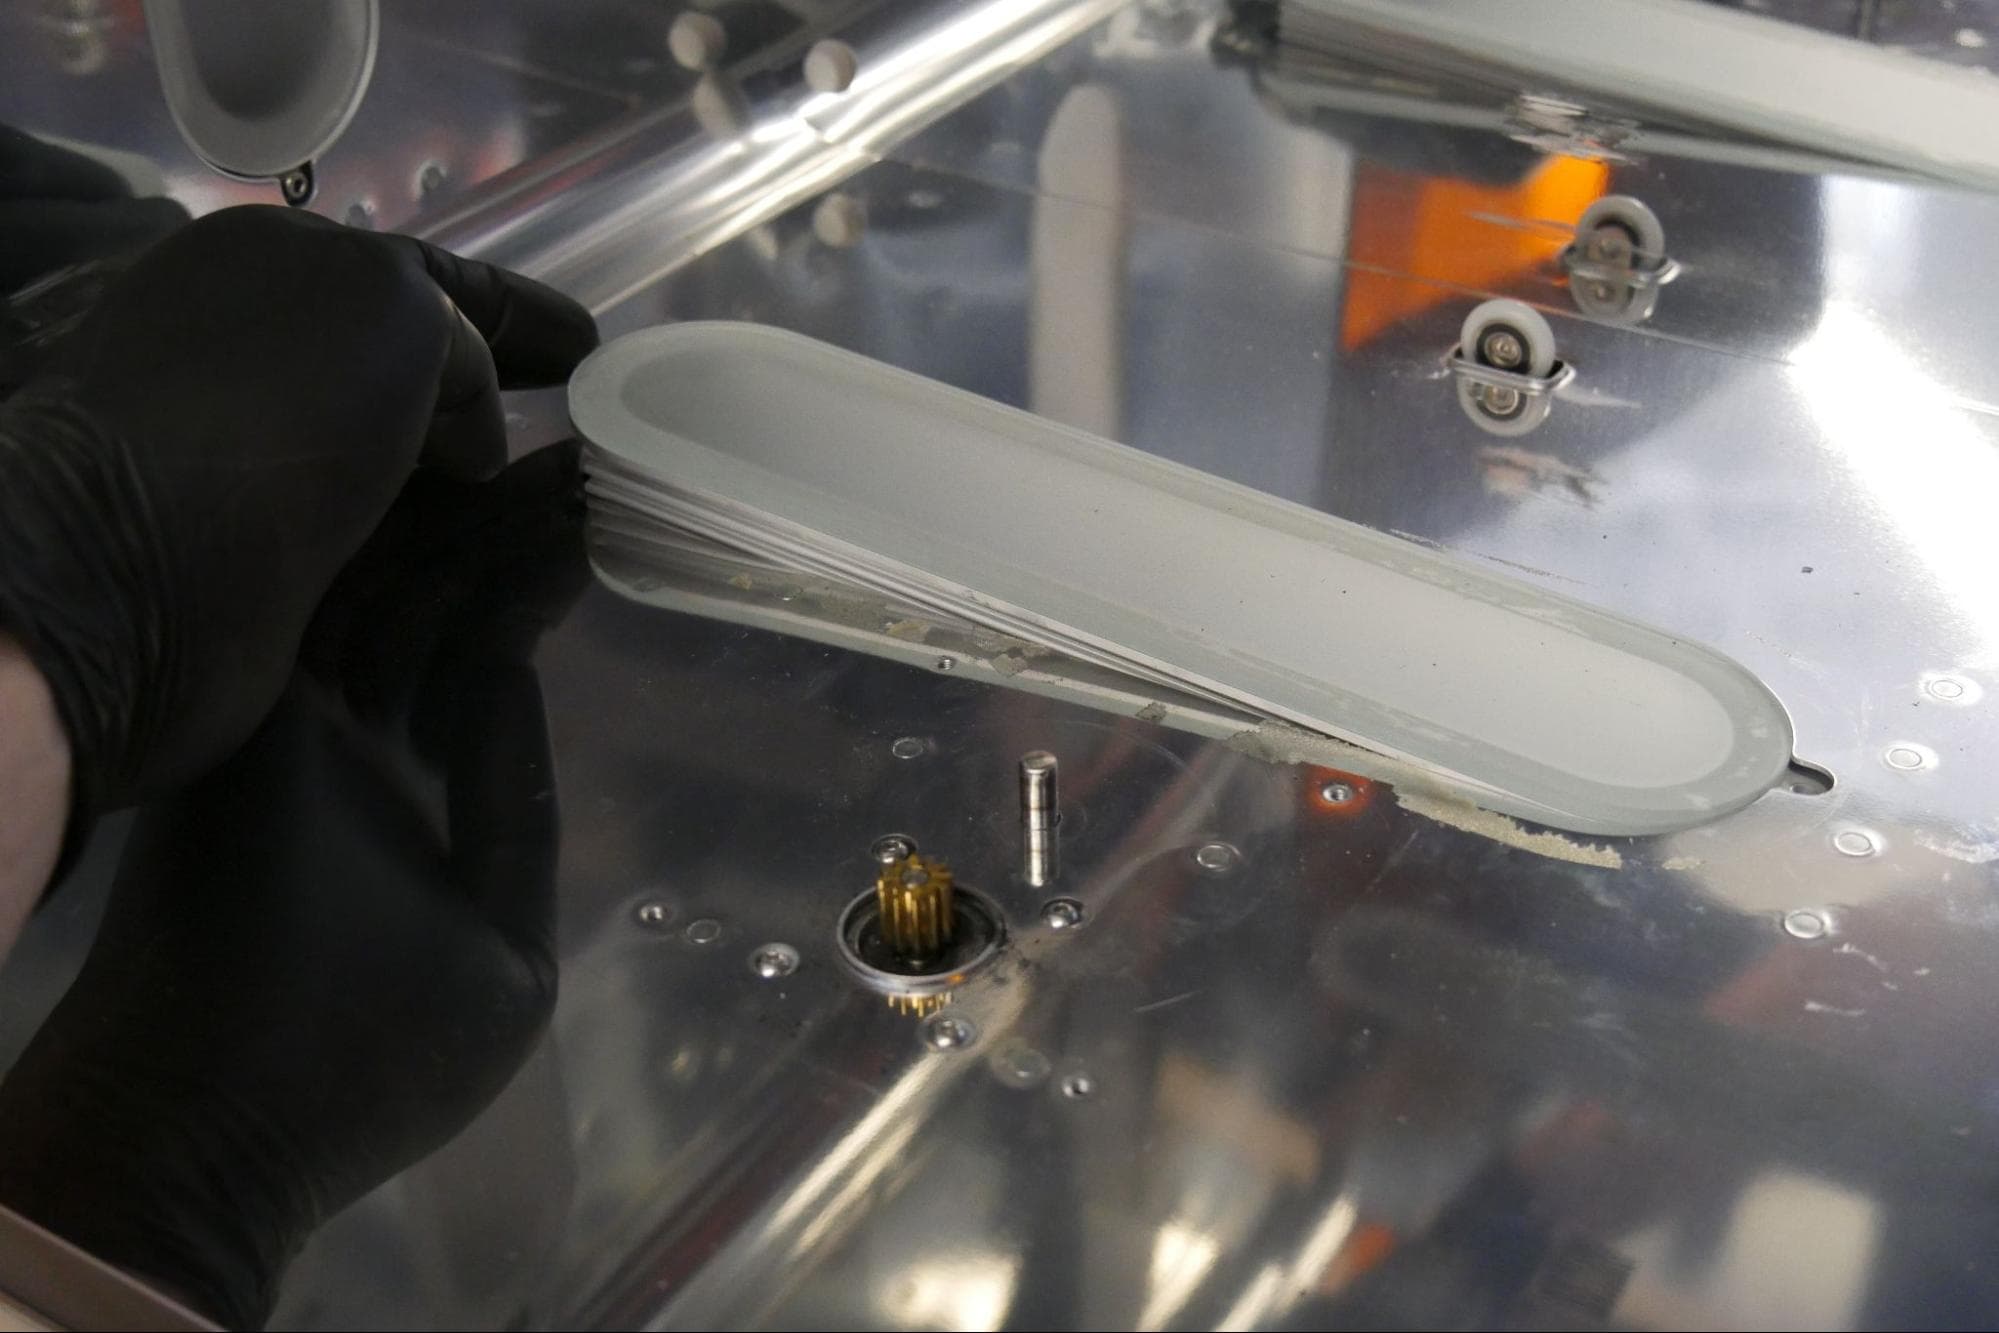
Tilt the LED module back into place. Ensure that the LED module cable is not pinched between the module and the post-cure chamber wall. Thread the two screws into their respective holes. Use the 2.5 mm hex drive to tighten both screws until finger tight.
Step 3: Apply the replacement LED module sticker (bottom LED module only)
If you have replaced the bottom LED module, apply the replacement sticker around the edge of the module.
Step 4: Reinstall the turntable shroud (bottom LED module only)
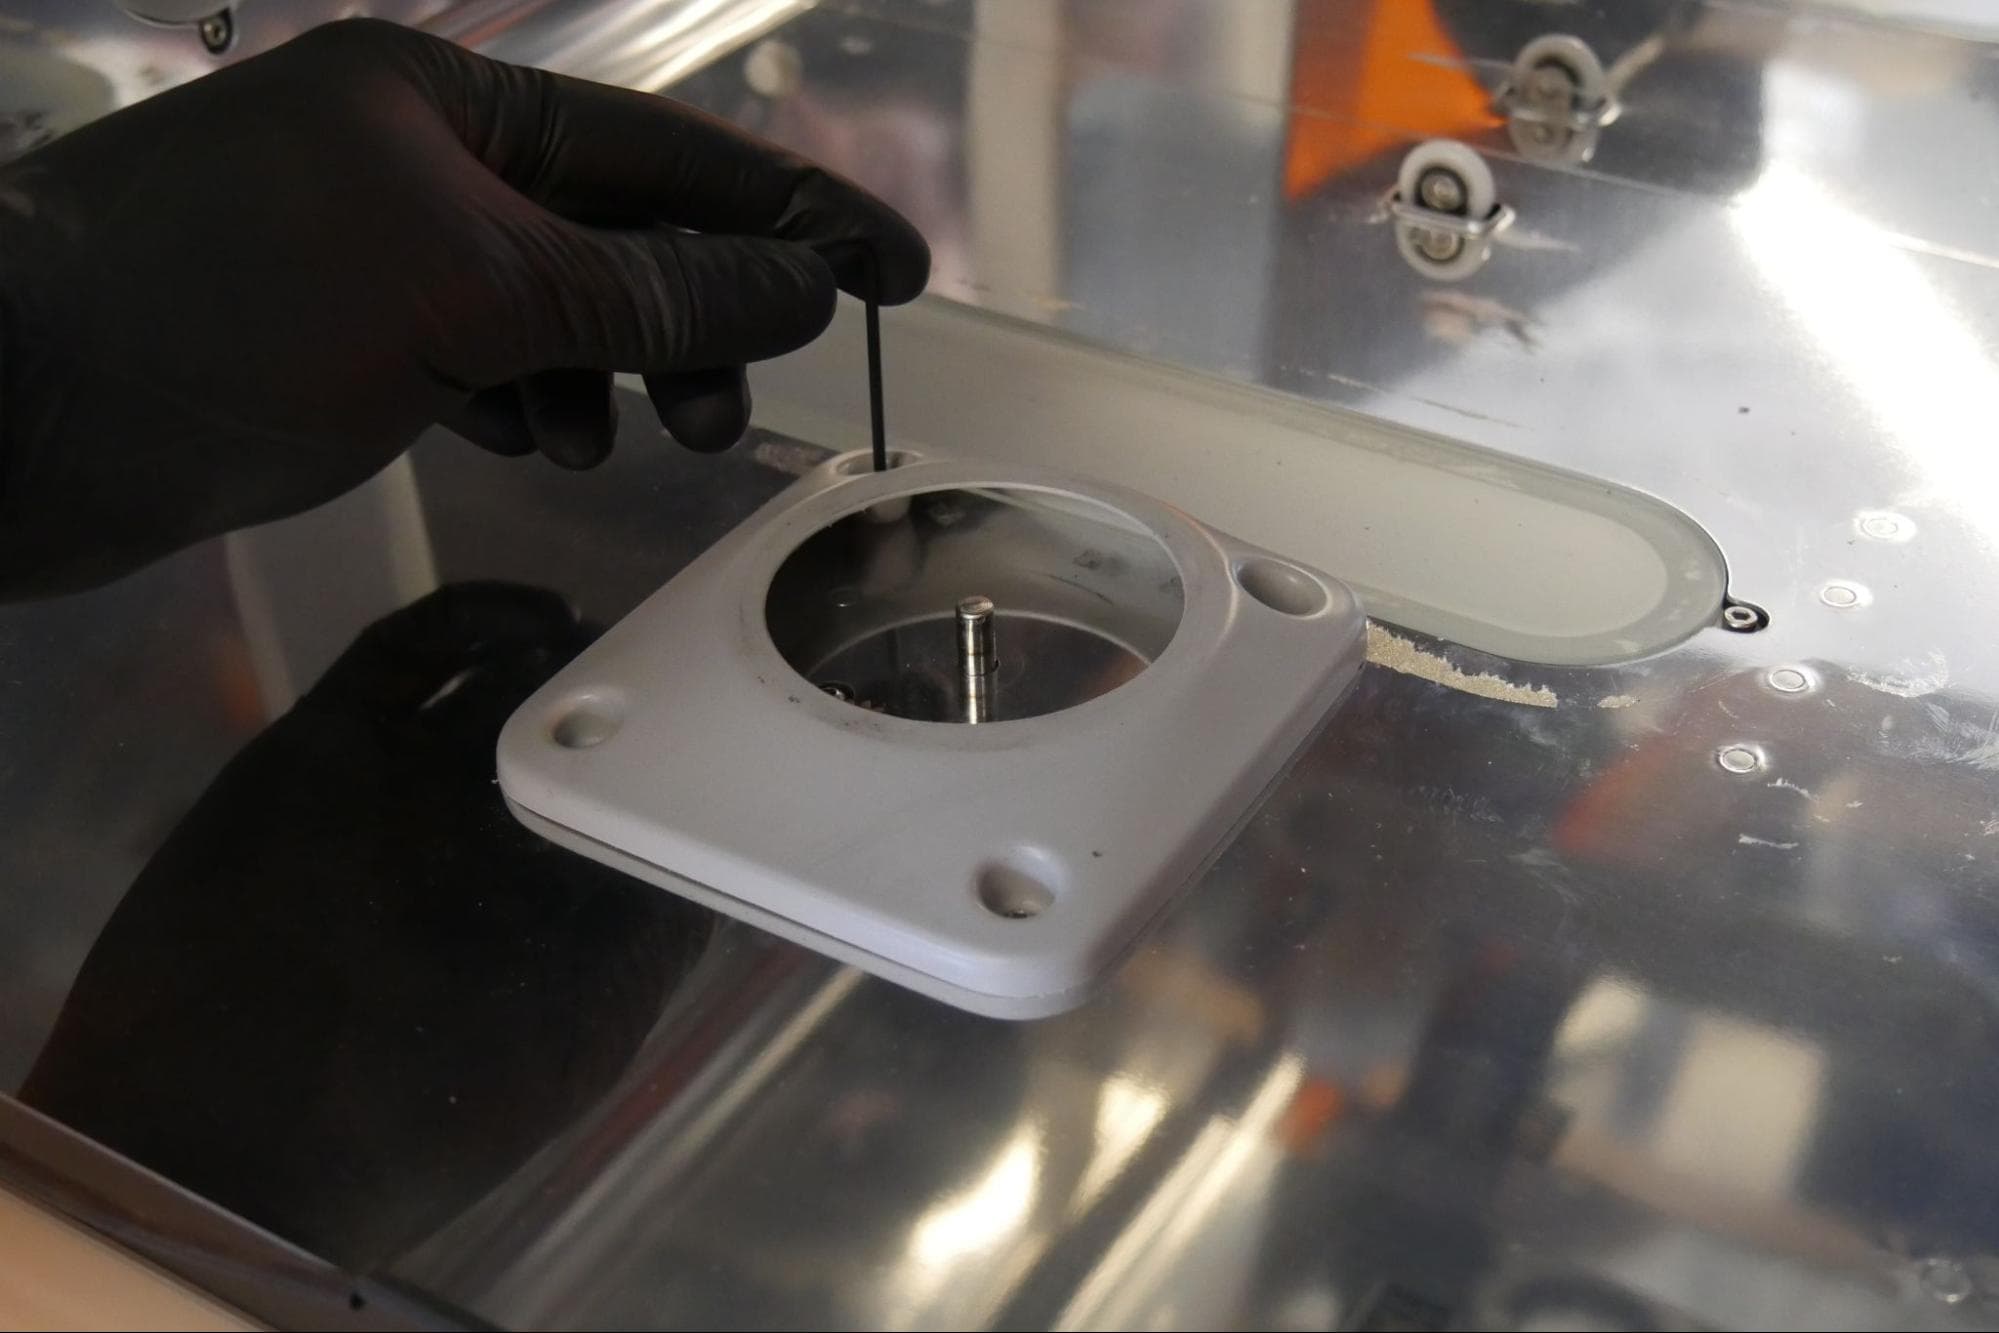
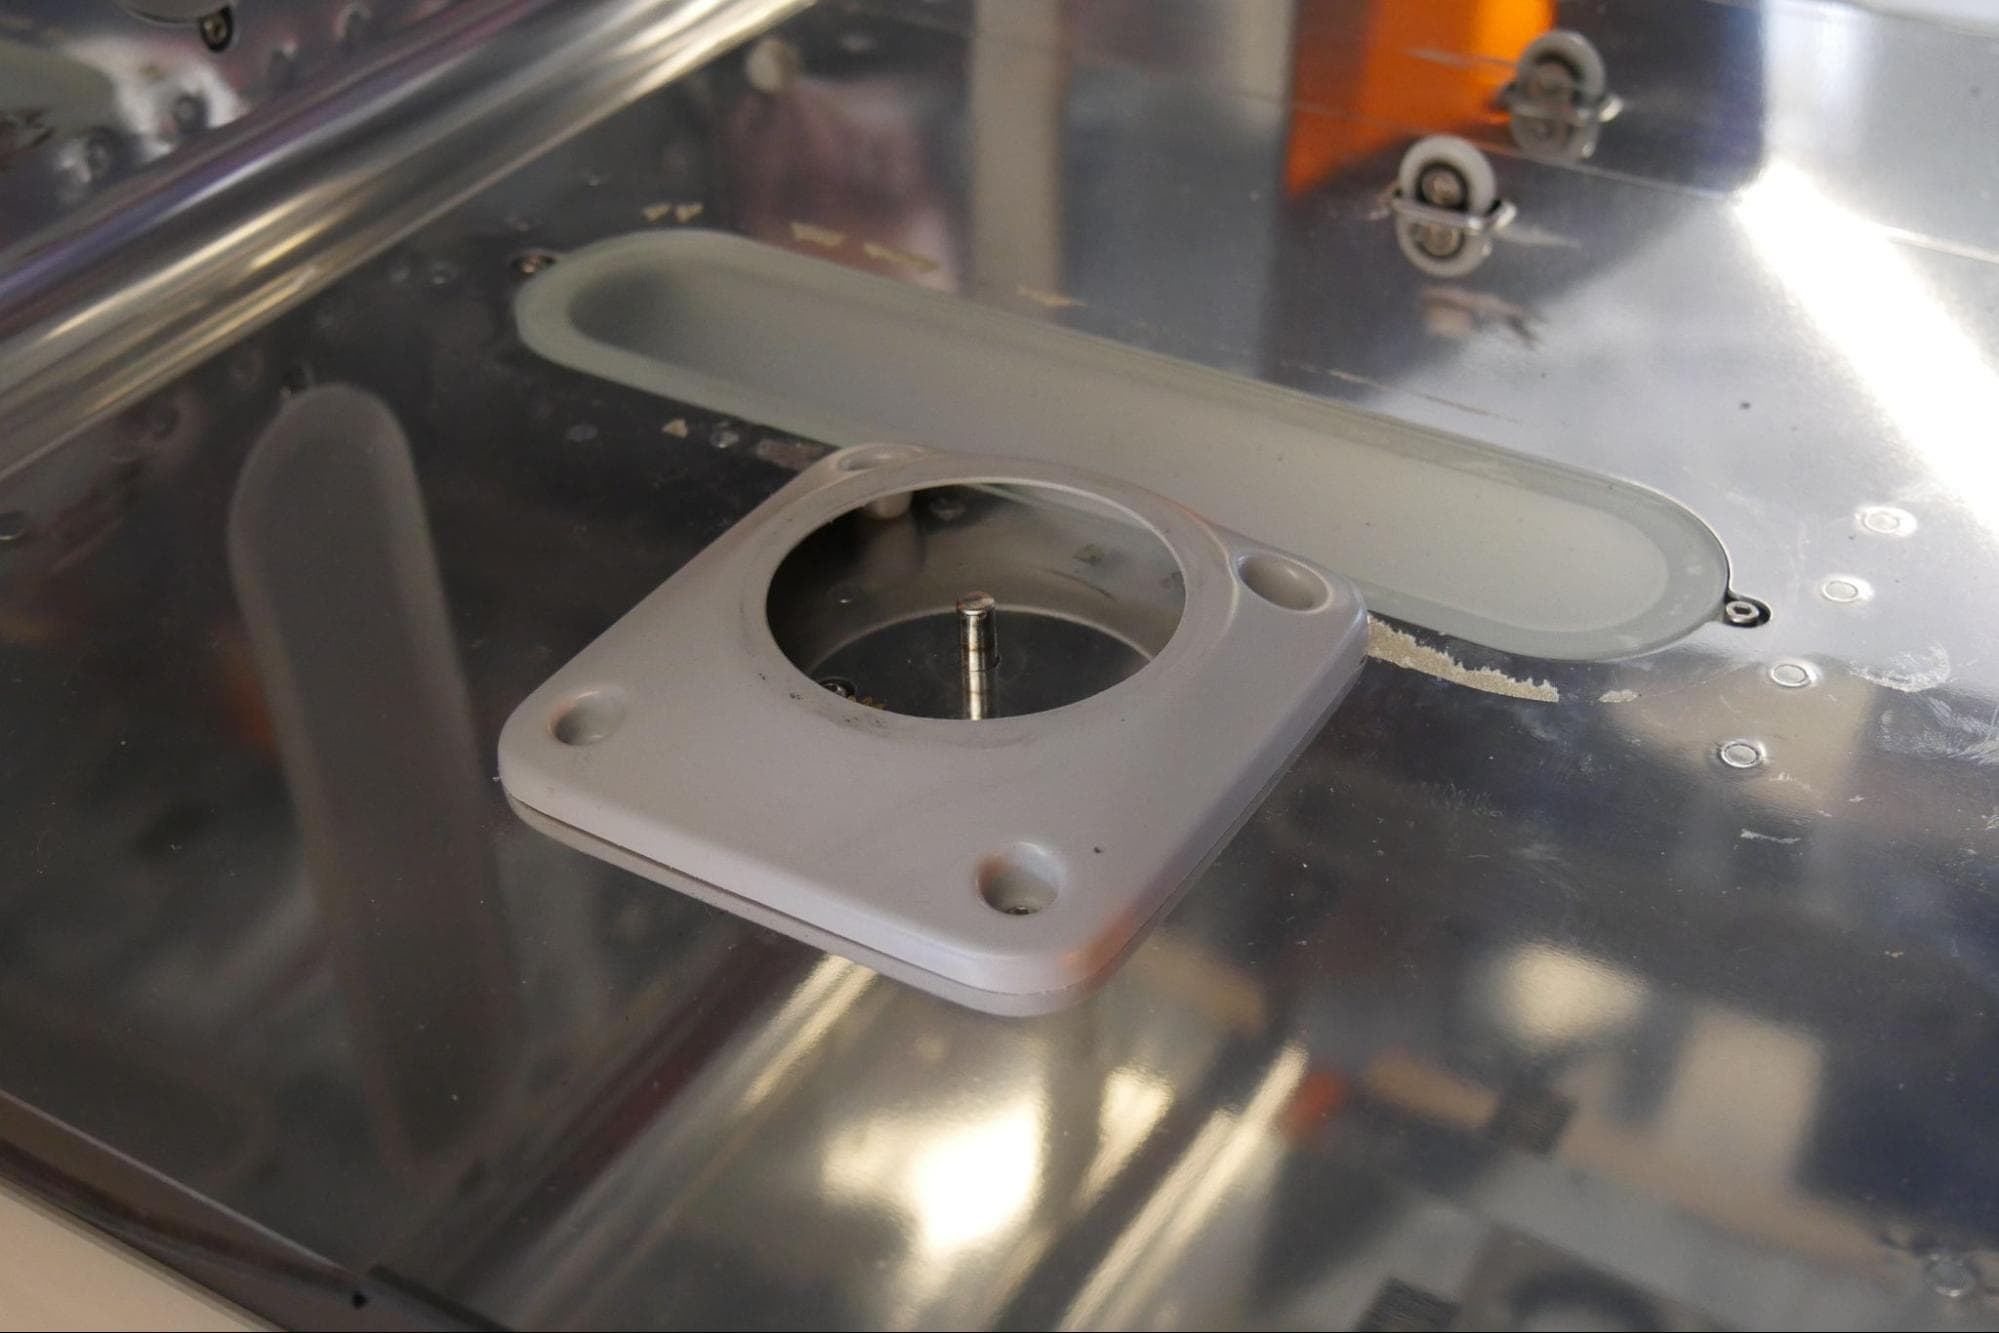
If you have replaced the bottom LED module, reinstall the turntable shroud. Thread the four screws into their screw holes and tighten with the 2.5 mm hex driver until finger tight.
Step 5: Install the other replacement LED modules (optional)
Repeat steps 1–4 for any other LED modules you are replacing.
Finalizing the repair
Overview: After installing the replacement LED modules, power on the machine and perform final checks.
Step 1: Insert the turntable
Place the turntable back on its mount.
Step 2: Power on the machine
Close the Form Cure L door. Connect the power cable to the Form Cure L and the power supply. Flip the breaker switch on the back of the unit to the ON position to turn on the machine.
Step 3: Test the repair
Start a post-cure cycle to test the replacement LED modules. Monitor the Form Cure L to ensure it lights up properly. Contact Formlabs Support or your authorized reseller to share the results of the procedure.