
Required supplies:
Formlabs:
- Replacement solvent pump clips
- Solvent pump clip retention screws
Third-party:
- Philips screwdriver with flexible or angled extension

The Form Wash L comes with an electric solvent pump, stored in a slot beneath the wash bucket. The pump is secured with two hooks. If those hooks are damaged, the pump may not stay in place and fall out when you open the machine’s door.
Use this guide to replace the Form Wash L solvent pump clips.
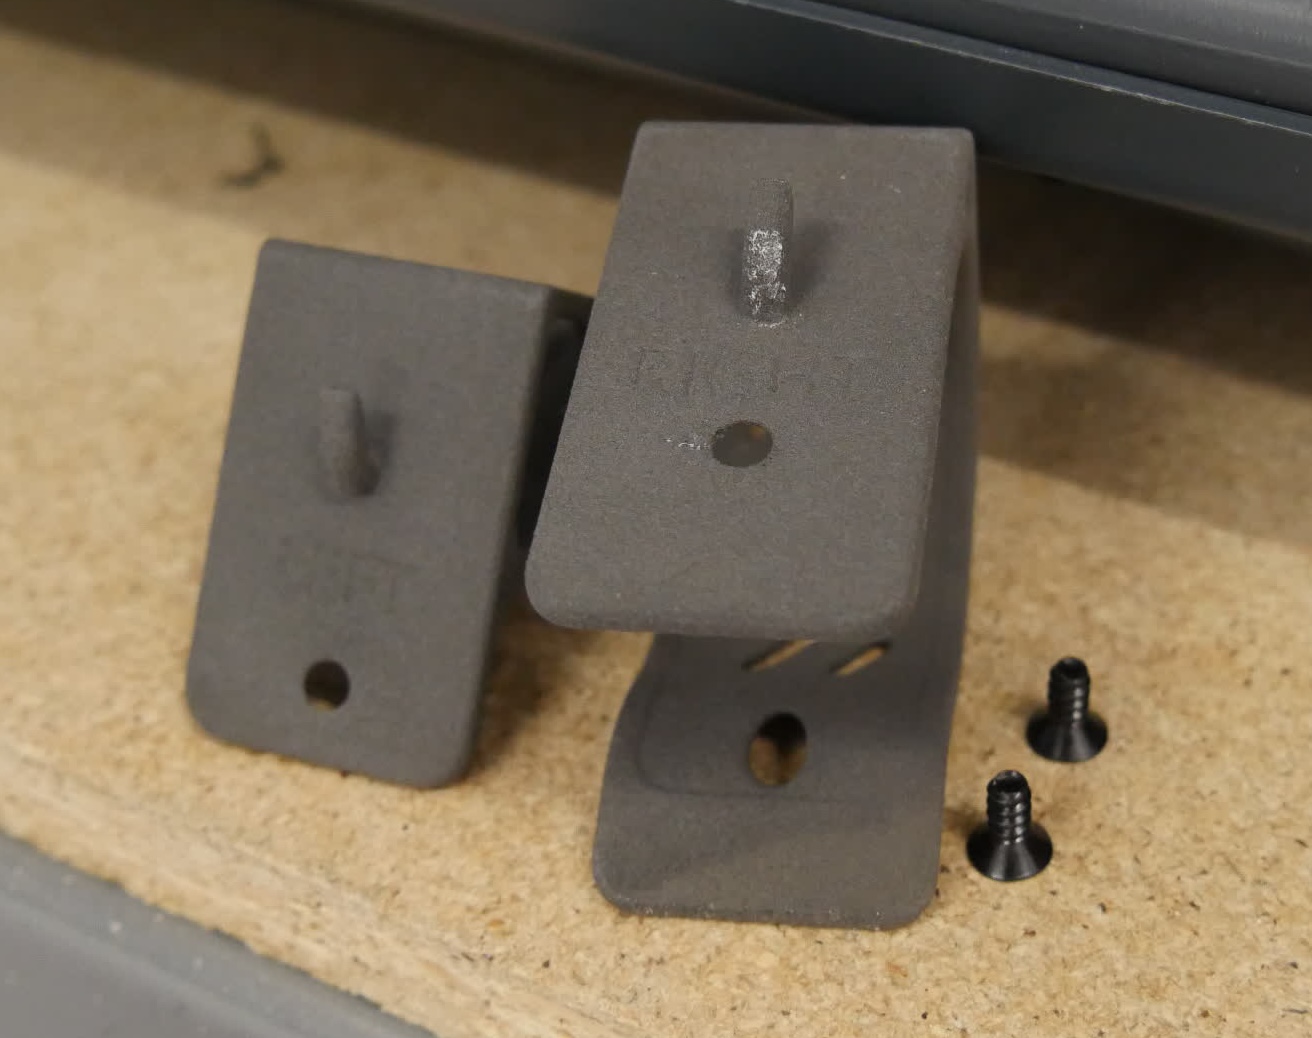
Required supplies:
Formlabs:
Third-party:
Estimated time: 5–10 minutes
Preparing the workspace
Overview: Prepare the Form Wash L and workspace for replacing the solvent pump clips.
Step 1: Prepare the workspace
Clear a workspace in front of your Form Wash L so that you can fully open the machine’s door.
Step 2: Remove the solvent pump
Open the Form Wash L door and remove the solvent pump from its storage slot, if you have not already. Set the solvent pump aside.
Removing the solvent pump clips
Overview: Remove the old solvent pump clips from the store slot.
Step 1: Remove the solvent pump clip screws
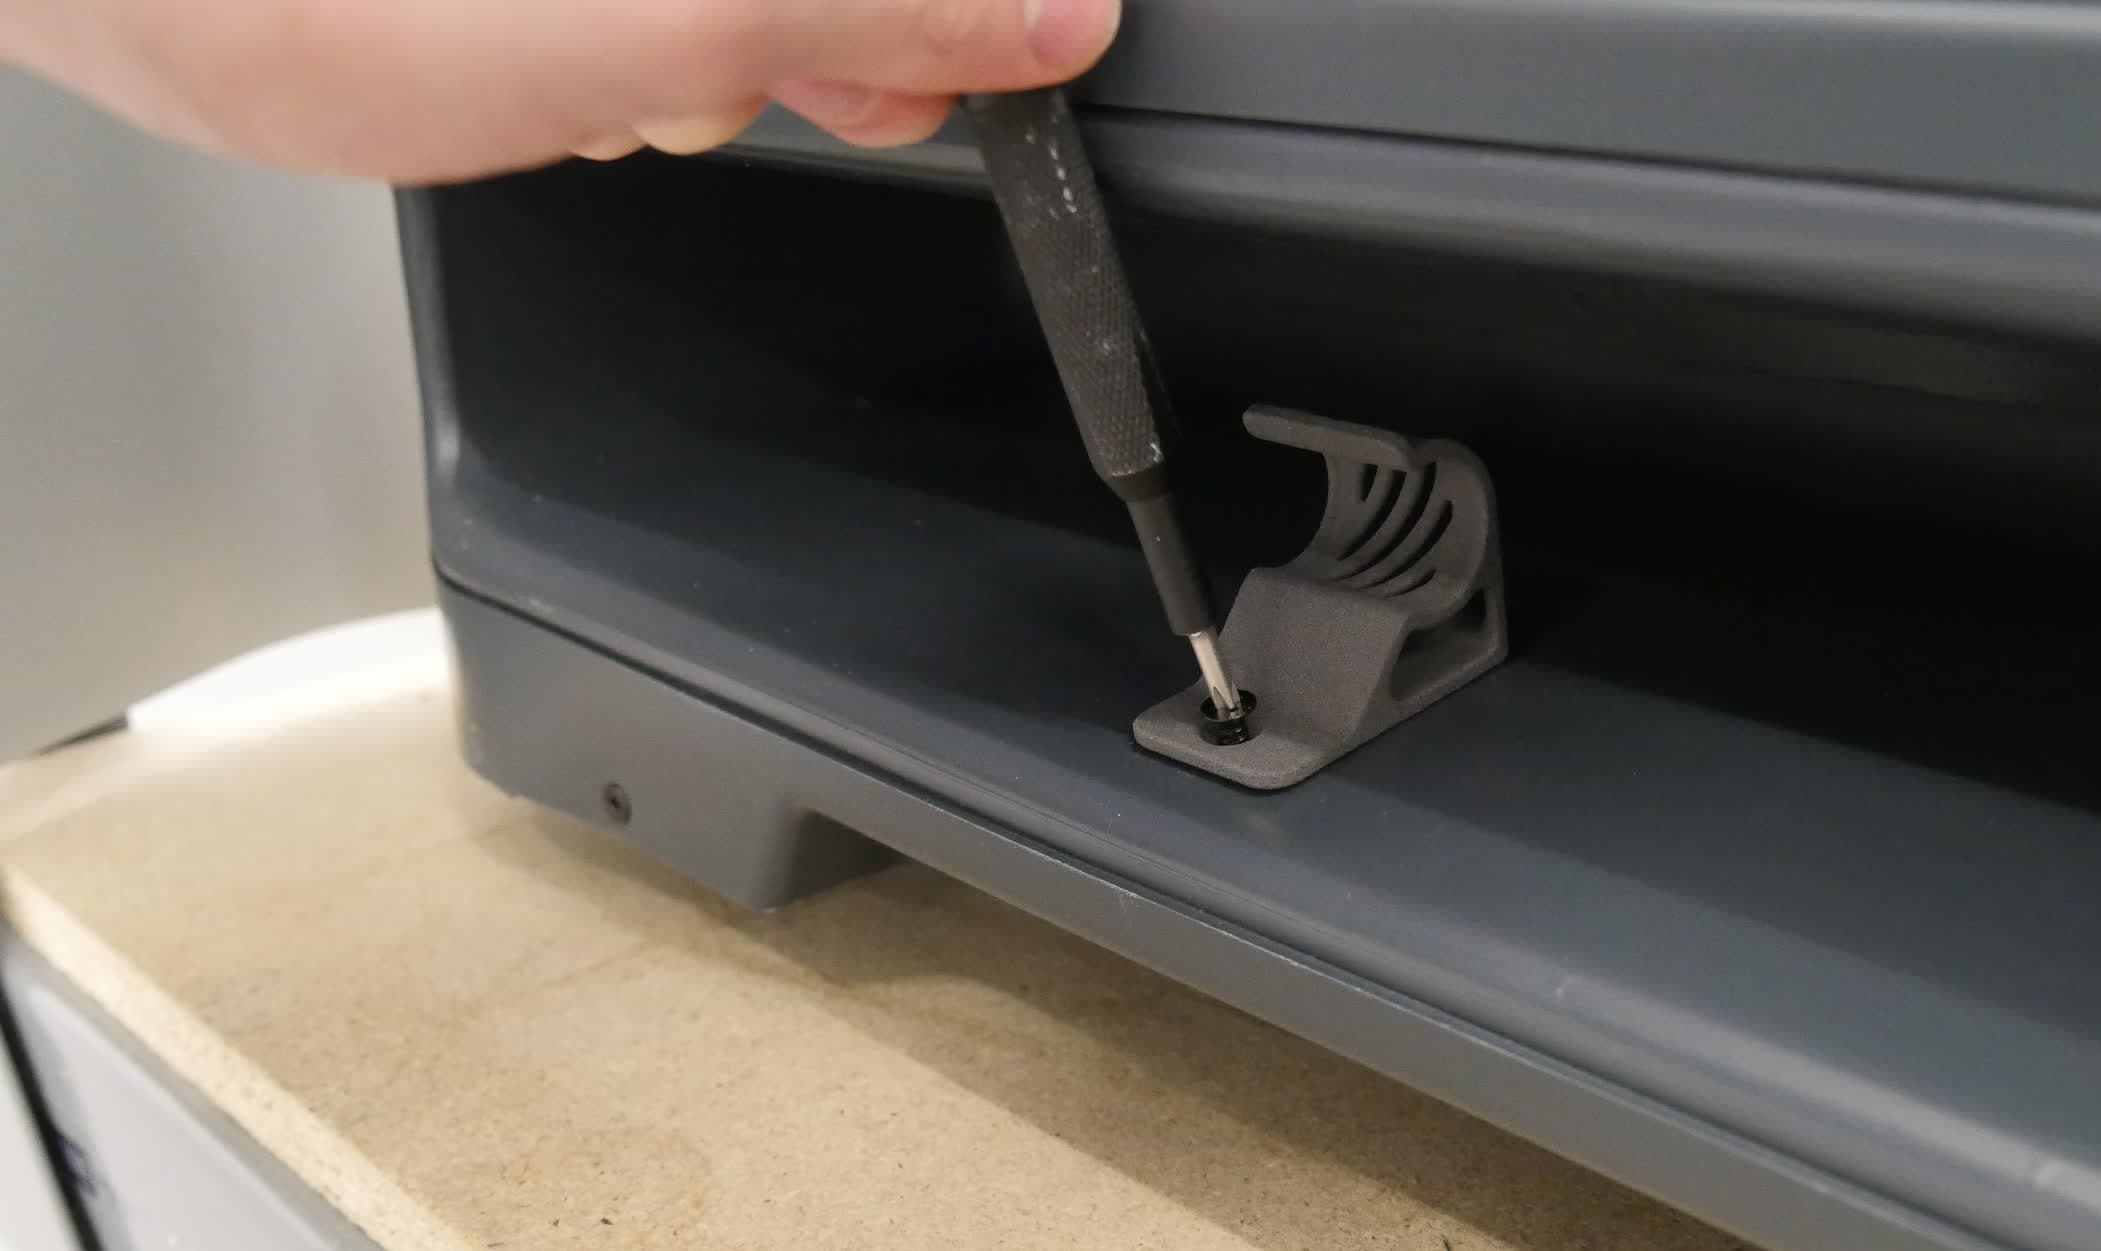
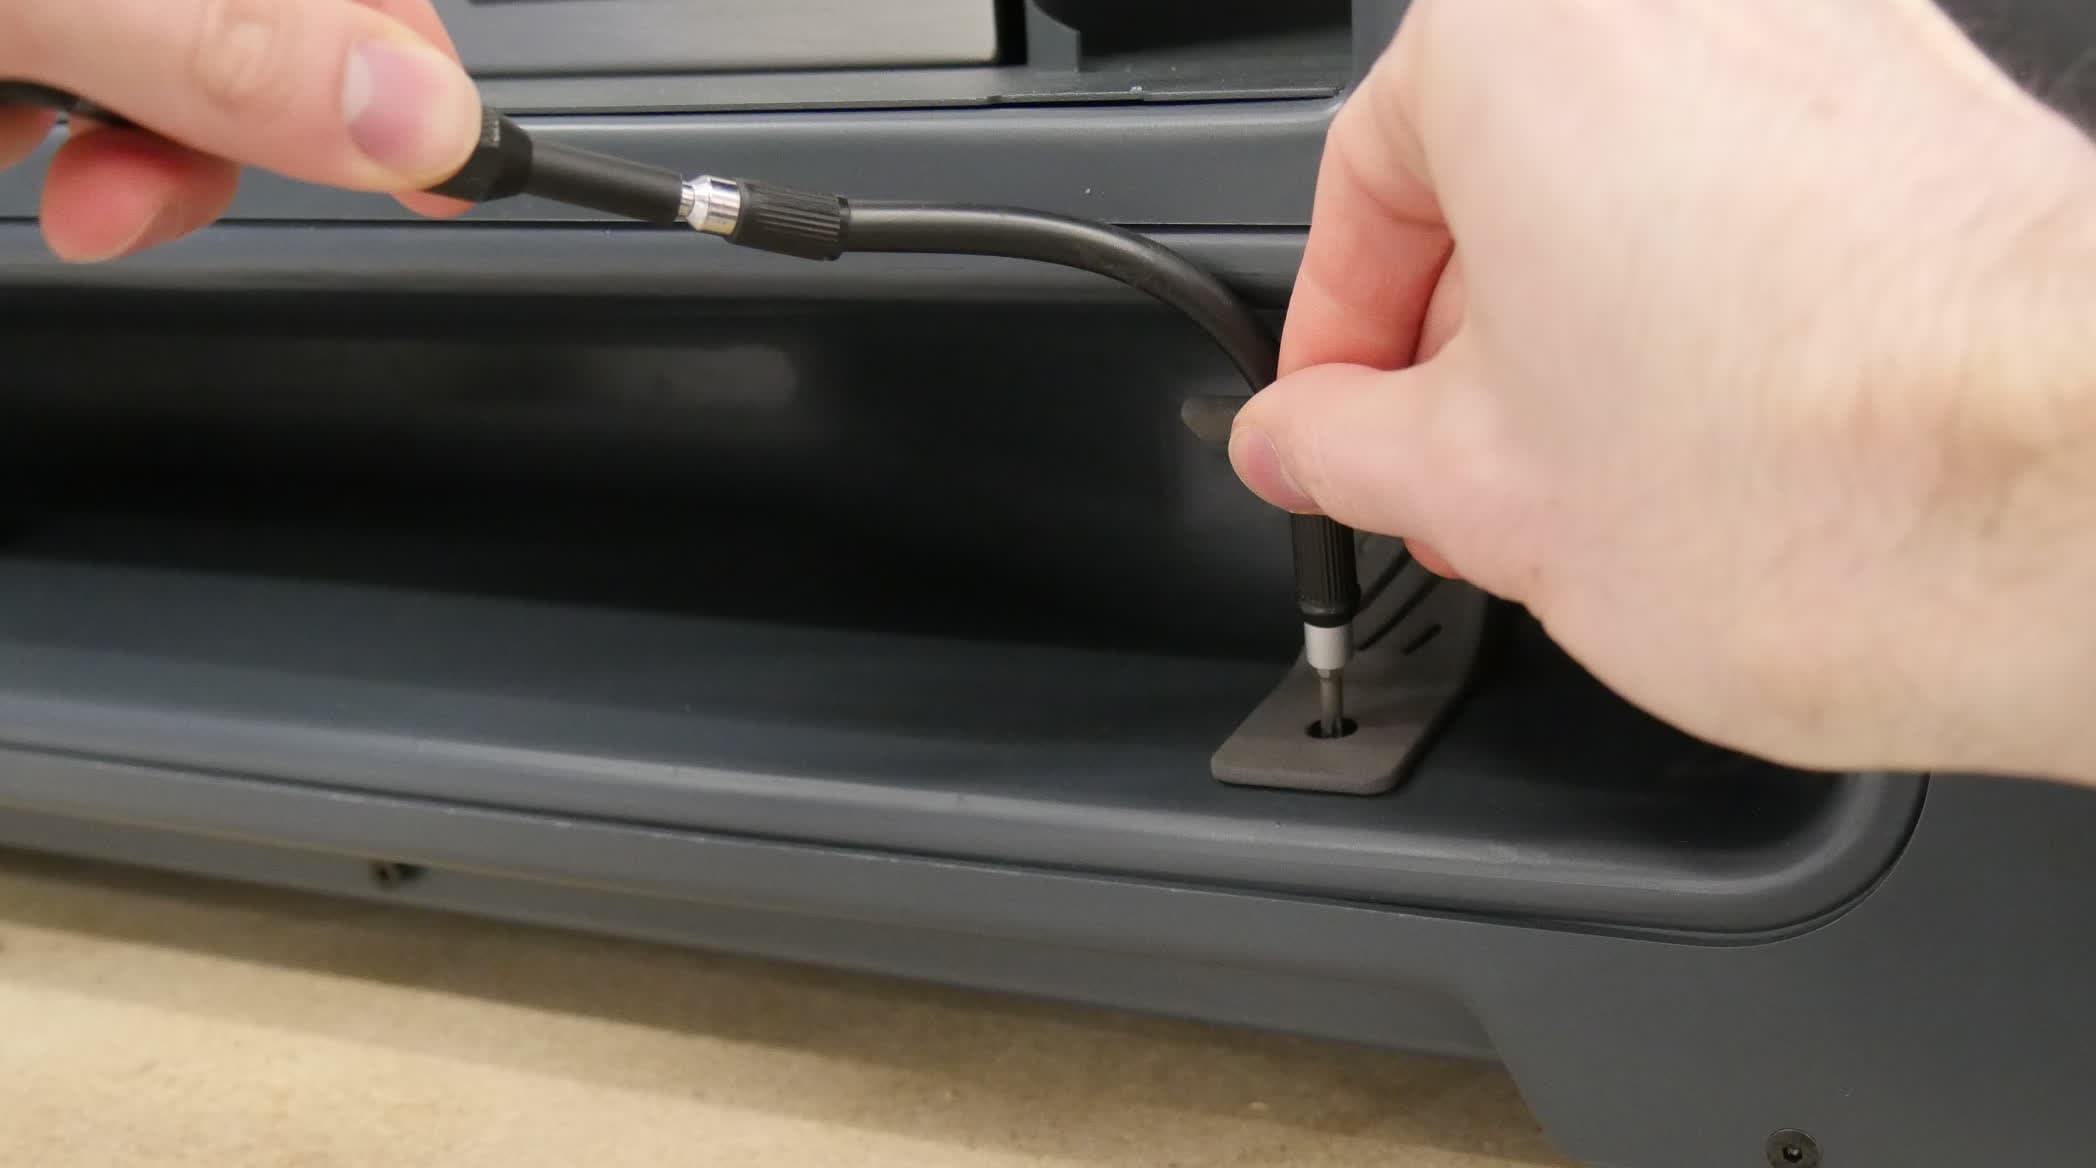
Both solvent pump clips are secured using a single screw and an integrated hook. Using a Philips screwdriver, loosen and remove the screw securing both of the hooks. You may need a flexible or angled screwdriver extension to remove the right-hand clip’s screw. Set the screws aside for disposal.
Step 2: Remove the solvent pump clips
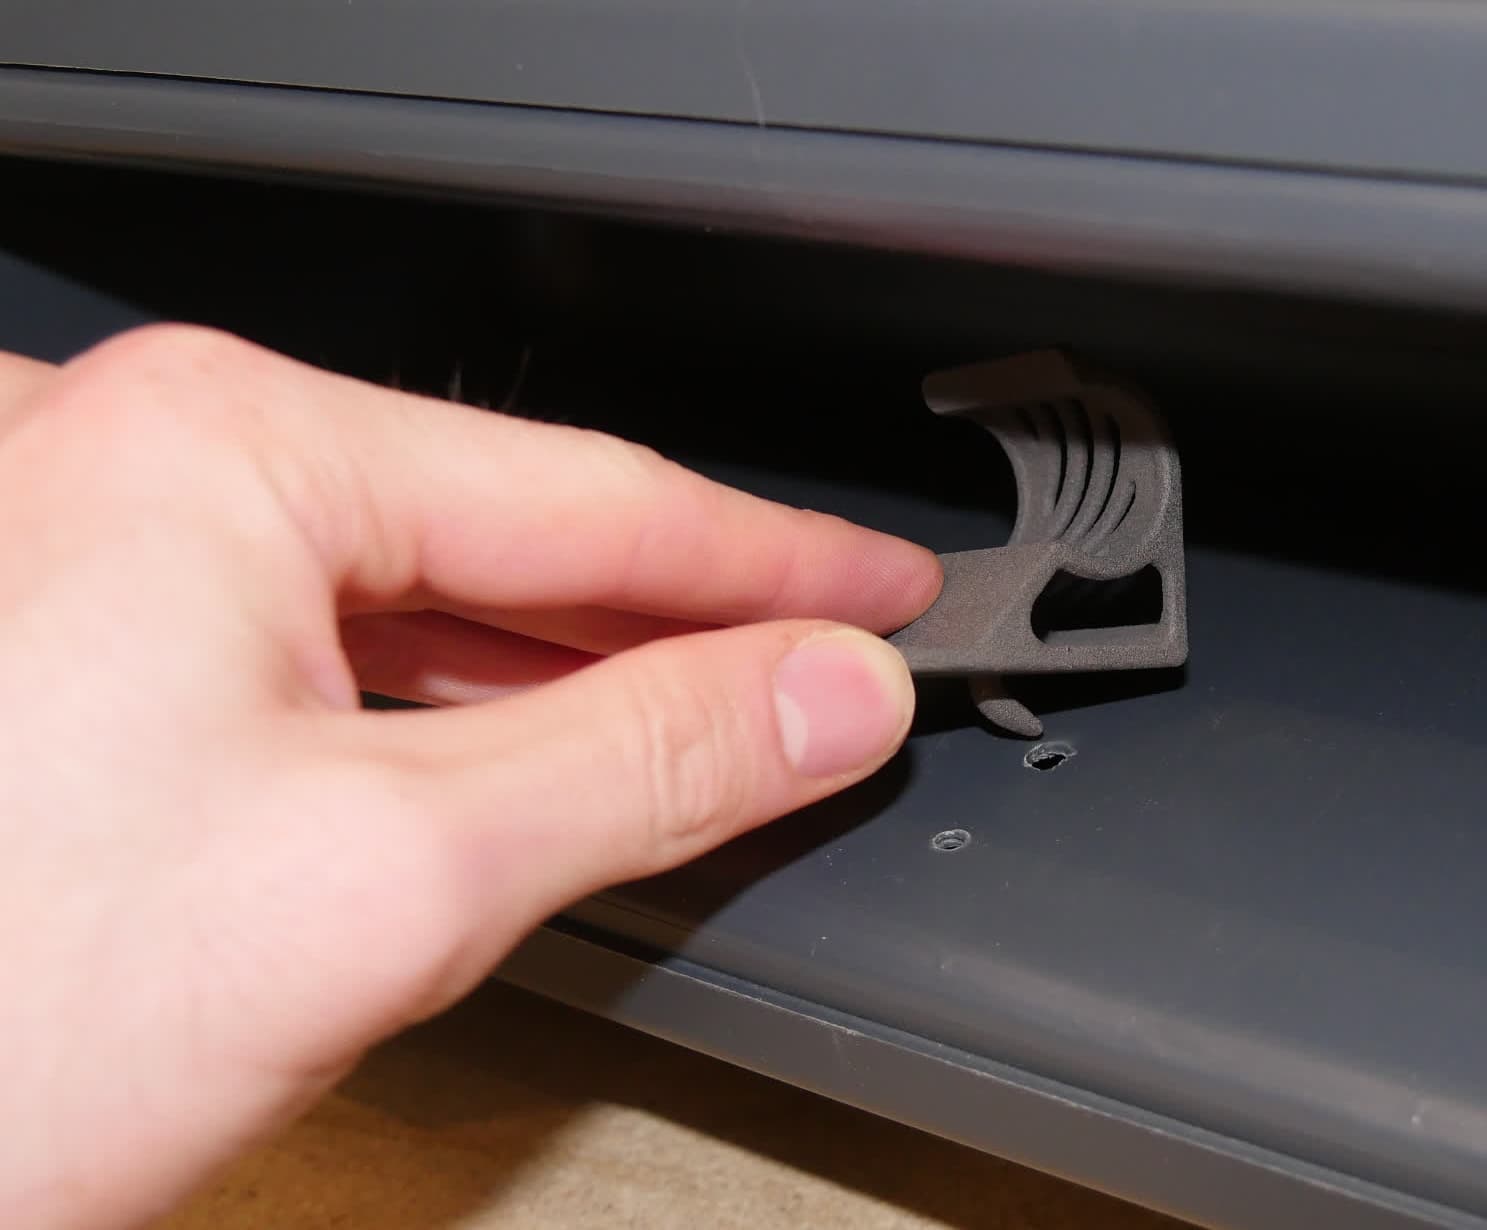
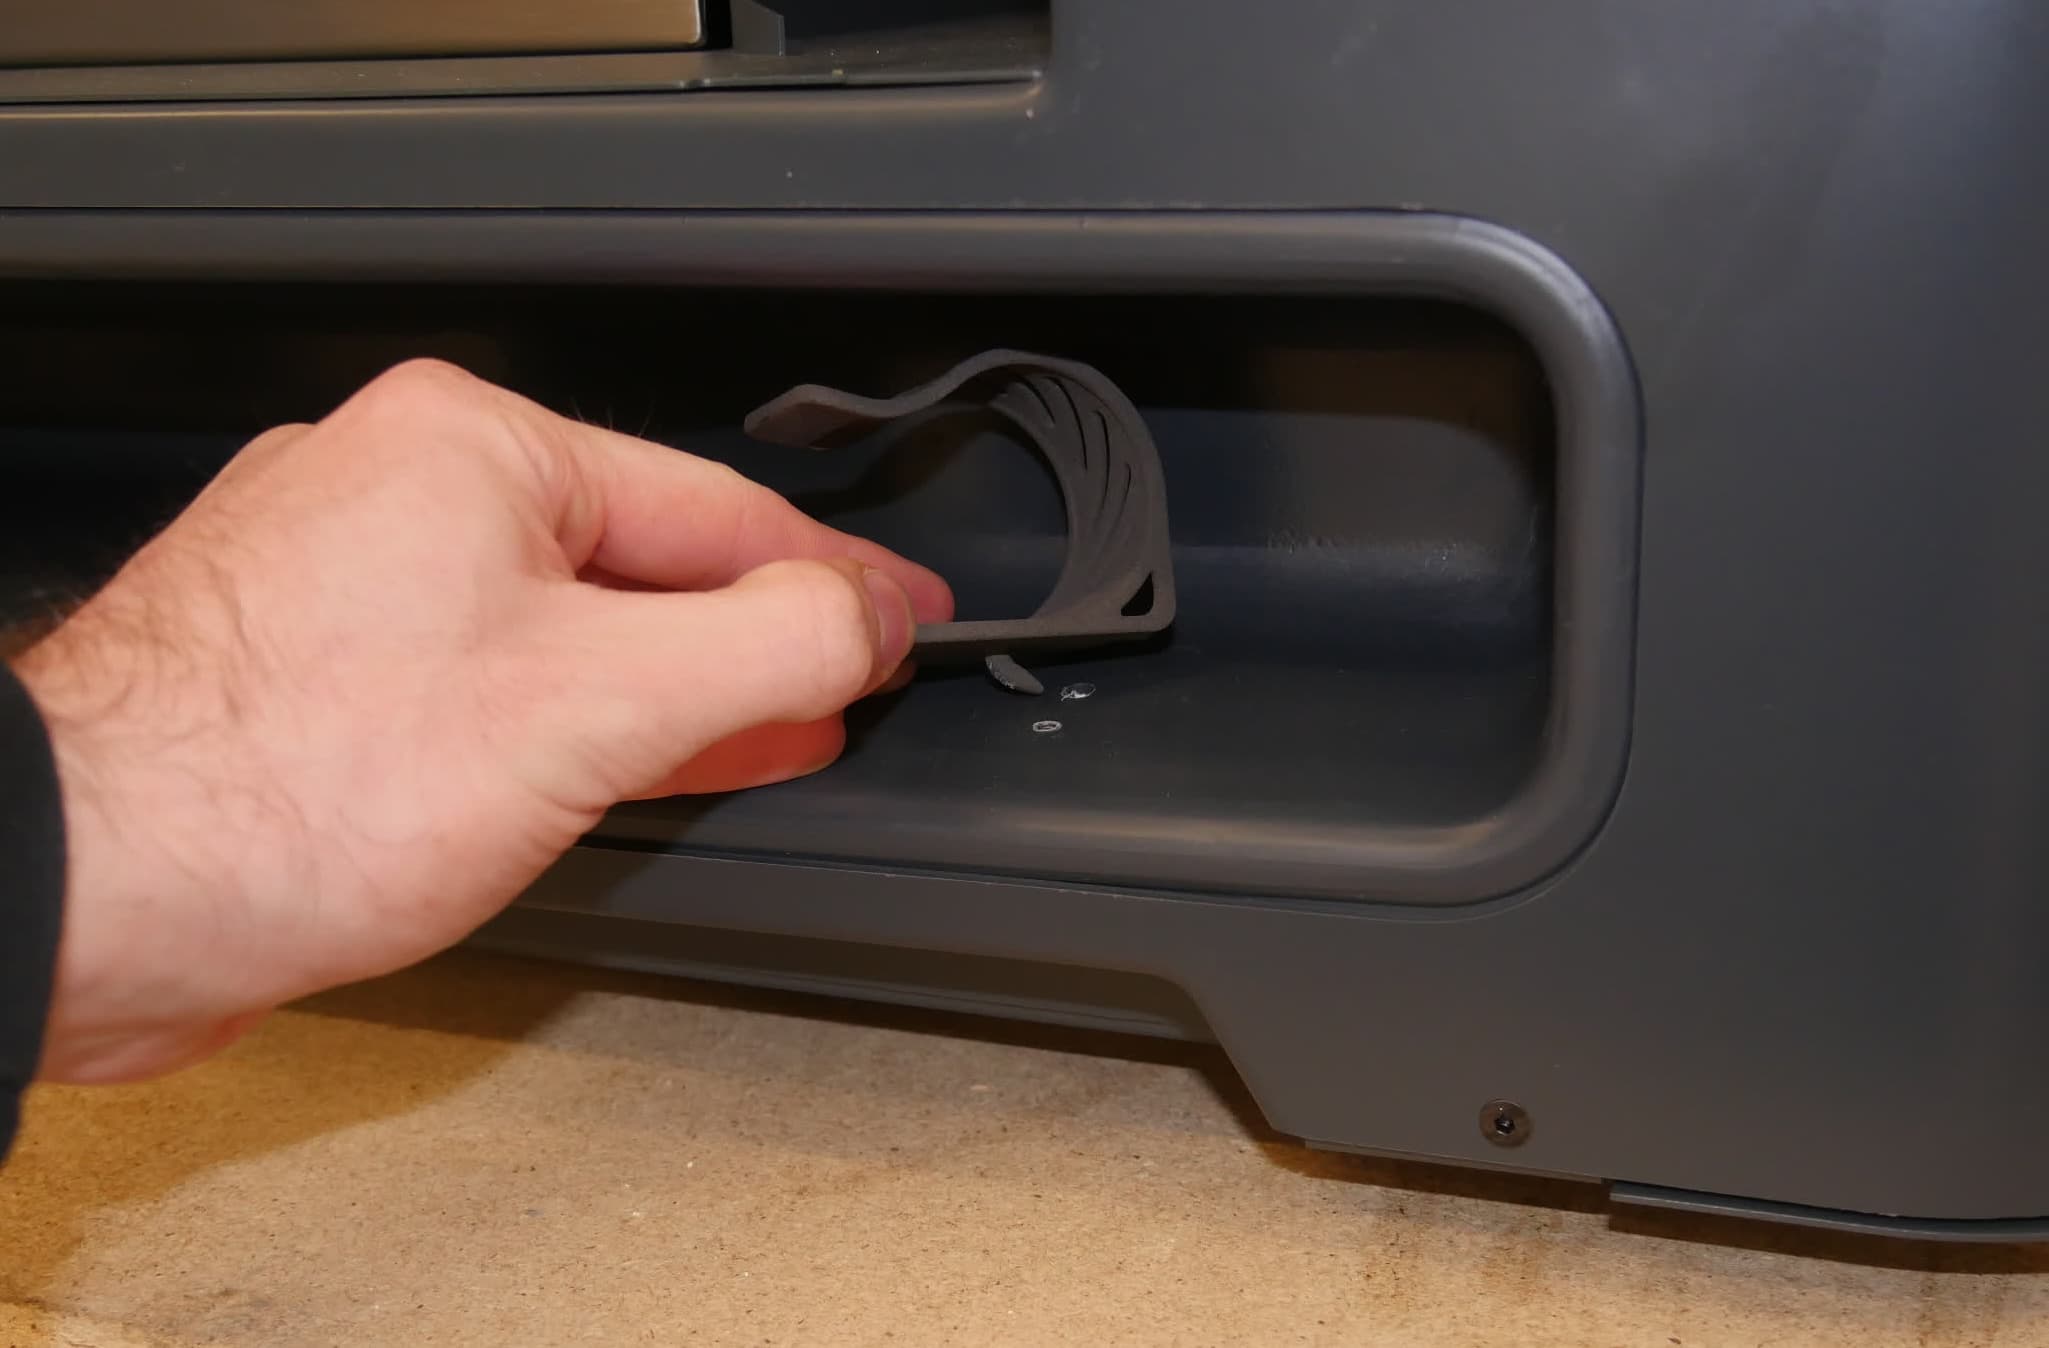
Pull up and forward on the solvent pump clips to unhook them from the machine. Set the clips aside for disposal.
Installing the new solvent pump clips
Overview: Install the replacement solvent pump clips.
Remove the replacement solvent pump clips from their packaging. The clips have LEFT and RIGHT engraved on their bottom face, showing where they should be installed in the solvent pump storage slot.
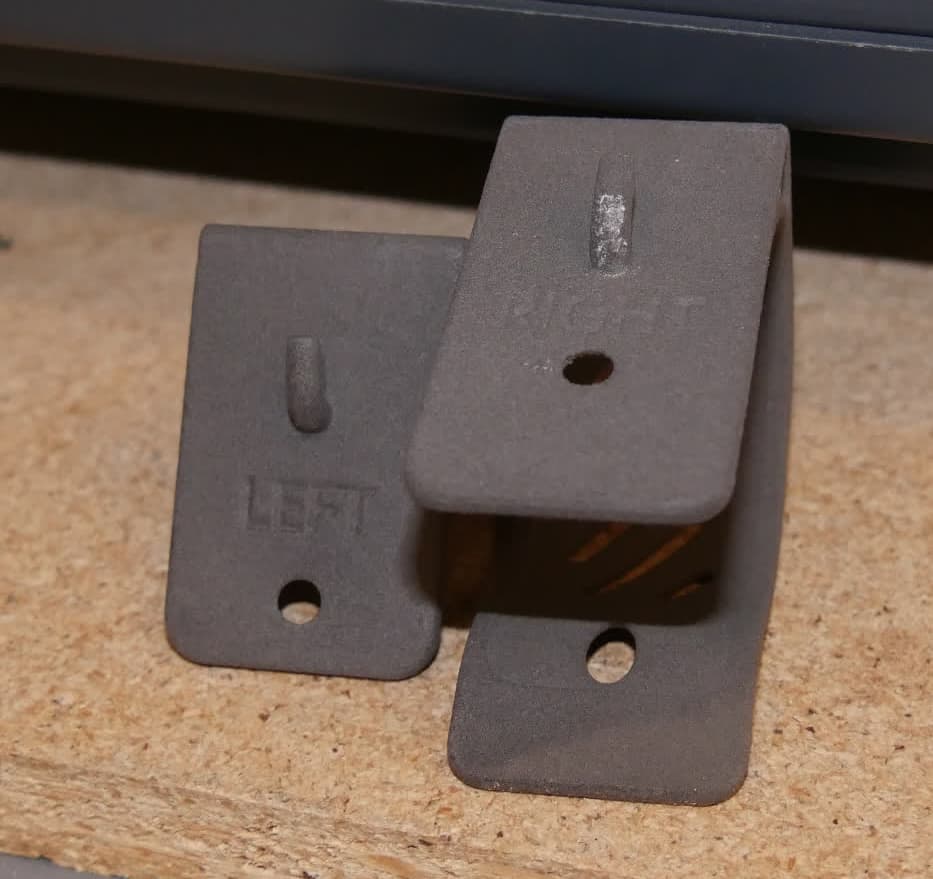
Step 2: Mount the solvent pump clips
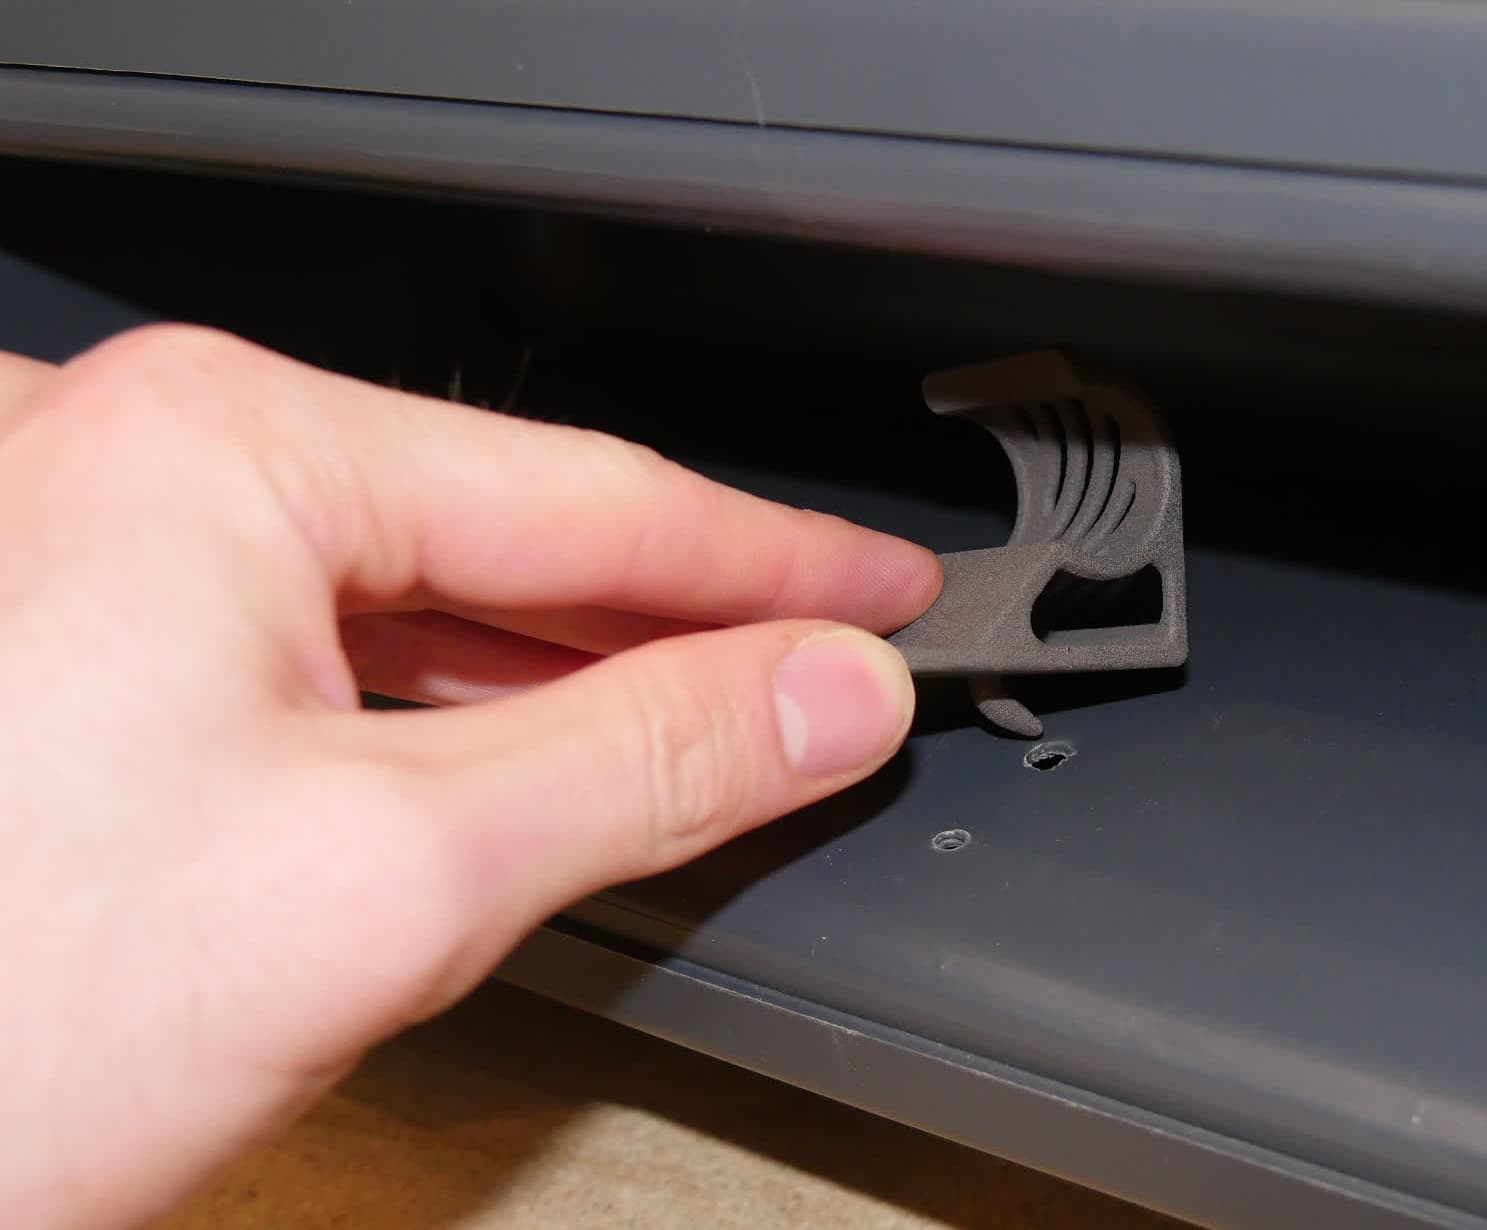
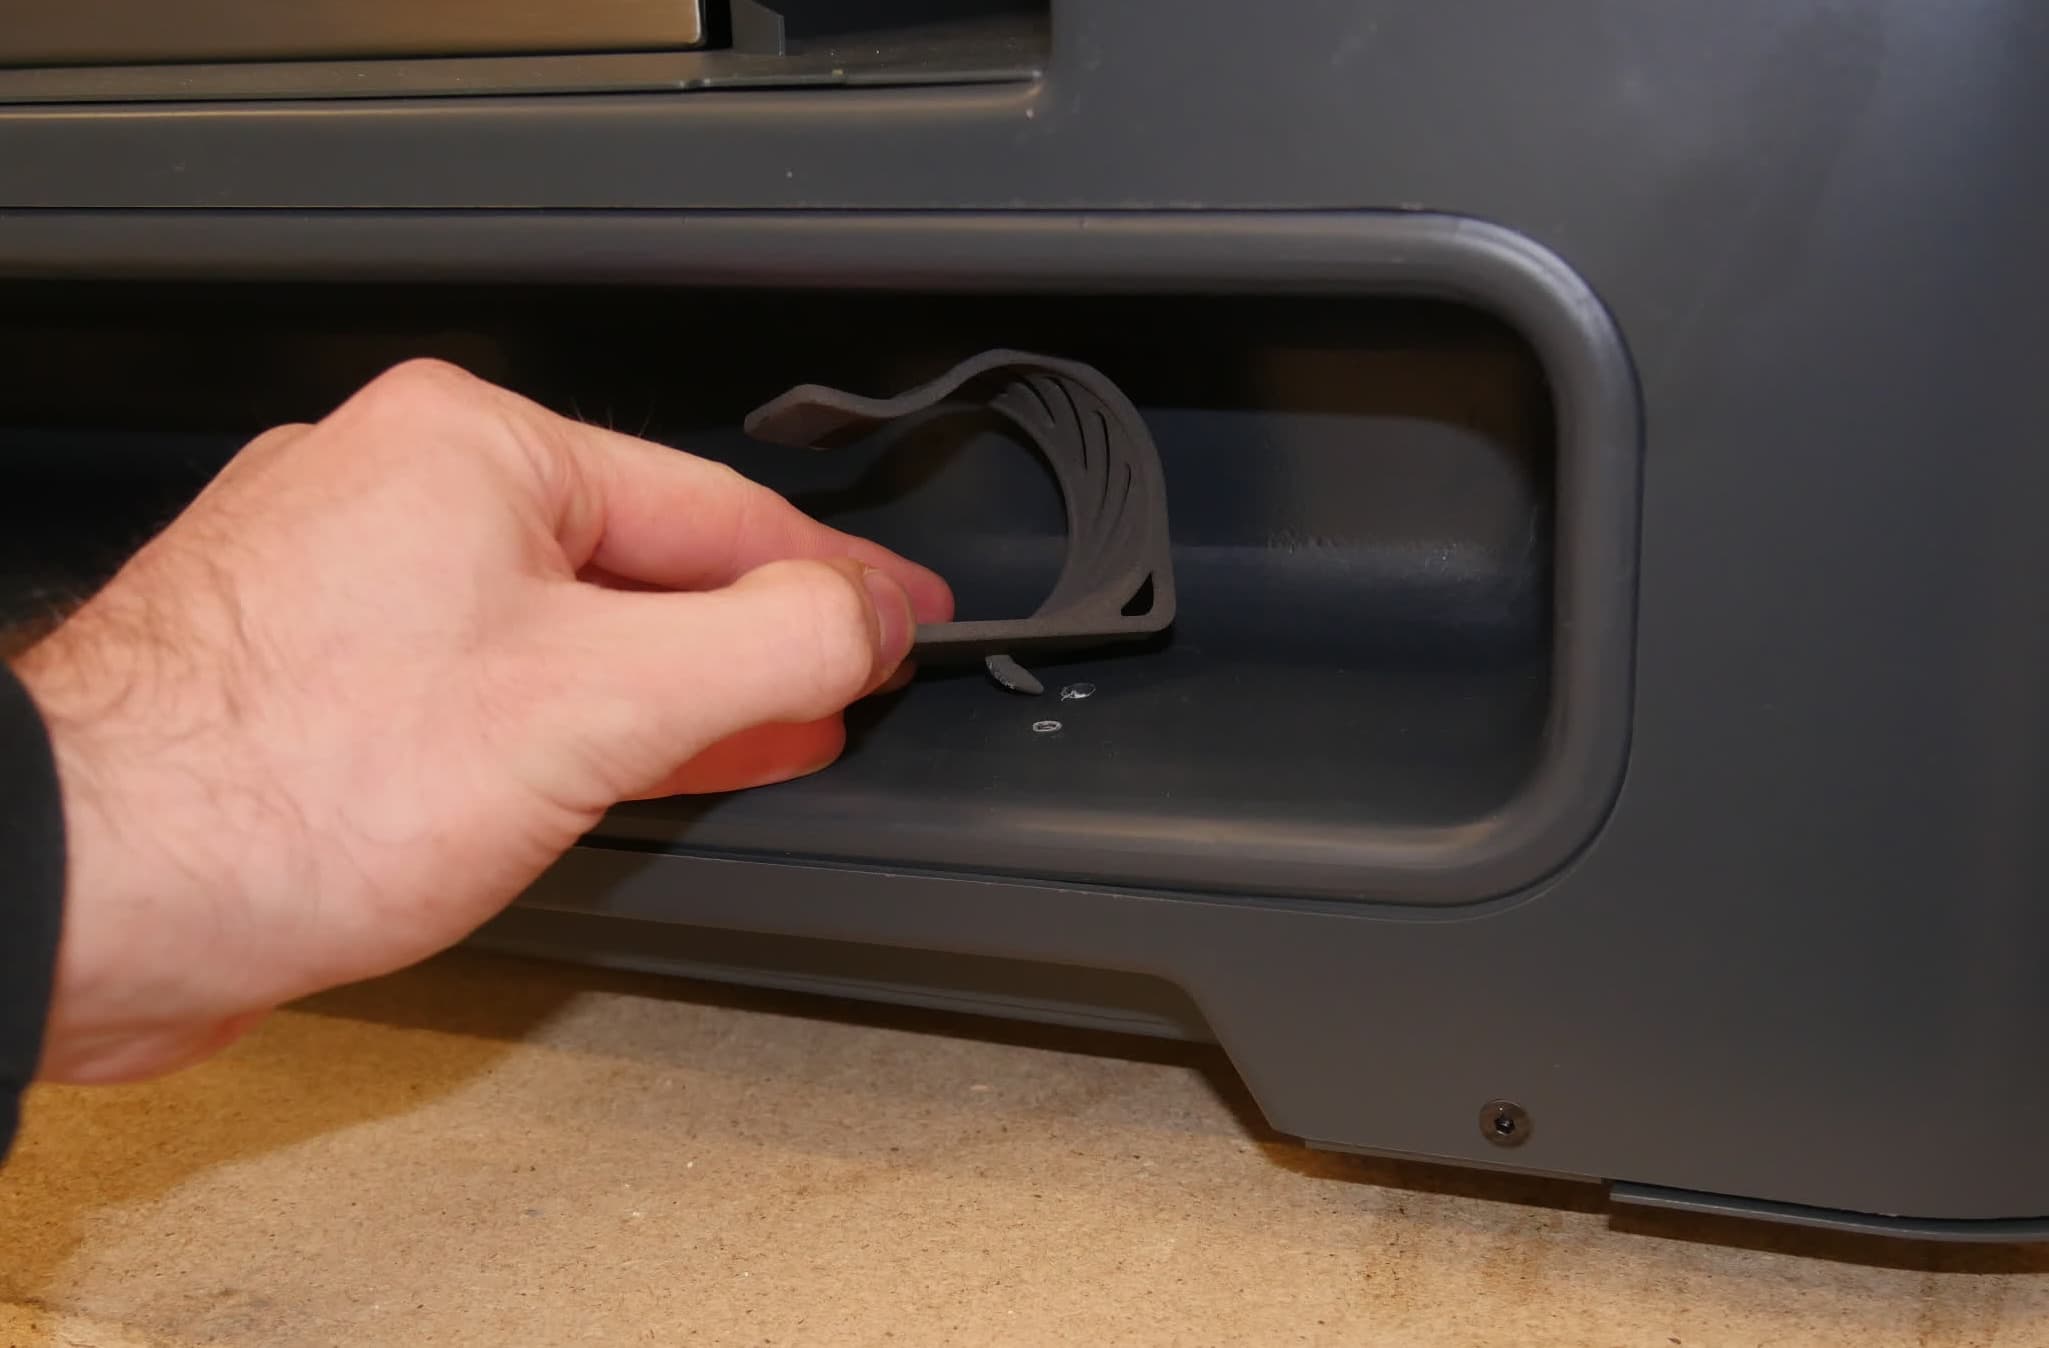
Align the clip marked LEFT with the left set of holes in the solvent pump storage slot. Insert the clip’s hook into the rear hole. Press down and forward on the clip until it sits flush against the bottom of the storage slot. Check that the screw hole in the front of the clip aligns with the screw hole in the Form Wash L.
Repeat for the clip marked RIGHT and the right set of holes.
Step 3: Secure the solvent pump clips
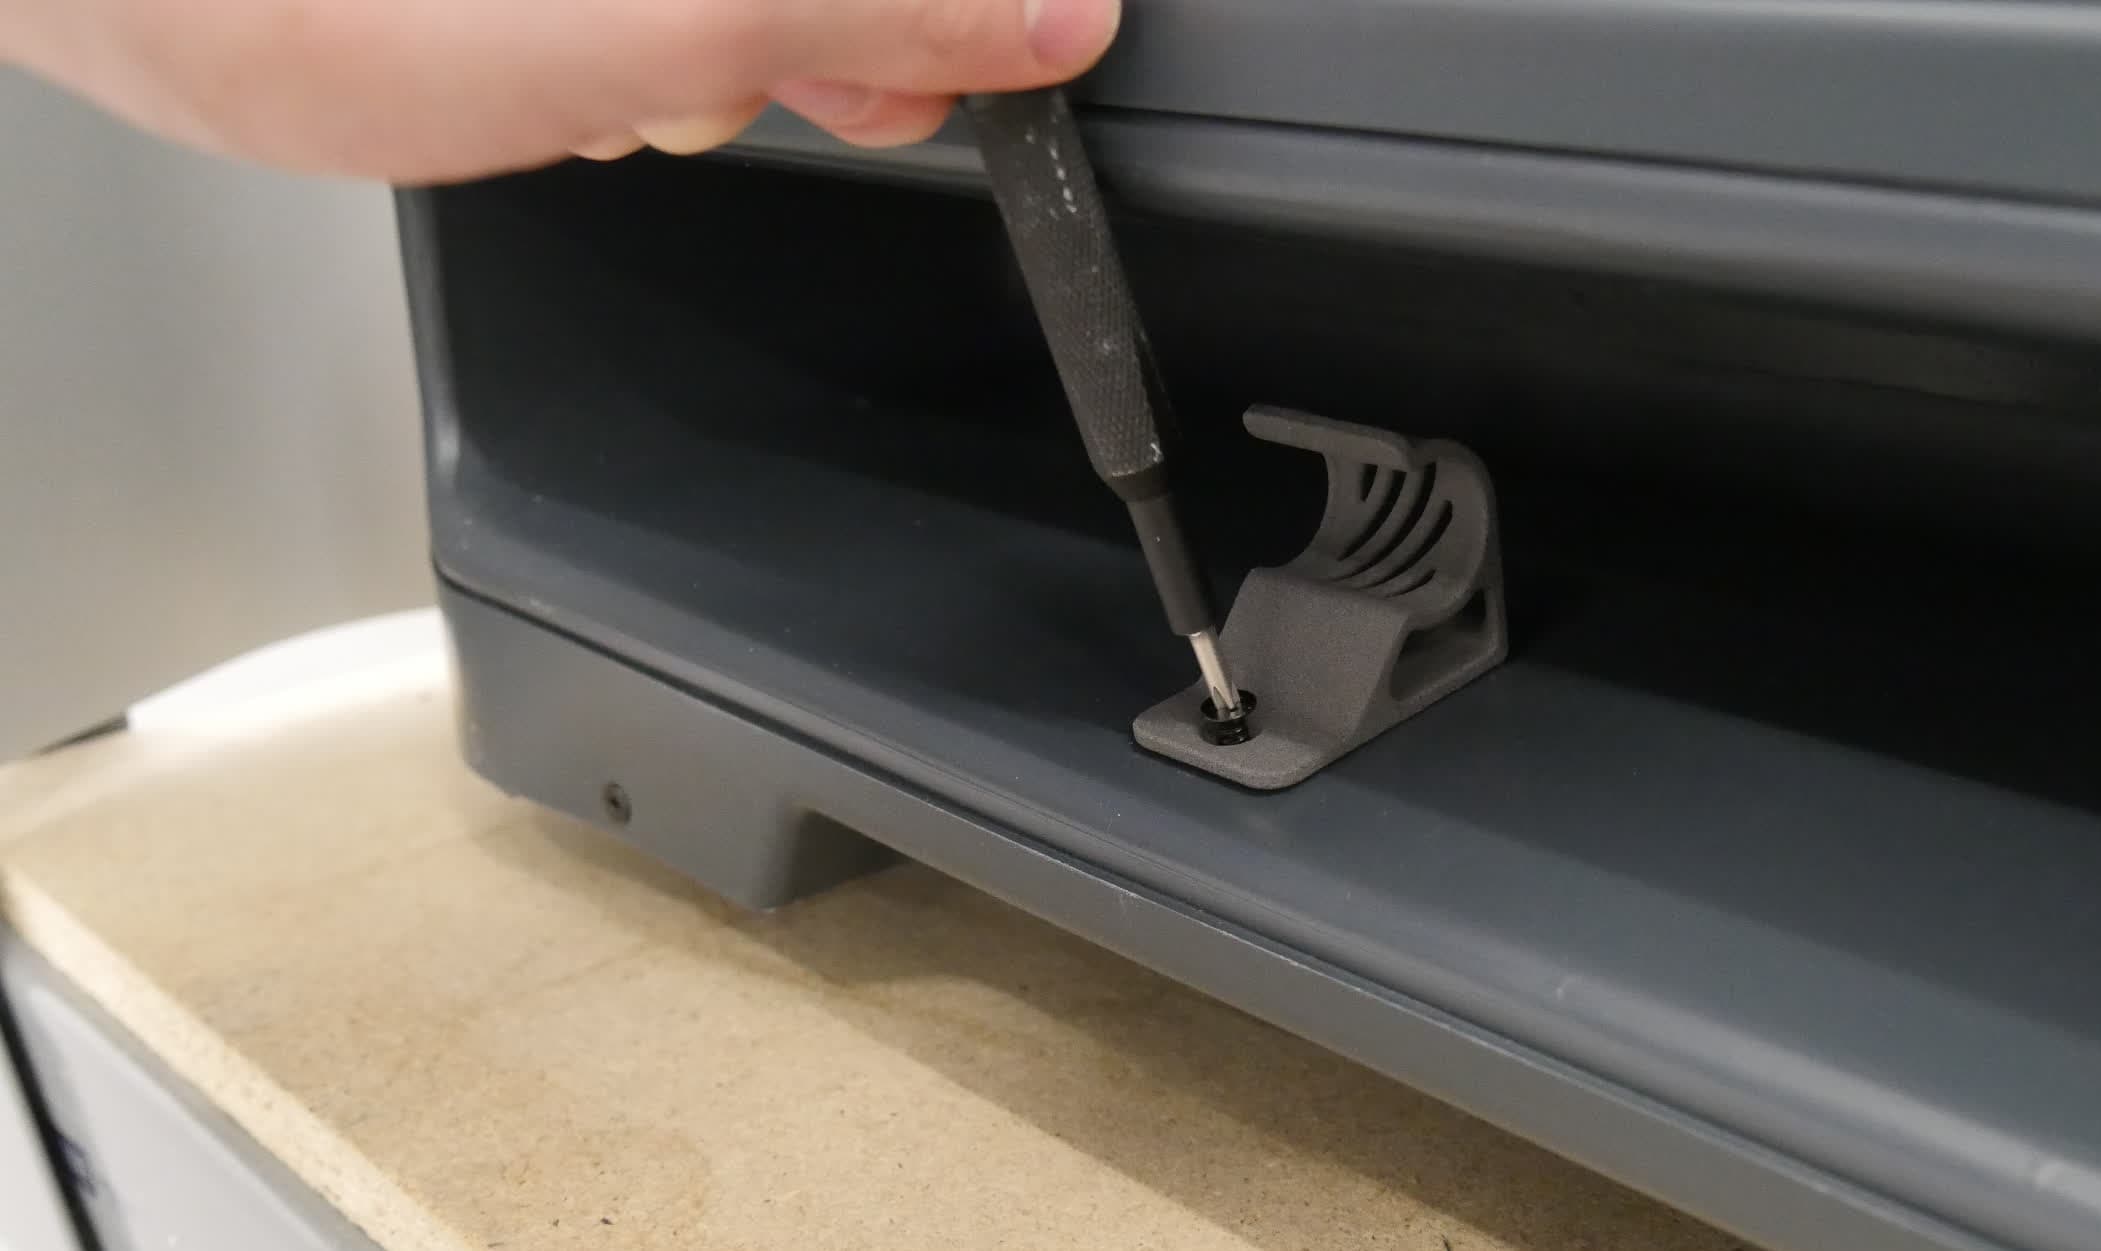
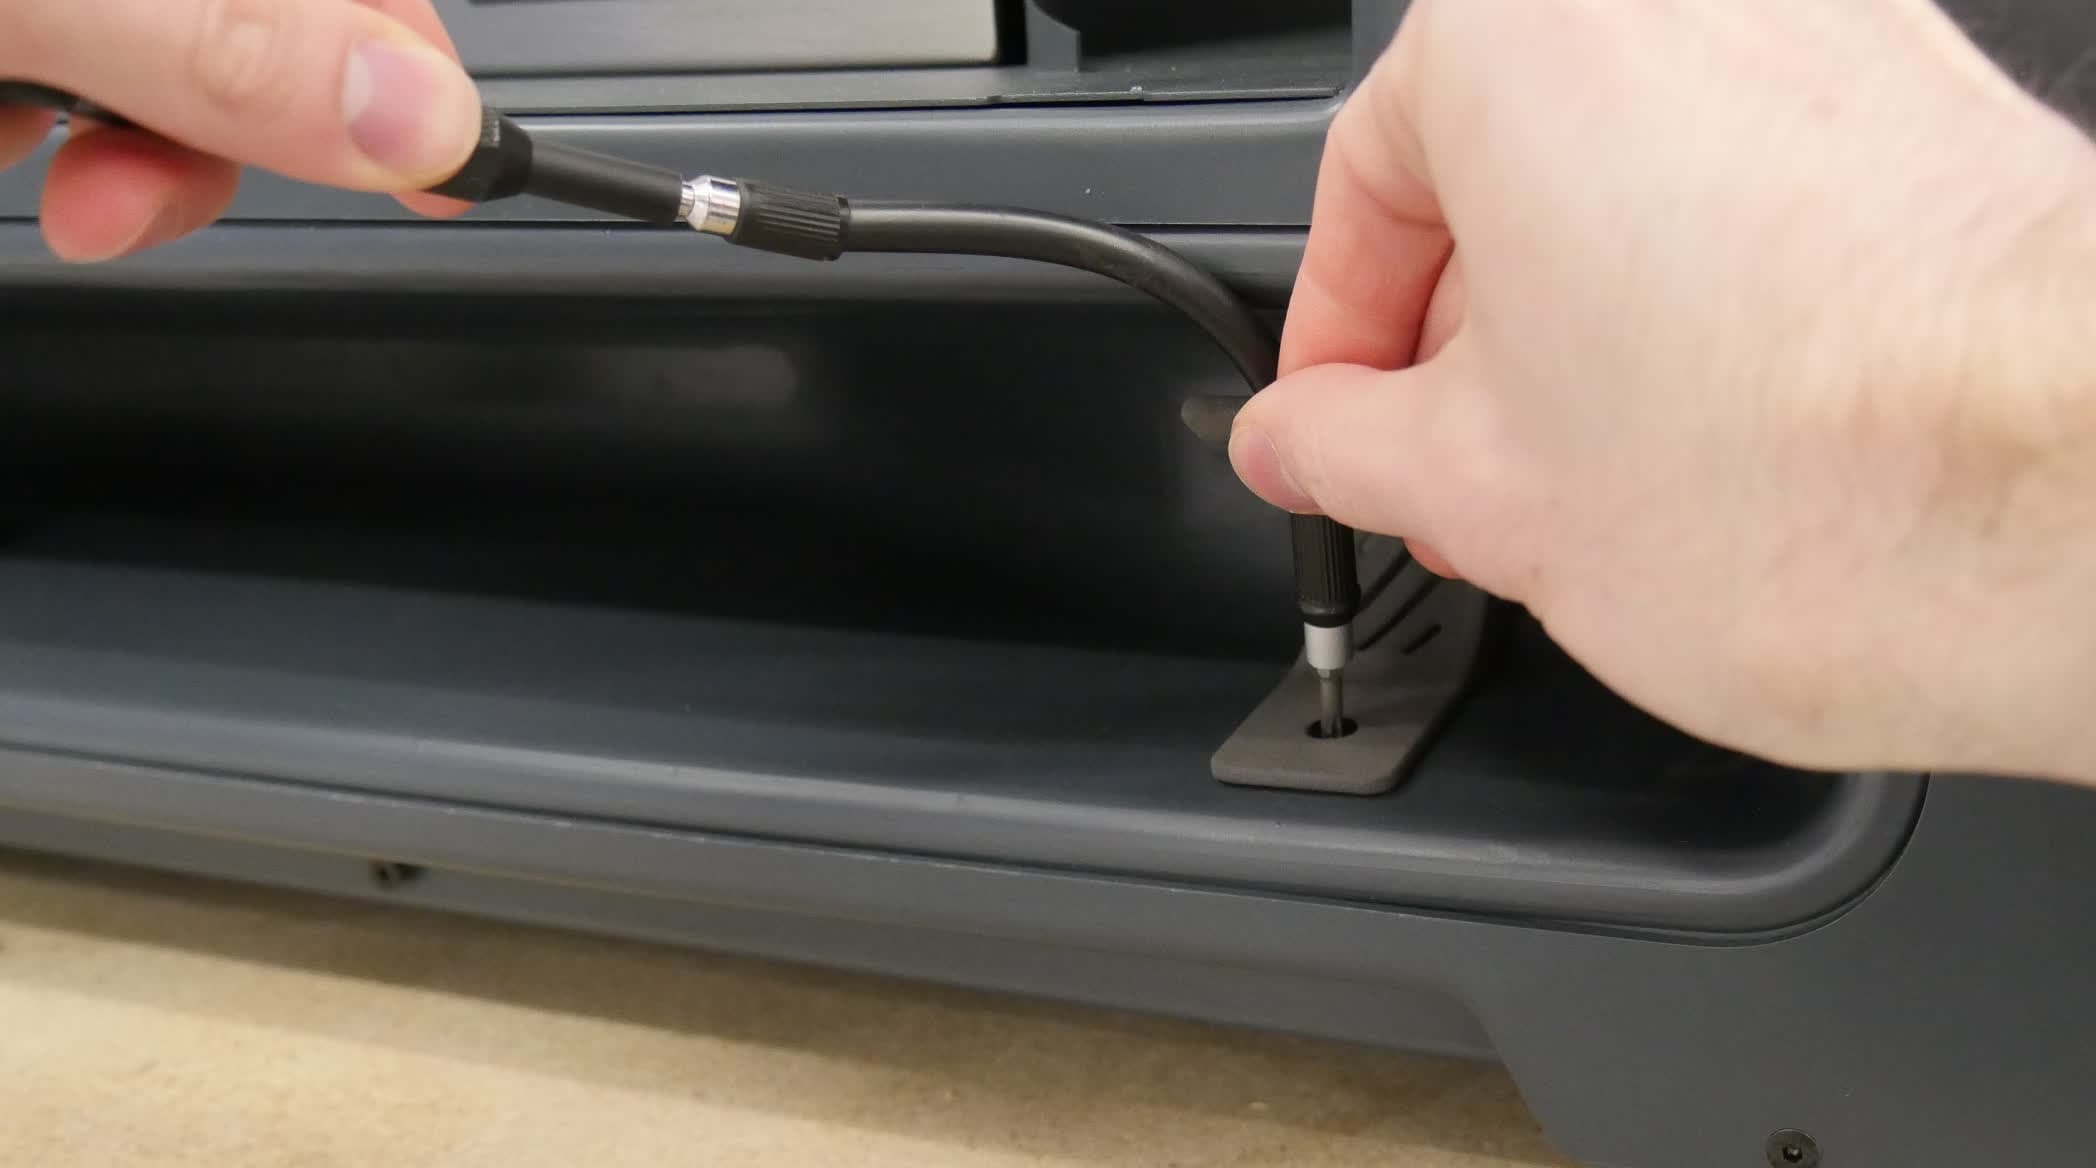
Thread one solvent pump clip retention screw into the screw hole in both clips. Using a Philips screwdriver, tighten the screws until snug. You may need a flexible or angled screwdriver extension to tighten the right-hand clip’s screw.
Finalizing the repair
Overview: After installing the replacement solvent pump clips, perform final checks.
Step 1: Test the solvent pump clips
Reinsert the solvent pump into its storage slot and check that it is held in place by the clips. Check that the door opens and closes normally.