Replacing the exhaust filter on a Fuse 1 generation printer
Replacing the exhaust filter on a Fuse 1 generation printer
Fuse 1 generation printers contain an intake filter and an exhaust filter that keep the air within the print enclosure free of contaminants that may adversely affect print quality. After extended use, the filters become clogged and cannot be adequately cleaned with a vacuum cleaner. After 2400 hours of printing, old filters should be replaced.
Filter lifetimes and other maintenance steps are tracked by the printer and can be viewed on the touchscreen. It is highly recommended to use the touchscreen prompts as you change filters, as it logs the new filter status and highlights when the filter needs cleaning at an appropriate frequency.
The rate of cleaning is dependent on the age of the filter:
- Both the intake and exhaust filters should be cleaned after every one to two full build volume prints or 30 hours of printing, whichever comes first.
- Purge the exhaust lines after 20 full build volume prints or 900–1000 hours of printing, whichever comes first, to remove blockages and ensure optimal airflow through the exhaust system.
- Old filters that have experienced 2400 hours of printing should be replaced.
Removing and replacing the exhaust filter
Turn off the air system before removing the exhaust filter for replacement.
Step 1: Start the maintenance procedure on the touchscreen
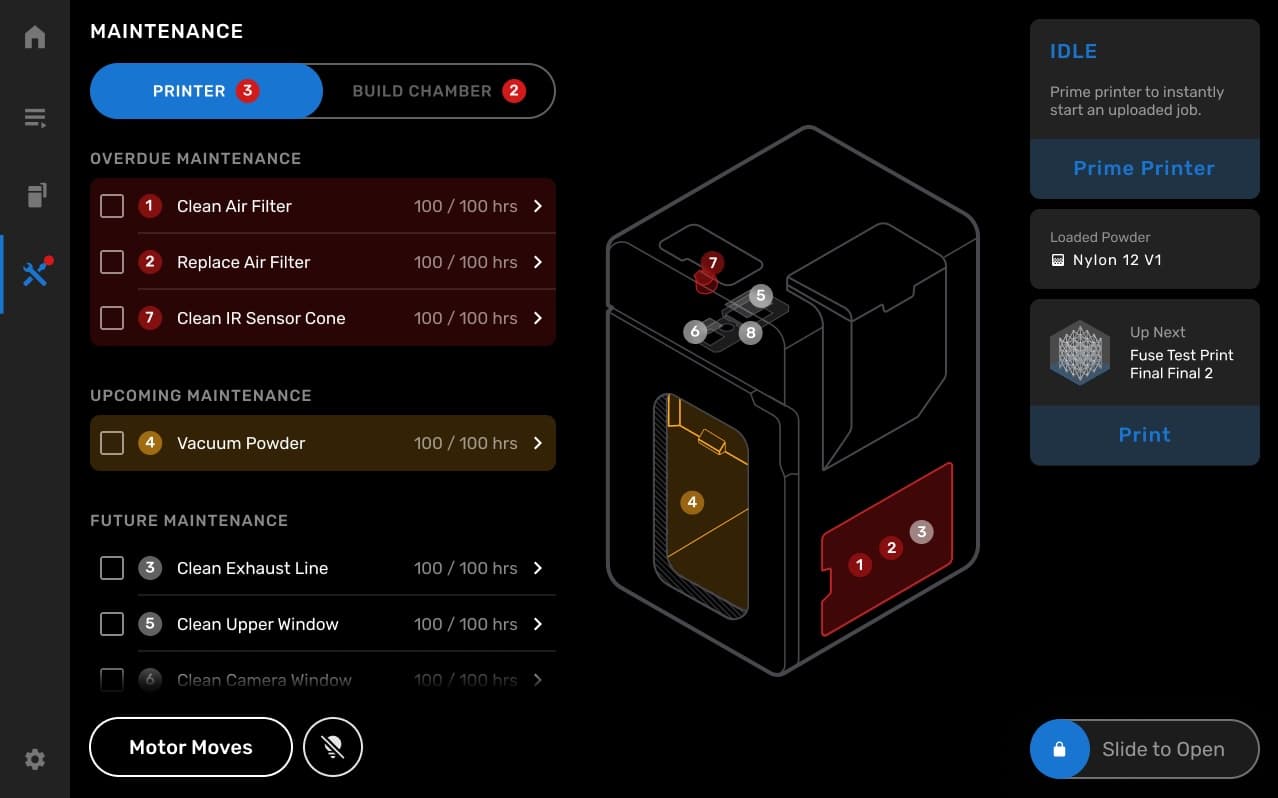
Tap Maintenance > Printer Checklist > Replace Air Filter on the touchscreen.
Step 2: Open the filter cabinet door
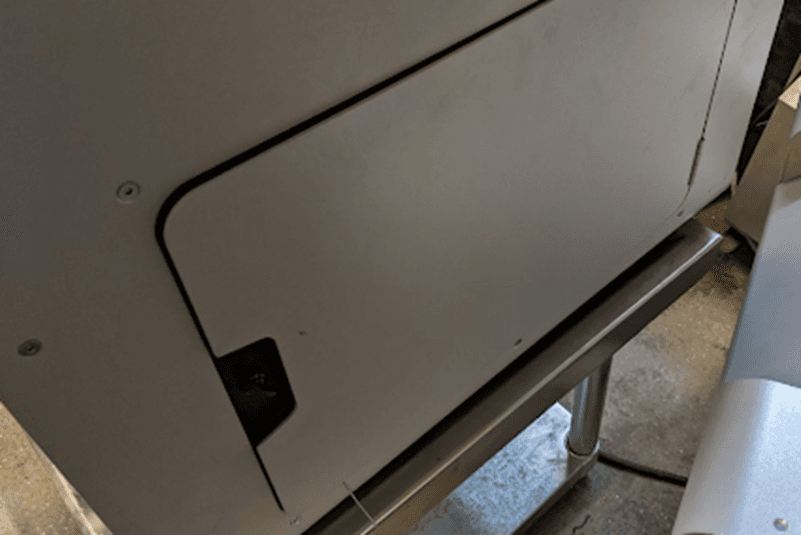
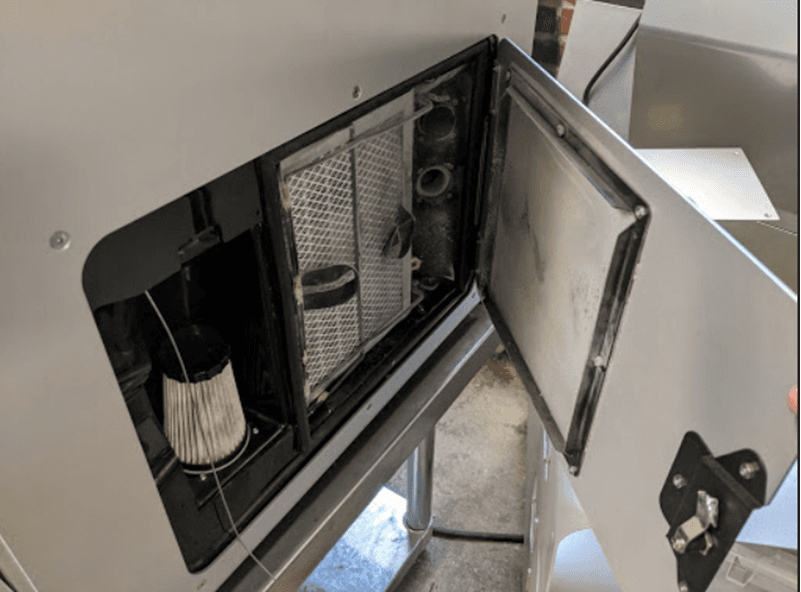
Open the filter cabinet door on the right side of the printer. The exhaust fan turns off when the filter cabinet door is open.
Step 3: Vacuum the exhaust filter
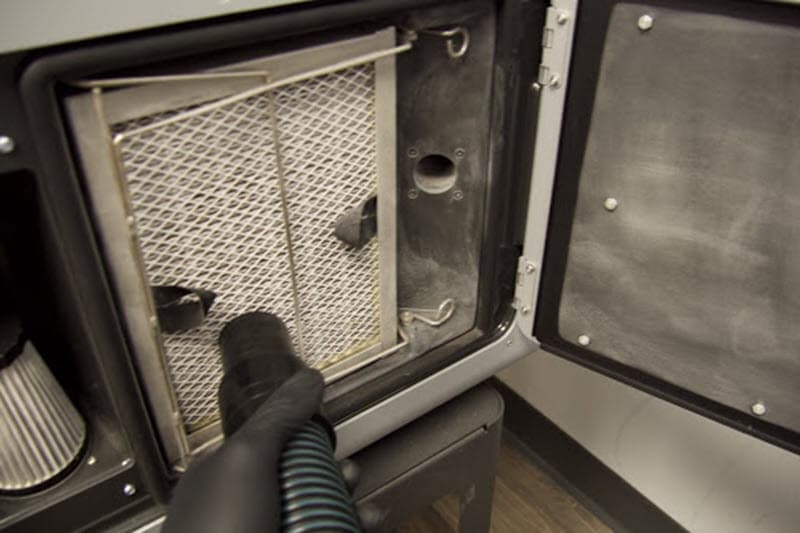
Use the vacuum hose on the Fuse Sift to clean the filter grate of clean excess powder. Place the hose against the grate and slowly move the hose up and down until all powder is removed.
Step 4: Unclip the retainer
To unclip the retainer and release the exhaust filter:
- Depress the retainer hook at the top of the exhaust filter and disengage it from the pin.
- Depress the retainer hook at the bottom of the exhaust filter and disengage it from the pin.
- Move the retainer out of the way.
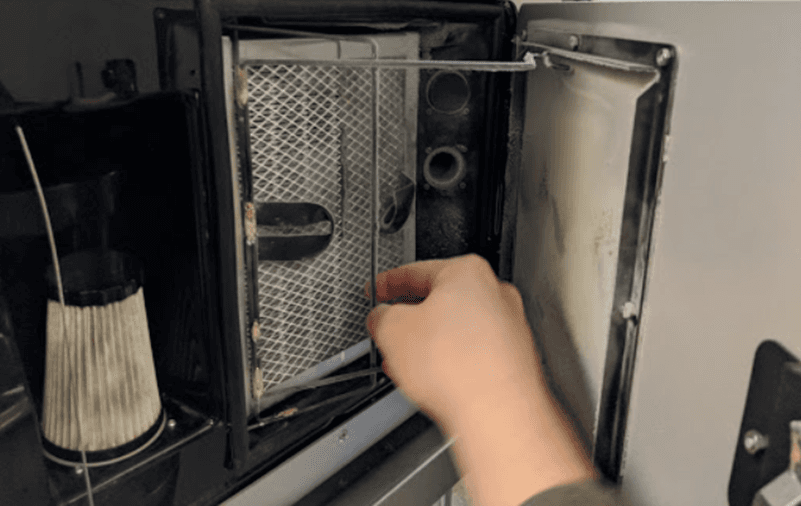
Step 5: Remove the exhaust filter
Remove the exhaust filter using the fabric pull tabs. Set the filter aside.
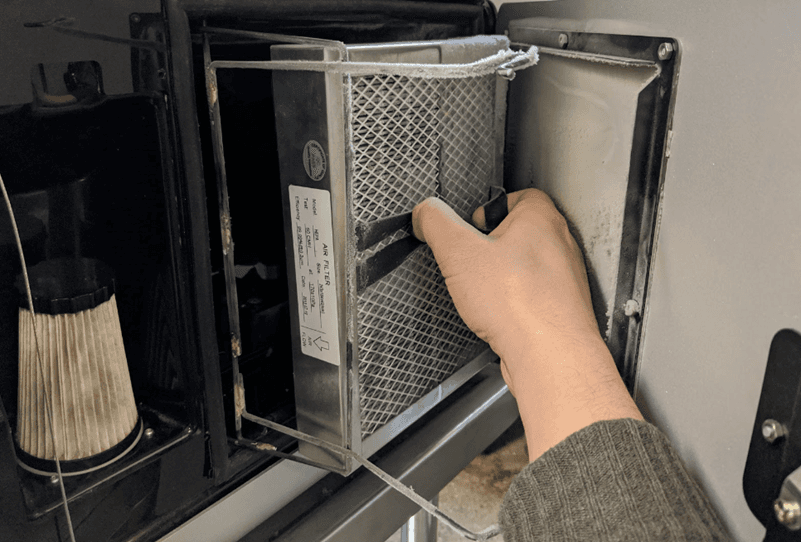
Step 6: Insert the new exhaust filter
Slide the new exhaust filter into position.
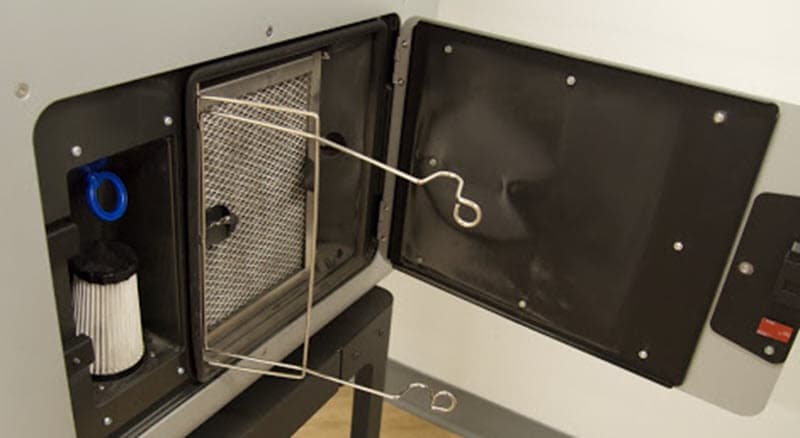
Step 7: Clip the retainer closed
Clip the retainer back into place around the exhaust filter.
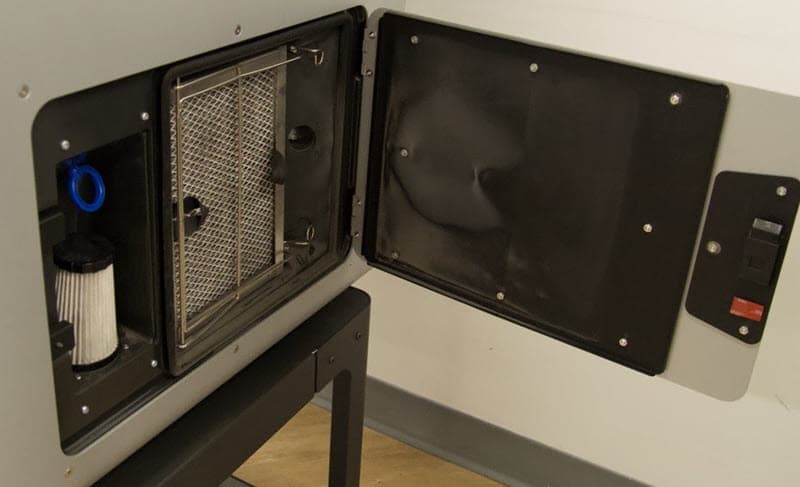
Step 8: Close the filter cabinet door
Close the cabinet door.