
Required supplies:
Formlabs:
- Fuse 1 generation door accessories kit (RP-FS1-DA-01)
Third-party:
- 3 mm hex driver (flat-end)
- Compliant vacuum with static dissipative components, such as a Class II, Division 2 vacuum

The Fuse 1 generation print enclosure door hangs on two hinges. If either or both of these hinges is faulty or damaged, the door may not open or close smoothly.
Use this guide to replace the print enclosure door hinges on a Fuse 1 generation printer
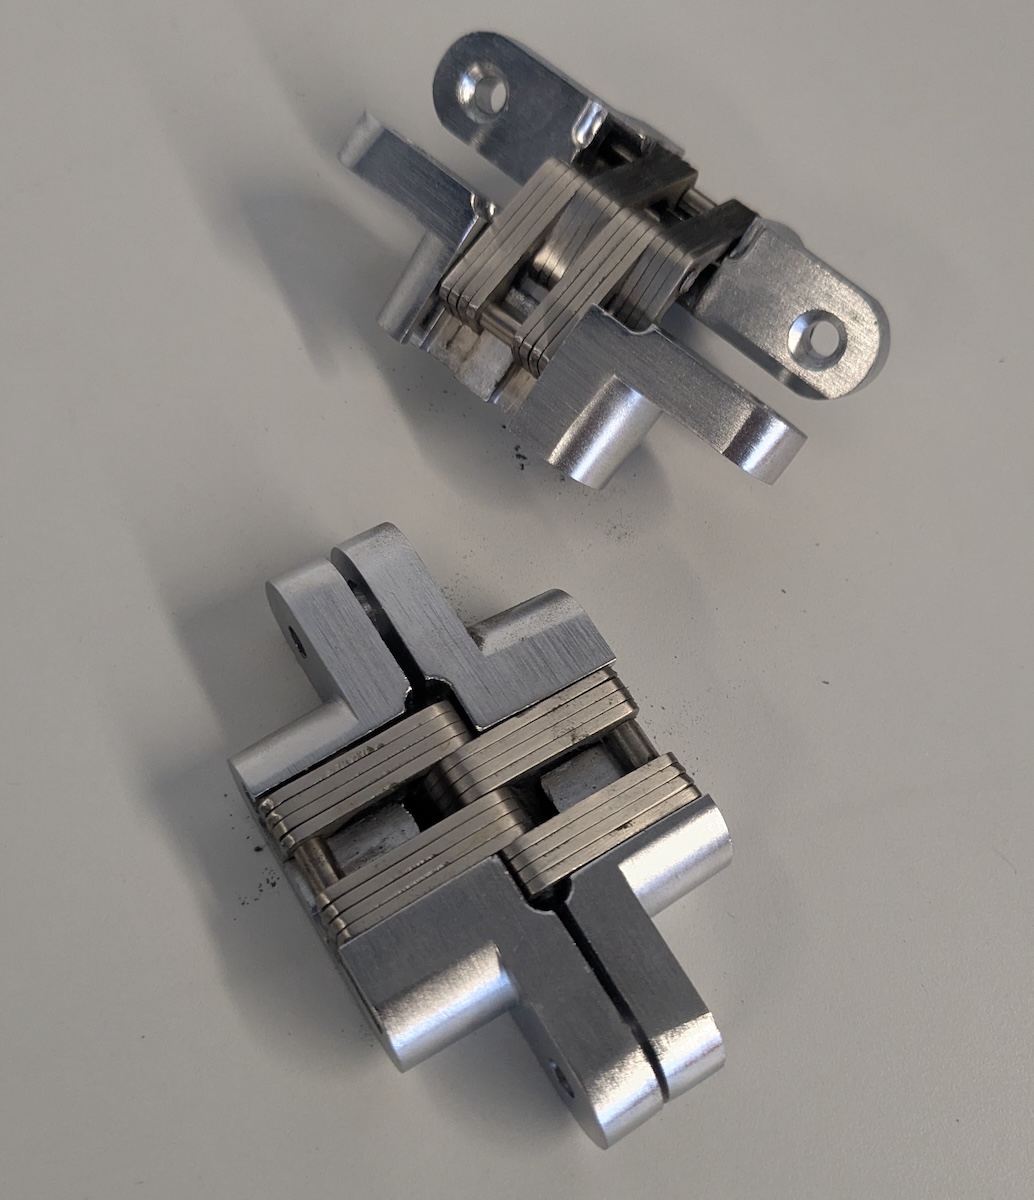
Required supplies:
Formlabs:
Third-party:
Estimated time: 10 –15 minutes
Preparing the workspace
Overview: Prepare the printer and a dust-free workspace for cleaning and replacing the print enclosure door hinges.
Warning:
Do not perform this procedure if the printer was used for printing less than six hours prior. Failure to do so may result in serious burns. Allow the print enclosure to fully cool to room temperature before touching or inspecting any printer components.
Open the print enclosure door, either by using the slider on the touchscreen or the manual release in the filter cabinet.
If powder has built up on the inner face of the print enclosure door or the hinges, vacuum it before continuing.
Clear a workspace around your printer. Ensure that the workspace is well-ventilated and free of dust.
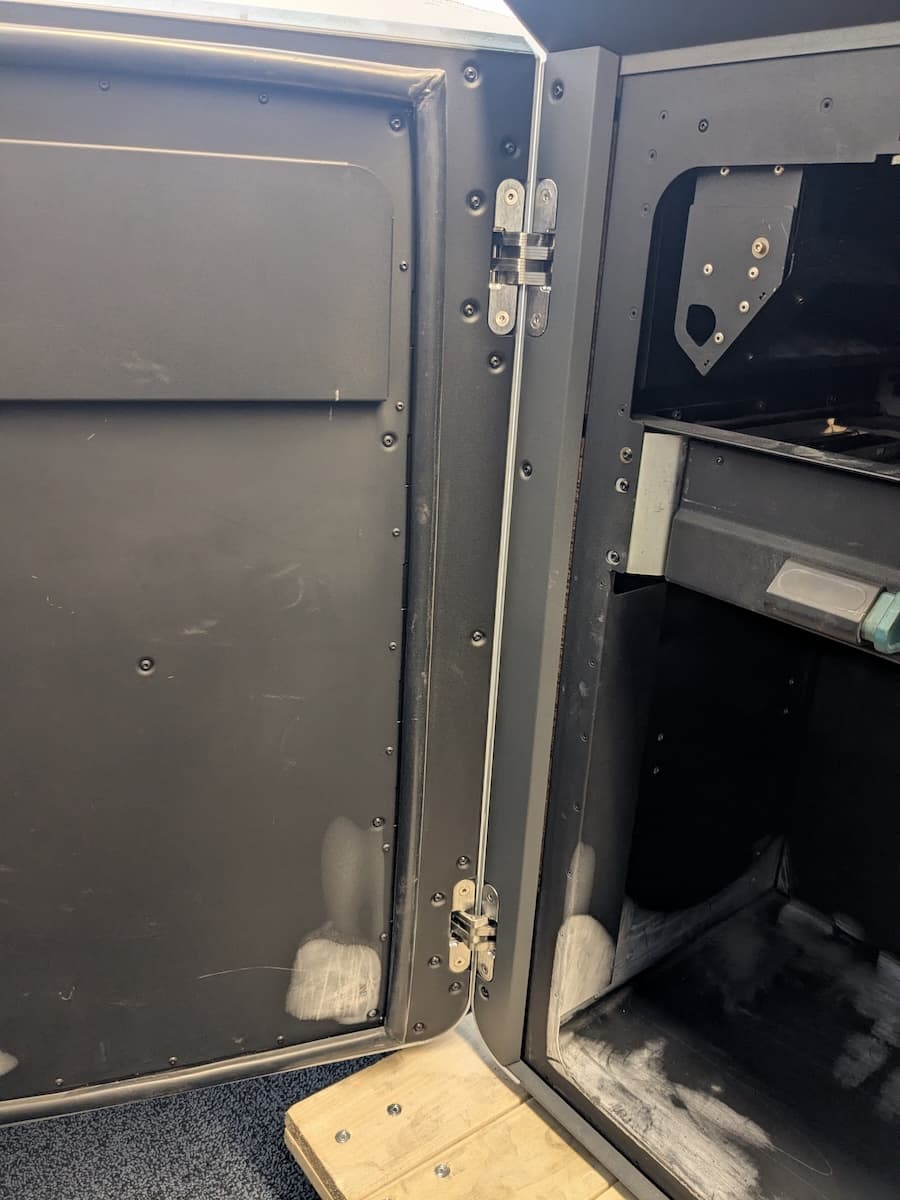
Removing the print enclosure door hinges
Overview: Remove the print enclosure door hinges and unmount the door.
Support the print enclosure door, either with one hand or the help of another person. Using a 3 mm hex driver, loosen and remove the four screws securing the hinges to the print enclosure door.
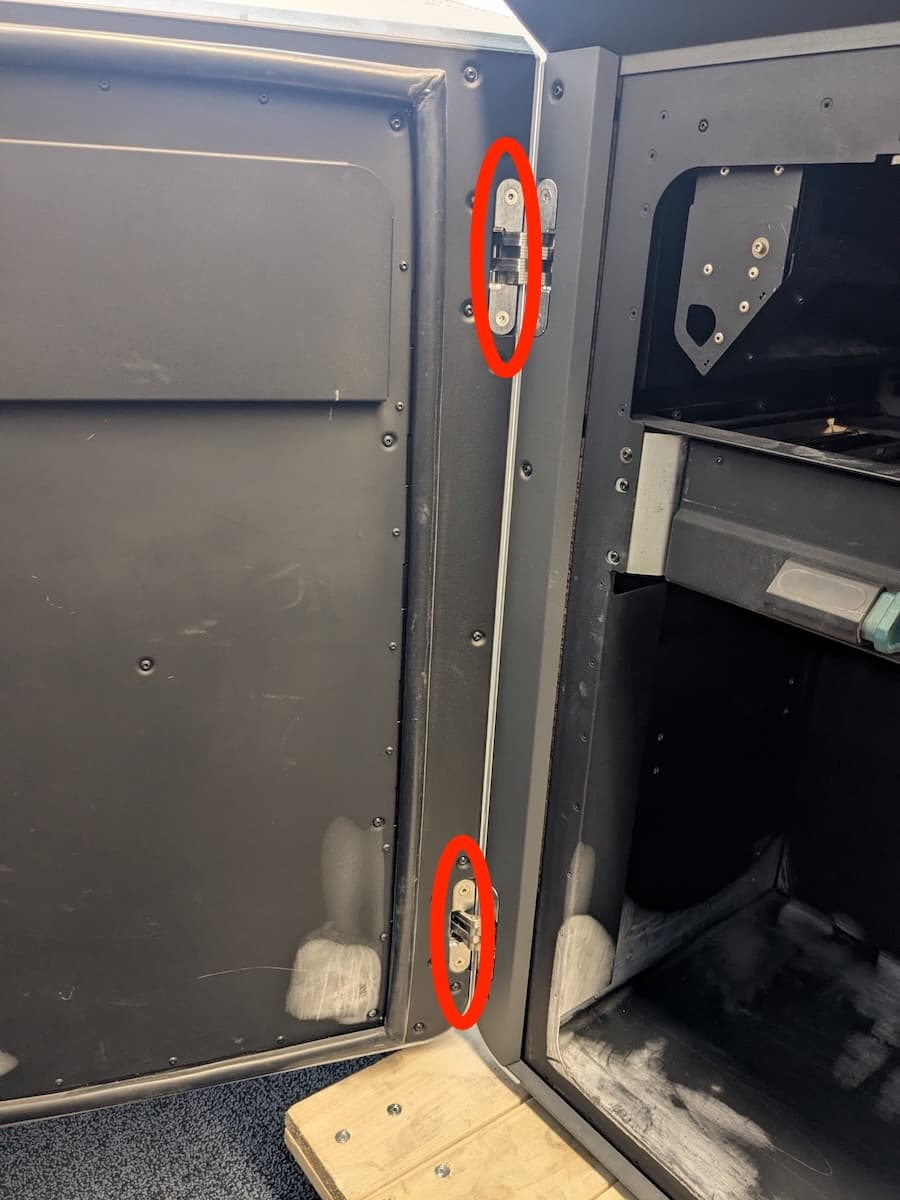
Pull the print enclosure door straight away from the hinges. Set the door aside.

Step 3: Remove the hinge mounting screws from the printer
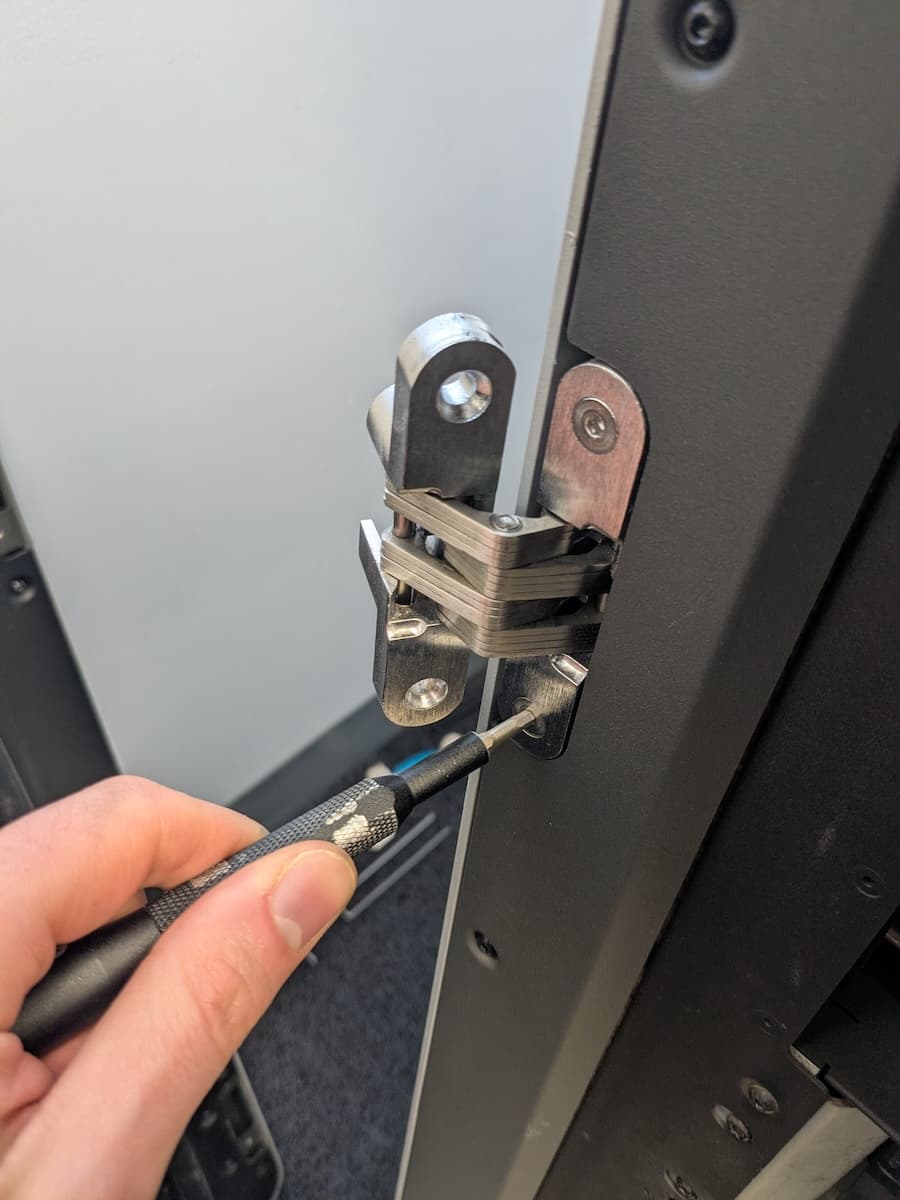
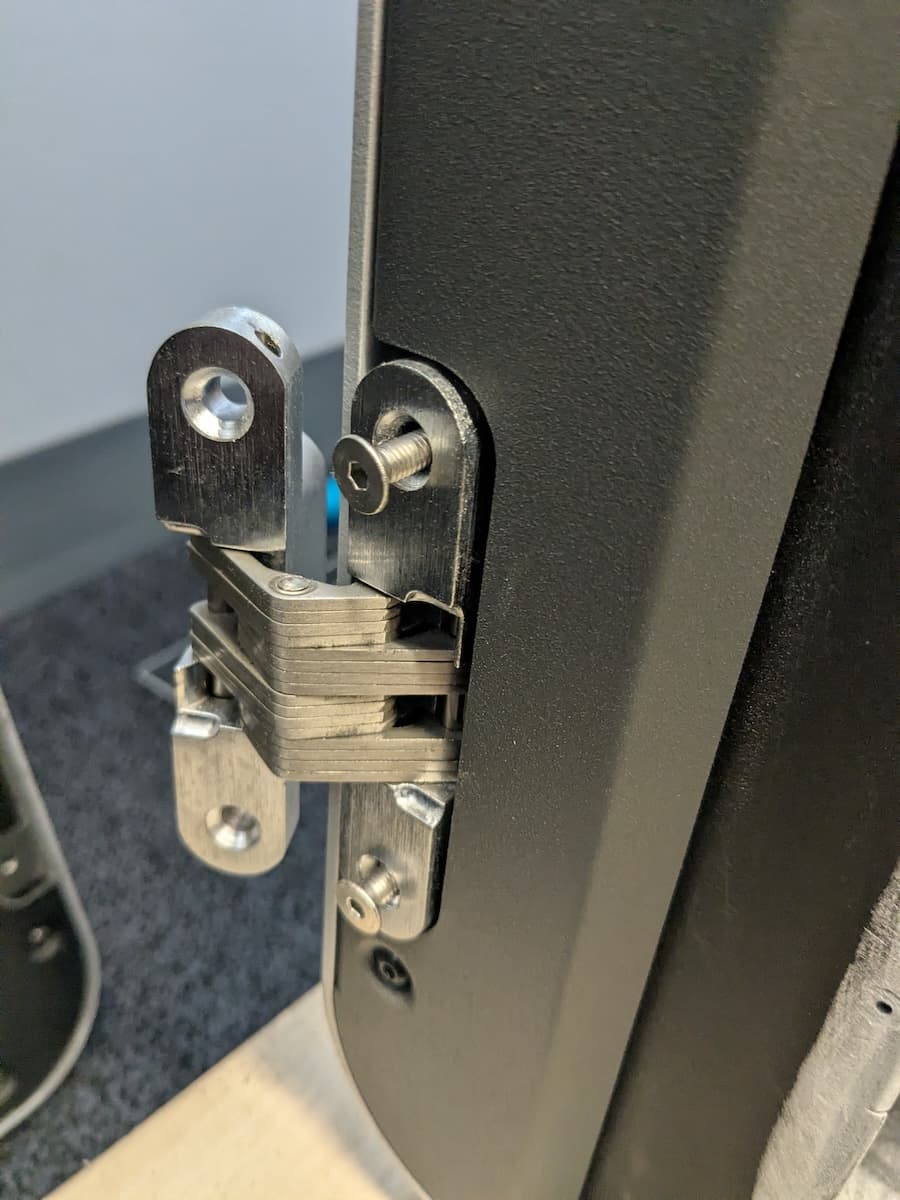
Using a 3 mm hex driver, slowly loosen the four screws securing the door hinges to the printer until you feel them come free from the printer frame. Each screw has a washer on it behind the hinge, so removing the screw fully will drop the washer into the printer. Once you have sufficiently loosened the screws, pull the hinge straight away from the printer. Check that the washers are still on the screws. Set the screws and washers aside. Set the hinges aside for disposal.
Installing the replacement print enclosure door hinges
Overview: Mount and secure the replacement door hinges and the print enclosure door.
Fold the two replacement hinges into their open position. On one half of both hinges, insert a hinge mounting screw into both of the two screw holes. The screw head should sit in the countersink on the inner face of the hinge (not shown here). Place one washer onto each screw.
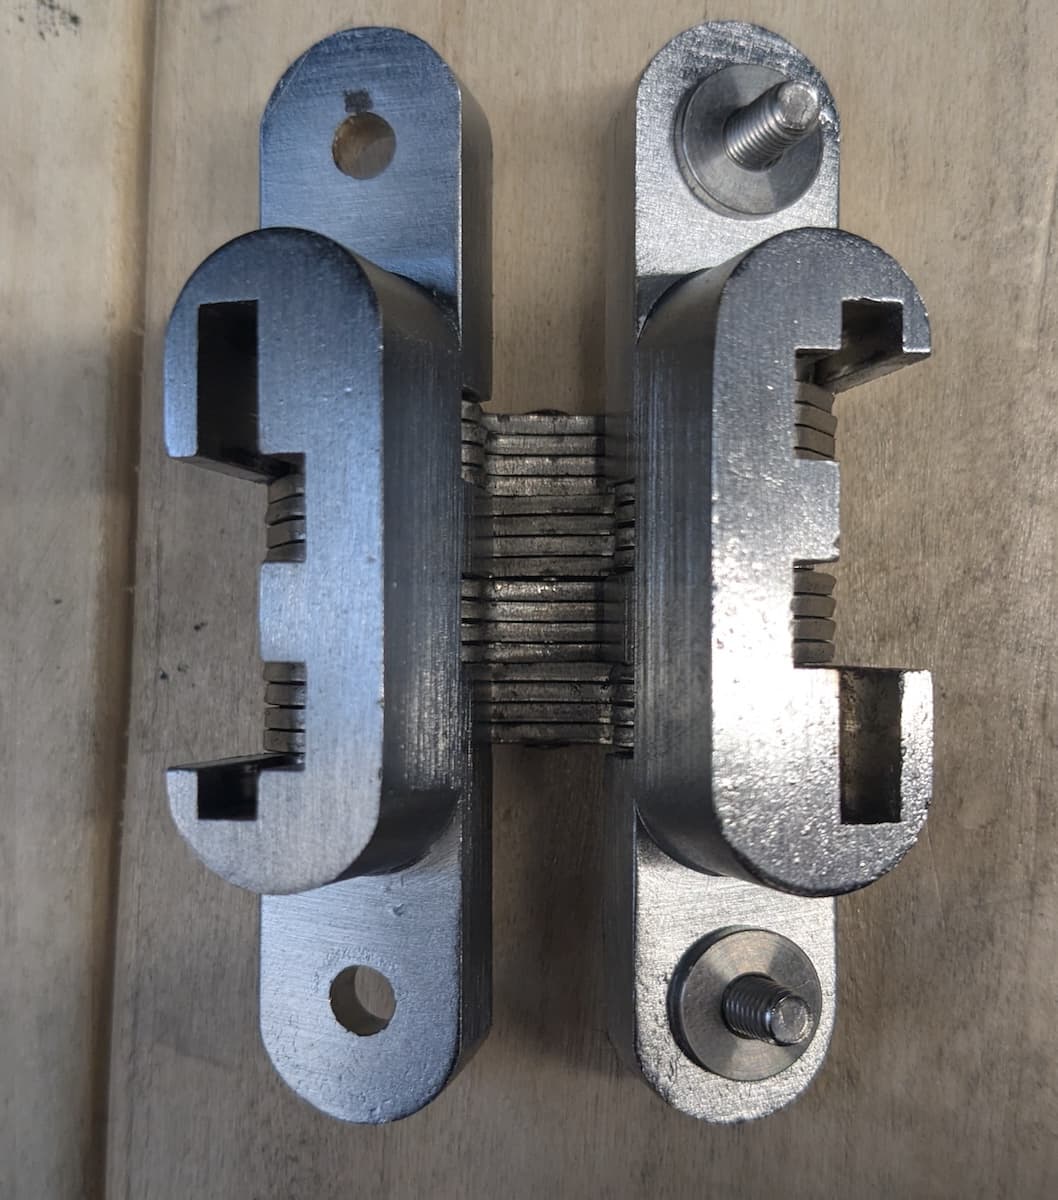
Step 2: Mount and secure the hinges onto the printer

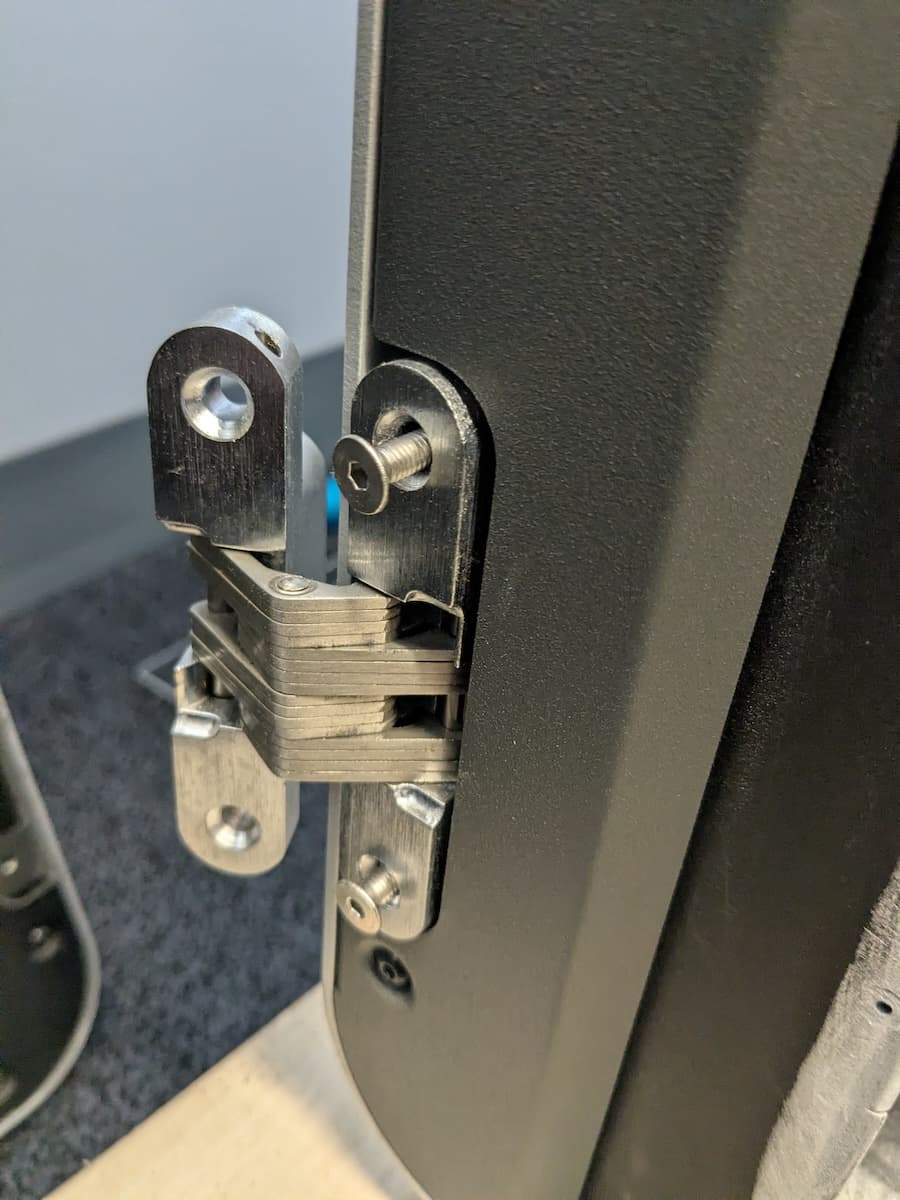
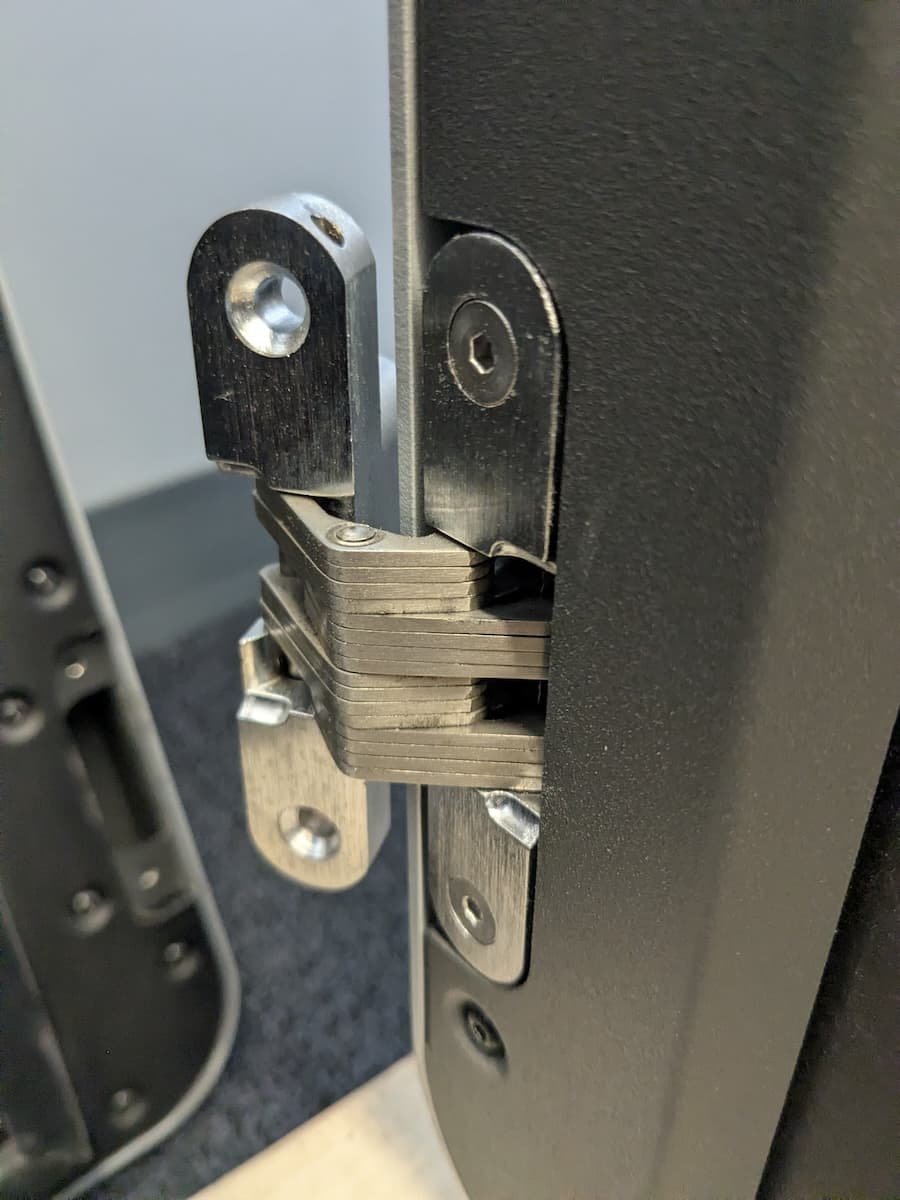
Hold a hinge vertically, so that the inserted screws are horizontal. Insert the hinge into its pocket on the left side of the print enclosure opening, taking care not to drop the washers into the printer frame. Using a 3 mm hex driver, tighten the screws until the screw heads are flush with the hinge face. Repeat with the other hinge.
Adjust the hinges so they are in the same position, open at roughly a right angle. Lift the print enclosure door and bring it to the hinges so that the hinges seat in their pockets in the door. Thread one mounting screw into each of the four screw holes (two screw holes in both of the two hinges). Using a 3 mm hex driver, tighten the screws until the screw heads are flush with the hinge face.
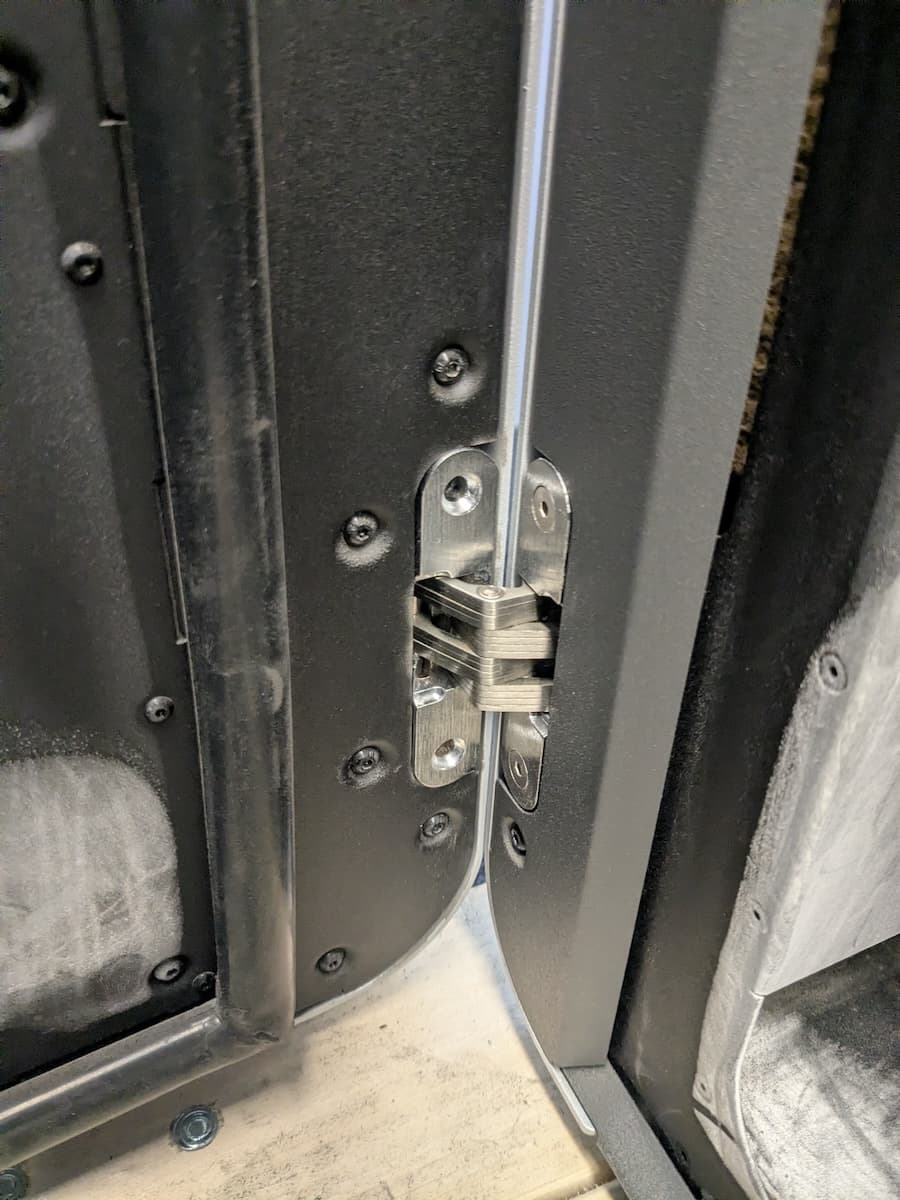
Finalizing the repair
Overview: After installing the new door hinges, and perform final checks.
Step 1: Test the door
Close and reopen the print enclosure door several times. Check that the door moves smoothly and the printer recognizes when the door has been closed. Contact Formlabs Support or your certified service provider to share the results of the procedure.