
Required supplies:
Formlabs:
- Replacement Fuse Sift build chamber latch assembly
Third-party:
- 2.5 mm hex driver (flat-end)
- Flat head screwdriver

The Fuse Sift, like Fuse 1 generation printers, uses a latch to help hold an inserted build chamber in place. If this latch is faulty or malfunctioning, the build chamber will not be fully secure and may move unexpectedly while you are using the Fuse Sift.
Use this guide to the replace the Fuse Sift build chamber latch.
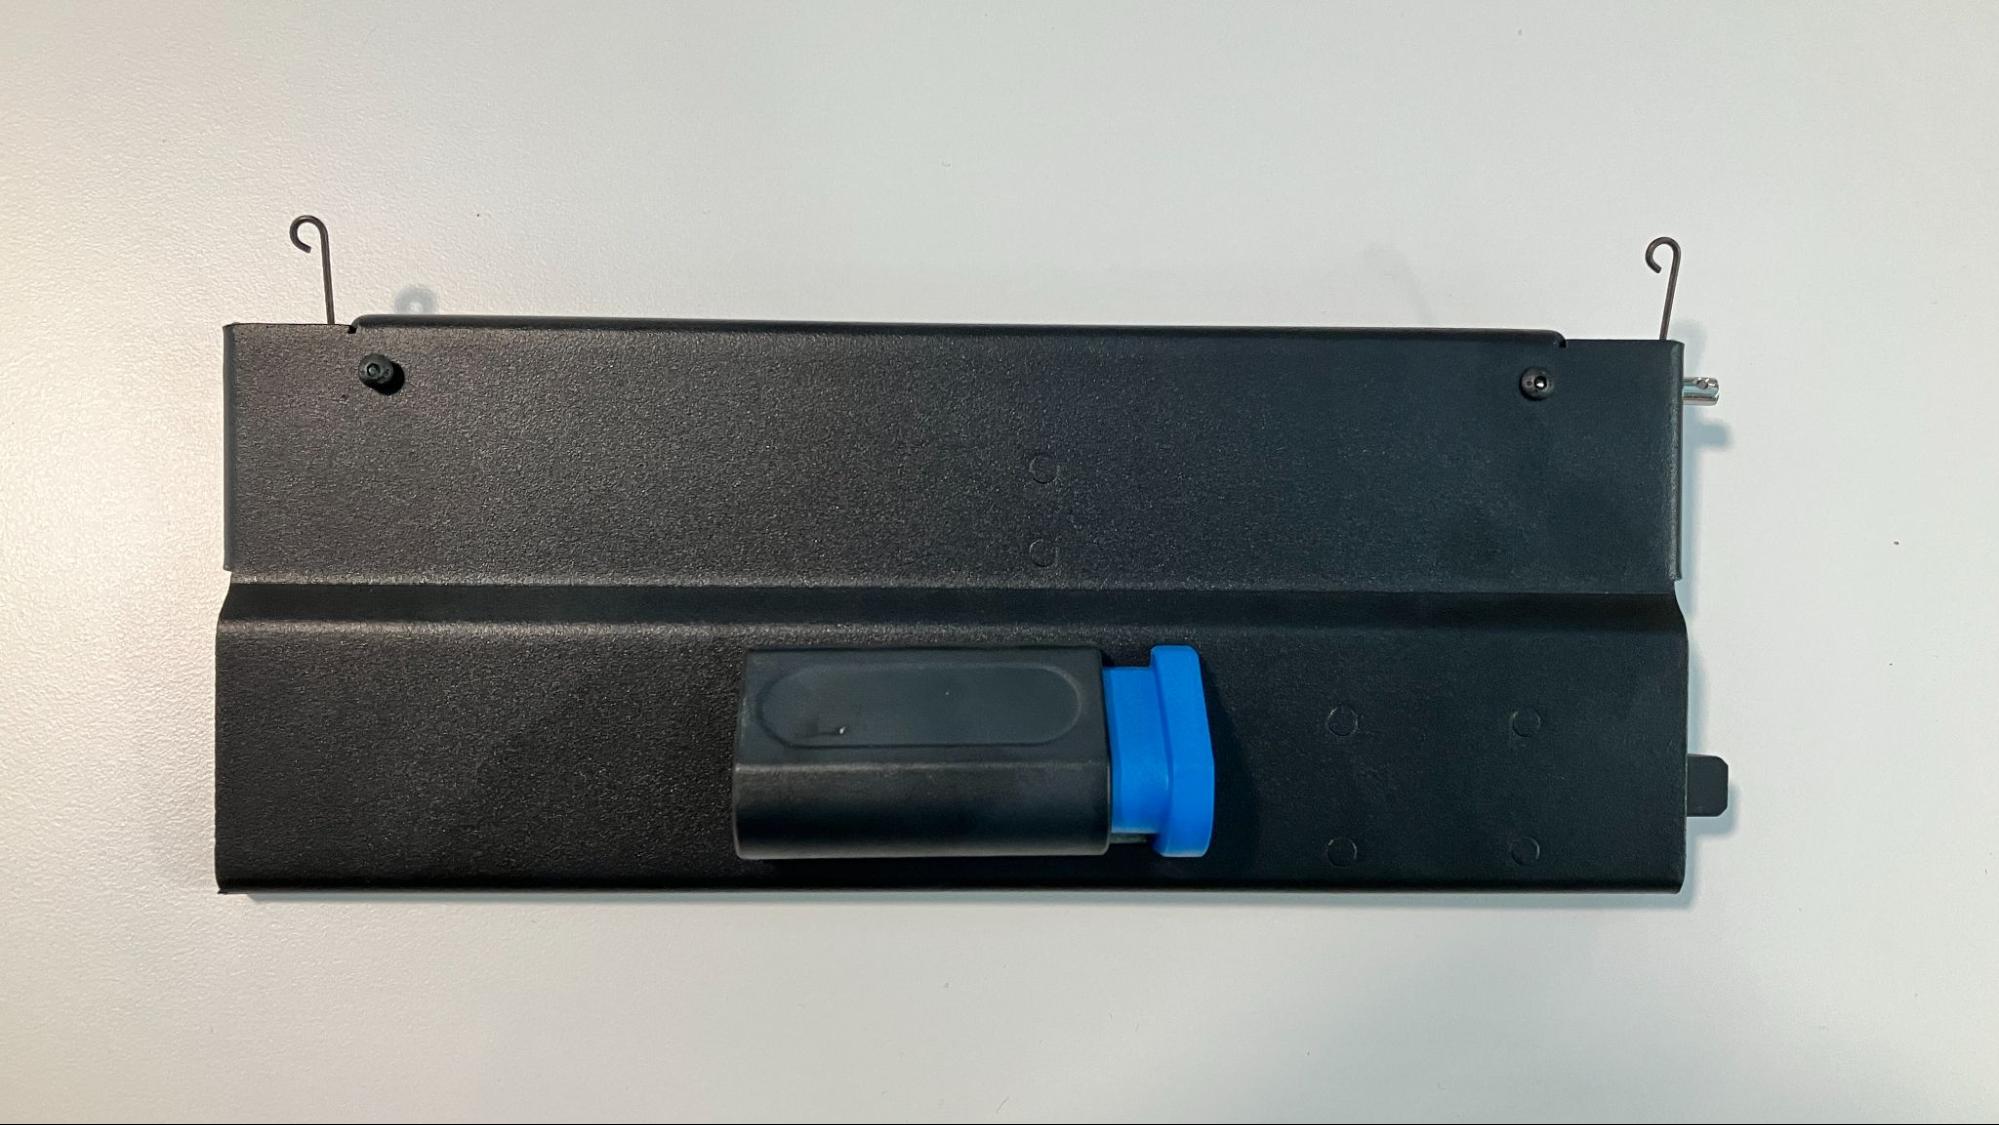
Required supplies:
Formlabs:
Third-party:
Estimated time: 10–15 minutes
Preparing the workspace
Step 1: Remove the build chamber
If a build chamber is inserted into the Fuse Sift, unplug and remove it.
Step 2: Cover the build chamber port
The build chamber port cover is a removable cover that sits at the top of the build chamber enclosure. Place the build chamber port cover over the build chamber port to prevent any loose powder, tools, or printed parts from falling into the build chamber enclosure while you are working.
Removing the build chamber latch
Overview: Separate the original build chamber latch assembly from the Fuse Sift.
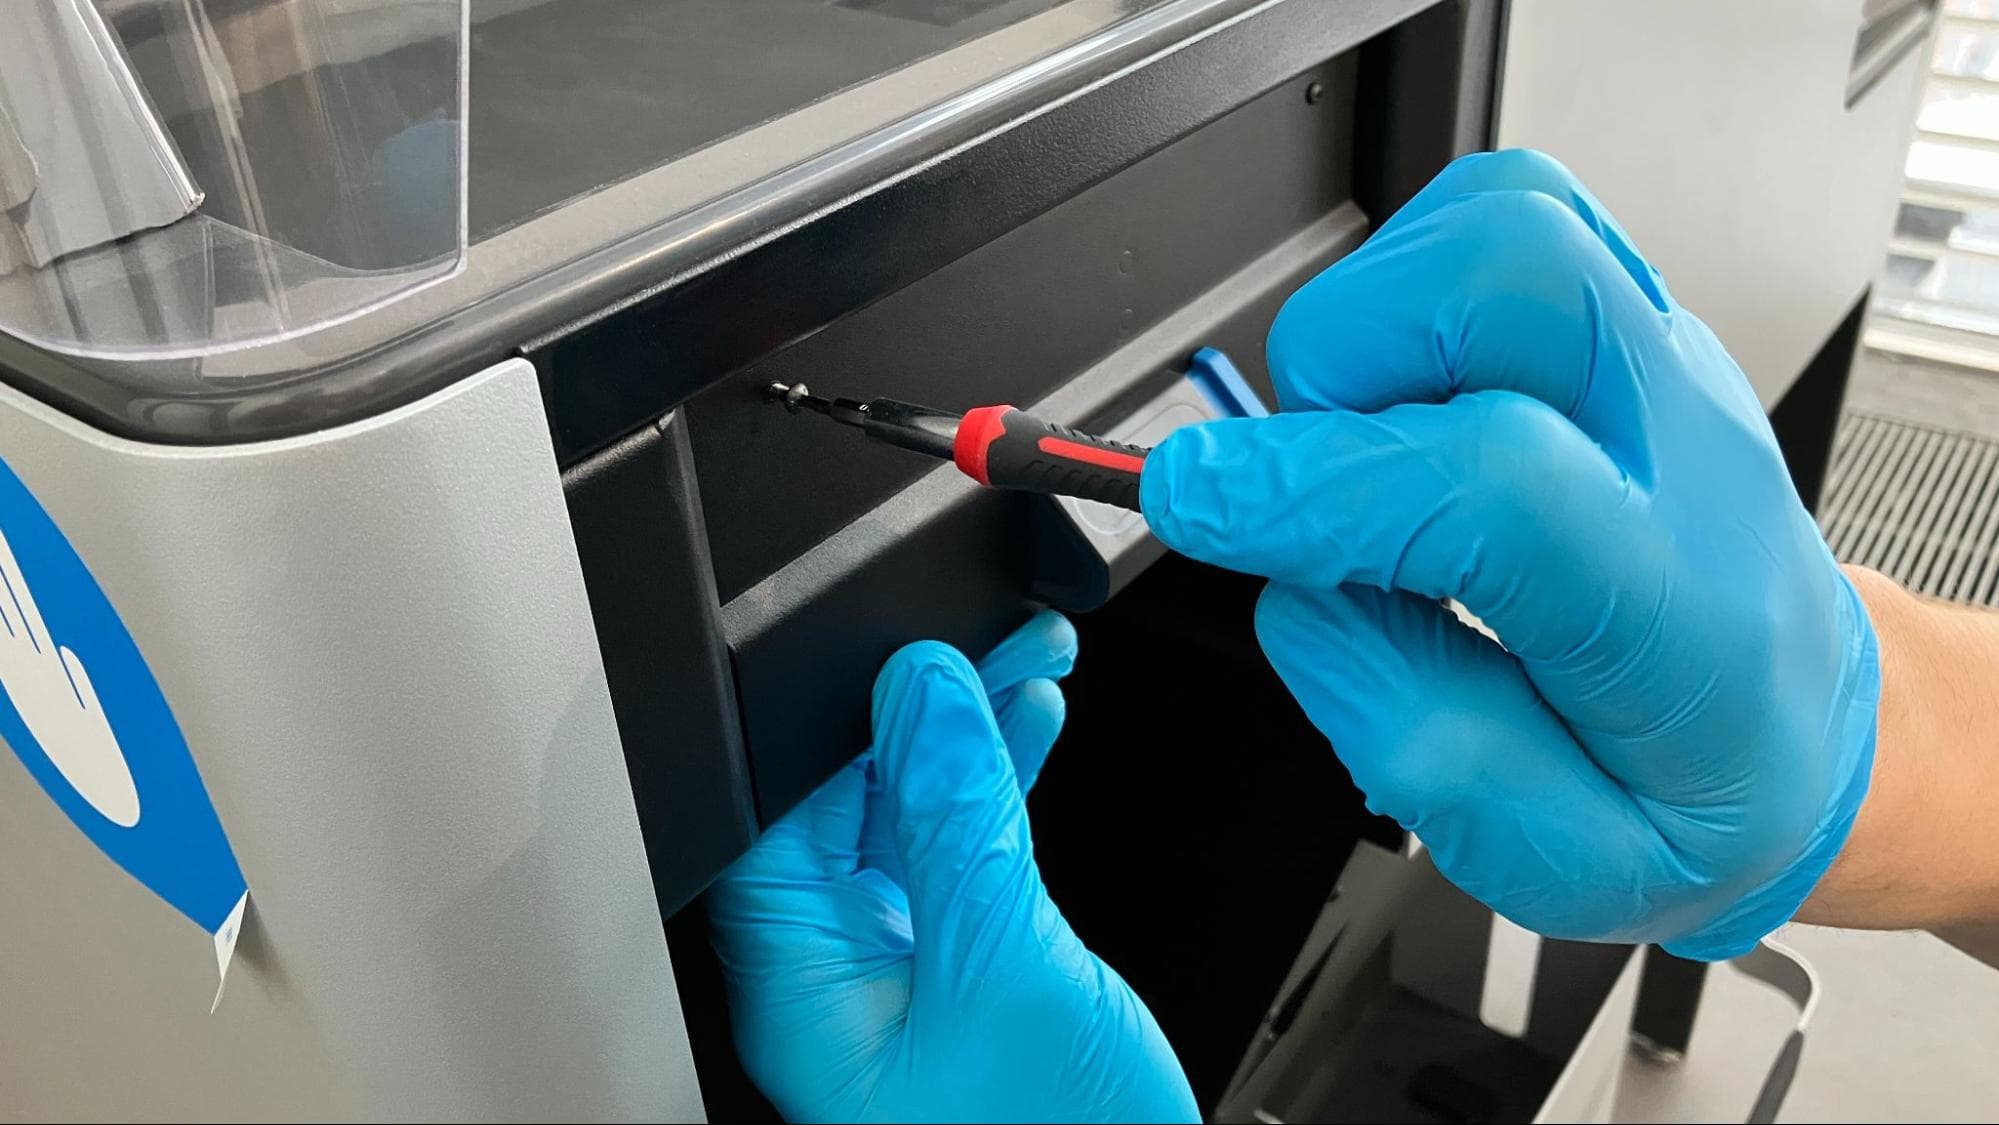
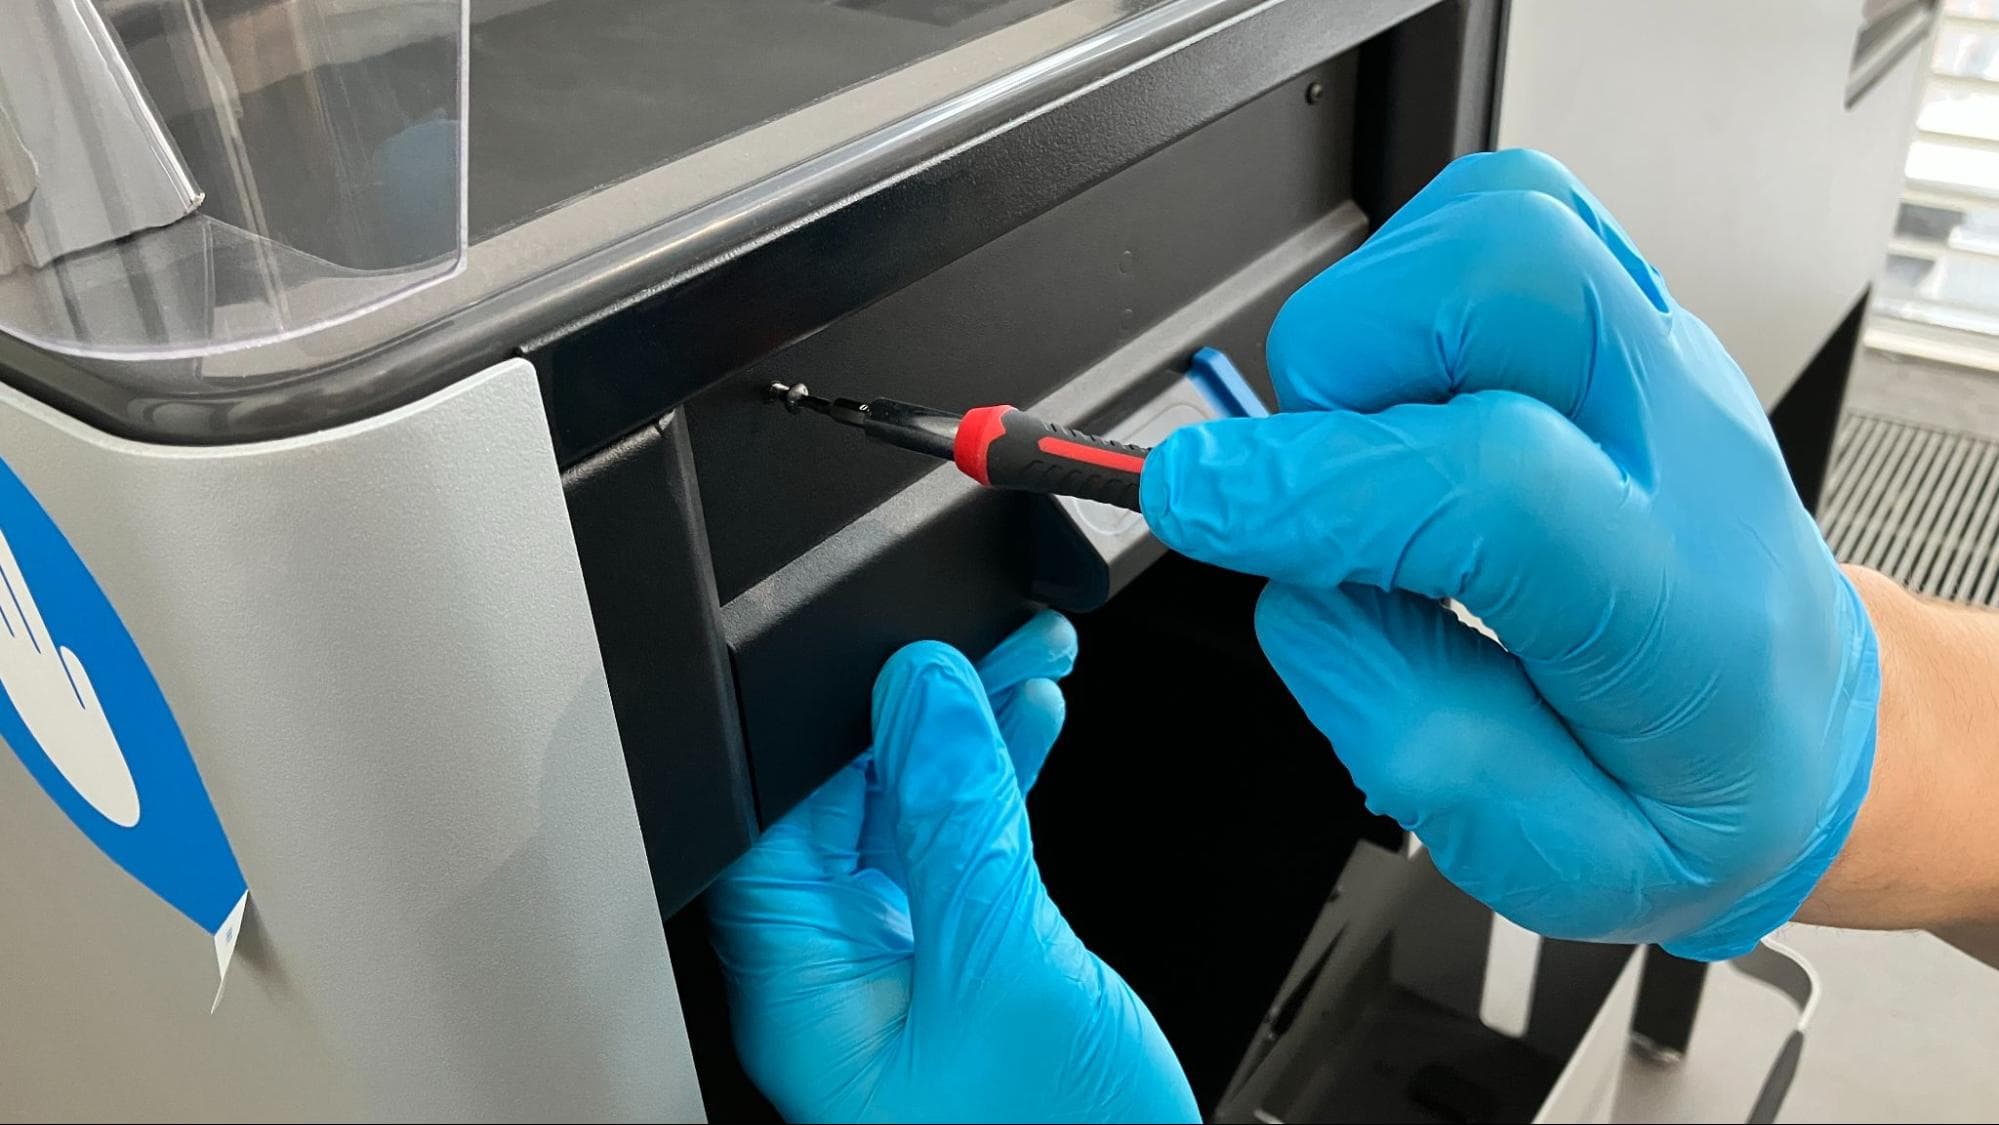
Using a 2.5 mm hex driver, loosen and remove the black 8.0 mm M4 button screw at the top-left of the latch. Set the screw aside.
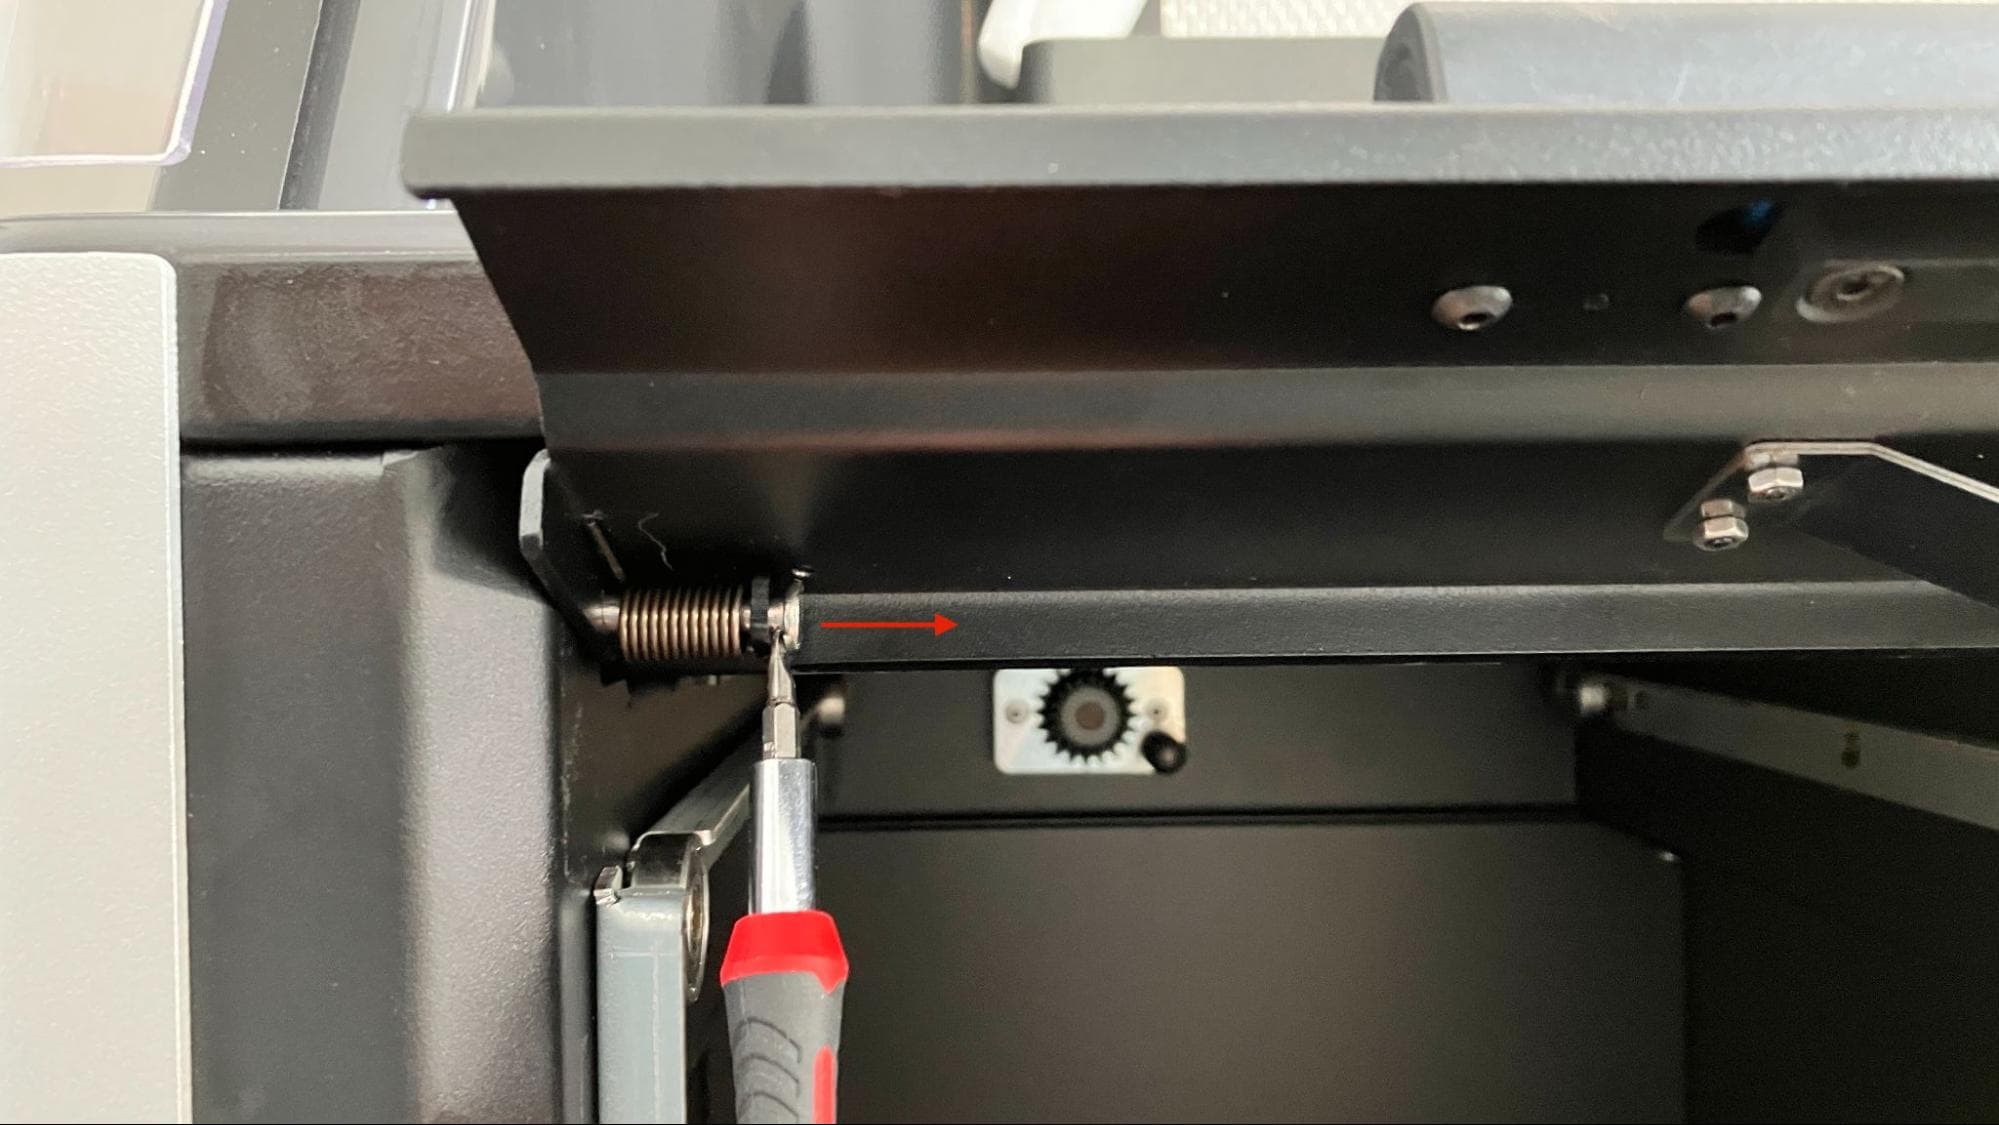
Squeeze and lift the latch. Locate the hinge pin on the left side of the latch assembly. Use a flathead screwdriver to slide the left hinge pin to the right until it comes free from the Fuse Sift.
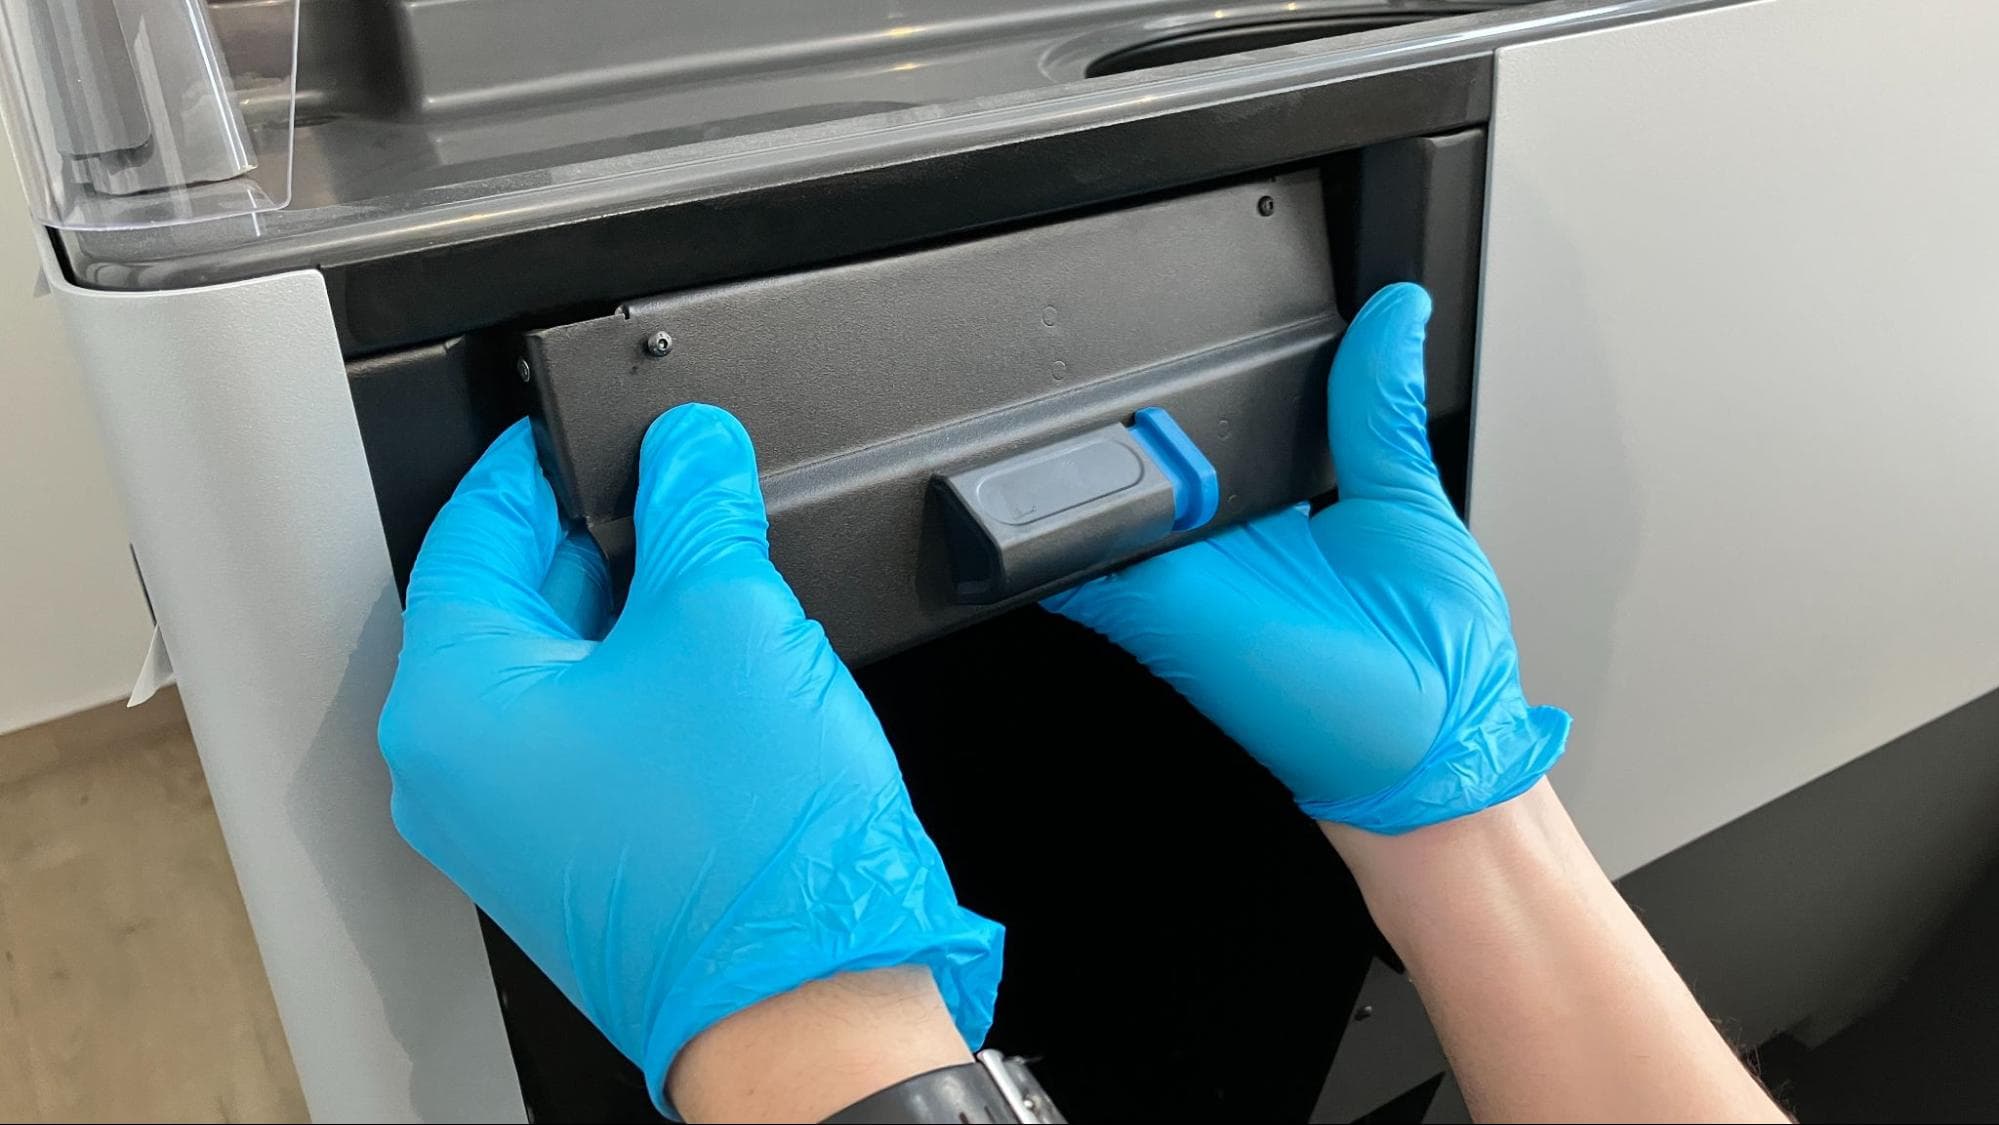
Pull the left side of the latch assembly towards yourself, then slide the assembly to the left to free the right hinge pin. Remove the left hinge followed by the right hinge. Slide out and set aside the removed original latch assembly. Set the latch assembly aside for disposal.
Installing the replacement build chamber latch assembly
Overview: Mount and secure the replacement build chamber latch assembly.
Hold the new latch assembly using two hands, pressing down on the extended arms of the torsion springs.
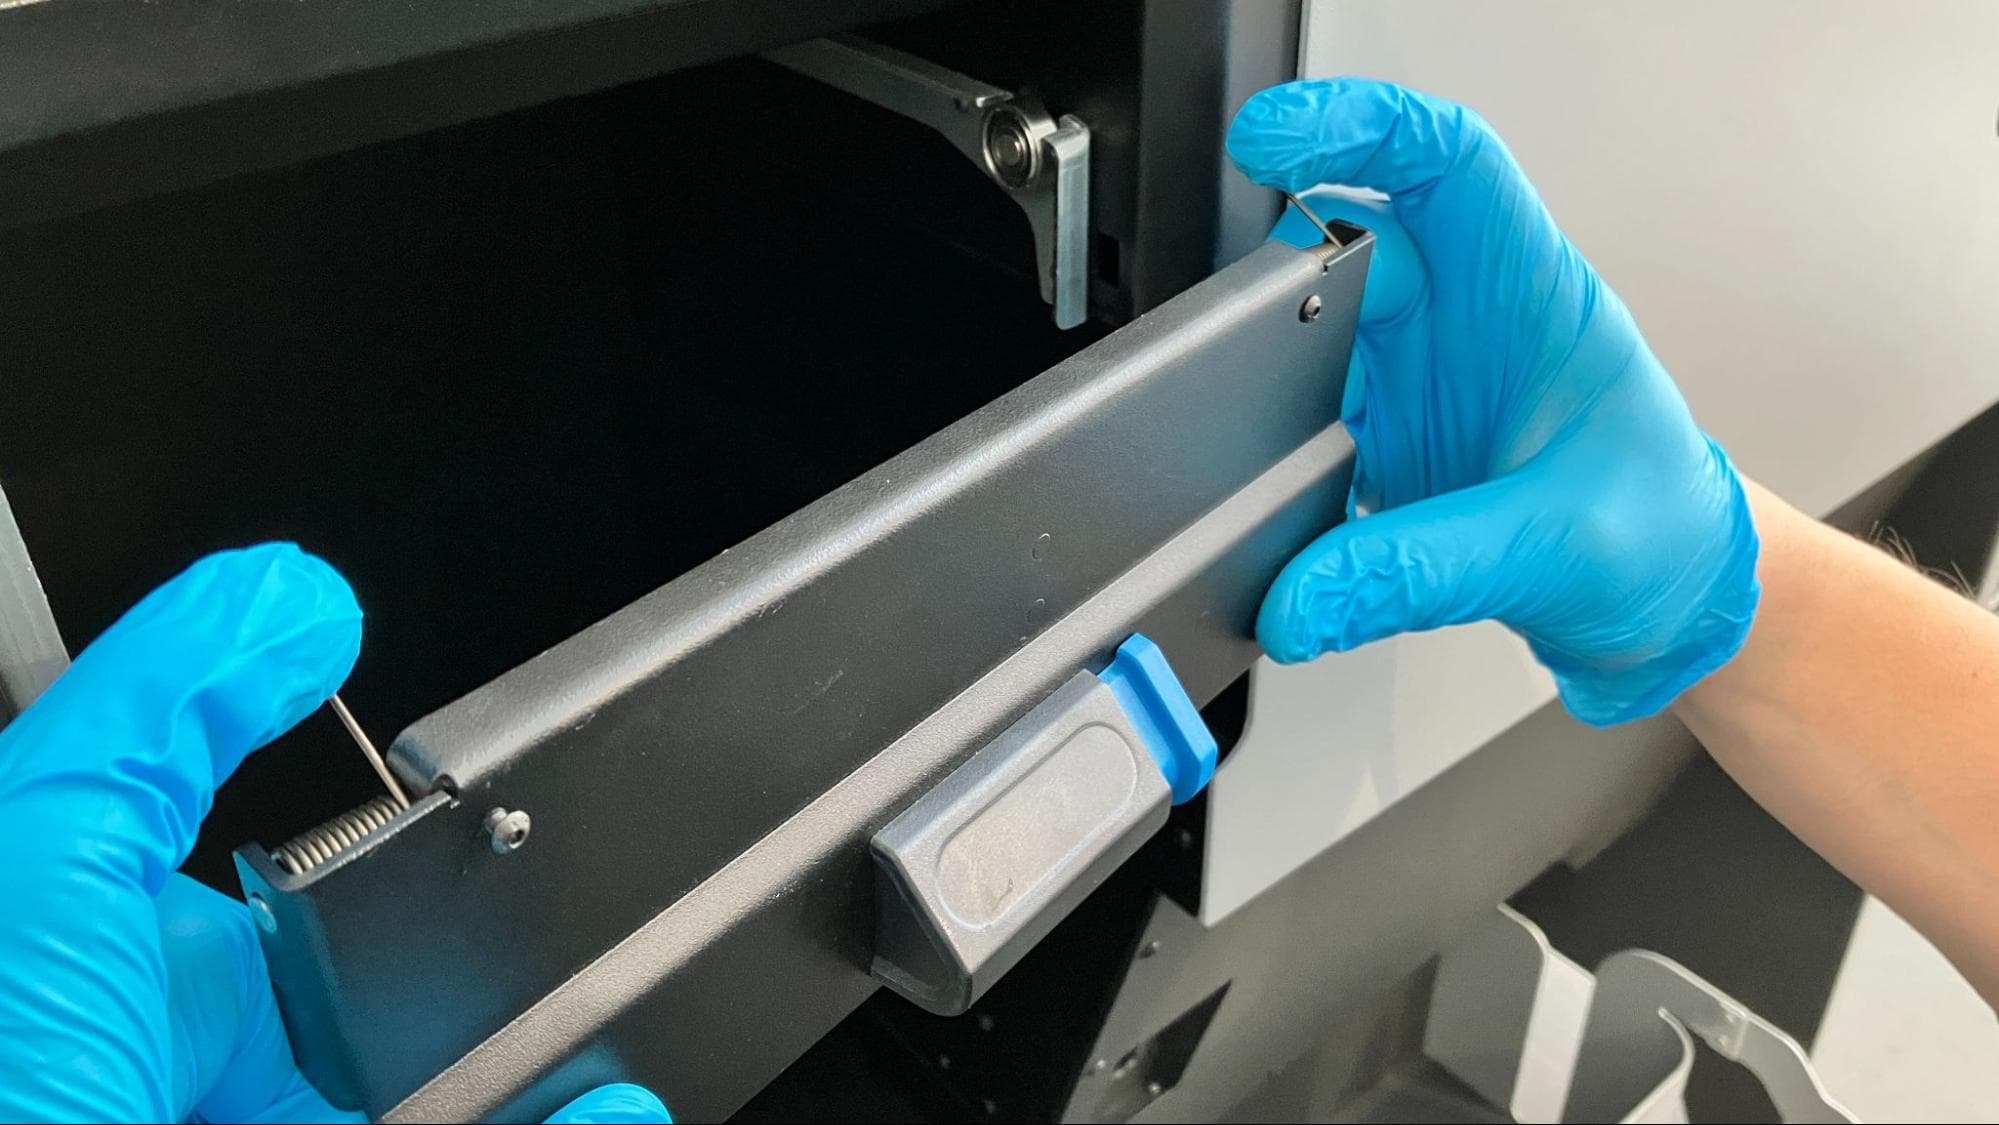
Insert the right hinge pin into the corresponding hole at the top-right of the build chamber enclosure.
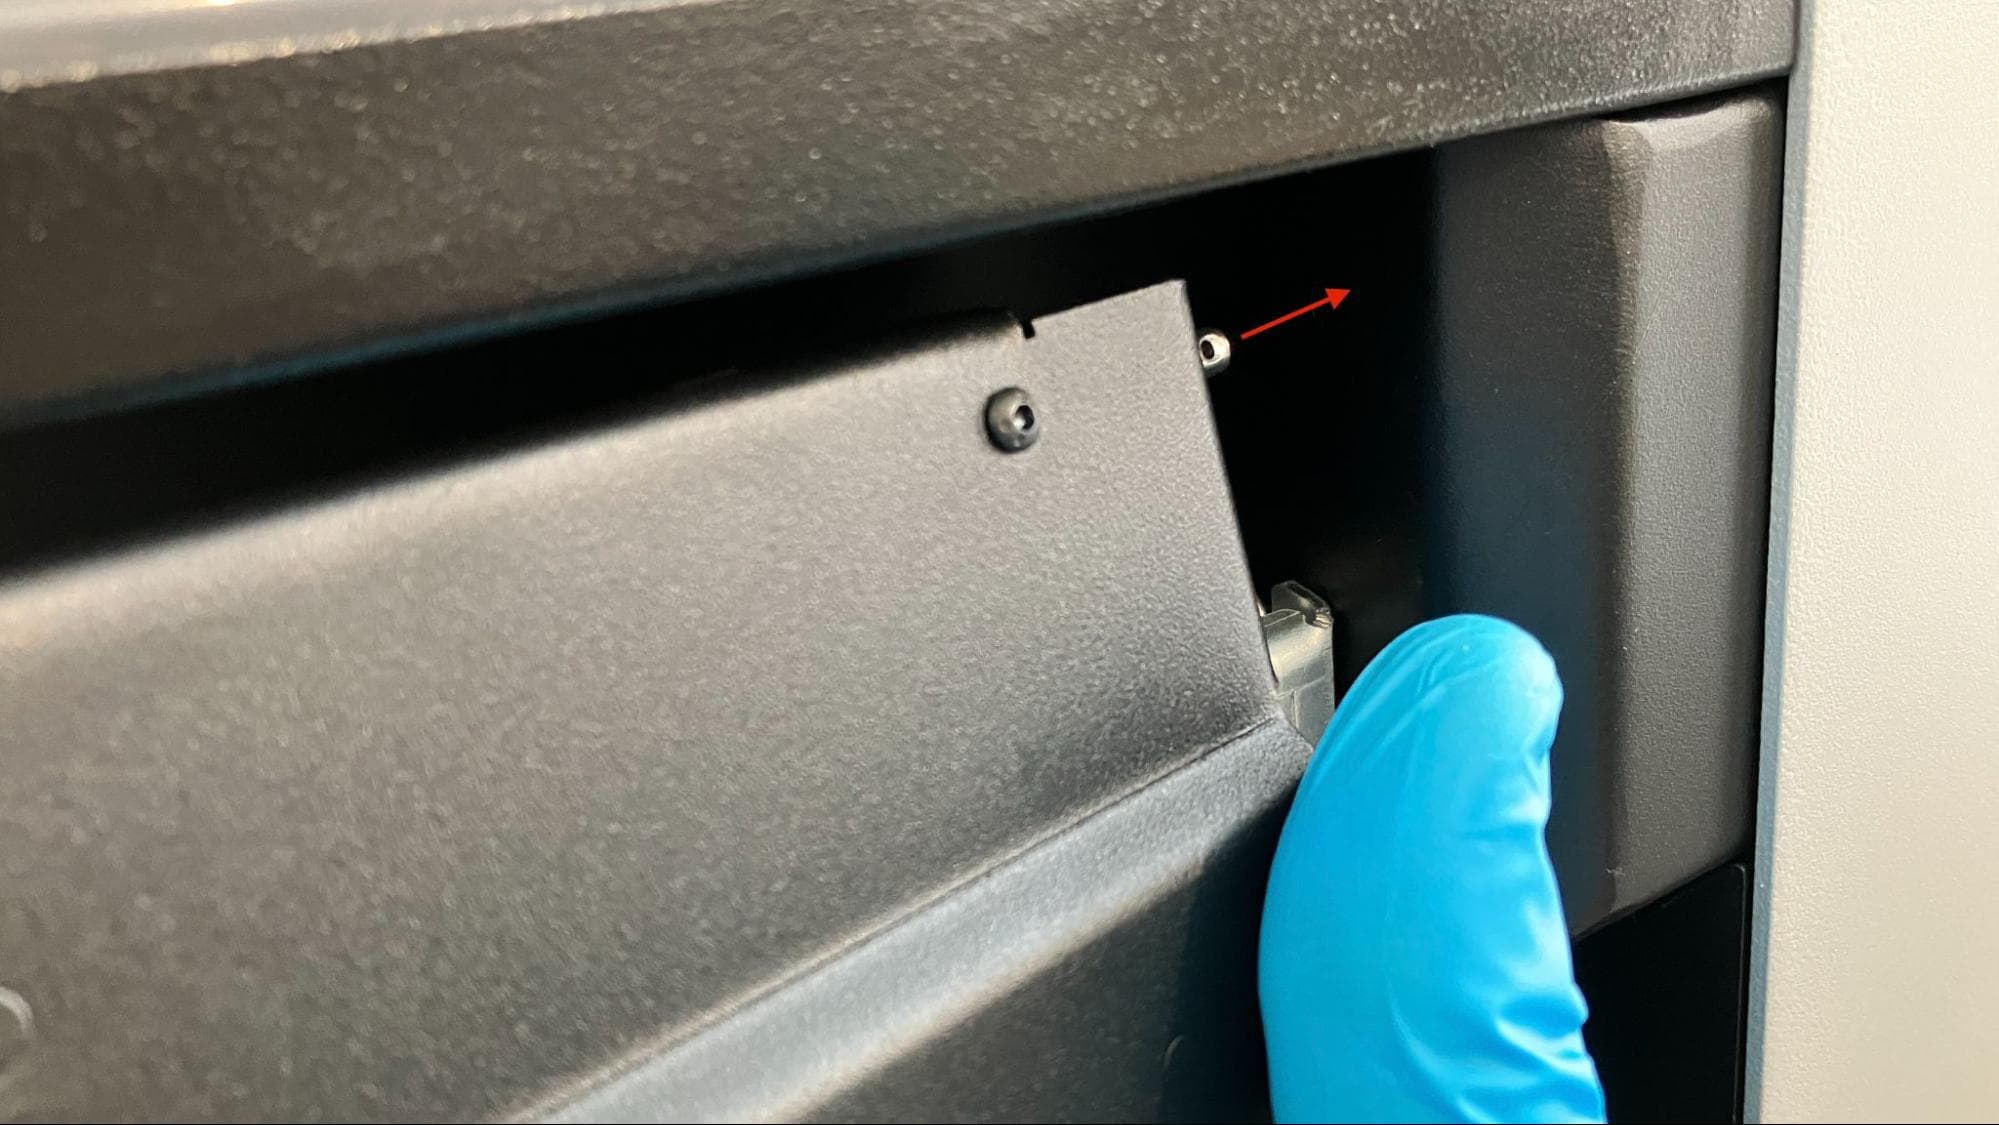
Tilt the latch assembly inwards and align the left hinge pin with the corresponding hole at the top-left of the build chamber enclosure.
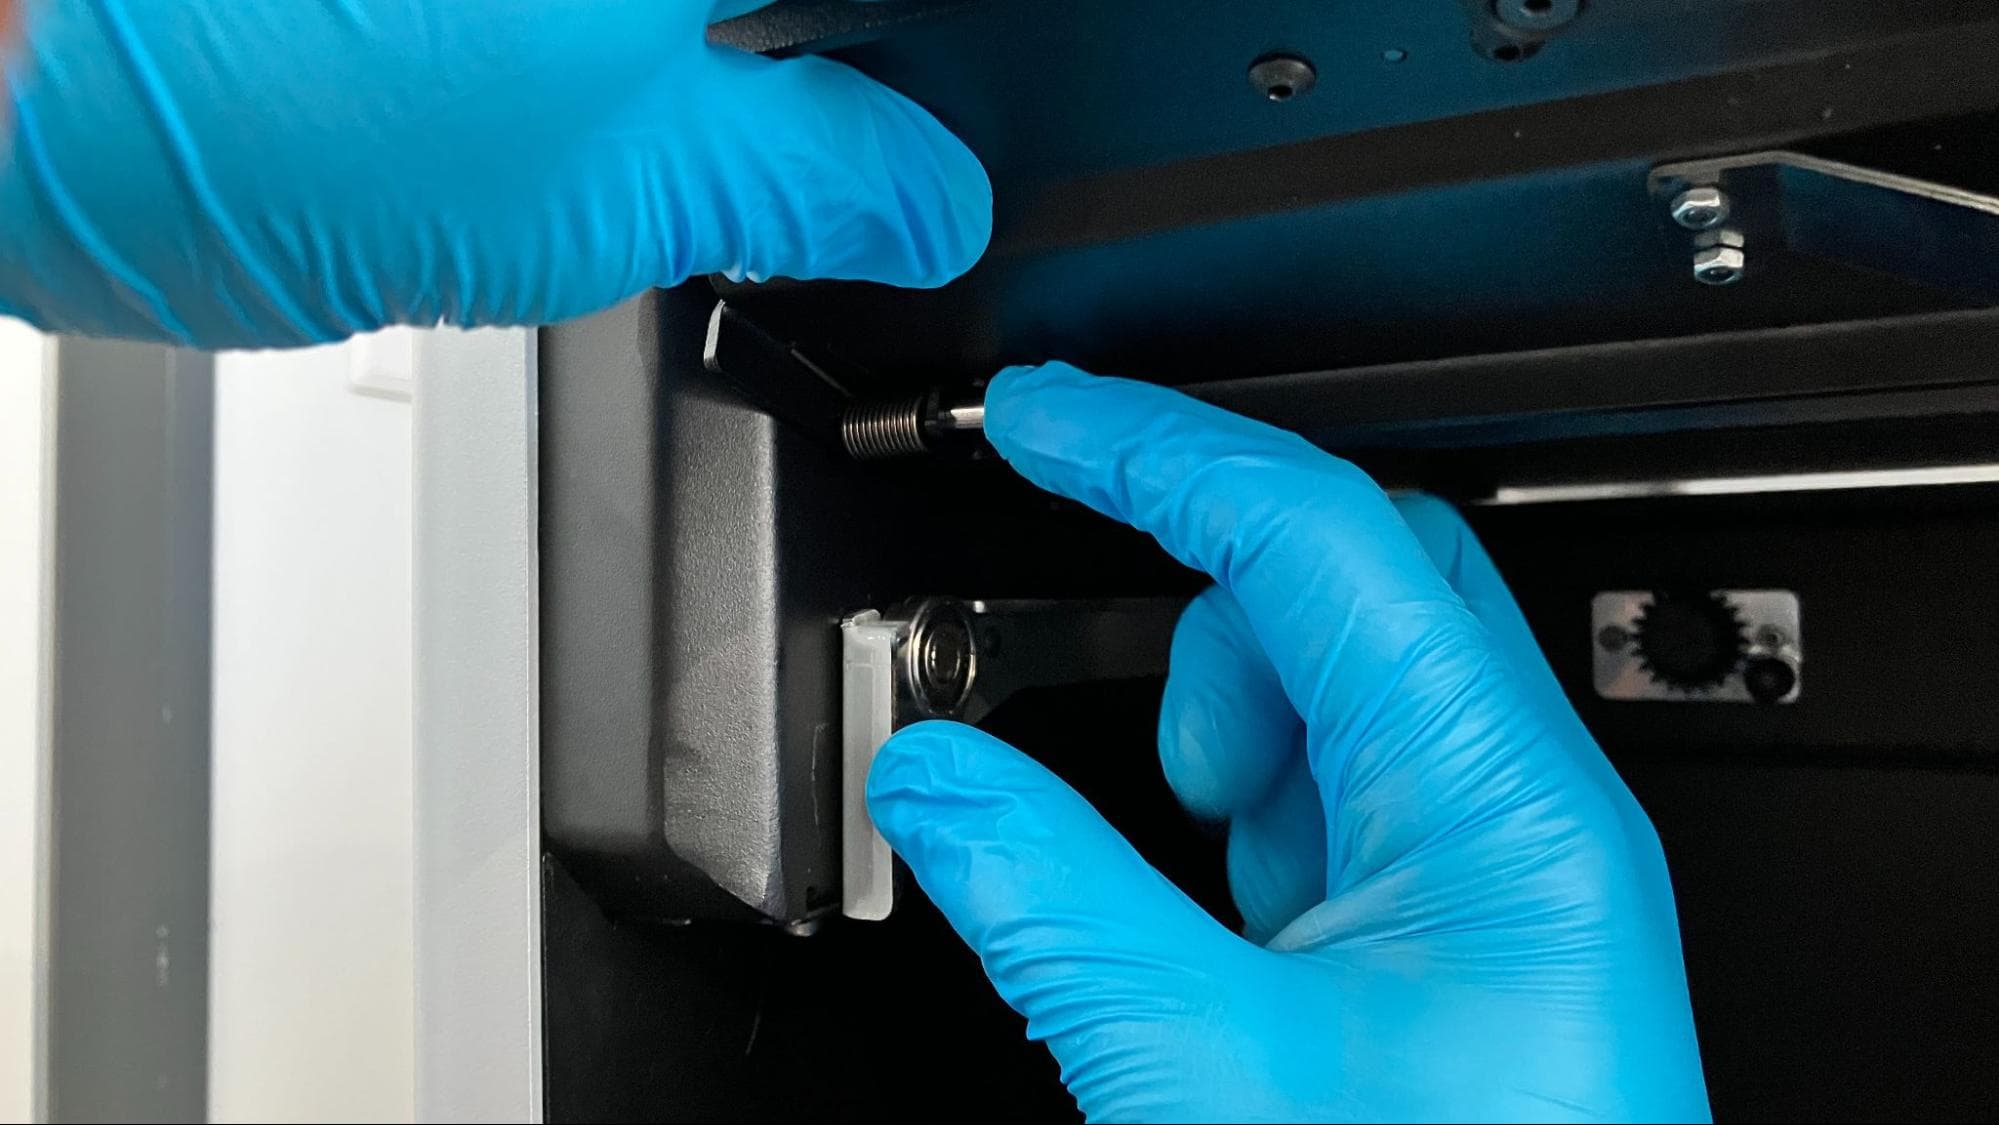
Slide the left hinge pin into its hole.
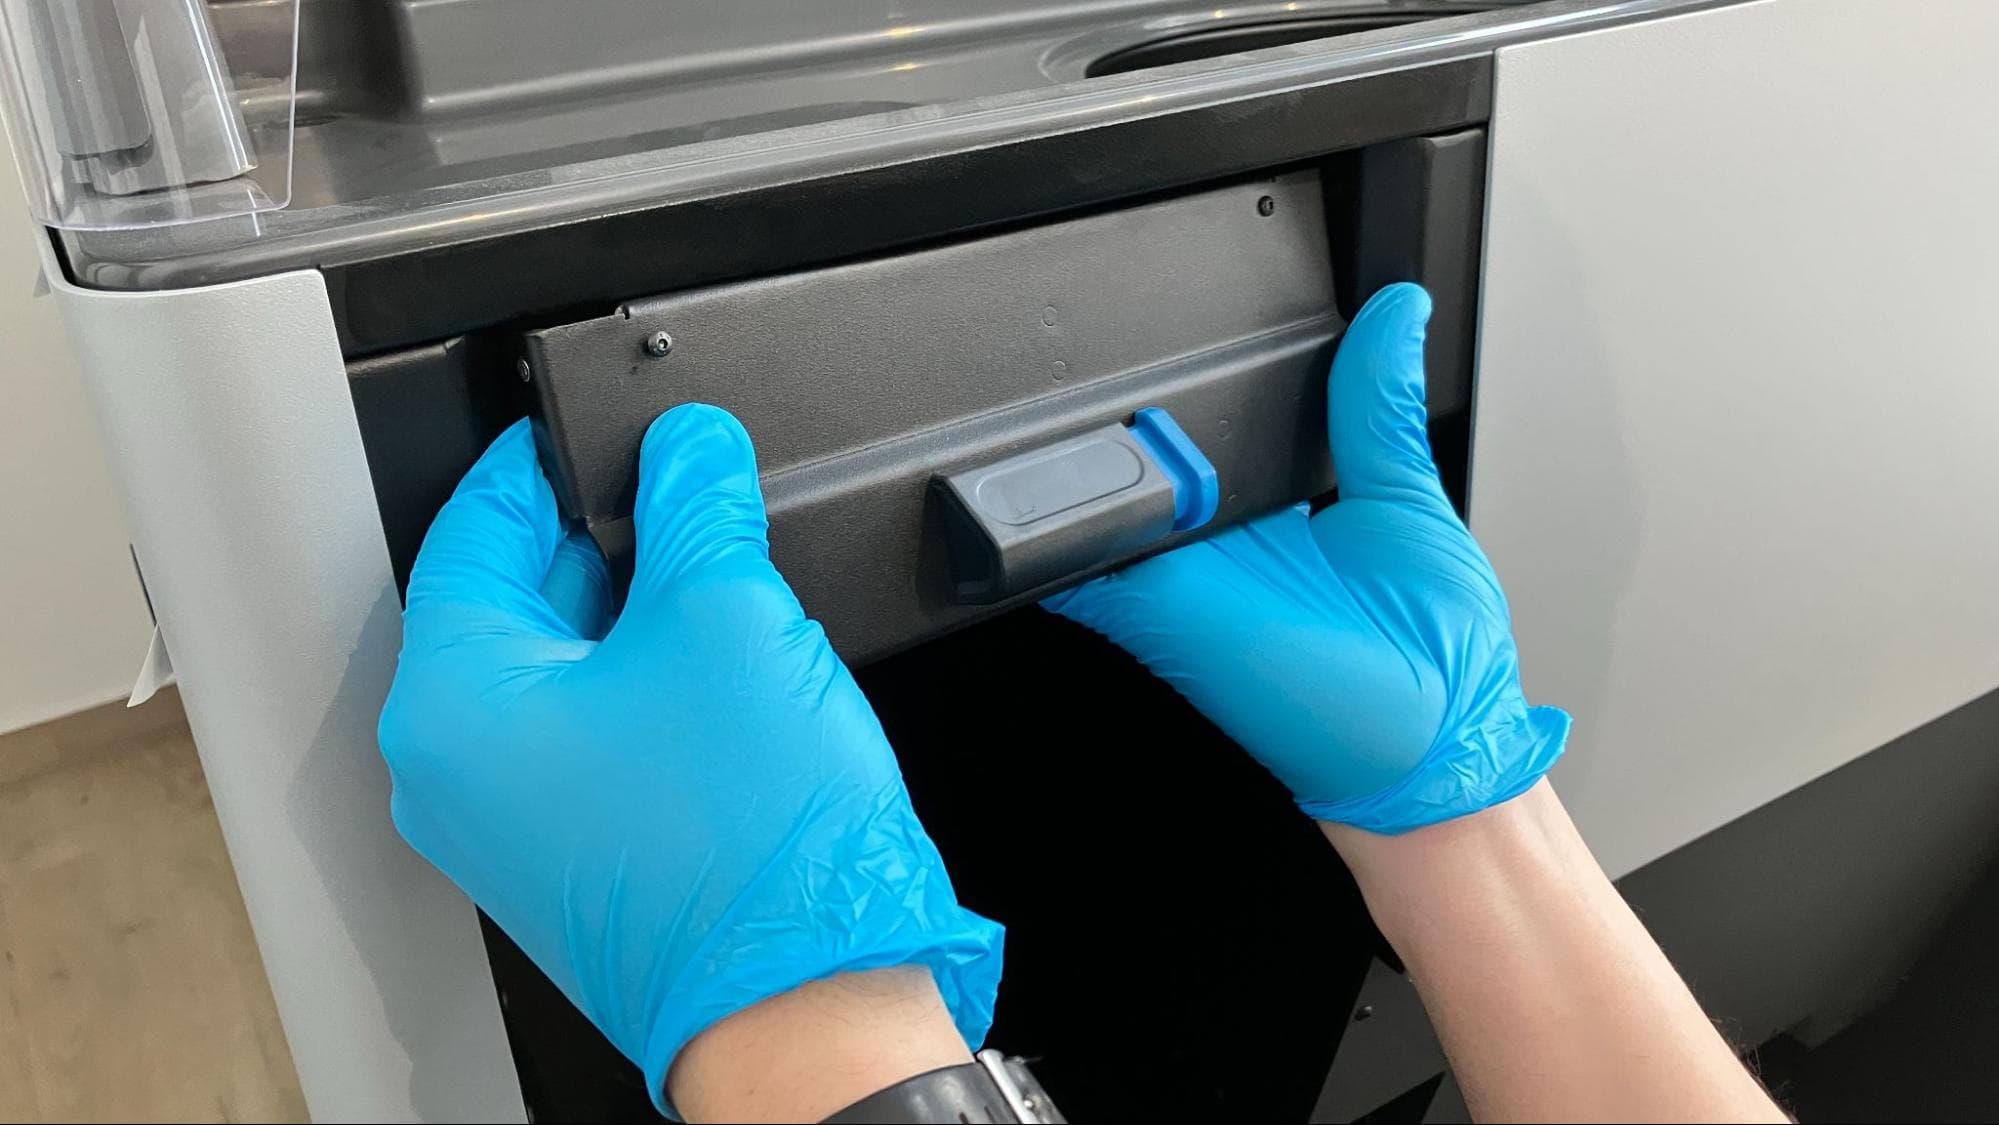
Lower the latch. Thread the one black 8.0 mm M4 button screw into the screw hole at the top-left of the latch assebmly. Using a 2.5 mm hex driver, tighten until snug.
Finalizing the repair
Overview: After installing the new build chamber latch assembly, test the repair.
Step 1: Insert a build chamber
Slide a build chamber into the build chamber enclosure and close the latch. Check that the build chamber is securely held in place.