WHITE PAPER
Formlabs Logo

Selecting a printer in PreForm

Selecting a printer in PreForm

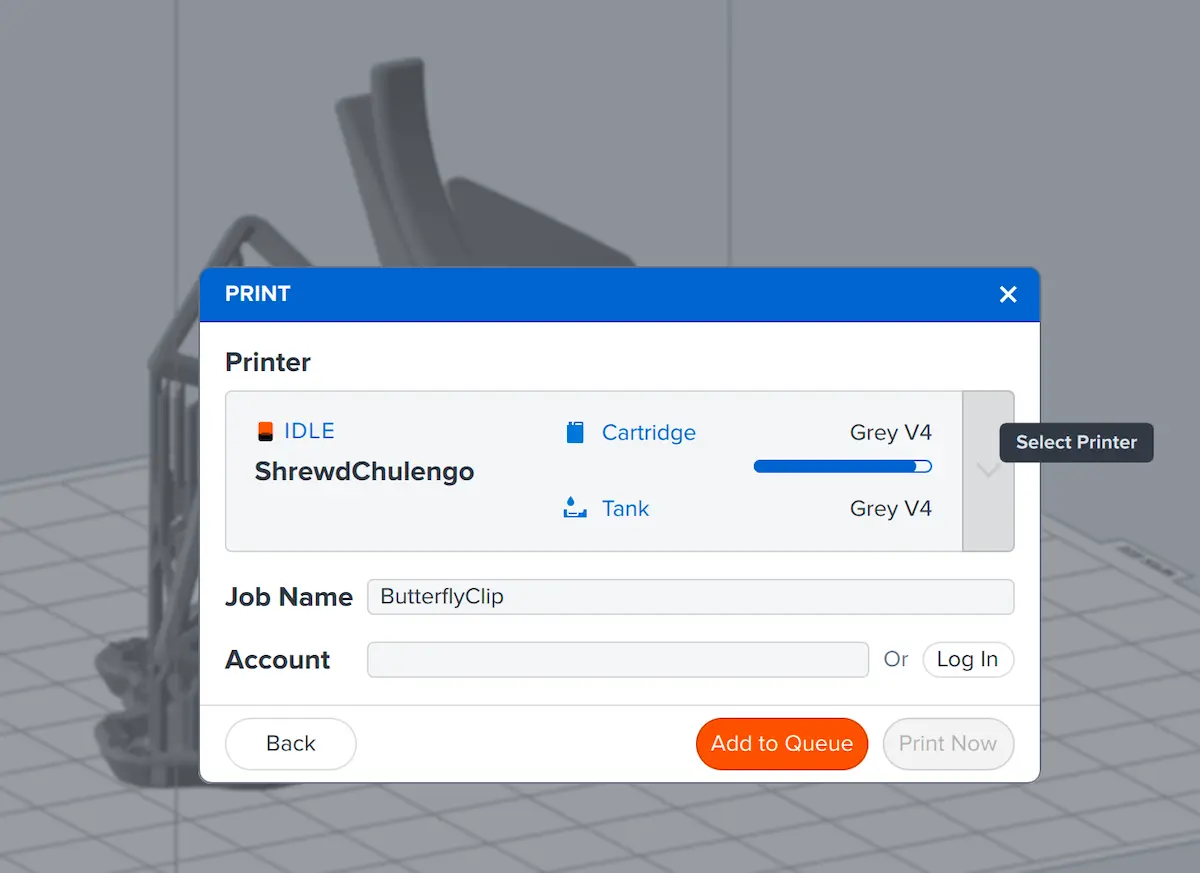
When opening PreForm for the first time, a general Printer Type is selected by default. Selecting a printer in PreForm allows you to send a new print job to a printer or to view the status of a current print job.

Note:

Connect your printer to the internet via USB, Ethernet, or Wi-Fi. Ensure your printer and computer are connected to the same network to select the printer in PreForm.

Preparing a model and selecting a printer

Prepare your model for printing before clicking the orange Print button to select a printer.

  1. Open your model in the latest version of PreForm
  2. Click the < button. The Job Info dialog box opens.
  3. Click the printer name. The Job Setup window opens.
  4. Select the general Printer Type of the printer you wish to print on.
  5. Select a material and layer thickness.
  6. Click Apply. The Job Setup window closes.
  7. Orient and support your model.
  8. Click the orange Print button when you are ready to send the print job to a printer. The Print window opens.
  9. Click the Select Printer arrow. The Select Printer window opens.
  10. Click the Select Printer checkmark next to a printer’s serial name.
  11. Click Select. The Print window reopens.
  12. Click Print Now to start the print immediately if the printer is ready or Add to Queue to add the print to the printer or Printer Group’s queue.