
TIP:
Keep the Form 1+ and Form Finish Kit out of direct sunlight to protect resin from curing.

After unpacking the Form 1+ and accounting for all its accessories, follow basic guidelines to find a home and get started with printing.
1. Choose a home for your printer
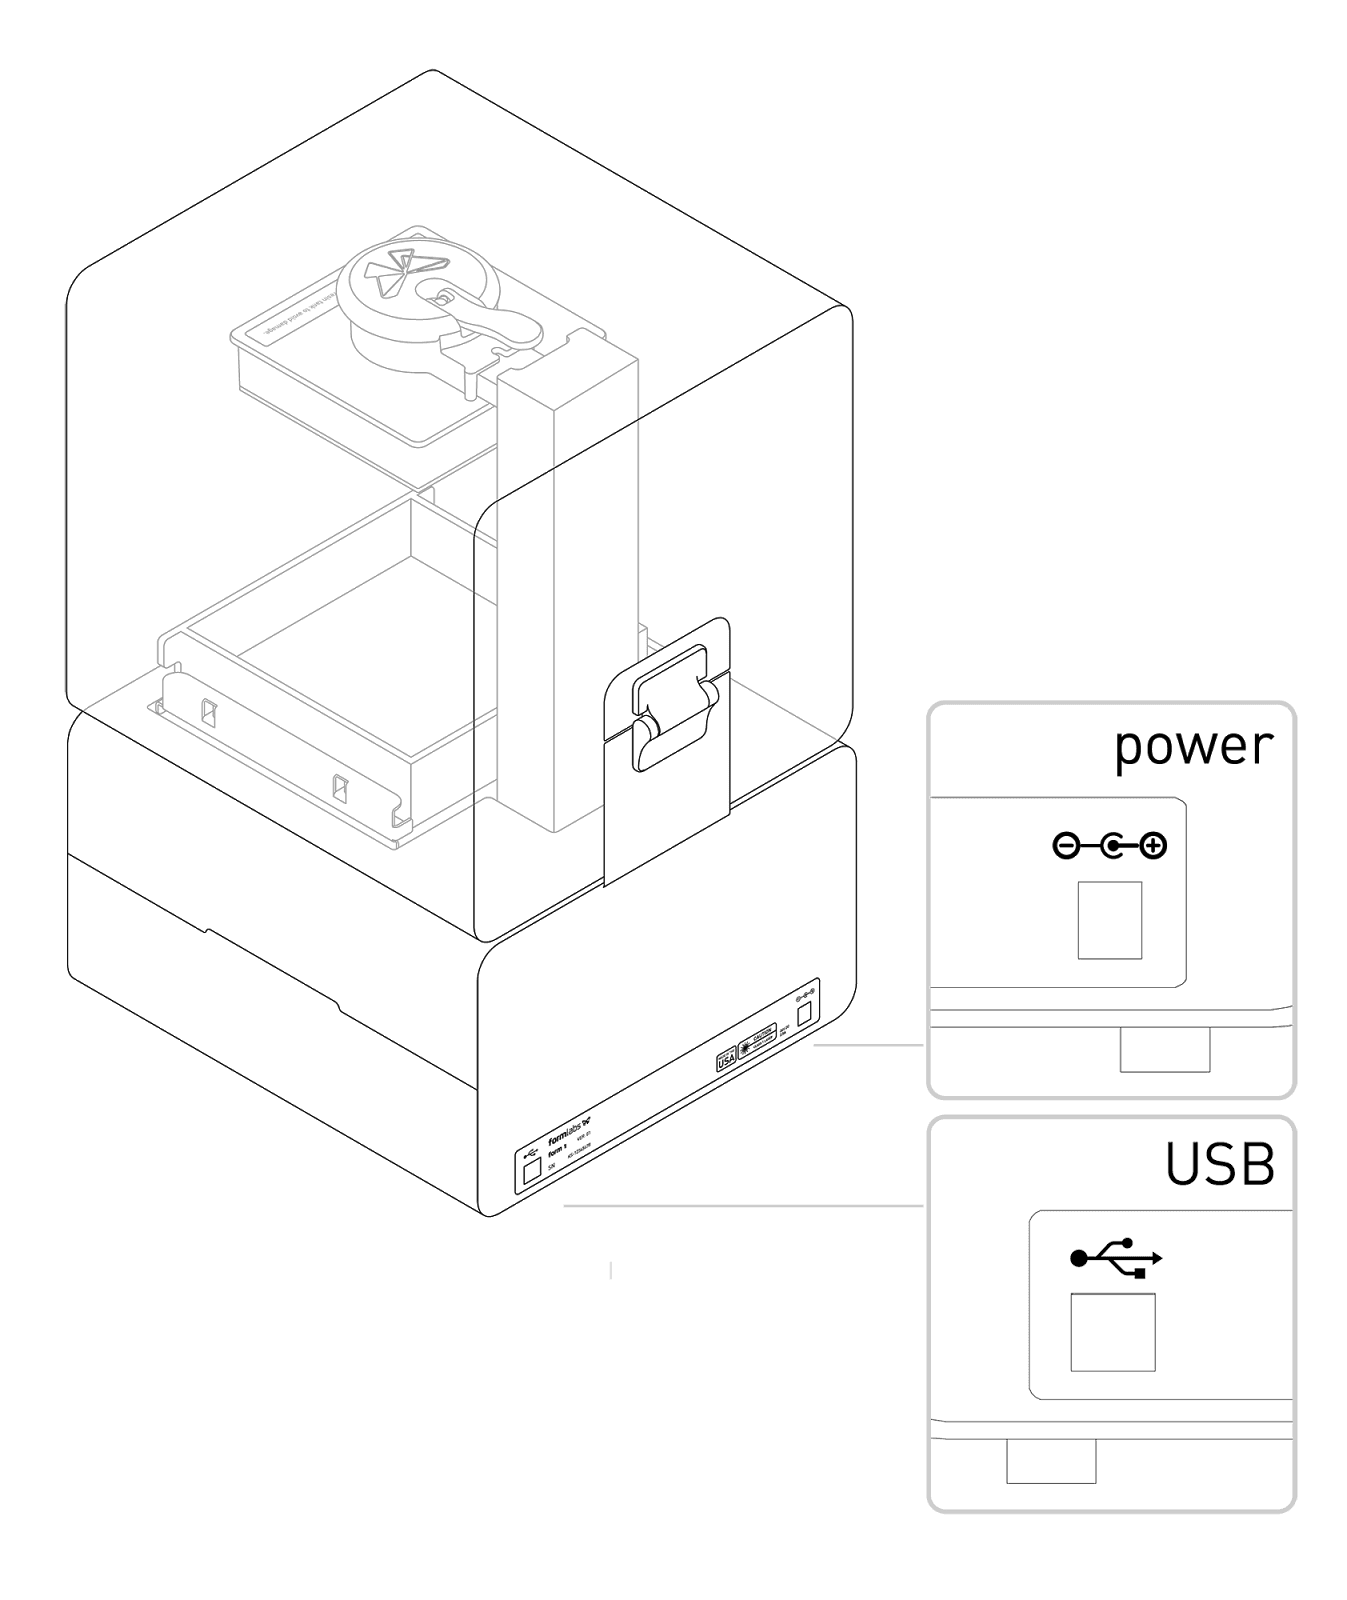
The Form 1+ is quiet and compact so that it will fit conveniently on your desk or workshop bench. The printer will need to connect to your computer to start a print, but it can be disconnected once the file is completely transferred.
Place your Form 1+ on a level surface. If the Form 1+ is on an uneven surface, you increase the risk of spilling resin when the tank is full or running into print issues when the tank runs low. The Form 1+ operates best at room temperature (18–28 ºC). Try to locate it somewhere it will not be subjected to extreme temperatures.
TIP:
Keep the Form 1+ and Form Finish Kit out of direct sunlight to protect resin from curing.
2. Connect and start your Form 1+
When your printer is successfully recognized, the “Form” button in the PreForm software will glow bright orange, without the disconnected cable icon.
3. Insert resin tank and build platform
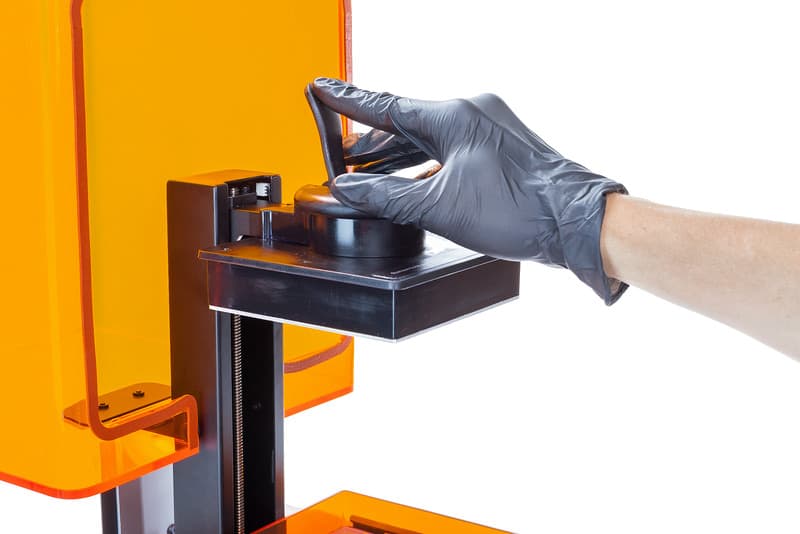
Slide your resin tank in the tank carrier until it clicks into place. Then, slide and secure your build platform by pushing the hinge down.
TIP:
Always remove the build platform before removing the resin tank to avoid dripping leftover material into the printer body.
Finally, you will want to fill your resin tank before starting your print.
Using the Form 1+ button
The printer's single button keeps operation simple.