
備考:
PreForm 3.51.0では、Formlabsはサポート材生成ワークフローを完全に刷新し、特にサポート材を手動で編集する際に、より直感的で強力な体験を提供します。PreFormの旧バージョンに特有の手順については、この記事のPreForm 3.50.2以前のセクションを展開してください。

モデルごとに対応すべきニーズが異なります。問題を予測してサポート材を設定することで、プリント成功の可能性を最大化します。PreFormのAdvanced Settings(詳細設定)を使用すると、生成されるサポート材の量、サイズ、種類、高さをより細かく制御できます。
備考:
PreForm 3.51.0では、Formlabsはサポート材生成ワークフローを完全に刷新し、特にサポート材を手動で編集する際に、より直感的で強力な体験を提供します。PreFormの旧バージョンに特有の手順については、この記事のPreForm 3.50.2以前のセクションを展開してください。
タッチポイントのサイズ変更
サポート構造とモデルが接触する箇所をタッチポイントと呼びます。タッチポイントの直径を小さくすると、サポートをパーツから取り外しやすくなり、逆に直径を大きくすると、プリント中のパーツの安定度が増します。
タッチポイントのサイズの値を調整するには:
備考:
タッチポイントのサイズが不十分なパーツは、プリントに失敗する可能性があります。造形中のパーツを安定させ、Touchpoint Size(タッチポイントサイズ)の低下を補うために、Density(密度)を上げます。Supports V1の設定では、オーバーハング、スタビライザー、リインフォースメントの各サポートタイプに、それぞれ個別に設定可能な密度パラメータがあります。
タッチポイントの配置をコントロールする(Supports V1のみ)
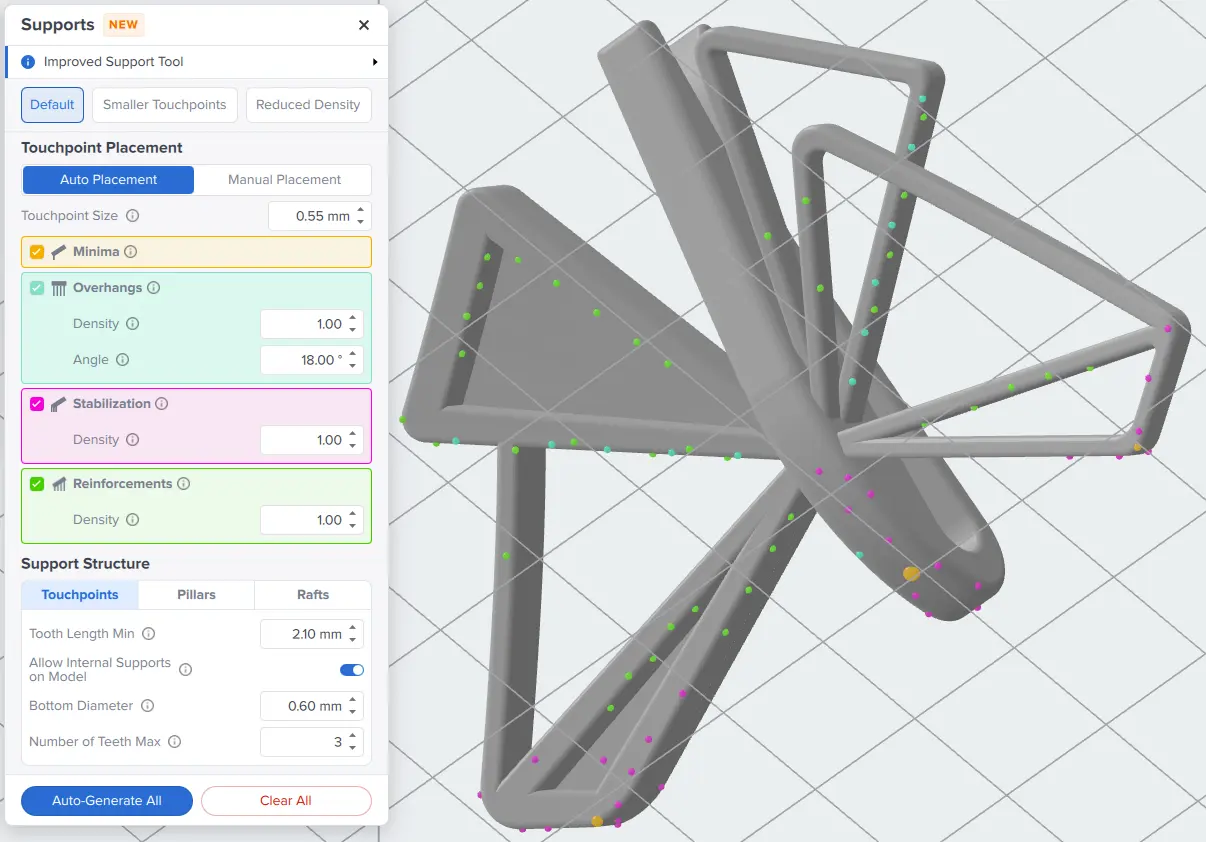
PreForm 3.51.0以降では、PreFormがミニマ、オーバーハング、追加のミニマスタビライゼーション、バルクモデルの補強のサポートを生成するかどうかを制御できます。これらのオプションは、Supports V1とマークされたサポート材設定でのみ利用可能です。
PreFormが生成するサポート材の位置や方法を制御するには、
また、オーバーハング、スタビライザー、補強材のタッチポイントの密度を個別に制御することも可能です。詳細については、以下のタッチポイント密度の制御に関するセクションをご参照ください。
各サポートタイプは、モデル上で色分けされて表示されます。
これらの色は、Touchpoint Placement(タッチポイントの配置)パネルの各タッチポイントタイプのセクションと一致します。
タッチポイントの密度を調整する
サポート構造とモデルが接触する箇所をタッチポイントと呼びます。タッチポイントの密度を変えることで、造形精度や成功率だけでなく、造形品の後処理のしやすさにも影響を与えます。各密度値は他の設定値との相対値であり、1.0から始まるとは限りません。
備考:
密度が不十分なパーツは、プリントに失敗する可能性があります。造形中のパーツを安定させ、Density(密度)の値が低いことを補うために、Touchpoint Size(タッチポイントのサイズ)を大きくします。
密度の値を調整するには:
| サポート材V1 | サポート材V2 |
|---|---|
|
|
造形設定でタッチポイント密度を制御する
PreForm 3.48以降では、Reduced Supports(サポート材を減らす)造形設定を使用して、特定のレジンのタッチポイント密度を下げることもできます。サポートパラメータを手動で調整することなく、表面品質を最適化したい場合に便利です。
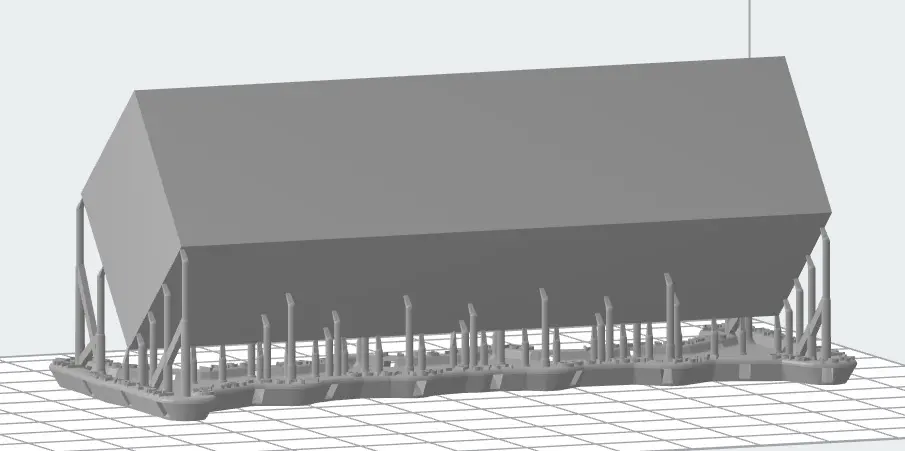
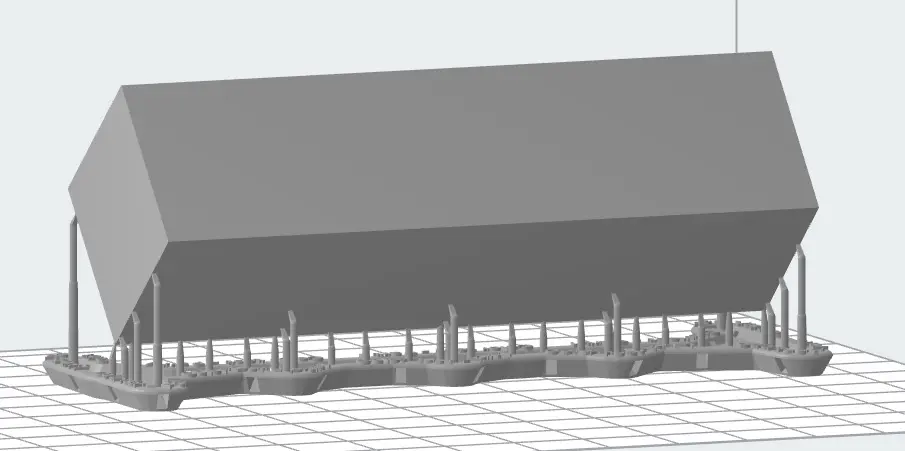
この造形設定は、Form 4世代のプリンターと以下のレジンでご利用いただけます。
タッチポイントの形状を調整する
後処理に影響を与える要因の一つに、各メインサポート柱と造形品の表面との距離があります。この距離を大きくすると、サポート材と造形品の間に大きな隙間ができ、サポート材の取り外しが容易になります。この距離を調整するには、
モデルに内部サポート材を追加する
Internal Supports(内部サポート材)は、片方の端だけがラフトにつながっているのではなく、両端ともモデルに接触しているサポート材のことです。オーバーハングや届きにくいその他のミニマを支えるために、モデル内部にサポートを生成します。
ヒント:
サポートを生成または編集する際、PreFormが追加のサポートが必要な場所を教えてくれます。赤いシェーディングはミニマを見つけてサポートするためのツールですが、他のサポート設定も同様に効果的であることがわかるかもしれません。
内部サポート材を追加するには:
サポートピラーの形状を編集する
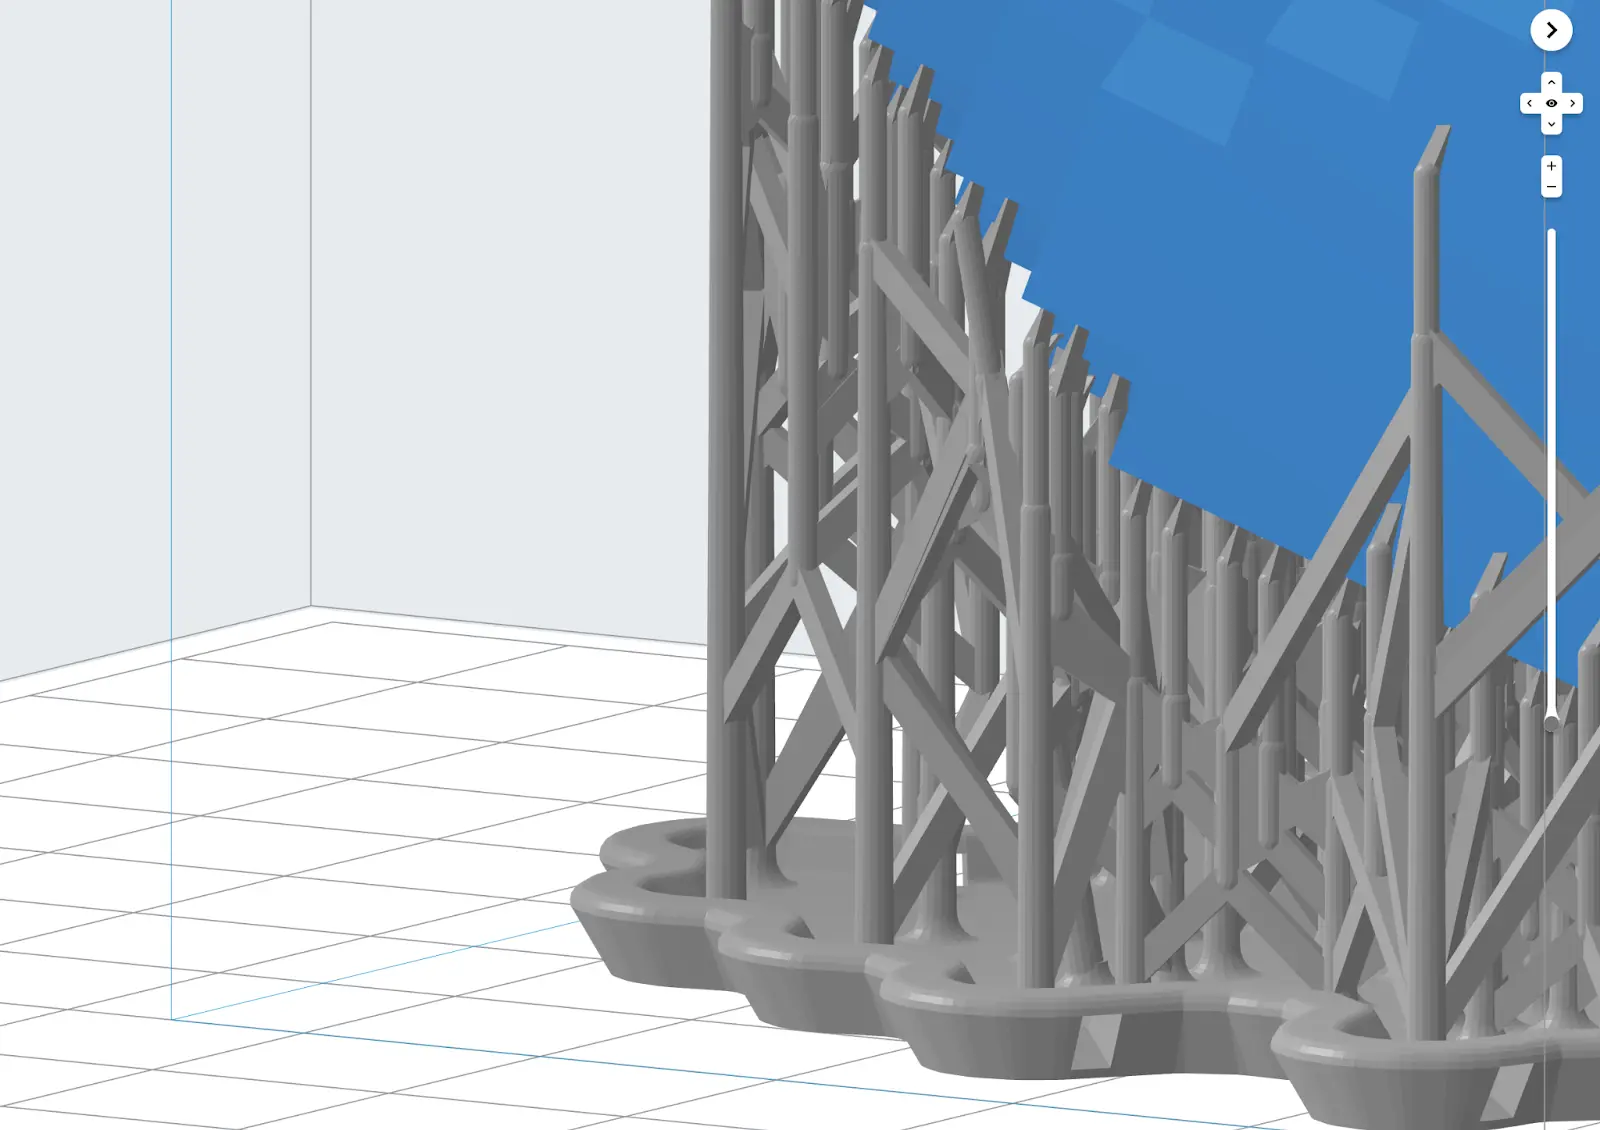
ピラーは、ビルドプラットフォームからタッチポイント、造形品本体までを支えるサポート材の主要部分です。柱は追加のトラスで支えることができます。
ピラーとサポートトラスの形状を制御するには:
バンドルサポートの有効化と調整
バンドルサポートは、取り外しやすいように束ねられています。Bundled Supportsは、特定のレジンと積層ピッチの組み合わせでデフォルトで有効になりますが、それ以外の場合は手動で有効にすることができます。
バンドルサポートを有効にするには、サポート
ラフトの種類を変更する
Raft Type(ラフトの種類)を変更して、Full Raft(フルラフト)、Mini Rafts(ミニラフト)、ラフトなしから選択します。デフォルトのFull Raft(フルラフト)を選択すると、モデルが大きなラフトの上に造形されます。Mini Rafts(ミニラフト)を選択すると、垂直サポートごとに小さなラフトが複数作成されます。ラフトなしでプリントする場合は、Noneを選択してモデルをビルドプラットフォーム上に直接配置します。
備考:
造形品に最大限のサポートと接着性を提供するには、Full Raft(フルラフト)を選択します。
Mini Rafts(ミニラフト)を選択して造形すると、造形時間が短縮でき、使用するレジンの量も節約できます。但し、パーツを支えるサポート材を追加する必要が出てくる場合があります。 Mini Rafts(ミニラフト) は、小さな宝飾品など、30mmから40mmのサイズのパーツを製作する時にお勧めのオプションです。サイズが30mm以下のパーツの場合は、Full Rafts(フルラフト) を選択して造形すると、成功する確率が最も高くなります。すべてのモデルが適切にサポートされるように、Density(密度)またはTouchpoint Size(タッチポイントのサイズ)を増やします。
To adjust the Raft Type value:
ラフト形状の調整
選択したラフトの種類に応じて、ラフトの形状のさまざまな側面を制御できます。ラフトの形状を調整するには:
ラフトラベルを取り除く
ラフトラベルには、モデルのファイル名が使われます。デフォルトでは、モデル名がサポート構造のラフト上に表示されます。
ヒント:
造形品のバージョン管理にはRaft Label(ラフトラベル)を使用します。
ブレークアウェイサポートを有効にする(PreForm 3.50.2以前)
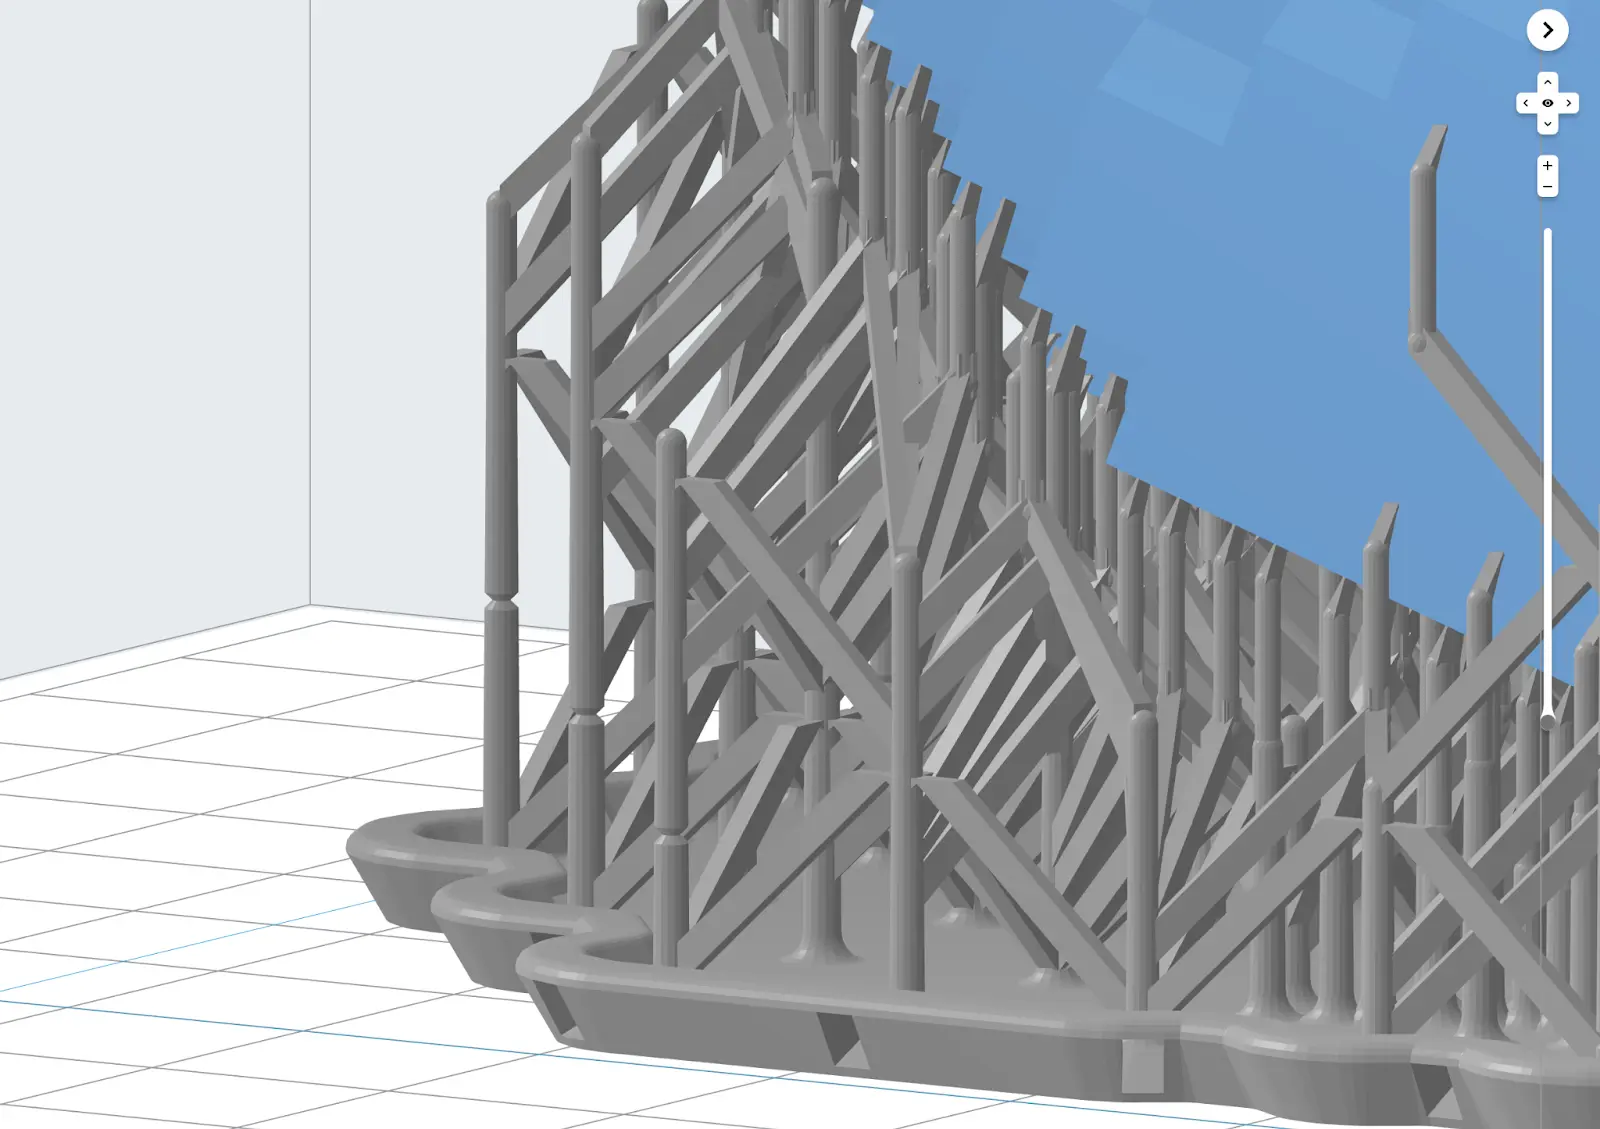
モデル、レジン、サポート材の設定によっては、サポート材を取り外すのが難しい場合があります。PreFormは、取り外しやすい形状のブレークアウェイサポート材を生成することができます。
備考:
Formlabsでは、長い平らなスパンなど、プリント中に故障する可能性があるモデルの場合は、ブレークアウェイサポートを使用しないことを推奨しています。
ブレーカウェイサポートを有効にするには、PreFormでモデルを選択します。
備考:
ブレークアウェイサポートは、すべてのレジンで利用できるわけではありません。選択したレジンでブレークアウェイサポートが利用できない場合、オプションは表示されません。
初期設定を復元する
編集したパラメータをデフォルト値にリセットするには: