
Caution:
Allow the printer to cool for at least six hours prior to calibration to avoid the risk of burns or other injuries.

If a flipper is improperly calibrated, such as after replacement, it may collide with other moving parts, causing damage or unexpected behavior.
Formlabs recommends recalibrating the flippers in the following situations:
Caution:
Allow the printer to cool for at least six hours prior to calibration to avoid the risk of burns or other injuries.
Required resources
Estimated time: 15 minutes
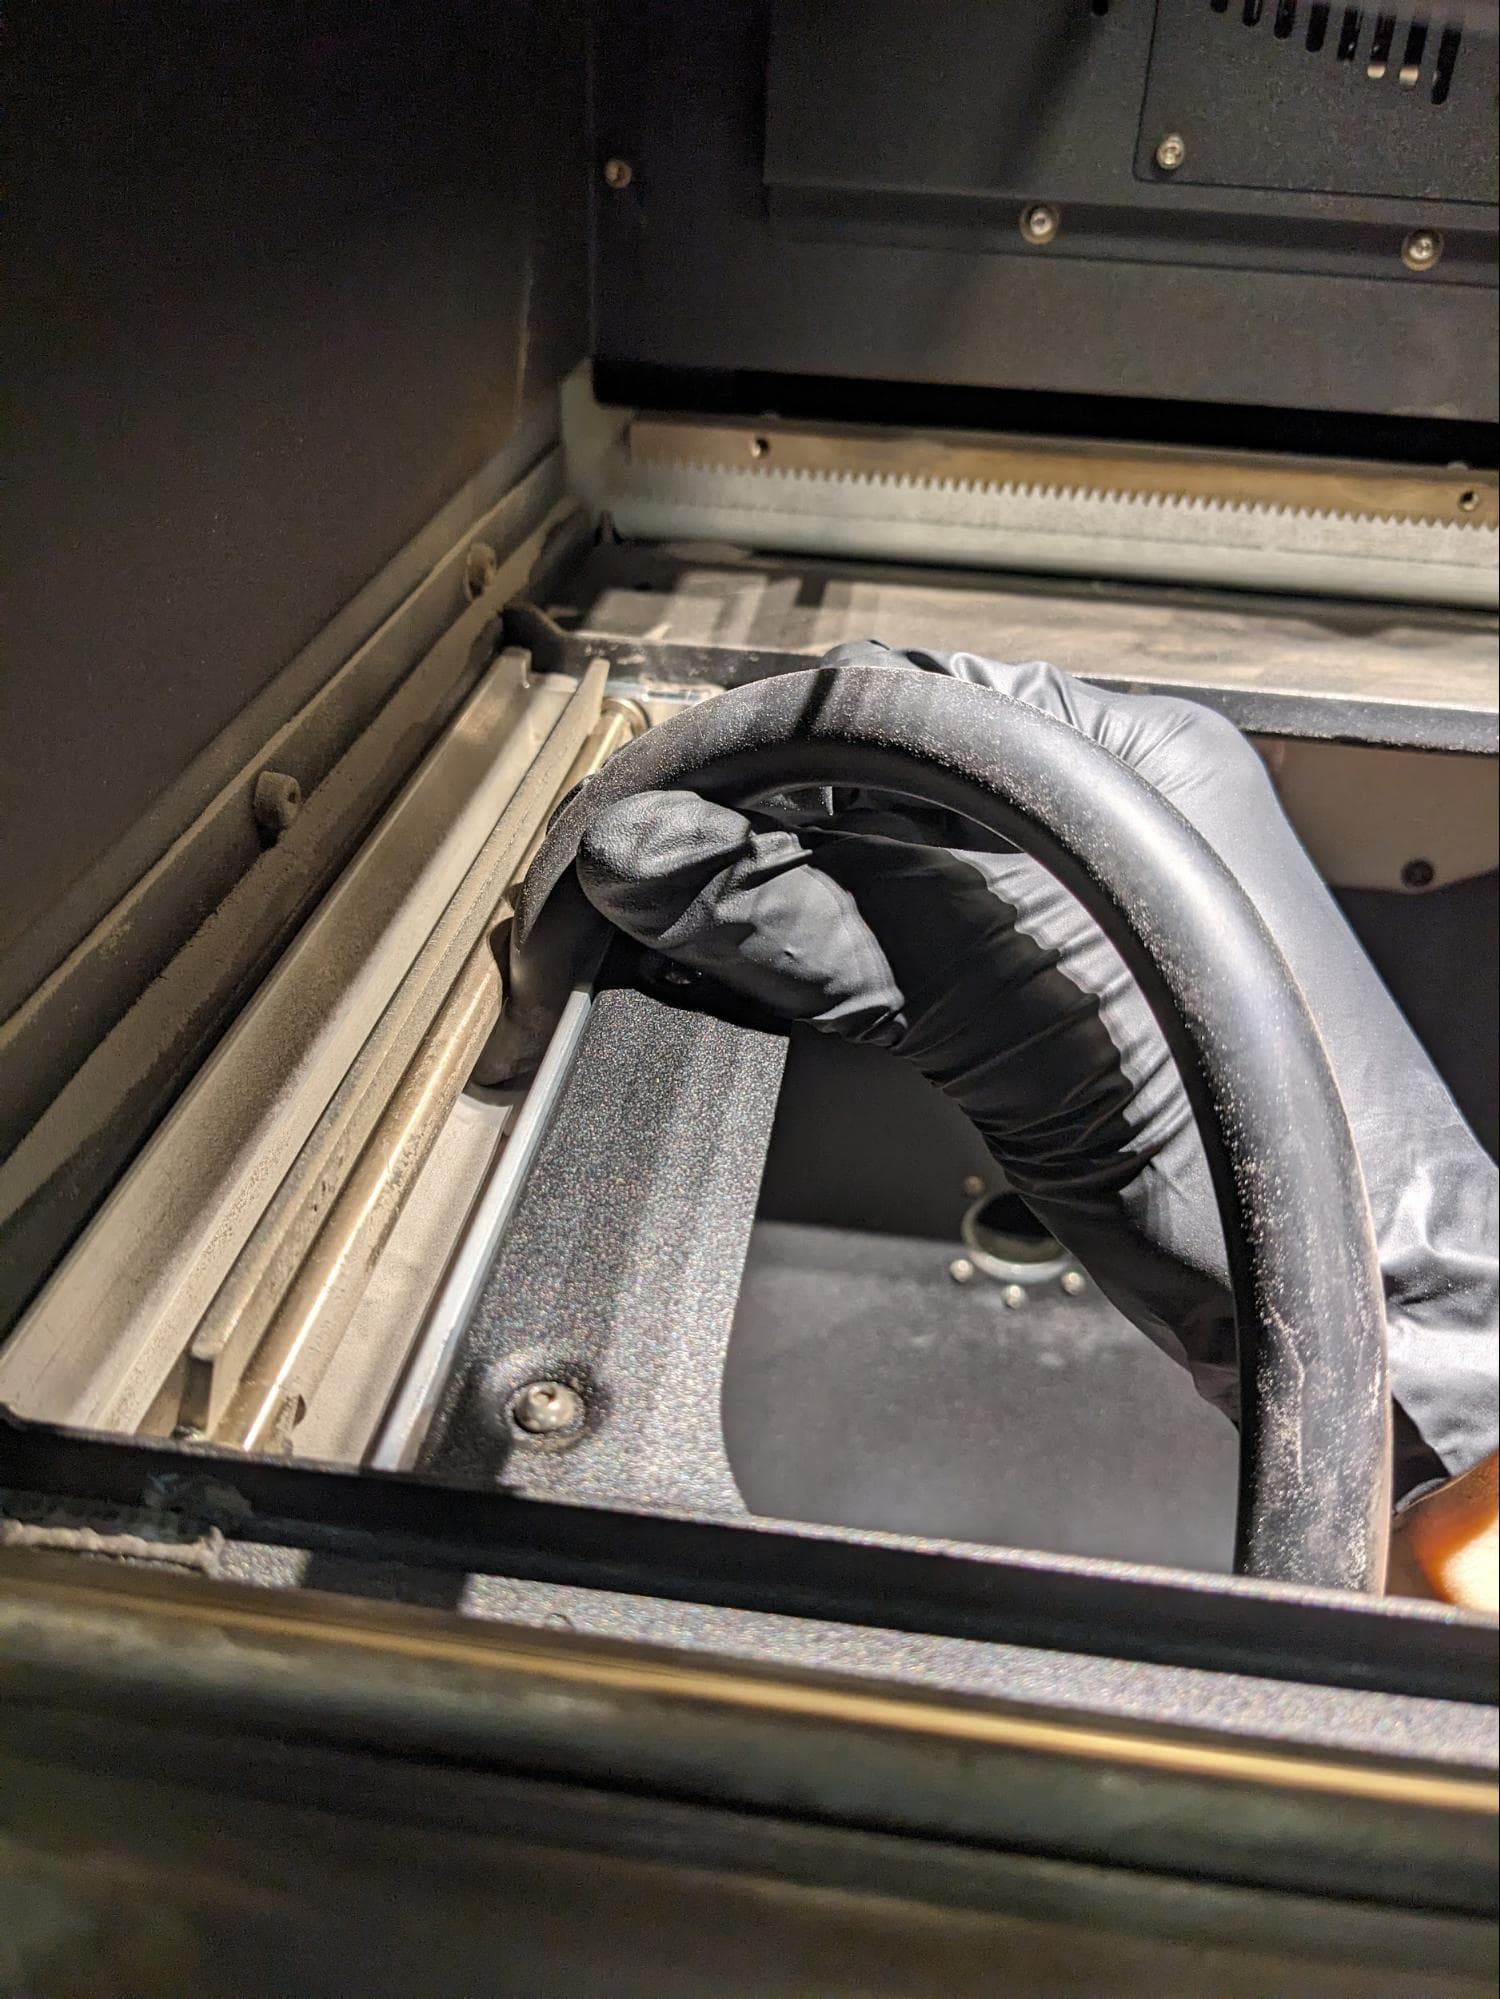
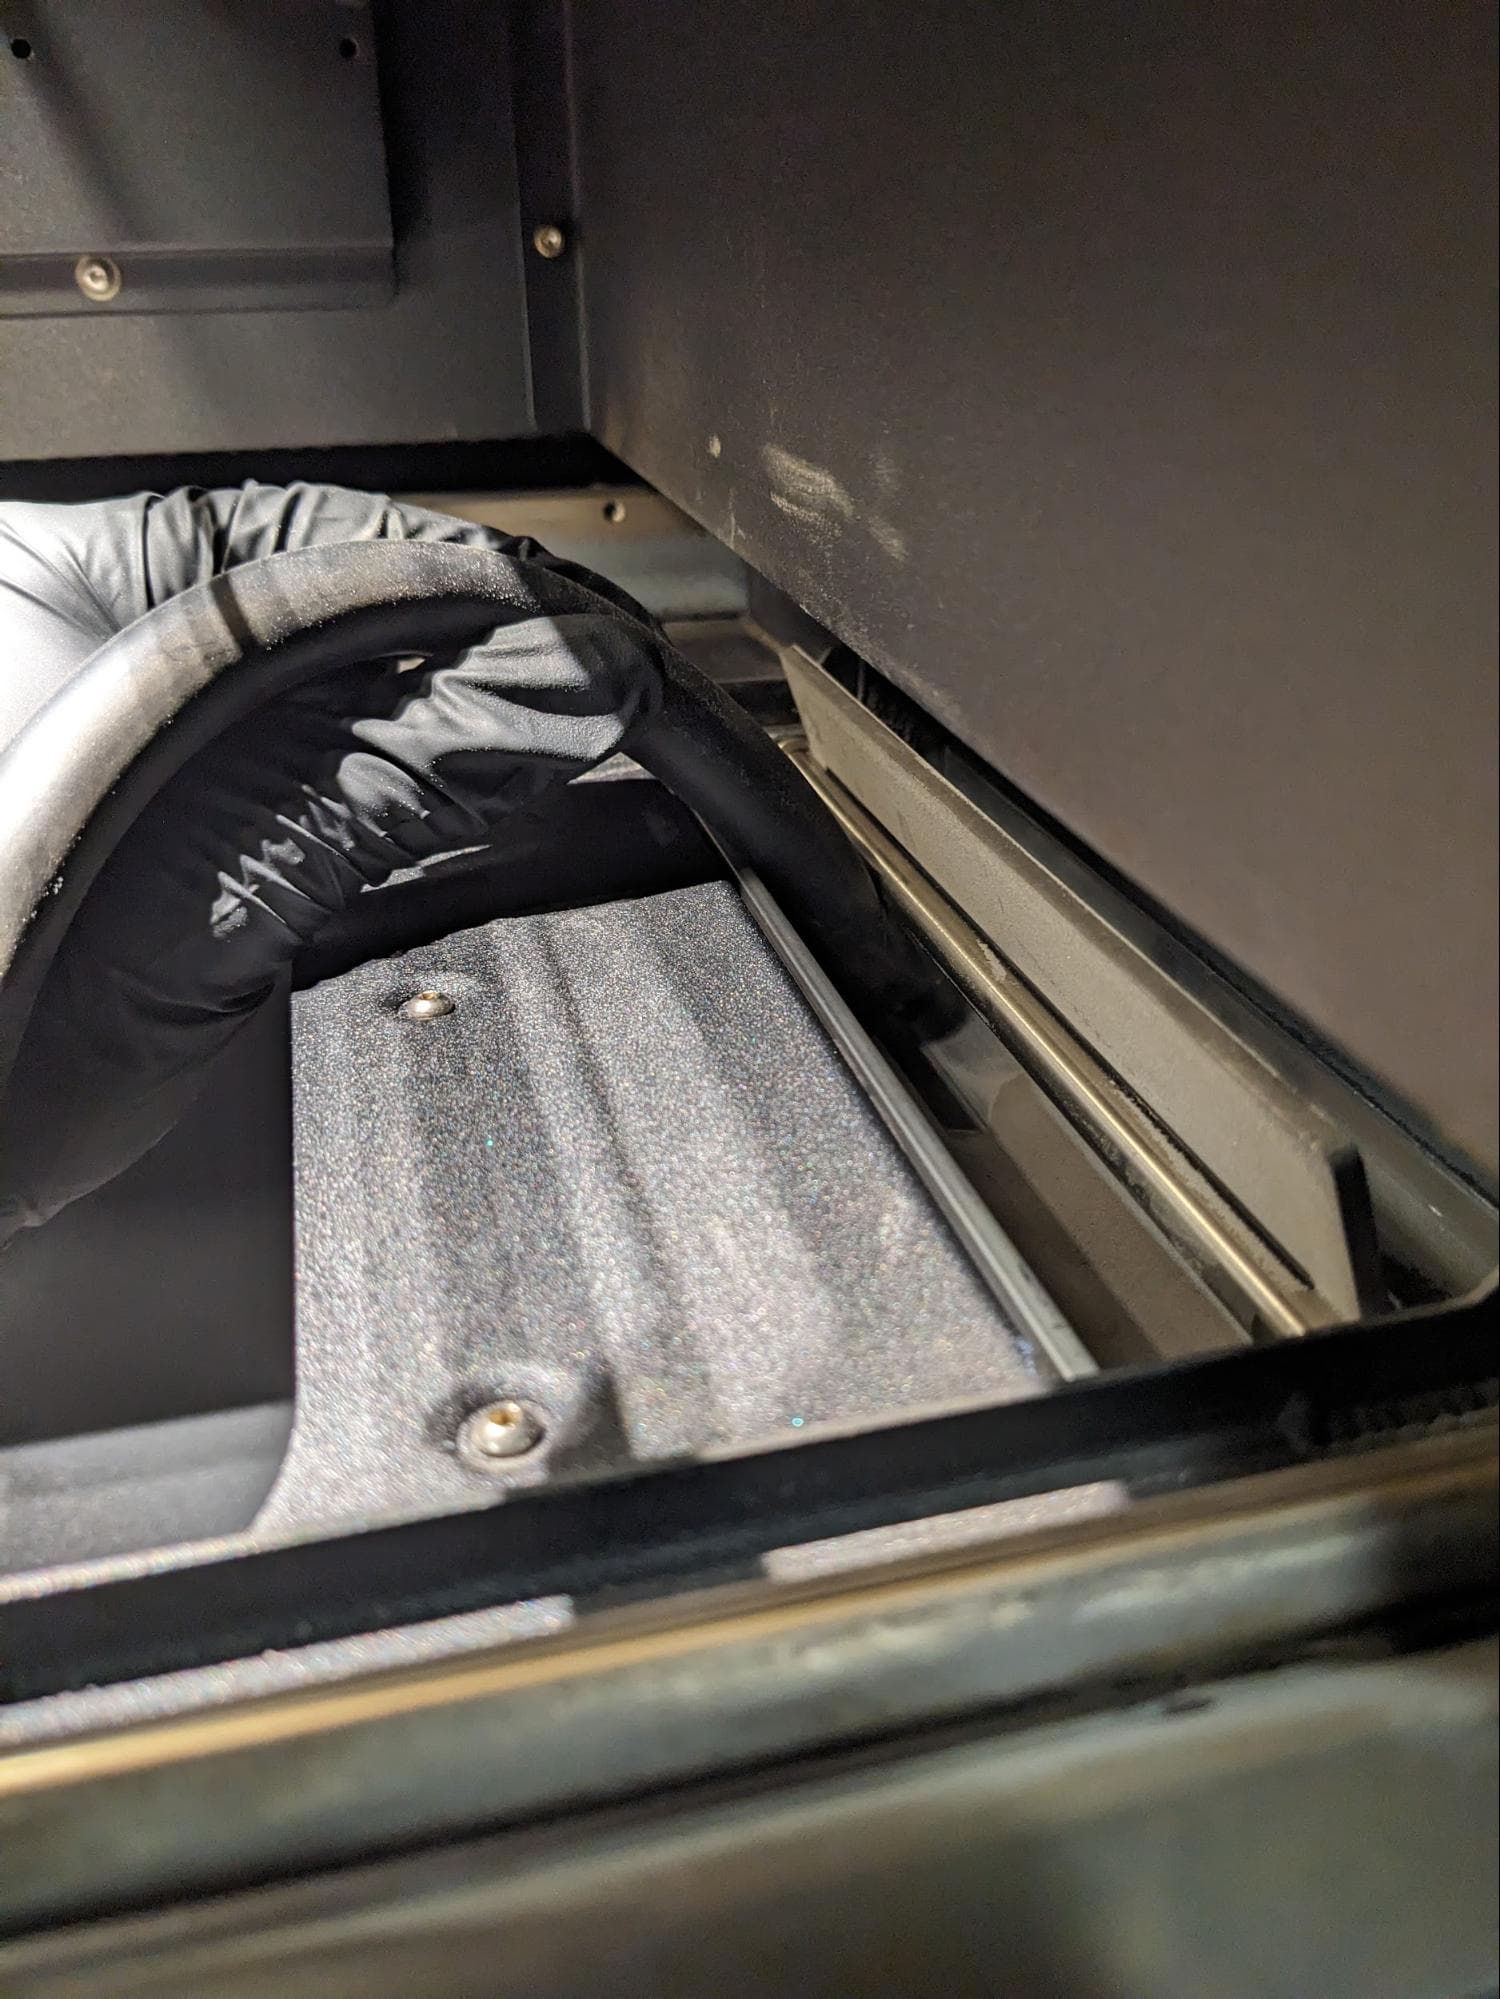
Cleaning the flipper trough
Allow the print enclosure to fully cool to room temperature before touching or inspecting any components. When instructed, keep fingers, clothing, and tools outside of the print enclosure until a message on the touchscreen confirms that calibration has been completed. Failure to do so may result in injury or damage to the printer.
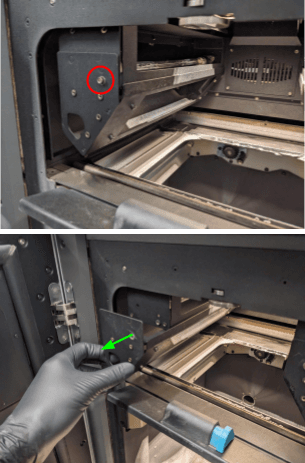
Removing the buffer-side quartz tube heater filter
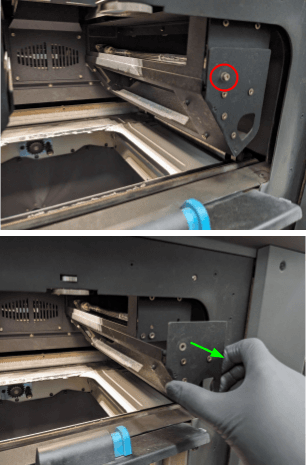
Removing the hopper-side quartz tube heater filter
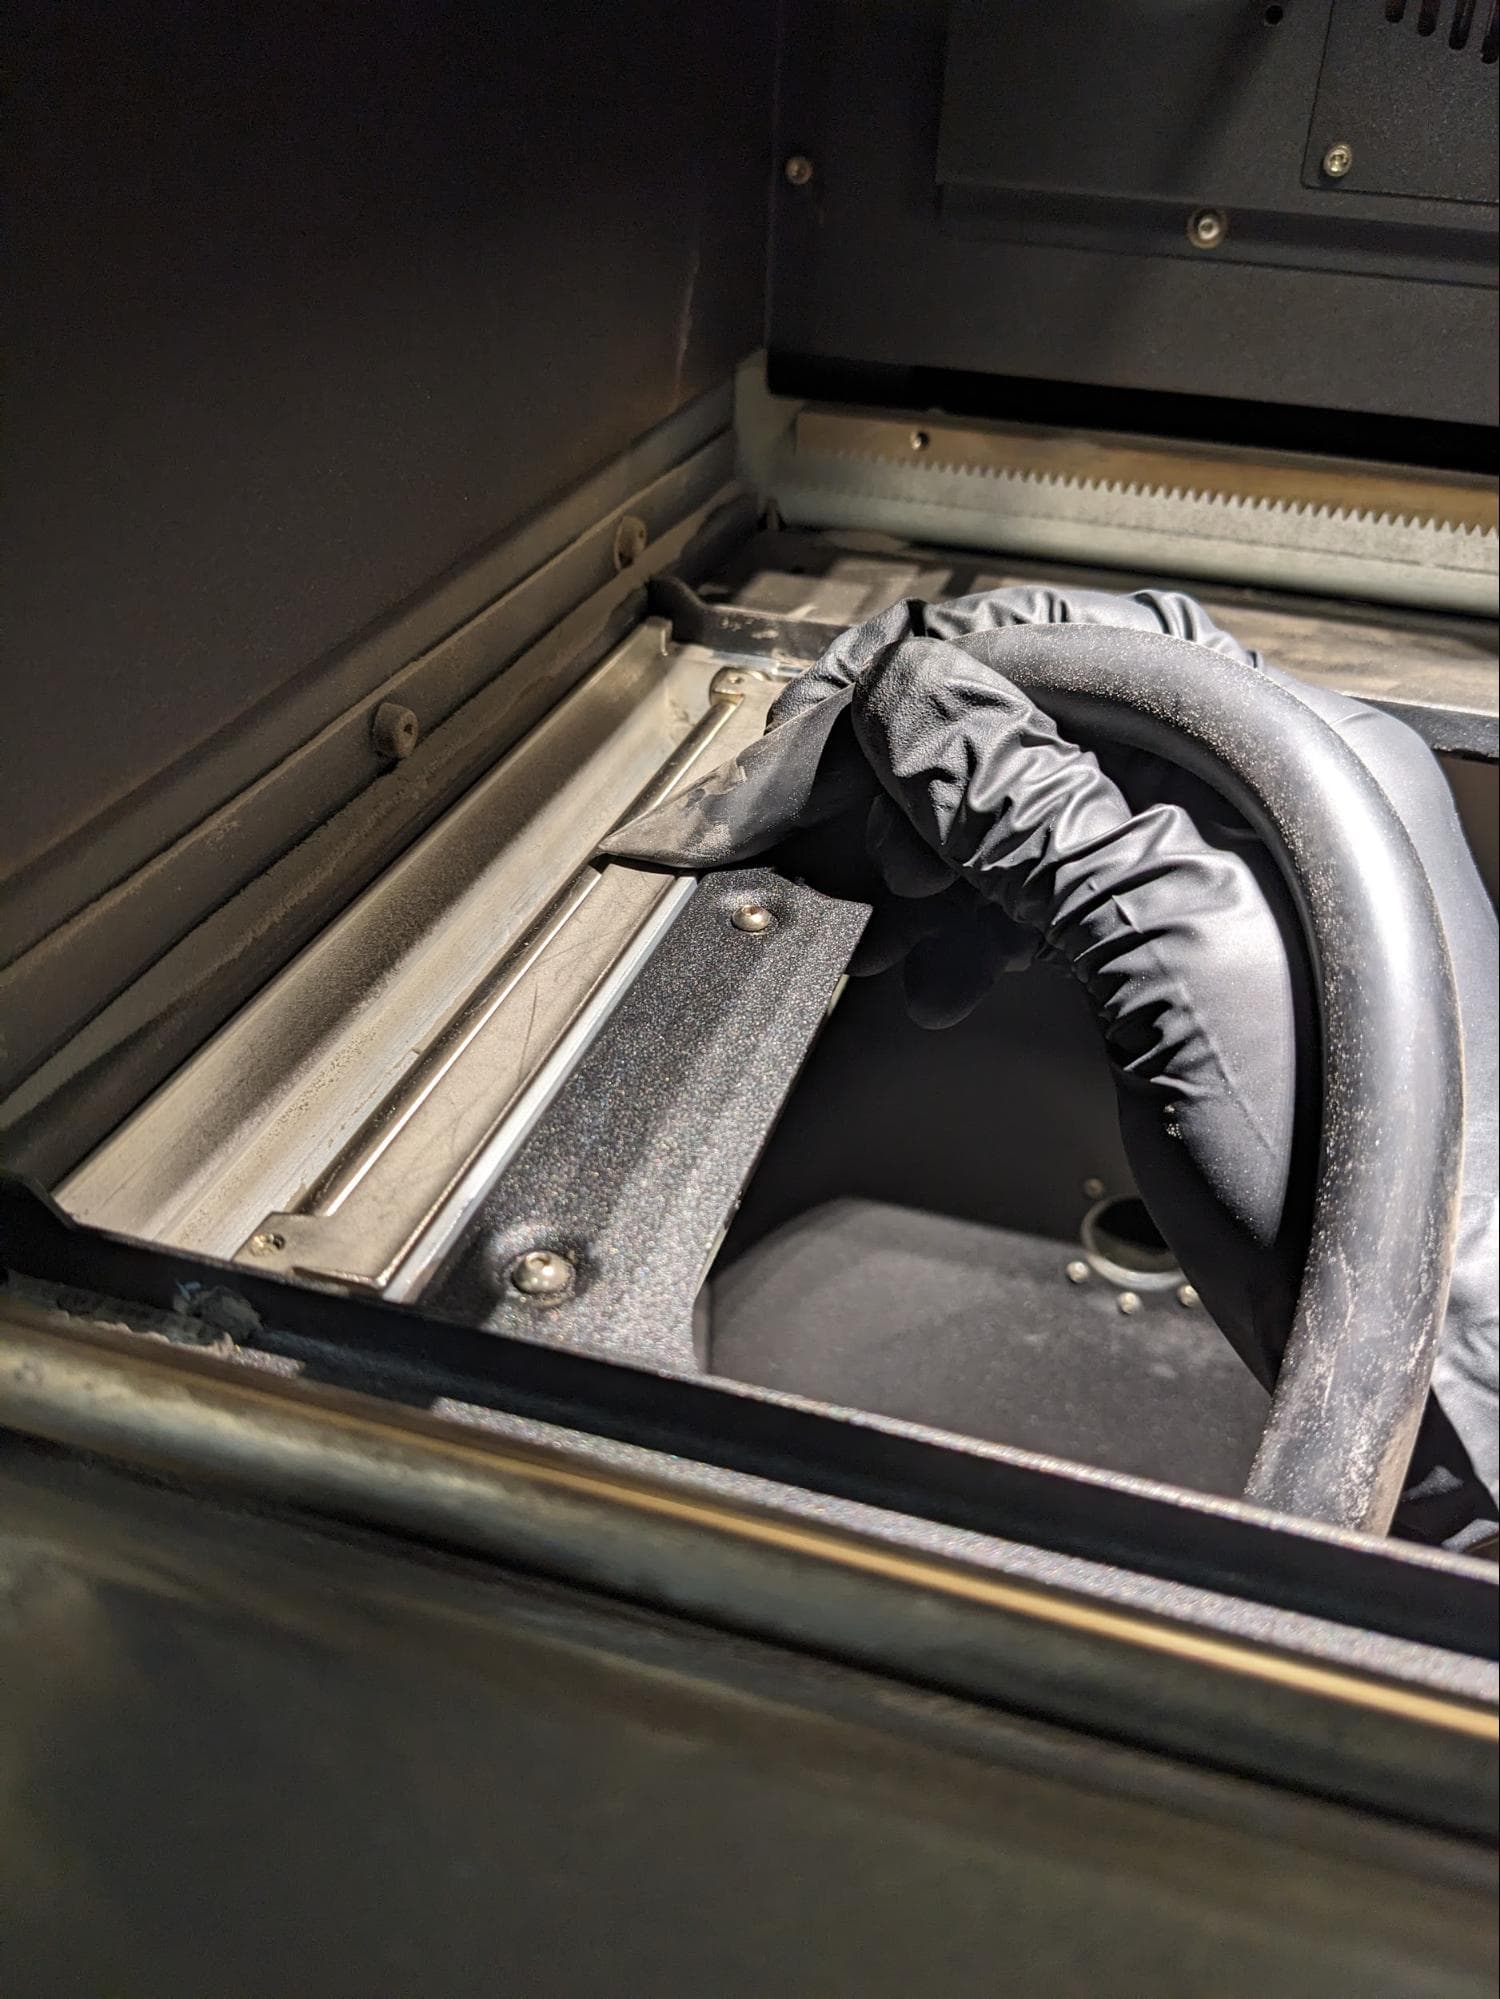
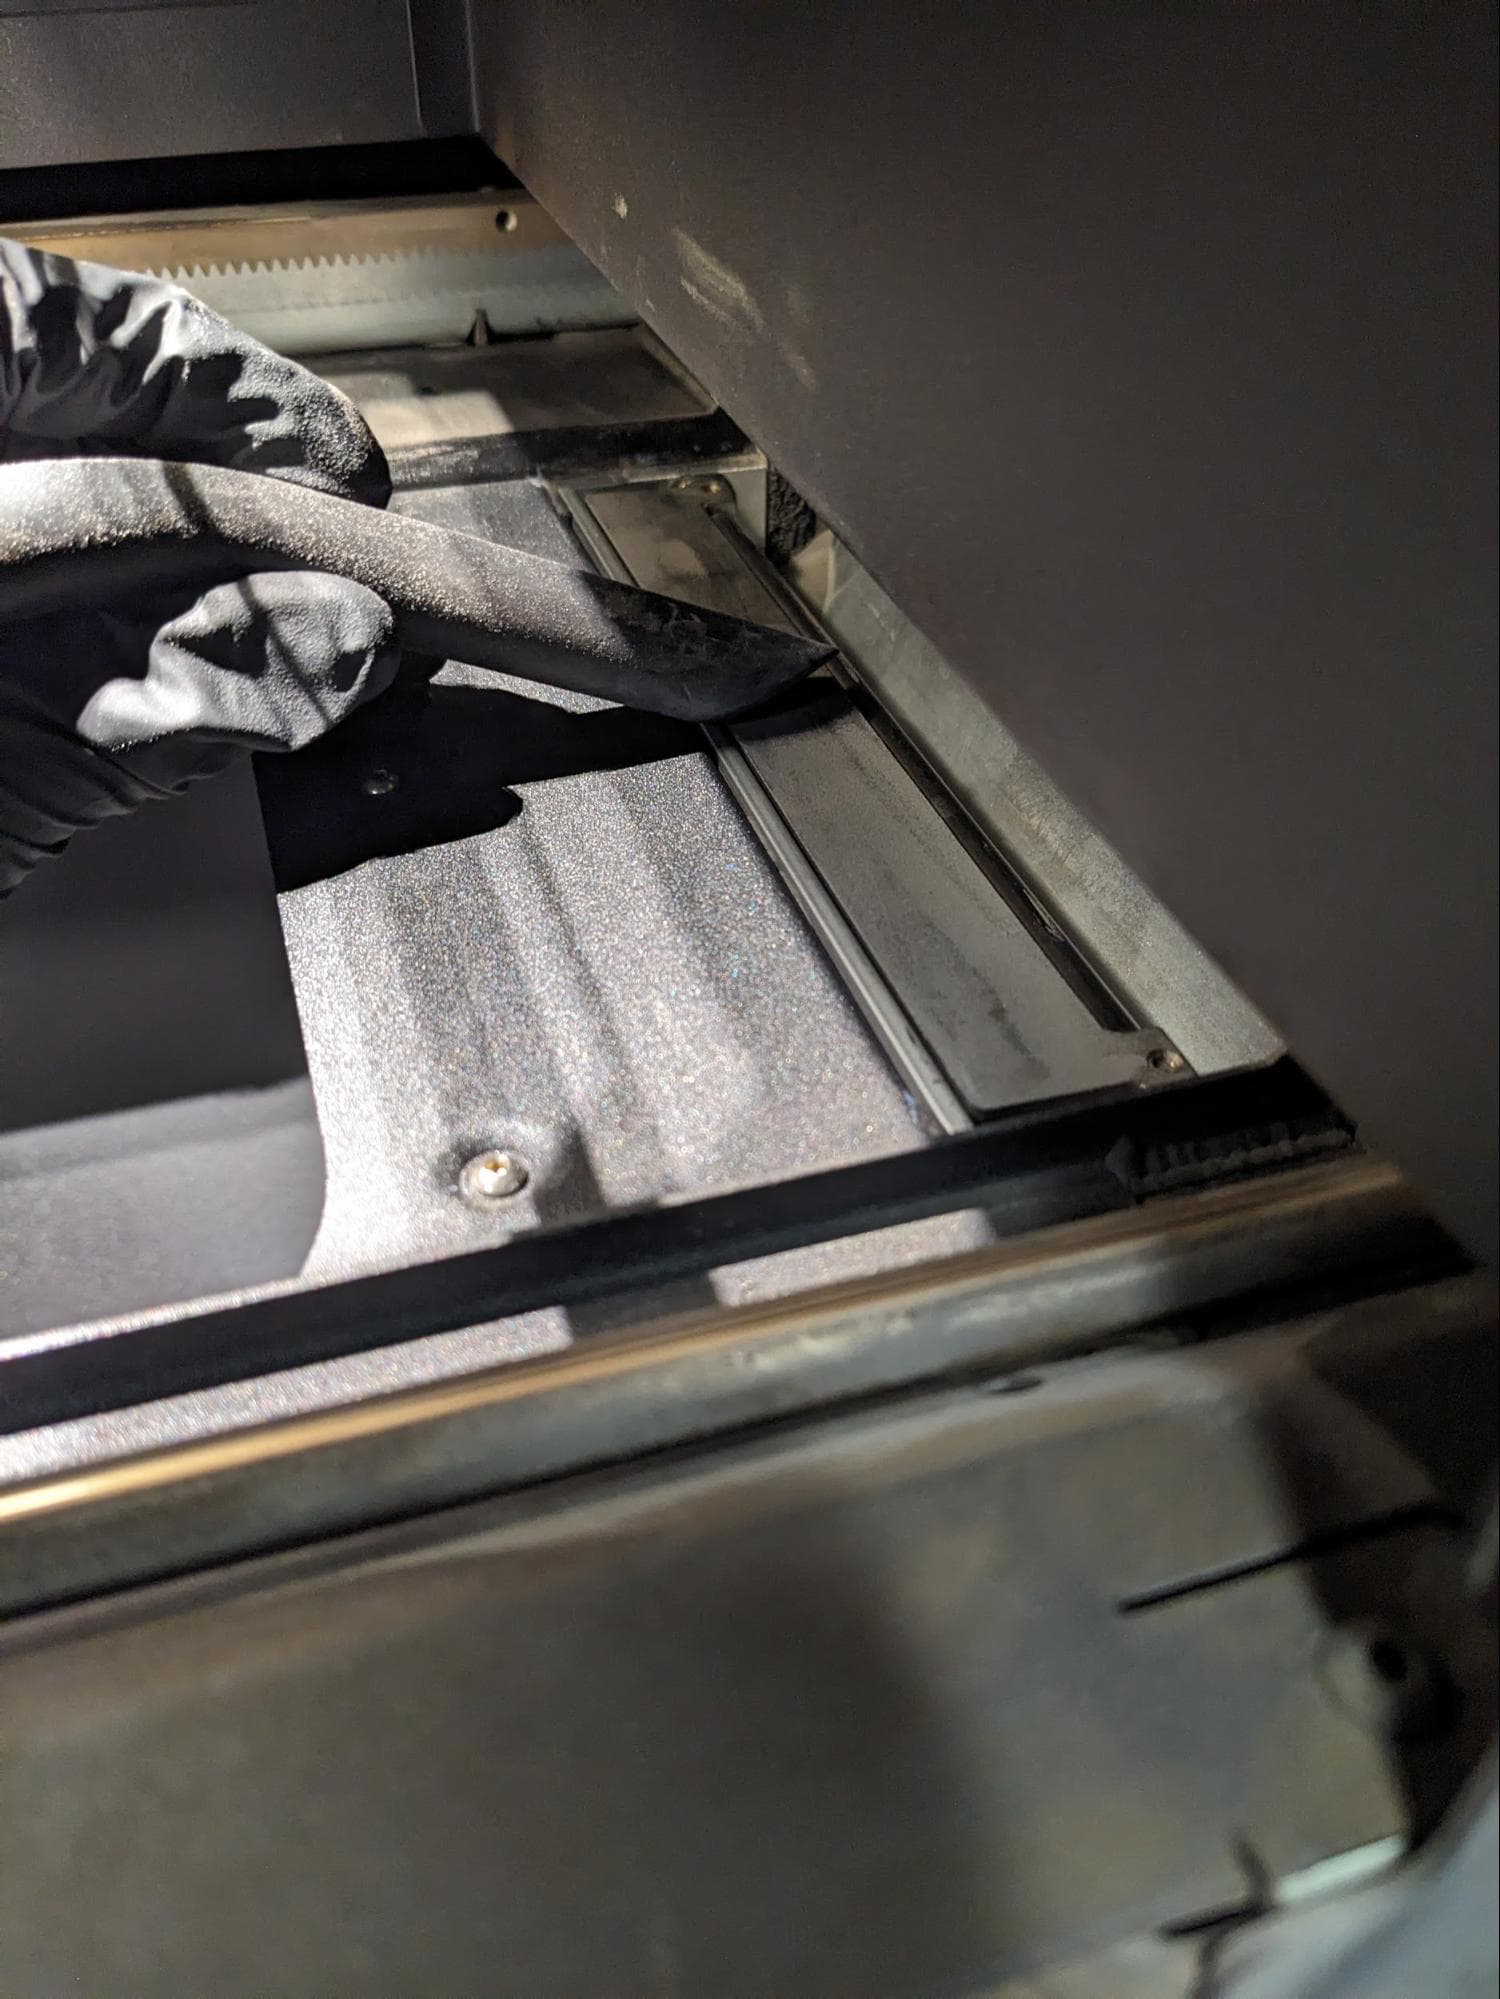
Calibrating the flipper
Fuse 1 and older Fuse 1+ 30 W units were not shipped with a flipper calibration tool. Any similar flat object may be used.
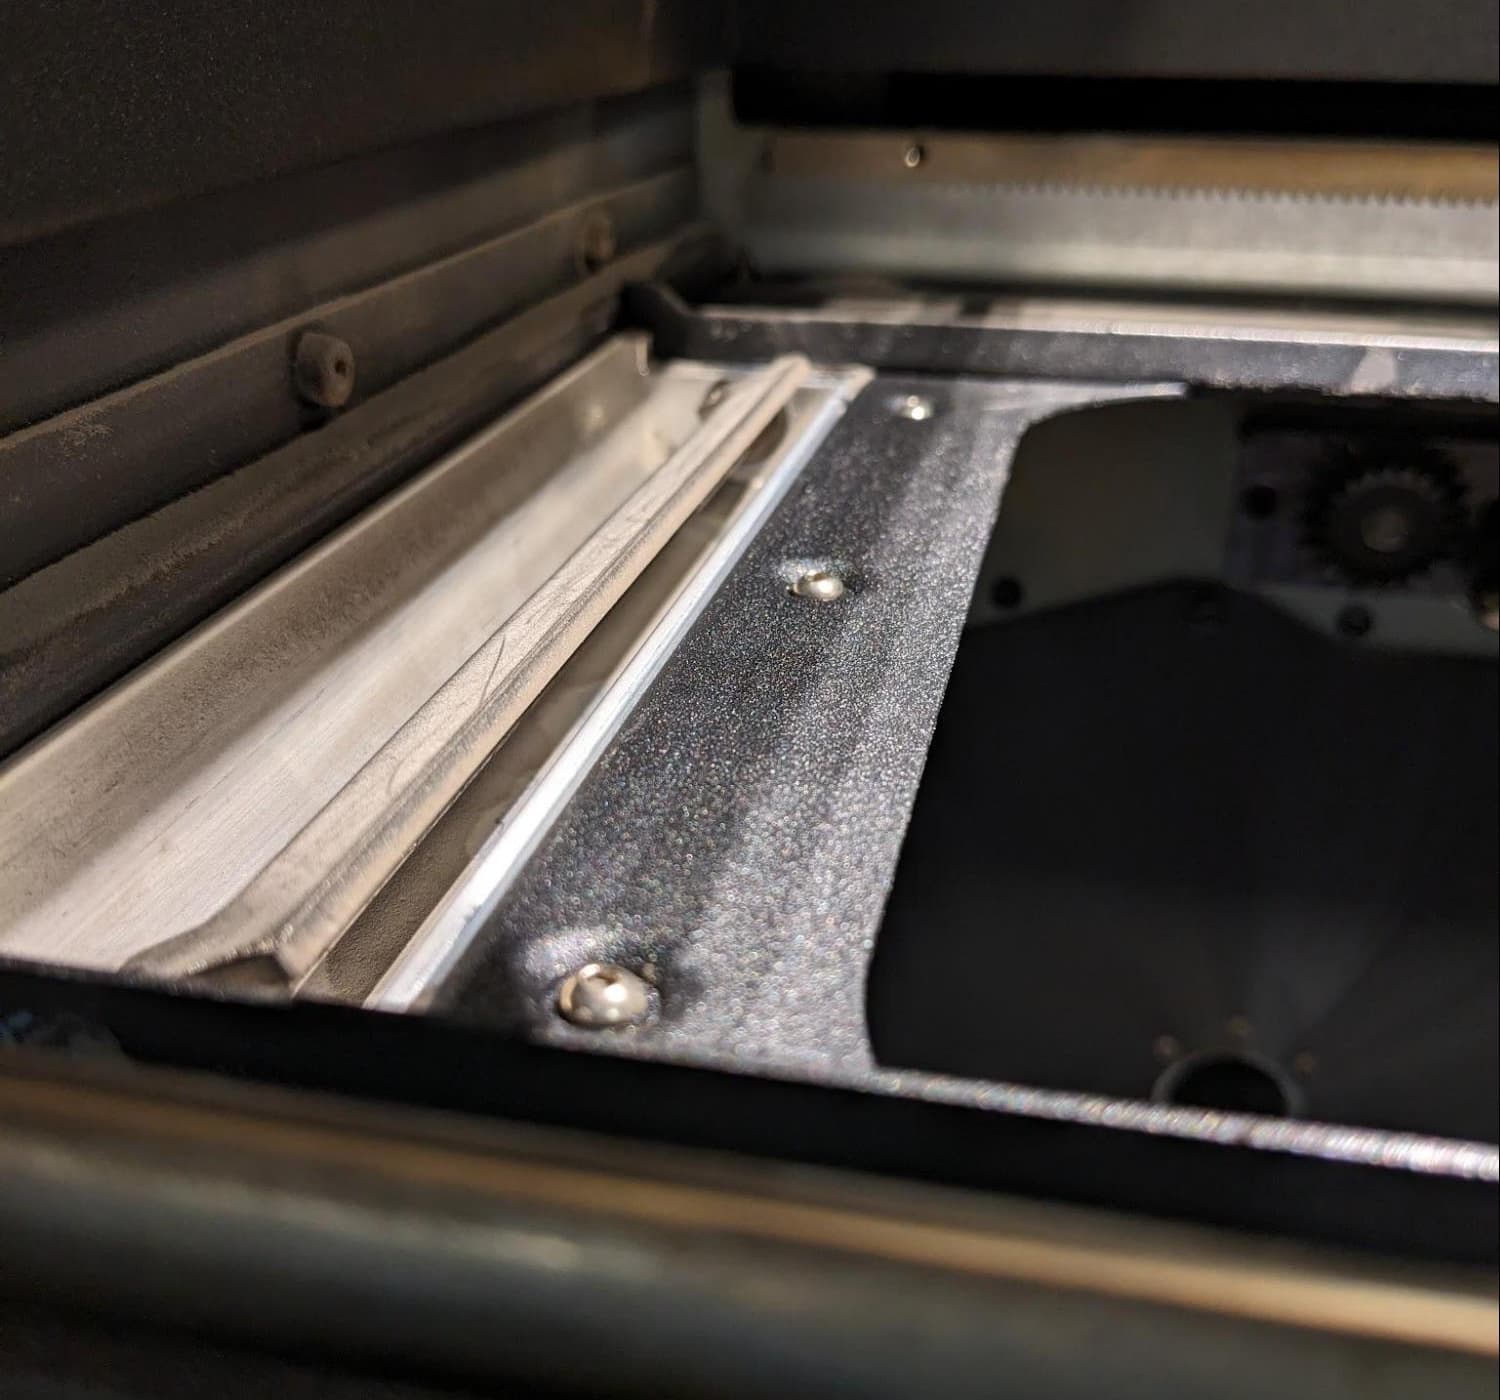
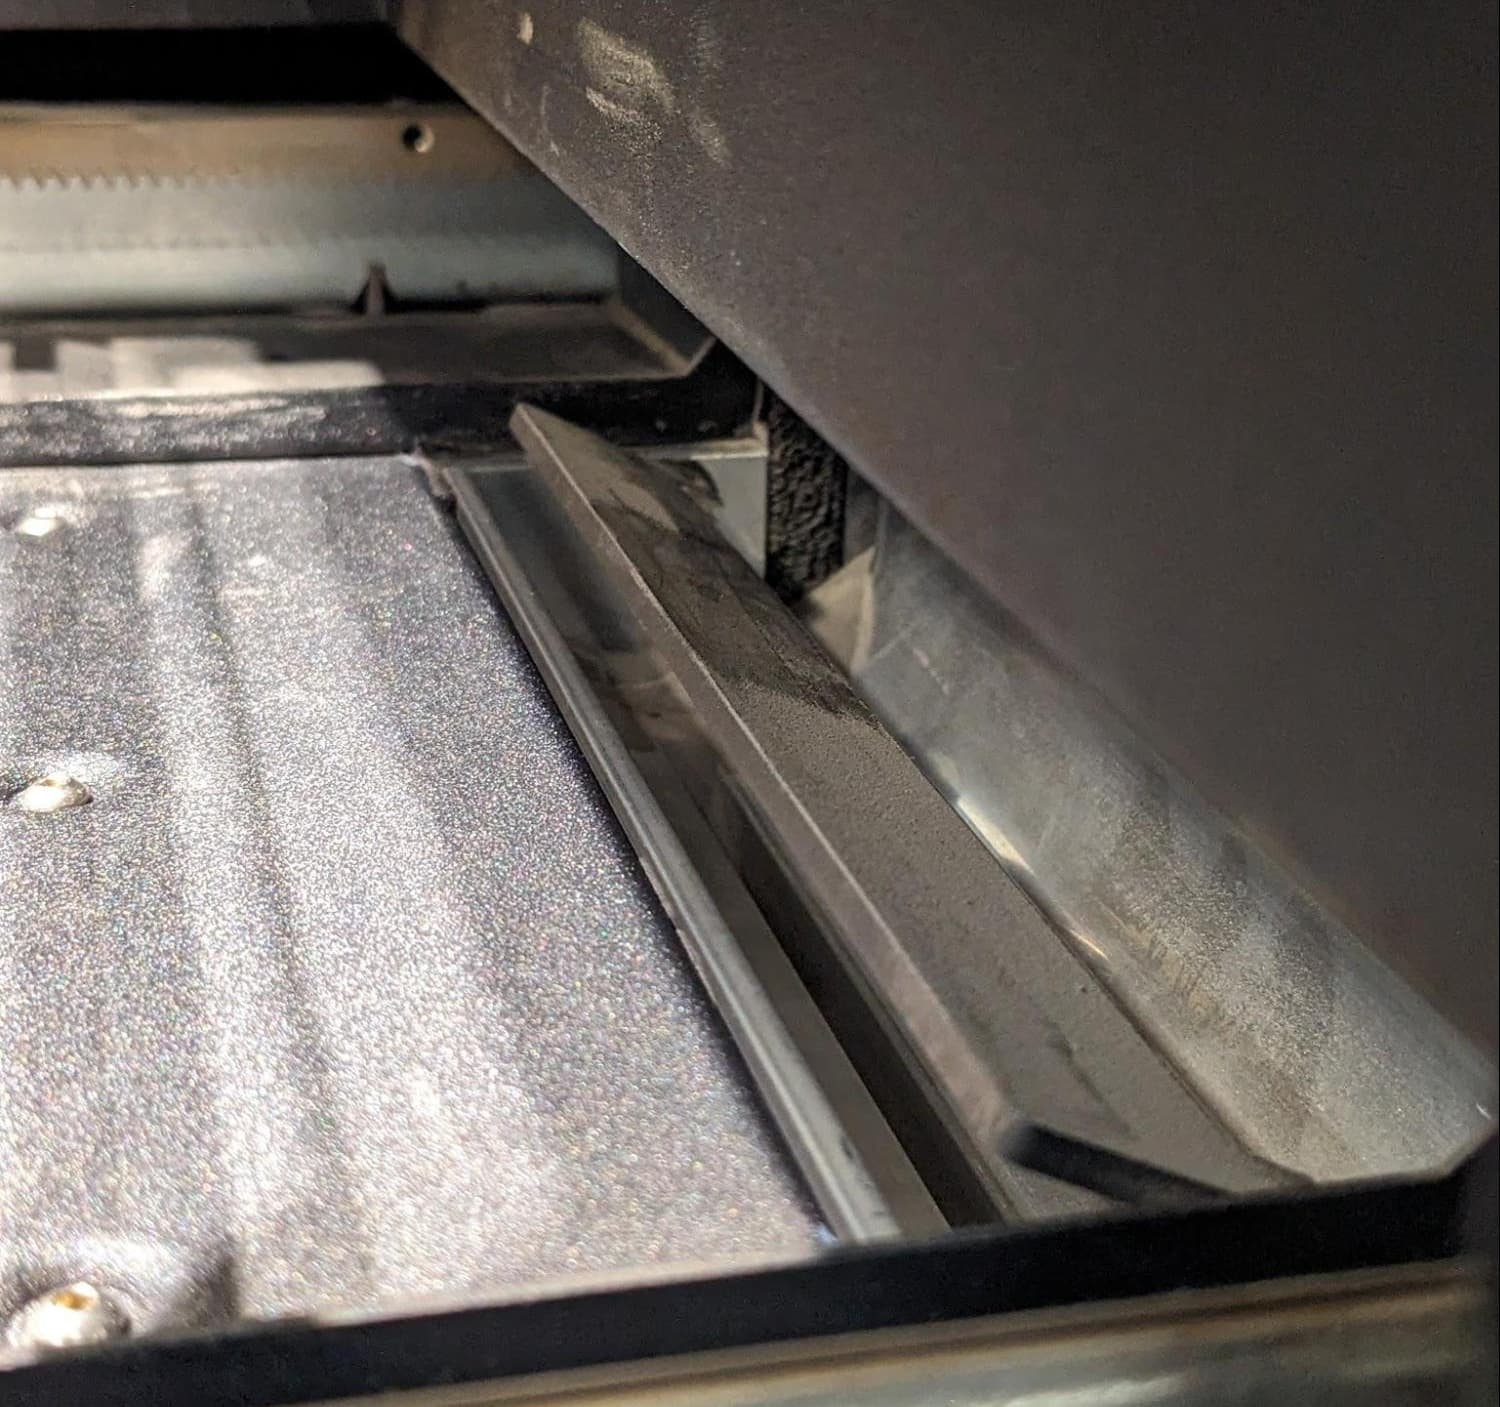
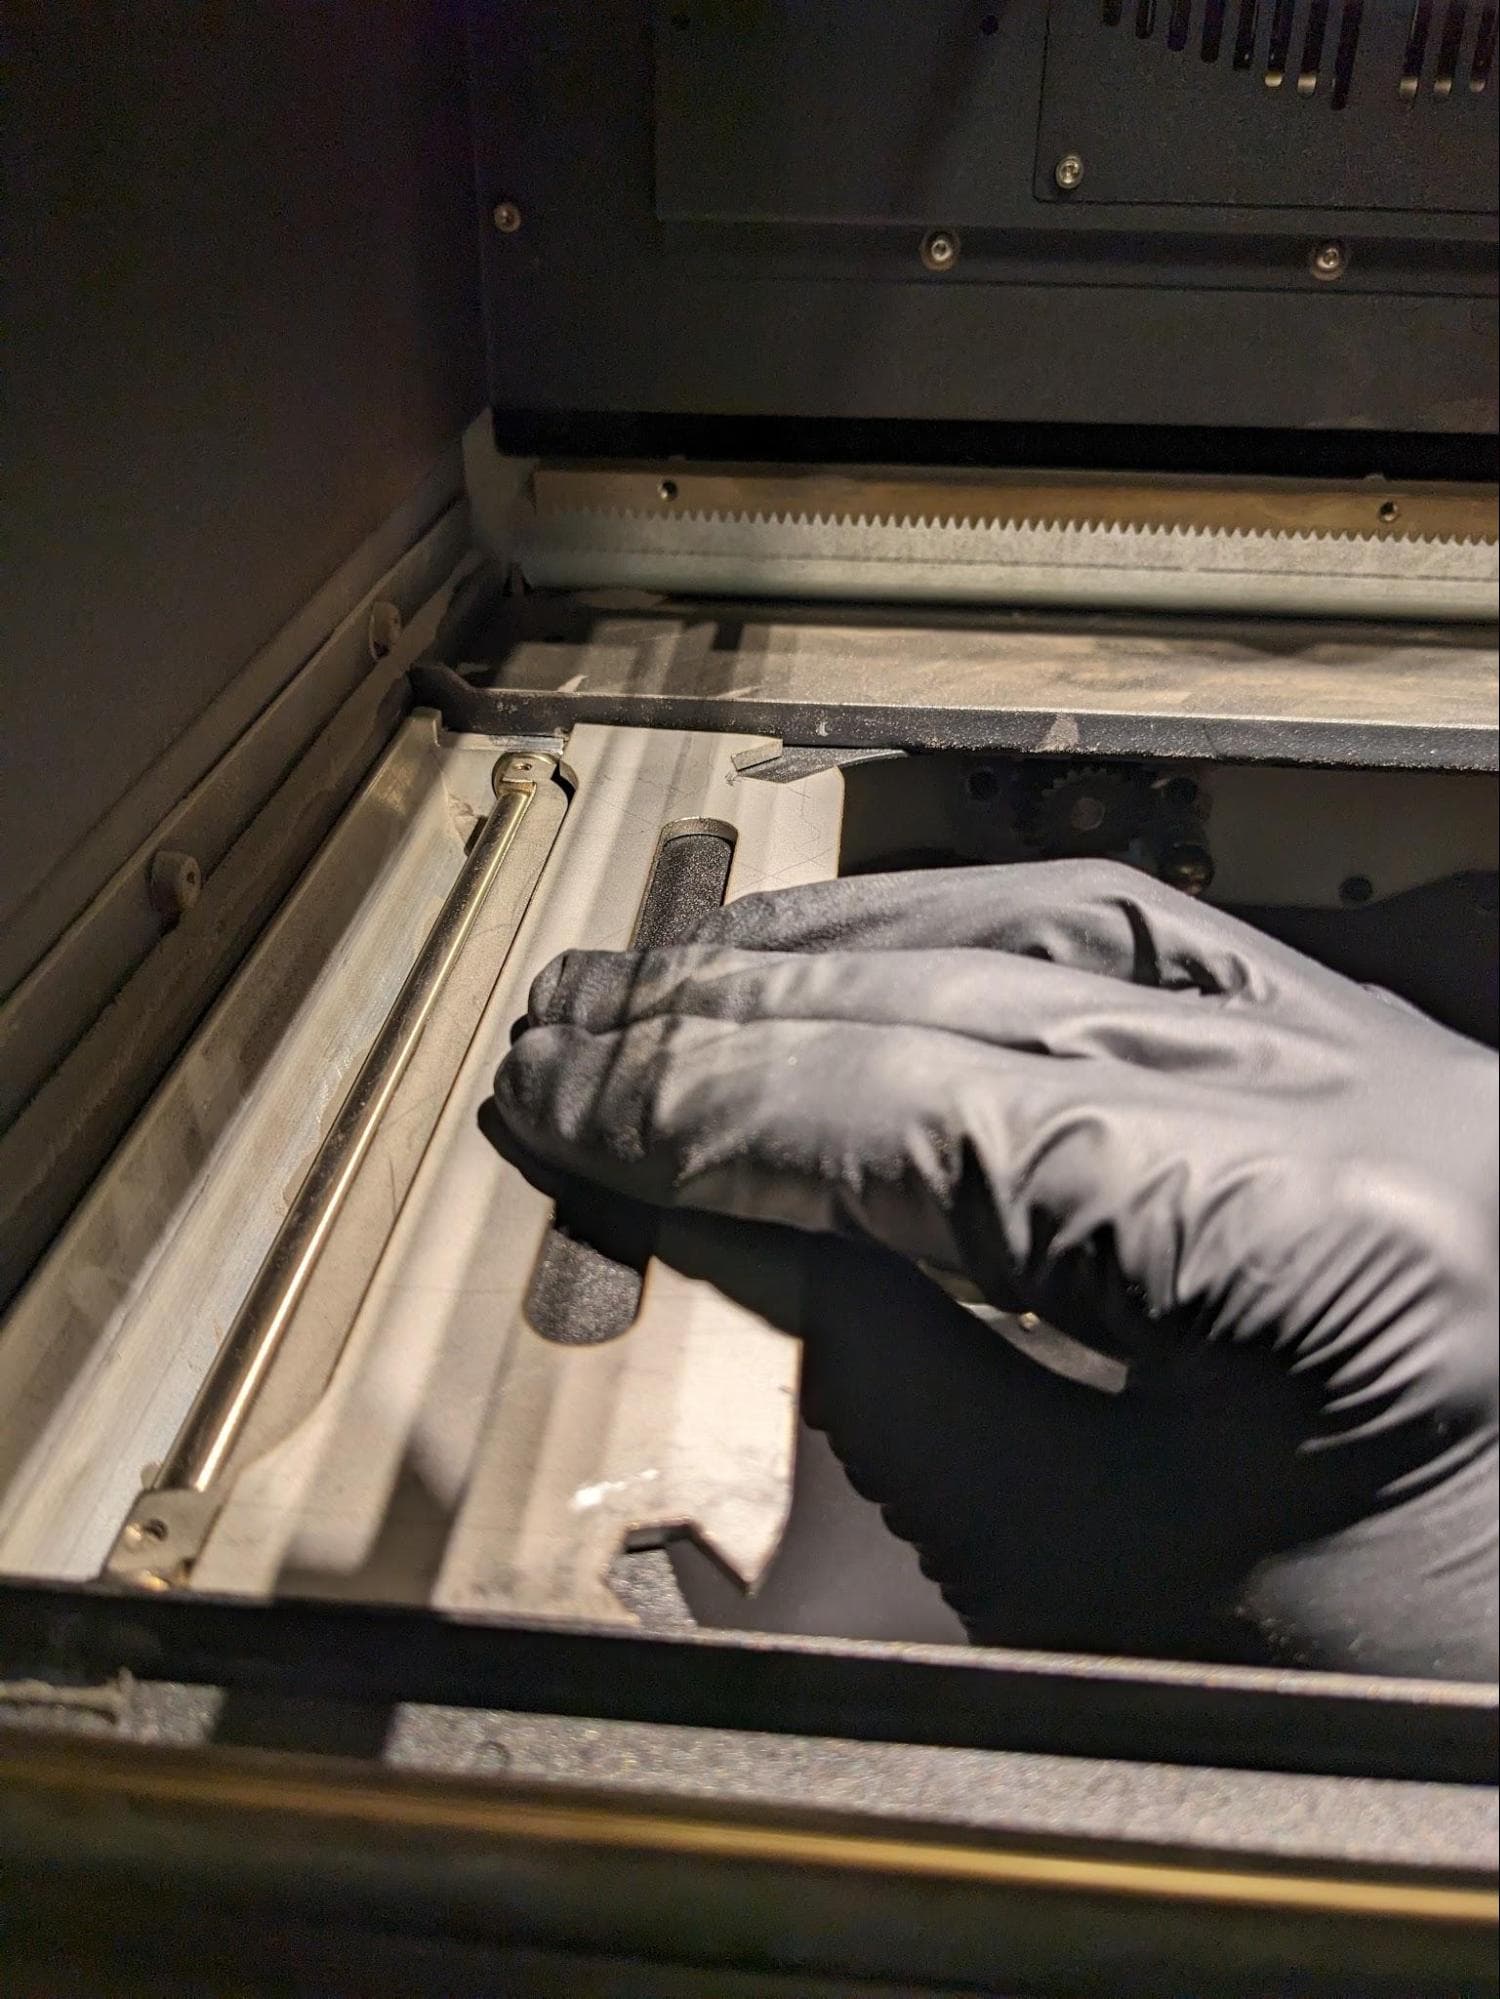
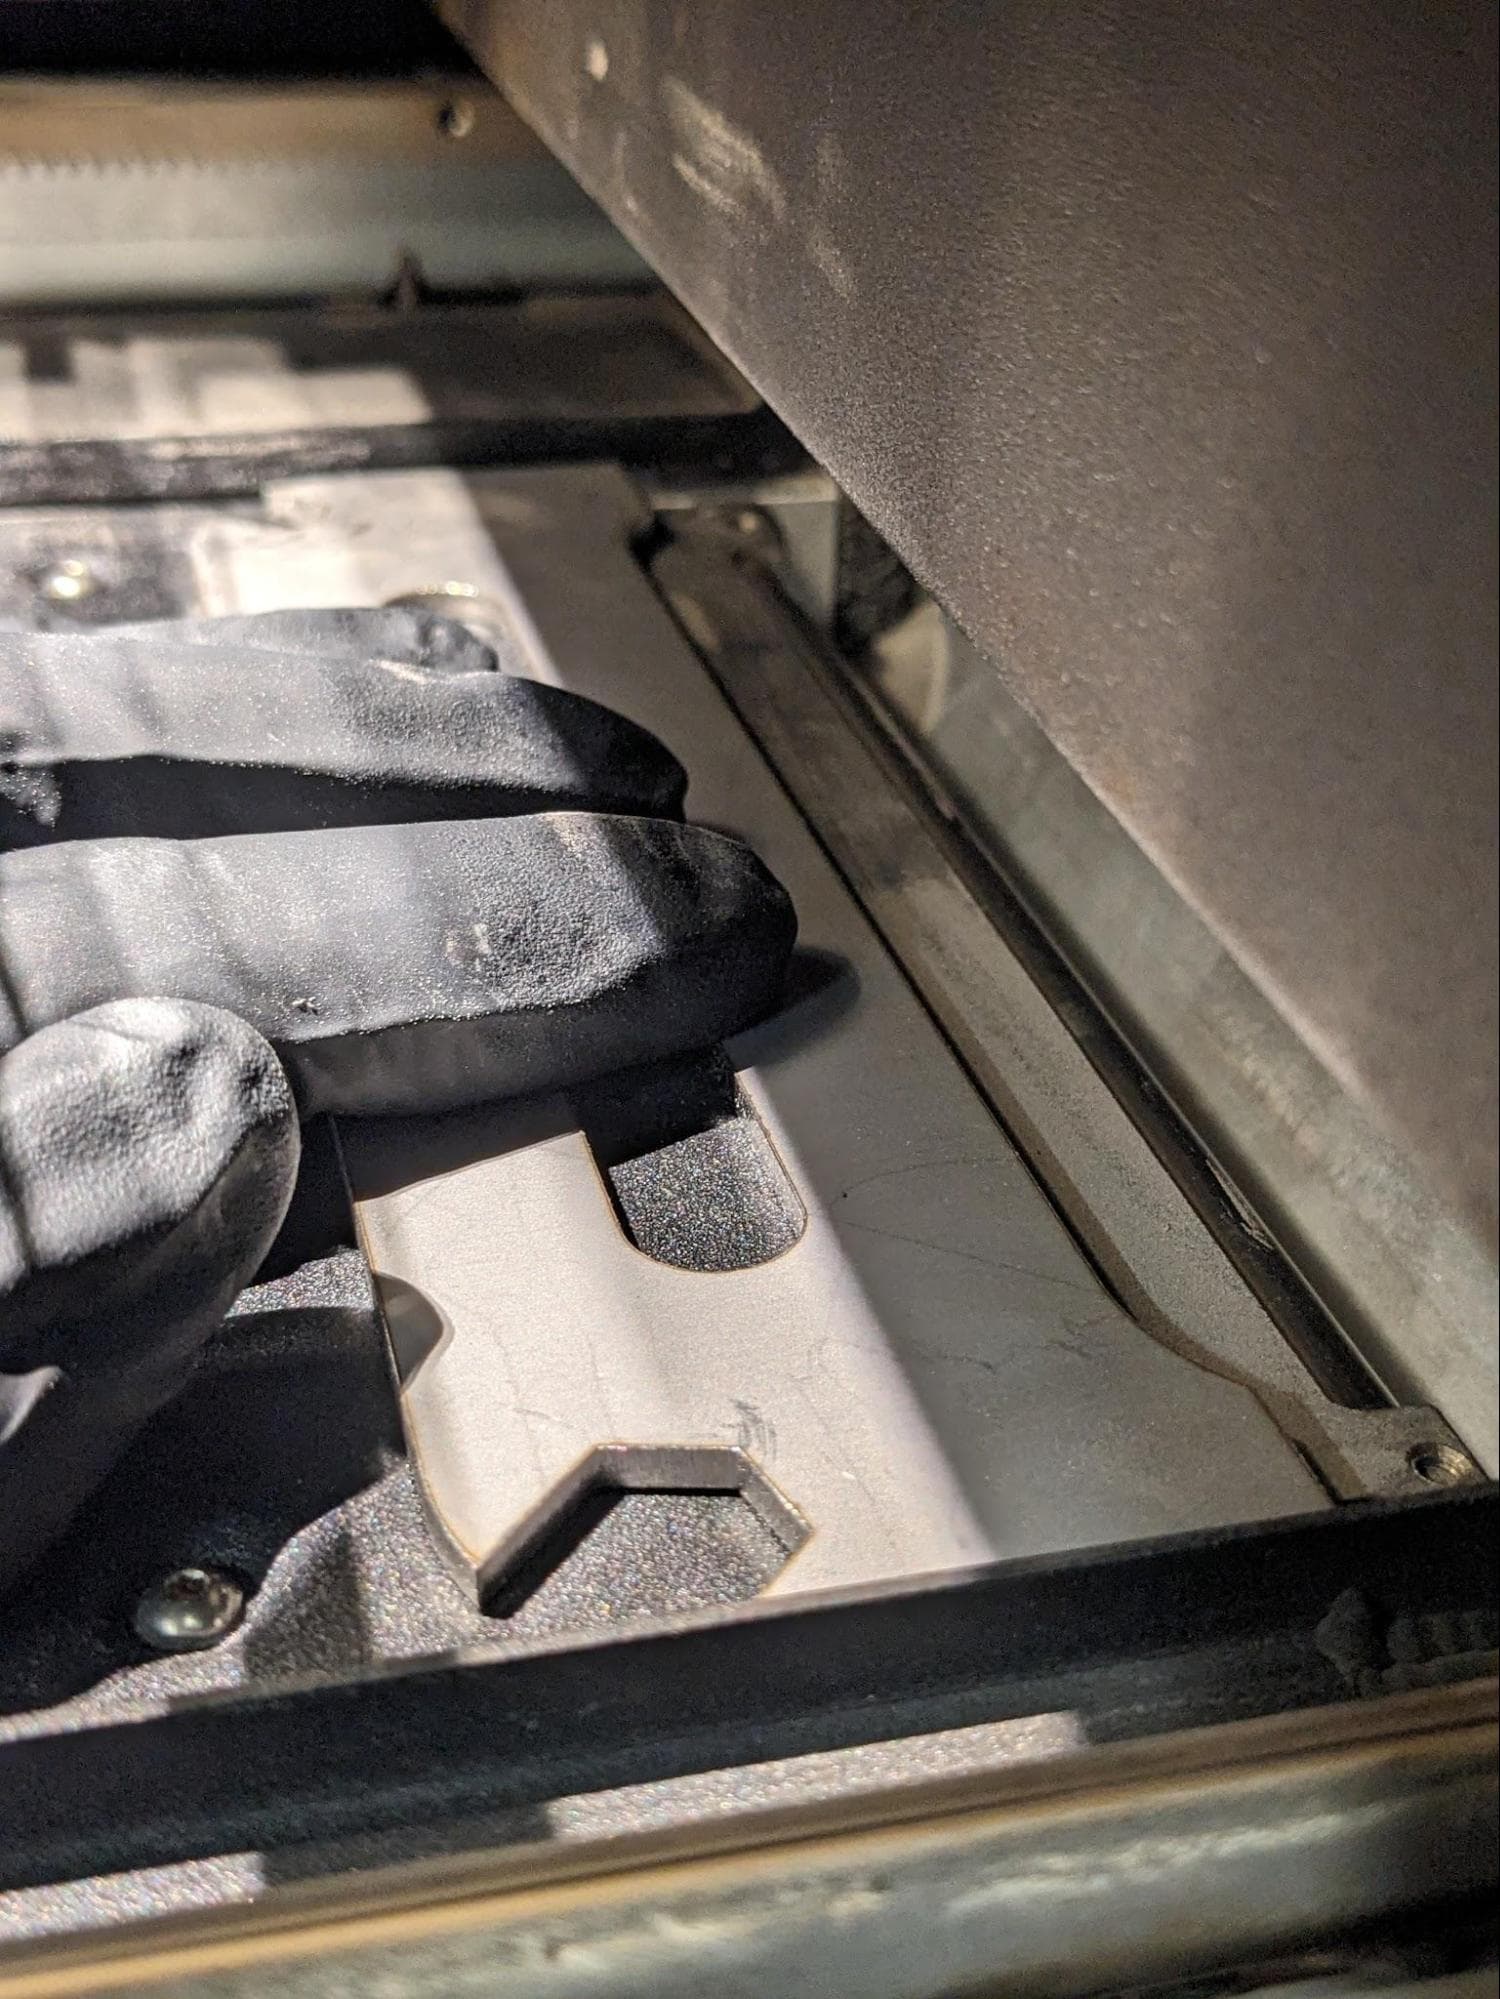
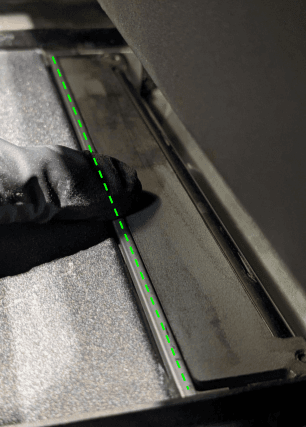
To verify that the home position is set correctly, run your finger gently across the top surface of the flipper. The flipper surface should be flush with the silver metal edge of the trough. It does not need to align with the surrounding black metal.
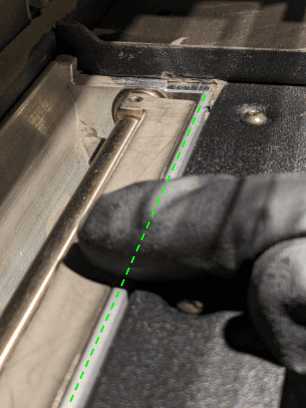
Hopper-side flipper properly calibrated
Buffer-side flipper properly calibrated
Checking new flipper home position
At the end of the calibration process, the flipper may move in a full rotation to confirm its new home position. The movement does not indicate that the calibration was done correctly or incorrectly.
If the flipper appears to be horizontal at the end of the calibration process, then the calibration was successful. If it ends up at a noticeable angle to the print plane, then it is not properly calibrated, and you should perform the procedure again.
If you encounter issues with the flipper calibration routine, contact Formlabs Support or your certified service provider.