
Note:
After grouping models, clicking on a grouped model in the 3D scene selects the entire group. Click again to select the individual model.

Starting with PreForm version 3.43.0 for SLS printers and PreForm version 3.53.0 for SLA printers, you can better manage multiple sets of models with model grouping. Grouped models can also perform the same features as multi-selected models such as copying models, deleting them, or changing their visibility.
As of PreForm version 3.62.0, the Model List has moved to the left side of the screen as part of the Project panel. Other functionality remains unchanged.
Model grouping can be particularly useful when working with multiple sets of models that require traceability or need to be managed separately, such as service bureau orders or dental prints.
Note:
After grouping models, clicking on a grouped model in the 3D scene selects the entire group. Click again to select the individual model.
Creating a model group
Importing multiple models
When importing a folder of models, the files are automatically grouped together and organized in the Model List or Project panel. The group is given the same name as the imported folder.
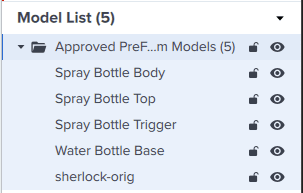
Grouped imported models in the Model List (PreForm 3.60.4 and earlier)
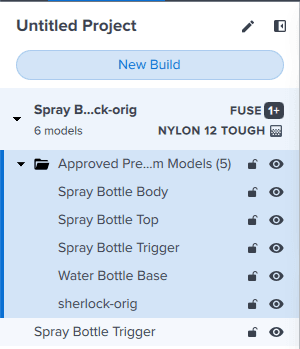
Grouped imported models in the Projects panel (PreForm 3.62.0 and later)
Splitting a multi-body model
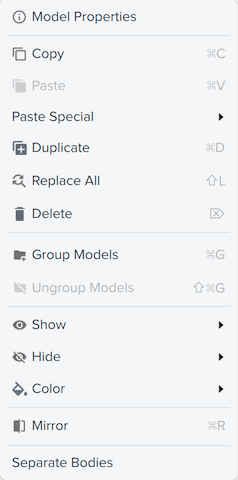
If you import a multi-part or multi-body model, you can separate those bodies into discrete models in PreForm. When you do, the separated models are added to a model group:
Selecting models
You can also group models by selecting them in the list of models.

Ungrouping models
You can have a mix of group and ungrouped models within your build. To separate models, right-click the group name or any model within the group and select Ungroup Models. The models separate from the folder and are listed individually.