Model orientation best practices for SLS printing
Model orientation best practices for SLS printing
Model orientation can make the difference between a print success and a print failure. Unlike in SLA printing, unsintered powder in the printer’s build chamber supports parts regardless of their orientation. However, the high temperatures required for SLS printing can create thermal irregularities that may lead to print defects.
Depending on part geometry, certain orientations and placements may minimize the visibility of print layers, reduce warping, or allow for more parts to fit within the build volume. Repeated iterations may be necessary to achieve the best possible print. For more information on designing parts for SLS printing, see Design specifications for 3D models.
Model orientation best practices include:
- Positioning parts towards the center of the build volume
- Orienting slender parts vertically or at an angle
- Distributing parts uniformly within the build volume
- Orienting parts for assembly in the same direction
Location within the build volume
SLS printing allows parts to be placed anywhere within the build volume. The orientation and position of parts in the build volume influences the cooling rate of the build chamber and of individual parts.
Position parts with thin, slender features towards the center of the build volume, horizontally as well as vertically if possible. Parts near the boundaries of the build volume cool fastest and are more prone to warping.
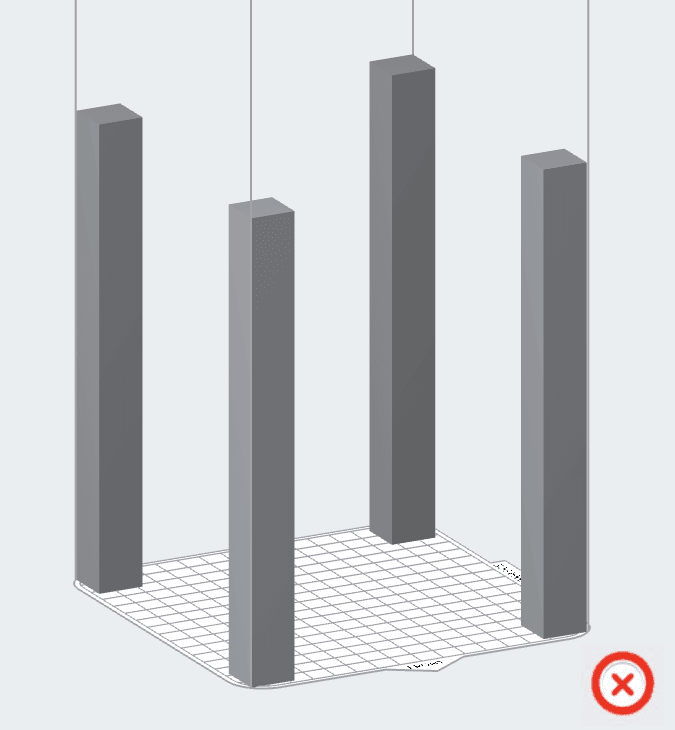
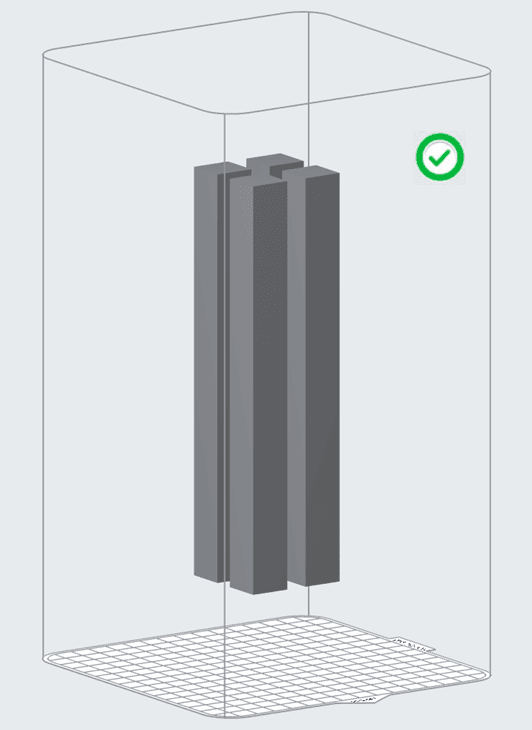
To prevent warping, thin, flat features should be placed towards the center of the vertical height of the build rather than at the top or bottom.
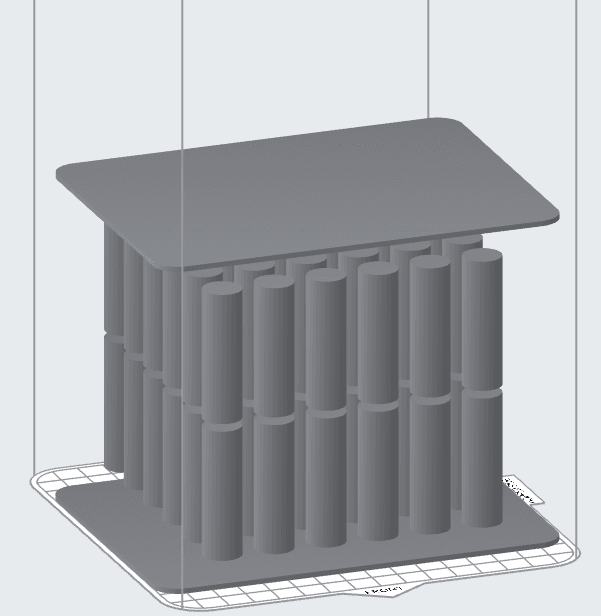
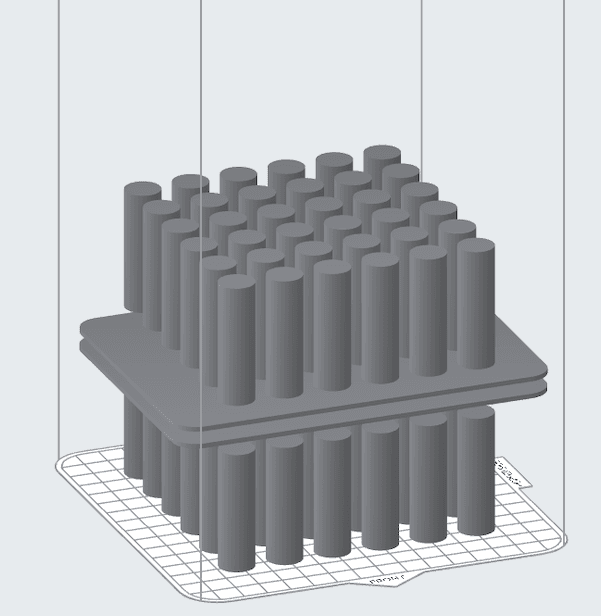
Thin features placed at the top and bottom of the build height are more likely to cause the model’s edges to curl.
Thin features located in the middle of the build height are more likely to stay flat.
Part angle and orientation
SLS printing does not require supports or rafts for large horizontal surfaces. Surfaces oriented at a shallow angle are prone to layer lines. Formlabs recommends orienting cosmetic surfaces at 0, 45, or 90 degrees to the XY print plane.
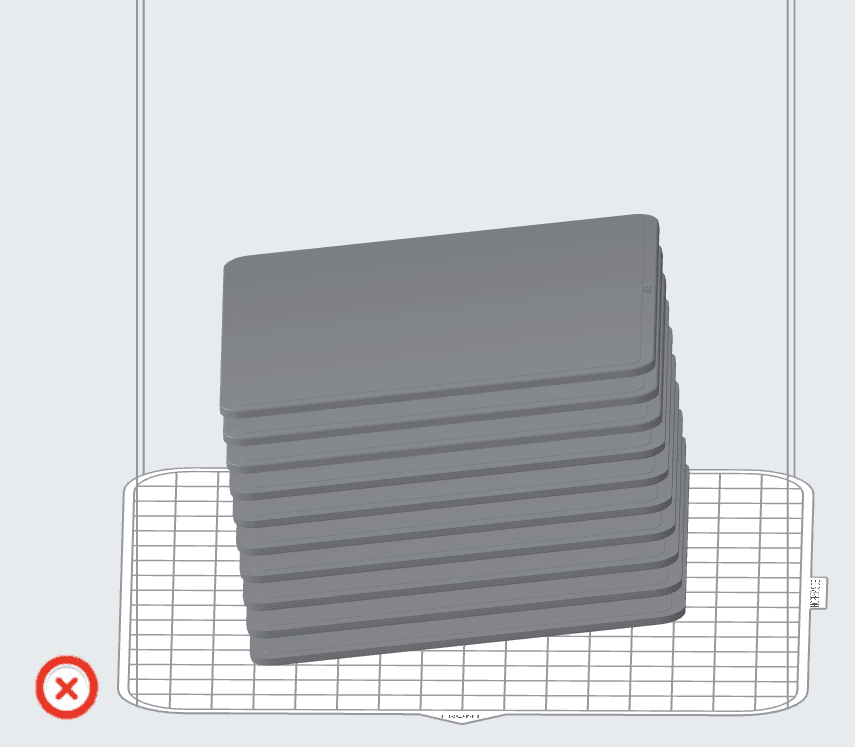
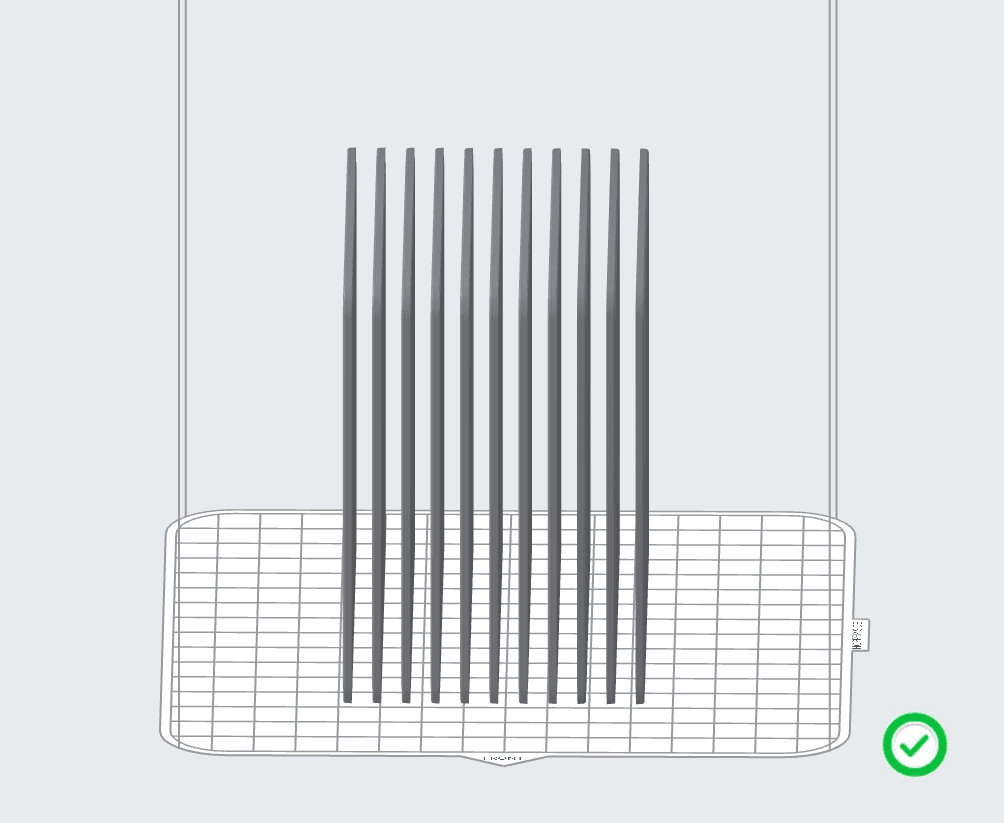
Surfaces at a slight angle to the XY plane increase the visibility of layer lines.
Surfaces parallel to the XY plane decrease the visibility of layer lines.
Orient features that require tight tolerances or better surface finish horizontally (i.e., in the XY plane) rather than vertically.
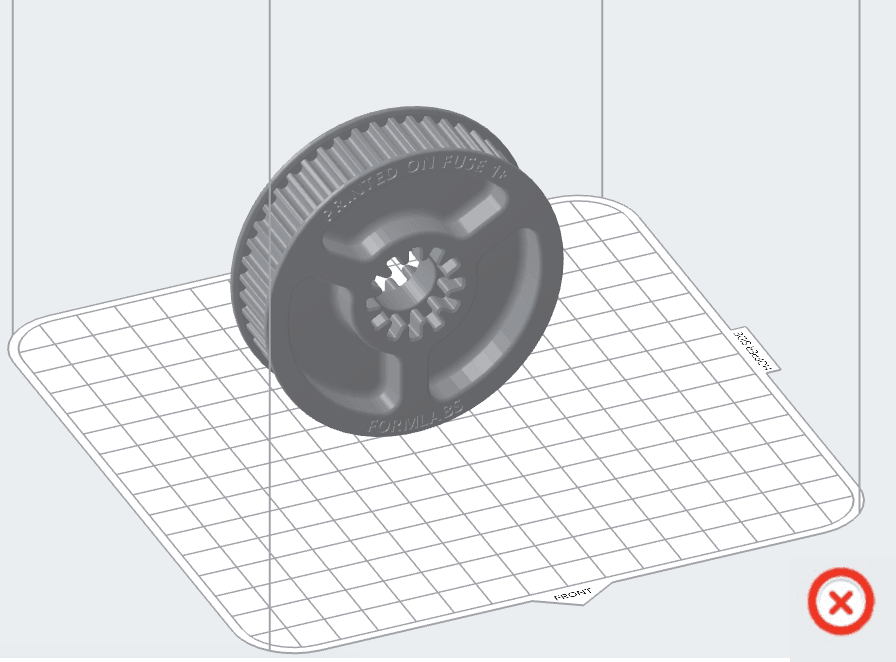
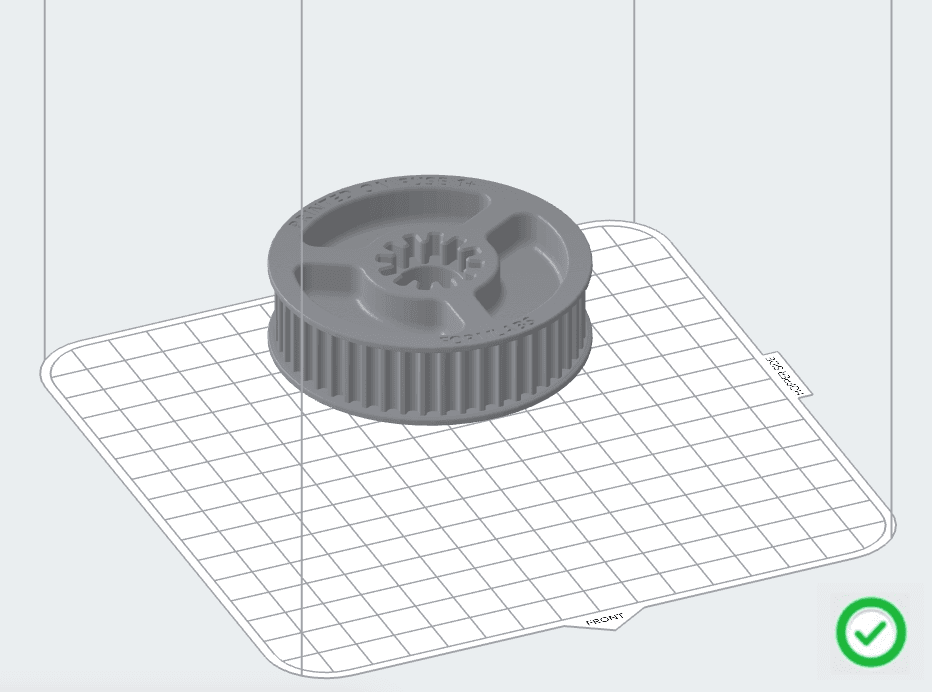
Consider all of these factors when selecting a position and orientation for your parts. For example, if you are printing a thin and flat part and have strict surface finish requirements for the top and bottom faces, you may want to orient the model horizontally and place it near the center of the build volume.
Distributing parts uniformly
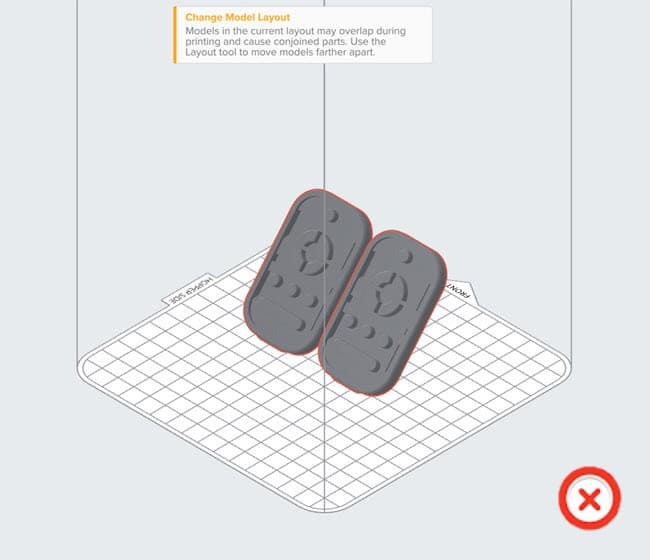
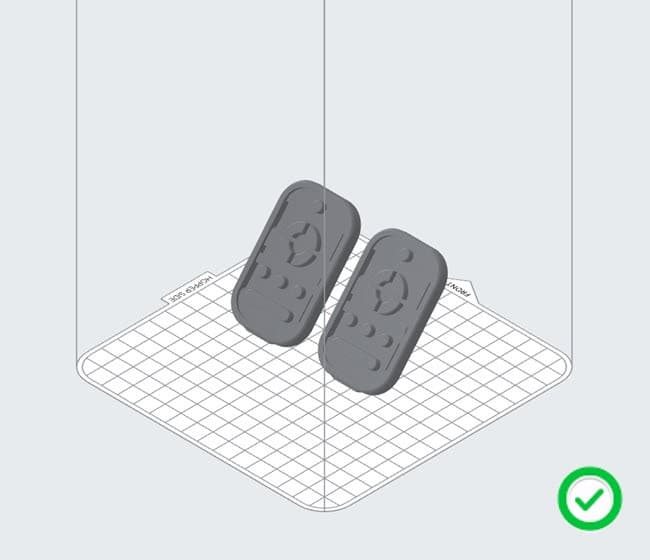
Parts positioned too close to one another may distort during cooling or create an area of hard powder cake between them. PreForm notifies you if the parts are placed close enough that they will fuse together during printing. For best results, space models at least 5 mm apart.
Parts for assembly
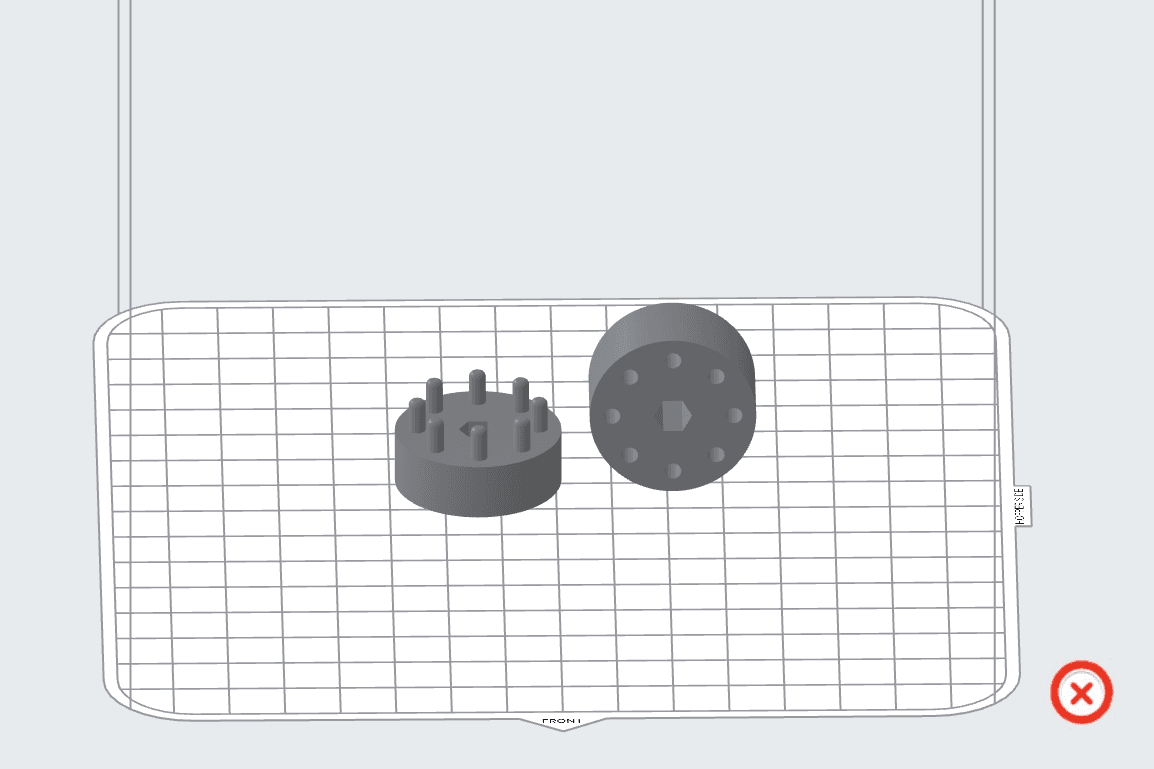
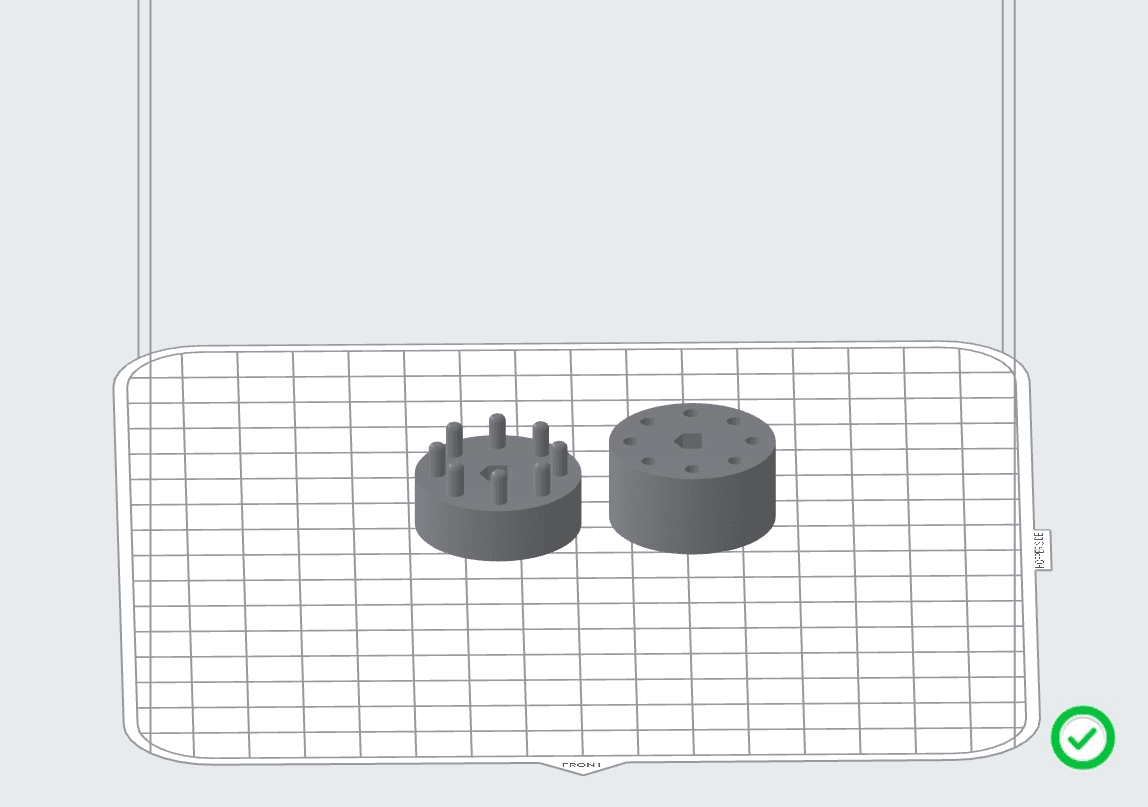
If parts are designed for assembly, orient the parts so that the interfacing surfaces are parallel to each other. Small errors in X, Y, and Z accuracy may affect the fit of mating parts if they are printed in different orientations.