WHITE PAPER
Removing and replacing the Fuse 1's optical cassette
Removing and replacing the Fuse 1's optical cassette
Inspect the optical cassette on Fuse 1 generation printers after every print. If the optical cassette is contaminated, clean it before the next print.
Removing the optical cassette
To remove the optical cassette:
- Put on a new clean pair of nitrile gloves. Powder, skin oils, and other contaminants may smudge the glass windows in the optical cassette.
- On the touchscreen, drag the Unlock Door slider. The print enclosure door unlocks.
- Open the print enclosure door.
- On the ceiling of the print enclosure, loosen the thumb screw in the front-center of the printer cavity. The cassette tray swings down.

The thumbscrew at the top of the print enclosure
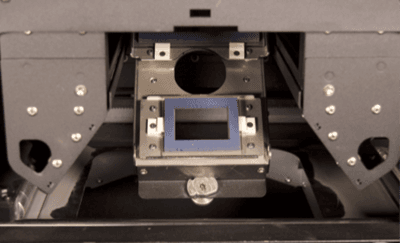
The cassette tray is open to reveal the optical cassette inside
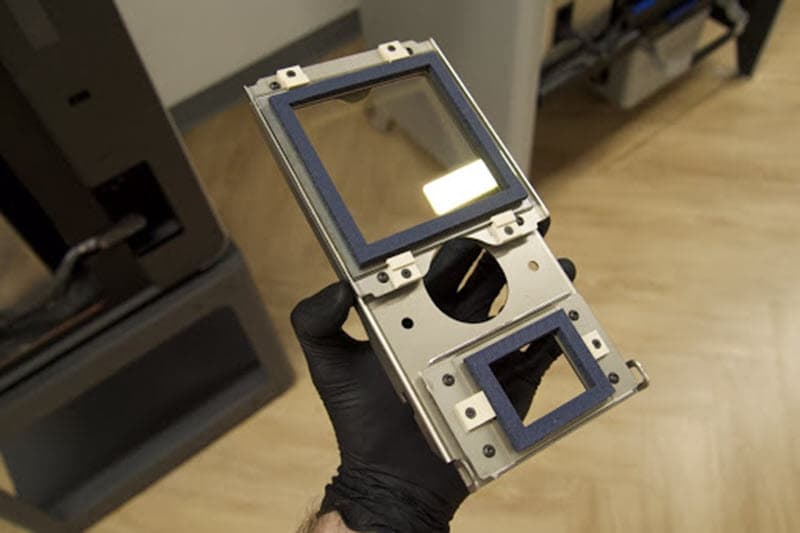
- Slide the optical cassette out of the cassette tray. Set the optical cassette aside on a clean, flat surface with the gasket facing upward. Ensure that nothing is directly touching either glass window of the optical cassette.
- If the optical cassette is dirty or contaminated, clean or replace it.
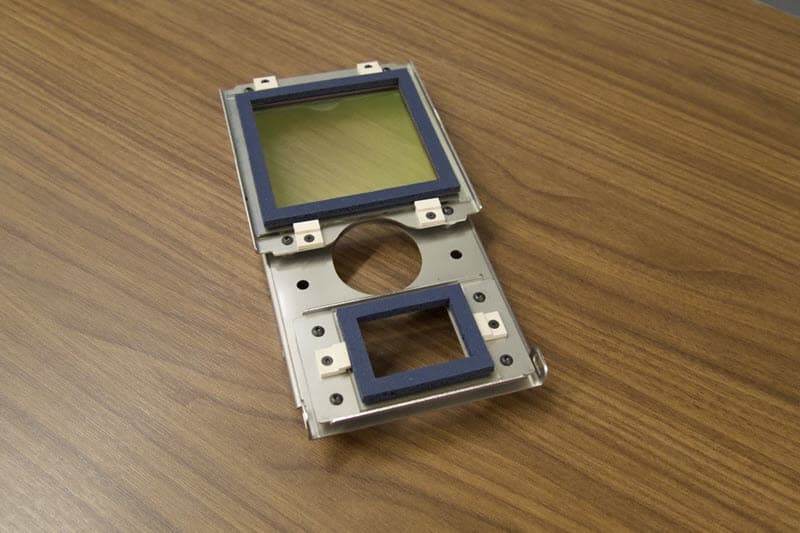
Inserting the optical cassette
To insert the cleaned optical cassette:
- Place the clean optical cassette into the cassette tray.
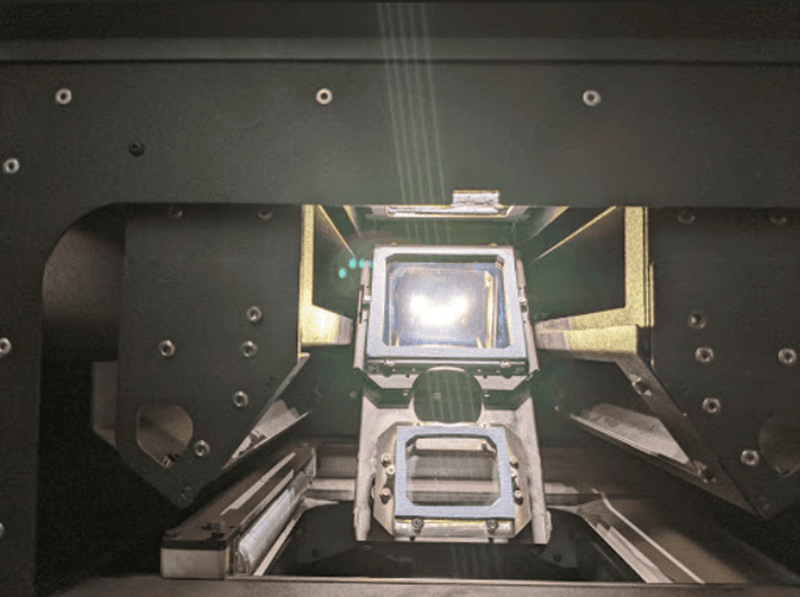
An optical cassette rests in an open cassette tray
- Return the cassette tray to its closed position and tighten the thumb screw in the front of the printer cavity.

A close-up view of the thumbscrew on the cassette tray
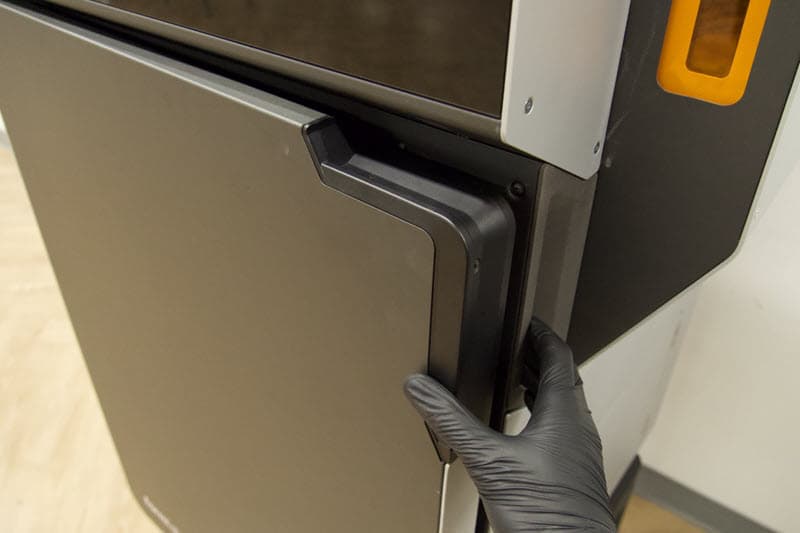
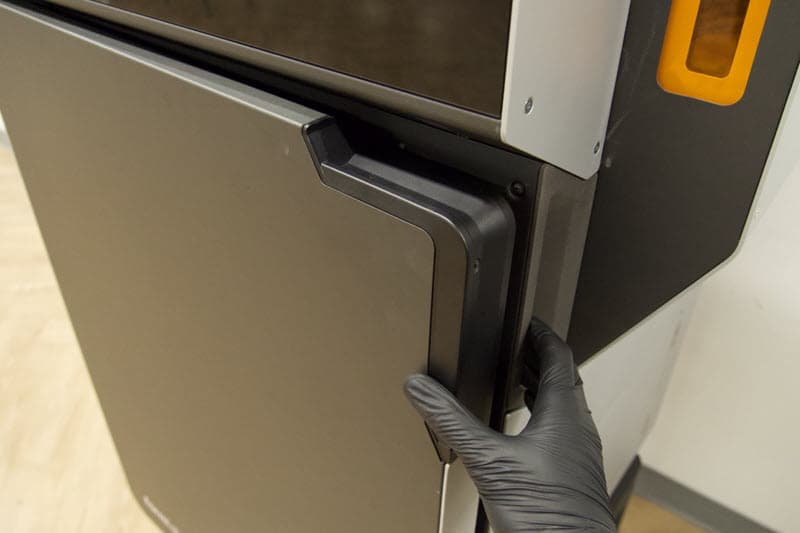
- Close the print enclosure door. Press firmly to ensure that the door is fully latched. If necessary, squeeze the front of the door using the cutout on the right side of the printer for leverage.