Replacing the Fuse 1 hopper gasket

Over time, the gasket that sits between the hopper and doser may degrade. It may also become damaged during other repair procedures. If the hopper gasket is degraded or damaged, powder may leak from the junction between the hopper and doser.

Use this guide to replace the hopper gasket on a Fuse 1 printer.

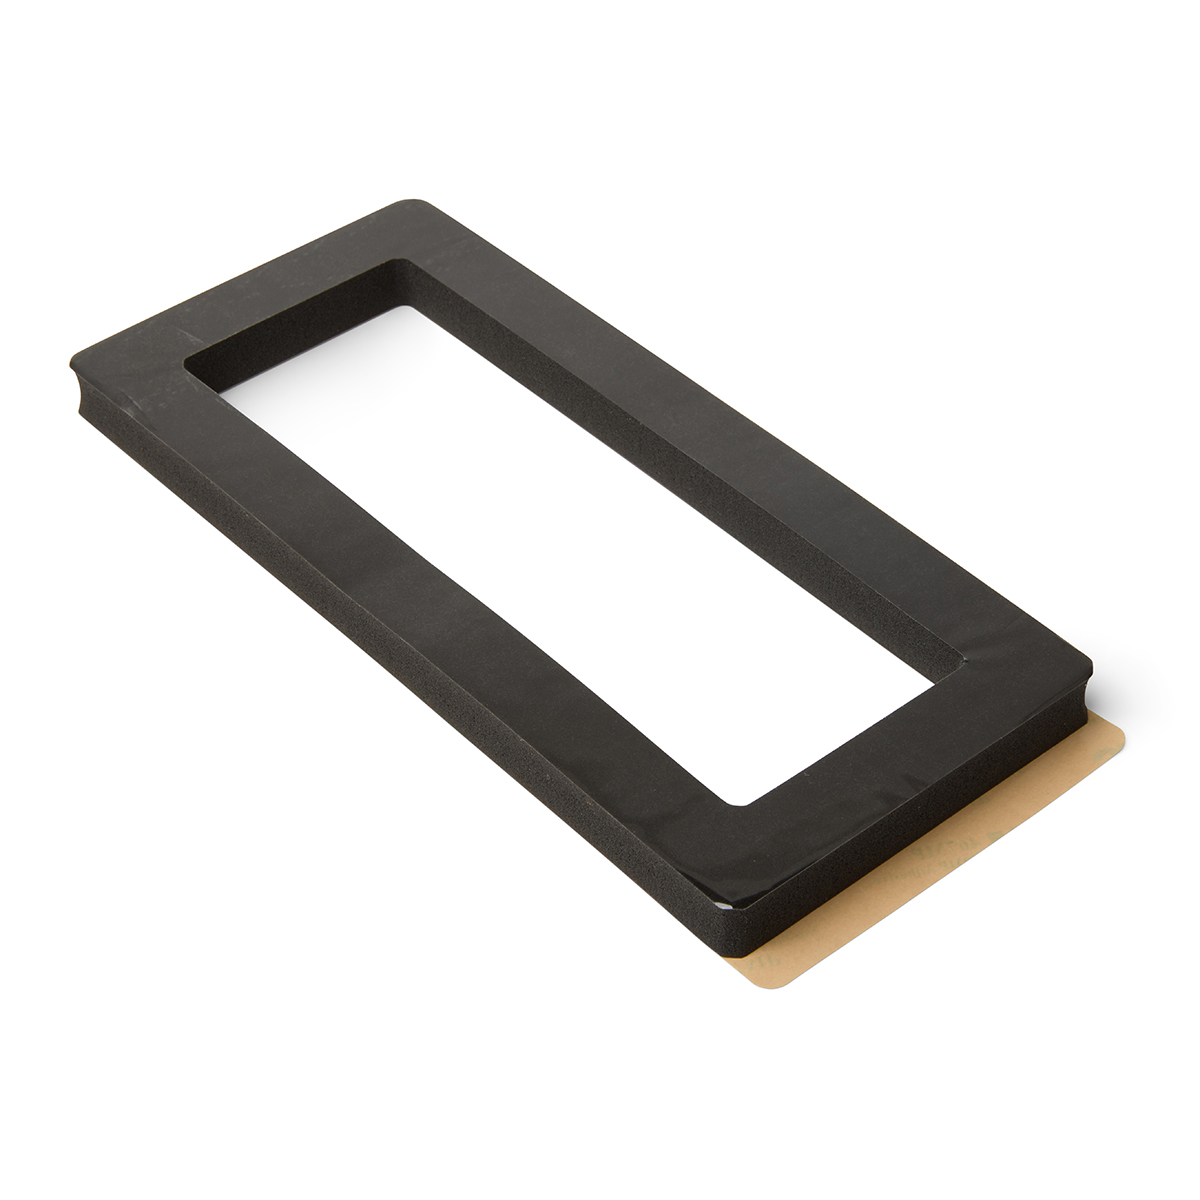
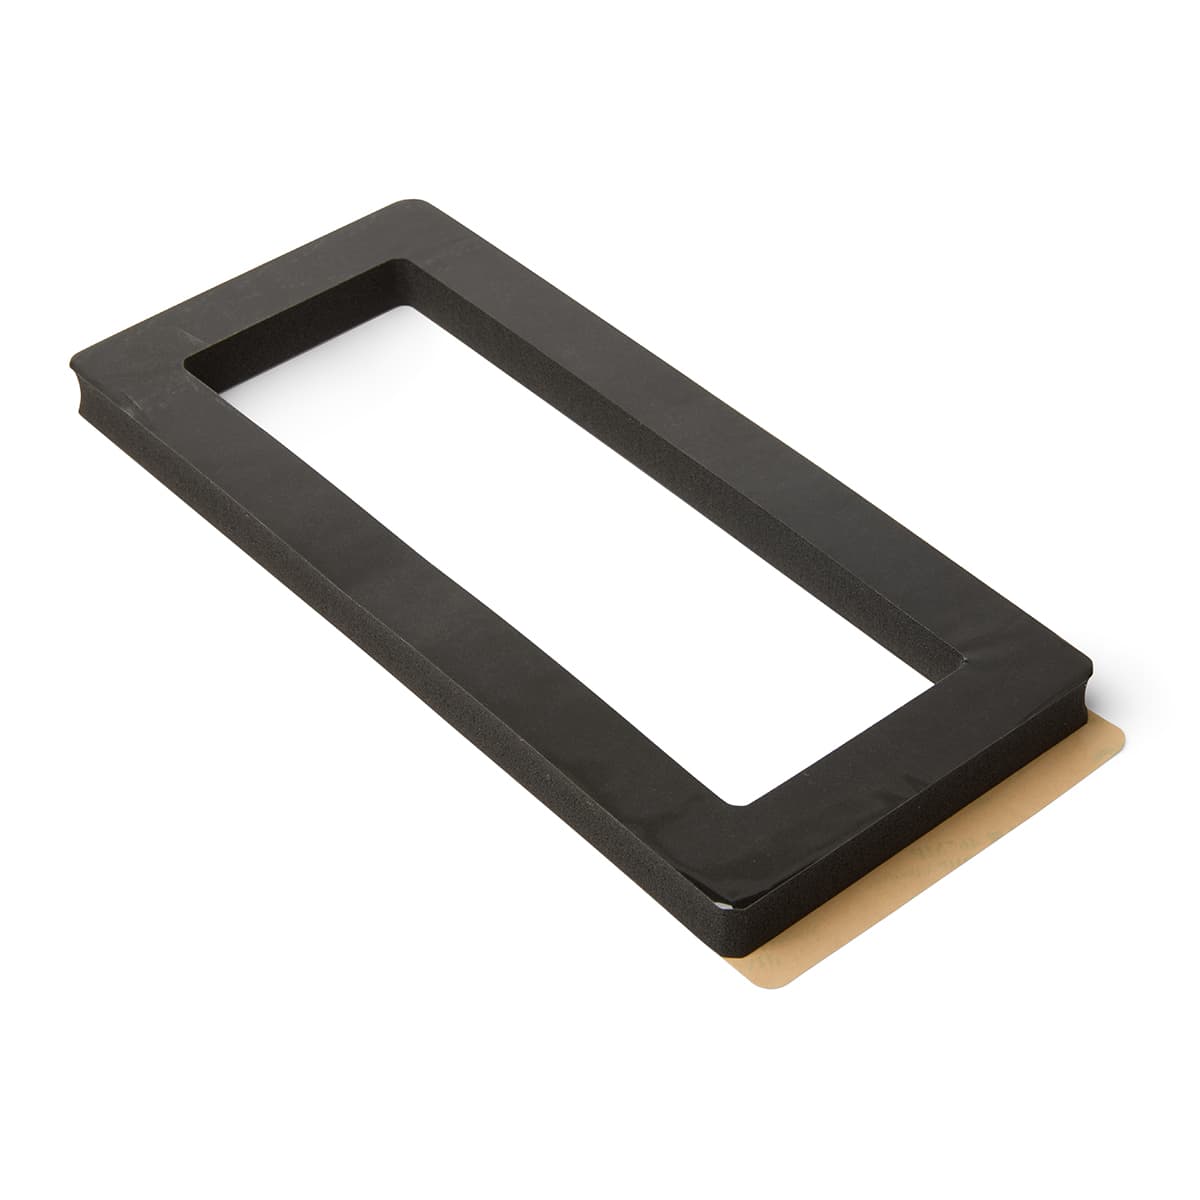
Fuse 1 hopper gasket

Required supplies:

Formlabs:

Third-party:

Estimated time: 45–60 minutes, plus time to empty the powder hopper and print the hopper vacuum attachment, if needed

Preparing the workspace

Overview: Prepare the printer and a dust-free workspace for replacing the hopper gasket.

Warning:

Do not perform this procedure if the build chamber was used for printing less than six hours prior. Failure to do so may result in serious burns. Allow the build chamber and print enclosure to fully cool to room temperature before touching or inspecting any printer components.

Step 1: Print the hopper vacuum attachment

If you have access to another 3D printer or your Fuse 1 generation printer can complete a print before servicing, print and post-process the hopper vacuum attachment. The STL file is available here.

Step 2: Prepare the workspace

Clear a workspace around your printer. Ensure that the workspace is well-ventilated and free of dust.

Step 3: Empty the hopper

Insert an empty build chamber. Tap Settings > Calibration > Empty Hopper on the printer’s touchscreen. Follow the on-screen prompt on the Empty Hopper screen to transfer the powder from the hopper to the build chamber. This process may take up to an hour.

Step 4: Clean the hopper and powder troughs

Follow the instructions for cleaning the hopper and cleaning the powder troughs from the support article Cleaning all powder out of a Fuse 1 generation printer. You do not need to clean the other components of the printer to replace the doser assembly.

Step 5: Unplug the printer

Disconnect the power cable before continuing with maintenance. Do not perform maintenance on the printer while it is connected to power. Wait five minutes after disconnecting the printer from power before proceeding.


Danger:

Performing maintenance on the printer while it is plugged in increases the risk of electric shock. Never remove the back panel of the printer while the printer is plugged in. Never reconnect the printer to power while the back panel is uninstalled.

Removing the hopper gasket

Overview: Remove the hopper from your Fuse 1 printer, then remove the gasket from its bottom edge.

Step 1: Remove the hopper

Follow the instructions for removing the top panel, removing the hopper panels, and removing the hopper in the guide Replacing the Fuse 1 doser assembly. Do not remove the doser assembly as well.

Step 2: Remove the hopper gasket

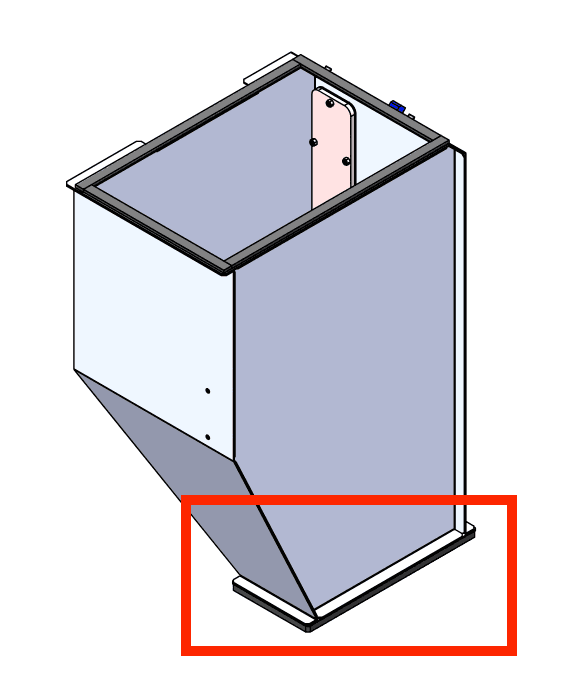
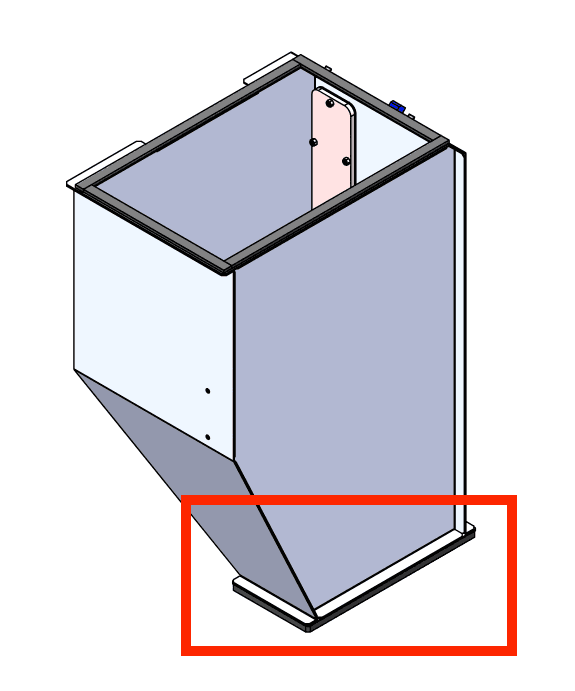
Set the hopper down on the side opposite the window on a flat, clean surface. Do not set the hopper down on the top gasket, as it may become damaged. Peel the gasket off of the bottom edge of the hopper. Set the gasket aside for disposal.

Step 3: Wipe the hopper

Use a clean paper towel to wipe away any powder that may have accumulated underneath the gasket. Ensure the surface is clean and free of debris.

Removing the Fuse 1 hopper gasket

Installing the replacement hopper gasket

Overview: Install the replacement hopper gasket on the bottom surface of the hopper.

Step 1: Inspect the replacement hopper gasket

Inspect the replacement gasket for any contamination or debris. Use a clean paper towel to wipe it clean.

Fuse 1 hopper gasket

Step 2: Place the replacement hopper gasket on the hopper

One side of the replacement gasket has adhesive pre-applied. Peel any protective layers off of the gasket and adhere it to the bottom of the hopper. Make sure that the gasket does not extend into the hopper opening.

Step 3: Reinstall the hopper

Follow the instructions for reinstalling the hopper, reinstalling the hopper panels, and reinstalling the top panel in the guide Replacing the Fuse 1 doser assembly.

Step 2: Place the replacement hopper gasket on the hopper

Finalizing the repair

Overview: After replacing the hopper gasket, perform final checks.

Step 1: Power on the printer

Connect the power cable to the printer and the power supply. The printer initializes.

Step 2: Test the gasket

Refill the hopper. Check that no powder leaks around the base edge of the hopper. Insert the build chamber into the printer and start a print. Again, check that no powder leaks around the base edge of the hopper as it flows into the doser. Contact Formlabs Support or your certified service provider to share the results of the procedure.