
Notice:
Read and follow the instructions to fully prepare the printer for printing. Skipping any of the following operations may result in print failure, and potentially damage the printer.

Before you start
Before starting a print, you need PreForm to prepare a print job and upload it to the printer:
Preparing the printer
Starting a print on a Fuse 1 generation printer requires several critical maintenance procedures that should be completed before every print. After selecting a print job, the touchscreen guides you through the necessary maintenance procedures.

Notice:
Read and follow the instructions to fully prepare the printer for printing. Skipping any of the following operations may result in print failure, and potentially damage the printer.
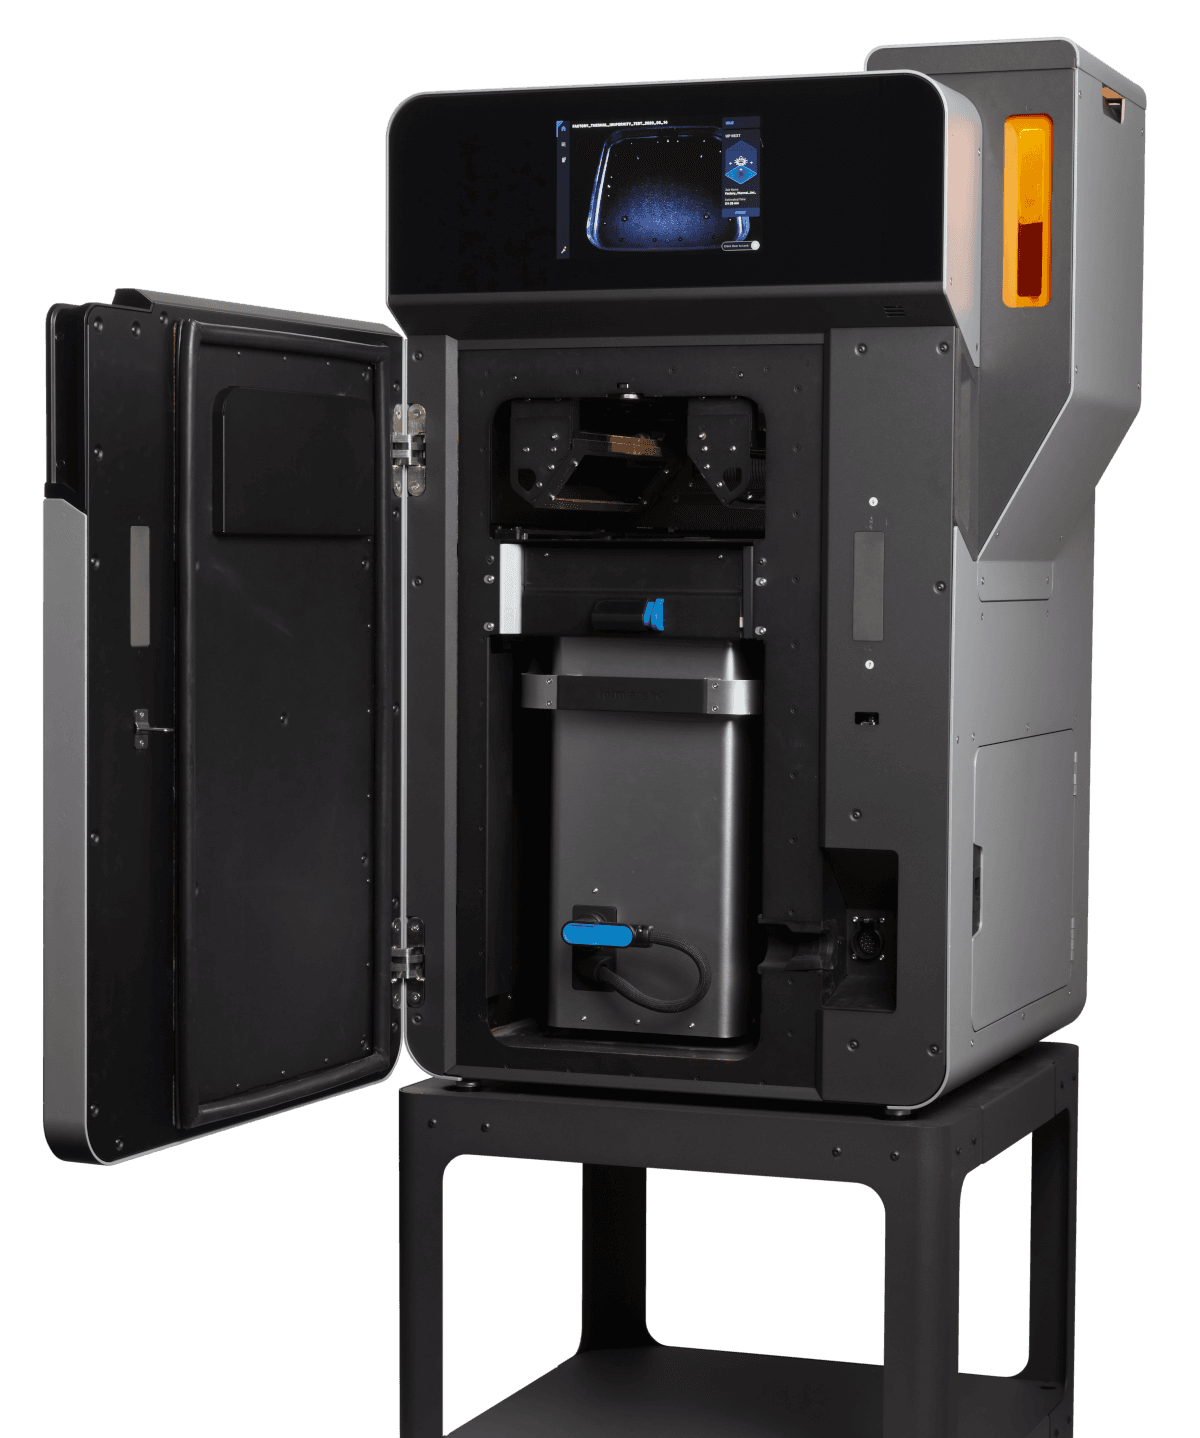
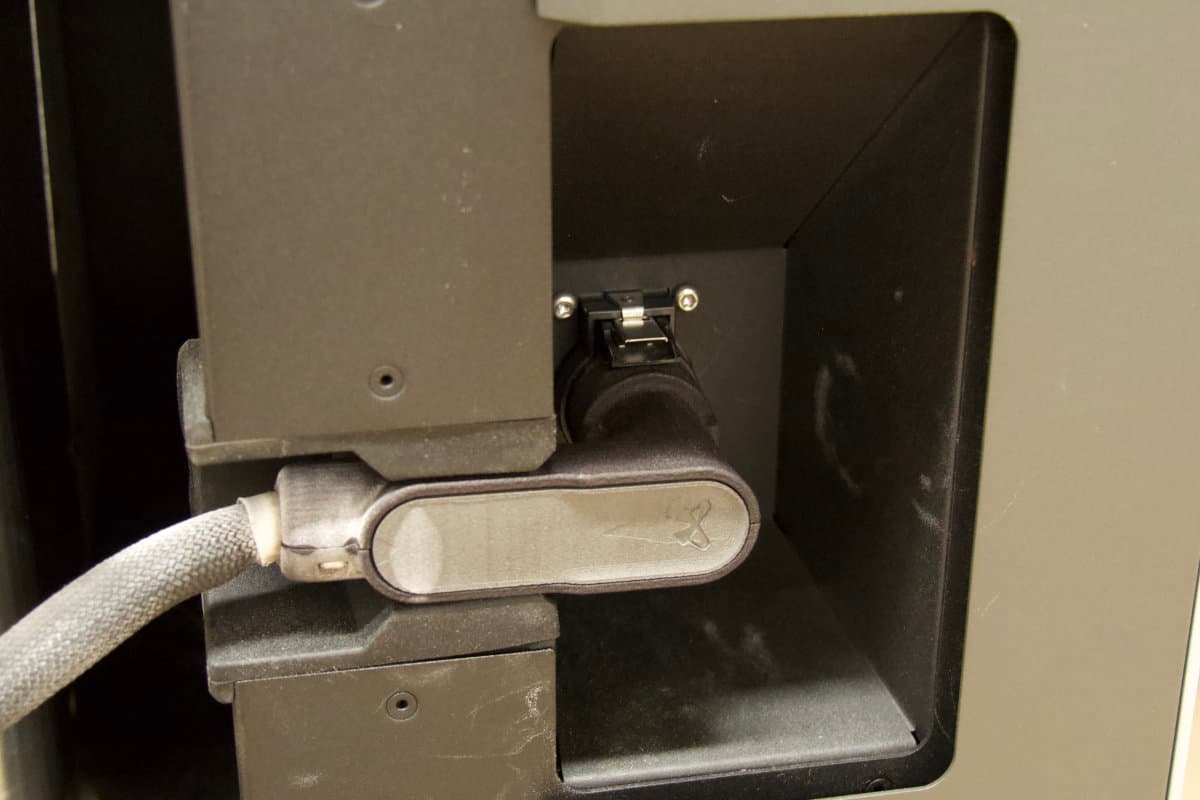
Insert an empty build chamber into the printer. Connect the build chamber plug to the printer. Ensure that the left side of the plug is flush with the printer frame.
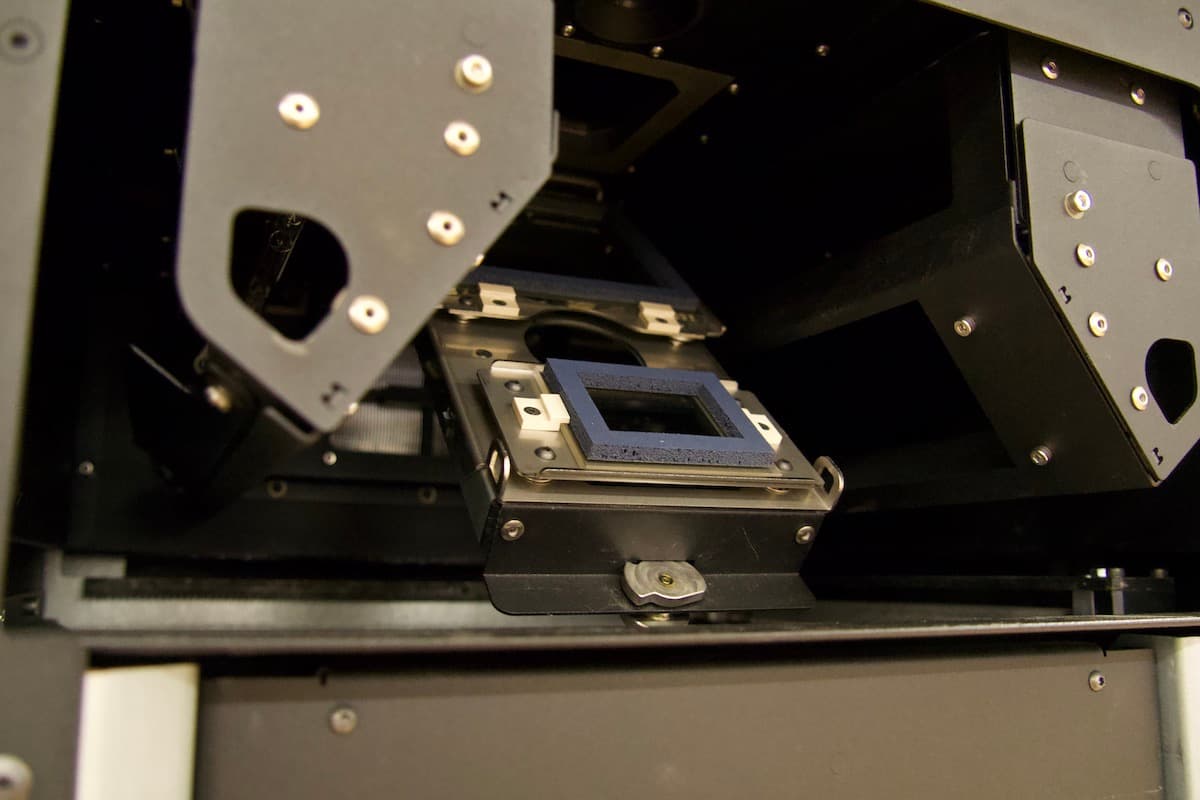
Insert a clean optical cassette into the printer.
Fill the hopper with the appropriate powder from a powder cartridge.
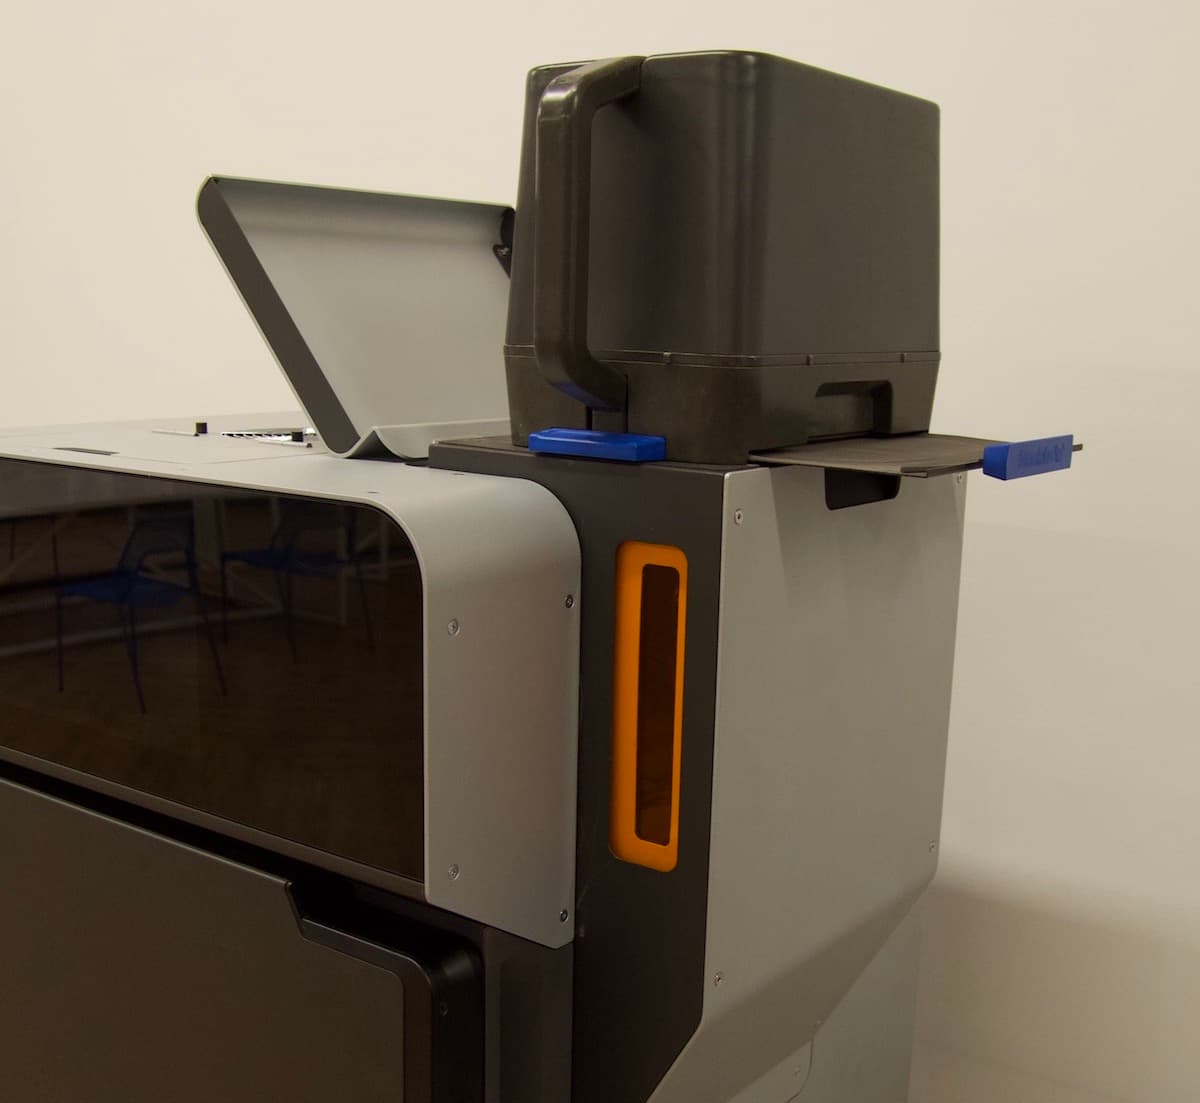
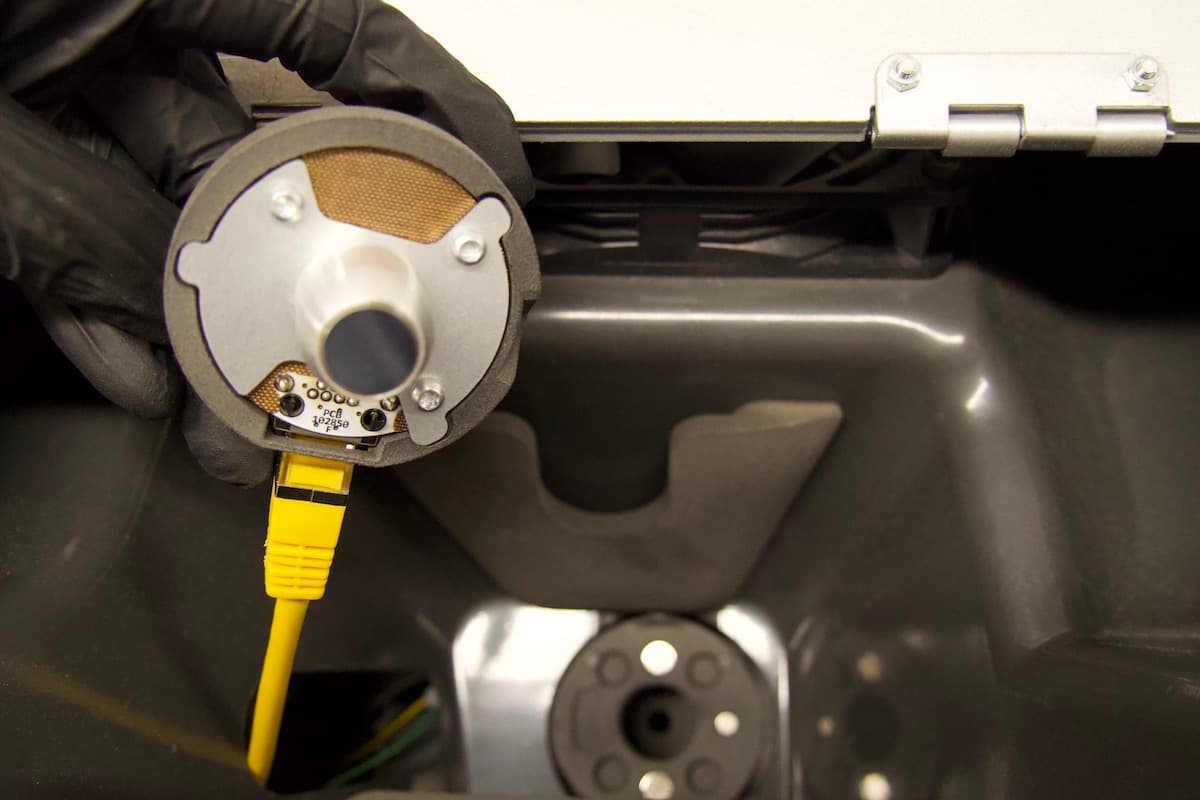
Lift the IR sensor access door on the top of the printer and inspect the IR sensor. Clean the IR sensor if necessary.
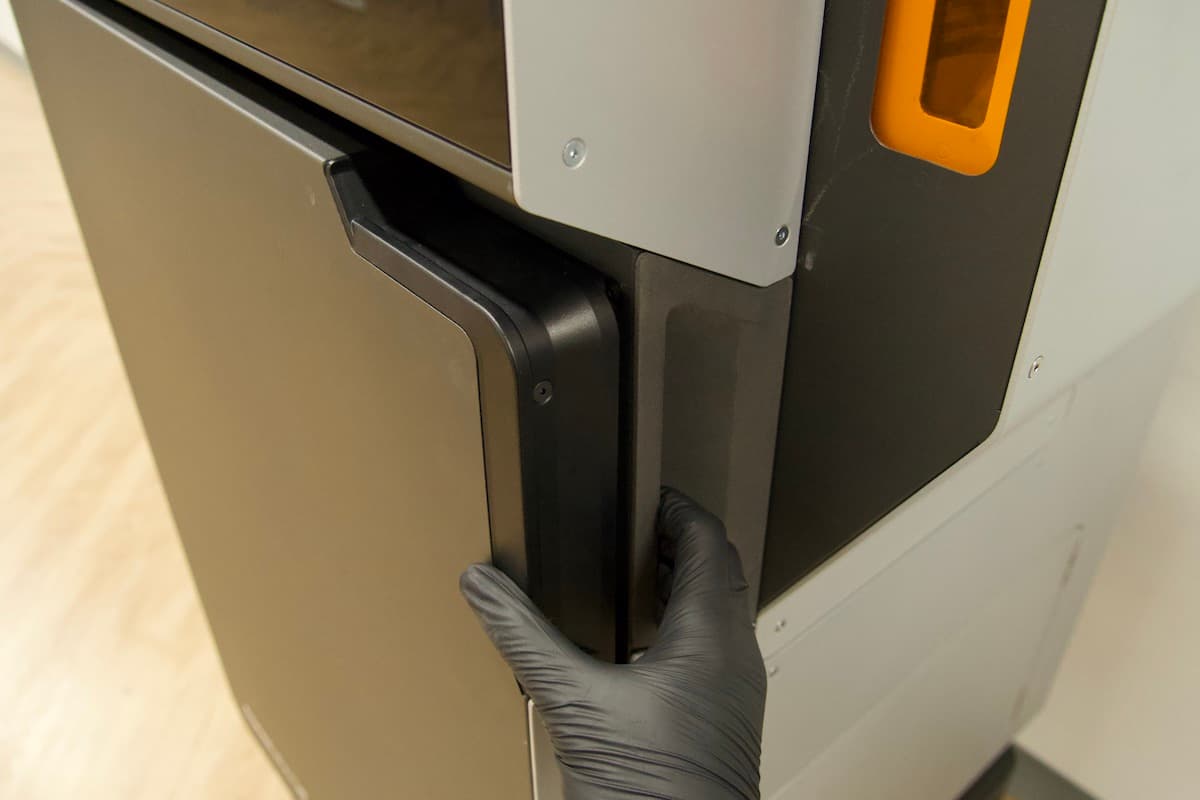
Ensure that all access doors on the printer are closed.
Preparing the nitrogen system (Fuse 1+ 30W only)
The Fuse 1+ 30W has the option to use nitrogen as an inert gas atmosphere in the print chamber. The inert nitrogen atmosphere prevents the oxidation of plastic powder.
The Fuse 1+ 30W has two atmospheric control modes:
To prepare the Fuse 1+ 30W for printing with an inert gas atmosphere:
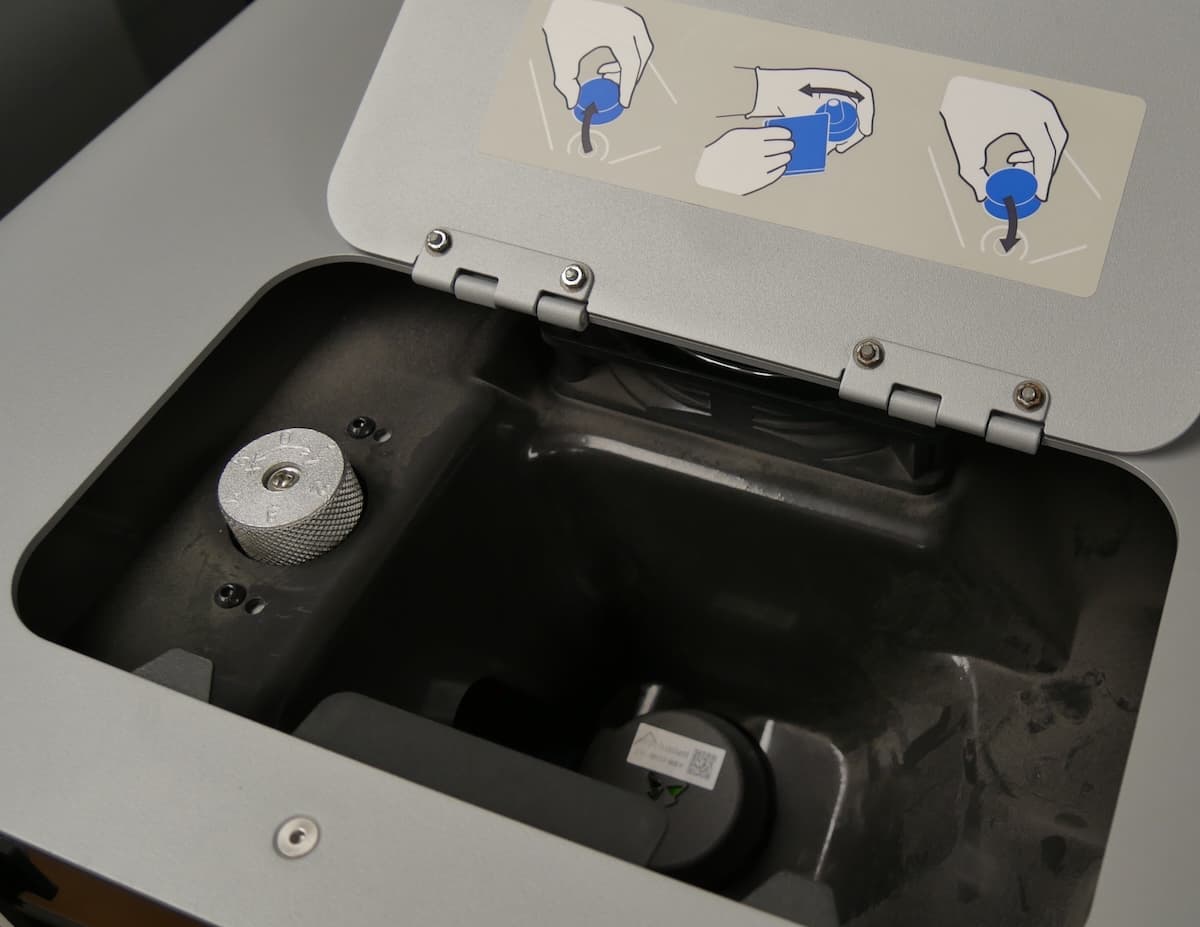
To adjust the valve pressure:
Note:
The nitrogen pressure knob is extremely sensitive. If the onscreen needle is jumping between pressure readings, make smaller adjustments.
Starting the print
To start the print, tap Start Print on the touchscreen. The printer begins heating the print enclosure as it prepares to print. This pre-print process takes approximately one hour. The print begins automatically once the printer has reached the correct temperature.
Retrieving and cleaning prints with the Fuse Sift
After a print completes, allow the build chamber to fully cool. Once cool, remove the build chamber from the printer and move it to the Fuse Sift to retrieve and clean your prints.

Warning:
The print enclosure in Fuse 1 generation printers is designed to operate at up to 200 °C (392 °F) and incorporates high-intensity heaters. Do not open the print enclosure or any other access doors on the printer during or immediately after a print. Do not handle parts from a build chamber without allowing the entire print enclosure to cool for several hours, or until the print bed temperature has reached ≤ 45 ºC (113 °F). Use the provided thermal-insulating silicone gloves when removing a build chamber that has not been allowed to cool down. Failure to follow these procedures will result in serious injuries, including burning and/or scalding of skin.