Step 2: Mount and secure the motherboard
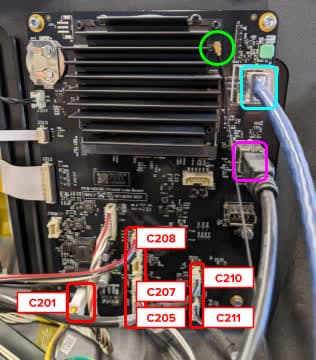
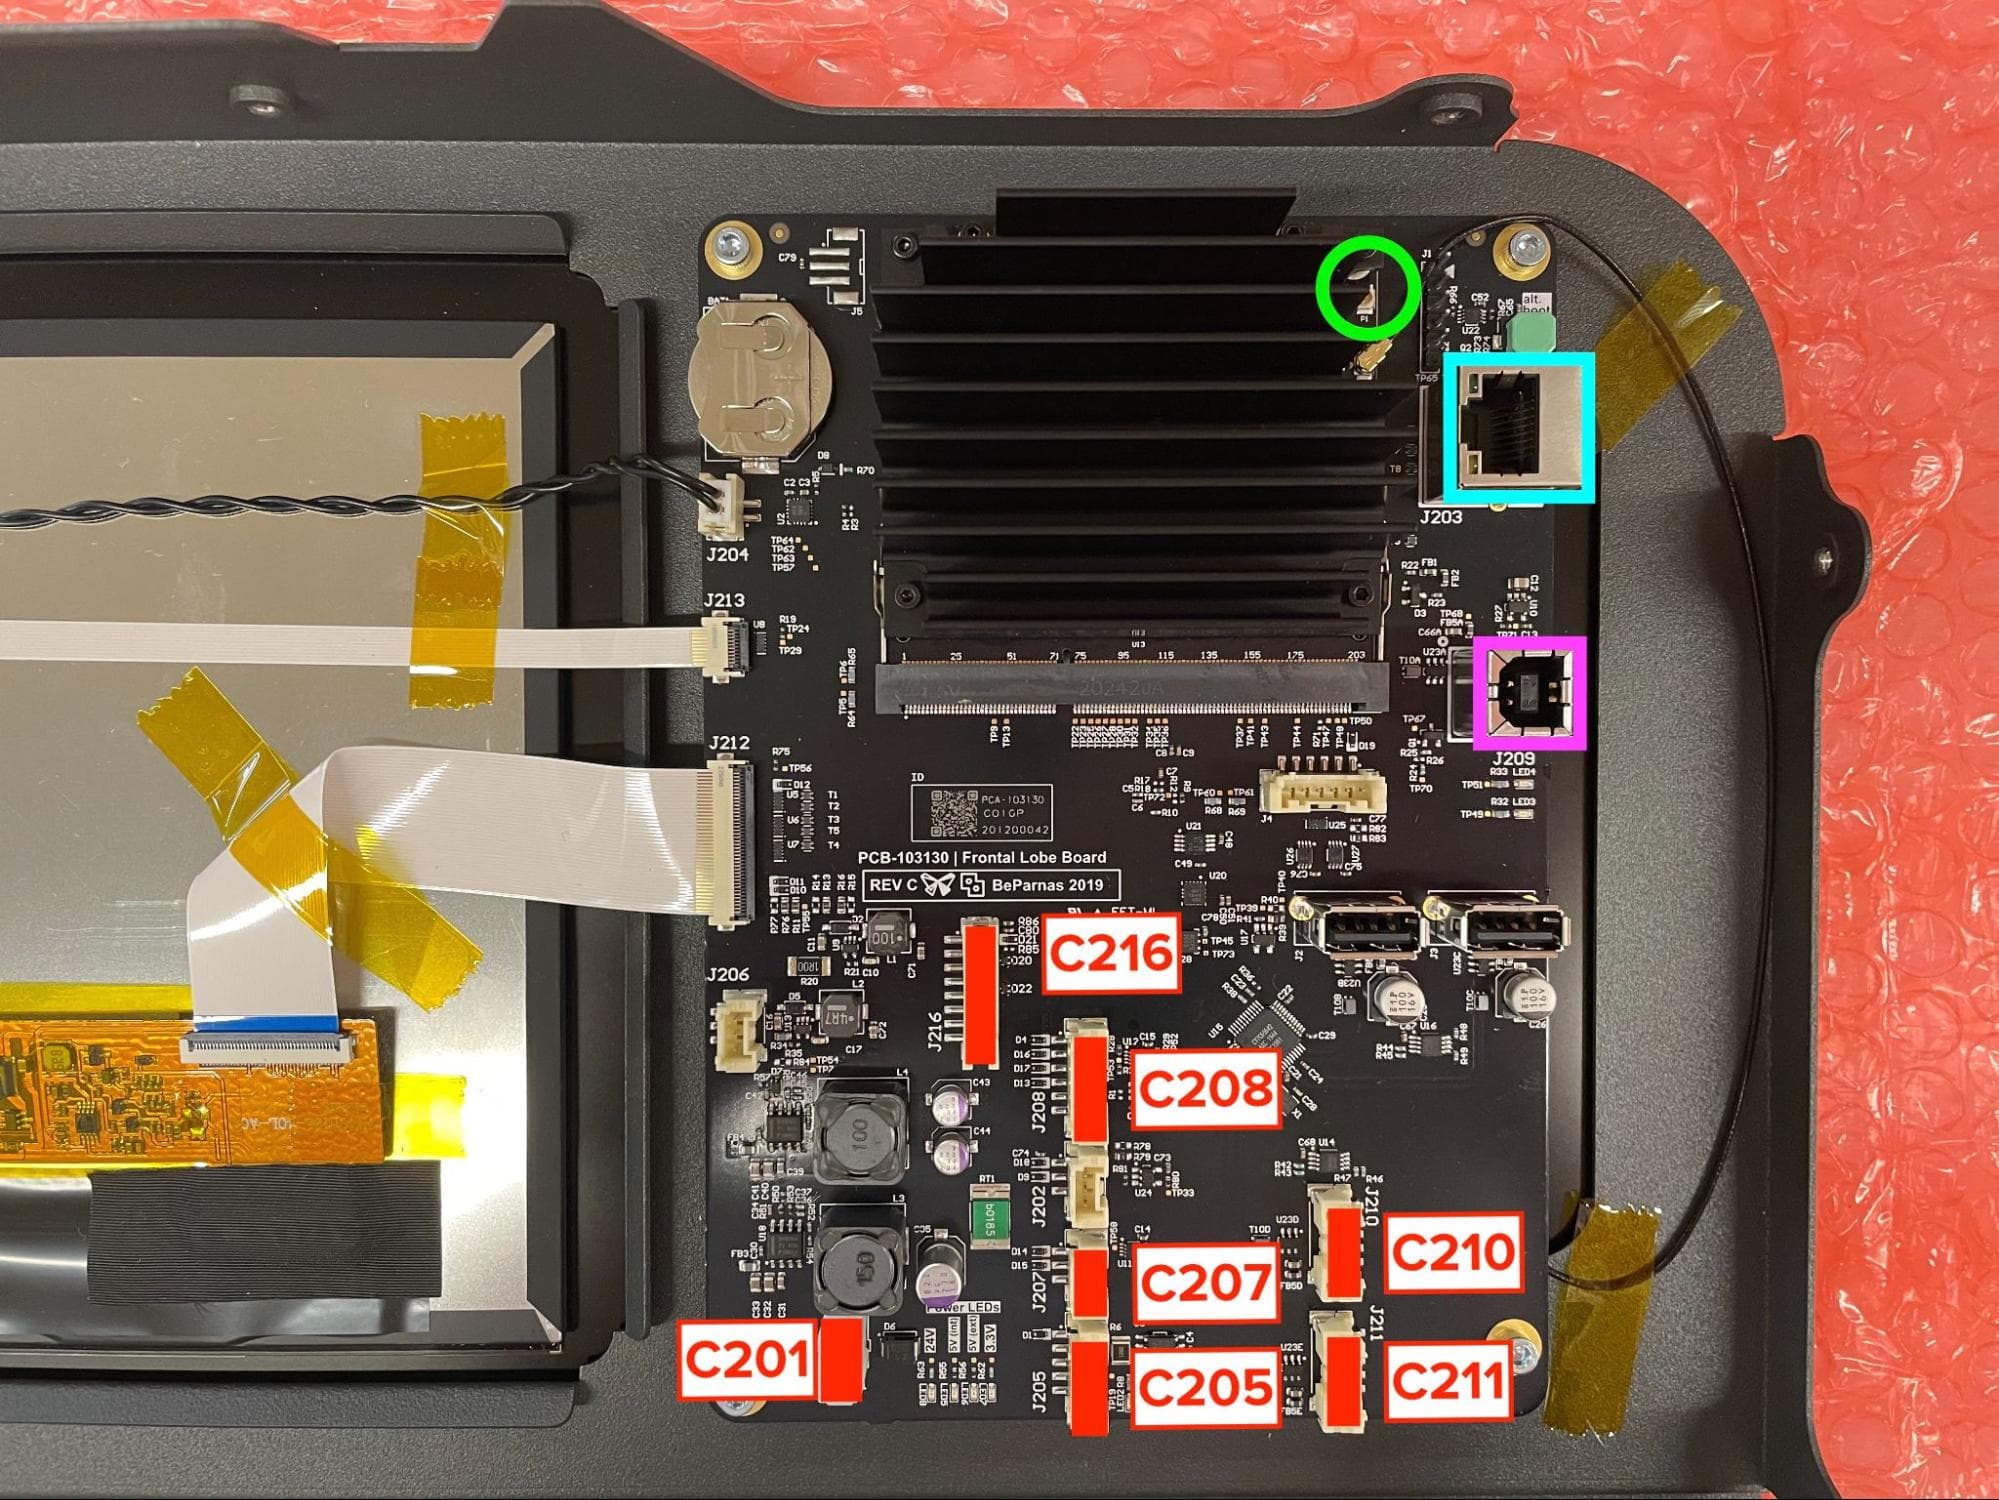
Orient the motherboard with the heatsink facing up. Place it only the standoffs on the back of the display assembly, aligning the four screw holes in the motherboard with those in the standoffs. Ensure that no cables are trapped beneath the motherboard.
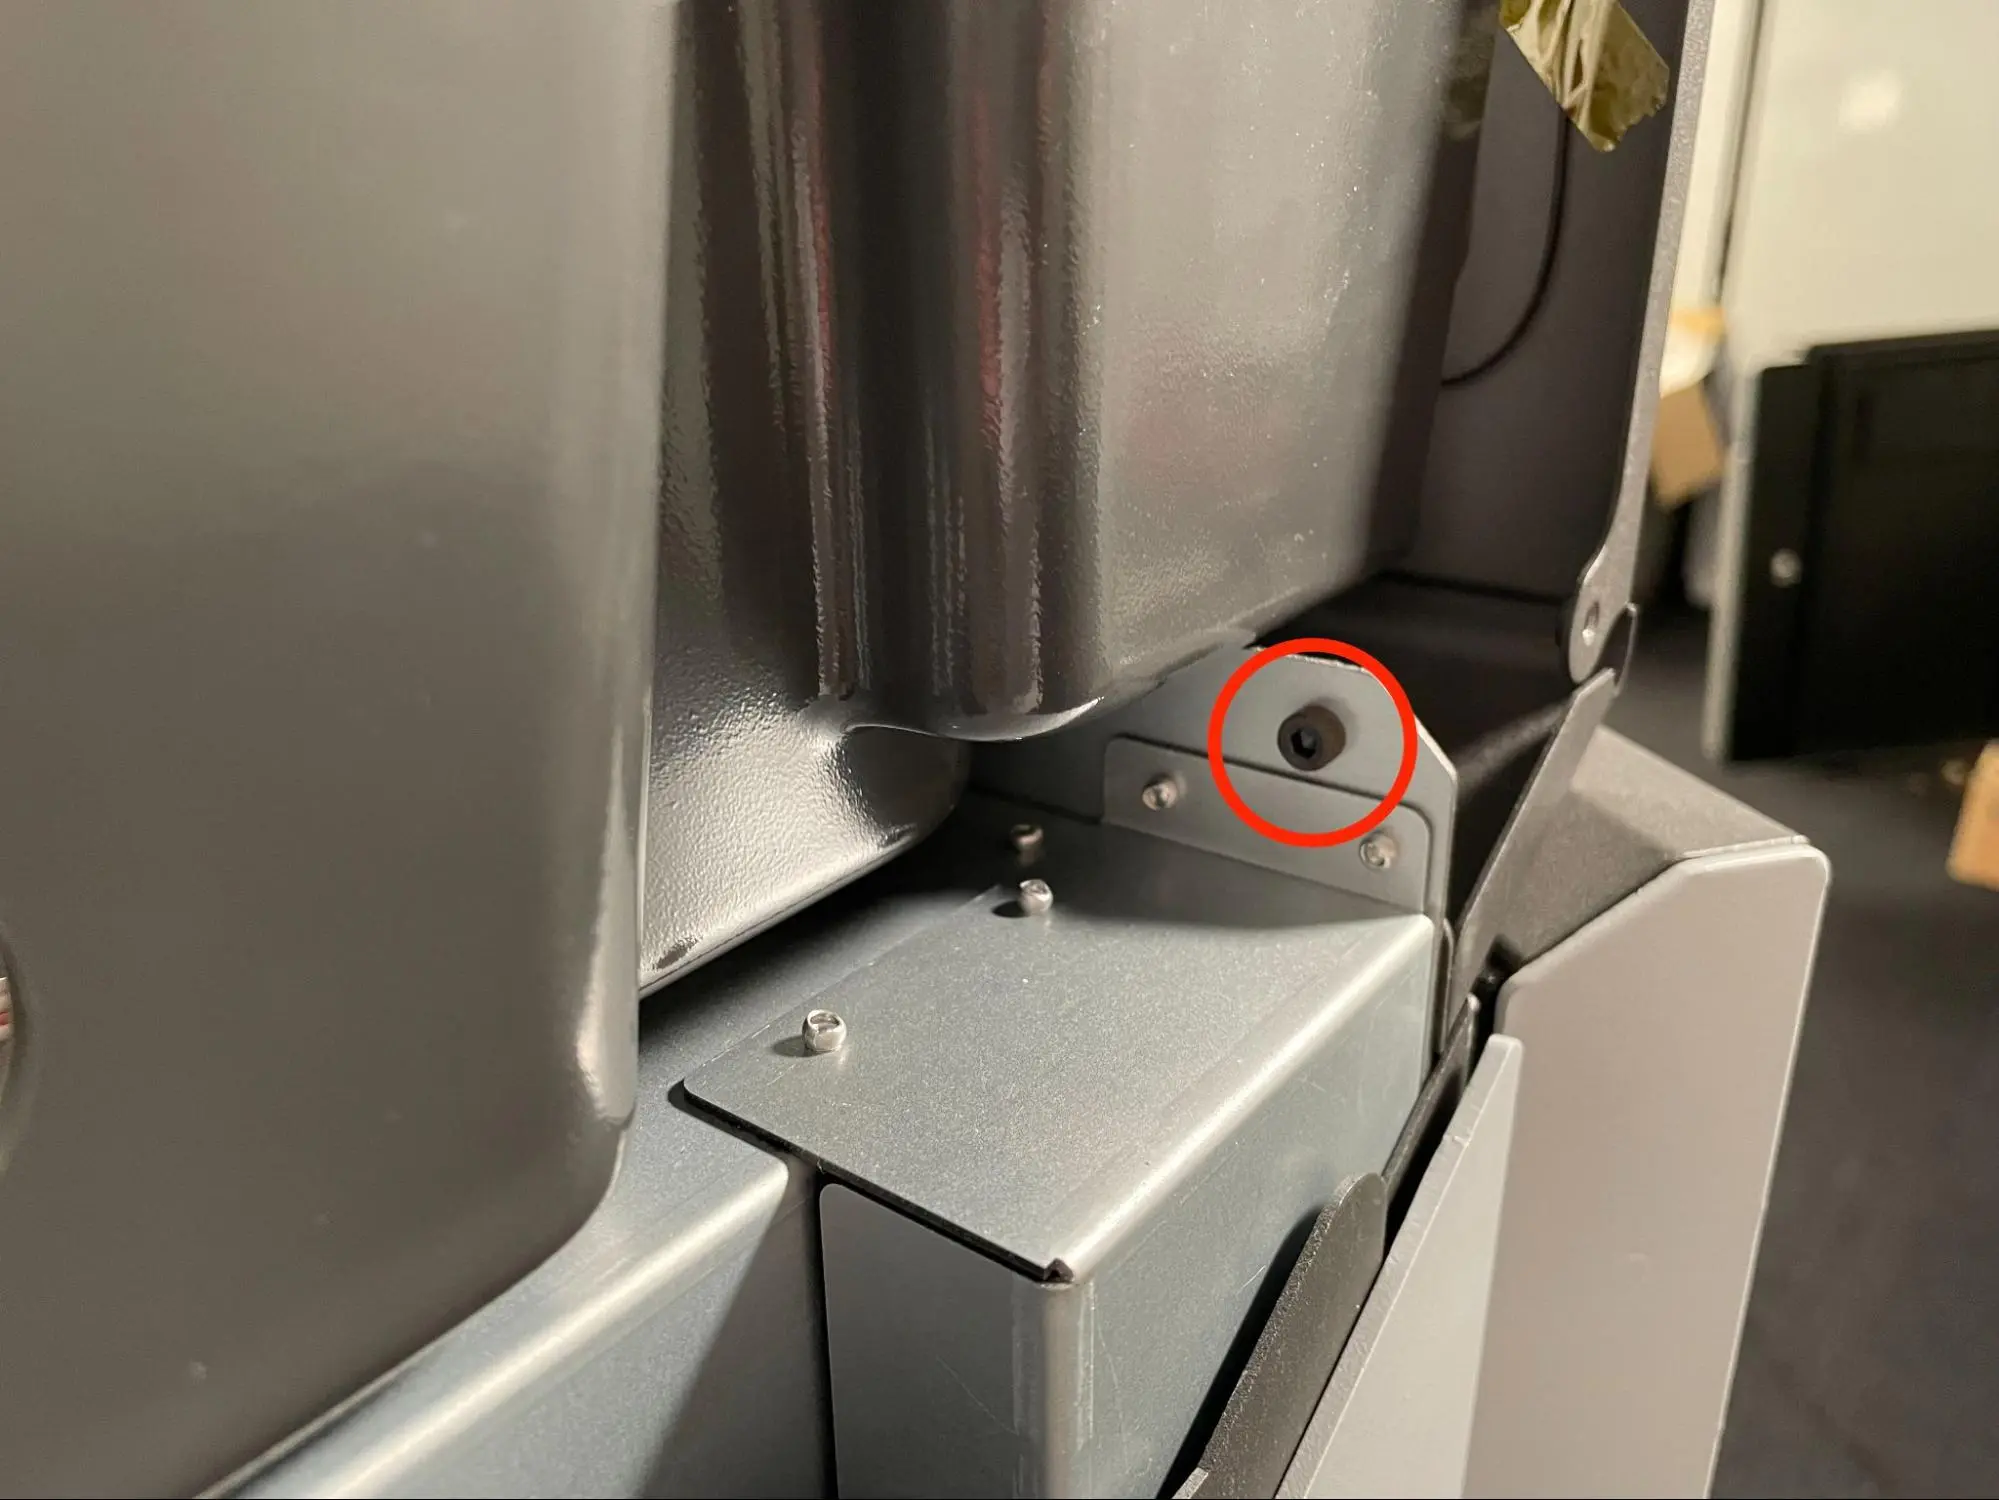
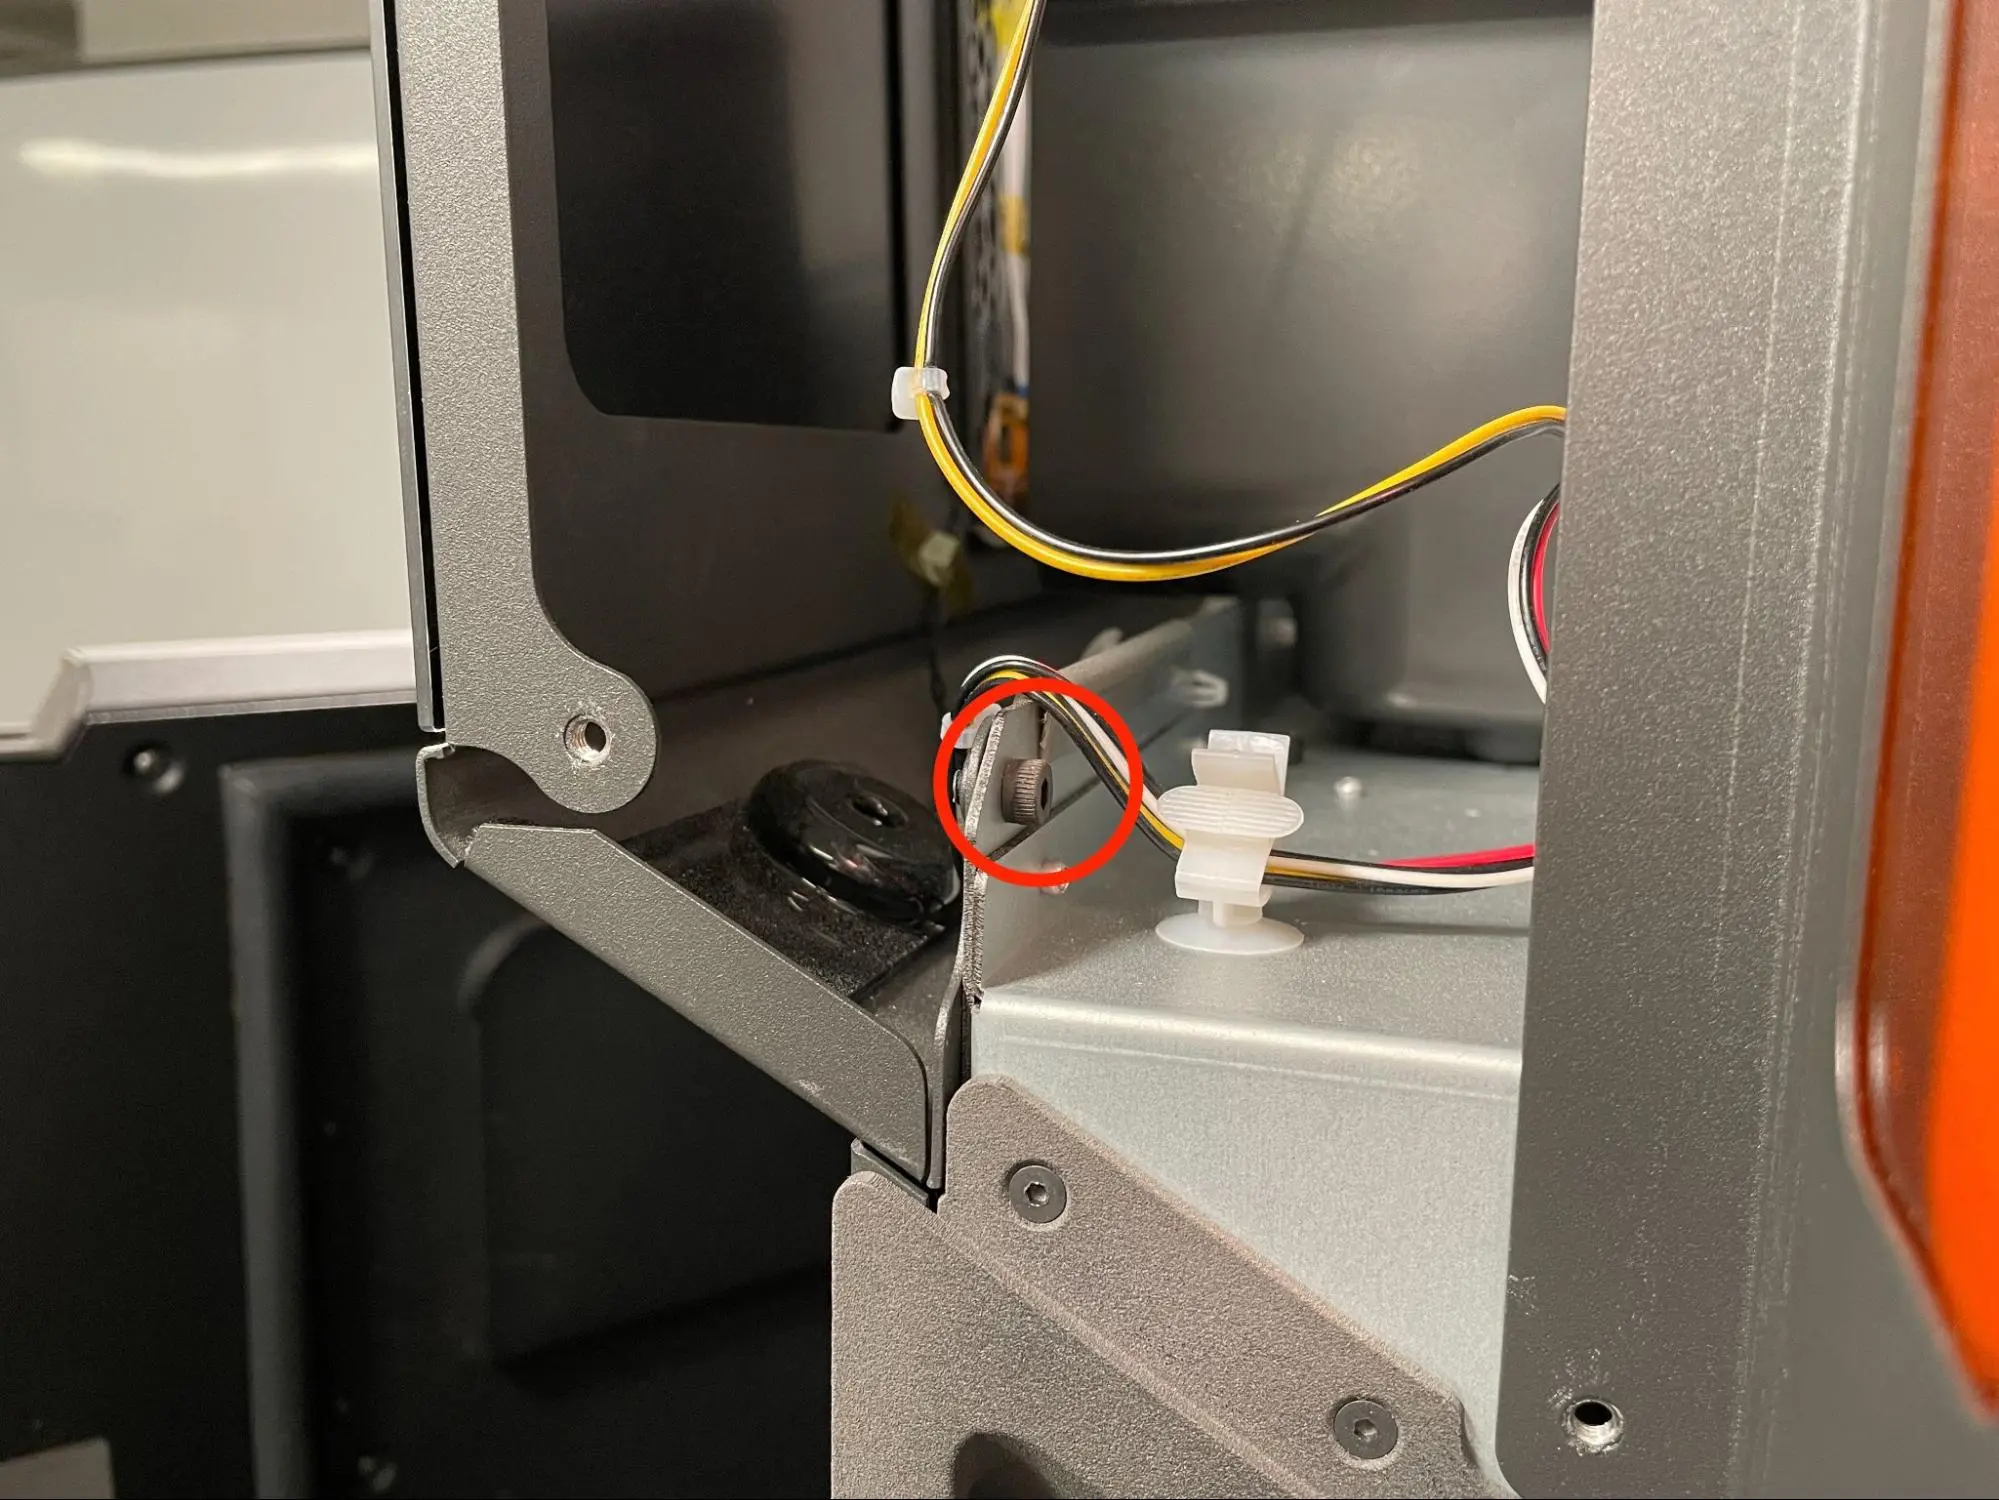
Thread one 8 mm M3 socket head screw into each of the four screw holes in the motherboard. Using a 2.5 mm hex driver, tighten until snug.
Step 3: Connect the cables from the display assembly to the motherboard
Reconnect the
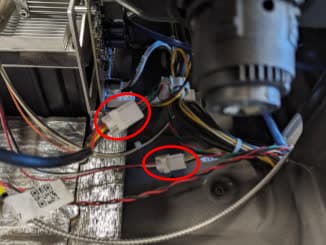
two ribbon cables to the motherboard, securing them in place with the locking latches. Reconnect the connectors labeled C04 and C216.
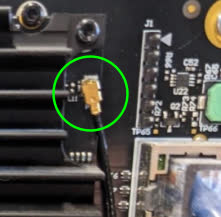
If a Wi-Fi antenna cable is present on the display assembly, connect it to the plug labeled P2. Note that newer printers and display assemblies do not have a second Wi-Fi antenna. If this is the case, leave the P2 plug empty.